Search the Community
Showing results for tags 'Affinity Designer'.
-
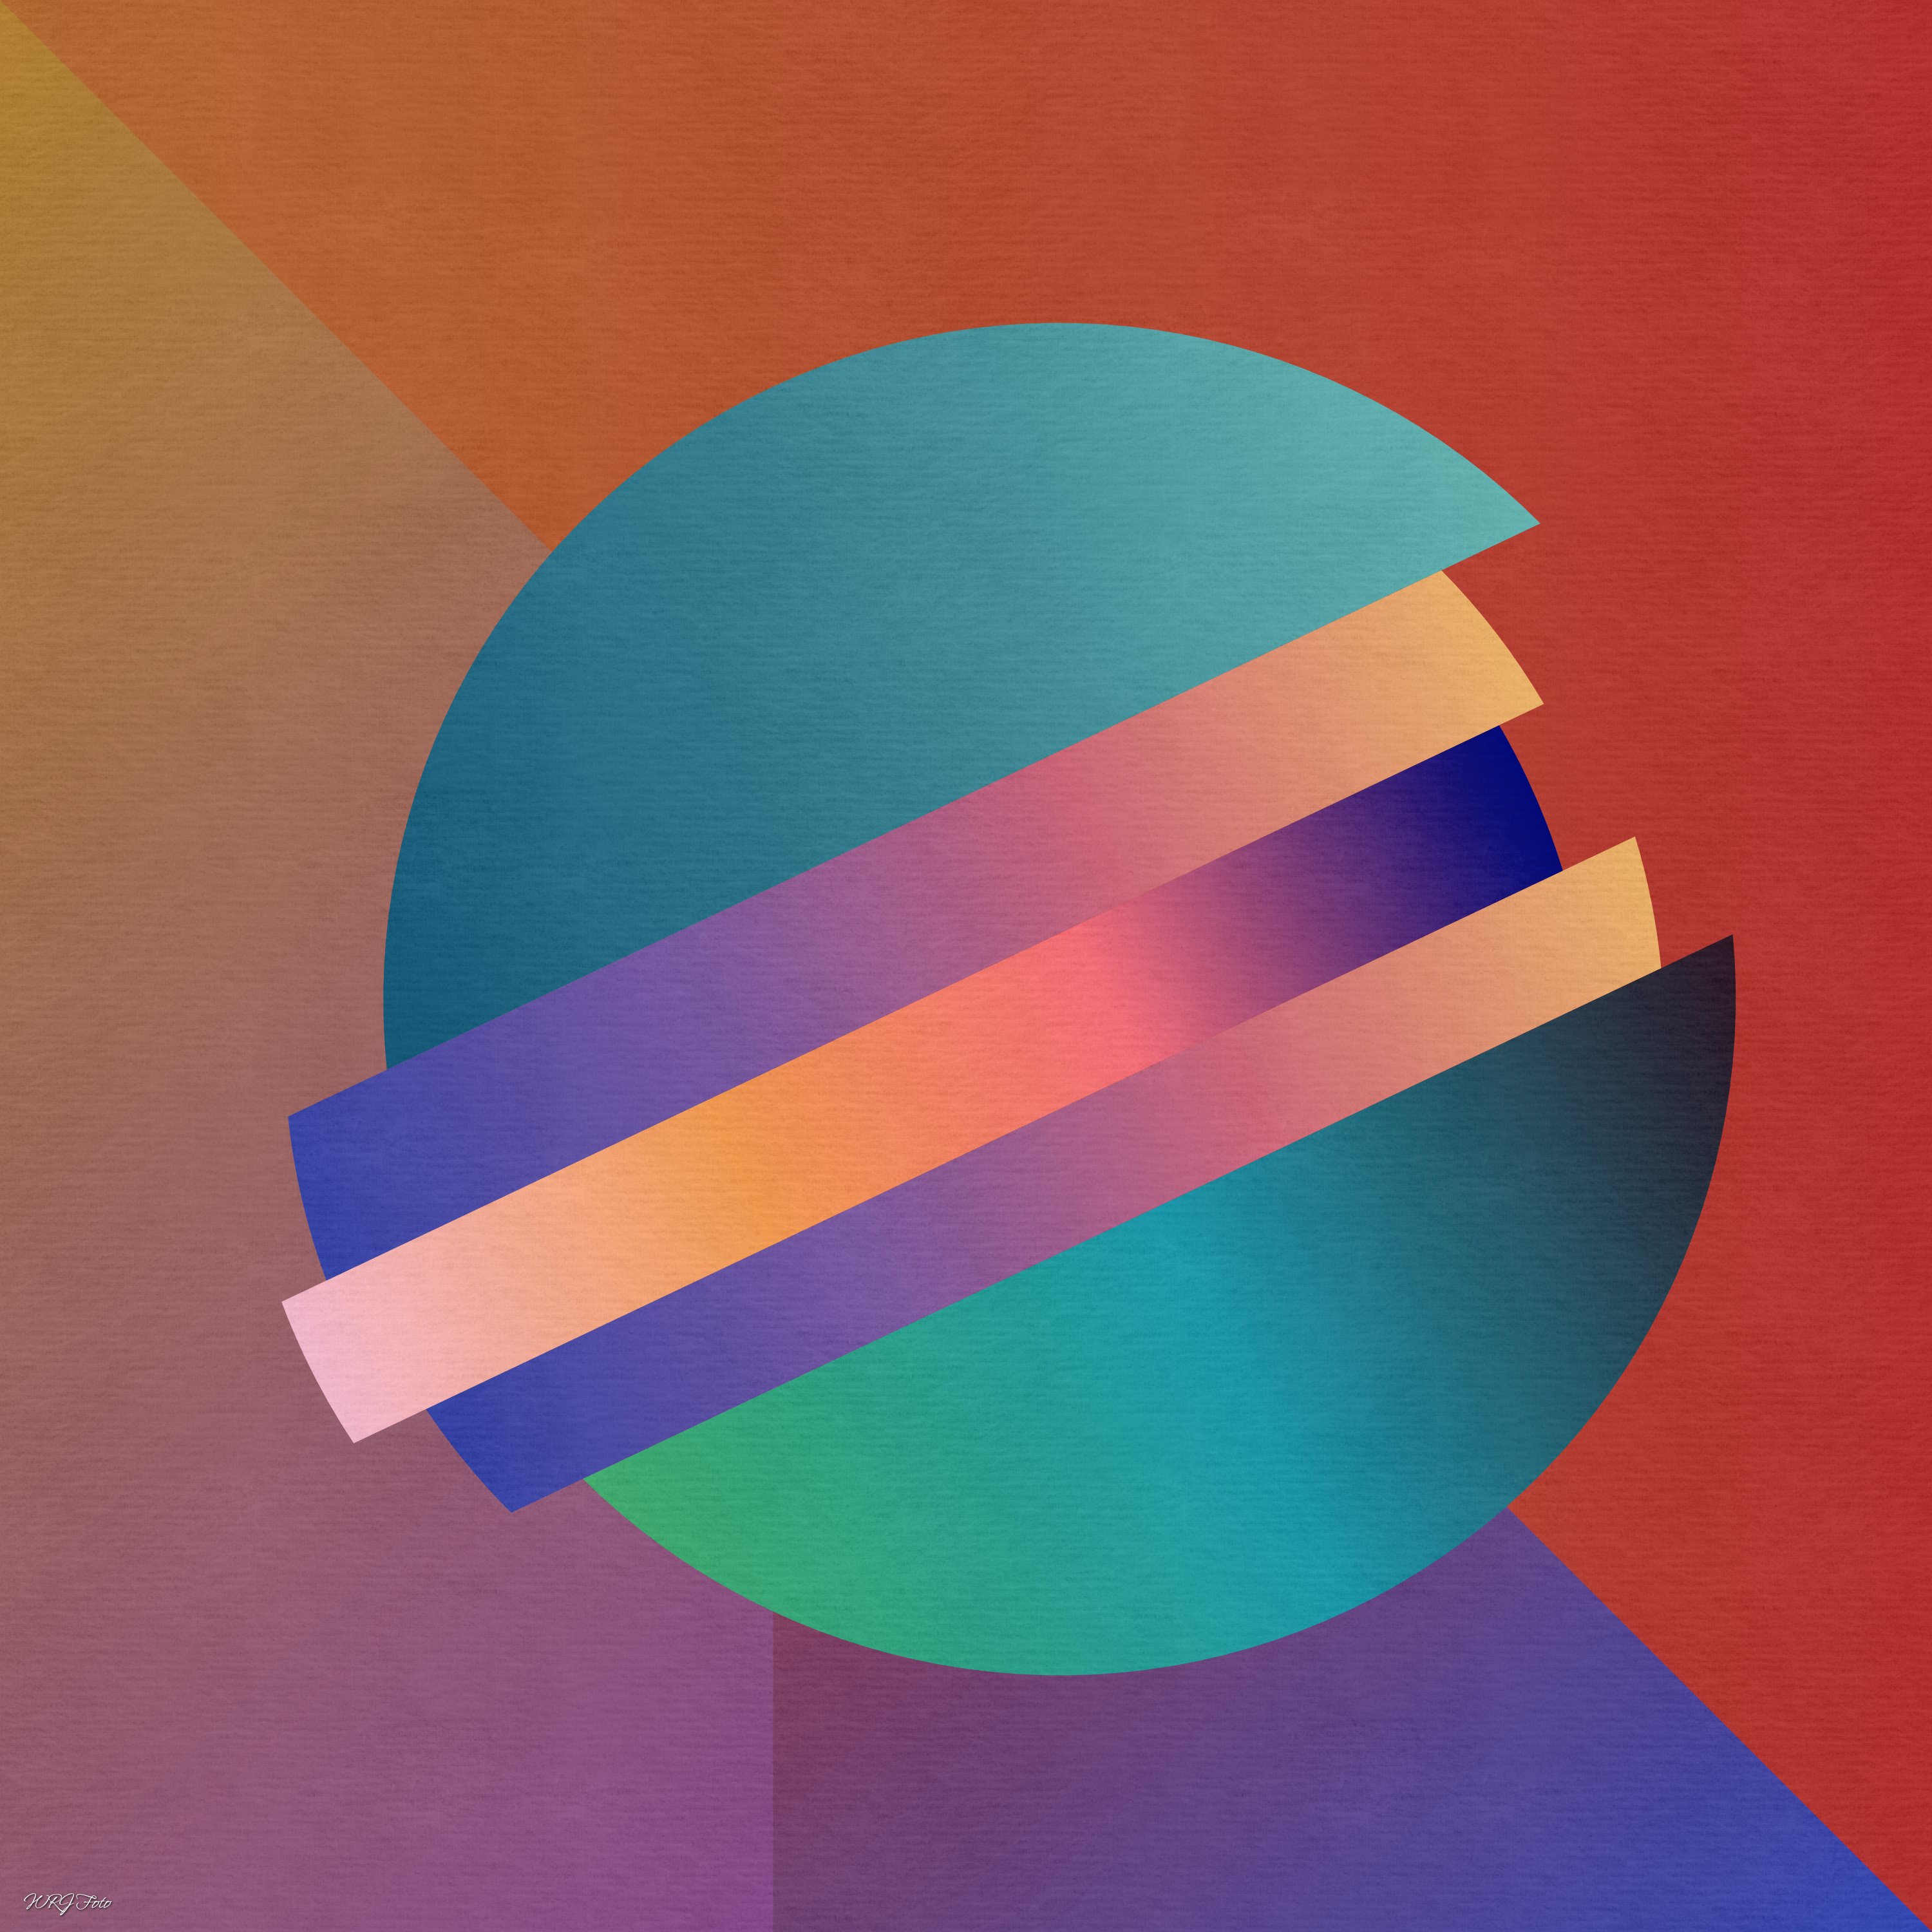
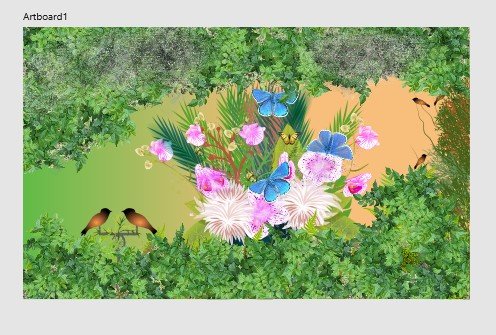
My very first project with Affinity Designer is an abstract picture. I learned a lot. I only missed the fill layer. What is the equivalent in Designer? In my project I have used a simple rectangle shape.

-
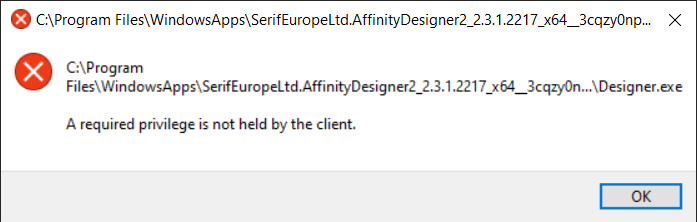
 I received an error post update installation of the 2.3.1 release for Affinity Designer. I remember having a similar error when 2.3.0 was released but didn't get a chance to snag a screenshot as clicky clicky happened and was not in my peripherals. Here is the screenshot with the error. So far nothing seems to be out of order, however I wanted to bring it to your attention. Designer opens after I click ok to the error dialog and relaunch with 2.3.1 displayed on the title card. Process on how I received the error. System: Windows 10 updated to the latest version and security updates as at January 10, 2024. 1. Already had previous version of V2 of designer installed (Also have publisher and photo as per the Universal license both updated beforehand and work flawless post update) 2. Opened Designer to start a project. Received notice that 2.3.1 was available to continue to install update. 3. Designer closes when I assume the downloaded package was on my computer. 4. Designer doesn't reopen but gives the attached screenshot error message. 5. Close error. Relaunch Designer and all is well.
-
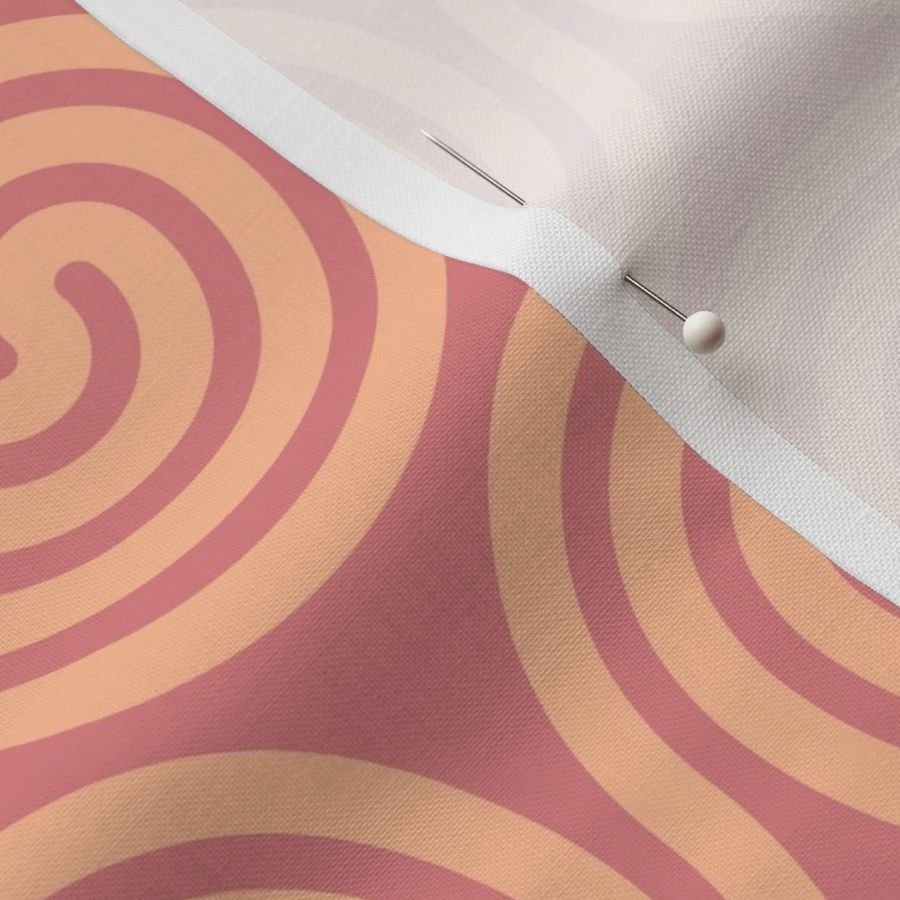
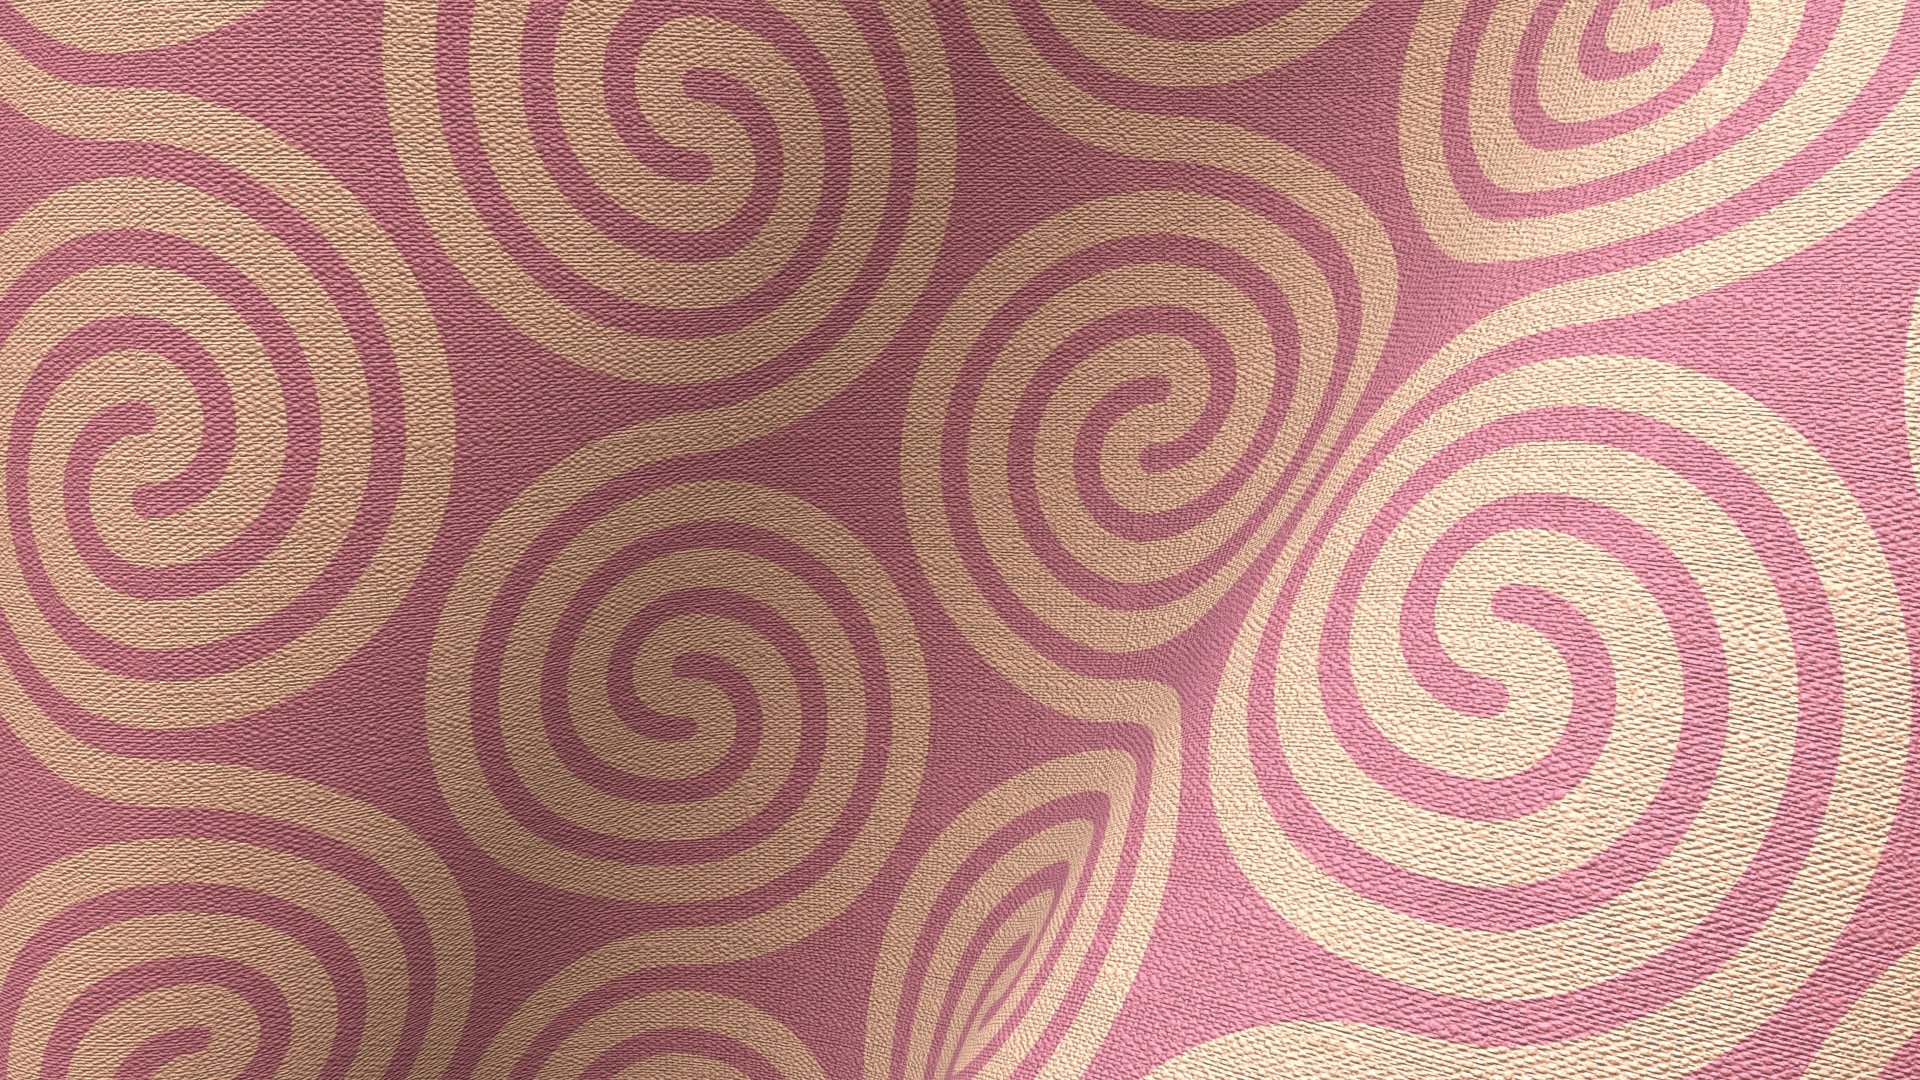
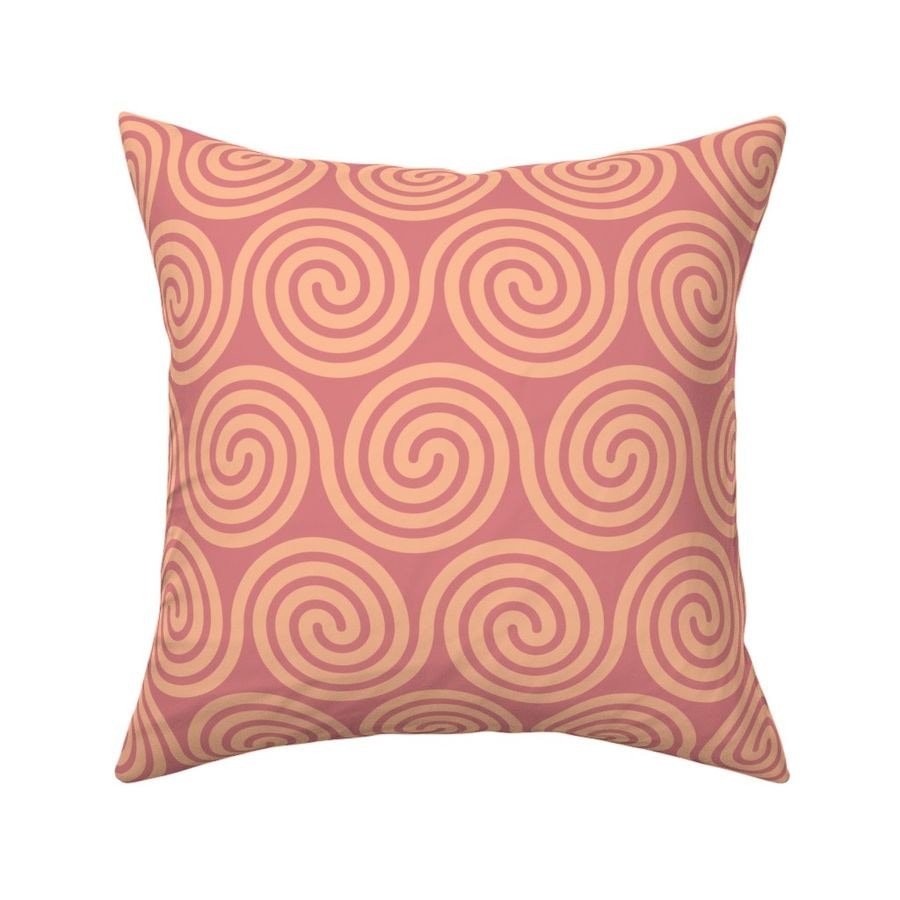
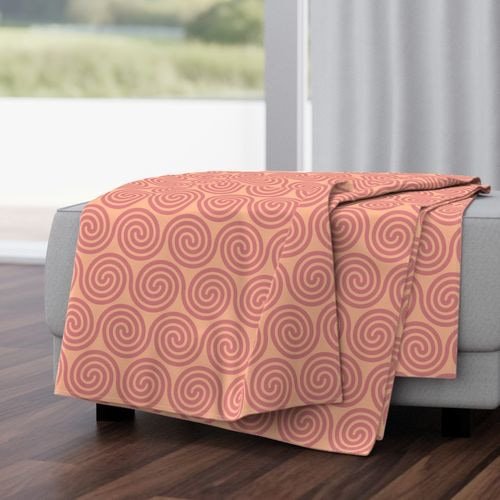
 I thought I'd take Affinity Designer's amazing new spiral tool for a spin in a recent Spoonflower competition. Spoonflower is a print-on-demand service for anyone who wants to buy printed fabrics and wallpaper. These spirals incorporate Pantone Peach Fuzz and Peach Blossom. Peach Fuzz is the 2024 Colour of the Year. The image above was rendered in Cheetah 3D. The remaining images are Spoonflower mockups. These patterns can be bought printed on demand; not just on fabric and wallpaper, but also as ready-made duvet covers, pillow cases, table cloths and napkins. https://www.spoonflower.com/en/collections/796023-spirals-by-geometrical_design?productType=FABRIC I'll be adding more spiral patterns to this collection over the months to come.
-
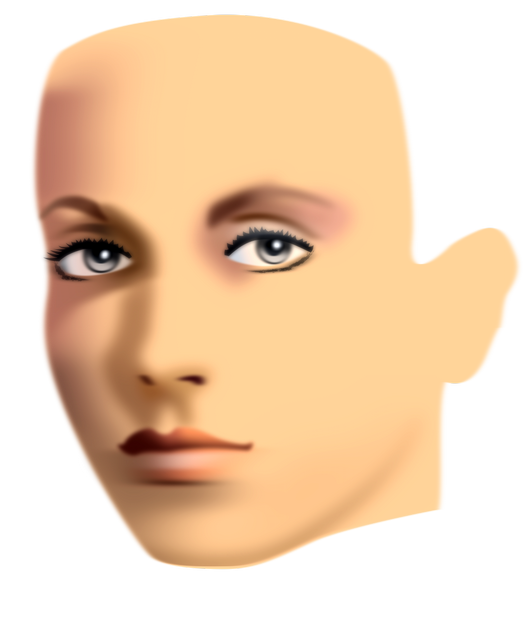
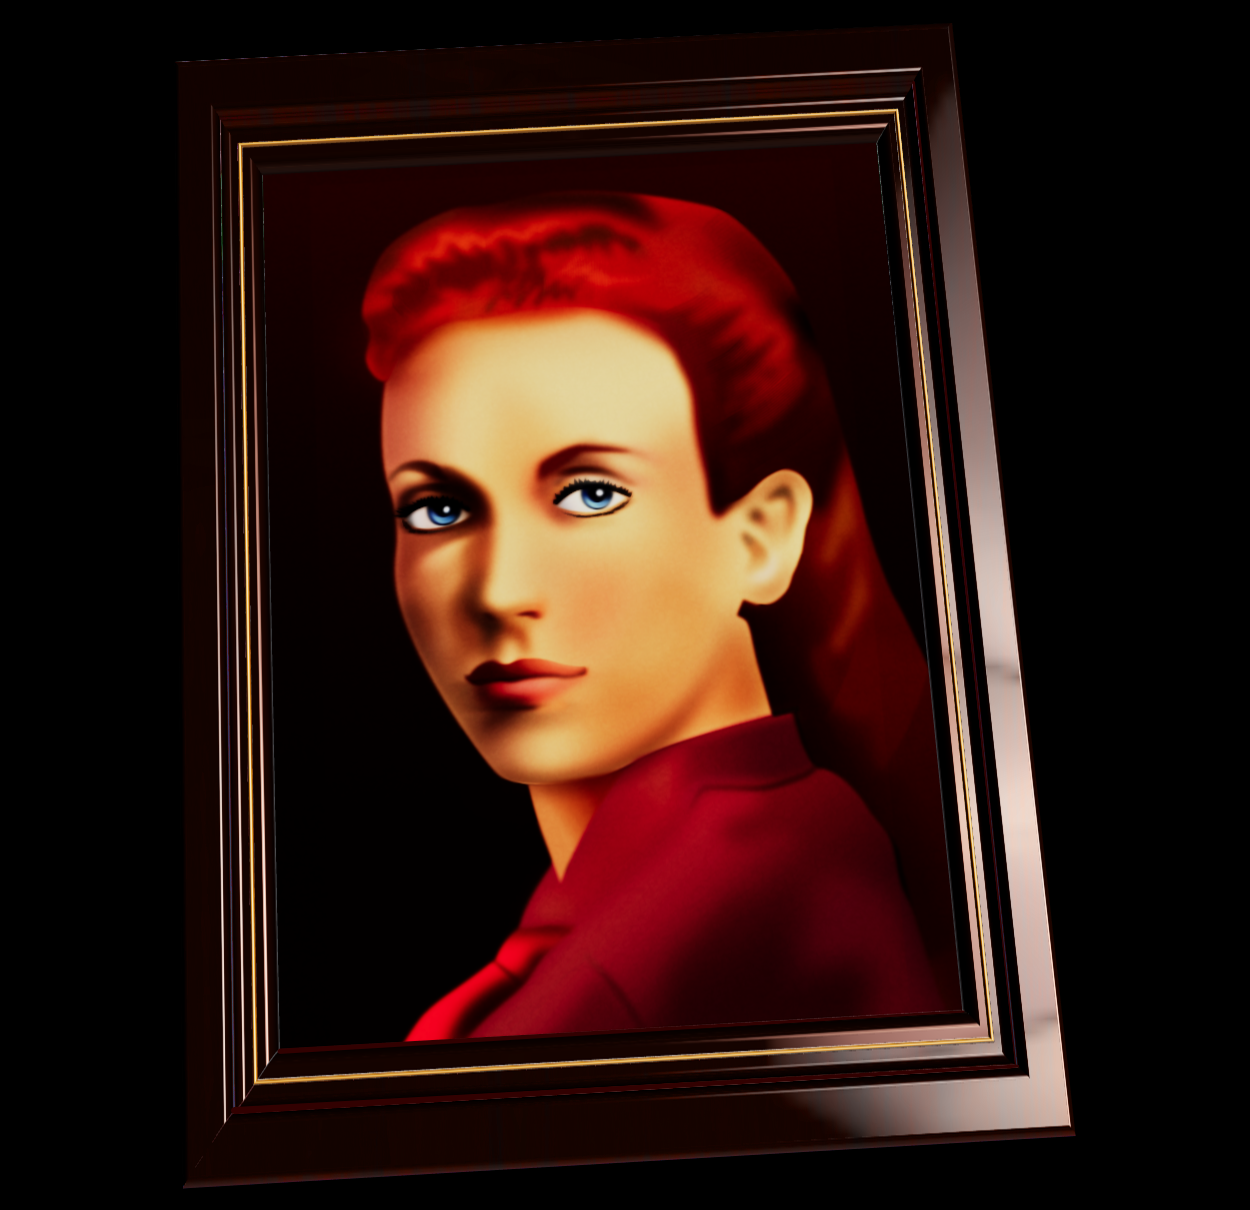
Created this vector portrait long ago in Affinity Designer. Left it and returned to work on it recently. It currently (January 2024) is a work in progress. Rendering of drawing in 3D frame 2D vector drawing view This was done years ago and resumed vector drawing at the end of the previous year. I am forced to work in Designer, because Photo does not start up. Designer and Publisher run after starting them up three times. I filed a bug report on this matter in Bug in Windows.
-
 Yes!! Super glad I can finally share this Music Video Visuals with Character Animations now. Put a lot of work, time and effort into this one and had to 'kill many darlings' during the process, but with no regrets! Design and Illustrations were all made in Affinity Designer. Also the new Spiral tool was great for doing the inner wound tapes! That tool arrived just in time! Animation was completely done in Moho 14 Pro. I've made and audio mastered the music, and also programmed Moho plugin scripts to use the Affinity Designer Spine JSON export to export all graphics as trimmed PNG's and import these with all auto-positioning into Moho quickly and easily. I've also written a script to animate the tape deck by keyframing on speed and accelerations instead of animating on angles. Hope you enjoy it as much as I had while creating it! 🙂 And if you do, please also like it on Youtube for the algorithm and stuff! Would be nice! Video (for backstage/making of; see below in this thread! ) :
 -
-
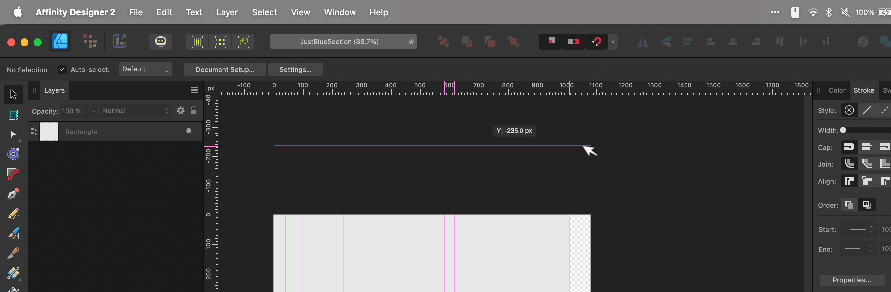
 I can *not* get Guide lines to show up outside of the document workspace/canvas no matter how many ways I try. This is the case with all of my files, even new ones. Is there a setting I accidentally changed? See attached image for how the horizontal Guide pulled from the ruler is only as wide as the work-area & the vertical guides don't extend to the top. Yes I have "View > Show Guides" checked Yes I have "View > View Mode > Clip To Canvas" unchecked. No, I am not using any Artboards. I am running Affinity Designer 2.3.0 on Mac Sonoma 14.2.1 (Somewhat related because I can't see: I can change the color of Guides, but Is it possible to make the Guide lines thicker than 1px on the screen?)
-
 The Black & White adjustment for Affinity Photo looks simple, but there are some concepts you should know before using it. In this video, we’ll look at how knowledge of RGB colors can help you get better B&W conversions for your photos.
- 5 replies
-
- 6
-

-

-
- trentl
- affinity designer
- (and 4 more)
-
 Designer 2.3 I'm trying to export my artwork to a PDF file including layers. Even if I check this option in to the export tab, the created PDF doesn't include layers viewed by any PDF reader. They only appear in Designer. Is there a way to export layers even for PDF viewers? Regards
 -
 I often have to deal with polygonal pathes, which represents curves*). Look at this comparison between Designer and Inkscape**) (there is a red copy of the line to visualise before and after): As far as I observed, designers "fit to curve"-functionality doesn't handle sharp edges at all. Am I right with this observation? Are there plans to change this? This would turn Designer from an almost perfect to a perfect map drawing tool! *) the pathes are derived from openstreetmap which has no real curves. So all curves are approximated by small straight lines which results in a large number of nodes, which I'd like to reduce. **) In case of Inkscape make sure that "Deleting nodes preserve shape" is selected in the preferences.
- 8 replies
-
- 2
-
-
- affinity designer
- node tool
- (and 3 more)
-
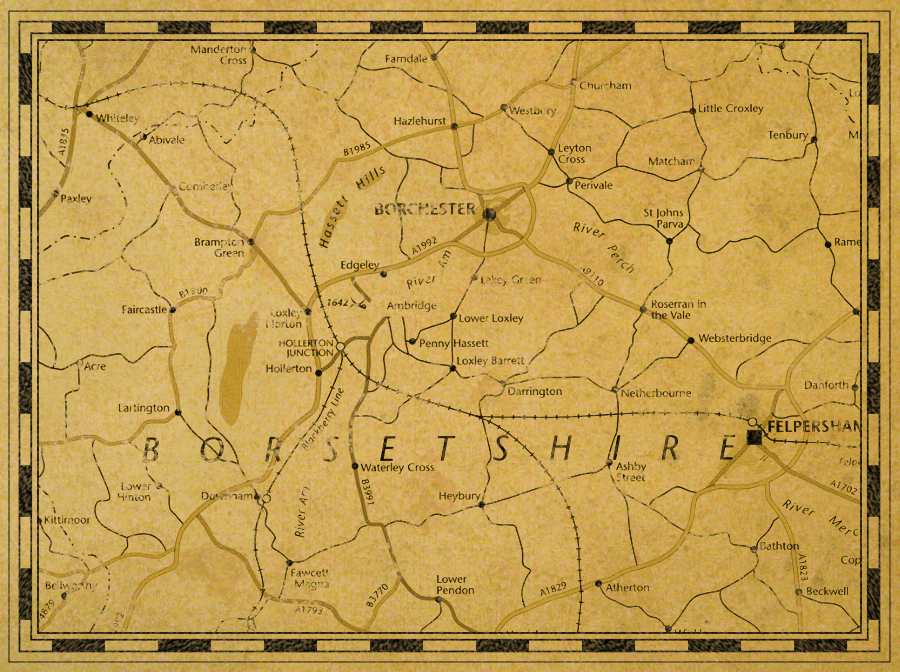
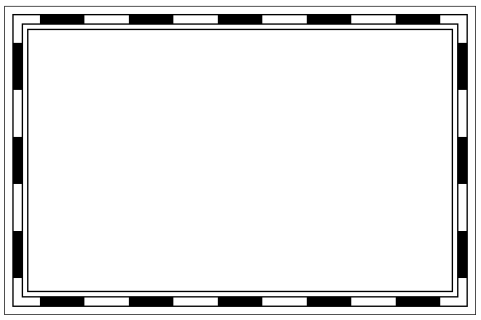
 I’ve listed, below the images, the steps of a technique, using Designer only, which you can use to create a border as you might see on old treasure maps etc. It’s a bit long-winded but not difficult to do, shouldn’t take more than a few minutes to complete, and it should work in both V1 and V2. At each stage, make sure that: Stroke Colour is Black; Fill is None; Scale With Object is OFF. For the base border: Draw a rectangle, you can make it any size you want, and keep it selected; Open the Swatches Panel or Colour Panel; Set the Fill to None; Open The Stroke Panel; Set: Stroke Width to 16px; Join to Mitre; Align to Centre; Open the Appearance Panel; Add a New Stroke and make sure it’s above the previous stroke added; Set: Stroke Width to 12px; Cap to Butt; Join to Mitre; Align to Centre; Style to Dash; Dash Pattern to 5,5,0,0,0,0; Blend Mode to Erase; Also: Make sure that the "Balanced" button is ON or the effect won't be as nice; Add a New Stroke and make sure it’s at the bottom of the ‘stroke stack’ (but above the fill); Set: Stroke Width to 16px; Join to Mitre; Align to Inside; Style to Solid; Blend Mode to Normal; Add a New Stroke and make sure it’s above the previous stroke added; Set: Stroke Width to 14px; Join to Mitre; Align to Inside; Style to Solid; Blend Mode to Erase; Add a New Stroke and make sure it’s at the bottom of the ‘stroke stack’ (but above the fill); Set: Stroke Width to 20px; Join to Mitre; Align to Outside; Style to Solid; Blend Mode to Normal; Add a New Stroke and make sure it’s above the previous stroke added; Set: Stroke Width to 19px; Join to Mitre; Align to Outside; Style to Solid; Blend Mode to Erase. For the optional ‘distressed’ effect: Duplicate the rectangle and select the duplicate layer; Use the “Revert Defaults” button on the Toolbar; Open the Swatches Panel or Colour Panel; Set the Fill to None; Make sure the new (duplicated) rectangle is above the other rectangle in the layer stack and still selected; Open The Stroke Panel; Set: Style to Textured Line Style; Open the Brushes Panel; Select the “Dry Media” category, scroll down and select the “Light Charcoal (for closed curves)” brush; Open The Stroke Panel; Set: Stroke Width to 90px; In the Layers Panel, set the Blend Mode of the duplicated Rectangle layer to Erase and set the Opacity to 60%; Group both rectangles. You can adjust the relative sizes of the strokes, brush pattern, etc. as necessary for different borders. You can also resize the border as you want while still keeping the same general design – if you have added the ‘distressed’ effect then make sure you move/resize the group as a whole. If you don't have the "Dry Media" category of brushes then you will need to choose a different brush from your collection. Important: Because you are using the Erase Blend Mode at various stages, the result will always* be rasterised upon export to any file format. * Unless you set “Rasterise: Nothing” as an export option whereupon the border will not be exported at all.
- 8 replies
-
- 4
-
-
-
- affinity designer
- map
- (and 1 more)
-
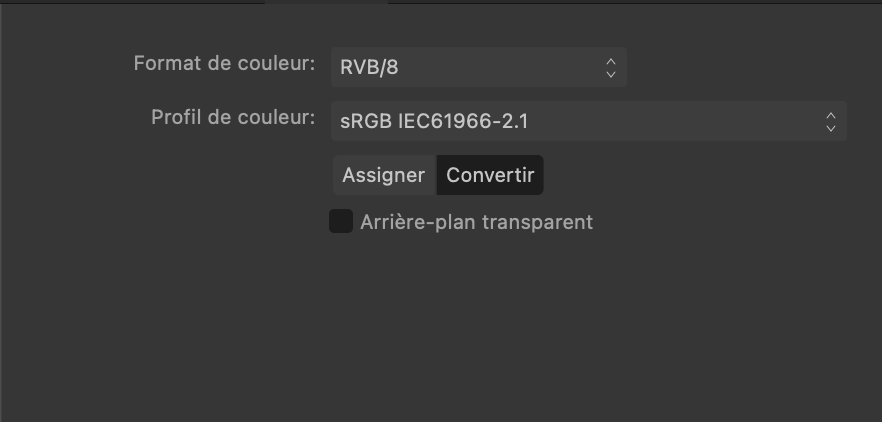
 Not sur if this is a bug or a normal behavior. Software : Affinity Designer 2 Beta 2.3.0 (2165) My document hasn't the Transparent Background box checked on its settings window (see attached image). But when I export it in .png format using the export persona the background IS transparent. If I export it in .png using the File -> Export menu, the background IS NOT transparent (but white) as I would expect. If I export if in .pdf format using the File -> Export menu, the background IS transparent. So I'm a little confuse about it. This is a behavior I have on every files and for many time. It is anoying because I always have to put a white rectangle on my documents. Maybe I'm just misundertanding something ?
-
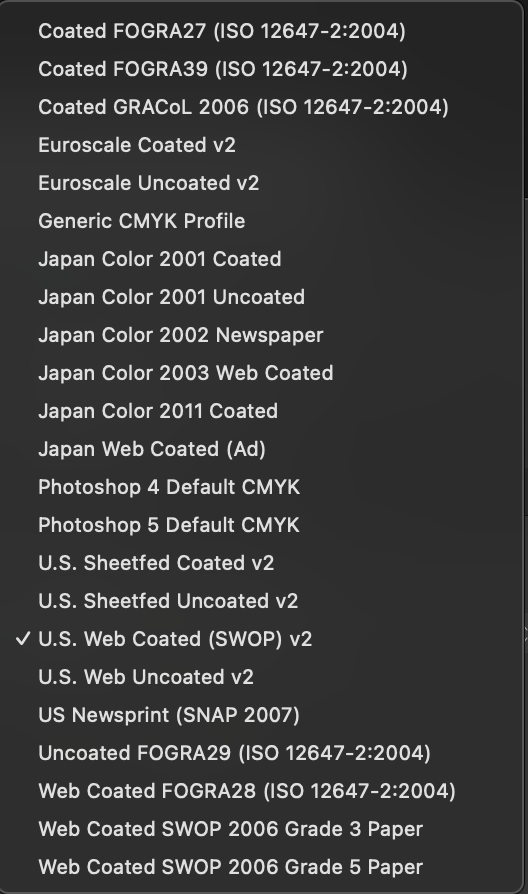
 Hi, I recently updated both Designer and Publisher to the latest version and I have noticed that the CMYK profiles ISO Coated v2 and ISO Coated v2 300% are now missing. Any idea why? (Is Euroscale Coated v2 the same as ISO Coated v2 - see attachment?) Thanks for any help anyone can offer.
-
the things i find as tools like brush and assets are so fine . easy when you want 2 start and have nothing . It saves a lot of time . Before i forget happy new Year all
-
Made in Affinity Photo V2 on iPad Pro.
-
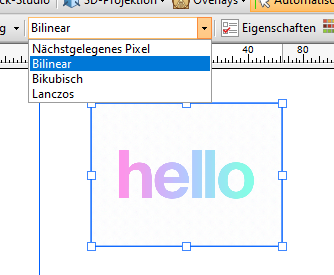
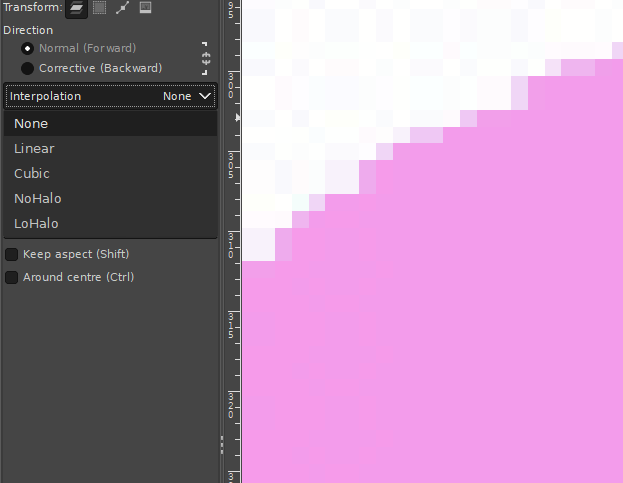
 Hi, I know there was already a topic like this. But always, when I try to resize pixel art or old graphics (low resolution), it always destroys my work and creates blurred edges. Affinity Photo has a tool named Pixel Tool, and in Serif 2.3, they added a pixel grid. And I think Affinity can be good software for editing pixel art graphics, but having the ability to change interpolation during resizing would significantly enhance its capabilities in this regard. I do not want to rescale the whole document, I want to rescale one or two elements in the document. Like Draw Plus 😎 (bugged version with immutable german language as default): or like Gimp:
- 5 replies
-
- 1
-
-
- 2.3
- affinity photo
- (and 5 more)
-
 Every eps file I import into Affinity Designer 2 looks awful. The graphics are separated into unusual sections and gradients and shadows are changed (misplaced or redrawn) and some graphic elements look as though they have been rasterized (The graphic no longer appears smooth and well drawn.... they look pixelated). Every single eps I've tried to import turns out this way. Is there a setting that needs to be adjusted? Not sure how useful Designer will be if it can't handle eps files. Please help. I've attached and eps and a jpg of the same file to you can see the two and how Designer is treating the eps. Daniel Christmas background blue v kr.eps
-

affinity designer New year contemplative firework impressions
v_kyr posted a topic in Share your work
This years contemplative and thoughtful "New Year's Eve" firework impressions ... ... used for some online cards, with the help from some of my firework assets. Some Firework assets Stop the wars and have instead a peaceful and hopefully then world wide much better new year!
-
 I have the two stars on the left and I would like to get the result on the right (same strokes visible but the whole thing is transparent). In this particular case, I used the shape subtract function to subtract the frontmost star from the star in the back and then pasted another star in and made everything transparent. This sort of works, but in my actual case i have about 30 shapes drawn on top of each other and this is not really a feasible workflow. I also fiddled around with the "erase" blending mode but this doesn't properly export to SVG, so I cannot use this either. Is there some way to achieve this result without manually editing each involved shape?
-
Prism Desk Calendar 2024 DE/EN/GR localized - A4 print template
-
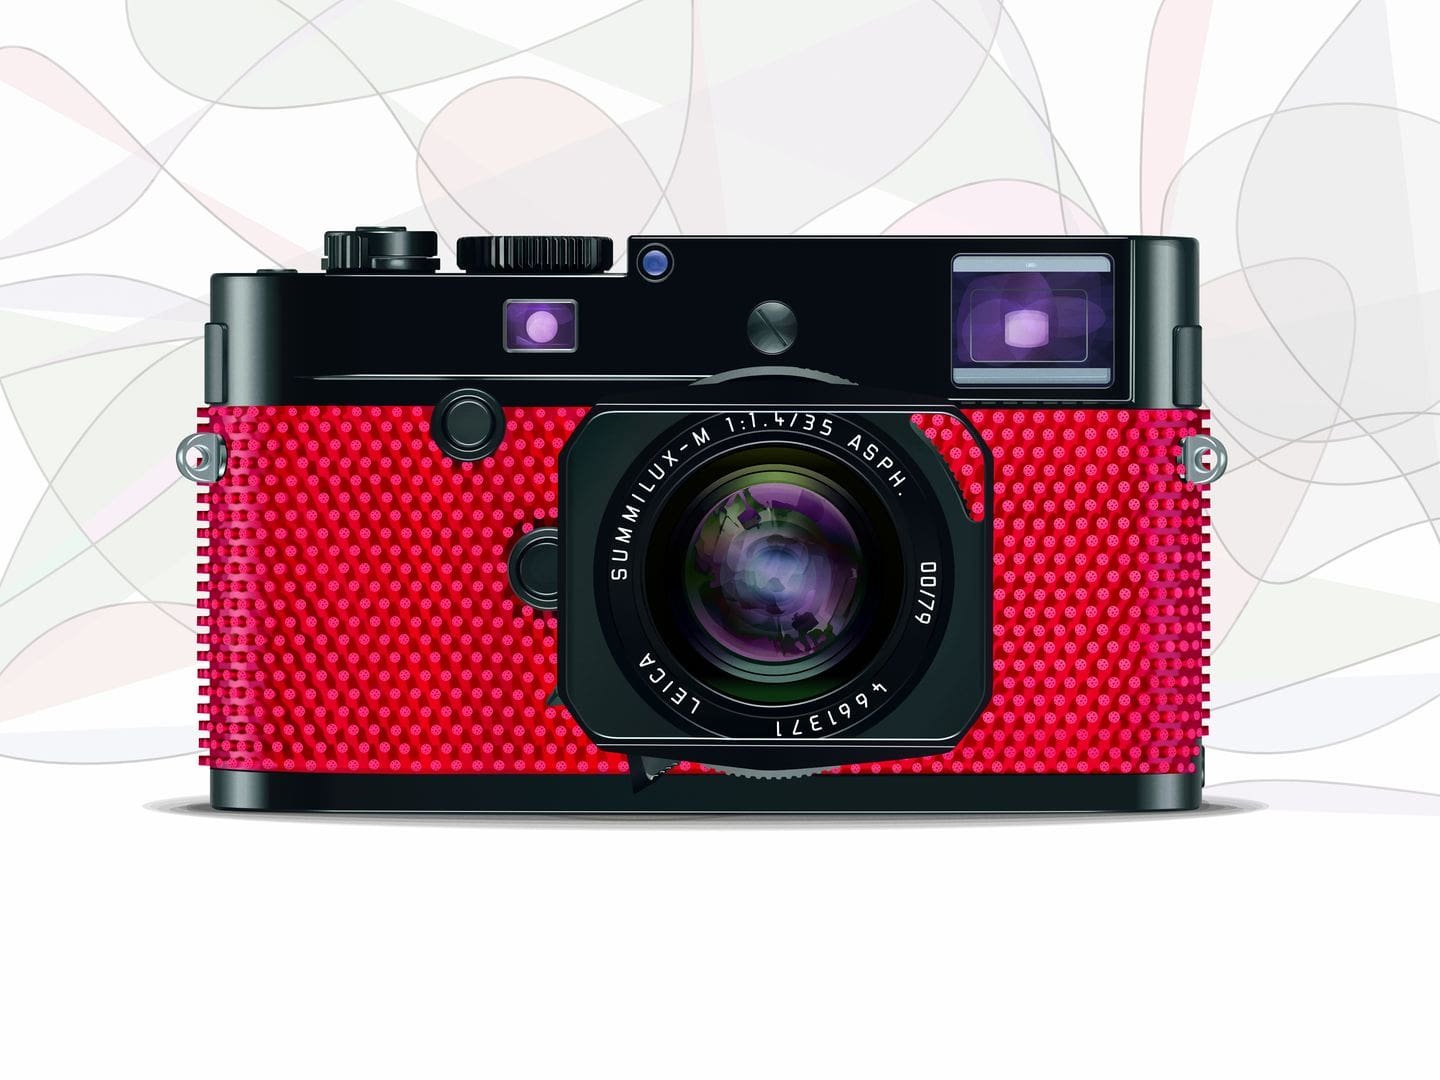
 This one was covered in table tennis bat rubber and the text on the top plate was also red.
-
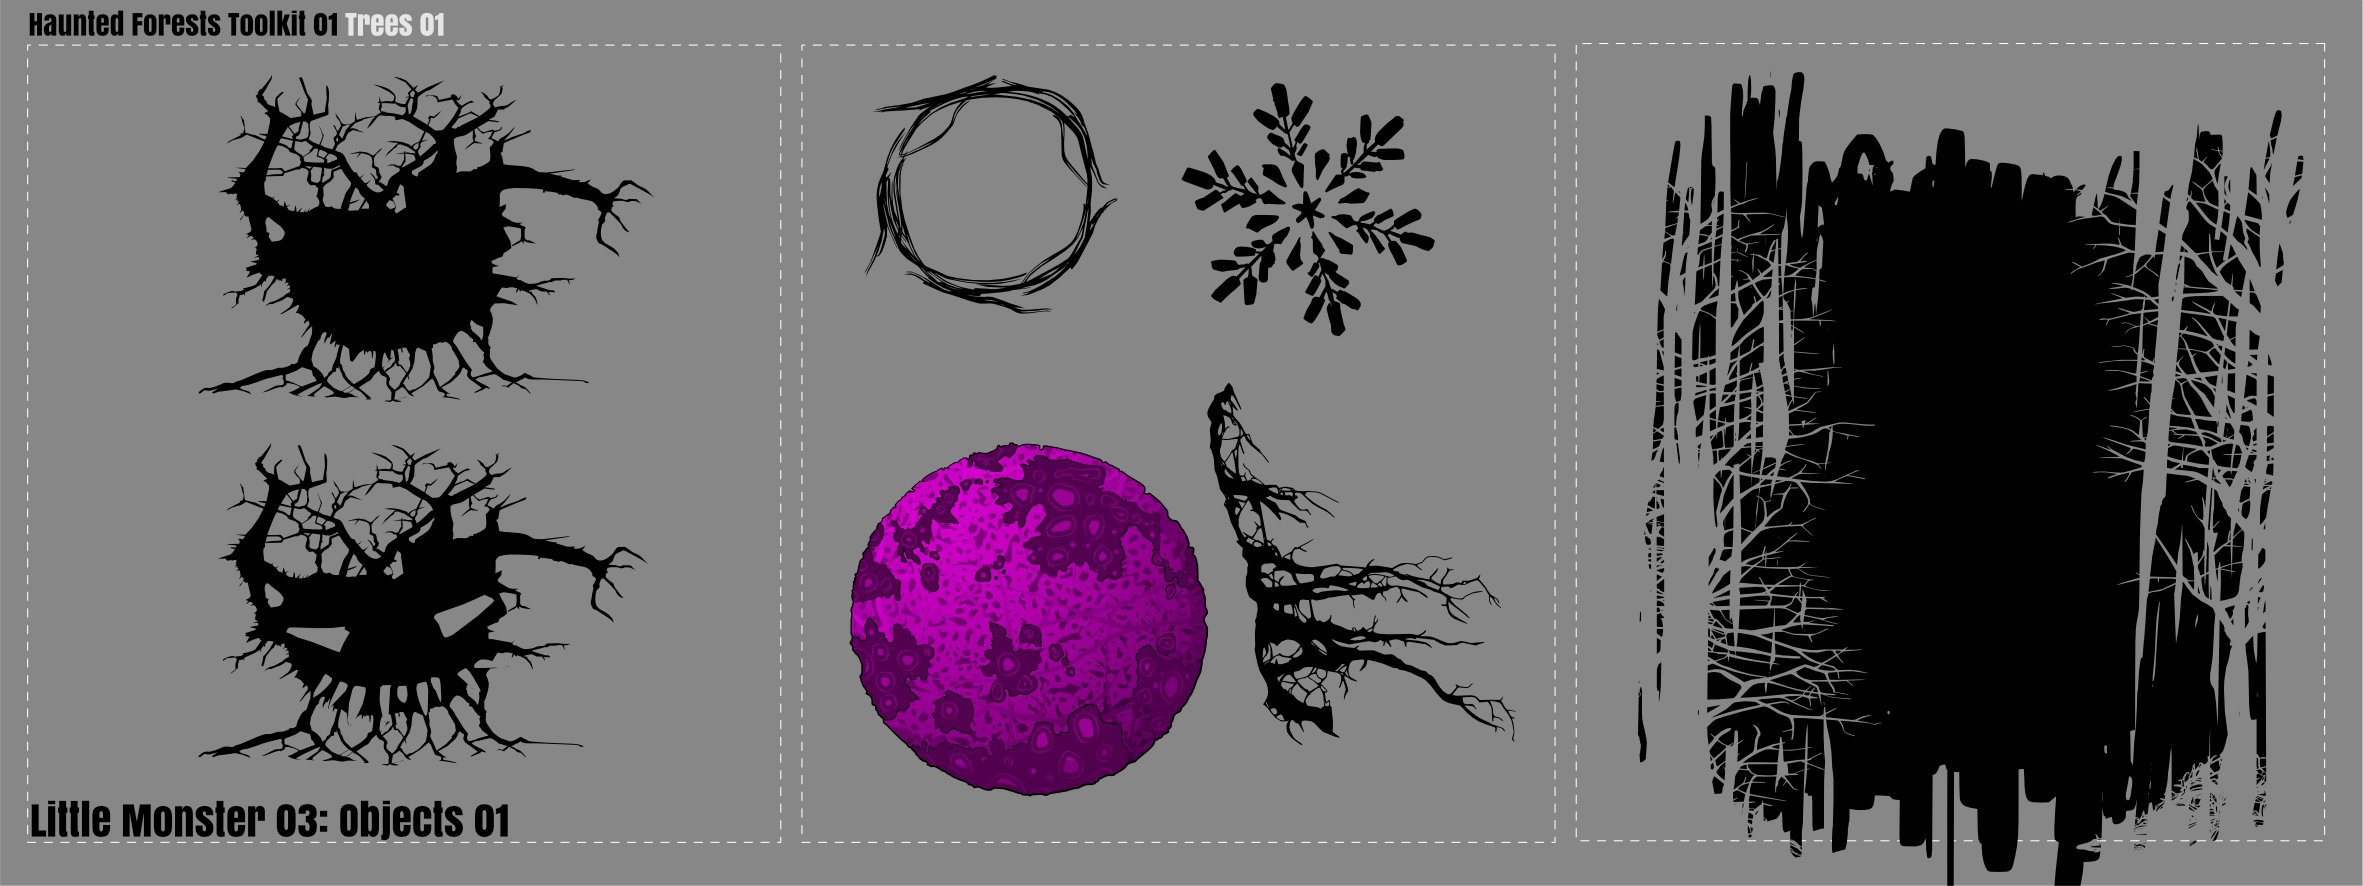
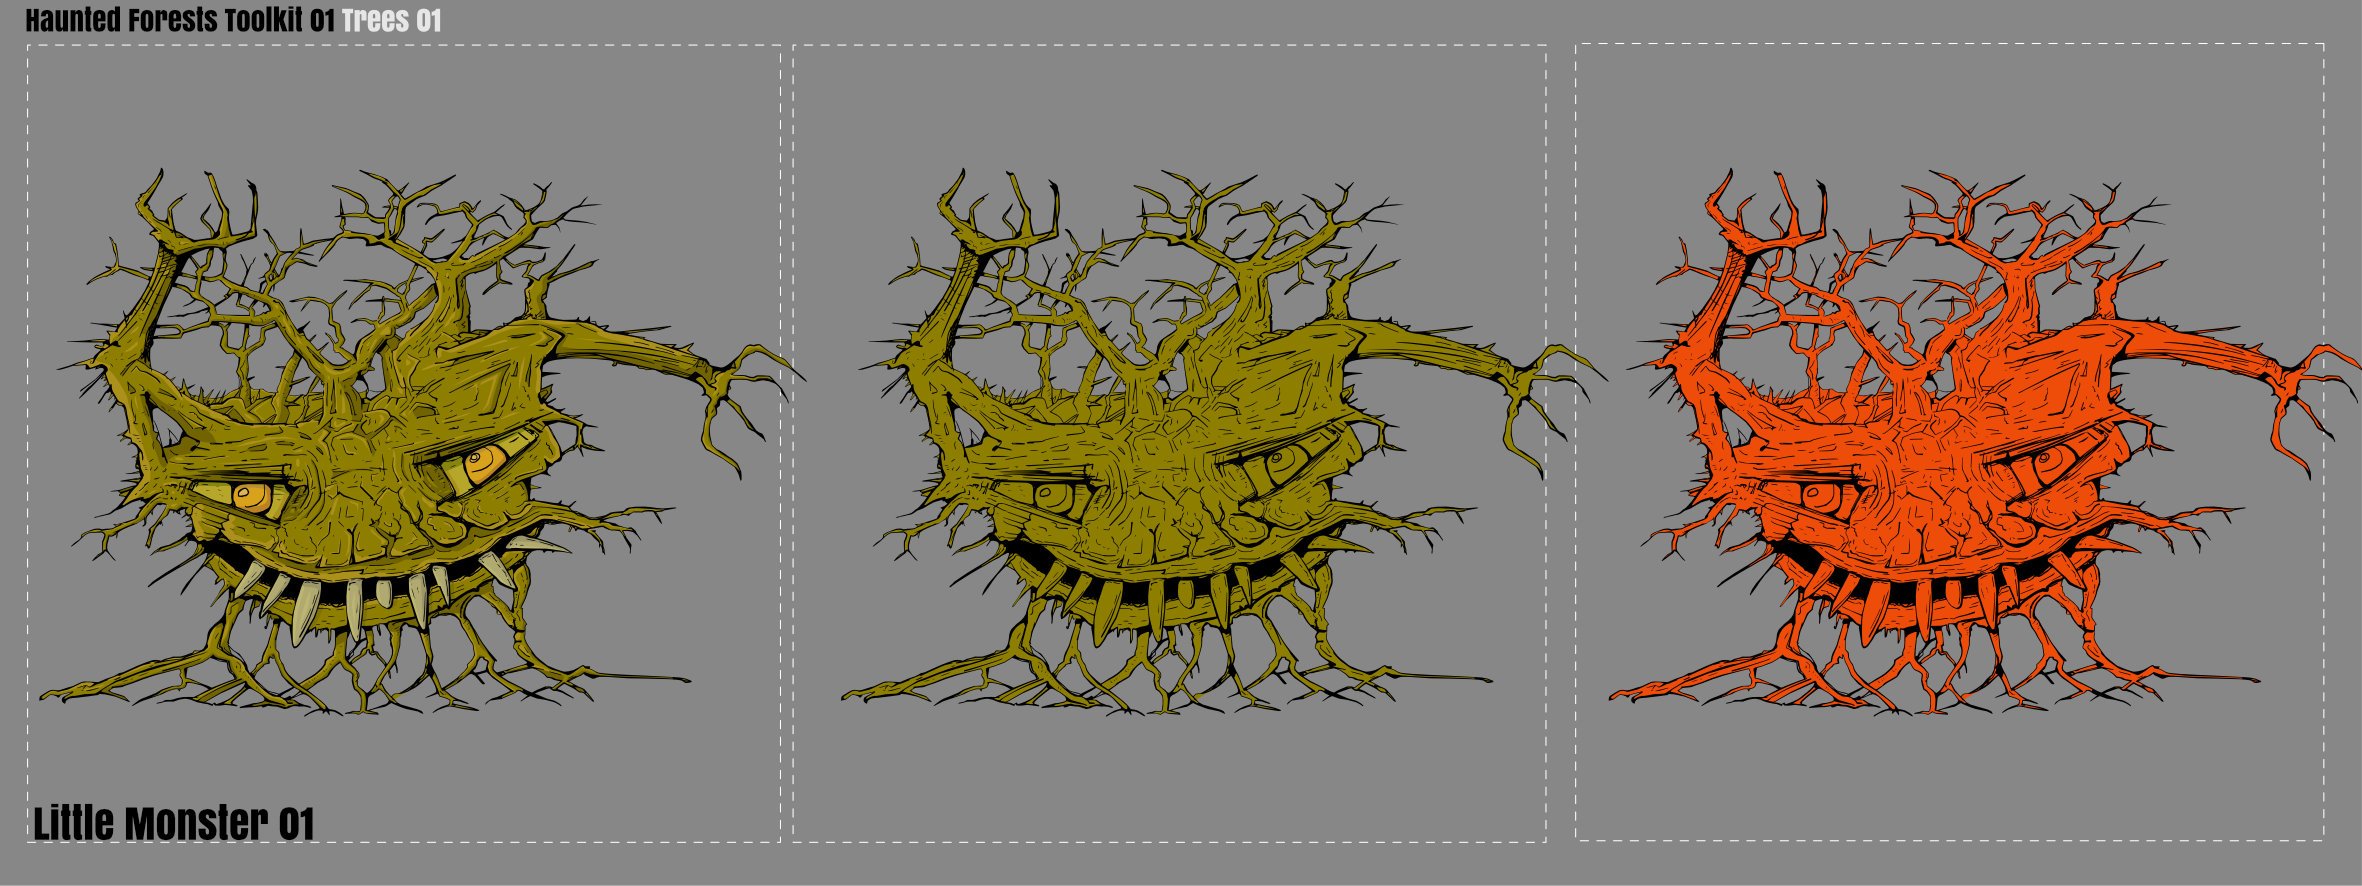
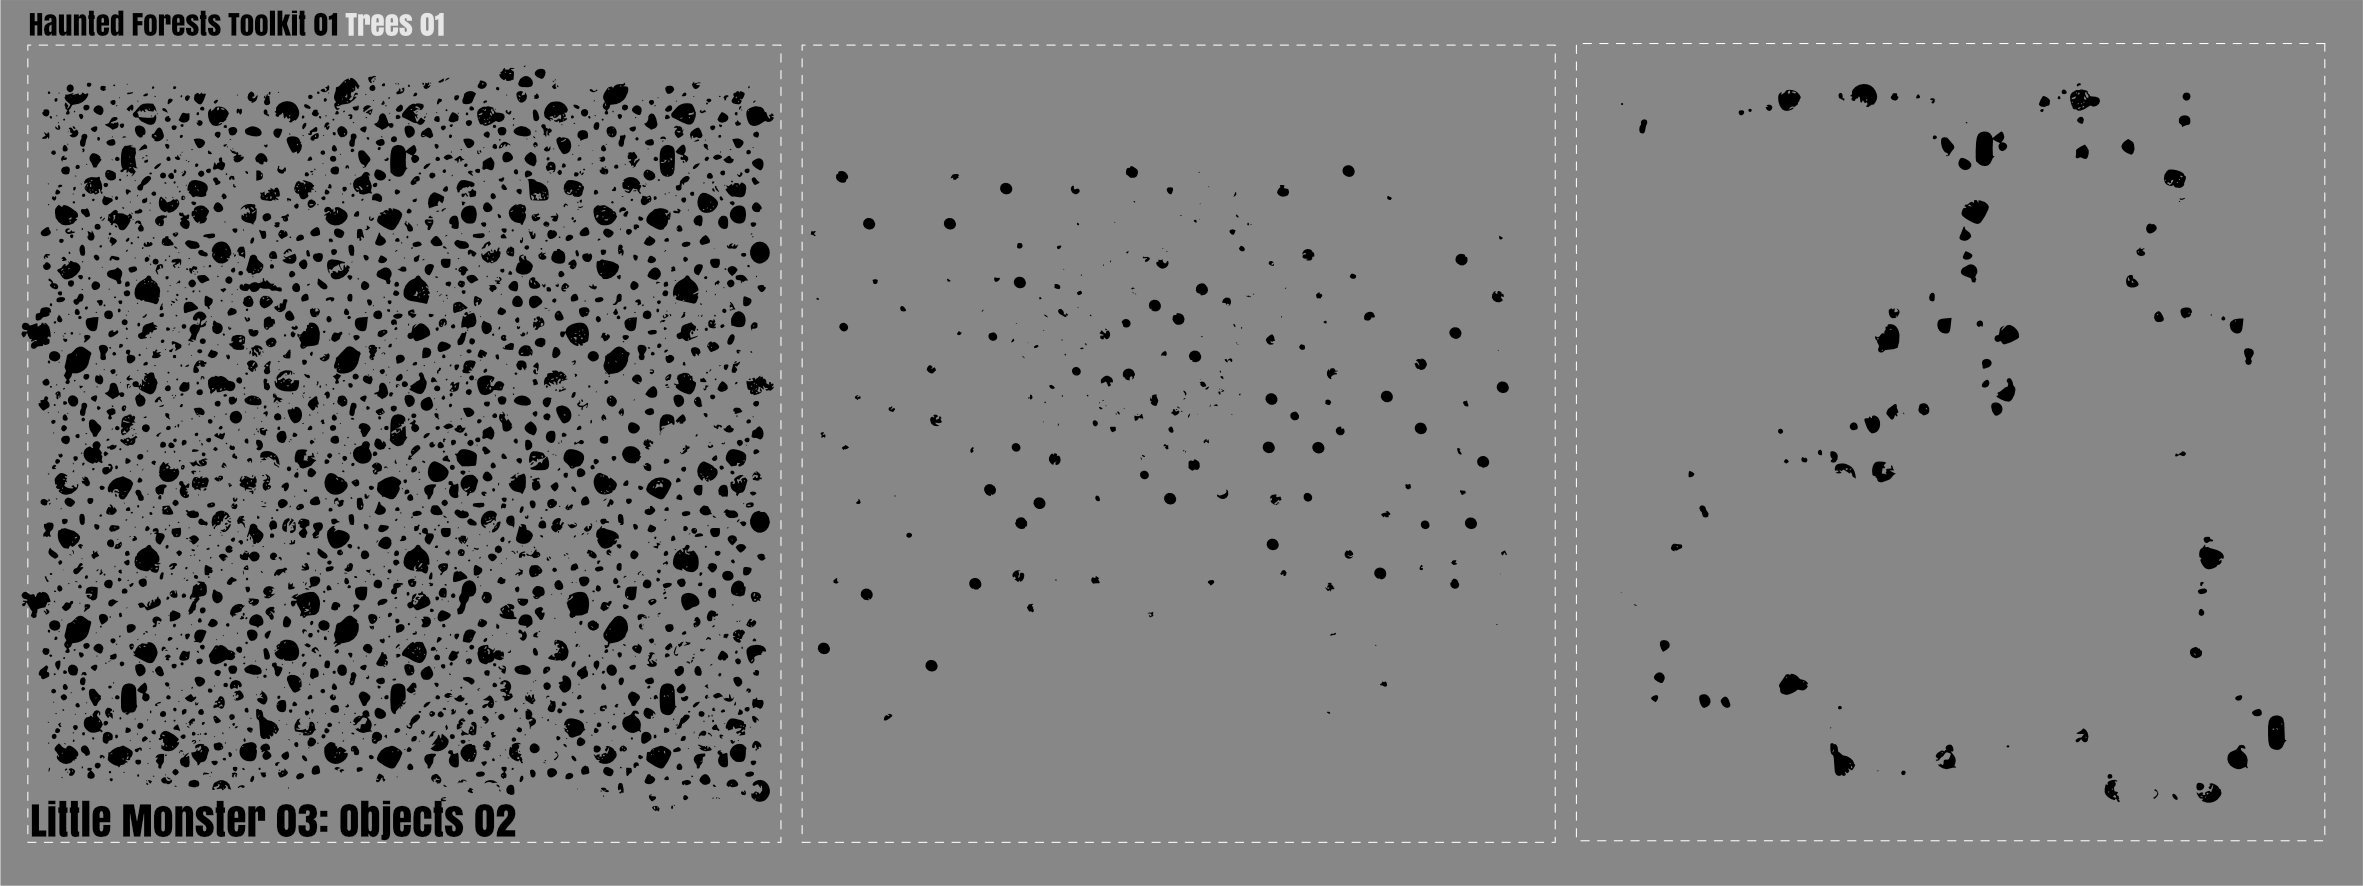
A Little Monster Added a small asset collection from Santa Baby (Does not need to be!) Vector Configurations of the Little Monster and associated vector. Files as displayed AD 2.3 File not asset library! Little Monsters Toolkit.zip
-
A little Monster
-
If your design has hundreds of objects, select similar objects can be very difficult…but it's easy with the Select Same feature. In this video we’ll look at how to select objects with the same fill, stroke, shape, and more.
-
- 7
-
-
-
- affinity designer
- trentl
- (and 1 more)
-
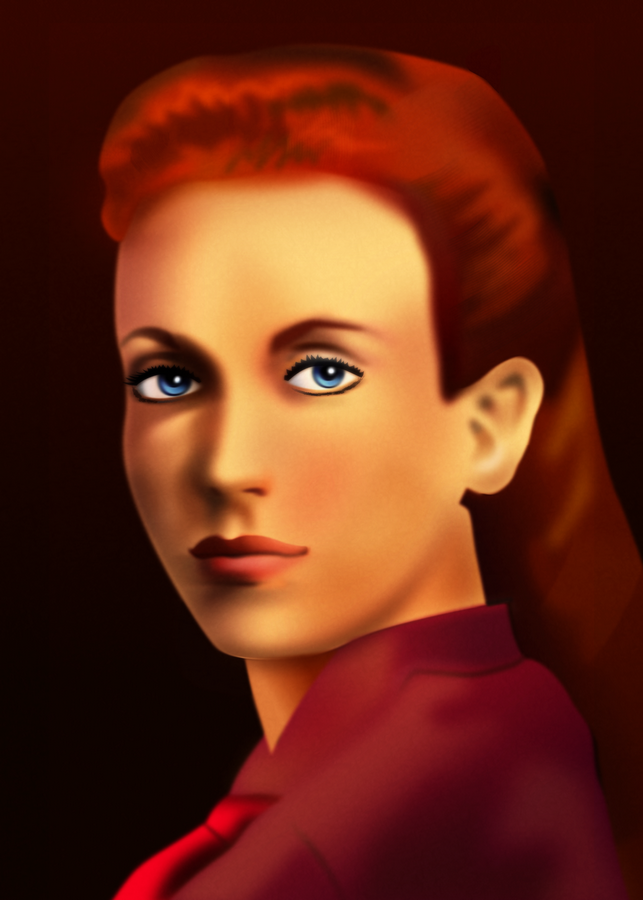
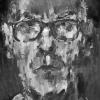
Freehand (analog) airbrush on canvas, Affinity Photo: pallet manipulation and saturation, Affinity Designer: enhancement of skin texture with the Gradient tool to edit bitmap textures and brushes. (work in progress as of Dec 2023) (3D version created in Plasticity 3D)
-
- 1
-
-
- affinity photo
- affinity designer
- (and 1 more)