Search the Community
Showing results for tags 'Affinity Designer'.
-
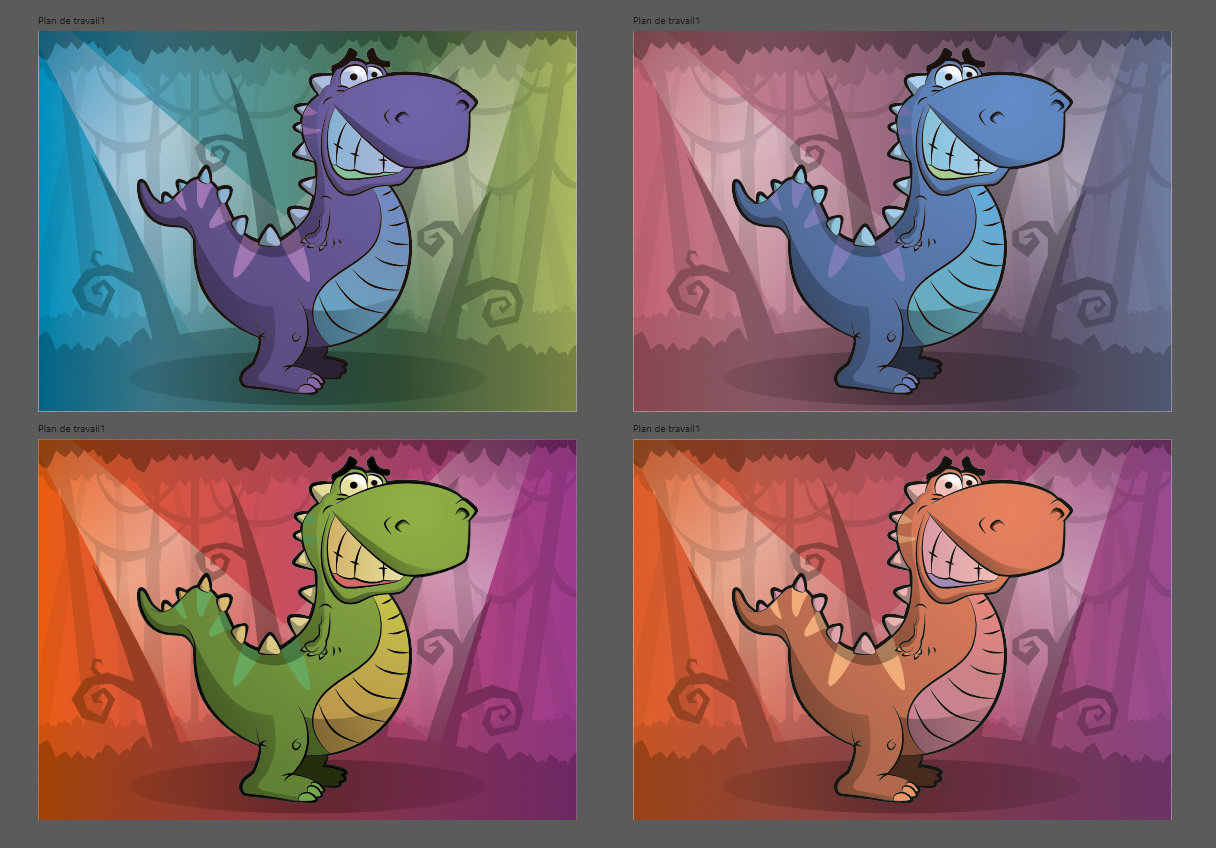
Hi all, simple art made inspired by monsters de game maplestory.

-
 All made Affinity. Me on my computer, Affinity Designer Workbook next to me, on my laptop. + I love creating the backside with the mirror function in Designer!
- 12 replies
-
- 12
-

-
- illustration
- play cards
- (and 1 more)
-
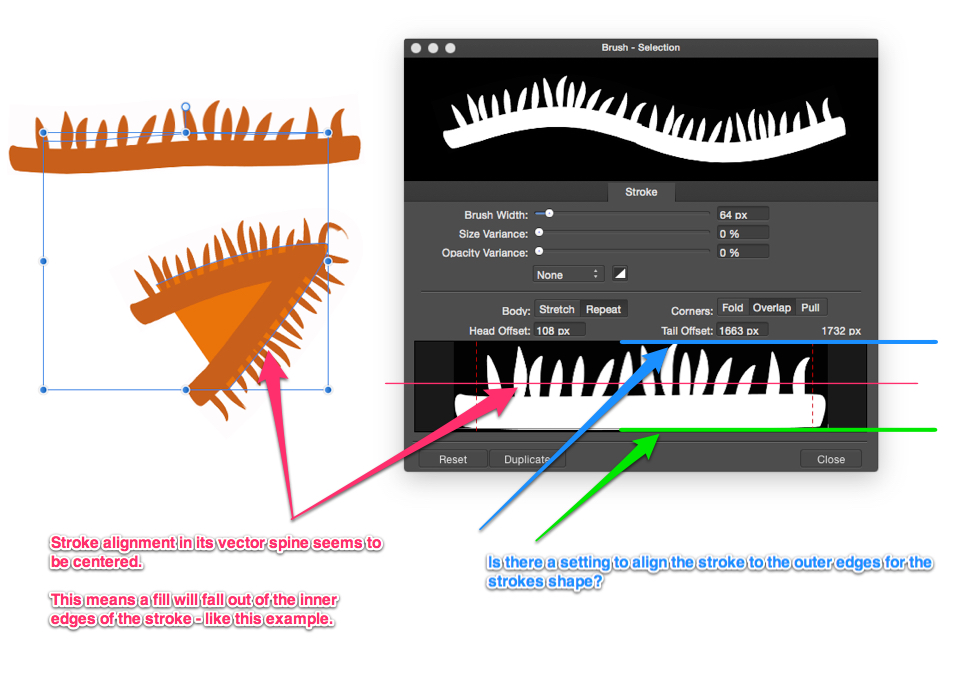
 I have a question about how a textured stroke is aligned to its vector spine (or framework) in Affinity Designer. I have a stroke that I want to use as the outline of a fill. I am including a .afbrushes brush file with one brush in it and a .afdesign file with the stroke applied as an example. The example uses a brush stroke I created: CD_hairtest’’. This has a base and “hairs” standing up off the base. See attached image. This stroke is was built to be drawn freehand as an outline. I would apply a fill to the outline as a second step. My problem is: The textured bitmap seems to be aligned/placed in the center of the strokes “spine” and when I apply the fill - the fill shows halfway up the “hairs” of the stroke. I would like to be able to change the placement of the stroke on its "spine" or "frame" (not sure what word might be used to describe the vector container the bitmap stroke resides in) at the bottom (or top) or outside/inside of the strokes shape. I am including an image that may make what I am writing about more clear. I do not know if there is an option already in AD to set the stroke on the outside or inside edge of its spine/frame. I wasn’t able to find something that does this. Does anyone know if this feature exists and how to get to it? Thanks in advance if I am just being thick and need someone to point out the obvious. If the feature isn’t there - I can deal with adding a fill fitting under the stroke. It’s just a lot of extra work. If the ability to change the way a stroke is aligned around a fill isn’t available as an option - I would definitely like to see the idea added to a future feature list. Align stroke: Center. Inside. Outside. CD_hairtest.afbrushes.zip cd_hairtest.afdesign
-
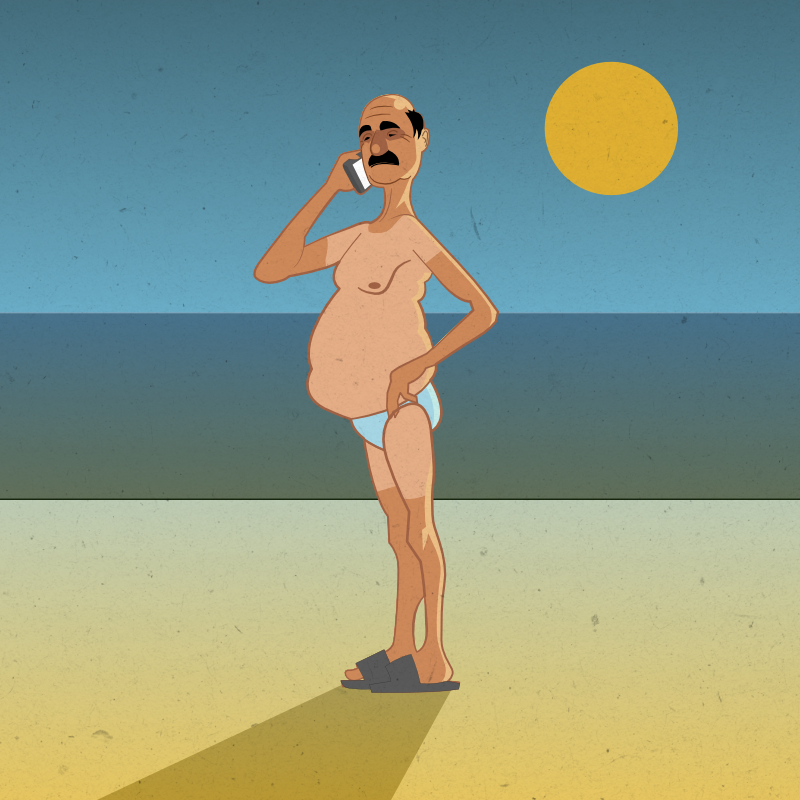
My question is, where does he keep his phone?
- 5 replies
-
- 4
-
-
- illustration
- man
- (and 3 more)
-
 Does Affinity Designer have Swash or Glyph Panel/Viewer like in Adobe Photoshop?
 -
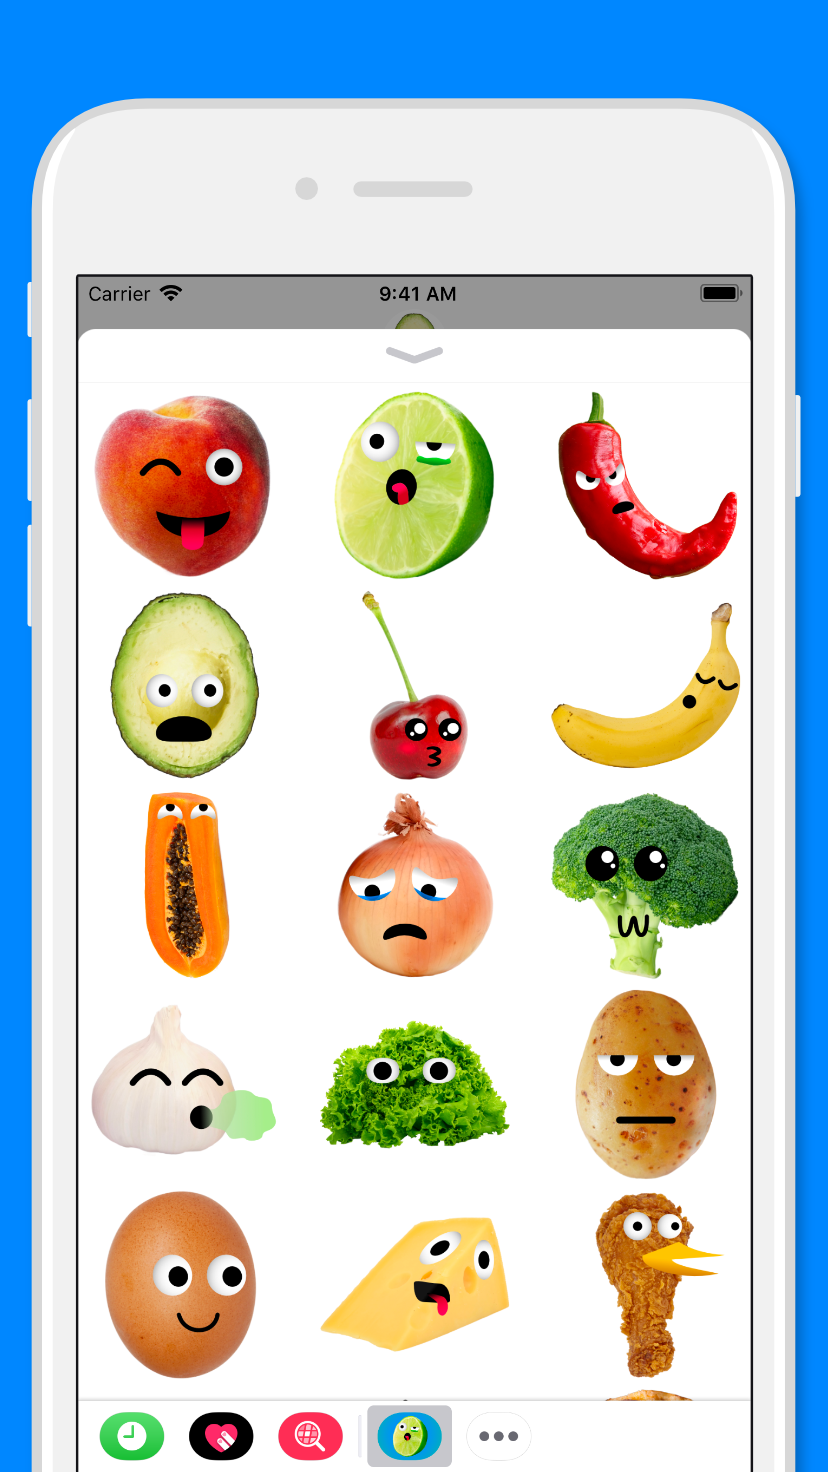
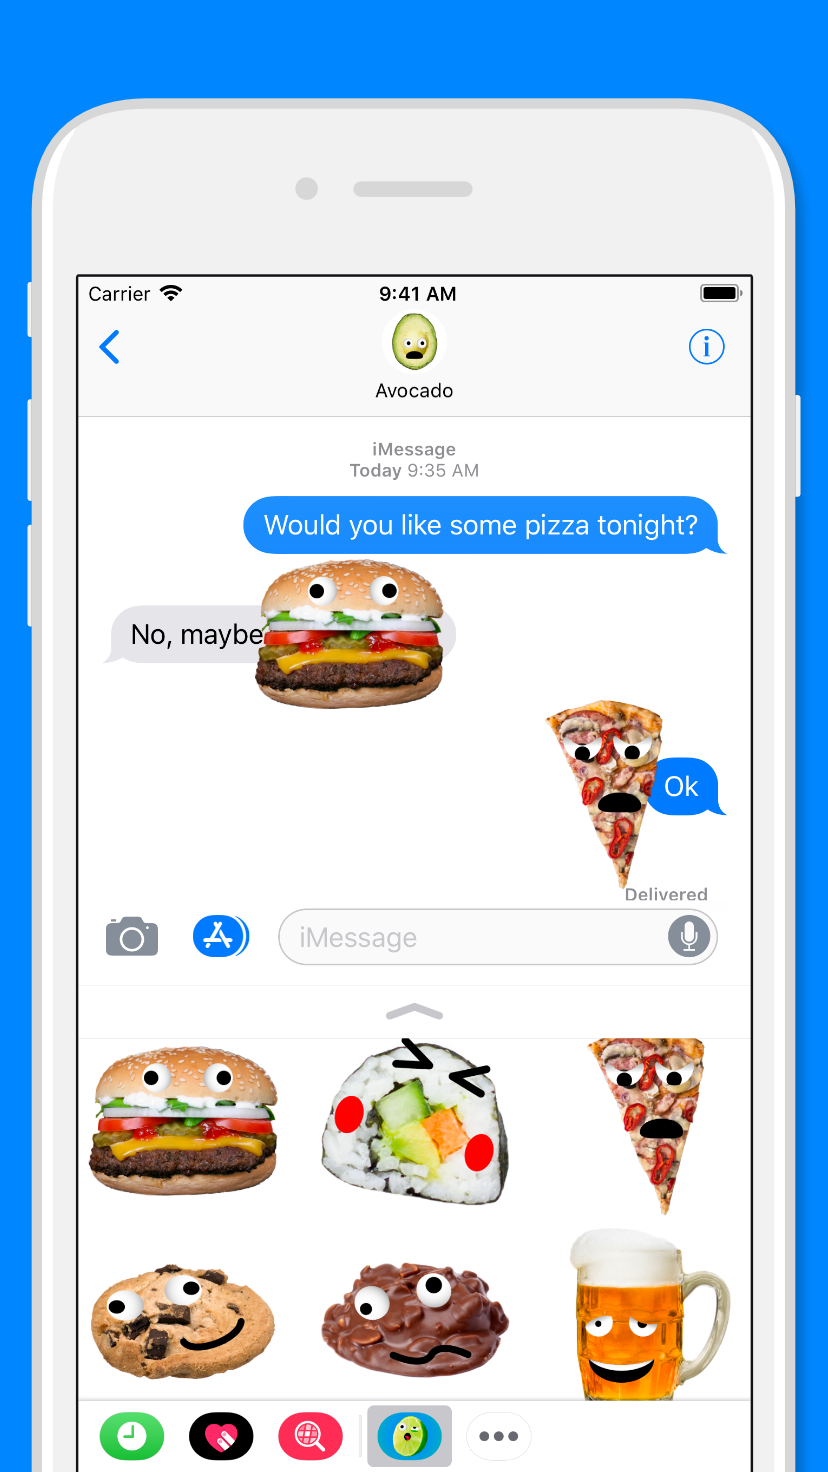
Only For Food Lovers is my first iMessage sticker pack. It was made with Affinity Designer and it is now available on the App Store. I'll be launching another sticker pack in the next few days. Only For Food Lovers link: https://itunes.apple.com/app/only-for-food-lovers/id1291727830?mt=8
-
 Hi peeps, I leave here a tut on how to create an skeuomorphic volume knob. I'd say this kind of simple pieces is how I started learning how to "read objects" in order to reproduce them in a realistic way. It is pretty simple to follow through even for newbies and results are quite nice. Hope you enjoy it, and if so, comment, like and subscribe for more. Thank you all. Isabel.
- 4 replies
-
- 5
-
-
- affinity designer
- tutorial
- (and 6 more)
-
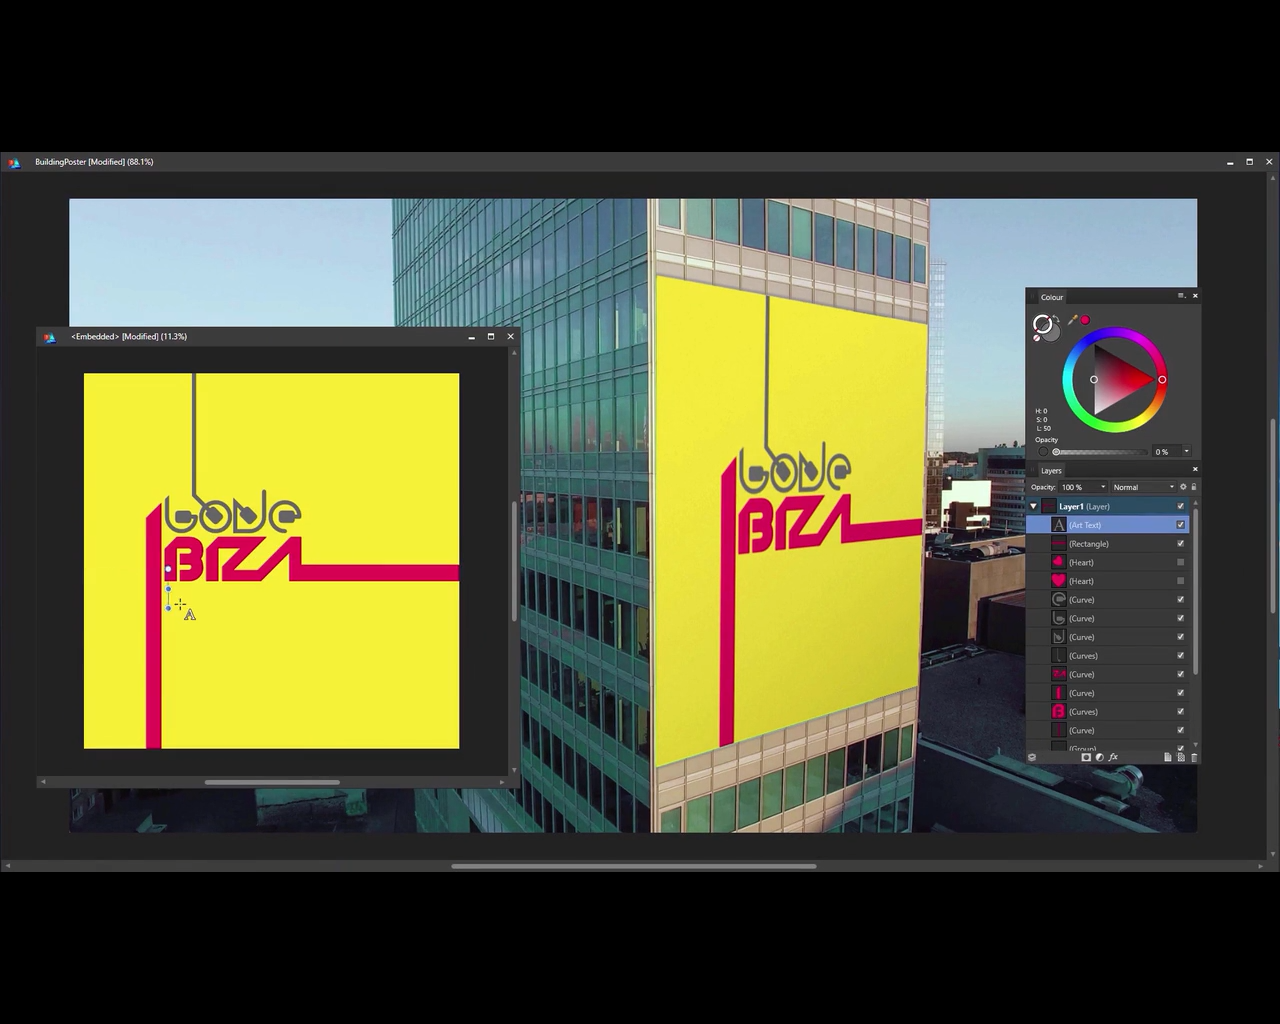
 Hi guys! I played a bit more with AF Photo and tried to import files from AF Designer. A look at the screen reveals that on iOS AFP seems to have problems with text within symbols. At least within duplicated ones. In the desktop version everything is fine. It's a minor thing, but it should be mentioned. Cheers!
-
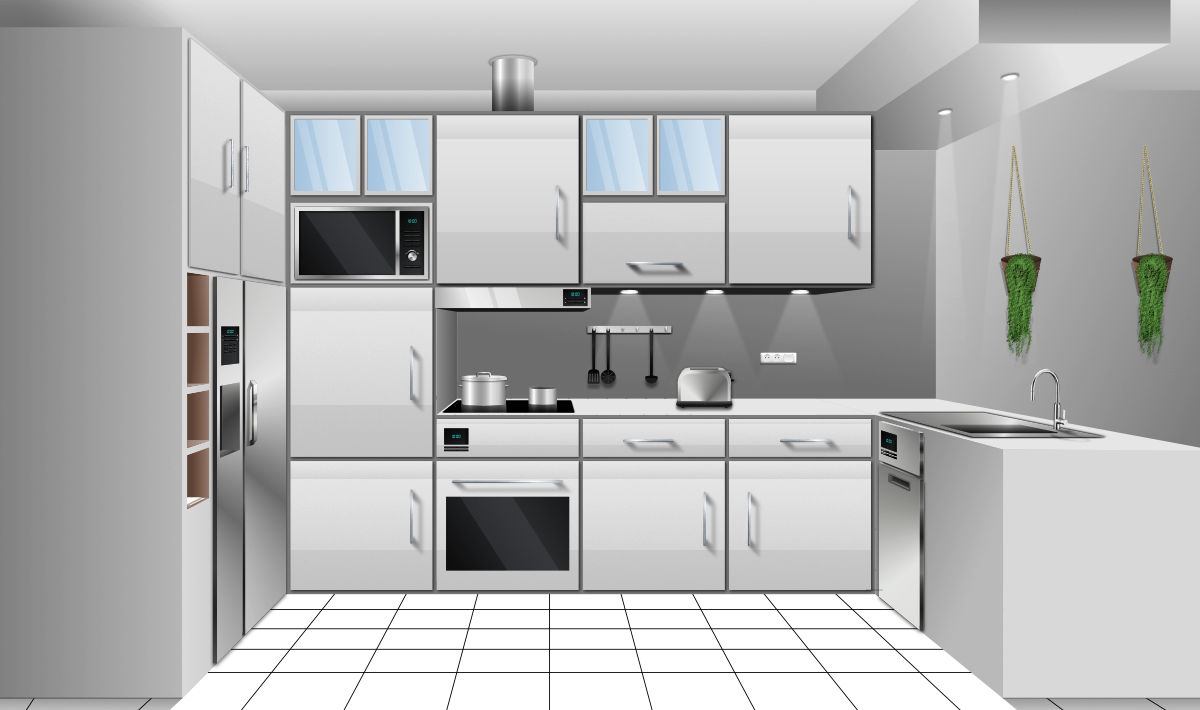
Hi! This year I've been working on home appliances and domotics. This is a project for an hybrid cooktop controlled by a touch screen. All done in AD, from early concepts to production assets. The design has been flipped during prototyping stages, so we ended with two different layouts of the final product. It also features a remote control for devices The prototype is working pretty fine, and the customer is going to show it during a European exhibition in Germany. Finger crossed !
- 11 replies
-
- 13
-
-
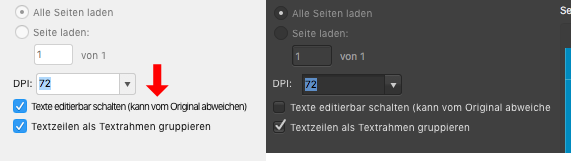
 I don’t know if this has been in previous betas but just now I noticed that, when importing an AI file, the modal window shows a line of text uncommonly squished. I compared it with version 1.5 and it seems like this was a measure to fit the text on the line without being cut off. I find the decreased letter spacing to be very much the opposite of what is desirable. Isn’t there a better way to go about this? Like, increasing the width of the window or column inside the window? It seems like elements (containers) have static fixed dimensions and any text in any language needs to be crammed in there. Are there really no better layout options like flexible heights/widths and line breaks if the need arises? I’m a web developer and am used to how this is handled with CSS on websites. Also, I have the feeling that texts are generally blurry at times which might be aliasing issues. I don’t have this impression when working with Adobe Fireworks. Can anything be done there to improve readability?
-

Skewing objects in Affinity Designer
Guest posted a topic in Tutorials (Staff and Customer Created Tutorials)
hi, I am making a mockup and I am trying to achieve the effect of skewing (not shearing) as shown in the image below the right edges of the picture is closer to the center than the left ones I am sure that this feature is right there in affinity designer waiting for us to use it because the image below is taken from the official trailer
-
 Hello, I've been having a terrible time with SVG files imported into Silhouette Studio from Affinity Designer when trying to create cut files of my designs. I've searched read the threads here on the issue. The one thread the characterizes my exact issue is found here: https://forum.affinity.serif.com/index.php?/topic/18394-svg-export/ Where user @Busenitz says Definitely, the disappearing element is a problem. Some layers/elements just don't even show up no matter what I try. I've experienced all the challenges spoken in the Silhouette threads here. I've tried all of the suggestions on the forum and it seems that Affinity Designer SVGs are the only files having this issue with Silhouette. The PDF option allows the entire design to import but there is always the issue with separating elements for cutting as well as proportion or sizing issues. What I'd like to know is whether or not this is an Affinity Designer (proprietary format) issue and there needs to be some more tweaking in either software programs to get this right. What is actual fix here and what am I missing? What does AD have this issue and other programs do not? I'm all in on AD and it has exponentially improved my design productivity...until I import my designs into Silhouette. Any insight and guidance would be greatly appreciated. Thanks! ~T
 -
Greetings! I had to do a bit of study and homework in order to wrap my head around the clipping and masking operations in Designer and Photo. In the process, I developed a one-page infographic (attached), and it apparently has already helped some folks on the Affinity Designer and Photo Group in FaceBook: https://www.facebook.com/groups/AffinityDesignerPhotoPublisher/. I will be updating it shortly, but wanted share the first version here for comments and suggestions. Enjoy! Clipping vs Masking.pdf
-
 Can I request for a Discount Coupon to buy Affinity Designer?
 -
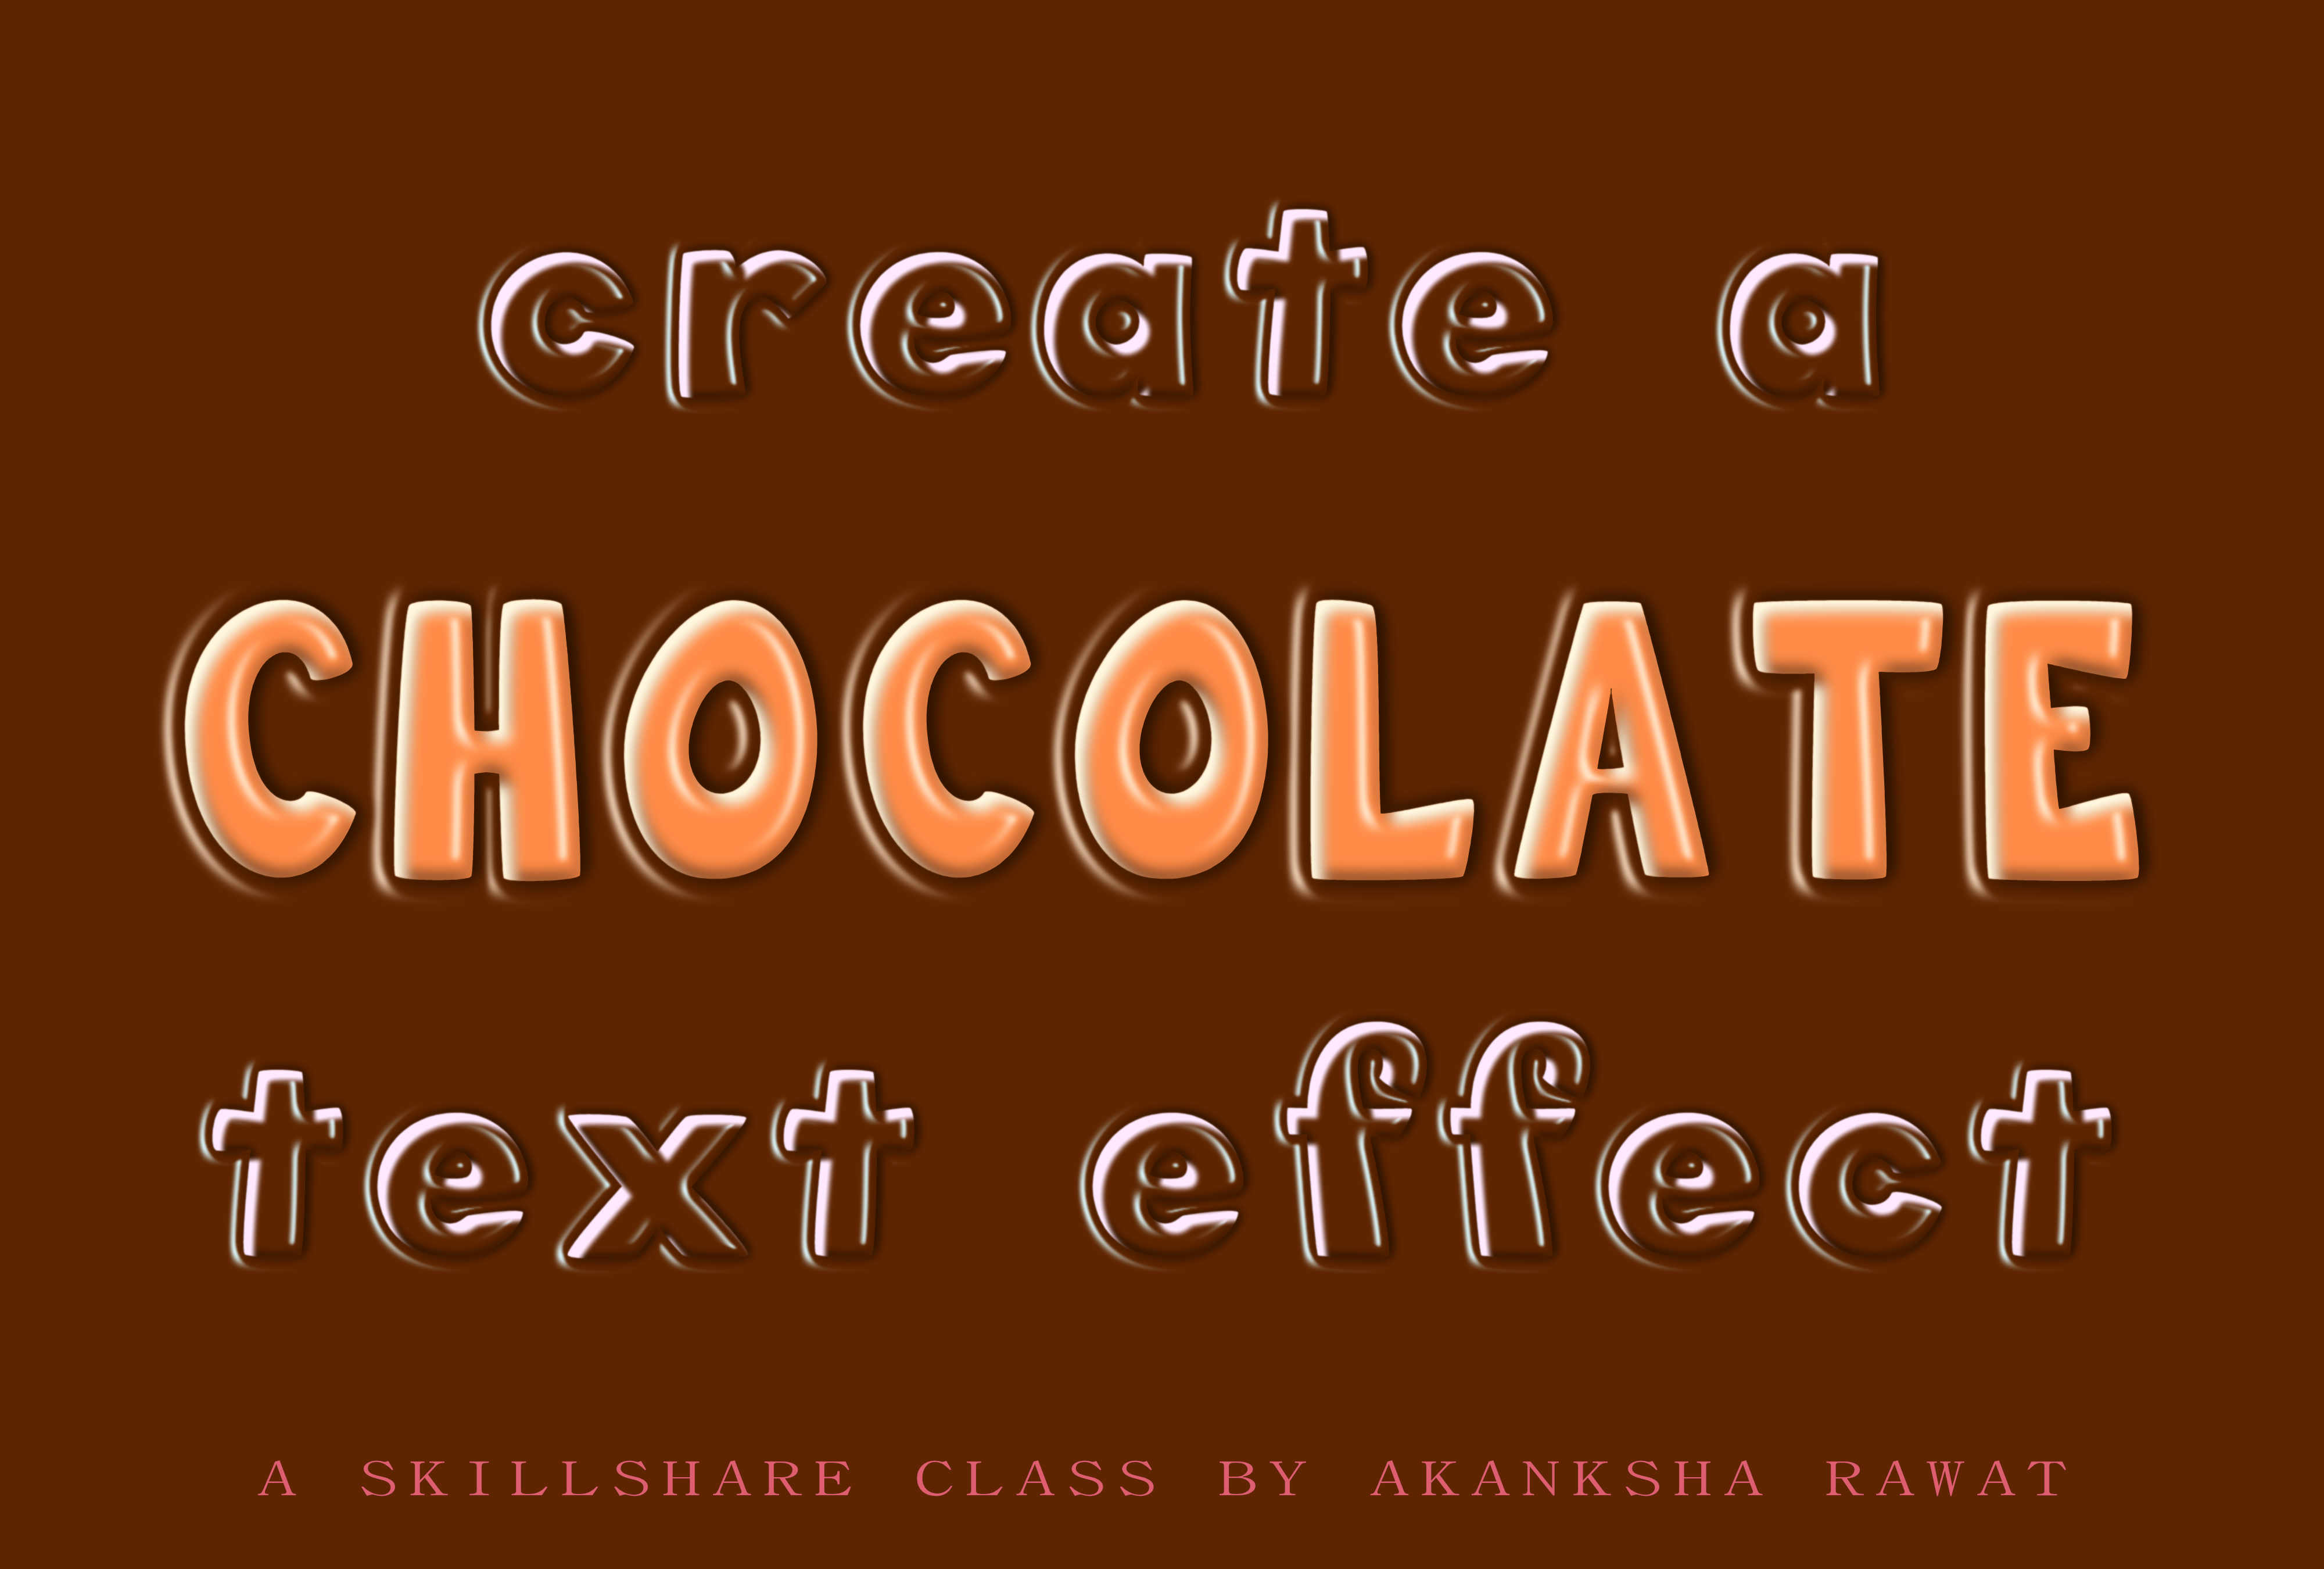
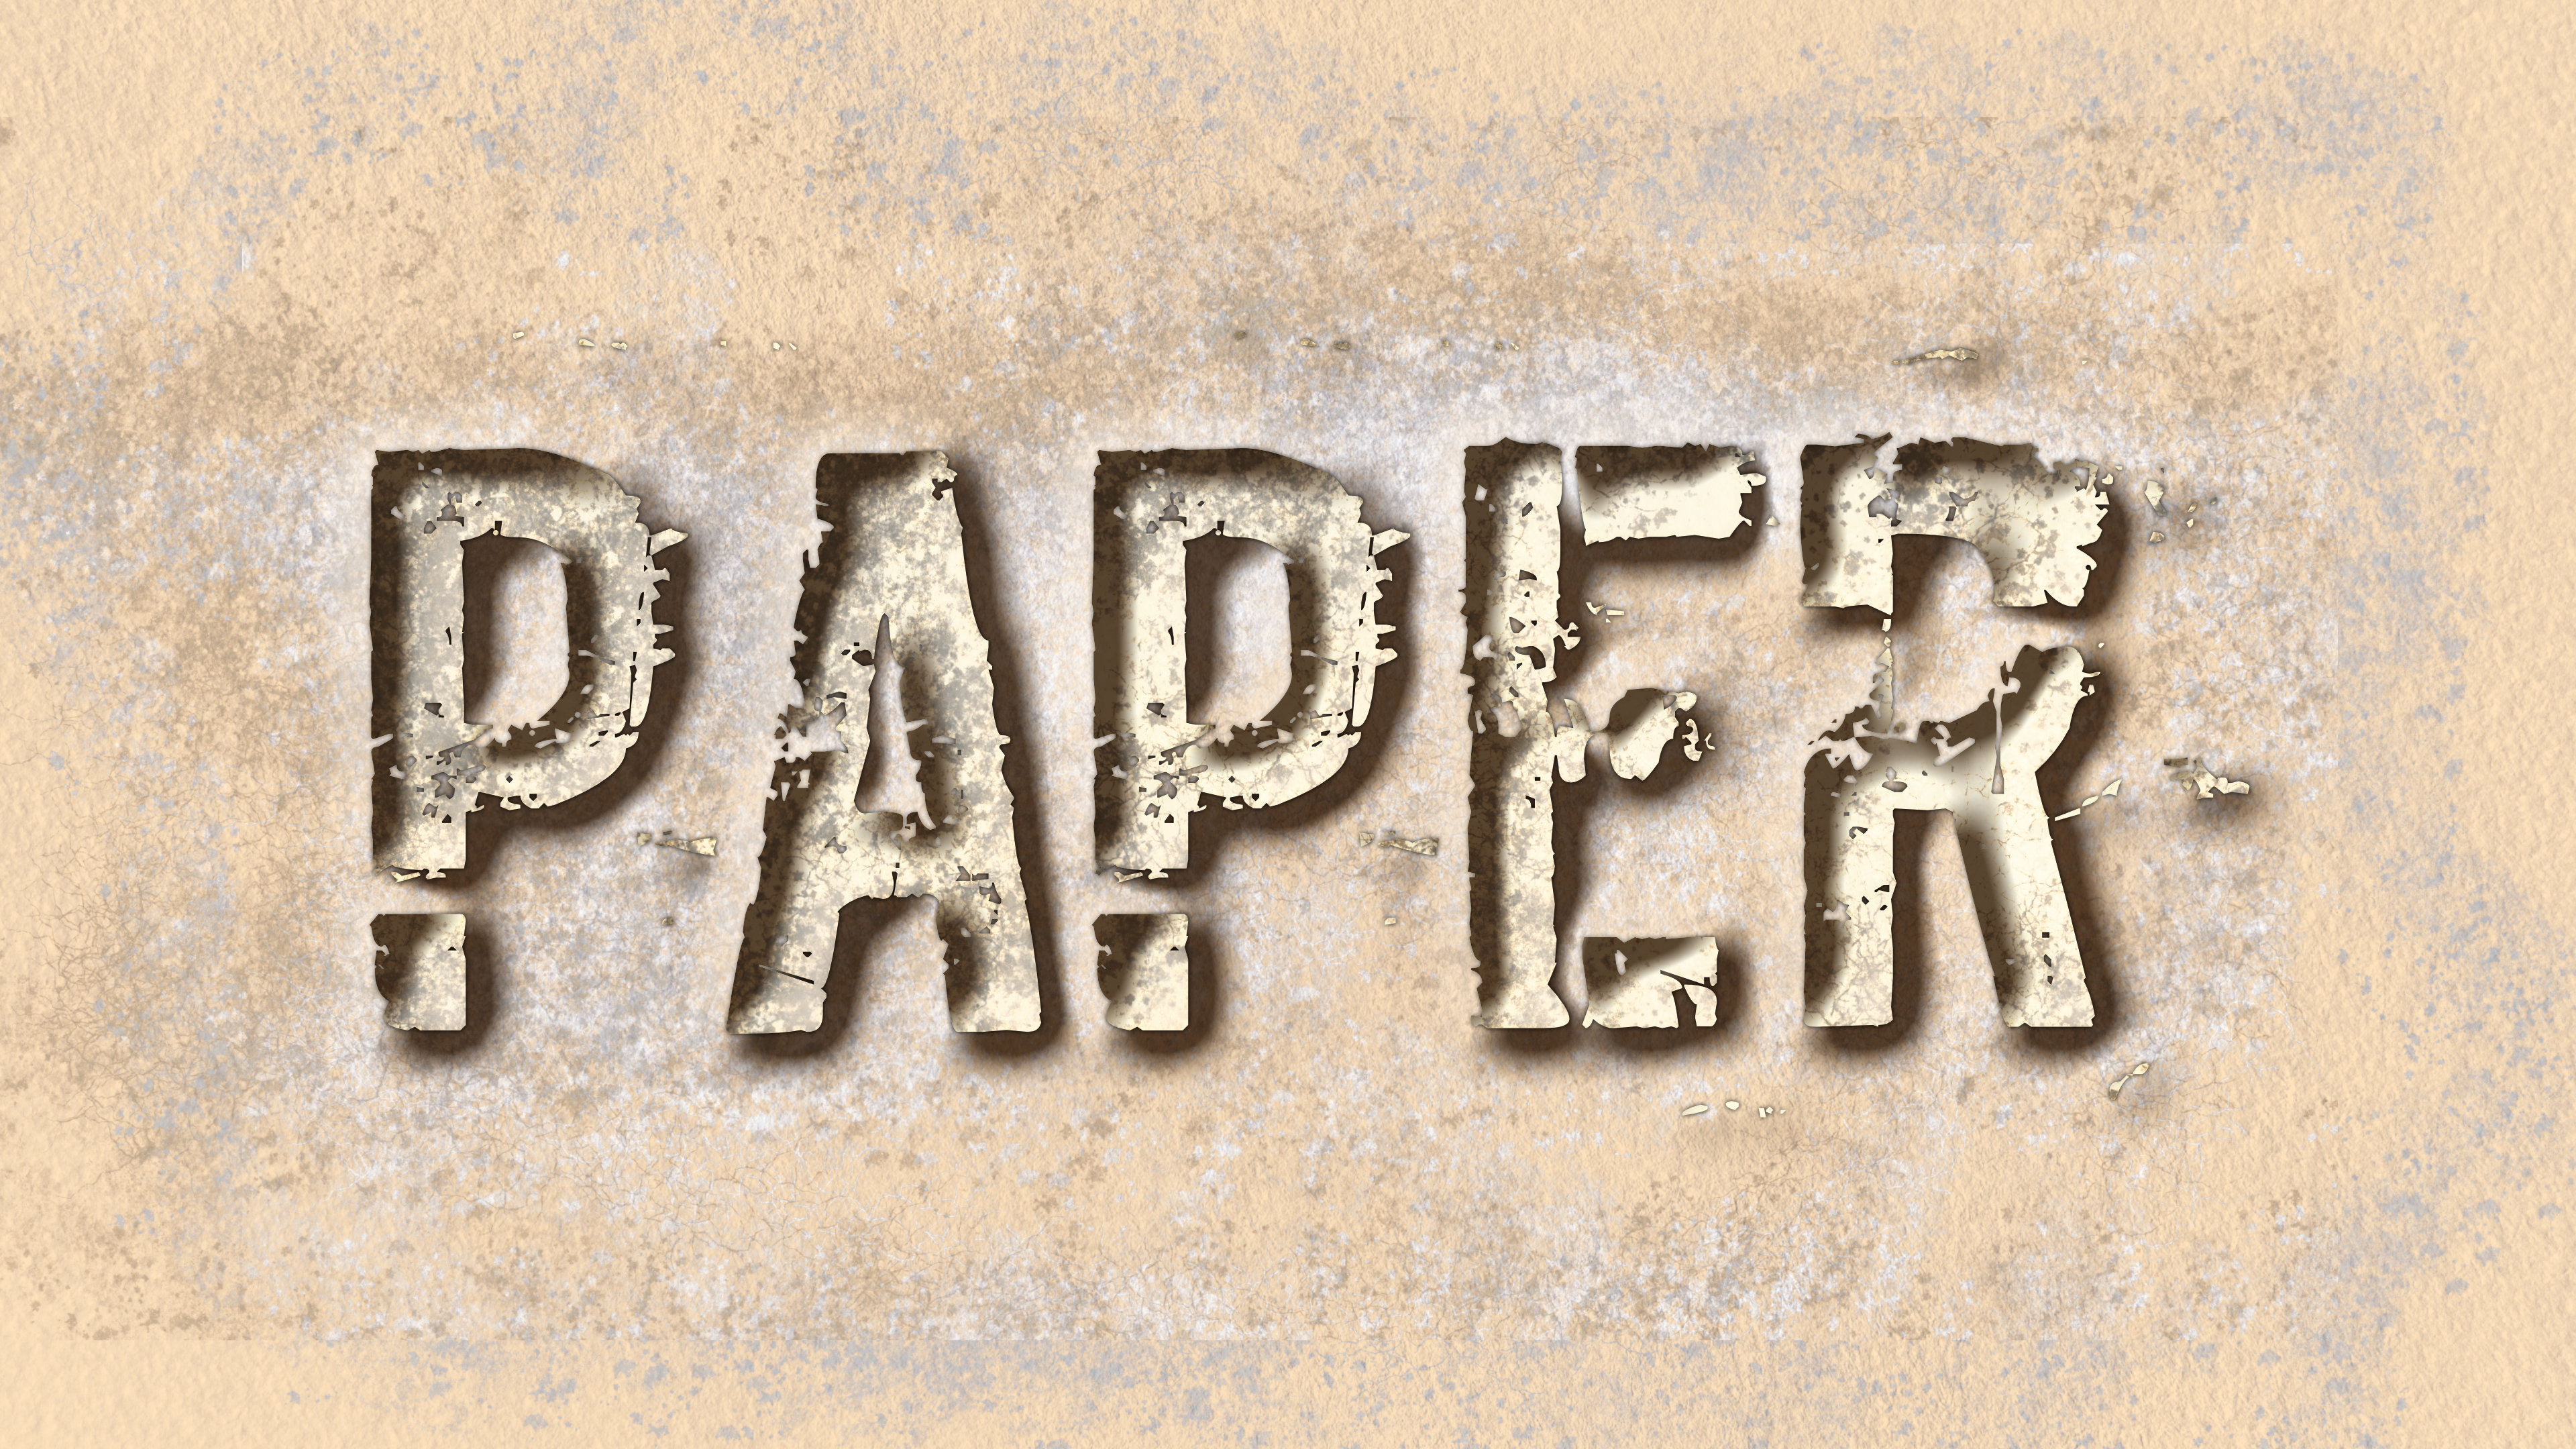
Hi everyone, Join me for this bite-size videos that show exactly how to create this Grunge Paper Cutout Text Effect, Chocolate Text Effect and Salt & Lemon Candy Text Effect. With these three video lessons, you can go from coming up with concepts to creating texts, editing texts, and adding finishing touches, all at your own pace—maybe inspiring you to create exciting new text effects of your own! Akanksha
- 3 replies
-
- 2
-
-
- text effect
- affinity designer
- (and 2 more)
-
 Hello, here my Workflow for faking acrylic paintings in Affinity Photo using FotoSketcher(Freeware). I'm using FotoSketcher(.com) for the brushstroke effects. (PhotoArtist, AutoFX AutoMagic or Topaz Impression should work too, but not tested) Form the source image i generate 4 images with different minimal brush sizes, normaly 40, 20, 10 and 5. FotoSketcher settings: Painting 7(Gemälde 7). Have a look at the attached afphoto file. (It's simple, but complicated to explain) The images with thick brush strokes(40, 20) are used for the background and the remaining two images(10, 5) are for the subject und fine details. In Affinity Photo (or Designer) the image with bigest strokes gets loaded and used as main background and the others used as layers on top. My next step is adding layer masks and inverting (strg + i) them. A white brush on the mask is used to paint back the details. The Layer with fines strokes is only used for the face/eyes and other important details. Affinity Photo only: Now i combine the layers to a new layer for a paint effect. Dublicate the layer and apply "find edges" filter. Invert it (strg+i) and use curves to intens the borders. These two layers are needed for Lighting-Live-Effect and texture settings and notice the layer blending settings. Because i used a bw image as sample, i added some colour with extra layer ("Basecolour"). The last three layers adding some artistic feel to image. Colour variation layer: Colour variation are often used in paintings to fake details and add more life to a images. Warm layer: Add a warm orange colour tint to sun lit surfaces. Cold layer: To add a blueish ambient tint to some shadows. ps. You can use load you own brush as image in FotoSketcher. In Brush.zip are my test brushes. Brushes.zip Max_Schreck.afphoto
-
- 1
-
-
- affinity photo
- martinb78
- (and 2 more)
-
 When I use affinity Designer, the menu "edit in photo(File->edit in Photo)" is not active. So, I can't run affinity Photo from affinity Designer. (and I can't run Designer from Photo, also.) Are there any settings which I have to do.? I bought affinity Photo and Designer. *affinity Designer... windows version 1.5.3 *affinity Photo... windows version 1.5.2 (I use both soft in Japanese)
-
The front, the back & the spine ... the margin and the bleed Some Print Book Covers (Buchcoverdesign), made with Affinity Designer.
- 2 replies
-
- 2
-
-
- book cover design
- print cover
- (and 1 more)
-
 Hello to everyone, I'm making a calendar. I need to set every day and number of the week with precise distance and position. So I think to put every table one on one and then set several guides to check the position, and so on. But if I put a guide in a table this is not seen in other table. So there is a way to display same guide in every tables? Sorry for my bad english, I hope that you mean that I write...
 -
 So, I am an old Fireworks user, considering the High Sierra upgrade... But I have serious doubts about FW continuing to work, and Adobe will prob not update... So I an trying Affinity Designer... Will it work in 10.13?
 -
 In this tutorial I will demonstrate how to create a DVD cover mockup in Affinity Designer 1.5.5. Tutorial on my YouTube channel Keep on drawin' Norbert
-
 Hello everyone.I want to create a stand alone shadow but couldn't find a way to separate it from the base shape. Any one has a solution for this?
 -
 Hi everyone, I'm trying to work with an isometric view in Designer and Photo to get an app and website presentation to my client. I'm not really sure how to go about it. Setting up the grid, I end up with some awkward angles, or I stretch the image in ways that doesn't look convincing using live perspective- which I also sort of have to guess. Is there a simple set up for the grid to get something similar to the attachment below? I've tried opening some perspective mock-up templates for psd in Photo, but I do not think the two formats are compatible. Thanks for any tips!
 -
Hello everyone ! My friends call me Burny. I am a graphic designer, illustrator, web designer and web developer from Belgium. I discovered Affinity designer and Affinity photo a few weeks ago. Here are some of my work...
- 17 replies
-
- 15
-
-
 I mostly work on UI design for web and mobile apps. I often create many screens of content that utilize common elements like buttons. I would love if I could have my buttons resize automatically when I type a different label. This feature is currently available in Sketch via a 3rd party plugin: https://github.com/kenmoore/Sketch-Relabel-Button Constraints are wonderful, but don't go quite far enough in situations like this. Perhaps it would be nice to have a more complex system to define padding rules around elements, but that may be over-engineering the solution when all I typically want is for buttons (or other components with nested text, such as tabs, badges, etc) to resize when labels are changed. I also noticed an up-and-coming app, Subform, is working on this feature and it looks pretty fantastic. See "figure 9" on this page: https://www.subformapp.com/#content Thanks!