Search the Community
Showing results for tags 'Affinity Designer'.
-
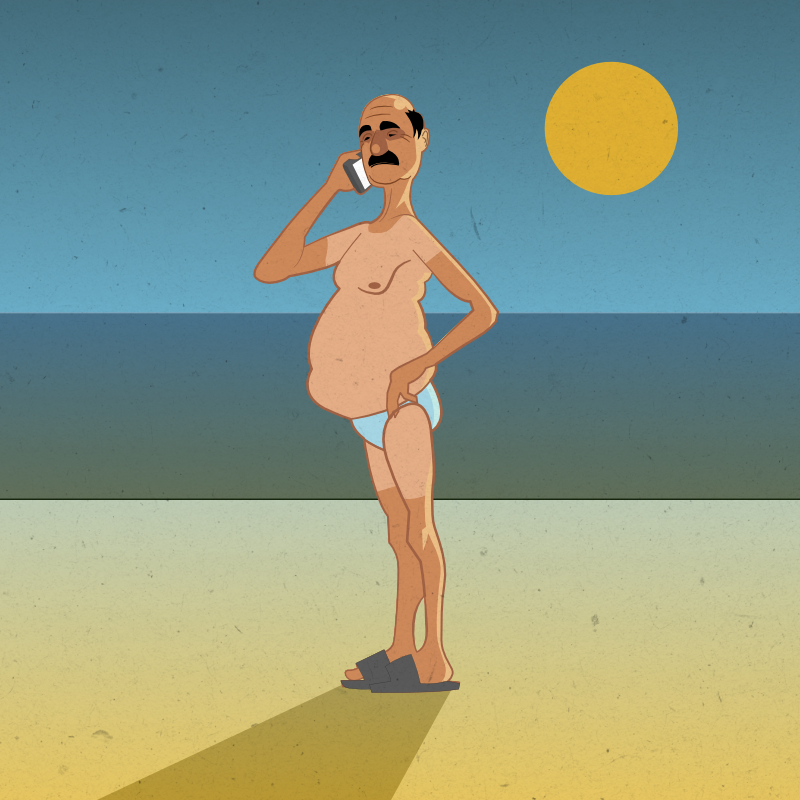
concept job milk factory.

-
My question is, where does he keep his phone?
- 5 replies
-
- 4
-

-
- illustration
- man
- (and 3 more)
-
 Does Affinity Designer have Swash or Glyph Panel/Viewer like in Adobe Photoshop?
 -
Playing around teaching myself to do stuff in Affinity designer
-
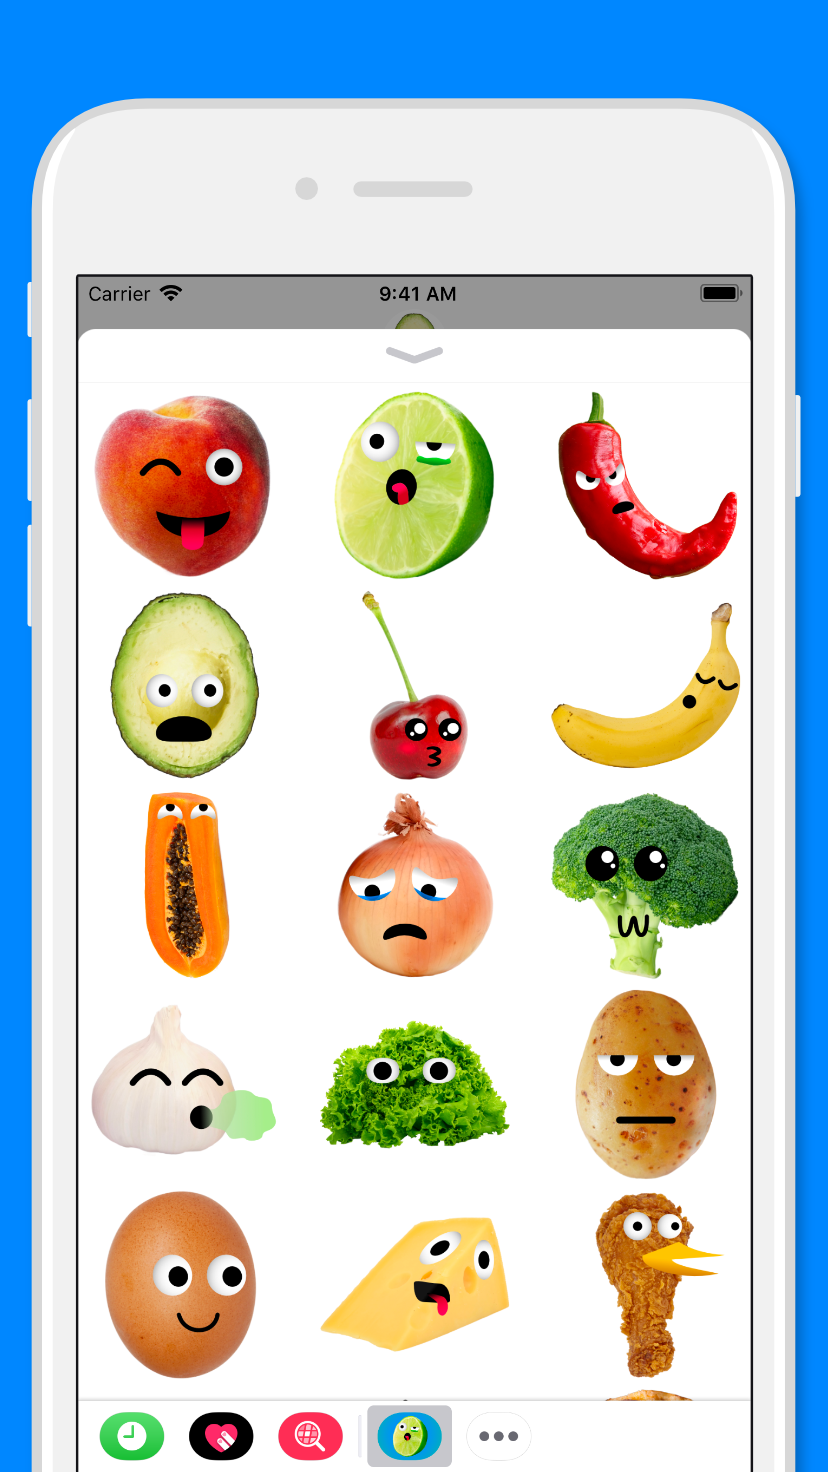
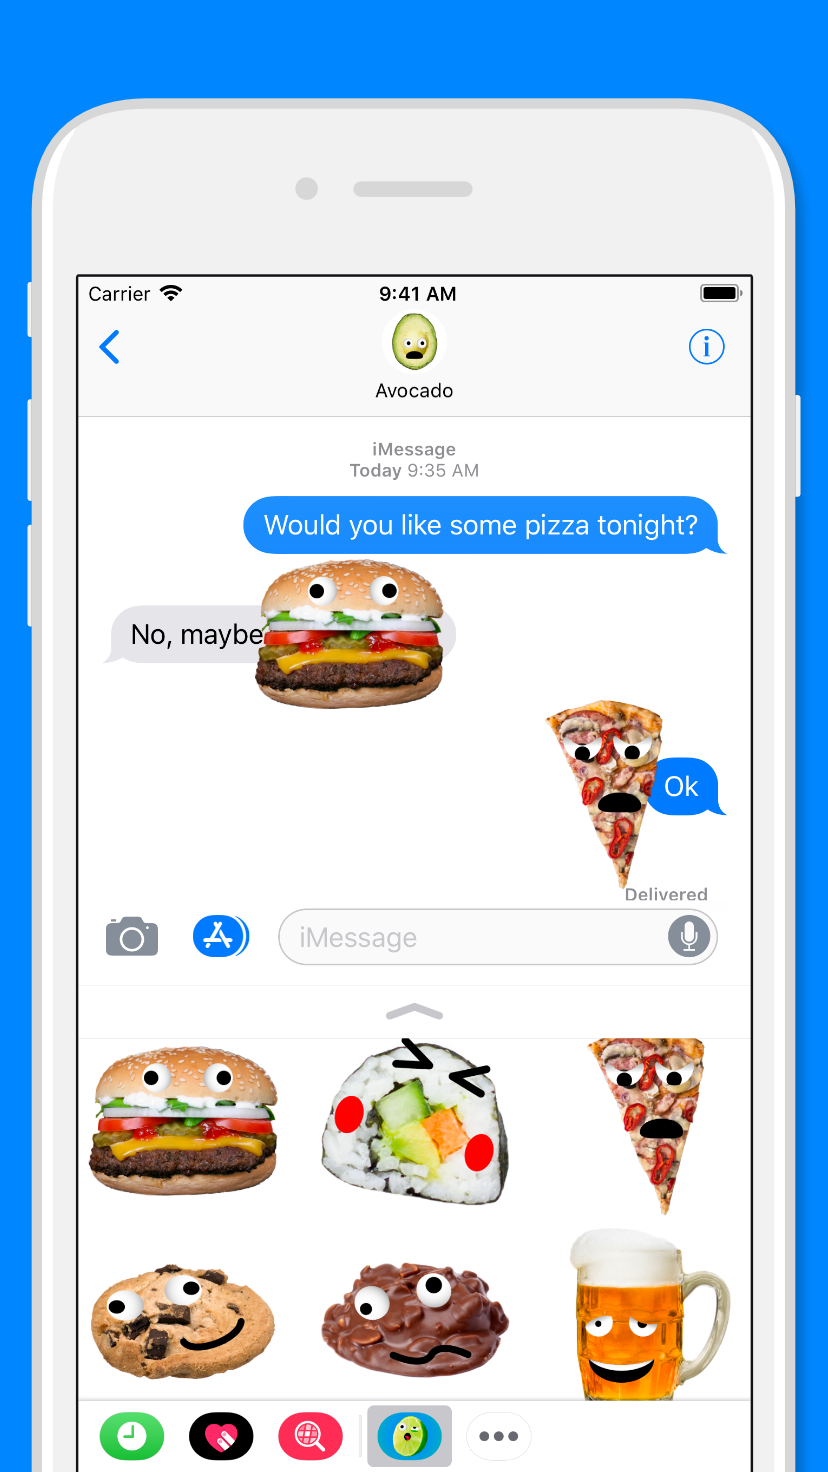
Only For Food Lovers is my first iMessage sticker pack. It was made with Affinity Designer and it is now available on the App Store. I'll be launching another sticker pack in the next few days. Only For Food Lovers link: https://itunes.apple.com/app/only-for-food-lovers/id1291727830?mt=8
-
 All made Affinity. Me on my computer, Affinity Designer Workbook next to me, on my laptop. + I love creating the backside with the mirror function in Designer!
- 12 replies
-
- 12
-
-
- illustration
- play cards
- (and 1 more)
-
 Hi peeps, I leave here a tut on how to create an skeuomorphic volume knob. I'd say this kind of simple pieces is how I started learning how to "read objects" in order to reproduce them in a realistic way. It is pretty simple to follow through even for newbies and results are quite nice. Hope you enjoy it, and if so, comment, like and subscribe for more. Thank you all. Isabel.
- 4 replies
-
- 5
-
-
- affinity designer
- tutorial
- (and 6 more)
-
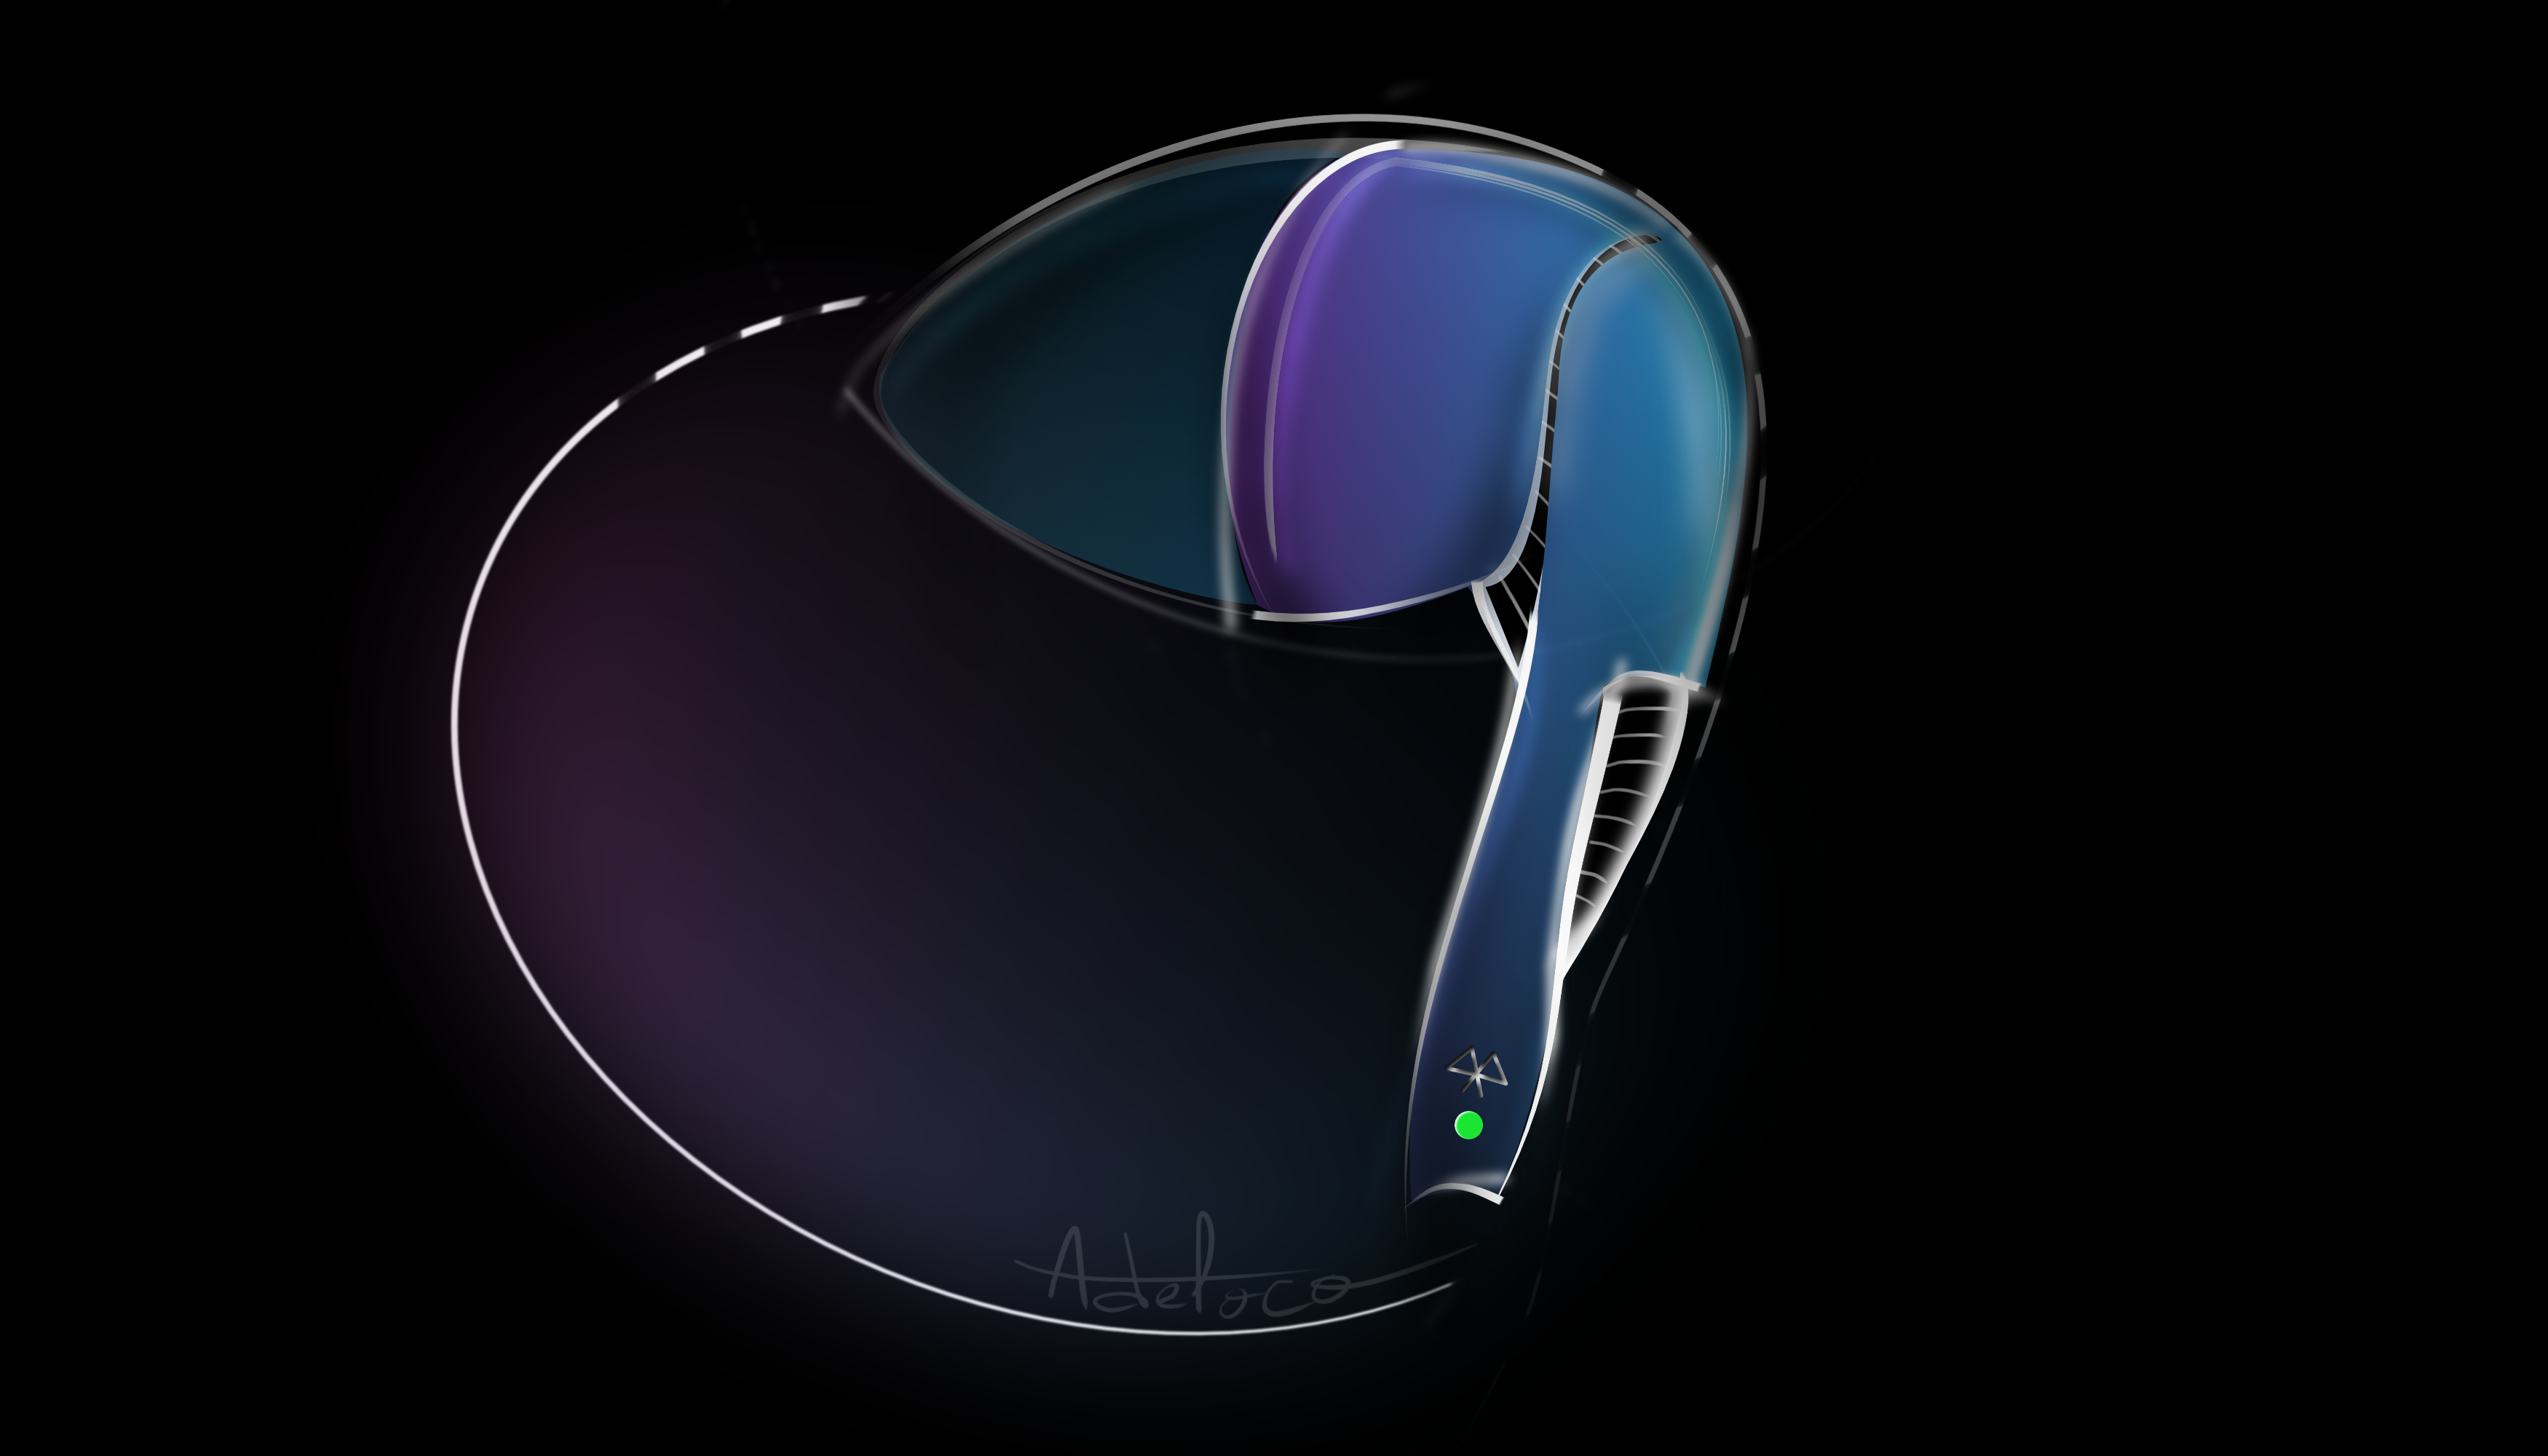
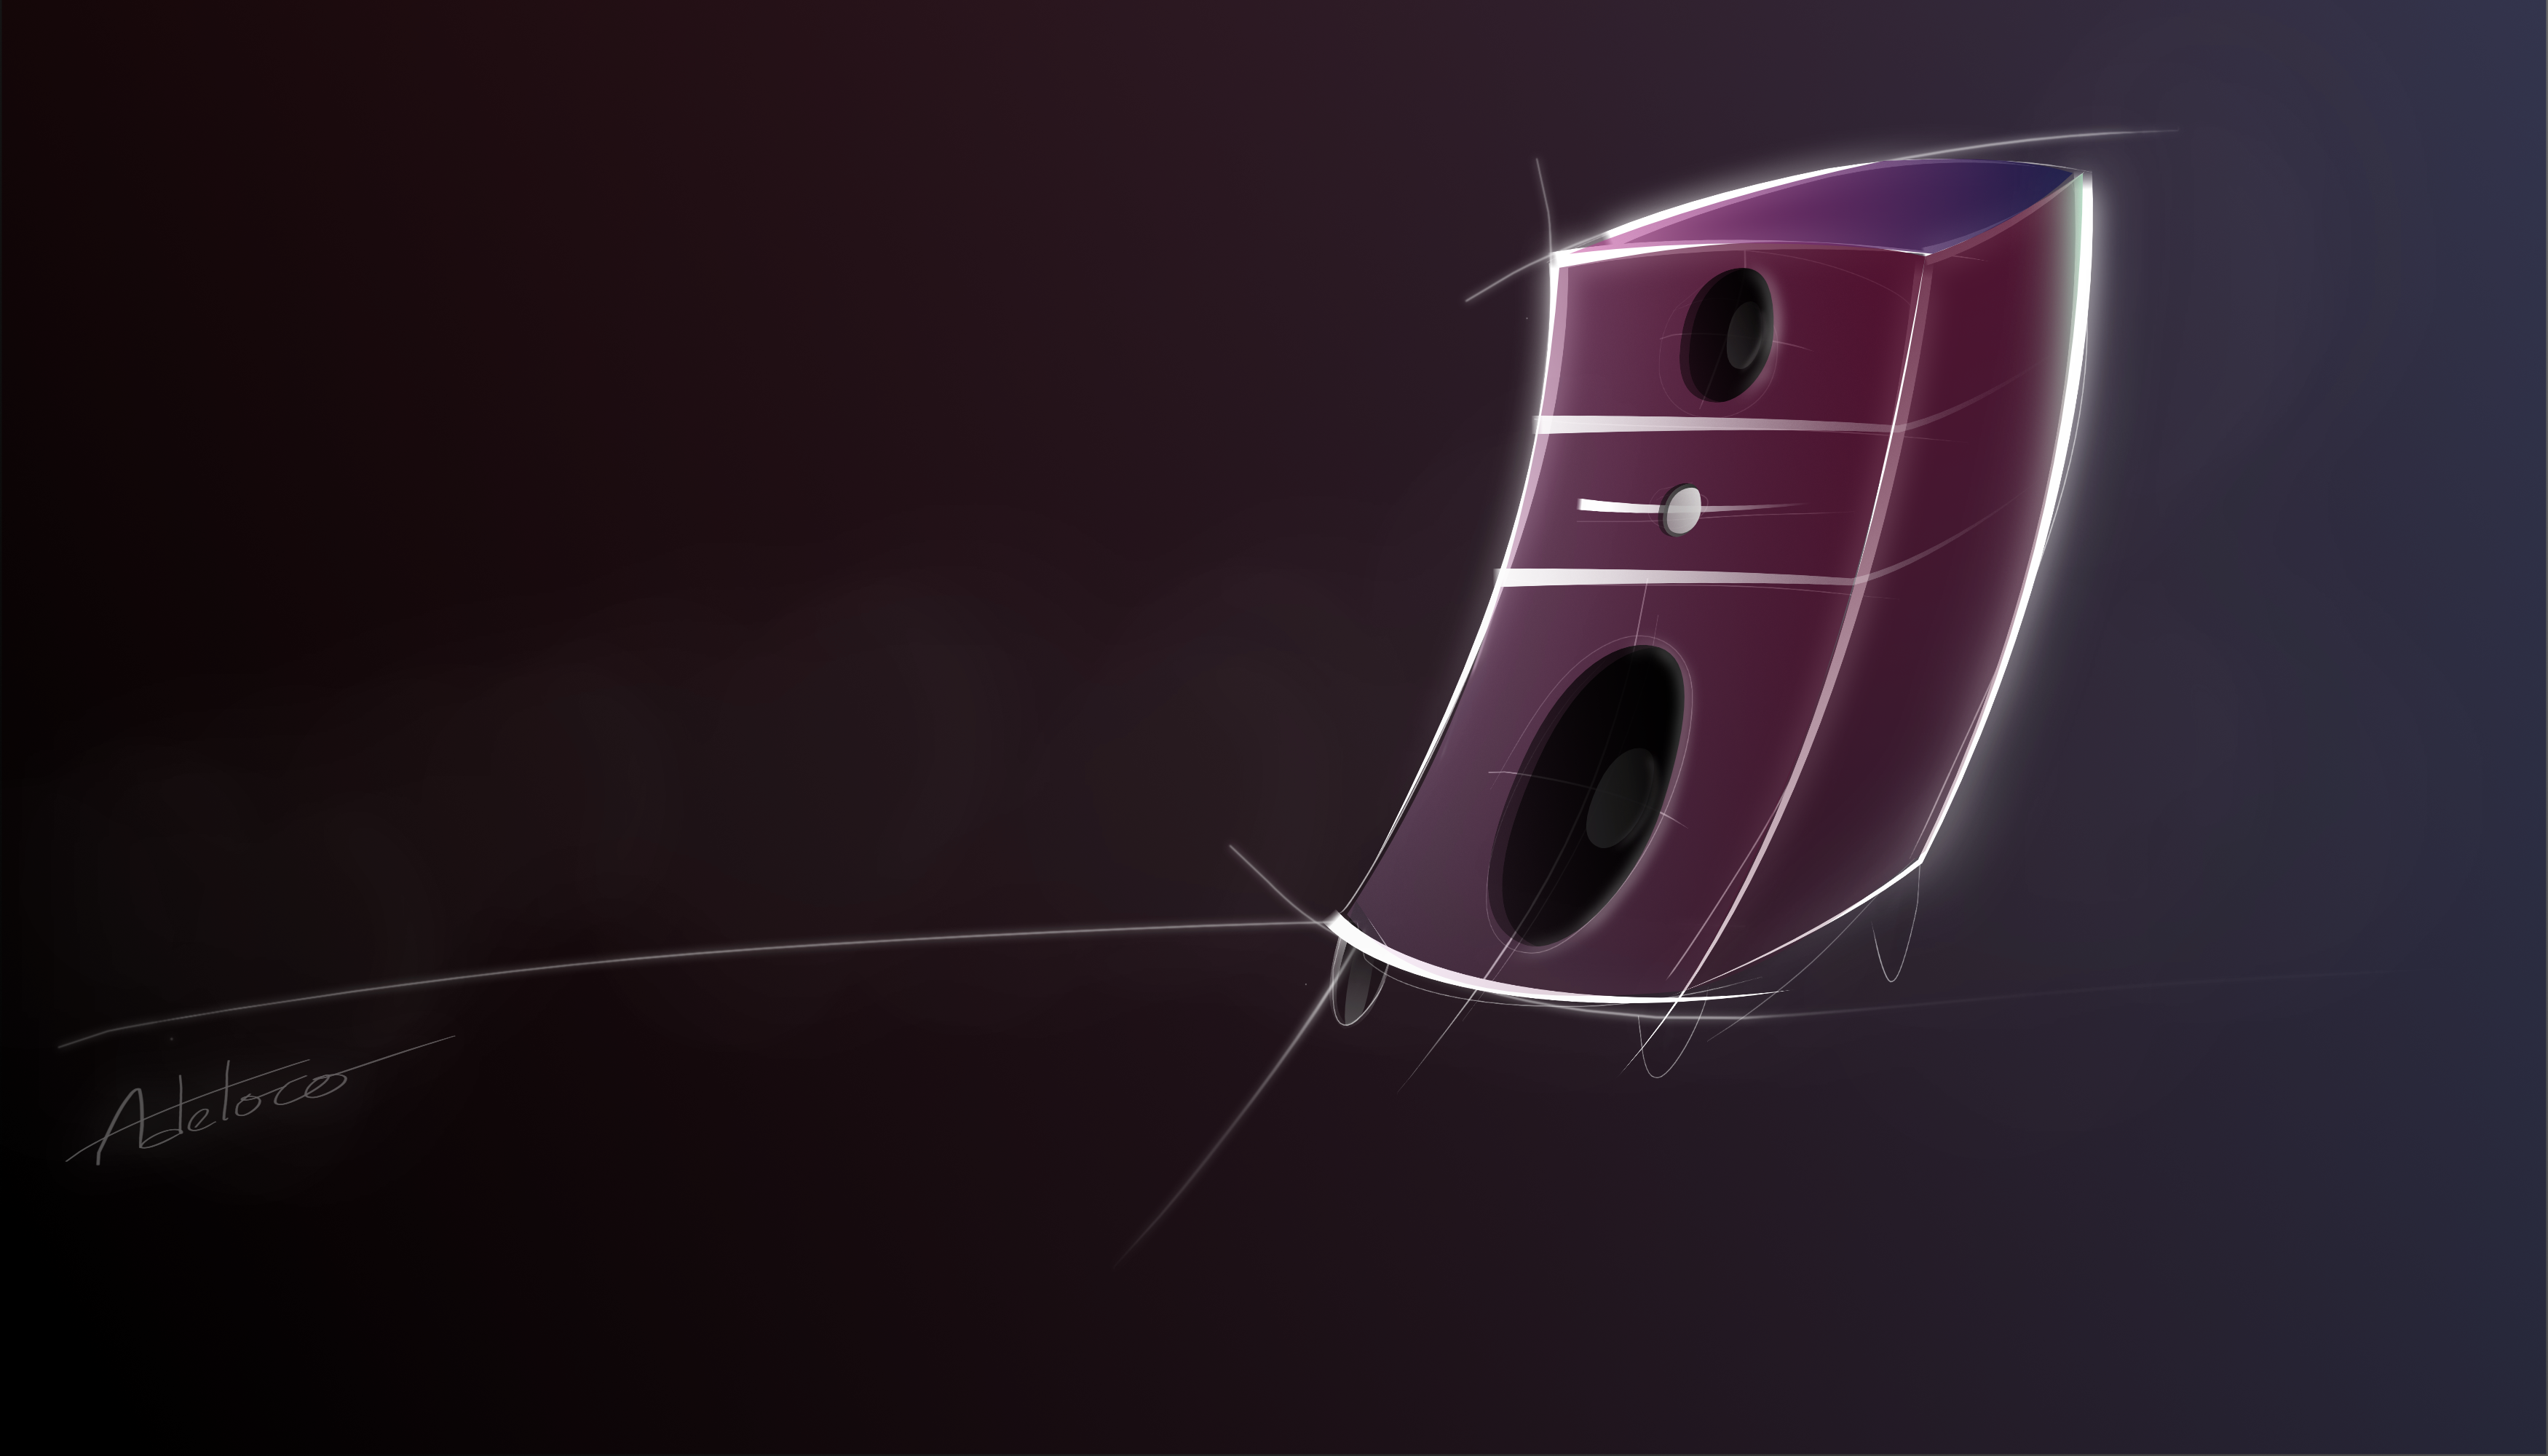
Hello, After a little moment without inspiration .... Some "creation" with AD (DRAW PERSONA + PIXEL PERSONA) I tried to work the designer style : In Ear Wirless & LoudSpeaker HiFi...
-
I'm using Affinity Designer and Photo since it was released on Windows, and am really satisfied with both programs. In addition to my wacom cintiq I'm using a Microsoft Windows Dial to manipulate brush sizes and other tool properties. This works because you can create custom menu entries for the dial and attach keyboard strokes to those entries. But ultimately I'd love to see direct integration of the dial directly into Designer and Photo like Drawboard PDF or Sketchable have, where the Surface Dial UI includes direct Information about available bruhes, or that I could utilize the Dial to select tool colour directly. (For reference: Windows Wheel Interactions (MSDN)) Is that something that you consider for an upcoming version of Affinity Photo / Designer?
-

Skewing objects in Affinity Designer
Guest posted a topic in Tutorials (Staff and Customer Created Tutorials)
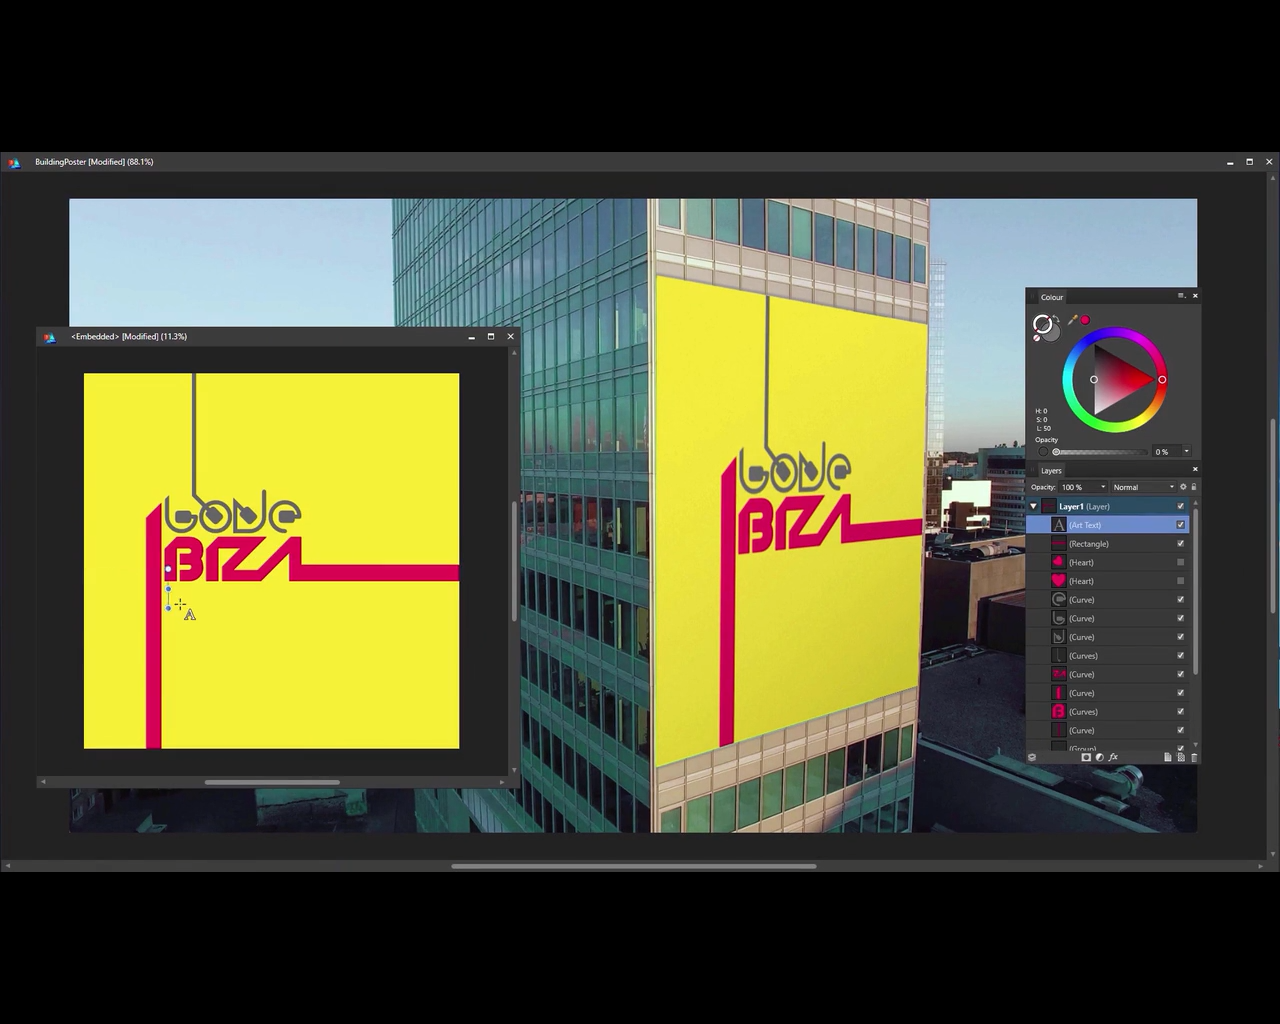
hi, I am making a mockup and I am trying to achieve the effect of skewing (not shearing) as shown in the image below the right edges of the picture is closer to the center than the left ones I am sure that this feature is right there in affinity designer waiting for us to use it because the image below is taken from the official trailer
-
Hi all! i hope u enjoy this!!!!
-
Greetings! I had to do a bit of study and homework in order to wrap my head around the clipping and masking operations in Designer and Photo. In the process, I developed a one-page infographic (attached), and it apparently has already helped some folks on the Affinity Designer and Photo Group in FaceBook: https://www.facebook.com/groups/AffinityDesignerPhotoPublisher/. I will be updating it shortly, but wanted share the first version here for comments and suggestions. Enjoy! Clipping vs Masking.pdf
-
 Can I request for a Discount Coupon to buy Affinity Designer?
 -
 Hello, here my Workflow for faking acrylic paintings in Affinity Photo using FotoSketcher(Freeware). I'm using FotoSketcher(.com) for the brushstroke effects. (PhotoArtist, AutoFX AutoMagic or Topaz Impression should work too, but not tested) Form the source image i generate 4 images with different minimal brush sizes, normaly 40, 20, 10 and 5. FotoSketcher settings: Painting 7(Gemälde 7). Have a look at the attached afphoto file. (It's simple, but complicated to explain) The images with thick brush strokes(40, 20) are used for the background and the remaining two images(10, 5) are for the subject und fine details. In Affinity Photo (or Designer) the image with bigest strokes gets loaded and used as main background and the others used as layers on top. My next step is adding layer masks and inverting (strg + i) them. A white brush on the mask is used to paint back the details. The Layer with fines strokes is only used for the face/eyes and other important details. Affinity Photo only: Now i combine the layers to a new layer for a paint effect. Dublicate the layer and apply "find edges" filter. Invert it (strg+i) and use curves to intens the borders. These two layers are needed for Lighting-Live-Effect and texture settings and notice the layer blending settings. Because i used a bw image as sample, i added some colour with extra layer ("Basecolour"). The last three layers adding some artistic feel to image. Colour variation layer: Colour variation are often used in paintings to fake details and add more life to a images. Warm layer: Add a warm orange colour tint to sun lit surfaces. Cold layer: To add a blueish ambient tint to some shadows. ps. You can use load you own brush as image in FotoSketcher. In Brush.zip are my test brushes. Brushes.zip Max_Schreck.afphoto
-
- 1
-
-
- affinity photo
- martinb78
- (and 2 more)
-
 In Affinity Designer it seems there is no way to change the opacity of global colors. This is becoming frustrating when designing UIs. Opacity is an integral part of color schemes in Google's Material Design; it completely depends on opacity to create visual hierarchy. From Google's Material Design Guidelines: "Using opacity instead of shifting colors often creates better contrast and relative luminance. For example, gray text (#727272) becomes hard to read if the background color changes to magenta." Is this feature on your road map?
- 12 replies
-
- 7
-
-
- affinity designer
- global colors
- (and 1 more)
-
 When I use affinity Designer, the menu "edit in photo(File->edit in Photo)" is not active. So, I can't run affinity Photo from affinity Designer. (and I can't run Designer from Photo, also.) Are there any settings which I have to do.? I bought affinity Photo and Designer. *affinity Designer... windows version 1.5.3 *affinity Photo... windows version 1.5.2 (I use both soft in Japanese)
-
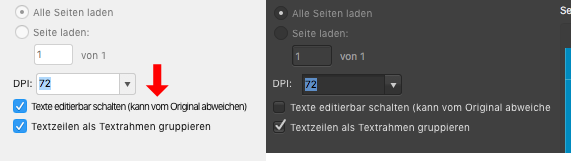
 I don’t know if this has been in previous betas but just now I noticed that, when importing an AI file, the modal window shows a line of text uncommonly squished. I compared it with version 1.5 and it seems like this was a measure to fit the text on the line without being cut off. I find the decreased letter spacing to be very much the opposite of what is desirable. Isn’t there a better way to go about this? Like, increasing the width of the window or column inside the window? It seems like elements (containers) have static fixed dimensions and any text in any language needs to be crammed in there. Are there really no better layout options like flexible heights/widths and line breaks if the need arises? I’m a web developer and am used to how this is handled with CSS on websites. Also, I have the feeling that texts are generally blurry at times which might be aliasing issues. I don’t have this impression when working with Adobe Fireworks. Can anything be done there to improve readability?
-
 Hello, I've been having a terrible time with SVG files imported into Silhouette Studio from Affinity Designer when trying to create cut files of my designs. I've searched read the threads here on the issue. The one thread the characterizes my exact issue is found here: https://forum.affinity.serif.com/index.php?/topic/18394-svg-export/ Where user @Busenitz says Definitely, the disappearing element is a problem. Some layers/elements just don't even show up no matter what I try. I've experienced all the challenges spoken in the Silhouette threads here. I've tried all of the suggestions on the forum and it seems that Affinity Designer SVGs are the only files having this issue with Silhouette. The PDF option allows the entire design to import but there is always the issue with separating elements for cutting as well as proportion or sizing issues. What I'd like to know is whether or not this is an Affinity Designer (proprietary format) issue and there needs to be some more tweaking in either software programs to get this right. What is actual fix here and what am I missing? What does AD have this issue and other programs do not? I'm all in on AD and it has exponentially improved my design productivity...until I import my designs into Silhouette. Any insight and guidance would be greatly appreciated. Thanks! ~T
 -
 Hello to everyone, I'm making a calendar. I need to set every day and number of the week with precise distance and position. So I think to put every table one on one and then set several guides to check the position, and so on. But if I put a guide in a table this is not seen in other table. So there is a way to display same guide in every tables? Sorry for my bad english, I hope that you mean that I write...
 -
 Hello everyone.I want to create a stand alone shadow but couldn't find a way to separate it from the base shape. Any one has a solution for this?
 -
 In this tutorial I will demonstrate how to create a DVD cover mockup in Affinity Designer 1.5.5. Tutorial on my YouTube channel Keep on drawin' Norbert
-
 So, I am an old Fireworks user, considering the High Sierra upgrade... But I have serious doubts about FW continuing to work, and Adobe will prob not update... So I an trying Affinity Designer... Will it work in 10.13?
 -
 I mostly work on UI design for web and mobile apps. I often create many screens of content that utilize common elements like buttons. I would love if I could have my buttons resize automatically when I type a different label. This feature is currently available in Sketch via a 3rd party plugin: https://github.com/kenmoore/Sketch-Relabel-Button Constraints are wonderful, but don't go quite far enough in situations like this. Perhaps it would be nice to have a more complex system to define padding rules around elements, but that may be over-engineering the solution when all I typically want is for buttons (or other components with nested text, such as tabs, badges, etc) to resize when labels are changed. I also noticed an up-and-coming app, Subform, is working on this feature and it looks pretty fantastic. See "figure 9" on this page: https://www.subformapp.com/#content Thanks!
 -
 Hi everyone, I'm trying to work with an isometric view in Designer and Photo to get an app and website presentation to my client. I'm not really sure how to go about it. Setting up the grid, I end up with some awkward angles, or I stretch the image in ways that doesn't look convincing using live perspective- which I also sort of have to guess. Is there a simple set up for the grid to get something similar to the attachment below? I've tried opening some perspective mock-up templates for psd in Photo, but I do not think the two formats are compatible. Thanks for any tips!
 -
Hello everyone, This post is primarily aimed at Serif employees/Affinity Designer developers. I have found a great deal of use recently in Photoshop's Measure tools, in which a pixel distance, drawn between 2 points with a straight line, can have a custom measurement conversion attached to it. For example, you have a picture of someone standing in a doorway, and you want to know the height of the person, the door width, window height from the floor etc, and all you know is the height of the door in it's entirety as exterior and interior doors have a series of standard sizes. The measuring tool would allow you to draw a line from the bottom of said door to the top, and specify that that distance in pixels, equates to 1.8 meters (meters simply being a string used for display, doesn't matter what you want to convert to). This information (284 pixels = 1.8 meters (or arbitrary unit) for example) is then used to measure other areas you specify with the ruler tool, so you can measure the width of the door, which turns out to be 126 pixels or 0.8 meters. This kind of tool would allow any orthographic or perspective shot to be measured out in it's entirety, and maybe even recorded if you had a window to log these measurements, which is an incredibly useful and valuable tool. I would take a look at doing it myself but as far as I can see, you don't (yet?) support plugins or third-party tools. Is something like this feasible or likely to be released sometime down the road? For now I am still having to rely on Photoshop, which giving Adobe's recent move to subscription-only models, is really a drag, and I hate using it, but with this tool missing from pretty much every alternative to PS and AI, I am stuck paying for it for now