Search the Community
Showing results for tags 'landscape'.
-
 I want to print 4 pages of A5 on one A4 sheet, so the A4 will be landscape but printed on a printer that prints A4 portrait. The trailing edge needs to be 16mm, the other edges 3mm. Using Facing Pages, Publisher allows me to set the outside margins at 16mm, but I will only want 16mm for the right-hand margin of the right-hand pages. The left-hand margin of left-hand pages needs to be 3mm. Is there a way of doing this? If not, can you please add the facility to the Facing Pages section?
 -
 I frequently use my iPad with the folio case which props it at a slight angle. Interestingly Affinity Photo AND Affinity Designer seem to be reacting to this angle when trying to place photos. The whole interface flickers strangely and taps aren't always registered. The video demonstrates it in Affinity Photo but the behavior is also the same in Designer. Previous to 2.0 I noticed other features in Affinity Designer such as keyboard visibility that were delicately affected by the slight angle. I haven't determined if these are still issues but I haven't seen any other iPad app that has had issues with this angle. You'll notice the flickering only occurs while the iPad is at the slight angle, but not when it is upright. This is an 11in iPad Pro M1 running iPadOS 16.2 (a). I have noticed this in previous versions of the OS IMG_5679.MOV
 -
This is a bug since V1. When using the official folio case for the 11in iPad Pro in the low angle mode the keyboard will refuse to hide. It will hide and then immediately come back. I'm wondering if this an Apple issue or an Affinity issue but it doesn't appear to do this in any other app so I'm tempted to say there's something in designer that's the culprit.
-
 Hi - I am planning to publish a book using Lulu's print service using APub V1 and I am trying to figure out how to satisfy their print requirement for landscape books. The requirements specified here are that "Pages should be set up as portrait orientation (if you choose to make a landscape book, the pages should still be oriented as portrait and the page size should be adjusted accordingly)." I am assuming that what this means is that when I create the press ready PDF each page (which I have setup in APub to have a landscape orientation) should be rotated through 90' so that when I view the resulting PDF each page has a portrait orientation with text running vertically (I'm hoping that Lulu is going to somehow figure out that I'm not giving them a portrait book and that I want the binding on the short edge - but that's probably another story). This seems a bizarre requirement because I'm sure it's a no-brainer for modern printing machines to orientate incoming pages in the optimum way for how they want to print. Nevertheless.... I've asked Lulu support how to accomplish this but all I got was a regurgitation of the printing requirements. So after a lot of fruitless Googling I finally found this post here on the forum that seems to offer a solution. Since I am a newcomer to APub the terminology there didn't immediately make sense but after a lot of experimenting what I am doing is this: I create a new document with a master page that has the same dimensions as my book but in portrait orientation and have the necessary bleed because images in my book extend into the bleed area. I then File->Place... my book .afpub onto the master page and rotate it through 90'. I start creating pages using the master page and for each page I: Detach the master. Click the placed document and select the right spread from the original book for the current page in the new book. I do this for both the left and right pages of a spread. I keep doing (3) above until I have all the pages from my original book in my new book. The above seems rather tedious, ie having to edit every page in the new book (is there a better way?), but it seems to work. That is, when I export the new book I have a PDF with all the pages rotated through 90' which I am assuming is what Lulu wants. The only remaining problem is that the bleeds from the original book are not propagated to the new book. The page dimensions on the PDF file are oversized by the bleed but there is nothing there, just white space on those pages where in the original book the image has extened into the bleed area. When I look at these pages in the afpub doc for the new book, sure enough, the bleed in the placed book is not carrying over. So I have a couple of question for you APub experts: Do Lulu's printing requirements make sense, or am I overthinking it? Does the method I outlined above to create a book with landscape rotated into portait pages the right/optimum way (have I missed some subtlety?). Why are my bleeds not propagating - how can I fix this? Many thanks
 -
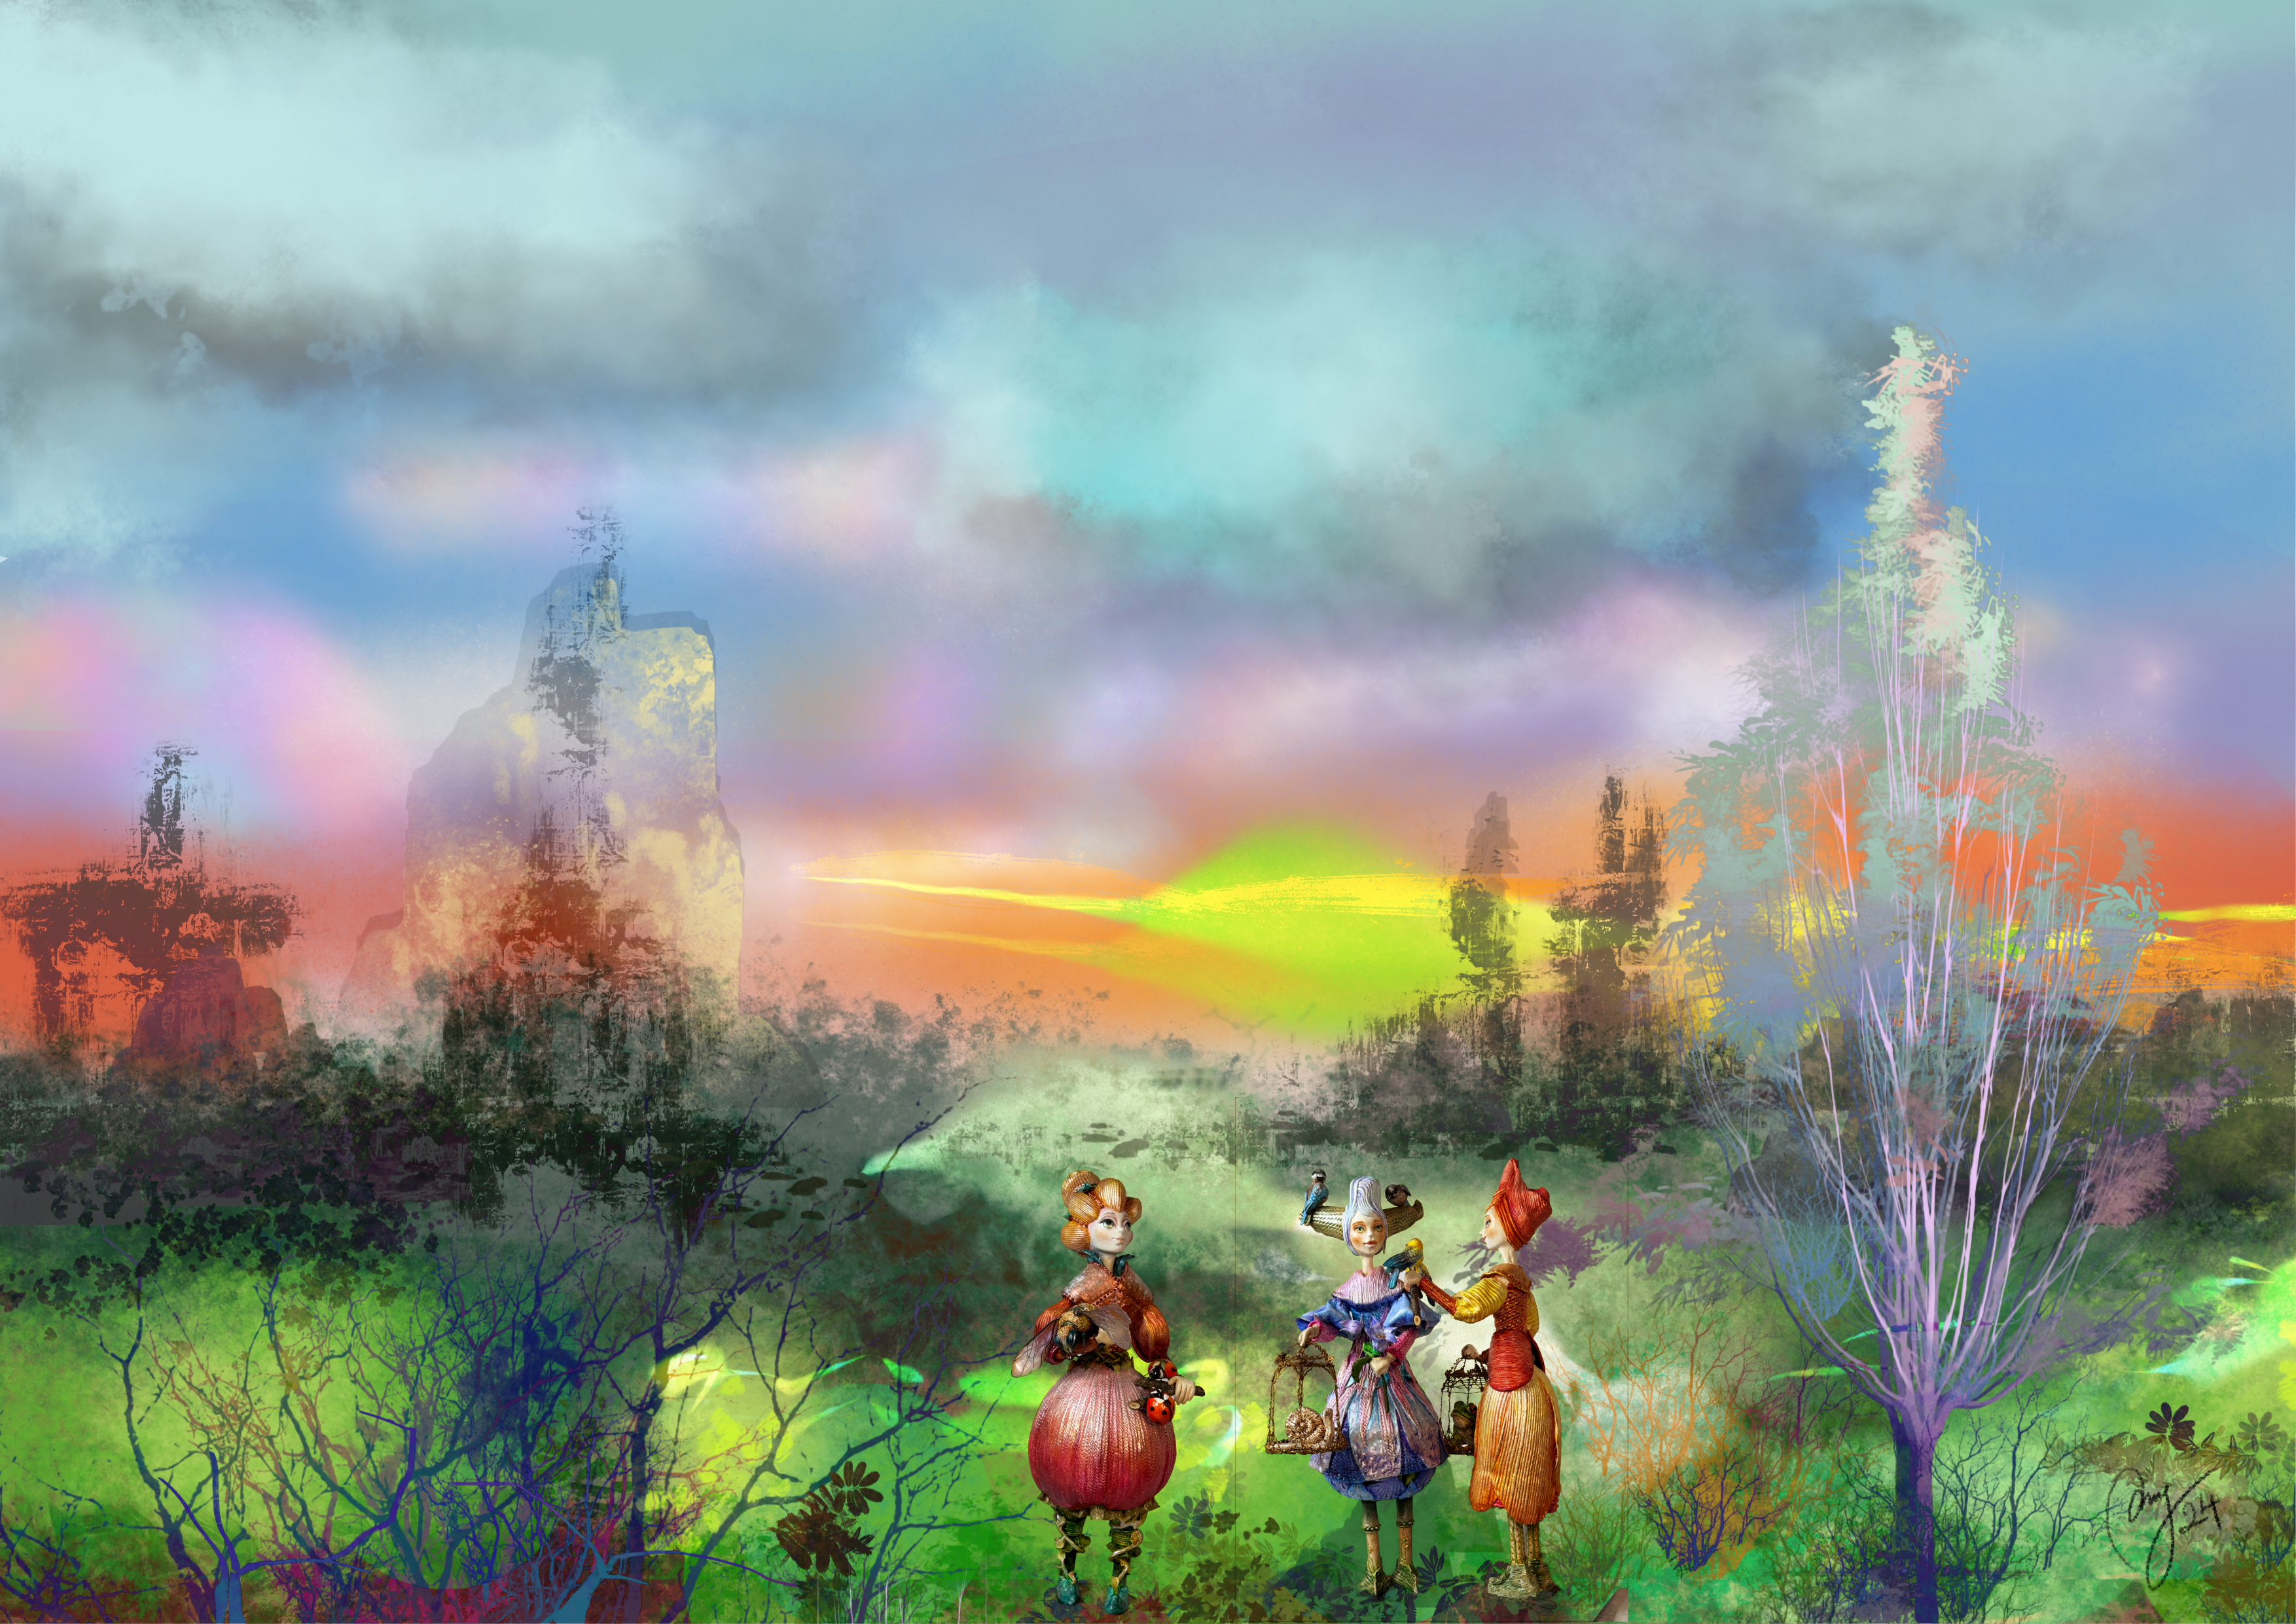
 This is one of my digital paintings with the title Planets & Inhabitants/ Floryon", a landscape on a planet in our galaxy that has developed a humanoid intelligence, a hybrid between plants and animals. I worked with basic Affinity Photo 2 Beta brushes and brushes created by developers both in app. The figures in the foreground are first, modeled by me and placed in the landscape in the conversational pose.
-
-
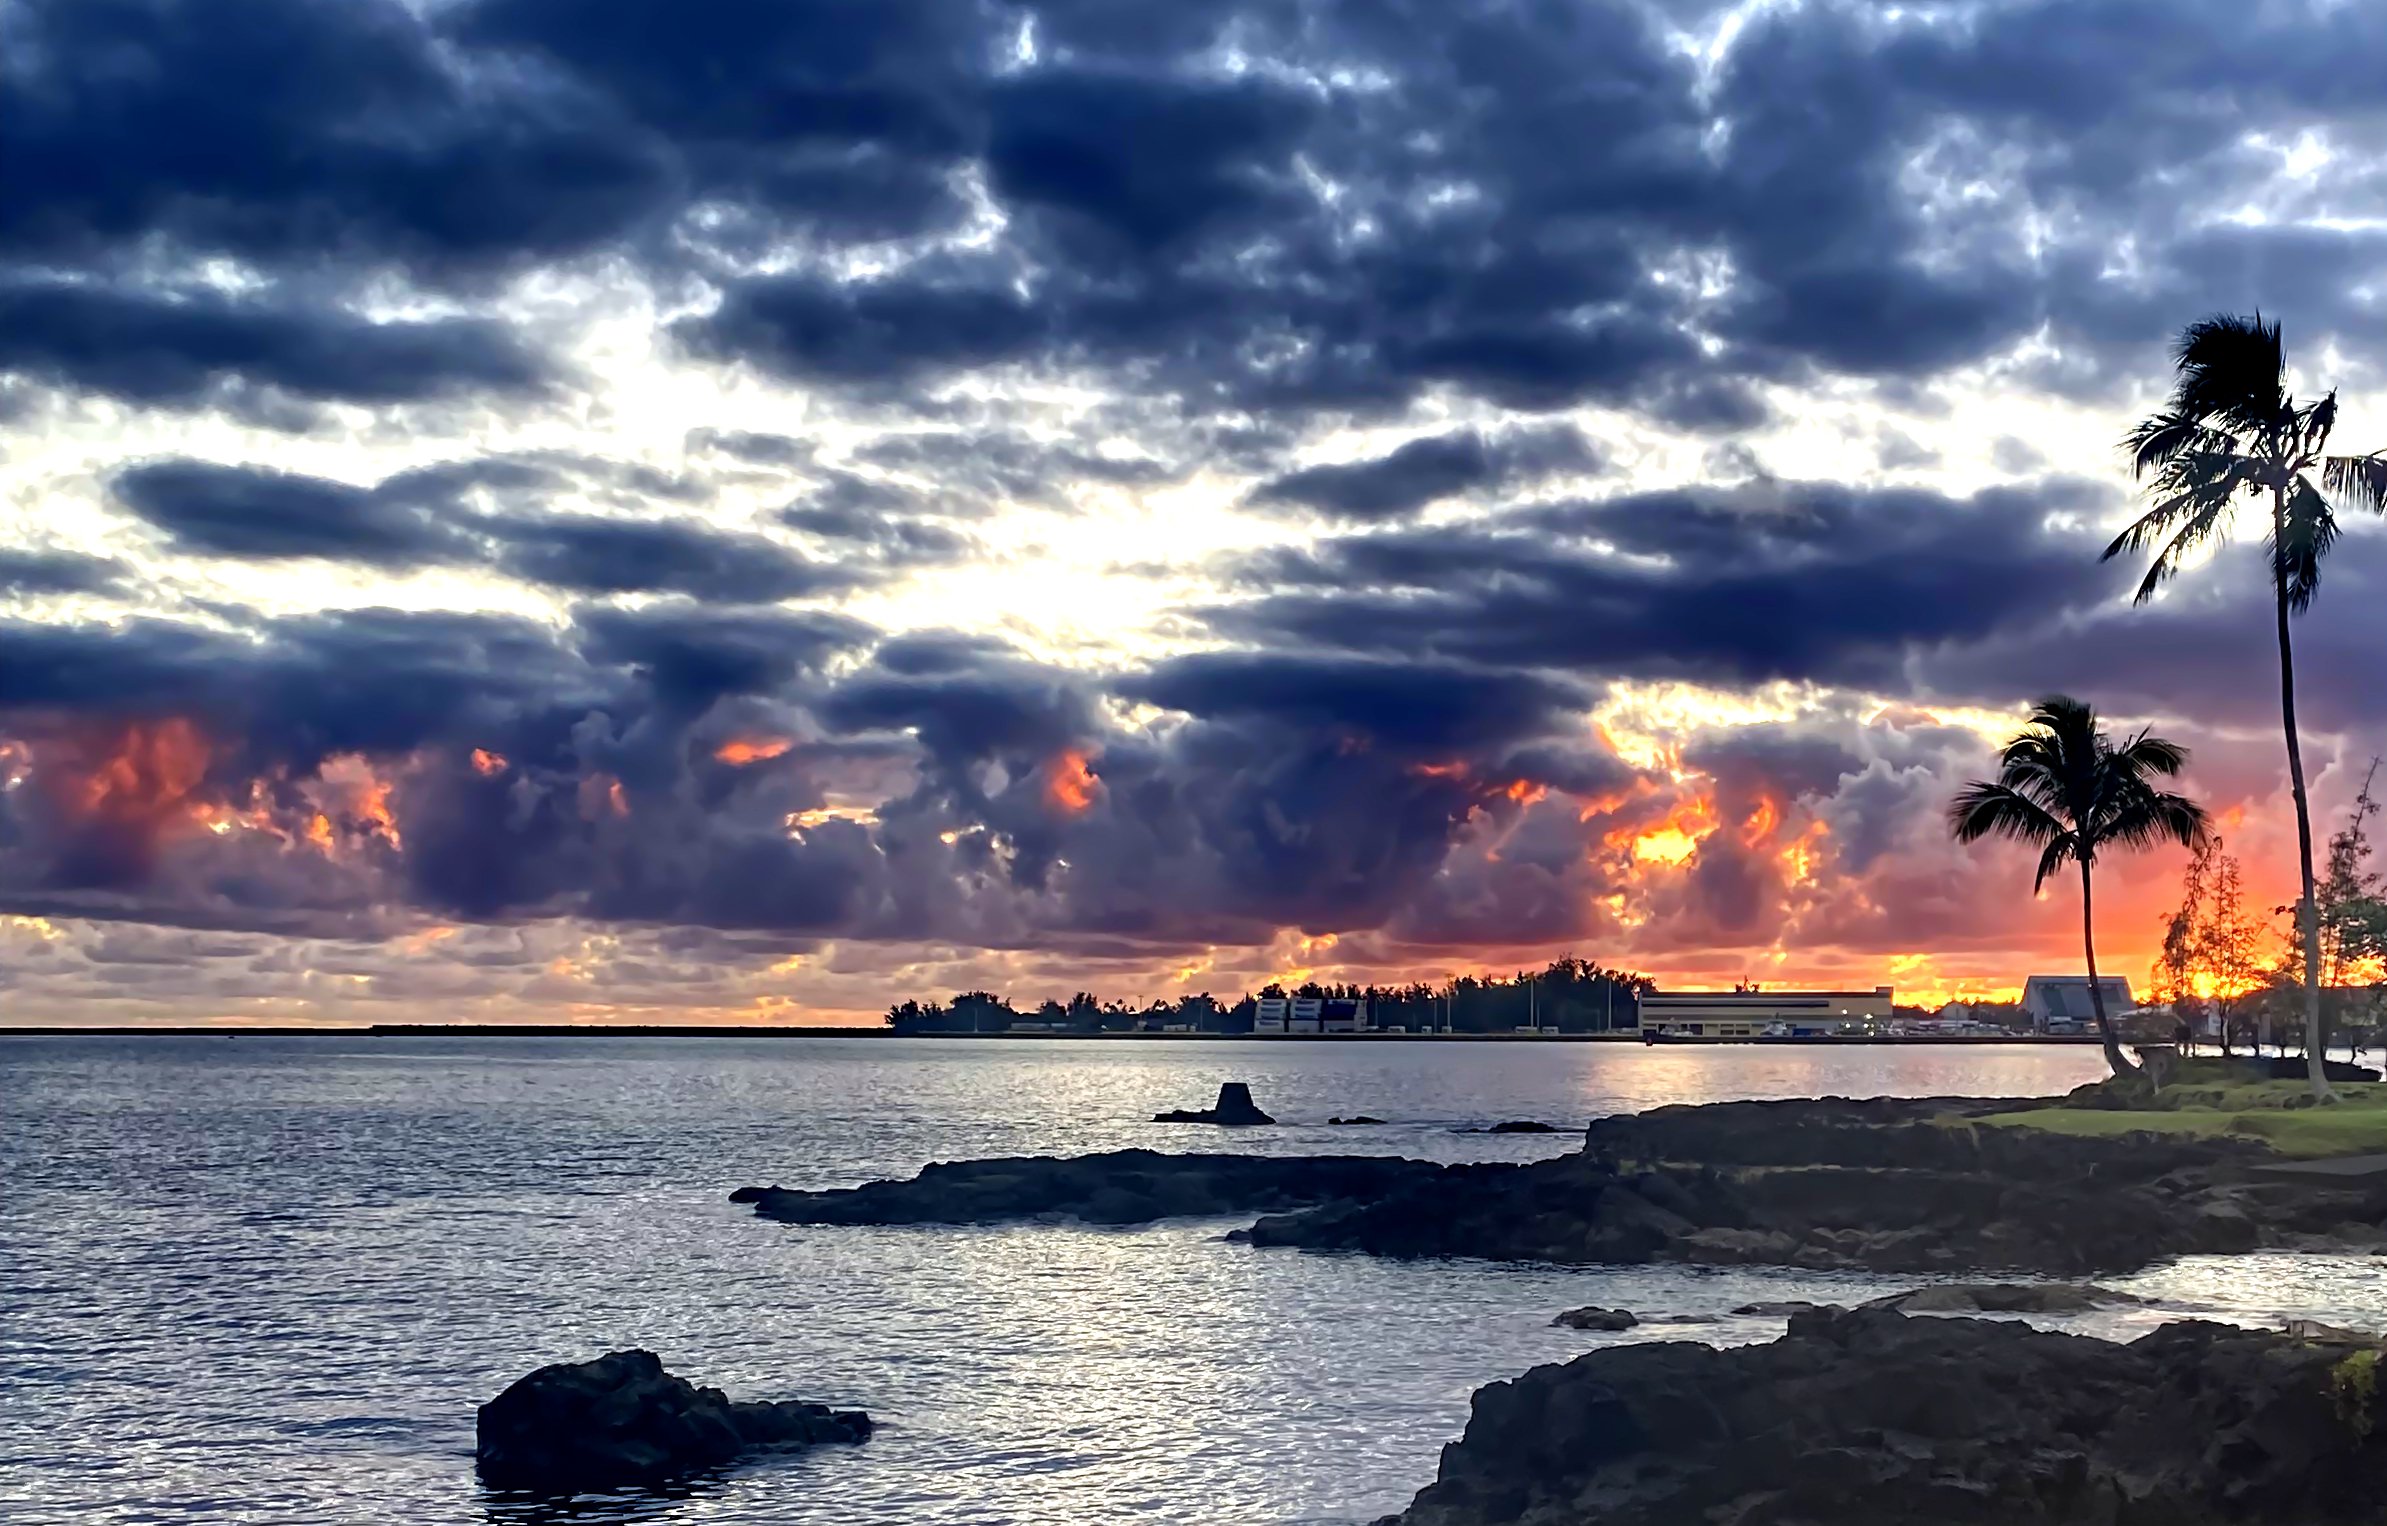
SUNRISE - Hilo Bay, Hawaii Oct.9,2023 (06:15AM Hawaiian Time) Picture take with iPhone 13, Adjustments: ('Live Denoise', Luminance 45%), ('Levels' boost Blacks 13%, Whites 81%) Strictly an amateur photog but the 'fire' in the clouds are done by Mother Nature.
-
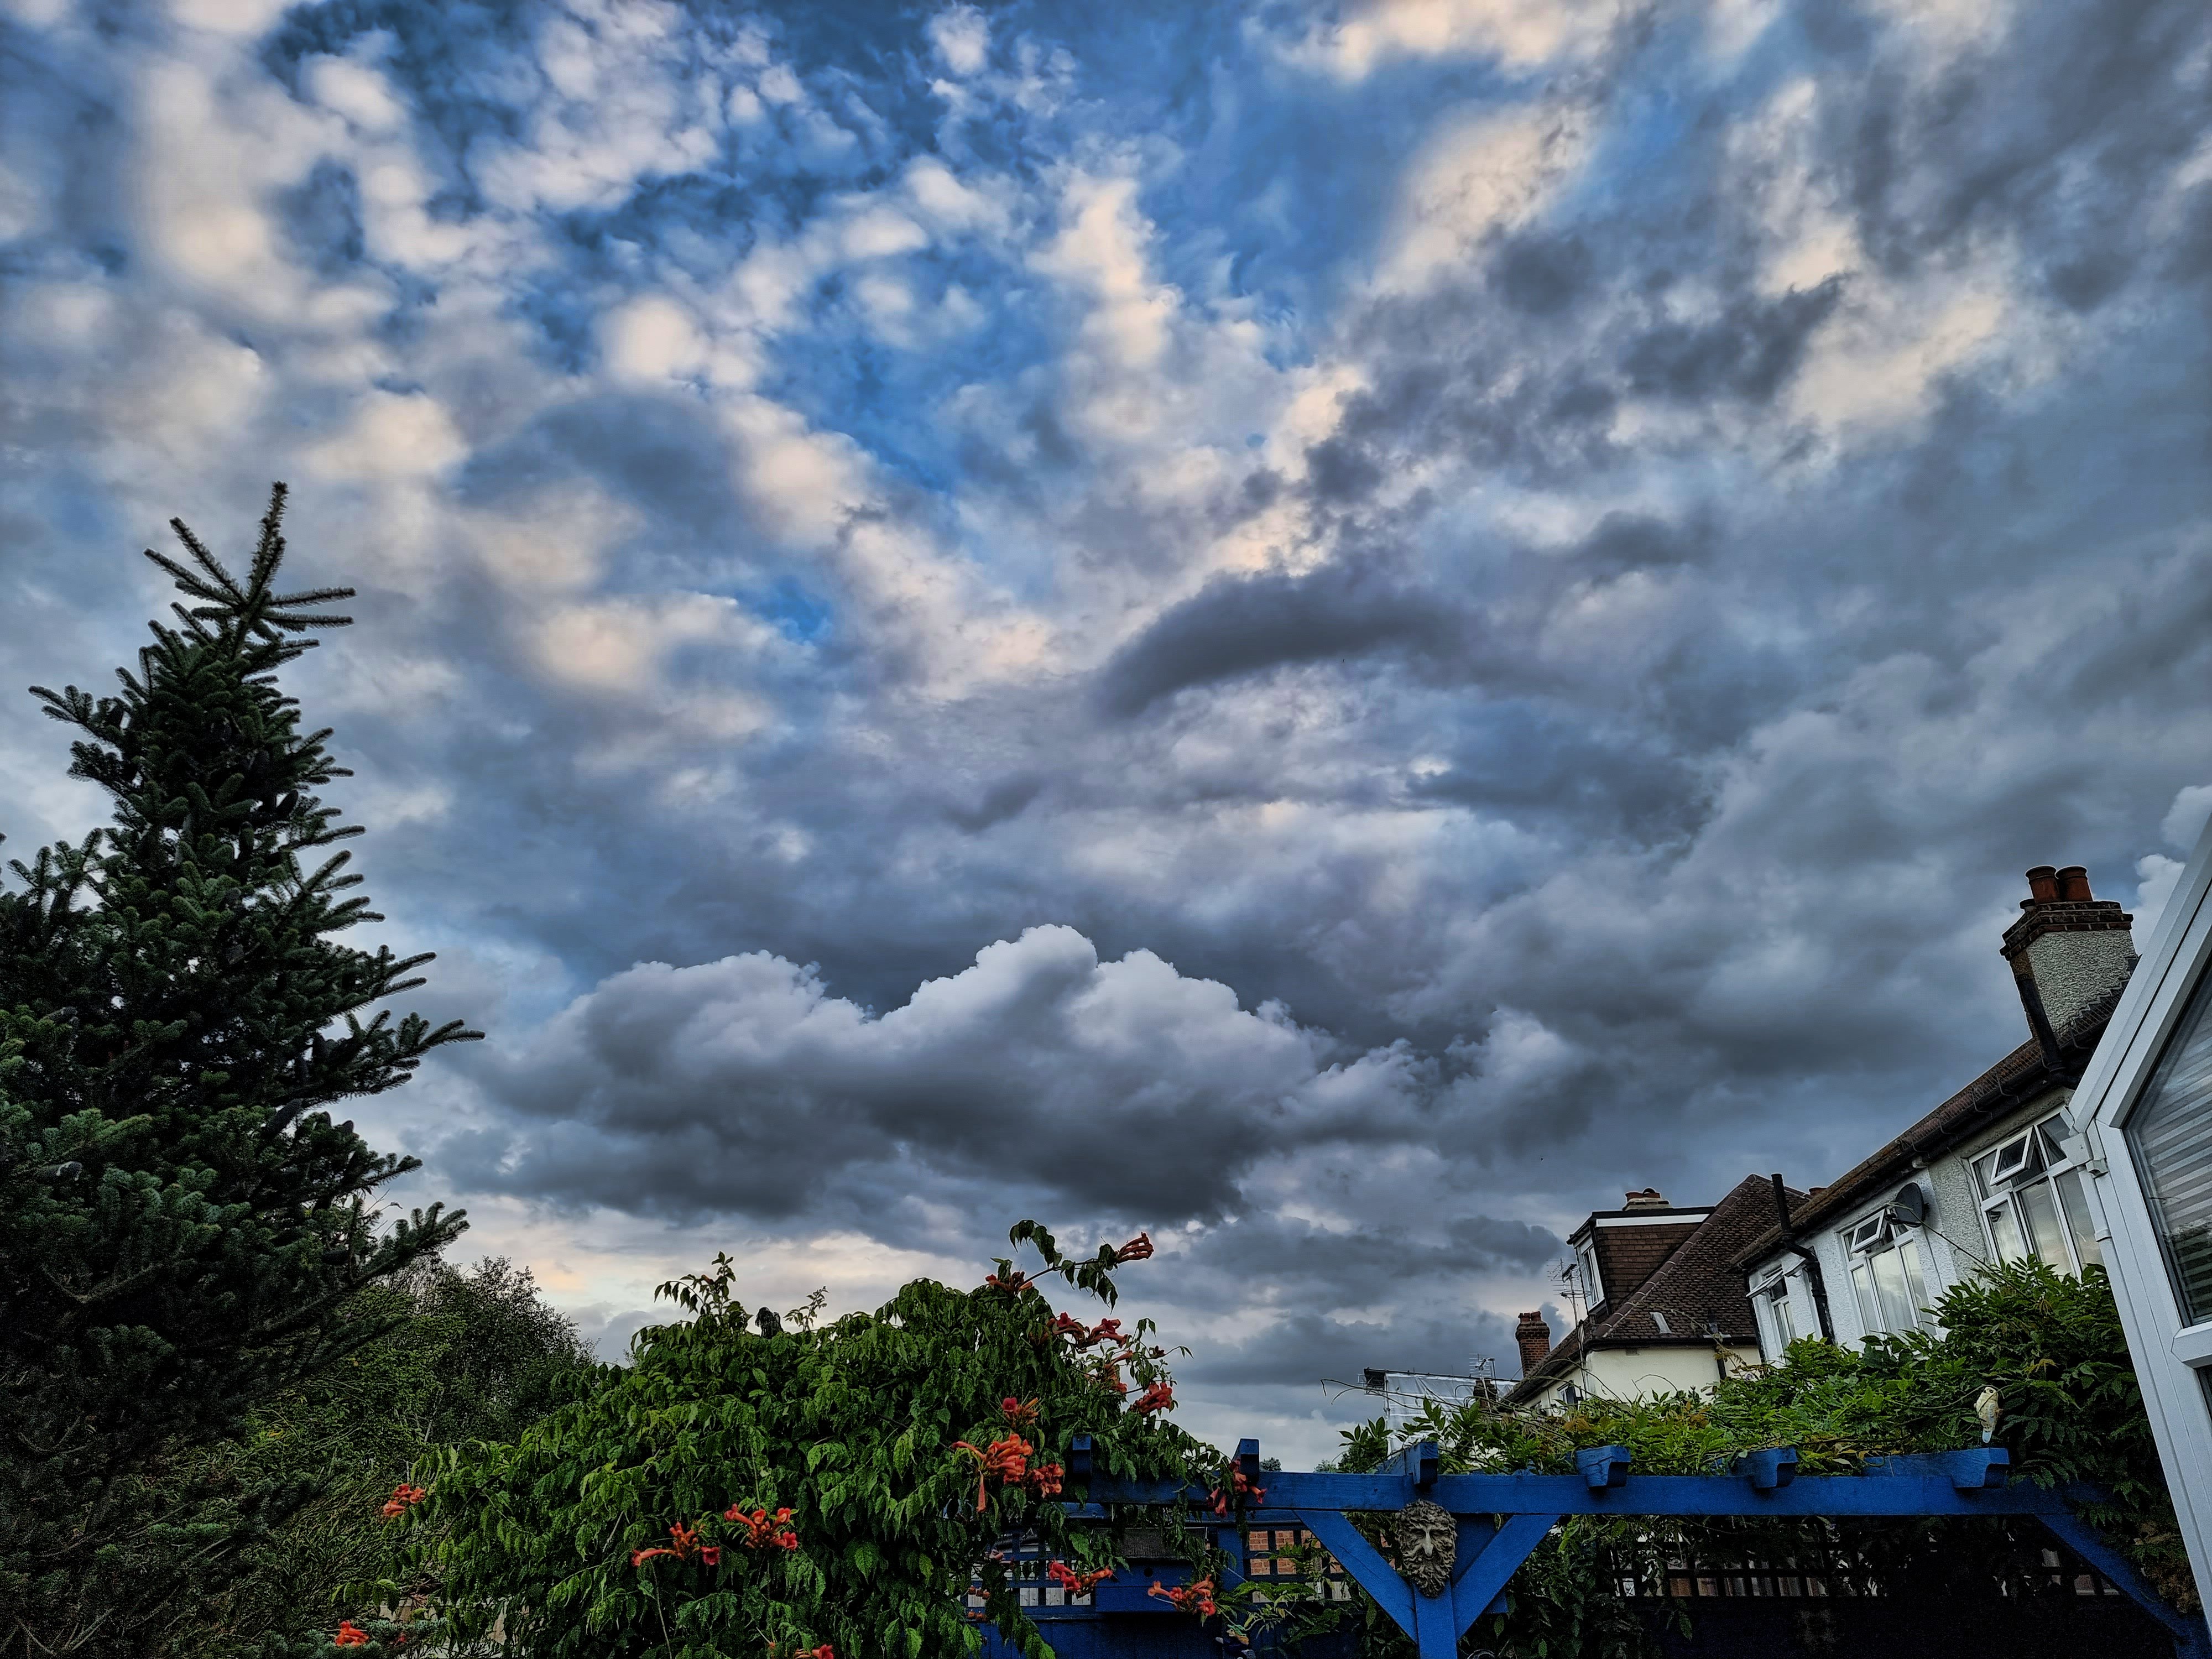
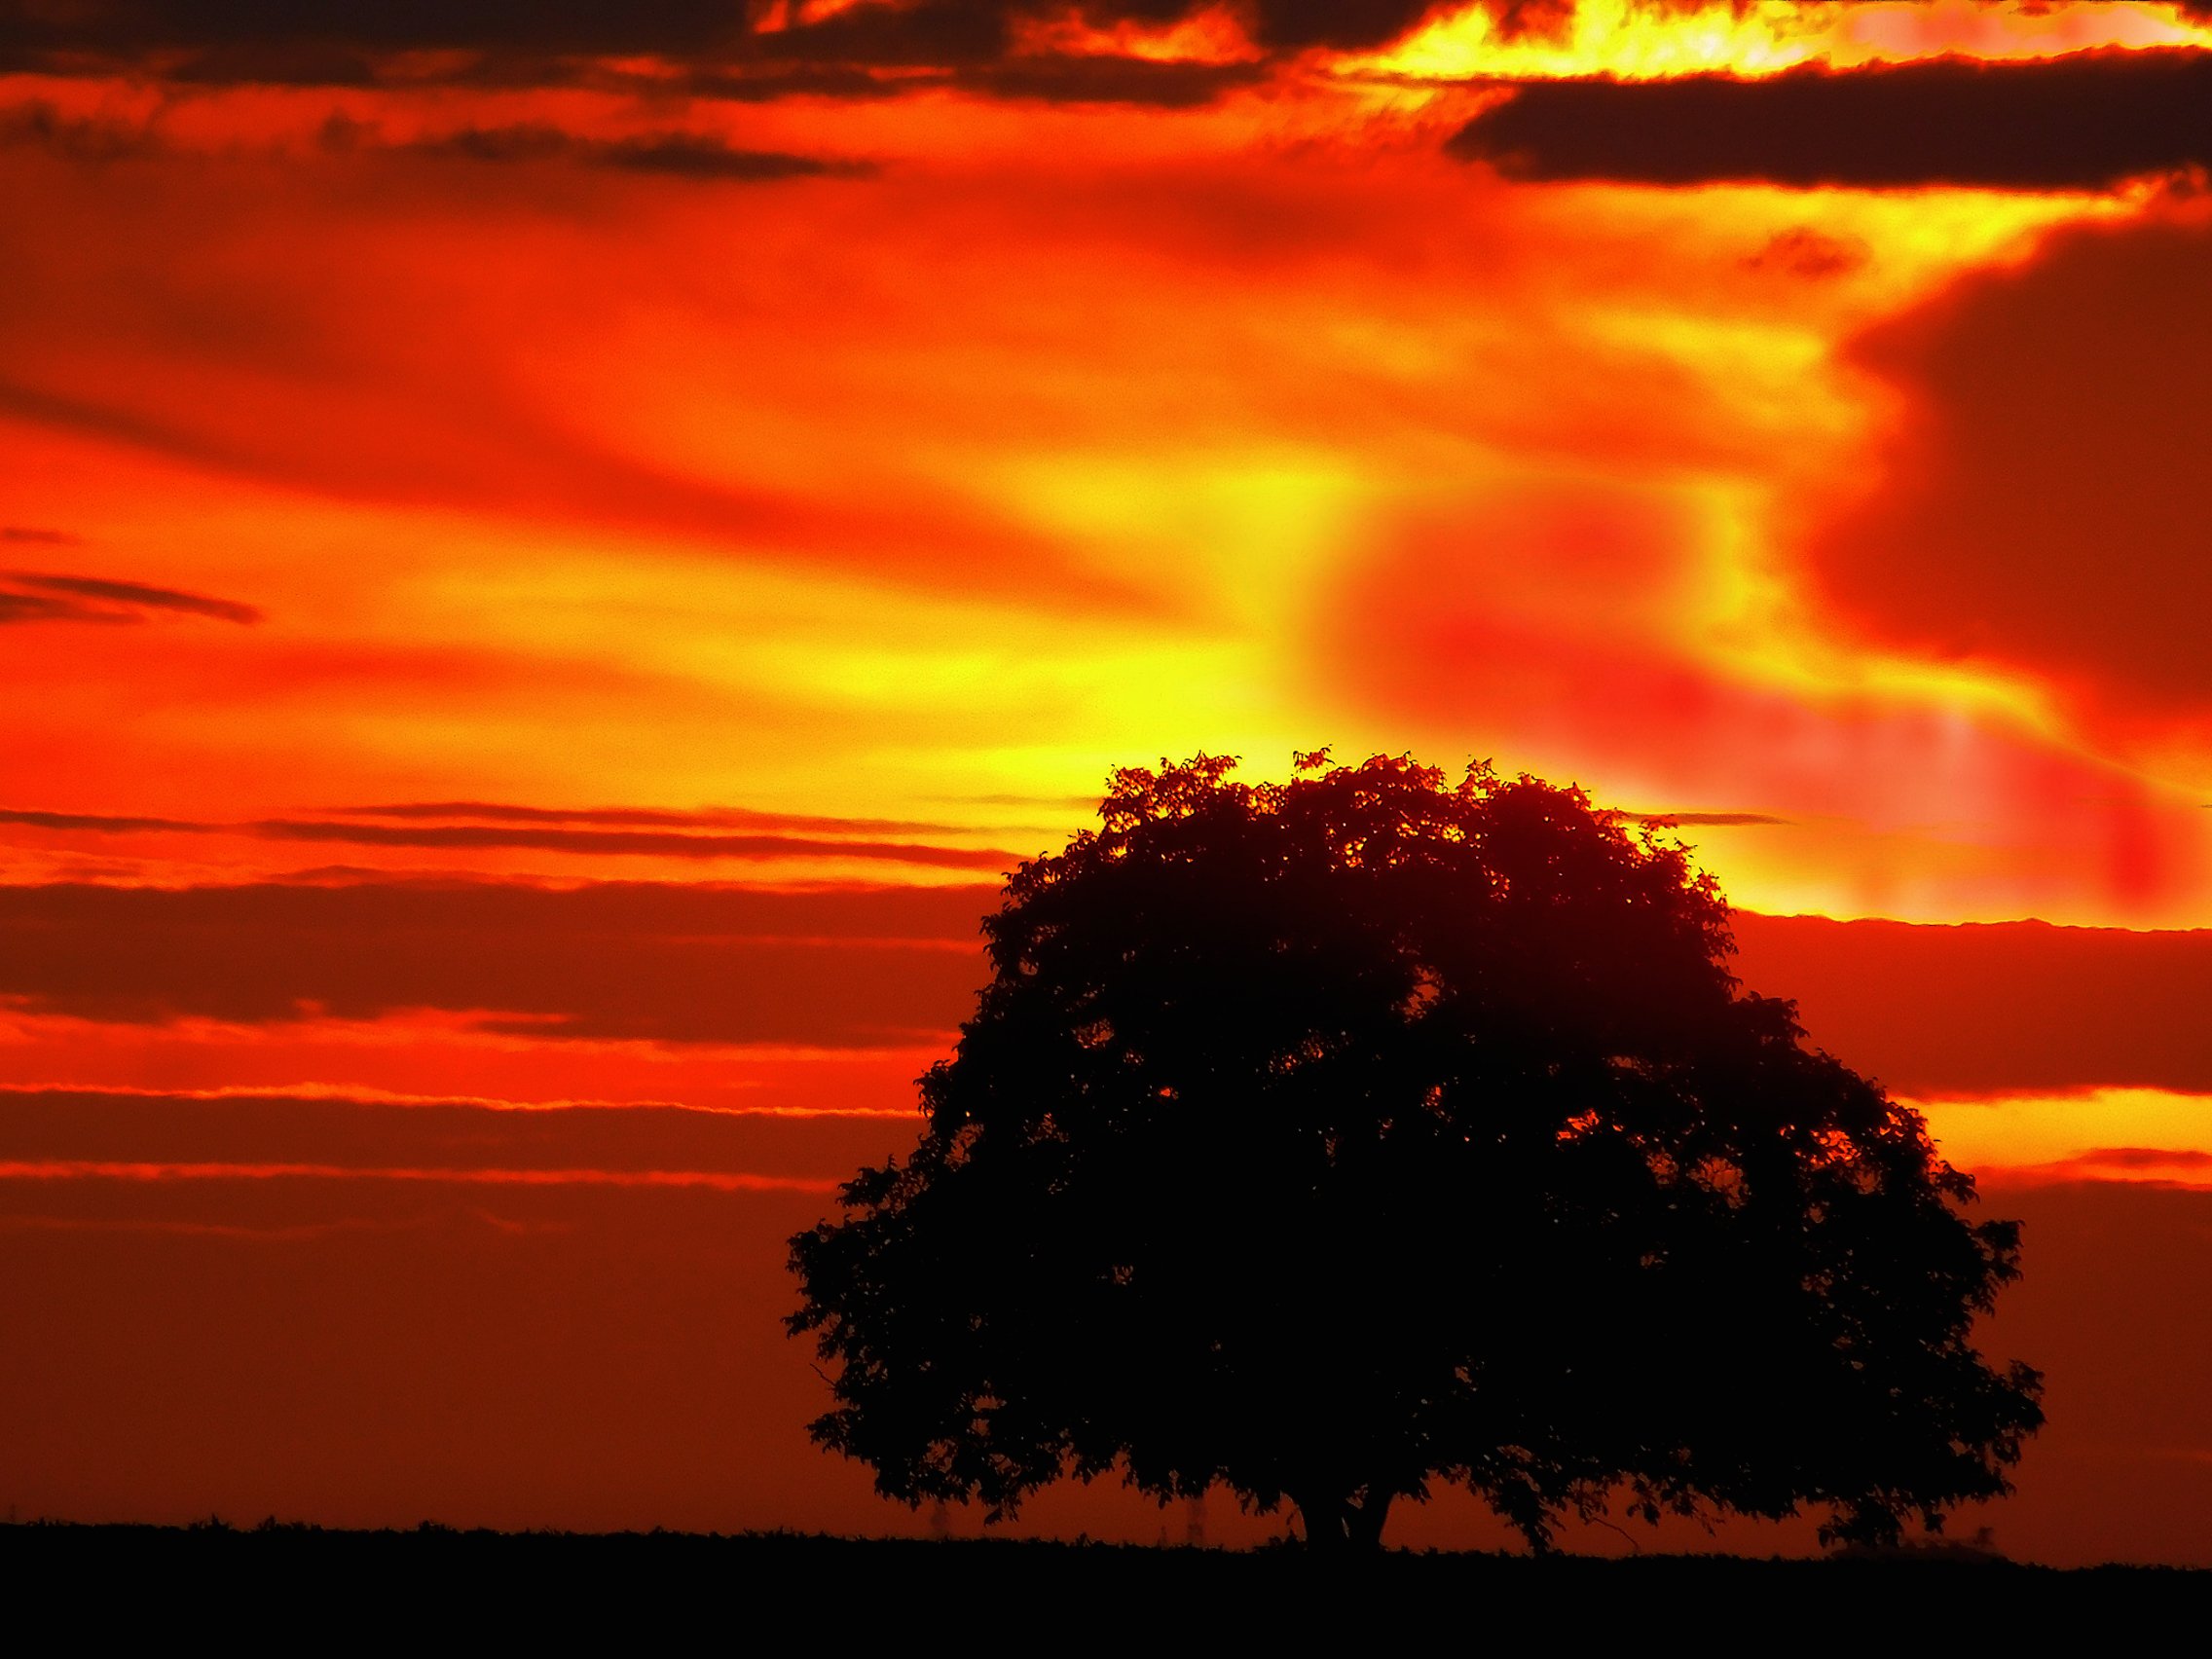
Chessington Surrey UK this morning. Samsung Galaxy S21 Ultra. f1.8, 1/122, ISO 50. Just played around with a bit adjusting the intensity of the clouds in APver2
-
 I have an issue with UI scaling the brush variable settings on the side of the workspace when in my usual landscape orientation (iPad) The three options for hardness, size & opacity bleed off the screen and make them unusable at the higher or lower values (see pictured example) These options fit on screen just fine in portrait mode, however I almost never work in portrait mode, and having to flip my iPad around every time I need to change brush values is annoying. Is there a future fix for this?
-
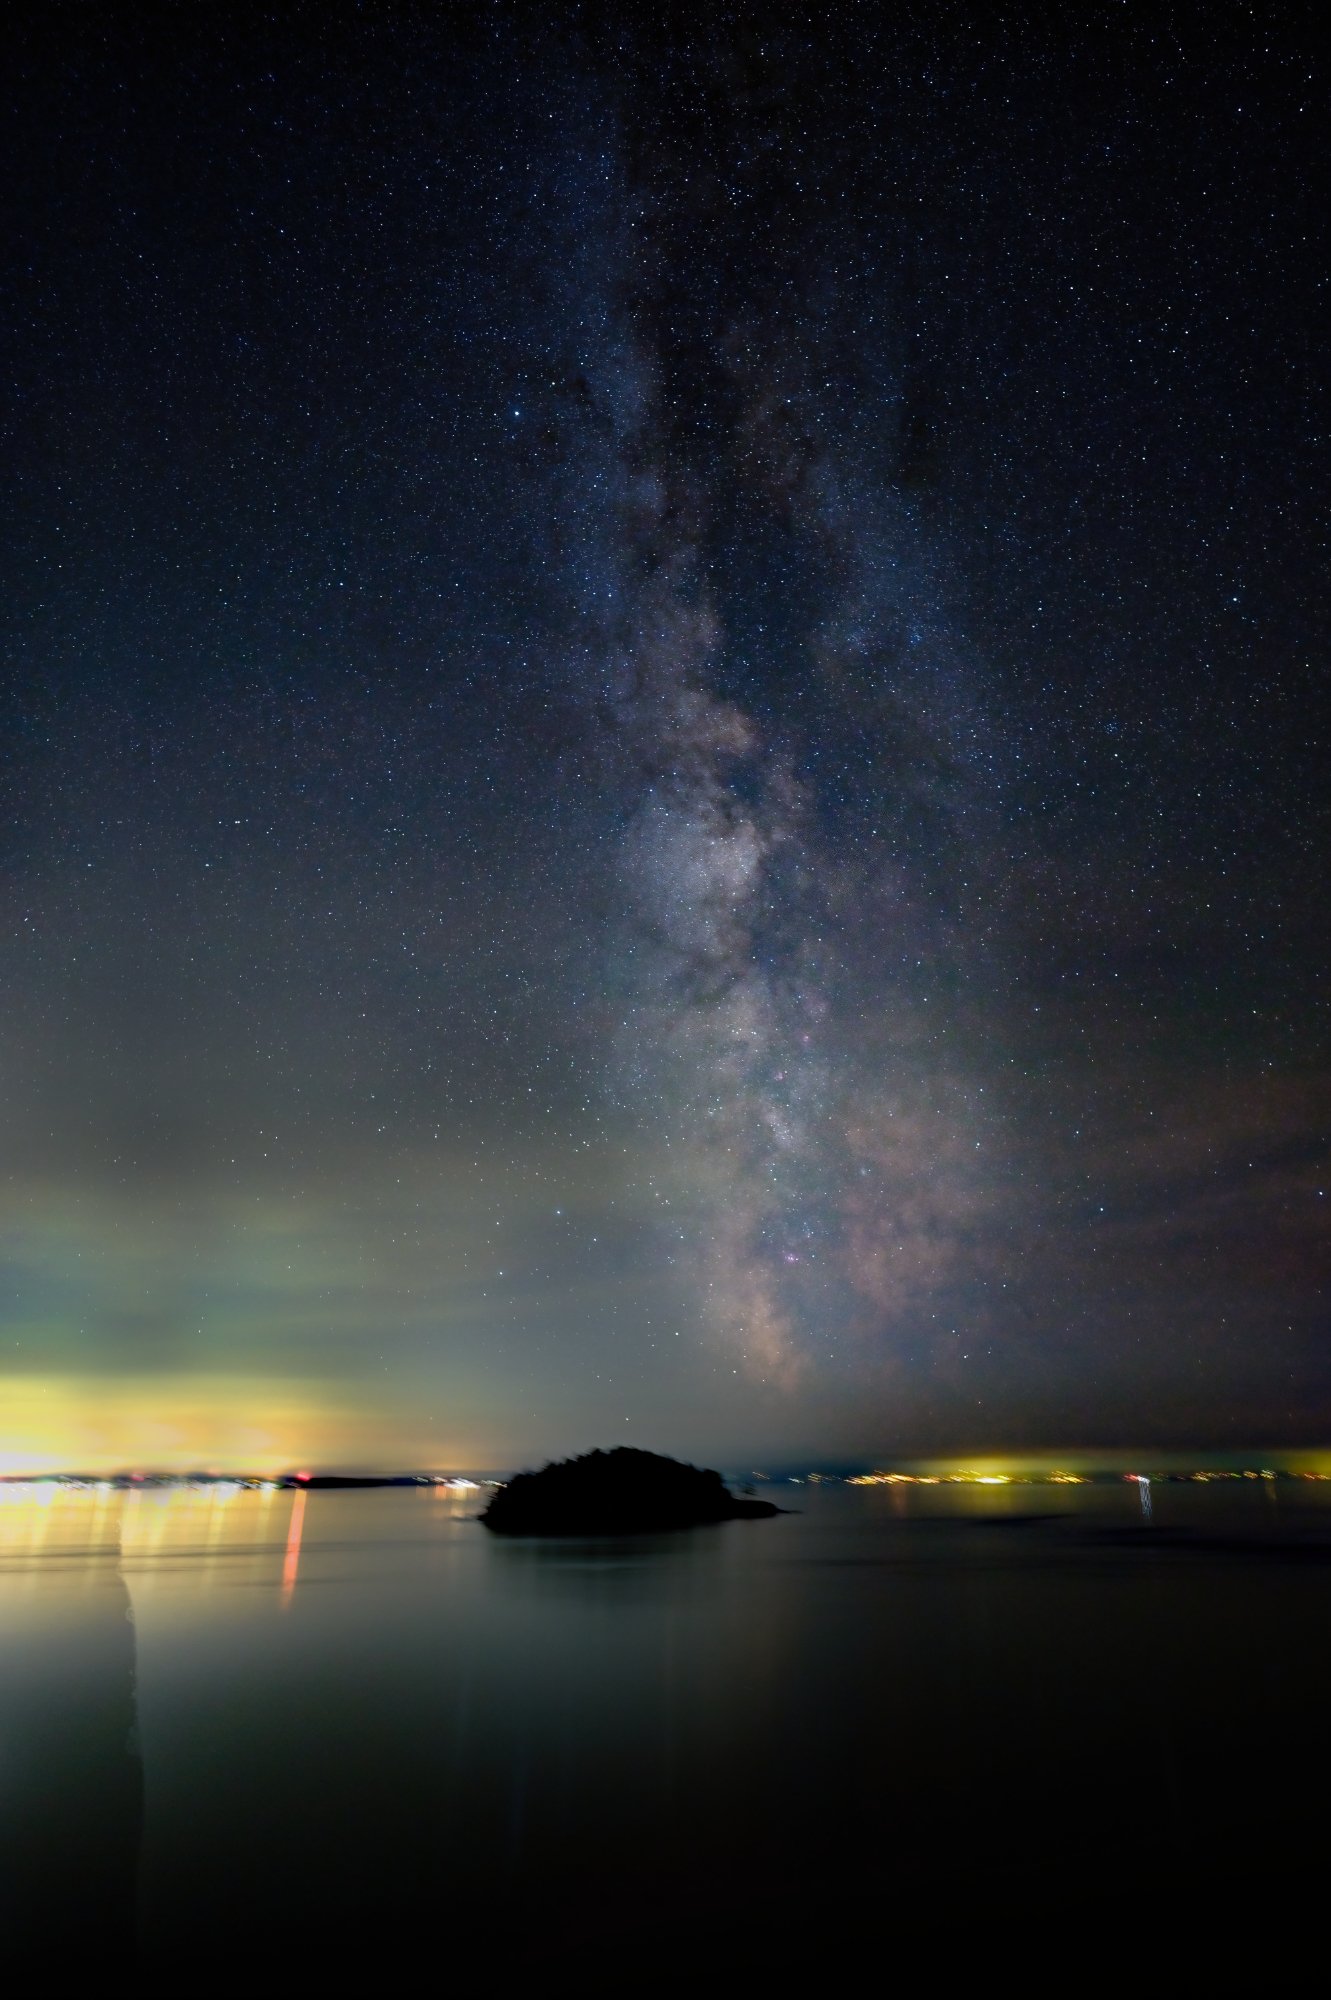
 output-stack-DeNoiseAI-standard-affinity-extended.tiffoutput-stack-DeNoiseAI-standard-affinity-extended.tiffHi, I'm trying to create a composite Milky Way landscape photo. I've done it before with other landscapes. I can't seem to do it with this landscape because of the trees. I'm unable to cleanly separate the landscape from the sky so I can then replace the sky with the Milky Way. Please let me know how I can make successfully combine these two photos.
-
Duplicated layer, soft light blend then Levels and Curves adjustemnts, plus a fine sharpening macros.
-
Cropped a little bit the layer, duplicated it, then Levels, Curves, Exposure, Brightness adjustment and Gold Punch, Subtle Yellow/Blue and Enhaced Yellow macros by James Ritson (different levels of opacity).
-
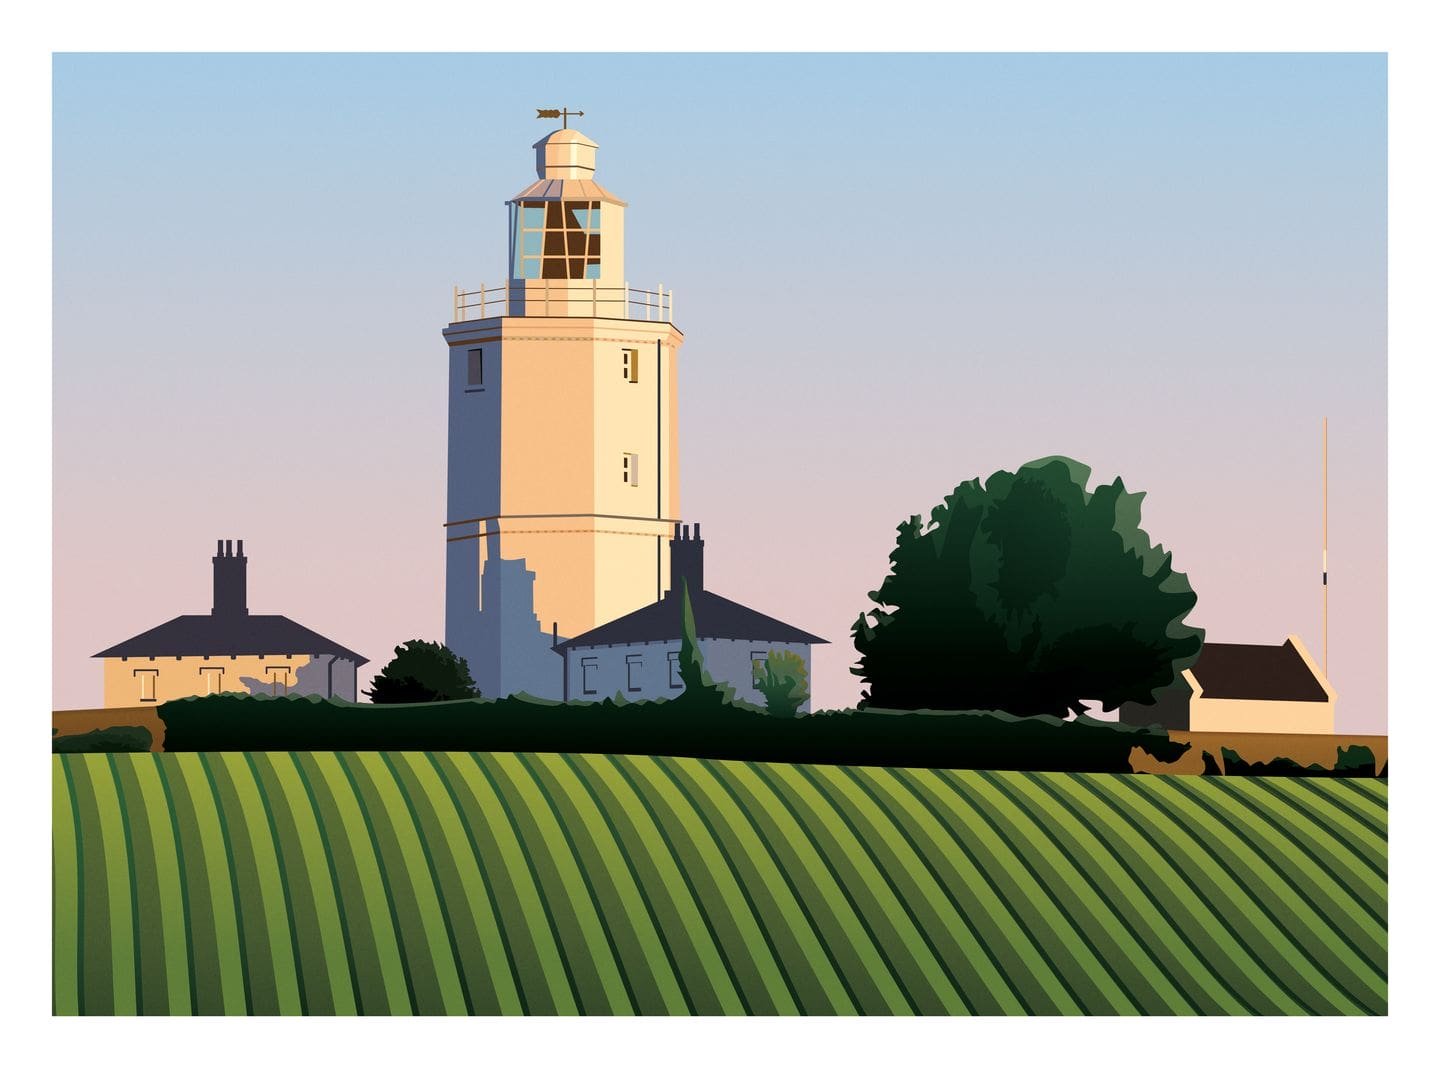
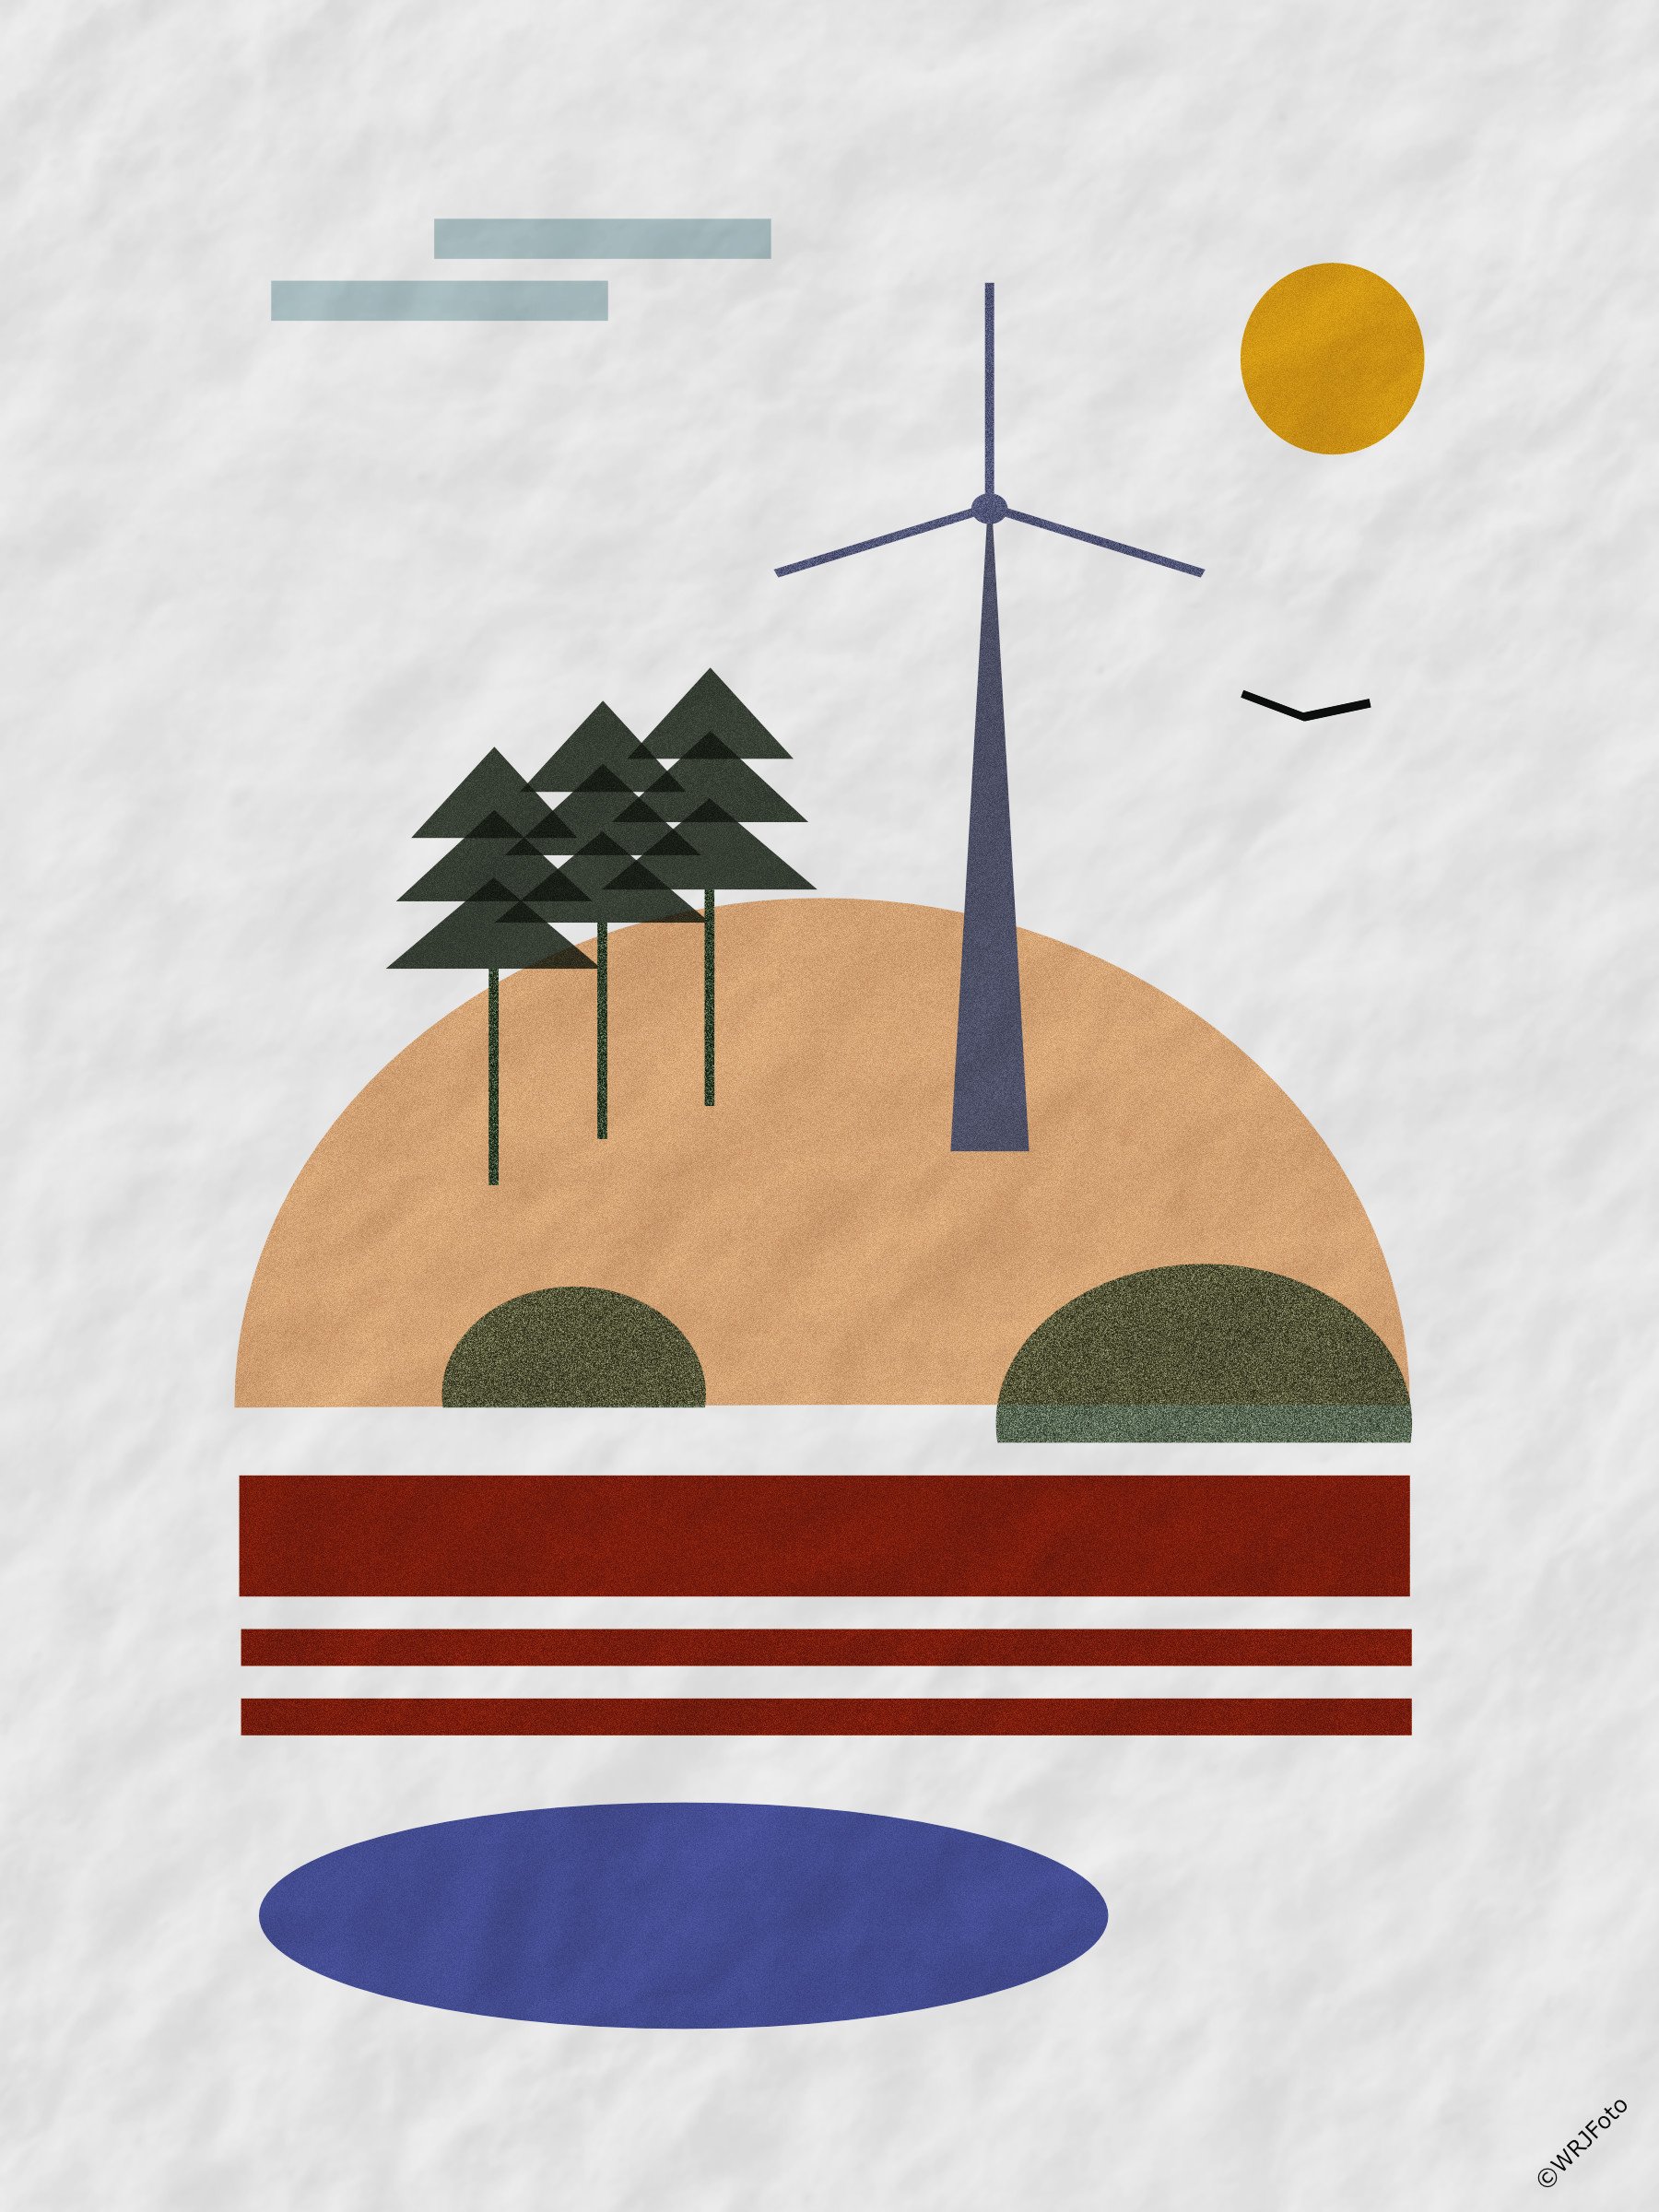
I deleted my previous image because I was unsure if it violated the rights of Gingerly Press. And I thought up my own motif and tried to "paint" it in the style of Gingerly Press with Affinity Photo. I called it "Abstract Landscape".
-
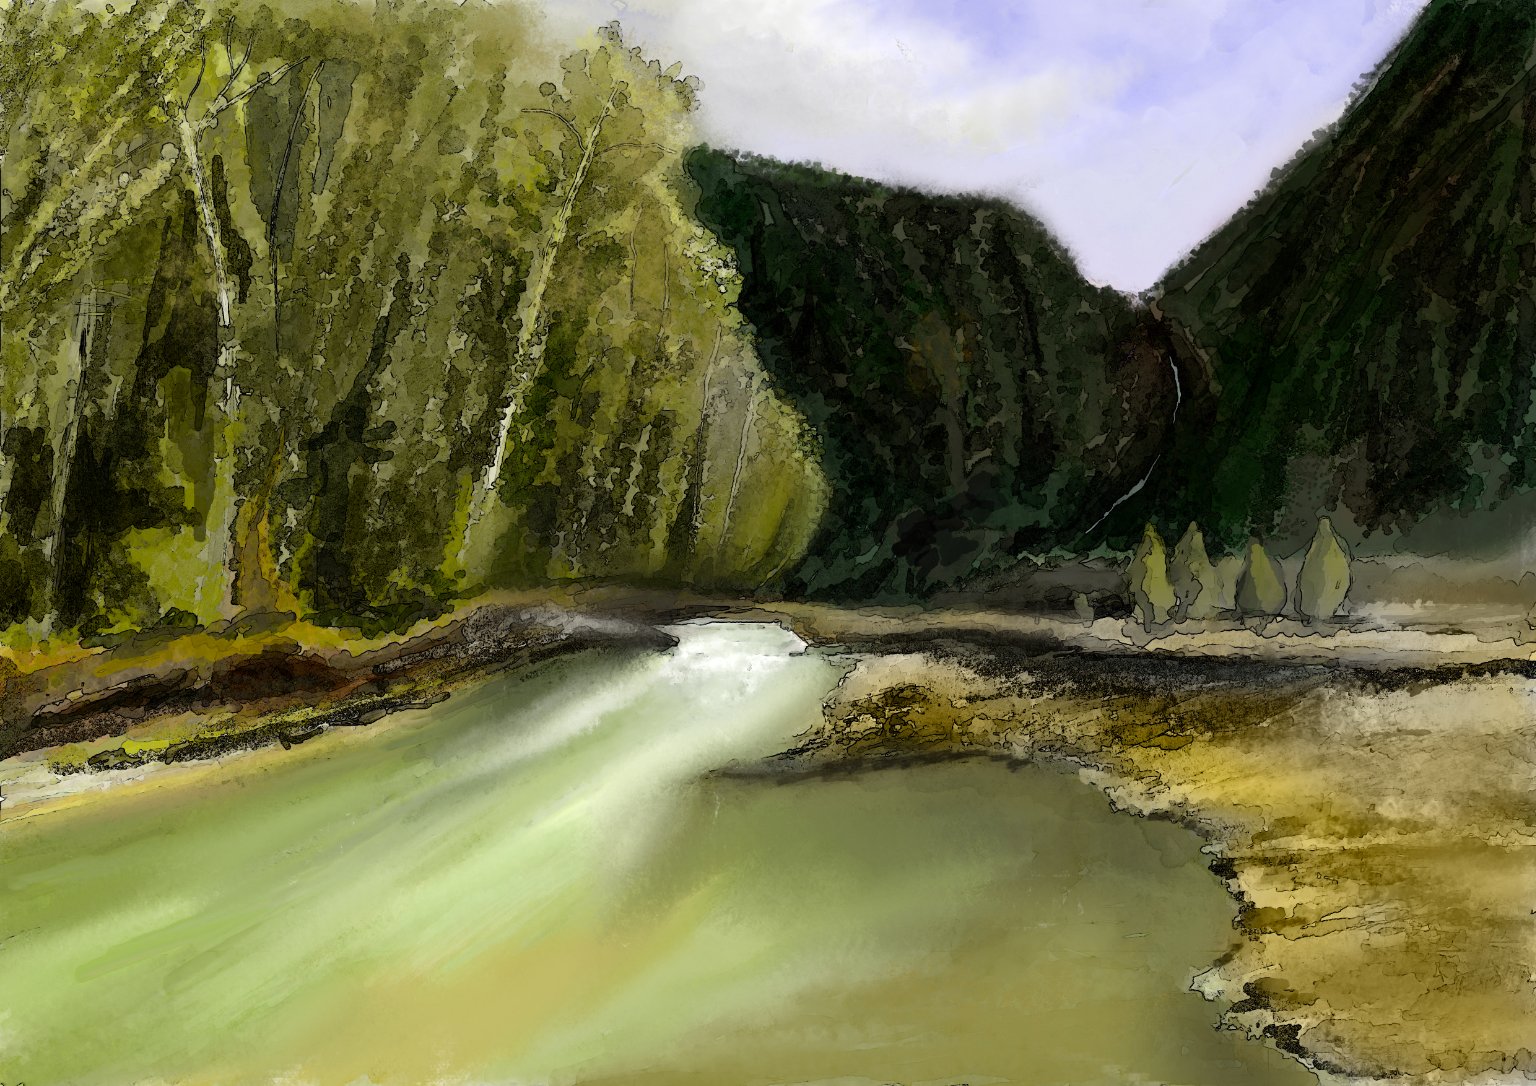
Ref: Thomas-Moran - Castle North Berwick Scotland
-
I am trying Affinity Photo as a painting program. If I succeed that means I can stick to one program on all of my devices throughout the complete development process (graphic novel in mind); a pretty exciting prospect. This is an attempt at a landscape with that novel "style" in mind.
-
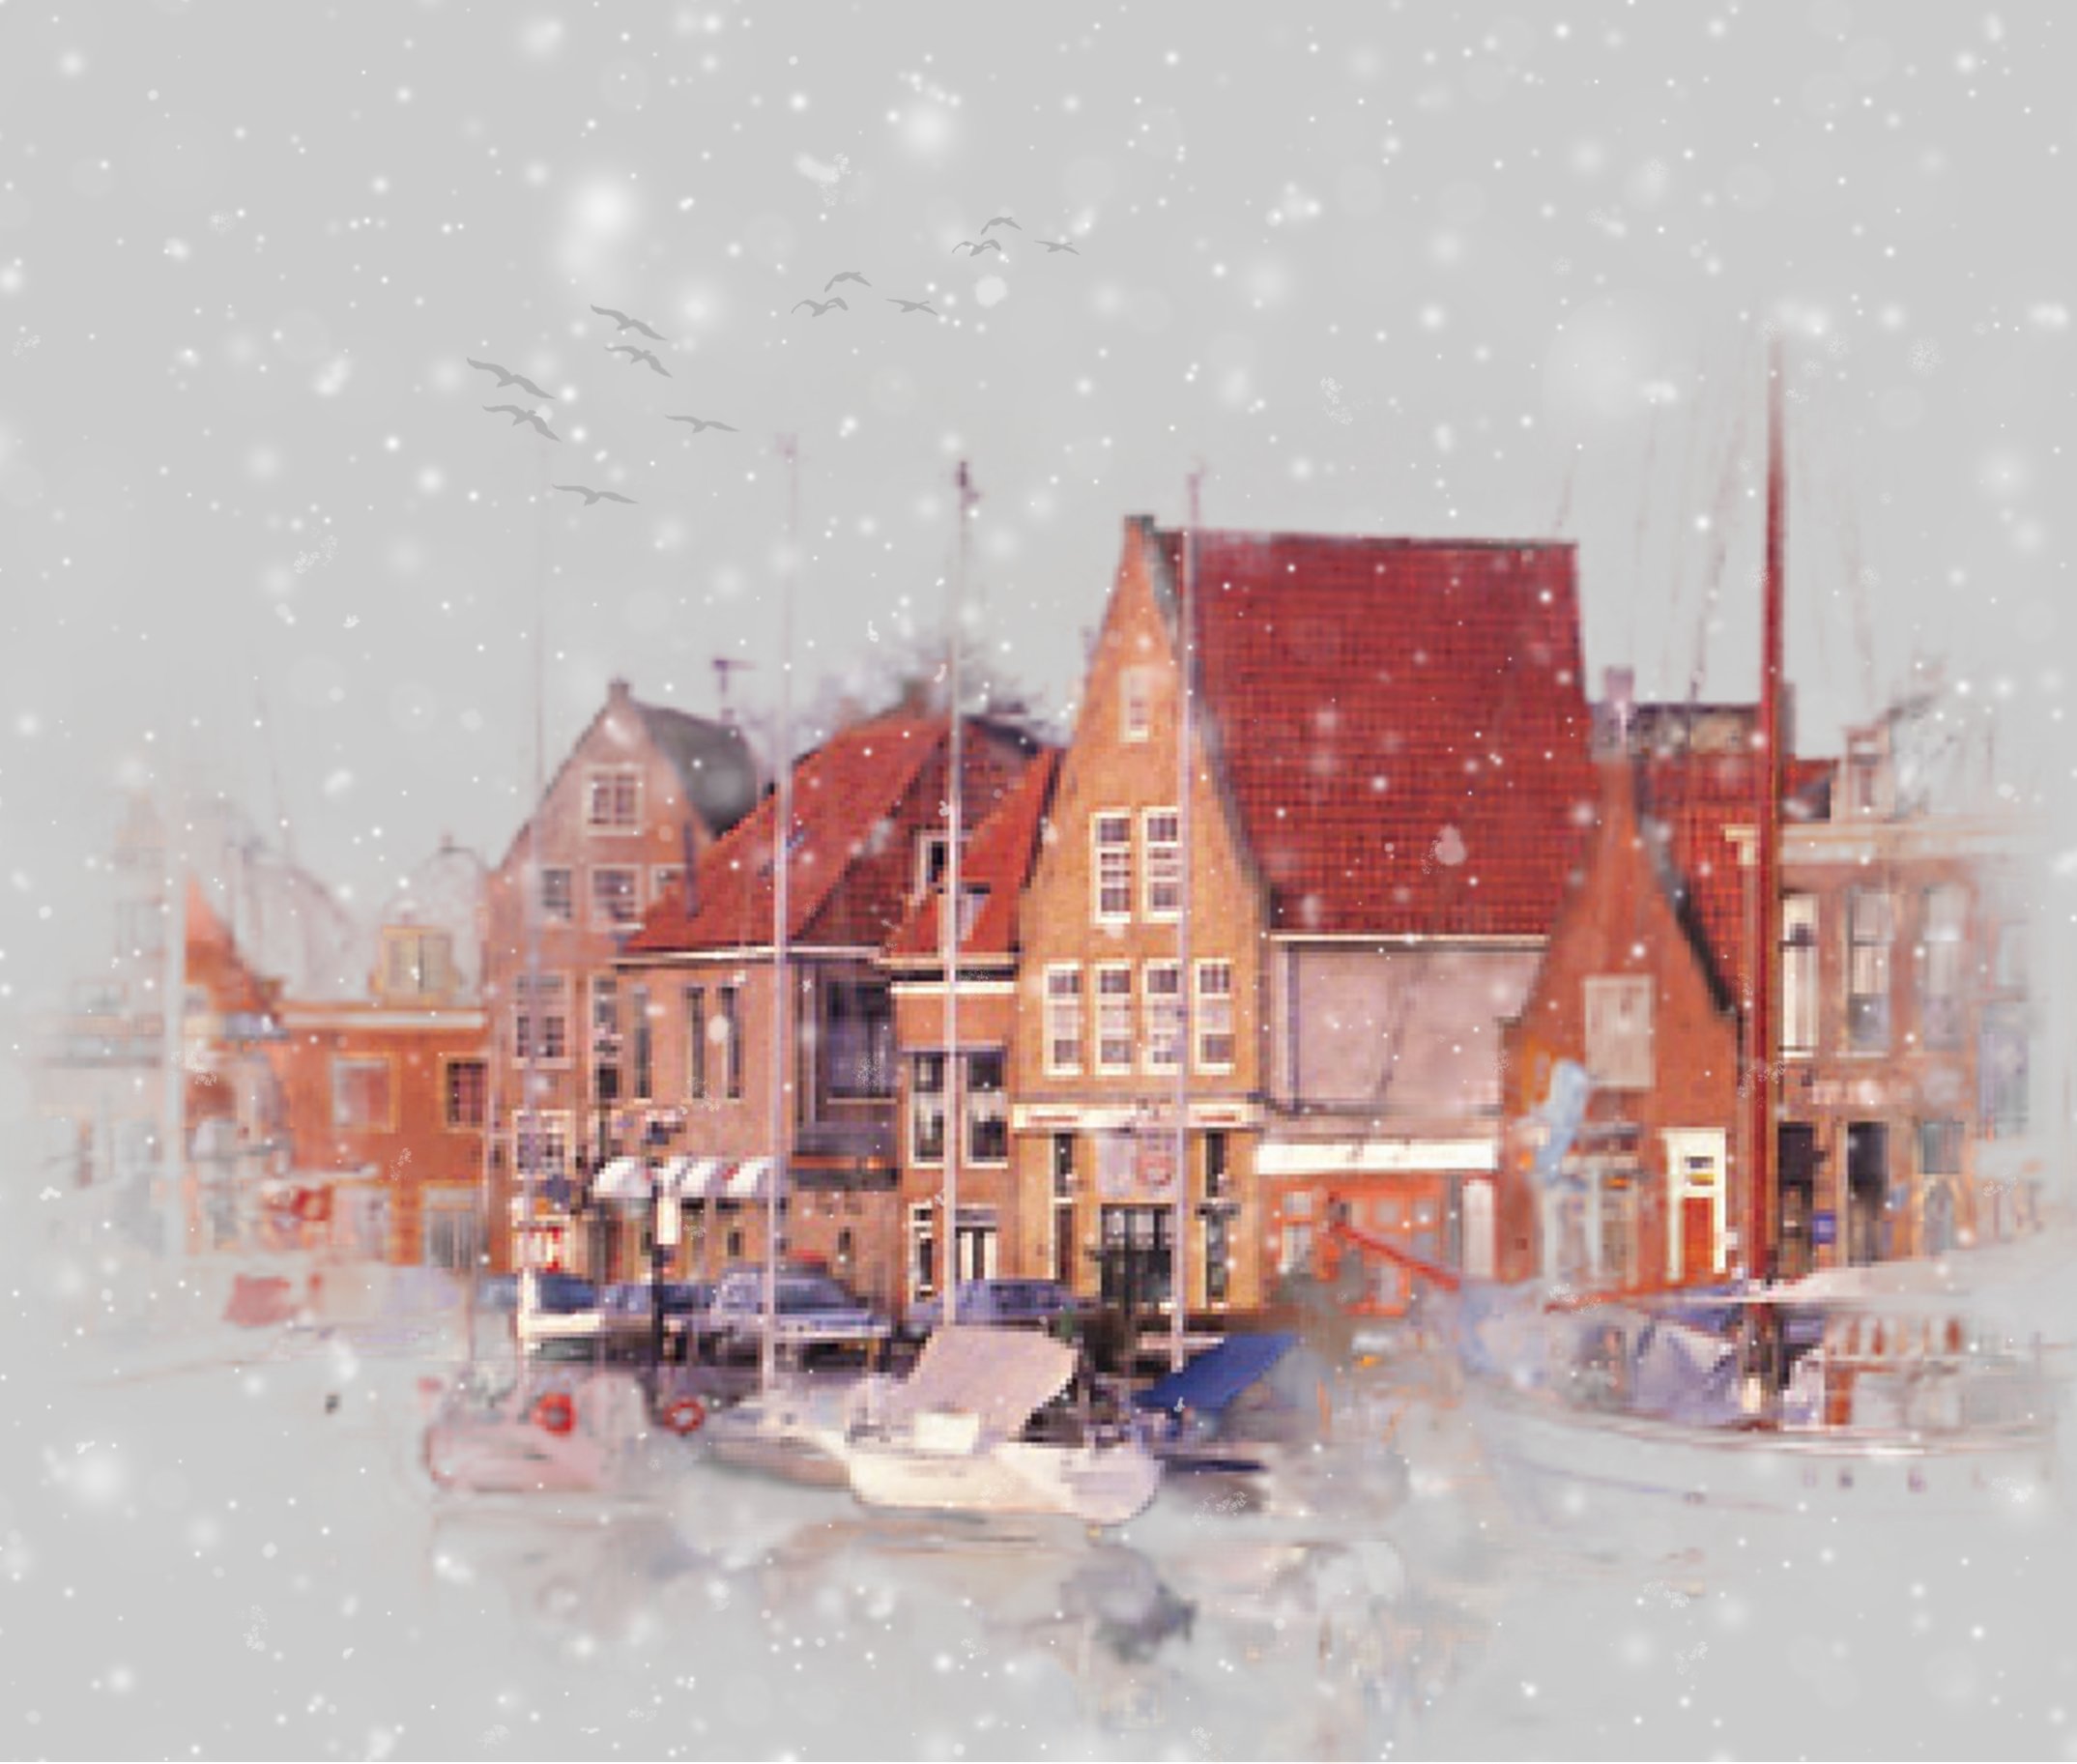
In anticipation of a rather rare wintry day here in the "Sunny South" I created the sorrowful scene below from an image that (I must confess) I found somewhere two or three years ago. Unfortunately I cannot provide appropriate attribution to the original image, which I think came from Unsplash. A little selecting, a little Quick Masking, some Refining Selection, some cutting and pasting, some brushed birds, and some Snow Overlays by Paper Farms (assets) and behold! A truly dreary aspect.🥶😀
-
This is my first serious attempt to make something with APhoto. I used a photo I'd taken of a saltwater marsh in Maine. I brightened up the colors a bit because they looked dull. I hope I didn't overdo it. Then I replaced the sky and water, and added two Canada geese I found on Pixabay. The sky looks real, but the water and geese look pasted on because I couldn't figure out how to make them look realer. Good enough, I guess. I haven't learned to use all the tools yet. APhoto is great fun. I'm glad I bought it.
-
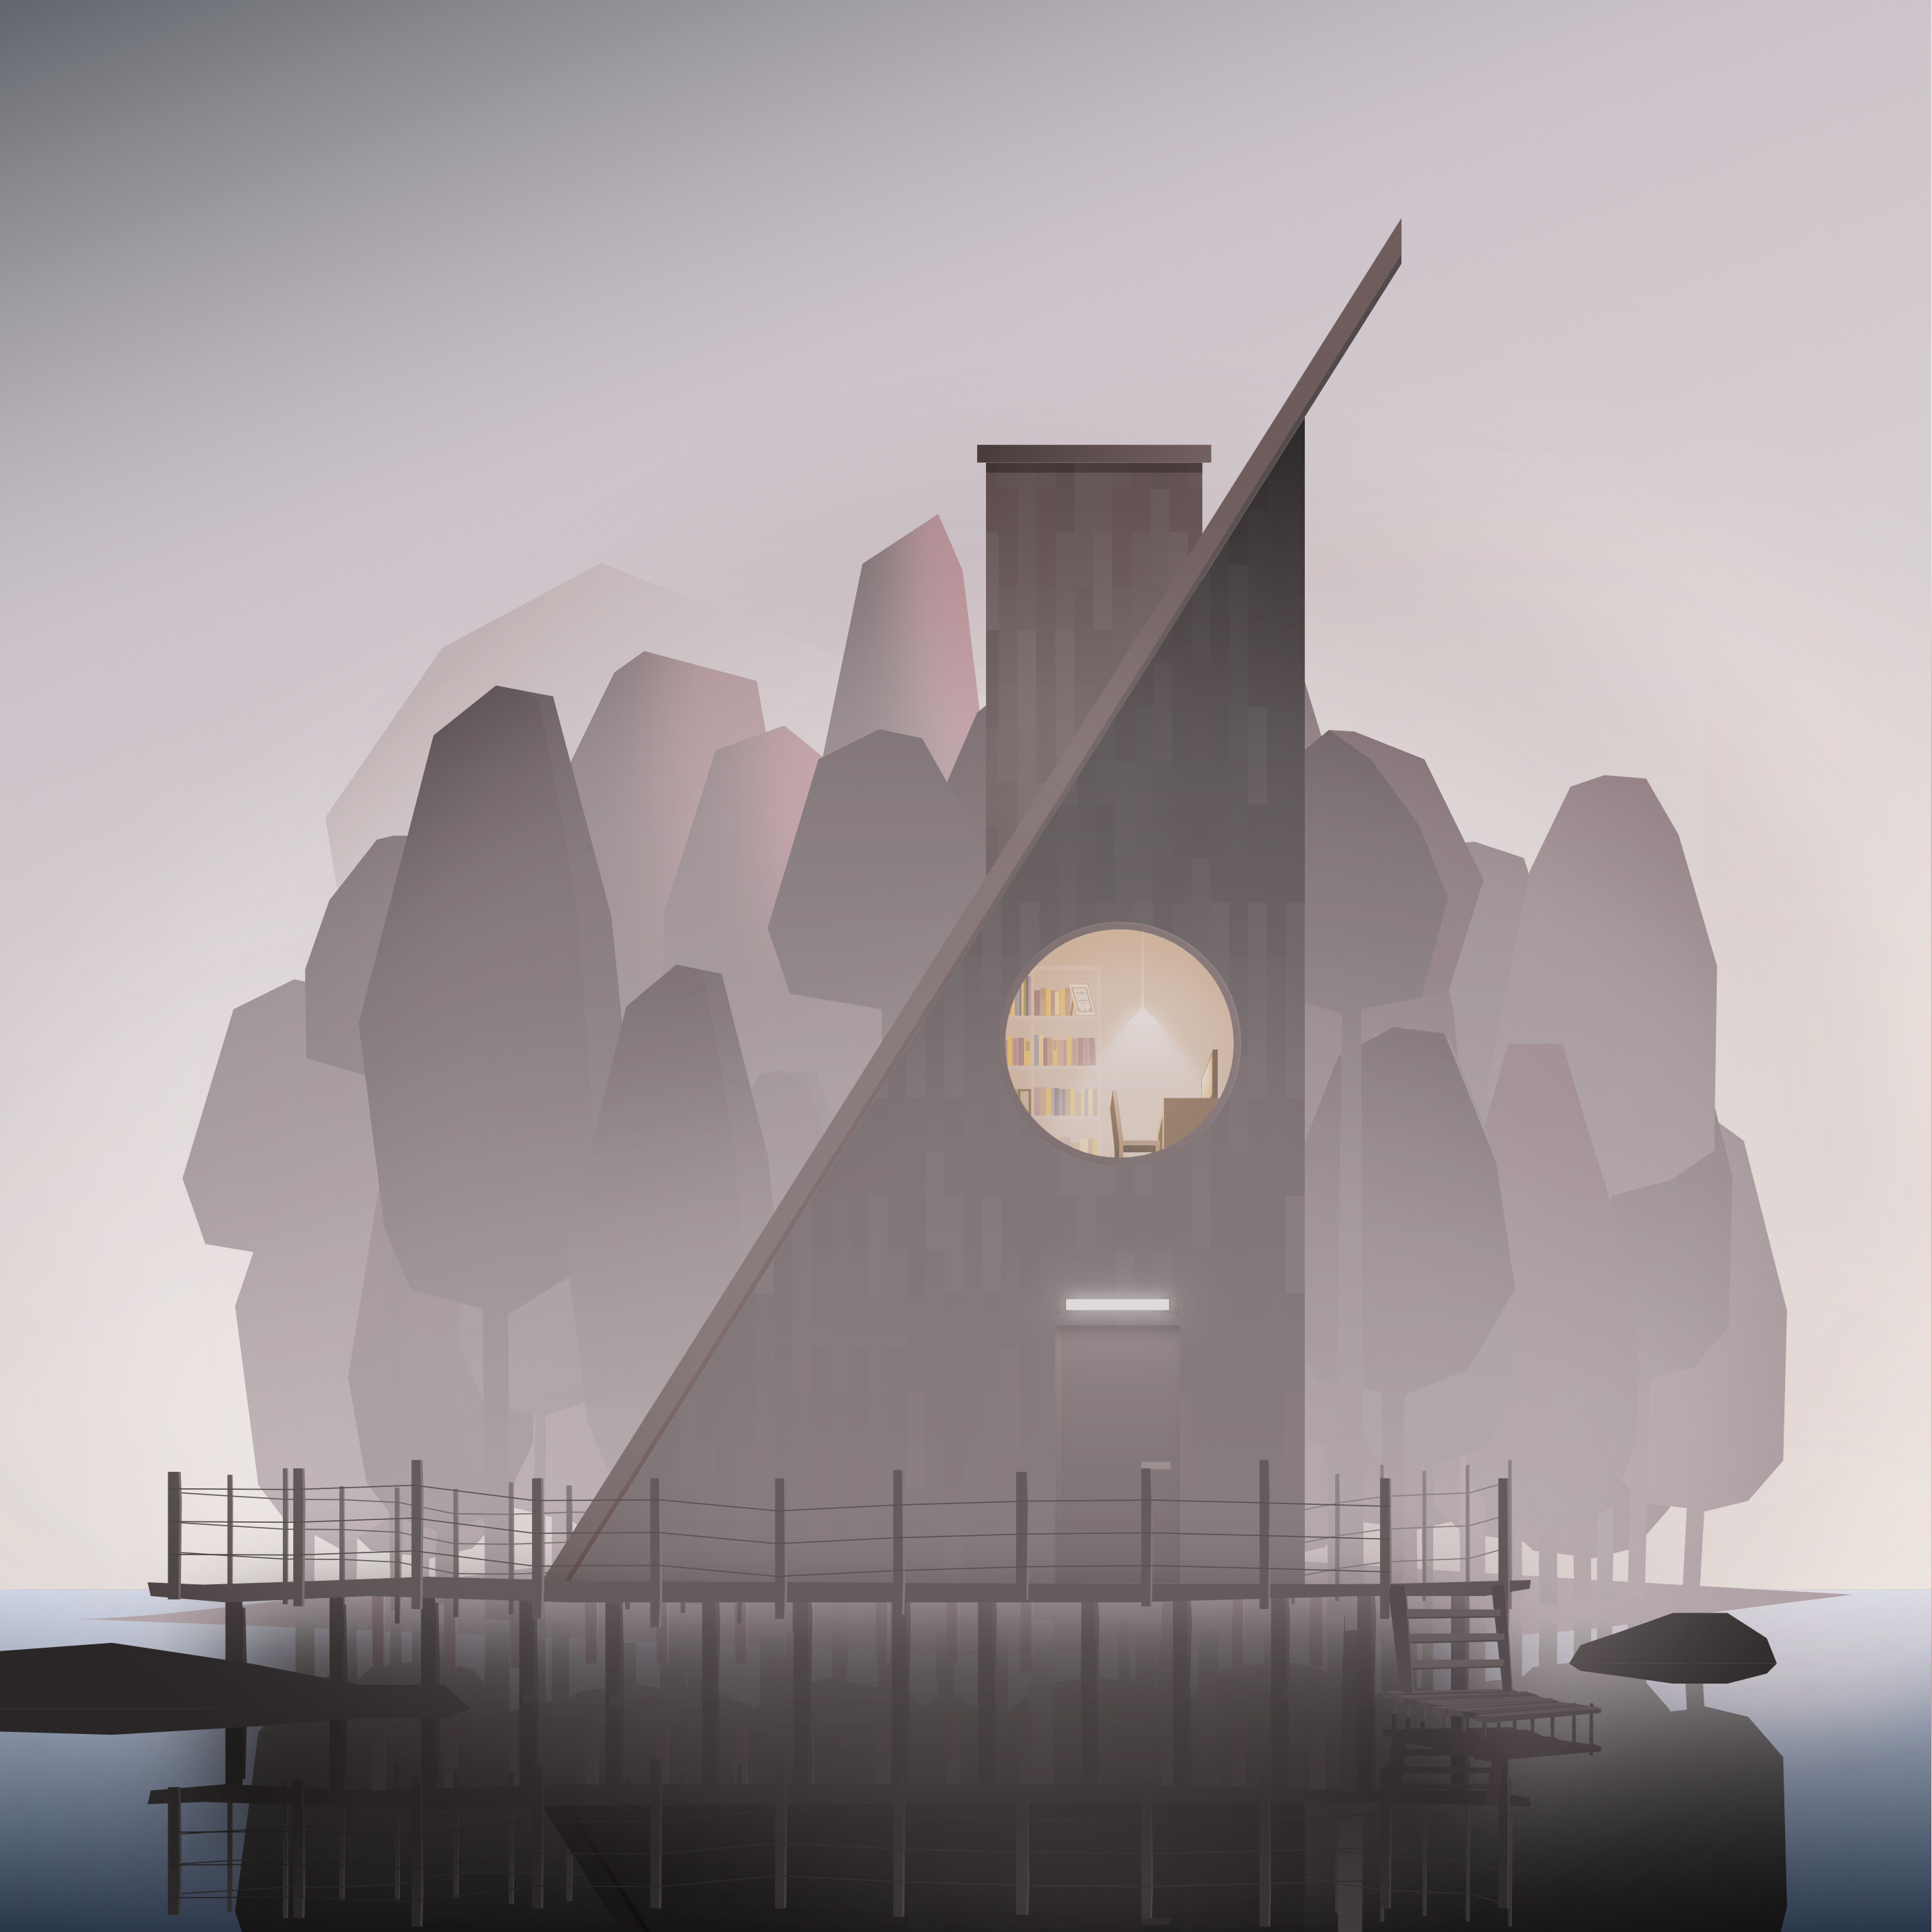
Foggy Cabin
-
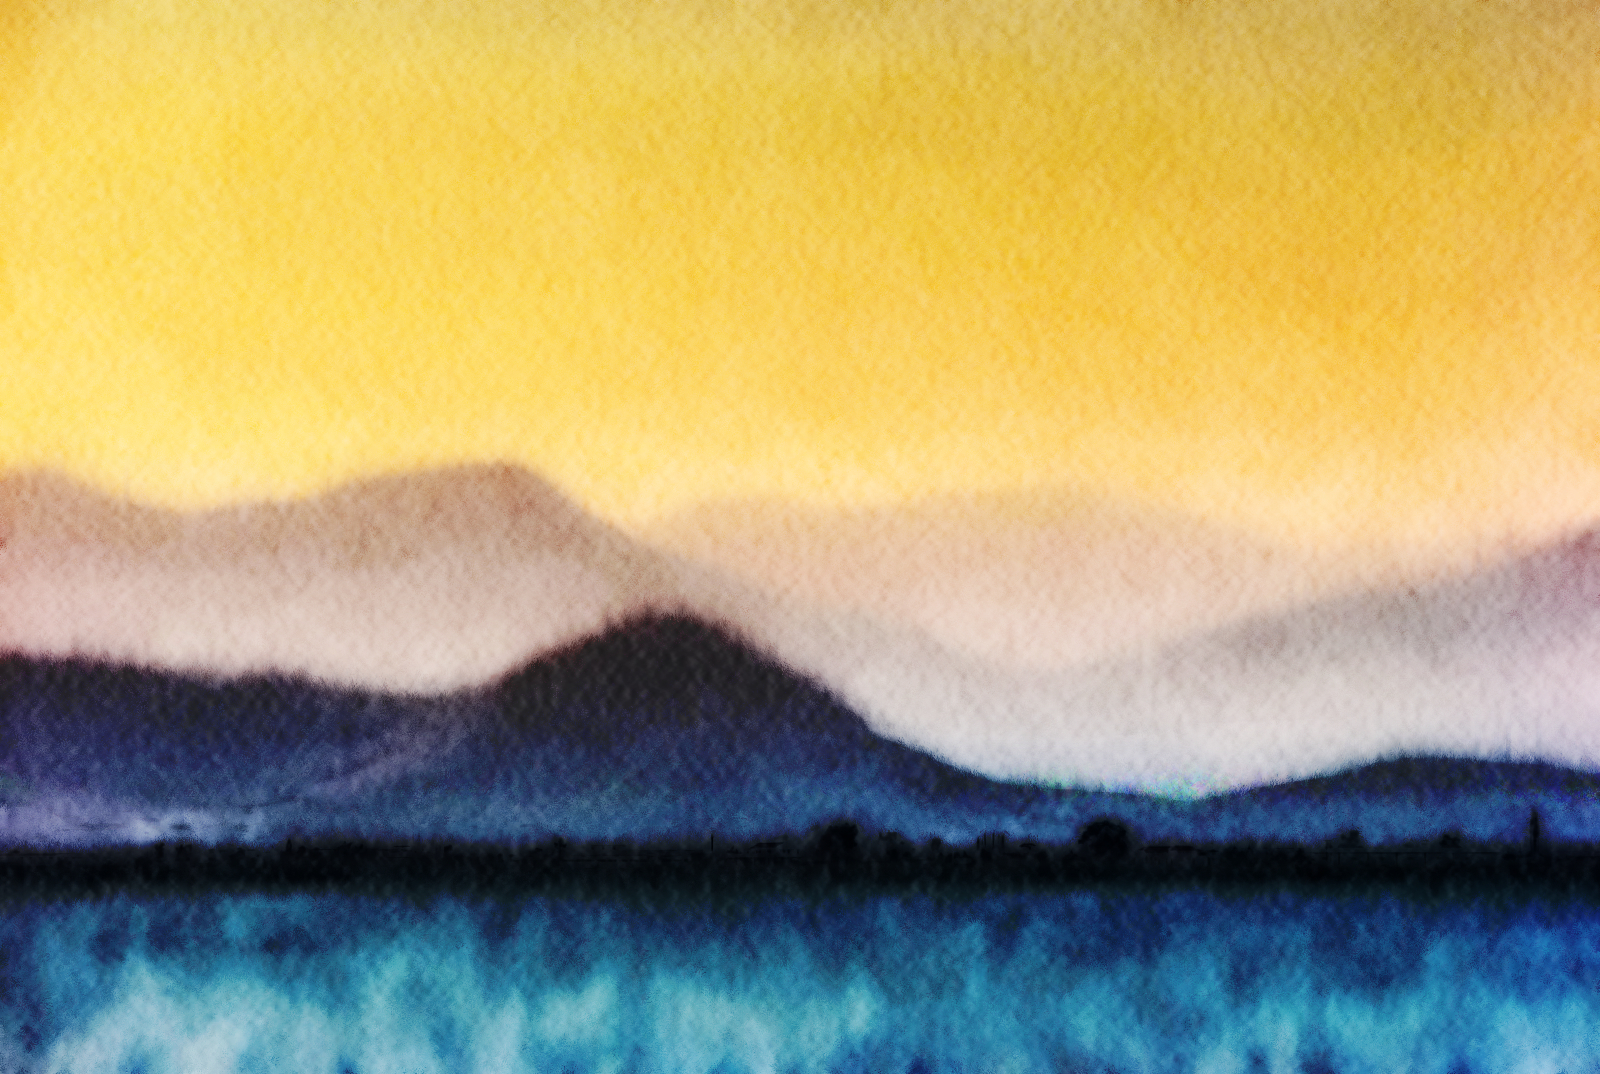
I created this watercolour effect solely by using Affinity Photo's Procedural Textures in combination with standard techniques such at layer blend modes and masking. No third-party filters were used - even the watercolour paper texture was created using Procedural Textures. If you want an introduction to Procedural Textures for absolute beginners, with no maths or coding to confuse you, then I have written a set of tutorials beginning HERE. This image is copyright to me, of course, but I don't mind if you use in websites promoting Affinity Photo and it's amazing potential for art, graphic design and photo editing.
-
An option to stack opened images is really useful for landscape photographers who blend exposures. A nice addition to this option is to select witch images to stack and close the images after stacking them.
-
Well, since photography has always been my first love, here are some of my photos and often with my favourite model! 😉
-
 In this tutorial, we'll cover landscape drawing, composition notions, the focal point, how to lead the viewer's eye and how the HSL dialog (hue, saturation and luminance) allows for incredible versatility in colour choices. Check it out here: https://www.isabelaracama.com/post/design-a-landscape-illustration-affinity-designer-tutorial
- 11 replies
-
- 6
-

-

-
- beginners tutorial
- colorful
- (and 7 more)
-
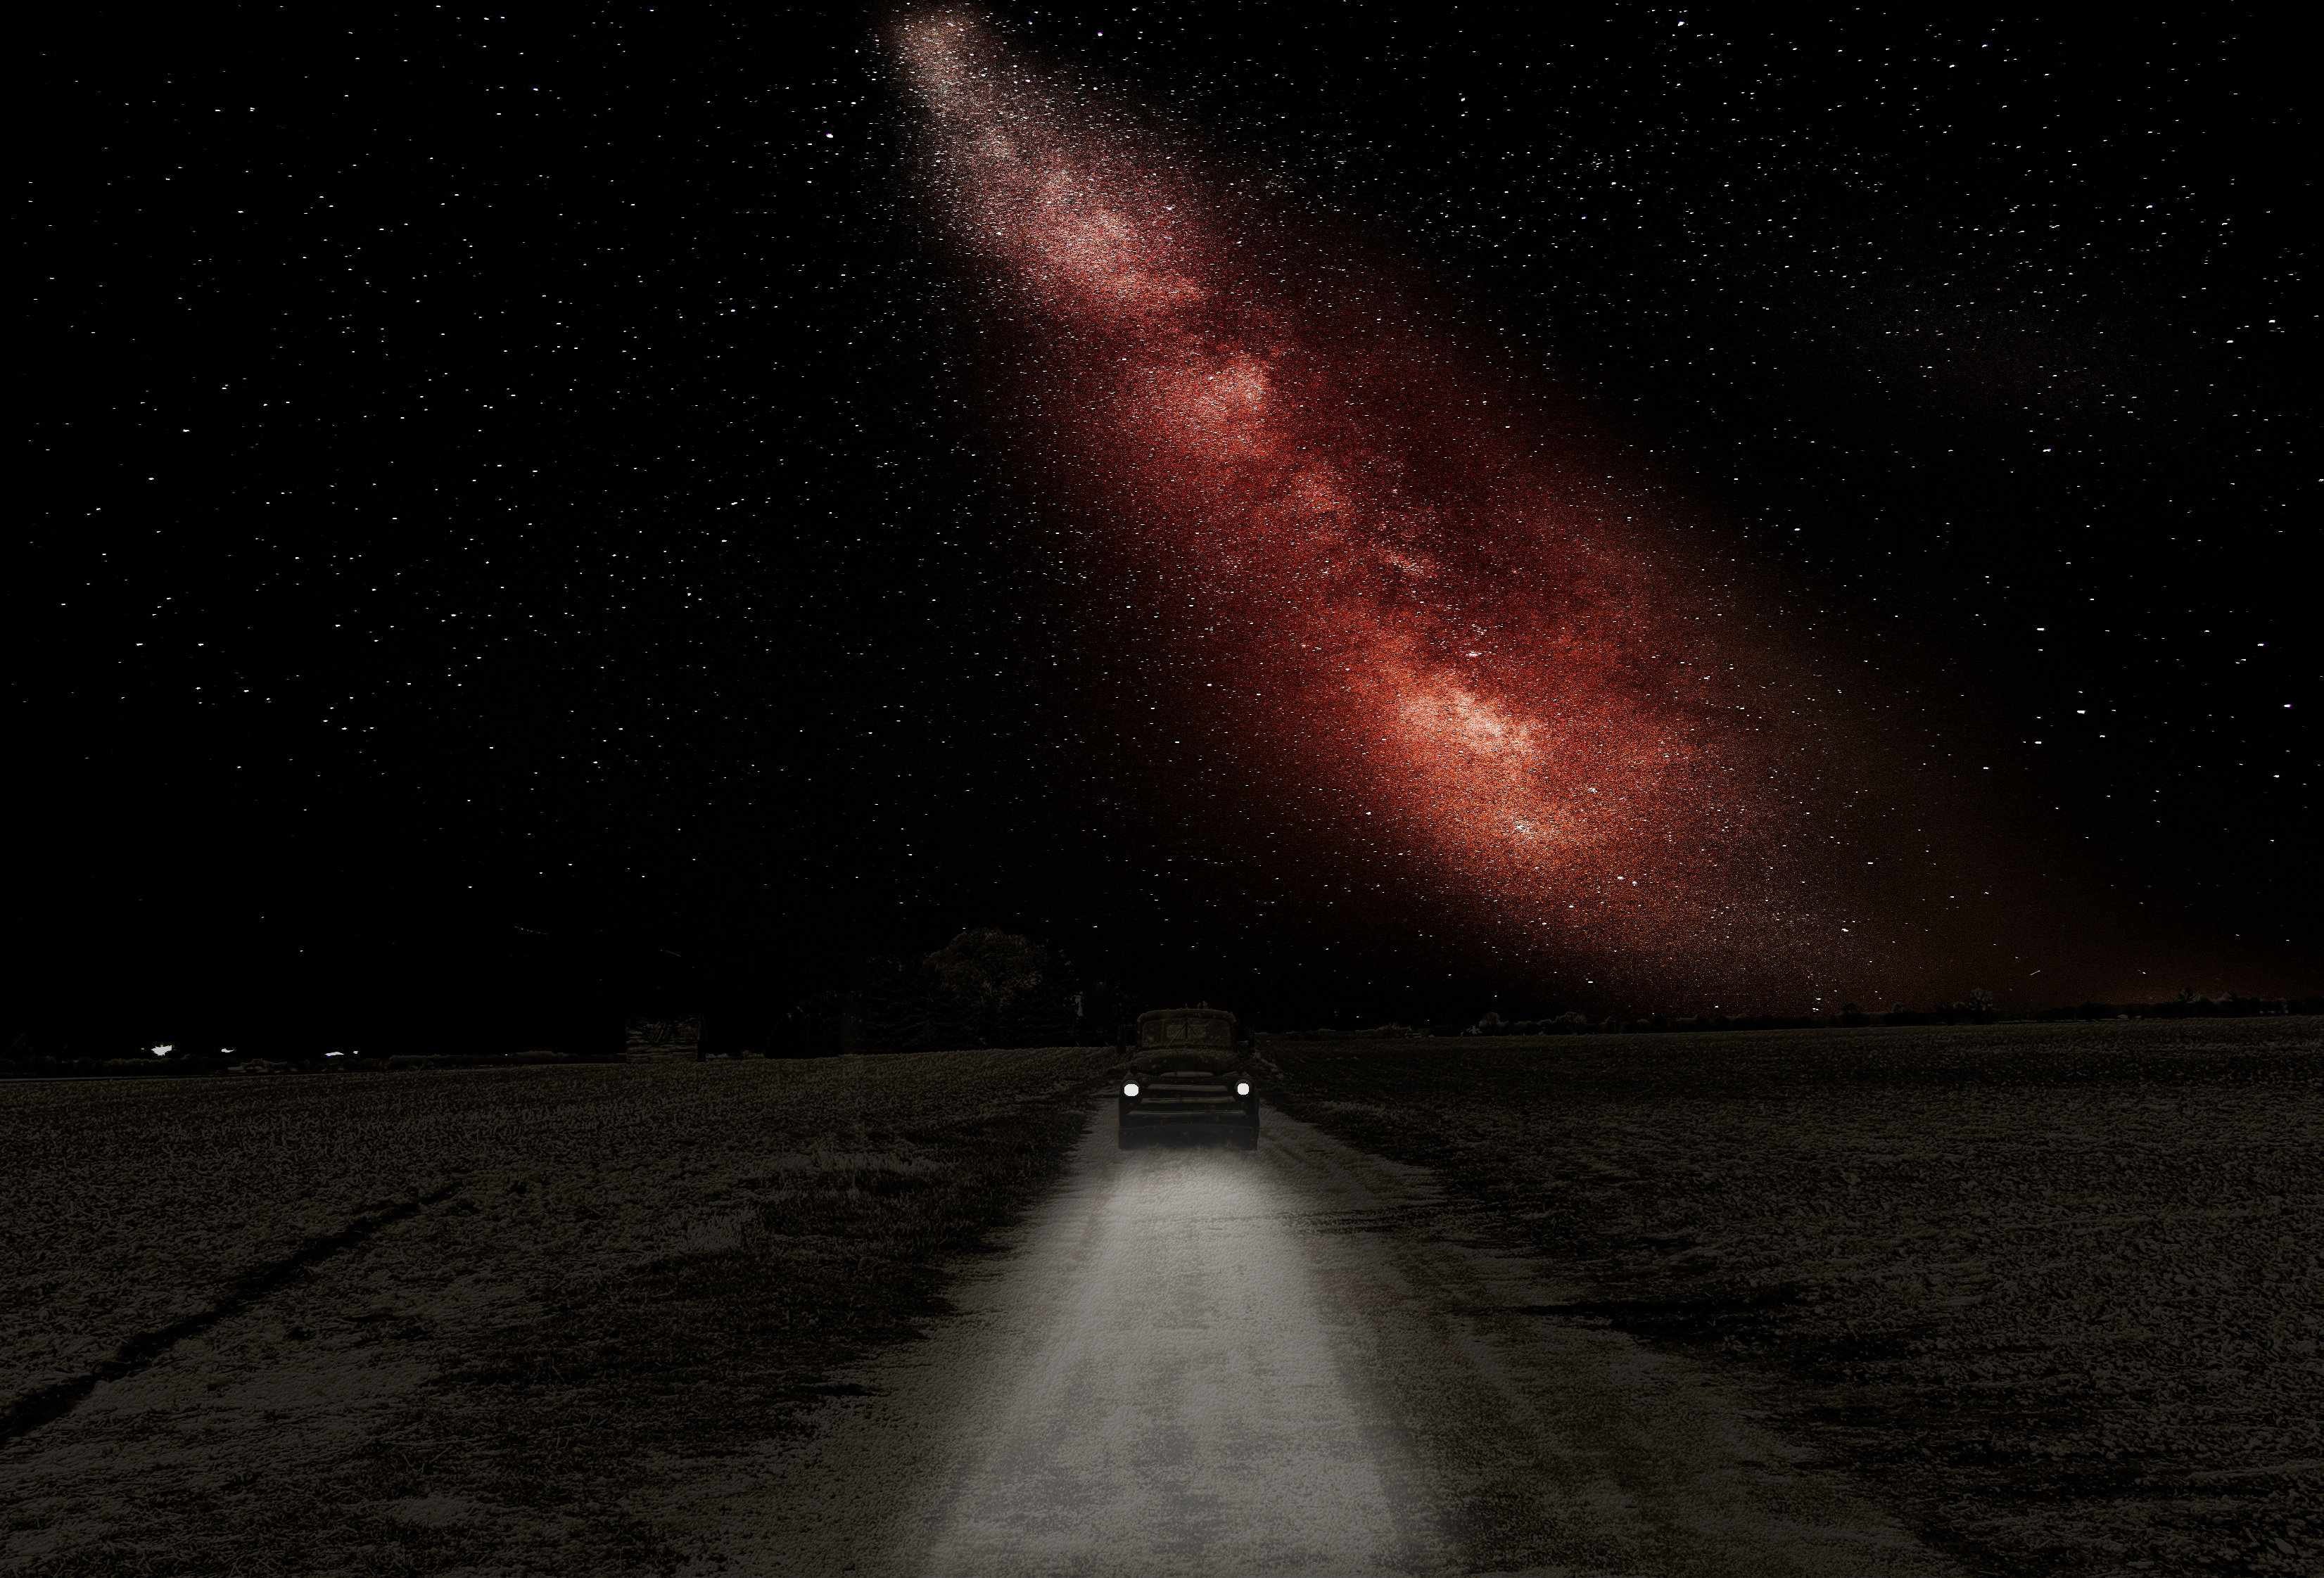
The day time version was given that old time look. The old truck was added to the photo. Using Texture in the lighting control produced that grainy look. With the night version I added a picture of the Milky Way (I took) (sky replacement) and I created the look of headlights for the truck....
-
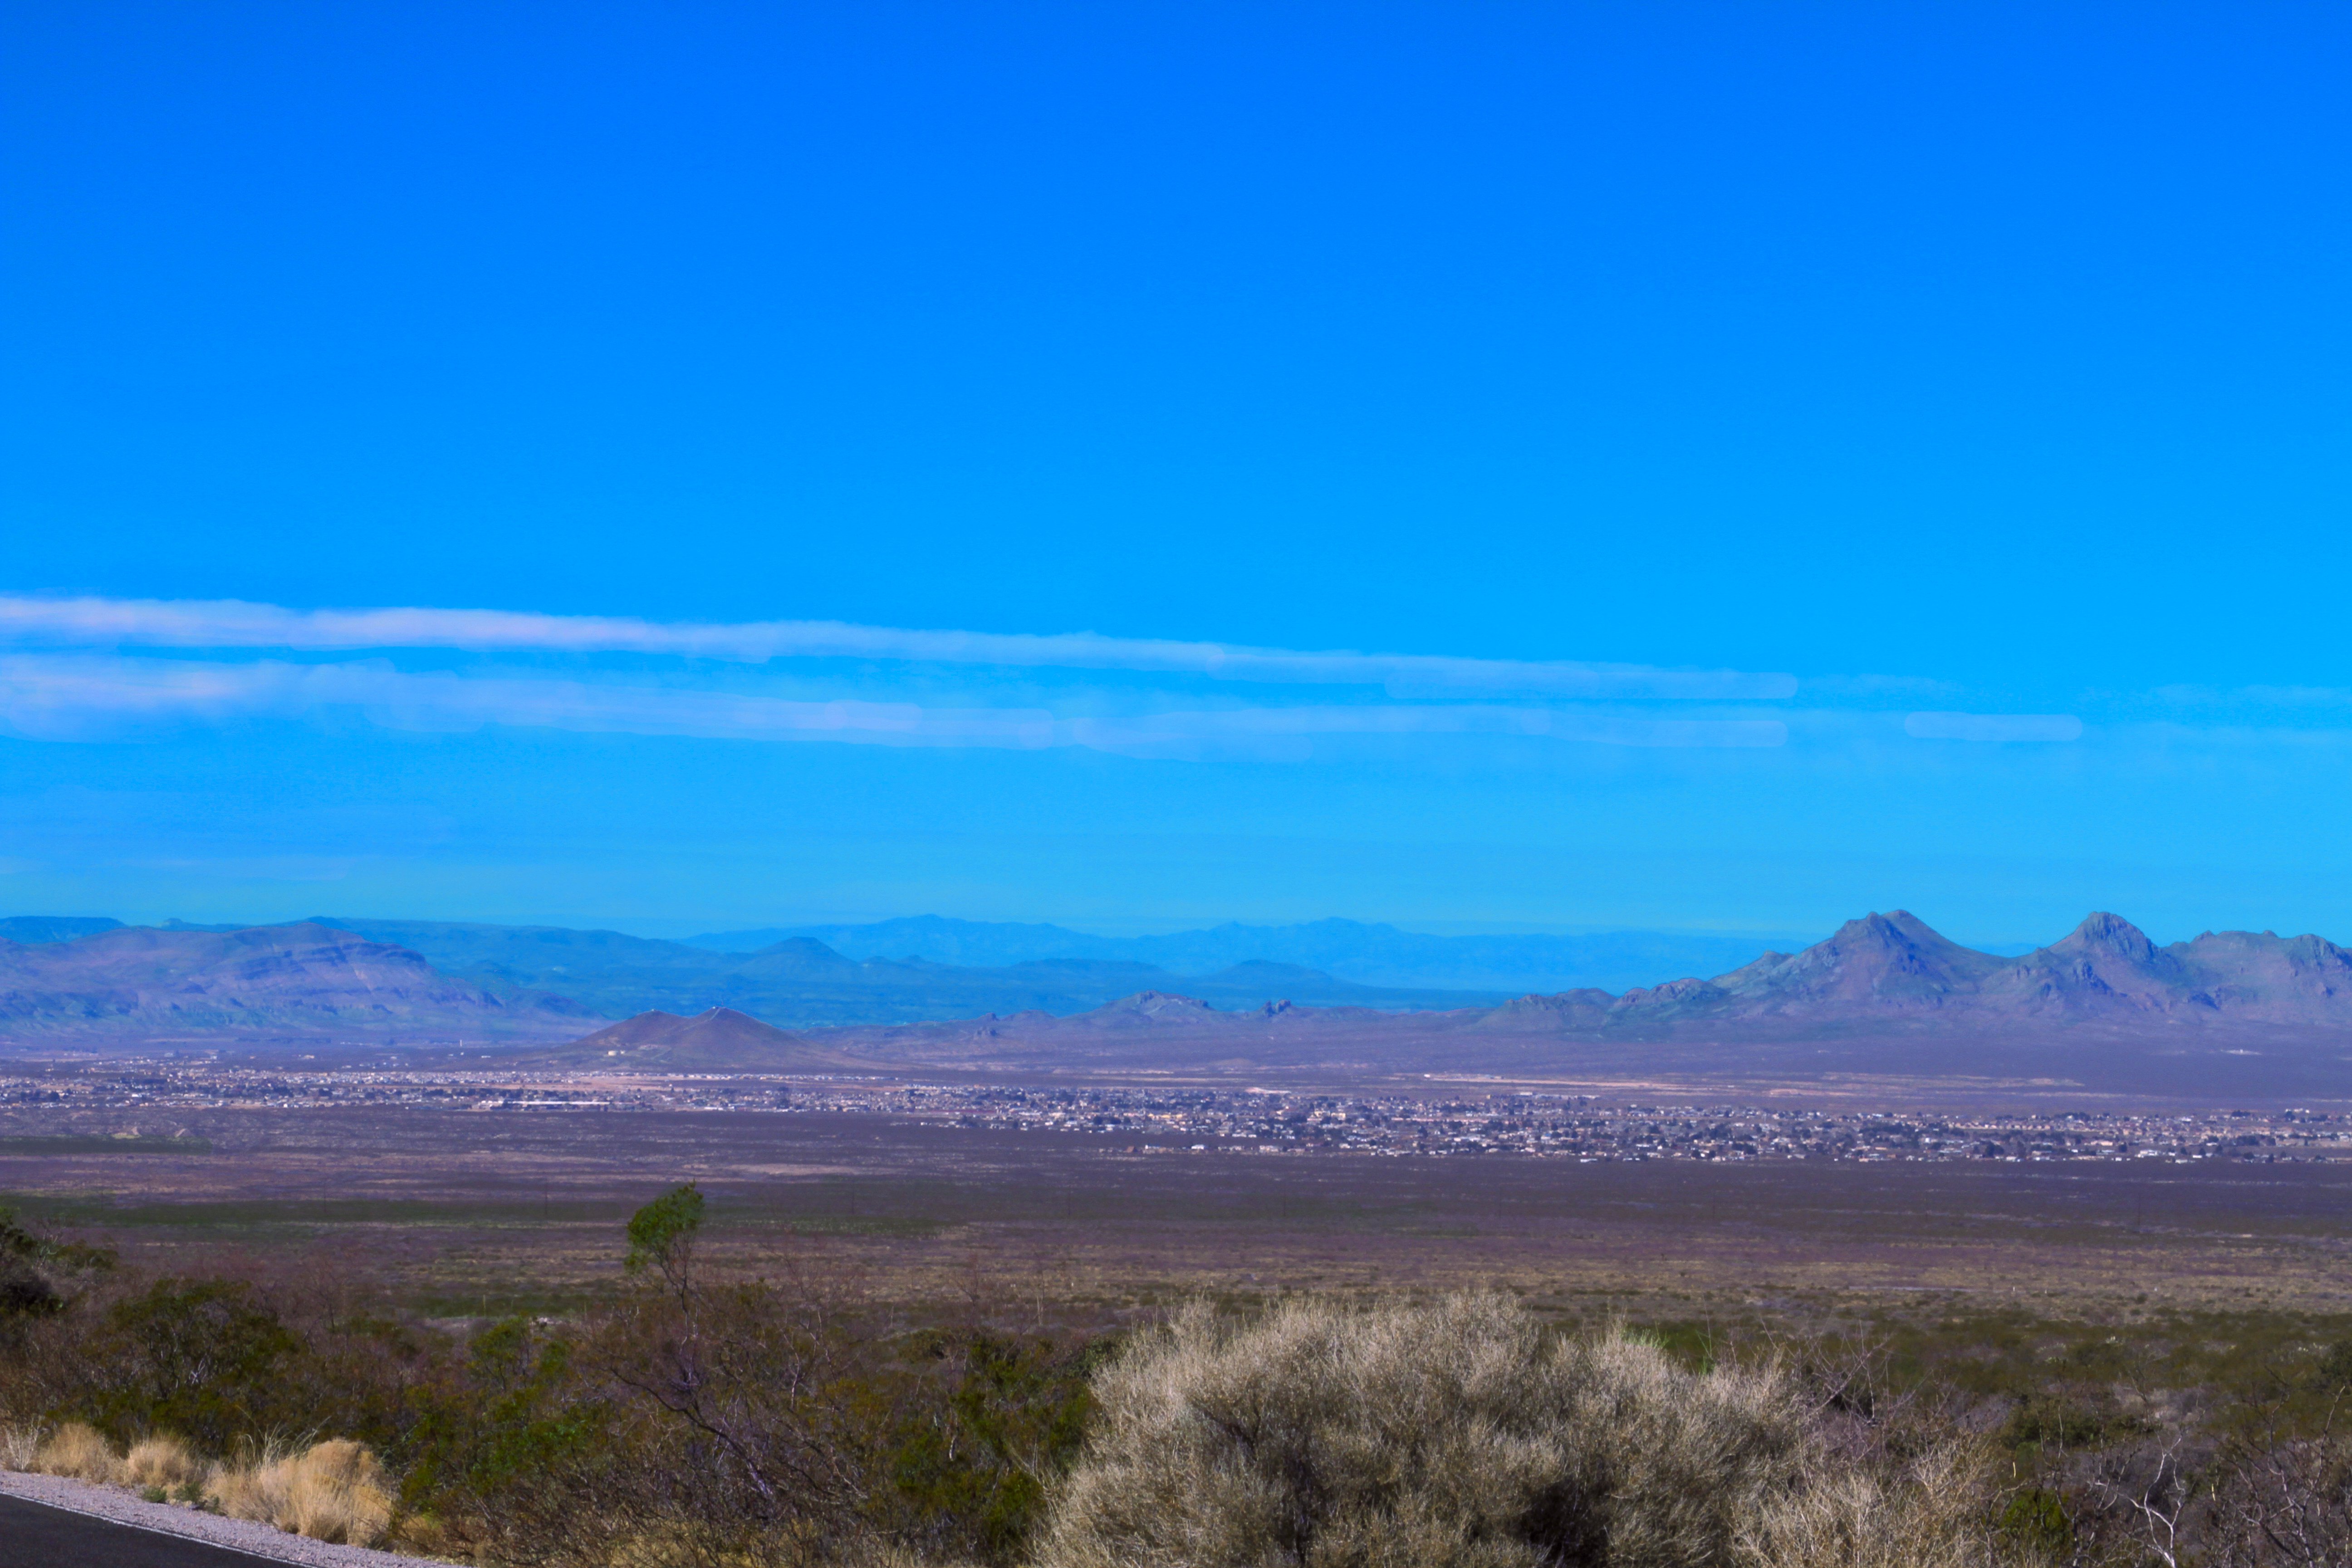
Landscape from above LAs Cruces NM. Canon 7D Camera Settings: f/20, 1/50s, ISO-100, 70mm Canon 28-135 USM Lens First image was as shot and second is edited to ad a little more color vibrance. All edited in affinity photo. The image was too dry and I wanted to push the colors up a little
-

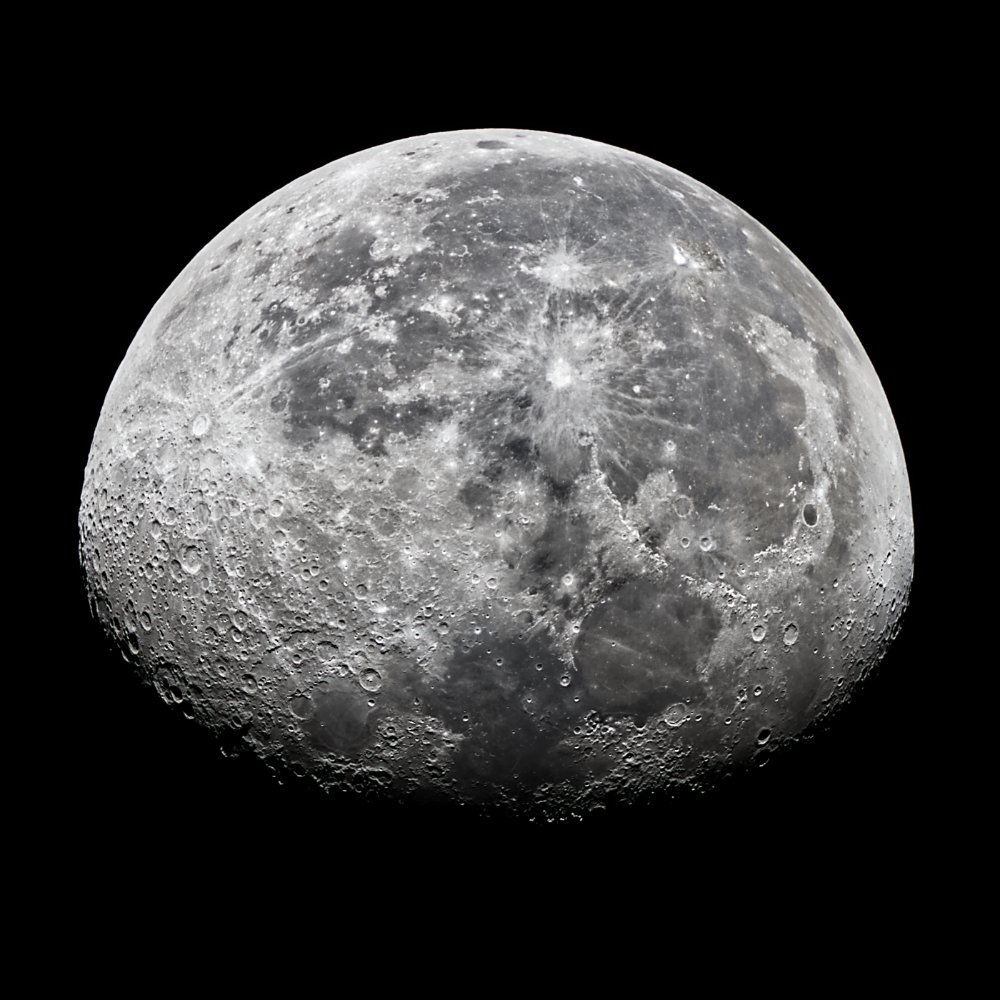
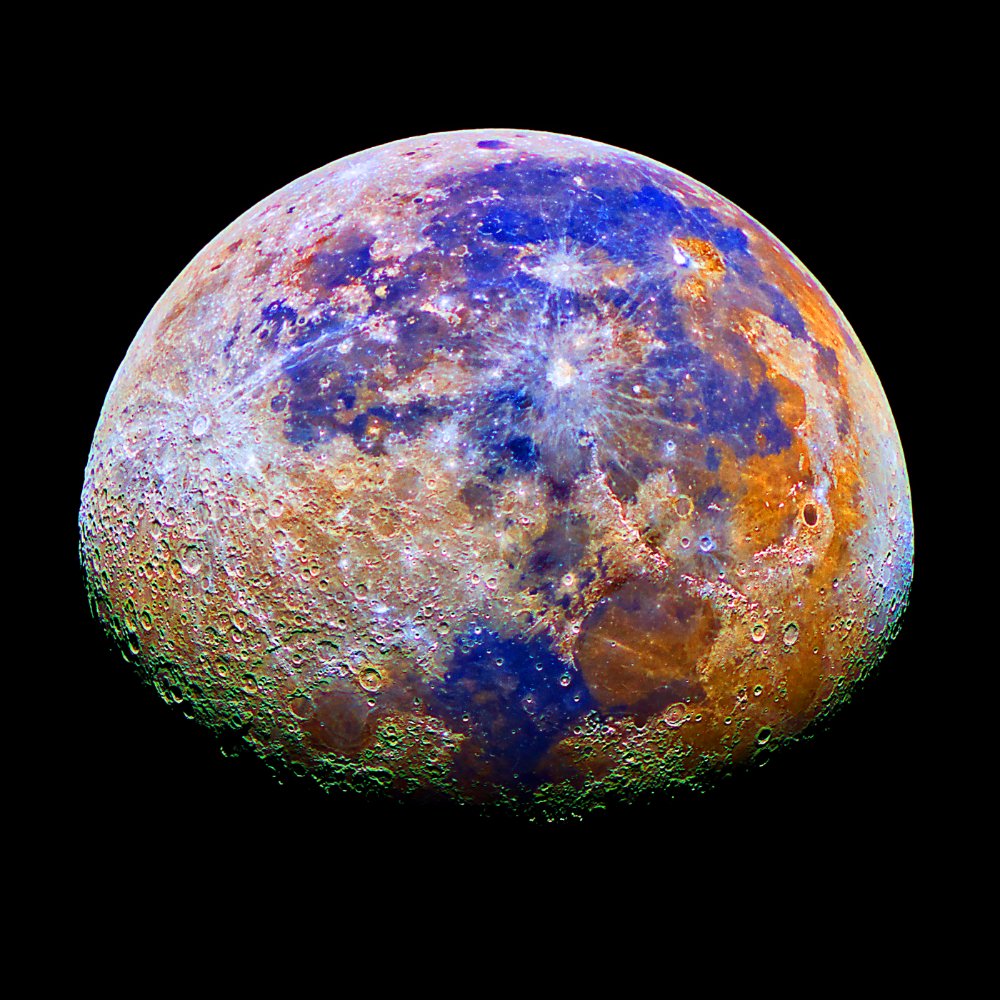
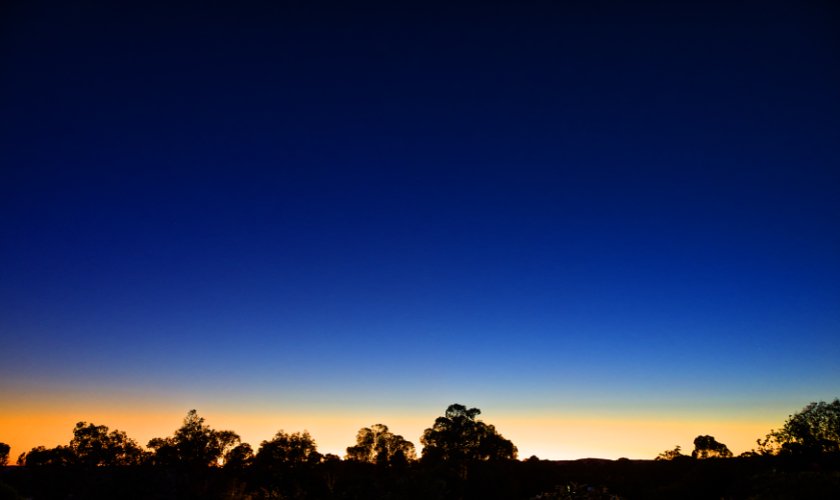
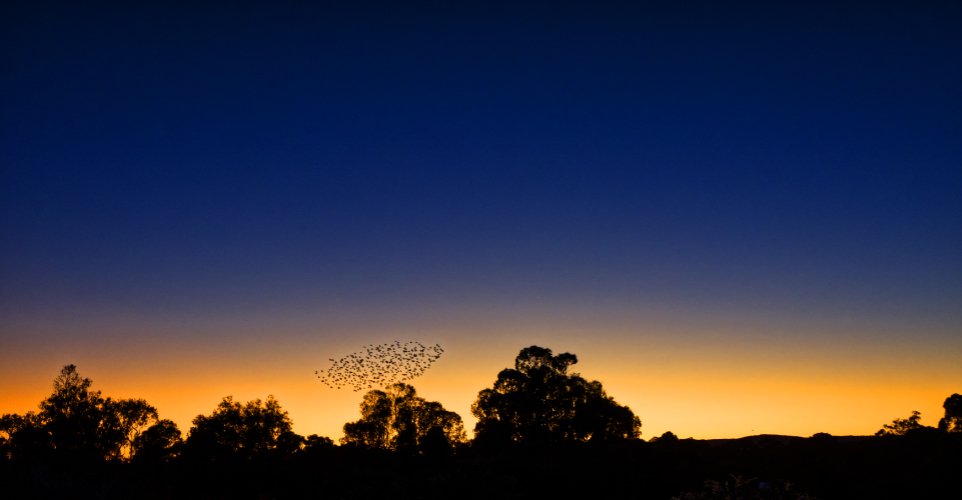
affinity photo Waning Gibbous Moon and the Cloudless Sky
Jeremy_Waller posted a topic in Share your work
Greetings Viewers, I have been taking pictures of the phases of the moon for a photo competition. I need to get 8 good pictures of the different phases of the moon. Early this morning at 05:20 I took some photographs of the Waning Gibbous moon. The two pictures are: 1. The original colour (looks B&W) image. and 2. The colour saturated image (looks good enough for the comp.) To give you an idea of the condition of the sky I took a picture of the sky looking to the north-east. The morning was a cold morning with frost on the ground and totally cloudless and very transparent. The joy of having high altitude aircraft grounded for the last month or so. The colour saturation was increased to show the bands of scattered light. As the dawn progressed to sunrise the "normal" flock of white cockatoos (about 300 - 400 birds) made their way to their morning roost to join with another (approx 1000 birds) then to take off for the days' foraging for seeds and roots etc. Next moon session is on Saturday - heavy rain predicted. Jeremy.