Search the Community
Showing results for tags 'images'.
-
 Our customer has notified us that some images on the latest pdfs have noticeable jpg noise on the edges of the image. This noise is very noticeable because the images have white background. After researching and testing, we have found that this only happens on images that has been cropped and rotated, and only when the pdf is exported to RGB (with the document being made on CMYK), so the "noise" is generated on colour conversion on the cropped image on export. Attached image shows the noise, which is more noticeable the lower the resolution of the exported pdf. Steps to reproduce: Place an image (with white background for better view of the issue) on CMYK document. Crop the image (in our case, to reduce excessive white area) Rotate the image Export to PDF in cmyk, high res (X1A): image has no issues Export to PDF in RGB, any resolution: image has jpg noise in borders of the crop area We checked and it also happens converting to Gray and limitless RGB, and the noise disappears when there is no pdf color conversion. A stopgap solution is to rasterize the image, but this results in an embedded image, unlinking the original, and also doing it on a 4000 image catalogue is a no-no. Exporting in higher resolution and less compression mitigates the issue, but it is still there. In our workflow, this is an issue, because we made the design for printing and later export a digital rgb version from the same document for web publishing. PUBLISHER 2.3.1 MAC OS Sonoma 14.2.1 (23C71) Checked and reproduced on different computers.
-
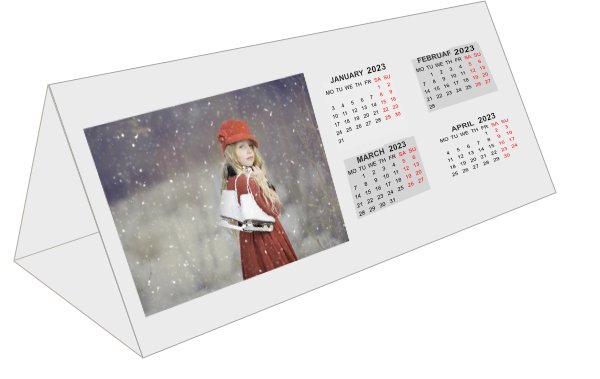
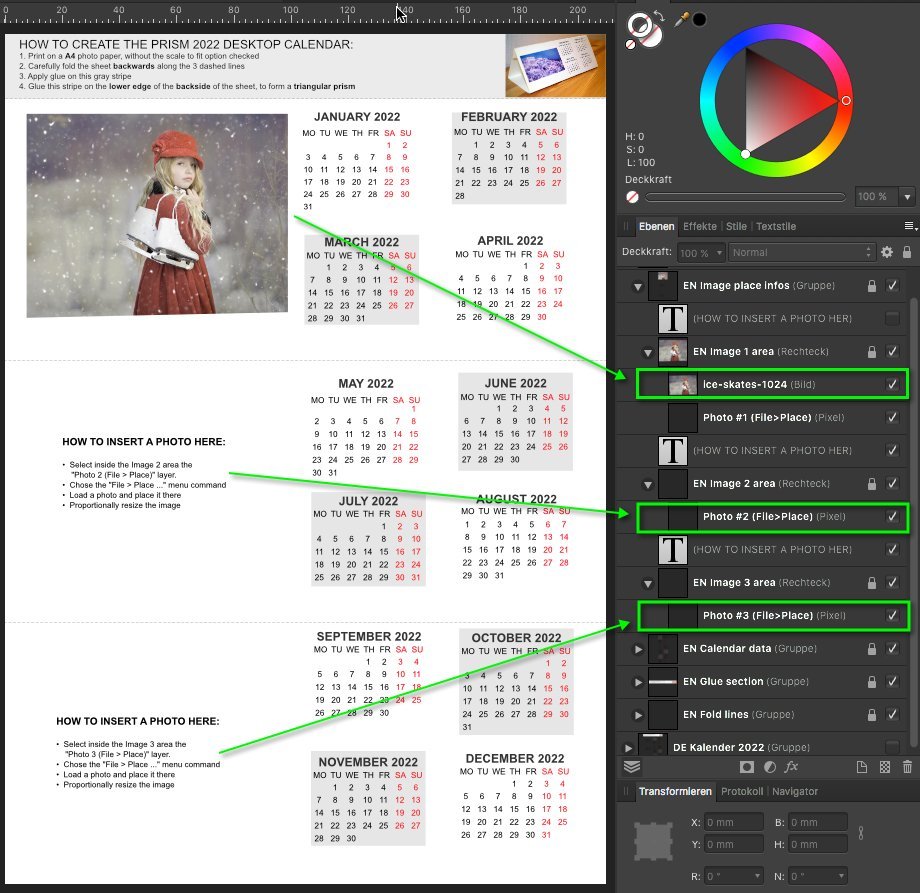
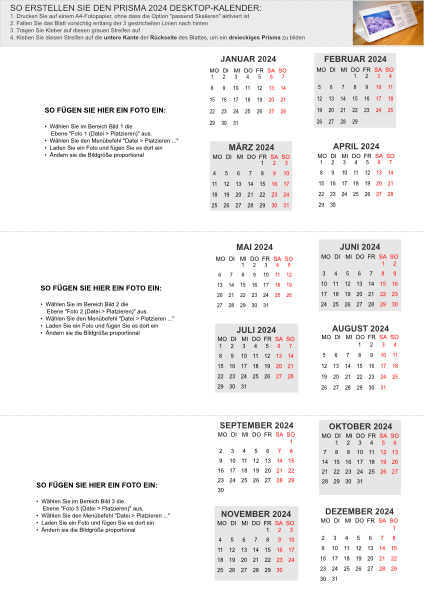
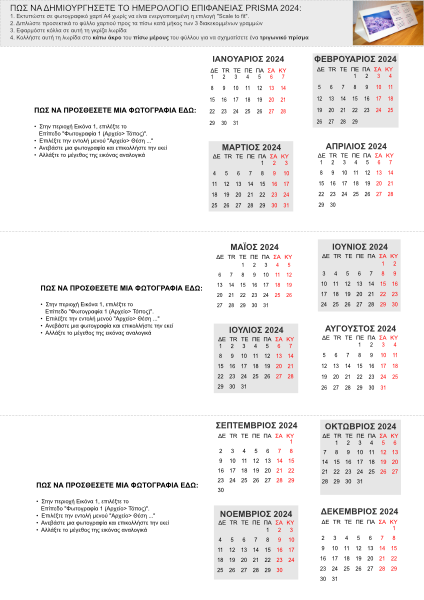
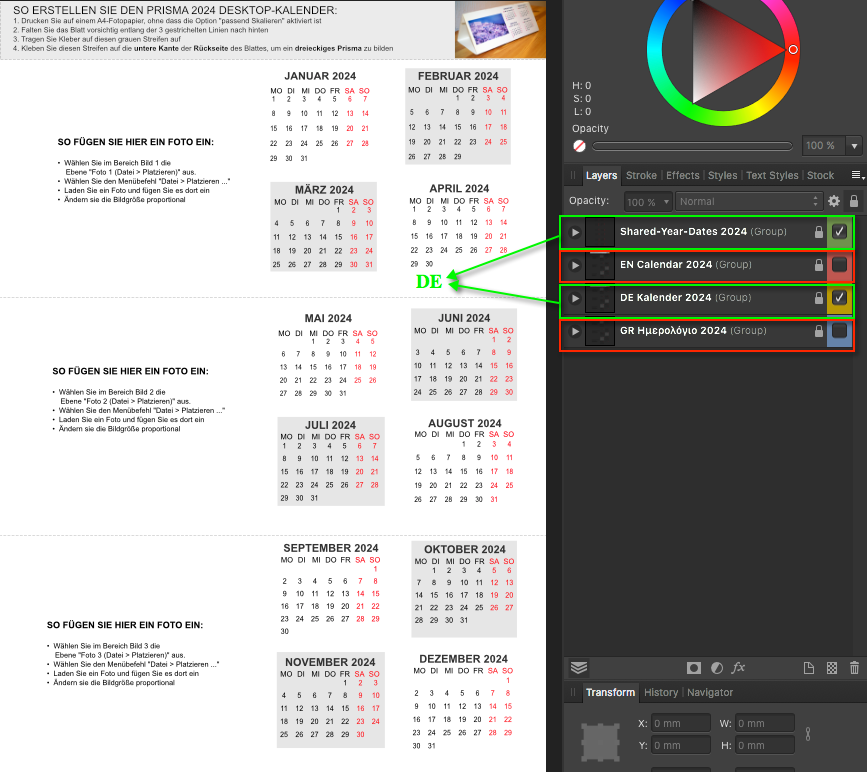
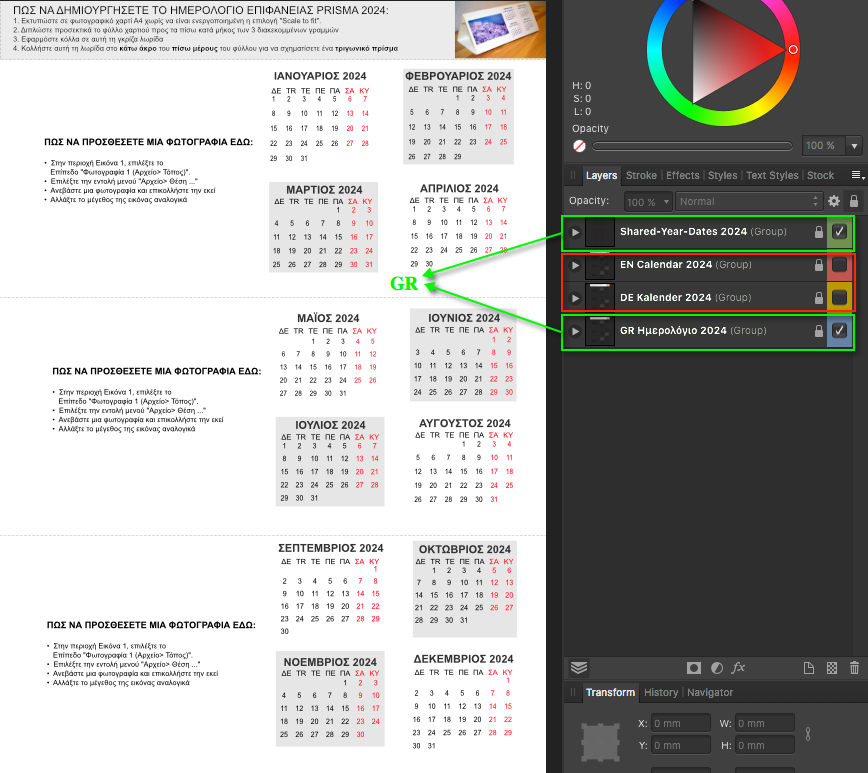
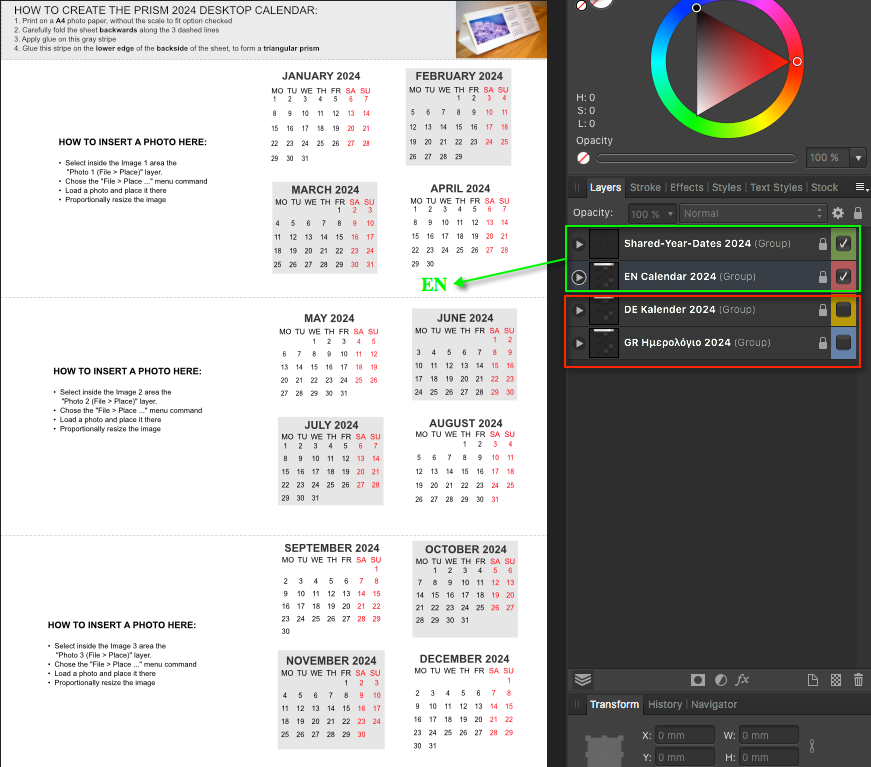
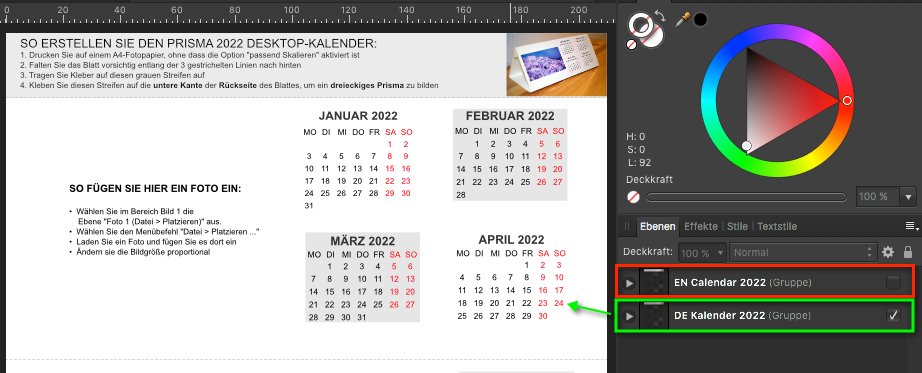
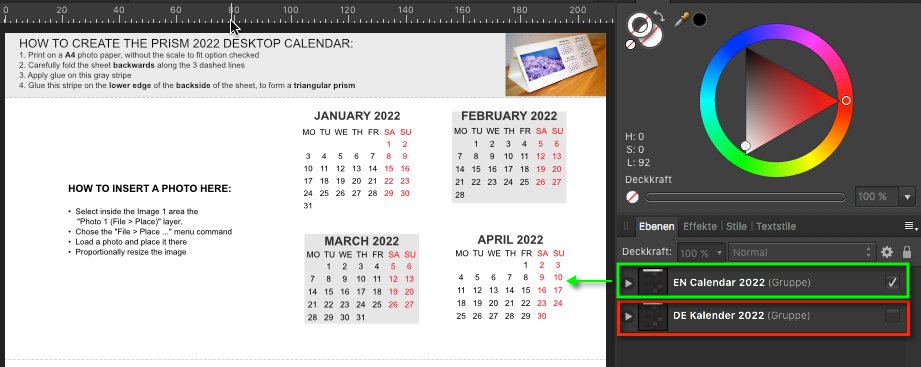
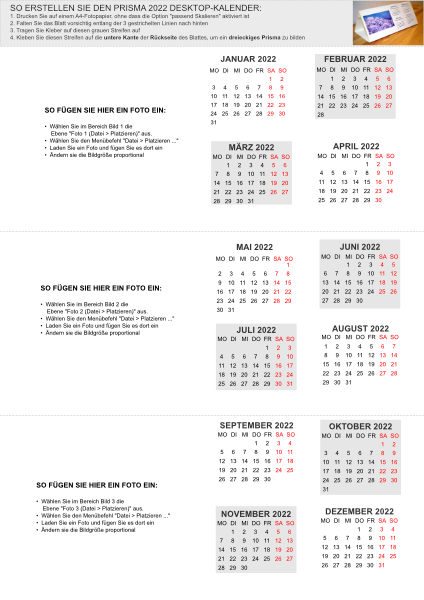
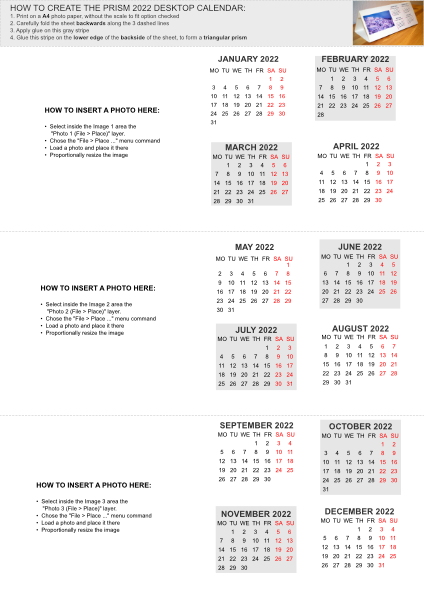
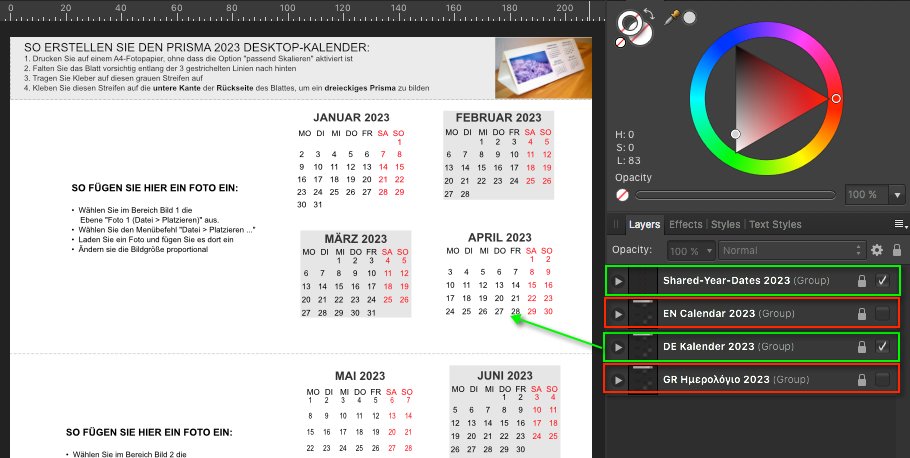
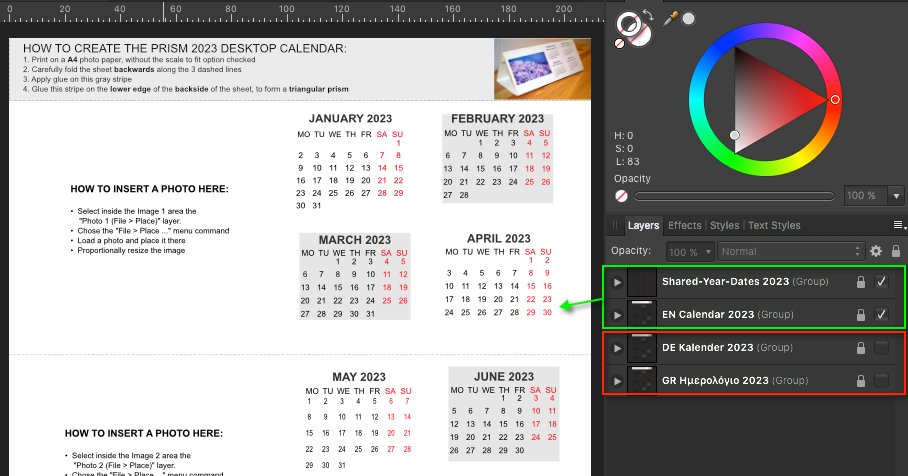
 This is the 2024 prism desk calendar, which is localized for german, english and greek (DE/EN/GR) language and thus allows to switch the calendar languages and print for either of the named languages. - This template can be (re)used in all Affinity apps! The calendar dates used in this template do stem from Mensch Mesch. - The ready glued together calendar looks on a desk like the following, but of course instead with upcoming year 2024 calendar month dates ... ... the A4 Affinity Designer 2024 template looks like this, dependent on the language (DE/EN/GR) switch ... You setup and switch the corresponding language like this for the german (DE) calendar part ... ... or like this for the english (EN) calendar part ... ... or like this for the greek (GR) calendar part ... To add your images into the 2024 prism calendar follow the localized instructions like shown & written on the 2024 calendar. Here's an older shown 2022 prism calendar variation screenshot of where to place the images ... Here's the corresponding 2024 prism calendar AD template file, it's a ADe V1 one, so it can be used with Affinity V1 & V2 apps ... prism_A4_calendar_en_de_gr_2024.afdesign Let's hope that we will have in 2024 world wide better & peaceful times then!
- 1 reply
-
- 2
-

-
- affinity designer
- prism
- (and 5 more)
-
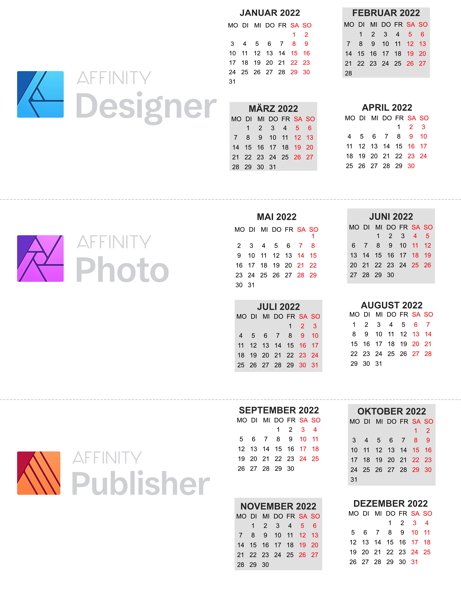
Here is a template for an A4 sized prism desk 2022 calendar created in AD. This template can be (re)used in all Affinity apps! This 2022 calendar is localized in german, english and greek (DE/EN/GR) and thus allows to switch the calendar languages and print for either language. The calendar dates used in this template do stem from Mensch Mesch. - The ready glued together calendar looks like the following ... ... the A4 Affinity Designer template looks like this, dependent on the language (DE/EN) switch ... You set and switch the corresponding language like this for the german (DE) calendar part ... ... or like this for english (EN) calendar part ... To add your images into the calendar follow the localized instructions written onto this calendar ... ... and here is the corresponding AD template file ... prism_A4_calendar_2022.afdesign prism_A4_calendar_en_de_gr_2022.afdesign Let's have a good time in 2022!
- 11 replies
-
- 11
-

-
-
 Hello I create regularily a photobook with > 300 Pictures in Affinity Publisher. I arrange these photos -- sometimes up to 10 pictures per page -- on the pages of that photobook. Whenever I paste these images from another tool (Luminar -- unfortunately still waiting for a Lightroom competitor / killer from Serif) the pictures will be added to my page in different scales based on their resolution, oftenly they are much to big to fit into the page. Is there any way to automatically with in the drop process scale them down to a size that fits into the page directly without touching every picture separately. In my workflow I drag them over, mark all of them and scale them down manually. Afterwards I bring them into frames to be able to adapt the image focus, scale and fit into my arrangement, the grid, etc... Many thanks for any ideas, hints etc..
 -
 I have the following suggestions for improvement to make working with placing and editing images easier and more efficient: When doing layout, you actually always work with images that are in frames. Until now it is always unfortunately the case that images placed by drag-and-drop are always inserted as a pure image without frames. Therefore, it is always necessary to convert them awkwardly via context menu as picture frames. This is somehow very cumbersome. Couldn't a user preset be included that makes the image placement similar to e.g. InDesign or QuarkXPress (images are automatically in frames)? Also, unlike InDesign and QuarkXPress, determining the image section in a frame is still far too cumbersome in Affinity Publisher, unfortunately. I know there is an image fit feature that is somewhat similar, but you still have to select the correct frame point position in the image options each time so that when you draw the frame closed, you don't accidentally move the inside image inside the frame. There better be an option that you really can close or open the frame from any side without moving the position of the image inside. It also wouldn't be bad if you could preset the different image fitting functions in the preferences as well (how you prefer to work). The manual switching between the different modes could still be left as it is (so that you can still change the mode in between). I hope that some of these things can be implemented in newer versions.
 -

Linked images and/or replace image
dantaylr posted a topic in Feedback for Affinity Photo V1 on iPad
I would love the ability to live link or swap the source of images in Affinity Designer for iPad. I’m currently working on a photo book layout and need to make frequent color edits to the images. I would love the ability for these images to either be live-linked to a file or photo in Apple Photos so that edits automatically update. Changing the source of the photo while keeping size, position, and adjustments would be great as well. Please consider this as I am using this tool full-time at this point and this feature is integral. -
 Affinity Photo v2 iPad Version - Beginners Guide to using Drag and Drop and the Place Command The tutorial starts off with a look at the Embedded and Linked Placement Policy, plus using the Resource Manager check and alter the Placement Policy of files. The actual tutorial starts by looking at how to drag and drop single and multiple files from the iPad’s File and Picture Folders, plus from a web page. Then a look at using the Place Command to do the same thing. Lastly a look at using the Place Command while using a Photoshop PSD Mock-Up file. Intro – A Look At The Placement Policy – 0 to 2:56 Drag and Drop from the Photos Folder – 2:57 Drag and Drop from the Files Folder – 5:45 Drag and Drop images from the Internet – 8:16 Using The Place Command – 11:52 Using Place Command with a PSD Mock-up file – 13:53 Serif’s Affinity Help File web page https://affinity.help/ Dropbox PDF iPad version Download Link https://www.dropbox.com/s/yzcm75vonfp619o/iPad%20Version%20-%20Affinity%20Photo%20v2%20-%20Beginners%20Guide%20to%20Affinity%20Photo%20-%20Part%204.pdf?dl=0 Dropbox PC version PDF Download link https://www.dropbox.com/s/ws6dey2yeaxzsrf/Affinity%20Photo%202%20-%20Tutorials%20Vol-010%20-%20Beginners%20Look%20At%20Placing%20Images.pdf?dl=0 Mock-up PSD File from Freepix as used in this tutorial. https://www.freepik.com/free-psd/blank-billboard-mockup_2736937.htm#query=mockup&position=17&from_view=keyword&track=sph
 -

Designer 2: Warp for images too
NBG posted a topic in Feedback for the Affinity V2 Suite of Products
The new warping options in AD2 are great but doesn't work with bitmap images (no matter if single images, images in groups or converted images into curves). Feature request: add image support for warp! 🙂- 1 reply
-
- 9
-
-
- affinity designer
- v2
- (and 3 more)
-
 As a long time Photoshop user, I've come a long way to understanding how to work in AP over the last few months, but some things remain a bit confusing and unclear to me. I'm sure I'm not alone. The distinction between images, pixels and alpha is one of them. Exactly what are they and what makes them different? For me, it raises questions about masks, adjustment layers, filters, etc. Is a mask made up of pixels, or is it just pure alpha. Same with adjustment layers, live filter layers, etc. Is an "Image layer" pixels? Trying to understand the Channels Panel has brought up a lot of questions. I used channels extensively in Photoshop and was able to easily tweak these channels for blending, masking and other operations. In Affinity, it appears a mask is different from a grayscale pixel layer and needs to be treated differently. How to edit a mask as a pixel layer, so I can apply ANY filter or adjustment, is a bit confusing and seems somewhat complex. I have made progress for sure, but I'd like a more in depth understanding of these differences. I've watched most of the tutorials I can find, and I've done some searching, but haven't found clearly presented information that has examples to clarify these differences. I'm hoping Affinity can create a video tutorial that addresses some of these questions (or point me to something I haven't found in my searches). Some of the issues I'd like to understand include... The distinction between image layers, pixel layers and alpha. What is each made up of and how are they different? Exactly what are masks, adjustment layers, live filter layers, etc...(pixels, alpha, etc) Is there a way to apply ANY adjustment, filter or effect to a mask? If so, how? Why does one sometimes need to 'rasterize' what is already a pixel layer? What happens when one "rasterizes to a mask"? R,G,B channels are pixels (I assume), but what about the alpha channel? These are the sort of questions I'd love to see addressed in an in-depth video with plenty of clear examples. It would make the transition easier and help many people get more out of AP more effectively and quickly. At least, it would for me. If such information is already available, I'd love a link. I think this information would be a valuable addition to standard list of AP tutorials. Thanks.
- 18 replies
-
- 2
-
-
- affinity photo
- alpha channels
- (and 3 more)
-
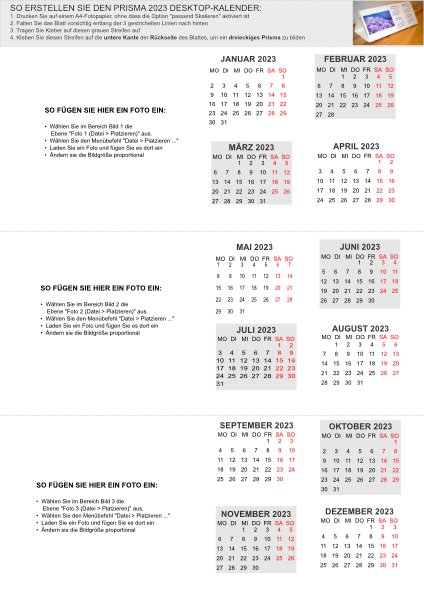
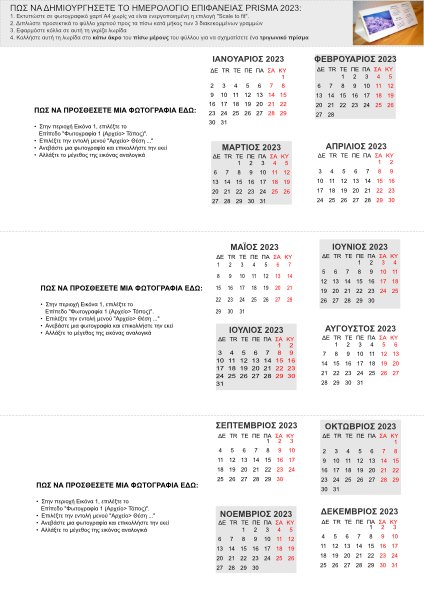
Here is a template for an A4 sized prism desk 2023 calendar created in AD. This template can be (re)used in all Affinity apps! This 2023 calendar is localized in german, english and greek (DE/EN/GR) and thus allows to switch the calendar languages and print for either language. The calendar dates used in this template do stem from Mensch Mesch. - The ready glued together calendar looks like the following ... ... the A4 Affinity Designer template looks like this, dependent on the language (DE/EN/GR) switch ... You set and switch the corresponding language like this for the german (DE) calendar part ... .. or like this for english (EN) calendar part ... To add your images into the calendar follow the localized instructions like written onto this shown 2022 calendar variation ... ... here is the corresponding AD template file ... prism_A4_calendar_en_de_gr_2023.afdesign Let's have better times then in 2023!
-
Hey everyone! I have a lot of files (right now, 128, but there will be a lot more) from Procreate that need minor editing. I would like to save all .pngs flattened and close all files at once, since at the moment, this takes just about the amount of time that I need for actual editing. It would be great if there was a way to save multiple files in the same manner (for example, flattened) and (or) close them with discarding any unsaved changes. Best wishes, Shu
-
 I wish I could. It is a very useful feature…
 -
 Hi all, I am new to Publisher. I have written my autobiography in Word 2007 but am having trouble with Word rendering images correctly in the document, mainly brightness and colour. I purchased Affinity Publisher as it is a colour managed application. I have tried importing the Word document into Publisher, however the layoout is completely wrong in Affinity, the images are all in the wronlg place. Is this what I should expect, then have to adjust in Publisher, or is there a way to import the Word document and maintaind the same layout? Regards, Steve
 -
hello my problem is about the color of the imported images. The color changes automatically and I don't know why. I leave the example. How can I solve that ?
-
 Dear Affinity experts, I have to do the following: I have two images, camera location and scene is the same. One is a photo and the other one is a still image from a video. Unfortunately size and cropping are not the same. Therefore I have to align the photo so that it matches the still exactly. I did this by placing both in two different layers, make the upper one semi transparent and then adjust size and position of the photo by dragging the handles. This does work, however it's fairly tricky: When I drag the left handle and adjust a detail at the left and then drag the right handle and adjust at the right, the left detail is affected either and I have to perform the procedure recursively until everything is matching. My question is: Is there a procedure or trick to make this easier? Best regards - Ulrich
 -
 This might be a bit challenging to explain what I'm doing, but I'll try. I want to know if there's a way to link specific artwork to appear on the pages in a given section without using master pages? Some background: I'm am using Affinity Publisher for the first time and loving it. I am putting together an art book that is roughly broken down into sections by the year the art was created. It is going to be an illuminated manuscript-style book, so there are some repeating visual elements that are consistent throughout each section. The basic layout is the left hand page will have some calligraphy and text, along with the embellishments that need to appear on every left hand page of the section, and the right hand page has the artwork. I know this could be done with master pages, however, I have created 3 custom old, yellowed paper textures that I rotate through the whole book that I have set up as master pages. If I were to use the master page route to add those repeating art elements, one for each of the 3 sections, I would have 9 different master pages for the main pages of my book (there are a few others for the preface, etc.). Is there a way to accomplish this via sections? Creating an image frame or something that is connected to the section and not a master page? Hopefully I explained that adequately, thank you for your time. Toby
 -
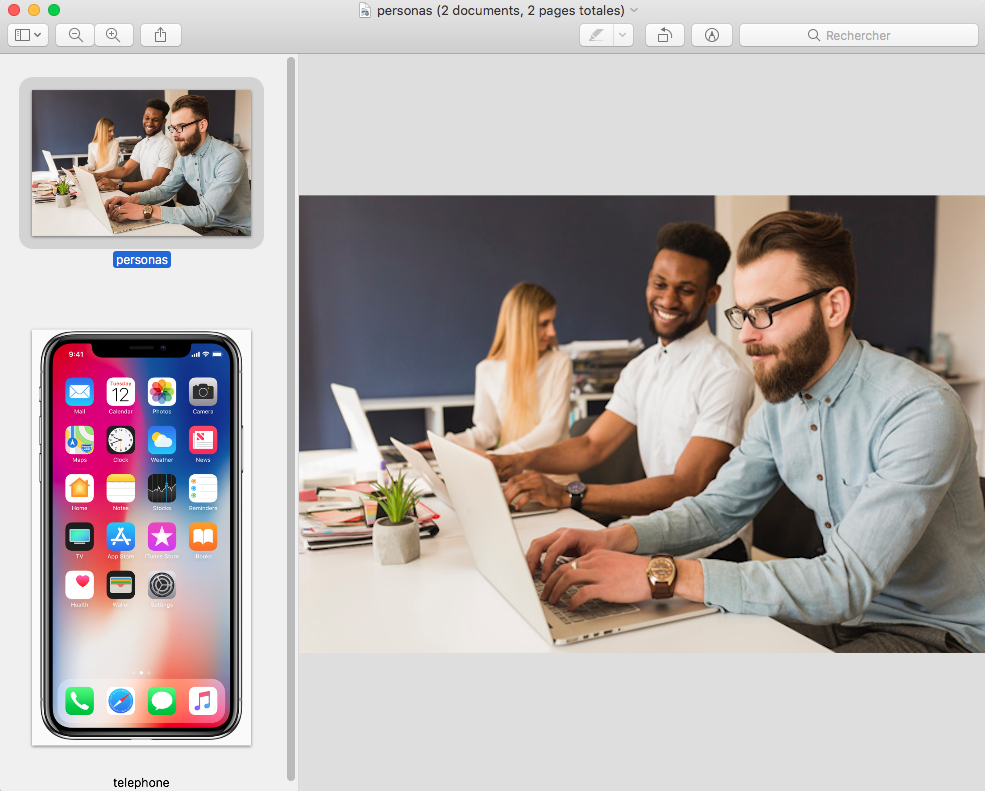
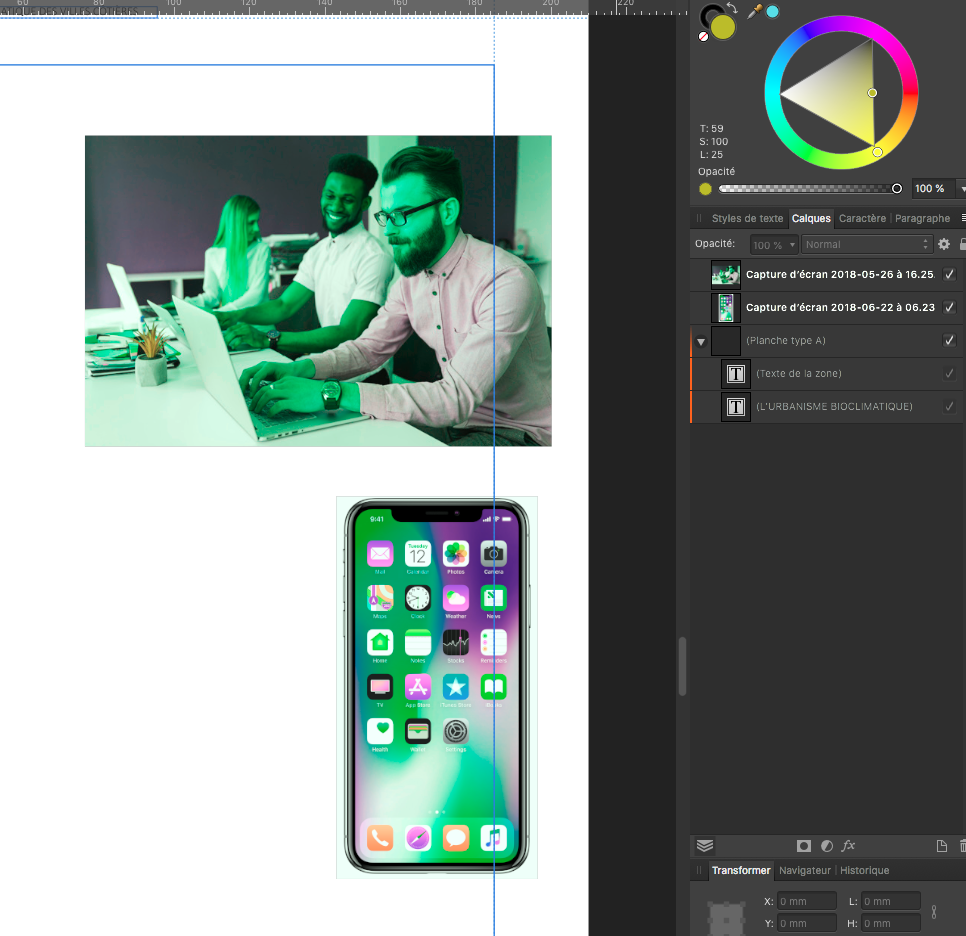
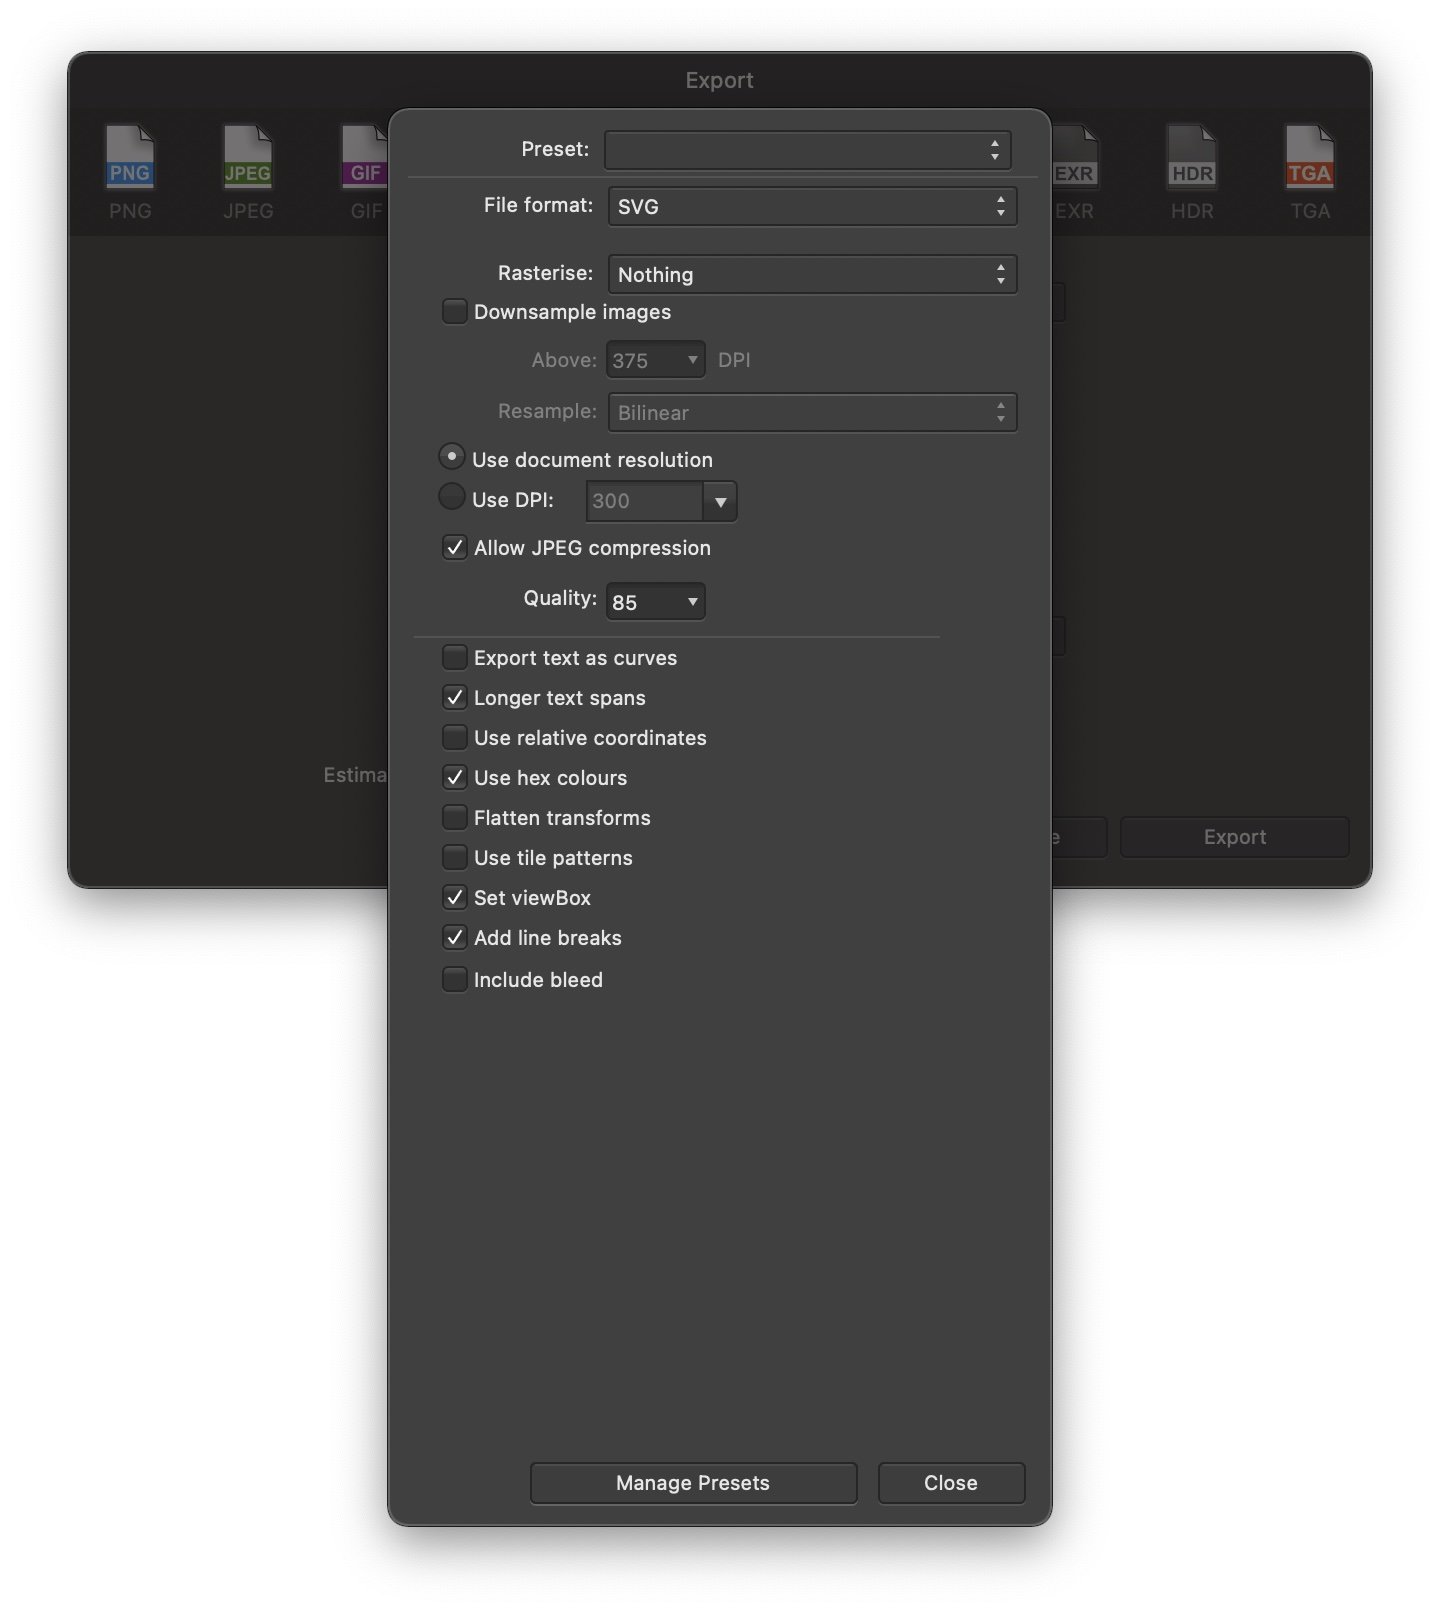
 Hello all, Currently completing an ID Card project, which includes a headshot that has been masked by a rectangle (the image has also been cropped to match the size of the rectangle - I shall explain later). However, when I export using SVG, I lose the image on re-opening the .svg file. I cropped the headshot due to the fact that when only the mask is applied, and I've exported to SVG, the image has loses it's mask when opening the new file. Is there anyone that can advice me on what I'm doing wrong? I've also attached an image of my SVG export settings.
-
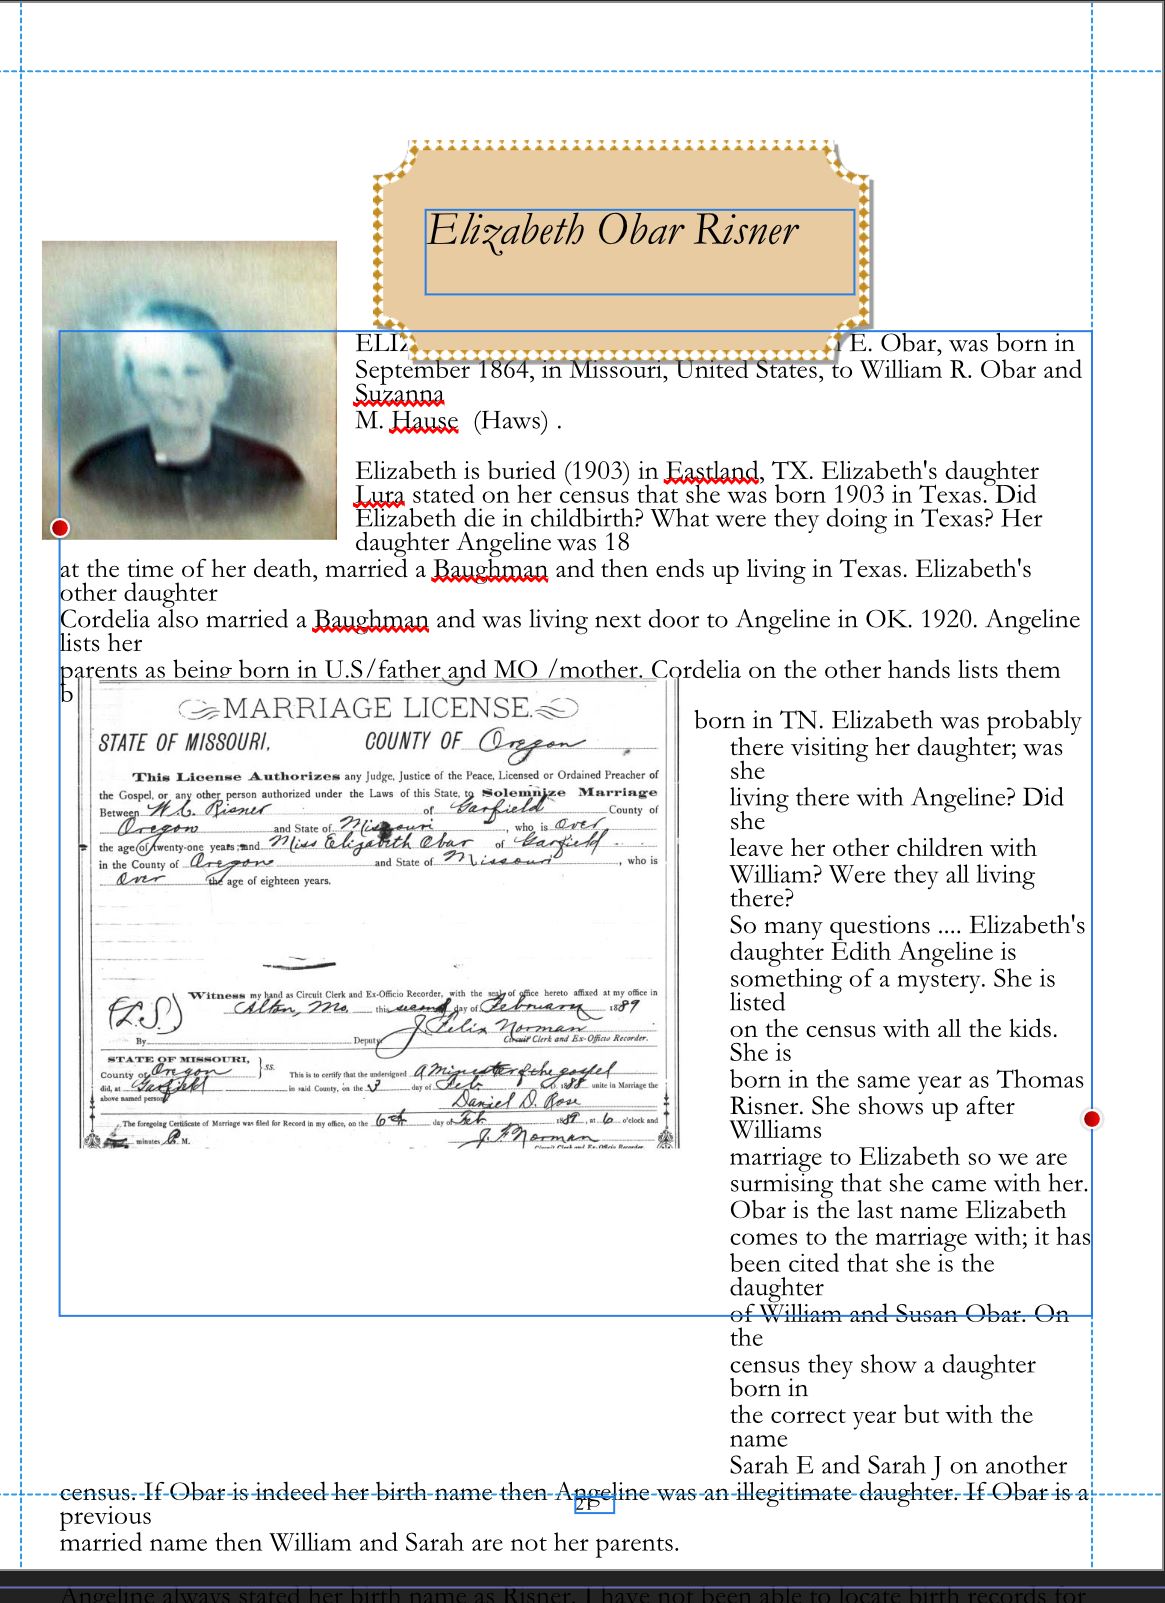
 I opened a PDF file that I created long ago; it is a family history project. It opened great BUT I need to be able to really edit this and the text is stuck in the formation around the images. I want to enlarge, move etc some of the images and the text is not re-flowing. Is there a work around for this
-
Hello, When I export a publication in PDF, some images are flipped. Please see the attached sample. This happens also on the Windows version. I am using version 1.10.1 The problem does not appear when the PDF is flattened. Any help would be very appreciated. Thank you, Lorenzo test.afpub test.pdf
-
 Hi, I'm working on Windows10 Pro and I simply cannot open any image file in Affinity Photo (current version, German). Nothing happens but the cooler gets louder sometimes. This happens since, I think, version 1.6x. All former versions worked well... very strange... any idea? Thank you!! Joerg
-
 Hello @all, i have the same issues now as this thread! Can´t open any files in Affinity Photo (PC) since the latest update. After a while, the program is crashing...
 -
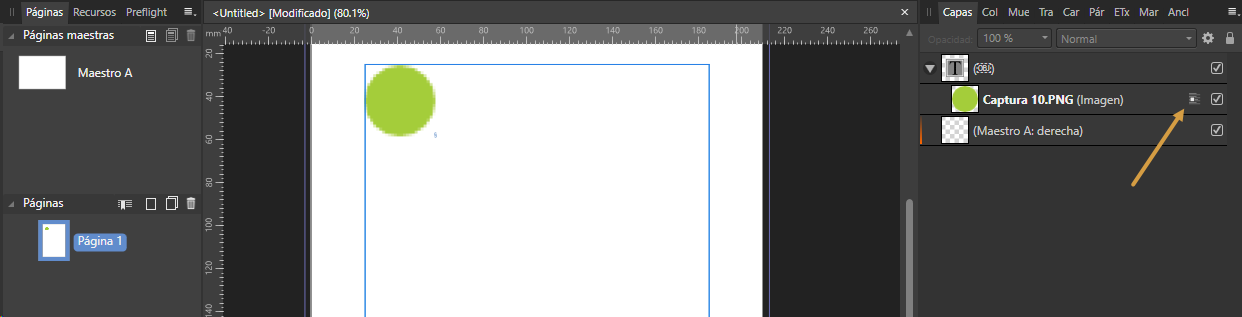
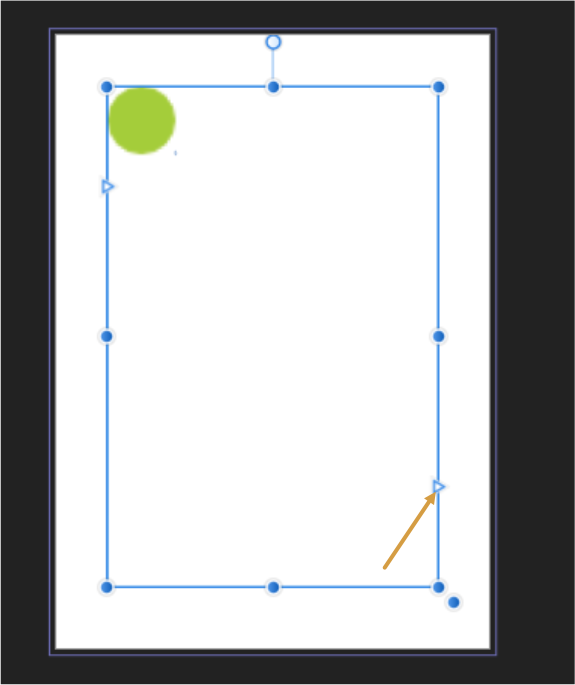
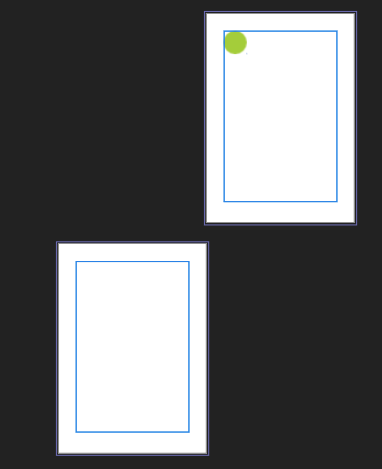
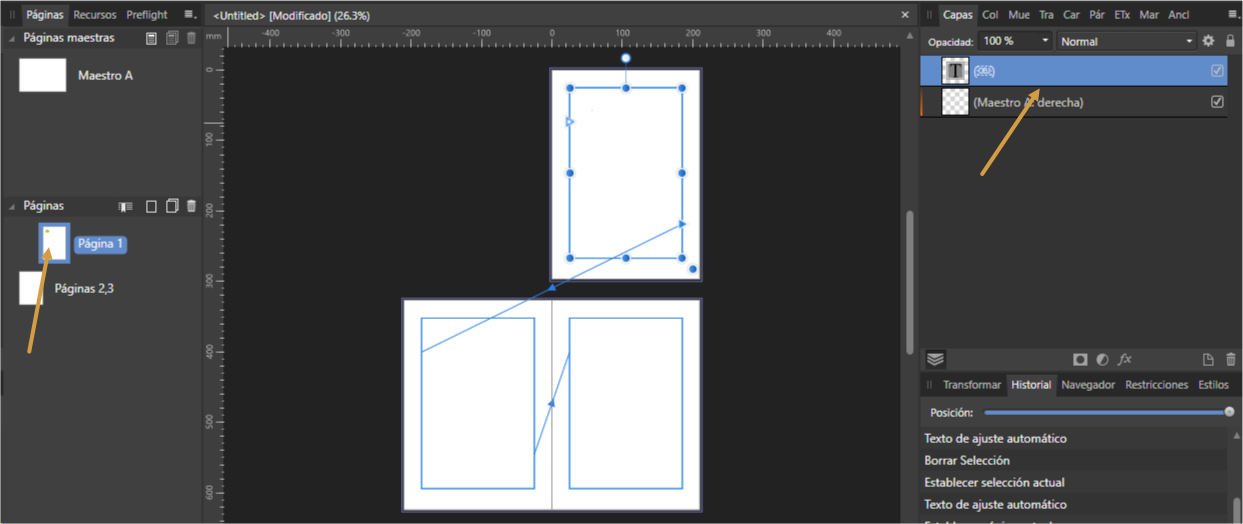
 Hello all: When we have an image anchored to a text frame, and we want to create a new page with a new text frame using the Flow Text boton (the triangle set at the sides of the frame), we can do it once, but if we want to use it twice, the images anchored disappear from the document. Nevertheless, the images are still appearing in the thumbnails of the pages pannel. In the following picture, we have a text frame with an anchored in-line image. Now we use the Flow Text boton: The first use is ok, the image still appears: The second use, makes the image to disappear from the Layers pannel and the document, but in the thumbnail you can see it. How can we solve this until developers rearrange it? Thank you.
-
 I'm a relatively new user of Publisher, using v.1.9.0.932 on Win10Pro-64bit. Since updating, I'm noticing diagonal fine lines across images. I'm assuming they are edting aids, but will they affect output, especially printing? And. how did I mistakenly turn them on?? See attachment. Thanks.
-
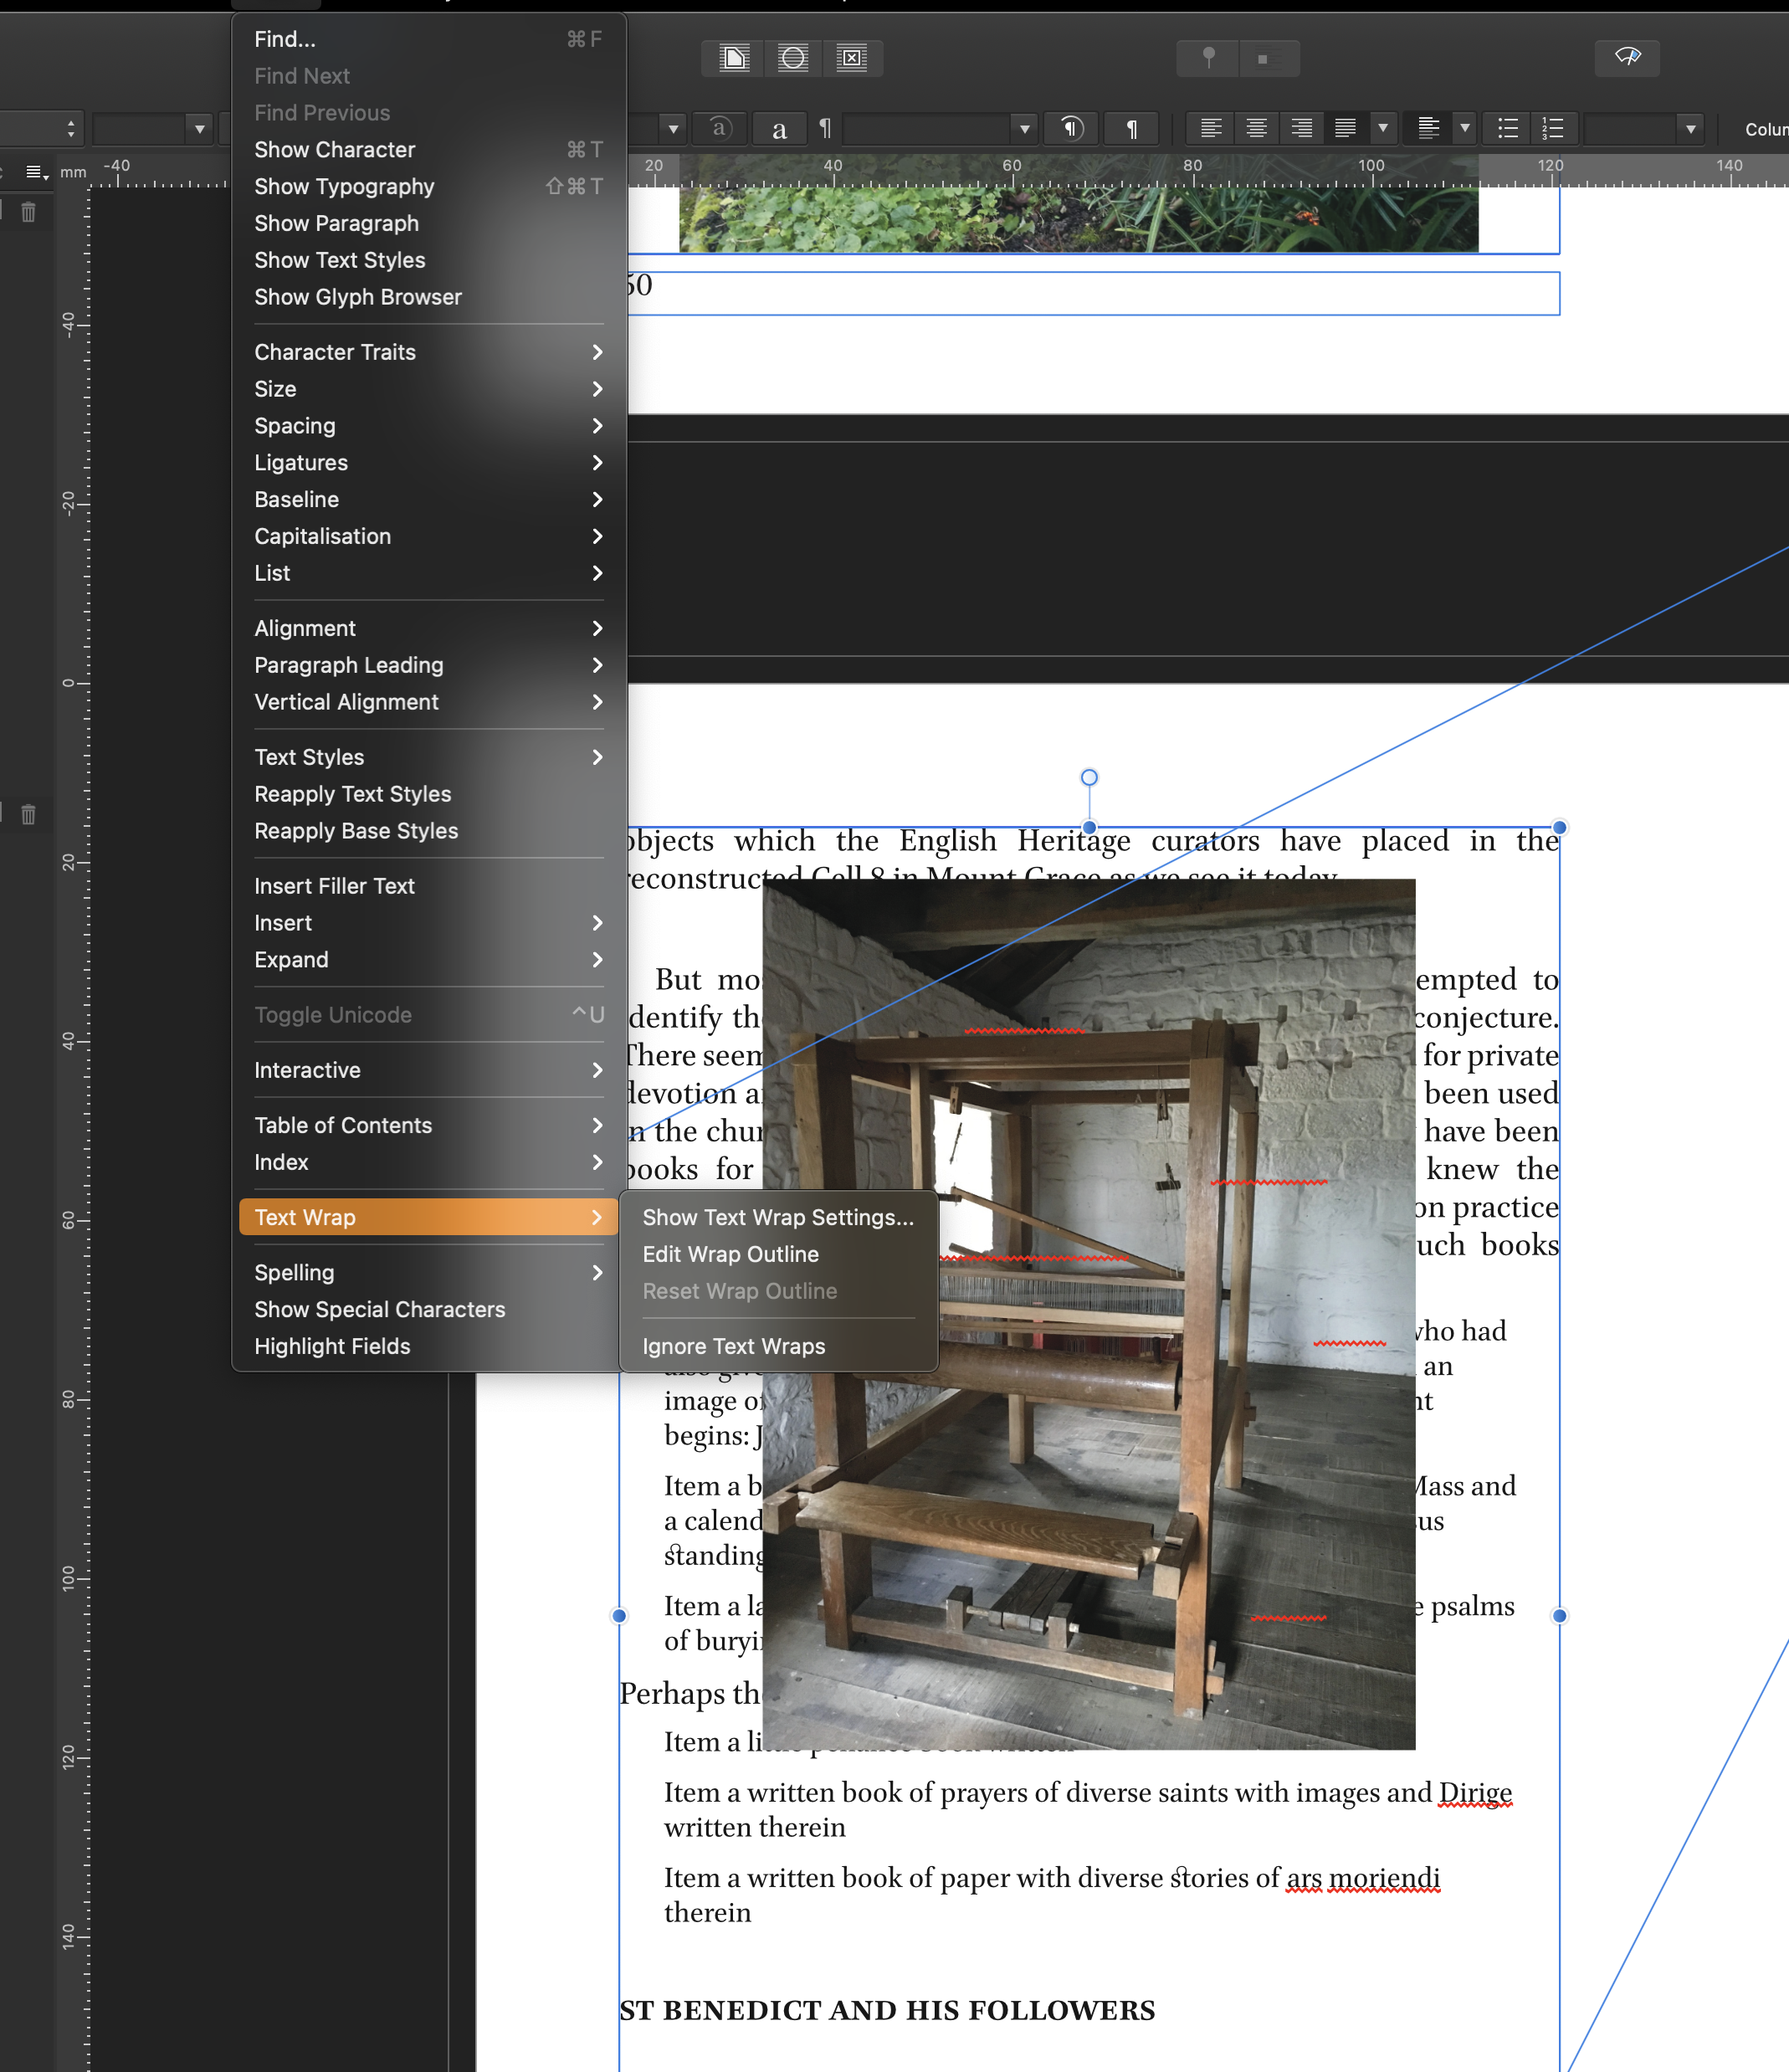
 Hi. I am well advanced on a magazine I am producing and all of a sudden the text will not wrap around an image I am adding, whereas on the several previous images it worked fine. "Ignore text wraps" is not checked for the text frame. When trying repeatedly to do it Affinity actually crashed, though the crash report goes to Apple not to Affinity I suspect. Has anyone had a similar problem recently? I am using Affinity Publisher 1.8.6 on an iMac with 32GB RAM, running Big Sur 11.1. Thanks!
-
 Hello folks, I have the following situation: I have opened a file that I created with Affinity Publisher on the PC with Affinity Designer on the Ipad. In this document of Affinity Publisher the images and PDF files are linked. I have collected the images and PDF documents separately in folders. Now I loaded all the files on the Ipad and wanted to continue working on the .afpub document on the go with Affinity Designer. Opening it was no problem, but the attempt to relink the images and PDF documents fails. I have not found any such function.😬 Will the function to relink files on Affinity Designer (Ipad) be possible soon? As long as Affinity Publisher for Ipad is not yet available, such a possibility would be really helpful to work on the go with .afpub files on Ipad with Affinity Designer to have a halfway decent solution in between. Either way, this feature is actually a must-have. Otherwise, kudos to the team for the new Affinity Publisher workbook. I'm reading it right now and am thrilled with the painstakingly appealing work you've done with the book. 👏