Search the Community
Showing results for tags 'Live Filter'.
-
For a few days now I've been playing around with layer effects and some procedural filters – it's super fun and I love the results it can generate! This is the result this morning, based on my own logo and 100% pure Affinity Photo magic, and (except for the very last couple of steps) nondestructive. Maybe I'll release a macro for this sometime, if I can manage to squeeze it into a clean sequence. It'll work with almost any kind of base – images, texts, vector layers. This is what the base result will look like after the macro is applied, everything else is layer effects (and a background texture):

- 4 replies
-
- 7
-

-
- affinity photo
- layer effects
- (and 5 more)
-
 Greetings, Affinity Photo 2.0.3 Steps to reproduce: Take any raster layer, 8bit, sRGB Add Live Filter "Gaussian Blur" with eg. 10 px radius Change the opacity of Live Filter to 1% Change blending mode of Live Filter to "Overlay" Until now, everything seems to be fine. You are seeing an almost unmodified layer content. Now, change the Live Filter opacity from 1% to 0% First bug: Despite that blur itself is actually not visible, obviously the image is being applied to itself in Overlay blending mode, while You should be seeing unaltered image. For reference, You may want to convert the document to CMYK FOGRA39, and check there (it behaves correctly). You are still in sRGB. Grab the "Radius" slider and move it randomly. Image is being divided into semi-random areas, similar to screenshot below. Try to "merge" the Live Filter. The artefacts are likely to be embedded into layer pixels. This procedure takes "gaussian blur" as an example. Same glitchy beaviour occurs also when using different Live Filters. KR,
- 4 replies
-
- 1
-
-
- live filter
- affinity photo
- (and 5 more)
-
 When inside a group containing only itself or other regulation and live filter layers, the gaussian blur live filter doesn’t work correctly. It cause a halo instead of a blur, but, most seriously, it generates very conspicuous visual glitch when the affected layers are manipulated with the move tool. Steps to reproduce: 1st create a new document, then create a black vector square inside of it 2nd add a gaussian blur live filter layer, move it outside of the layer within which it is created 3rd select the gaussian blur live filter and make a group containing only it: this creates the halo effect, instead of the blur 4th select the vector square and displace it with the move tool: this creates a glitchy trail In the video, I also show how it interacts with a bug previously reported by me, which causes live filter and regulation layers to erroneously affect unintended layers. I believe it was noteworthy, because first in the video both square had a halo but just one created the glitches, then the gaussian blur group was moved out on top of the layer hierarchy, which caused both vector square to leave a trail. For this I have no handy temporary solution, other than not grouping gaussian blur live filter layers without also including a pixel, vector or text layer. Possible solutions like restarting the device, force quitting the app, and creating a new document were tried without success. Regarding custom settings, I’ve set the retina rendering only toggle to on, but I don’t know if it is relevant. System: iPad Pro 11 3rd gen OS version: 15.2.1 Affinity Photo for iPad version: 1.10.3.267 (as shown in the app) 1.10.3 (latest release in the App Store) Thanks and bye. gaussian_blur.mp4
 -
 Hi, trying to understand some affinity Photo functionality, i observe a really strange behavior. Start with a life filter, e.g. procedural text, to generate a simple gray gradient Add a rectangular vector shape as mask Look at the transform panel The live filter now gets option to enter x, y, rotate and sheer If you enter 200 for x, the vector shapes gets shifted. But the x will shows -56 after completion. entering 100 for y will not shift, but -156 will be shown The valus seem to add to 256 Another observation: If you move the vector shape after nestig it, the transform panel will show insane values for the live filter layer. I spotted this in a more complex document, when i tried to pixel-align some vector shapes used for masking with help of transform panel, and struggeled there how the layers were presented. My assumption (which could be wrong) is that the transform panel should not allow to enter values for x,y,r,s at all for live filter layers, and should not be able to e.g. rotate. zero pro text gradient.afphoto 2021-02-19_19-38-10_proc_text_and_vector_as_mask.mkv
 -
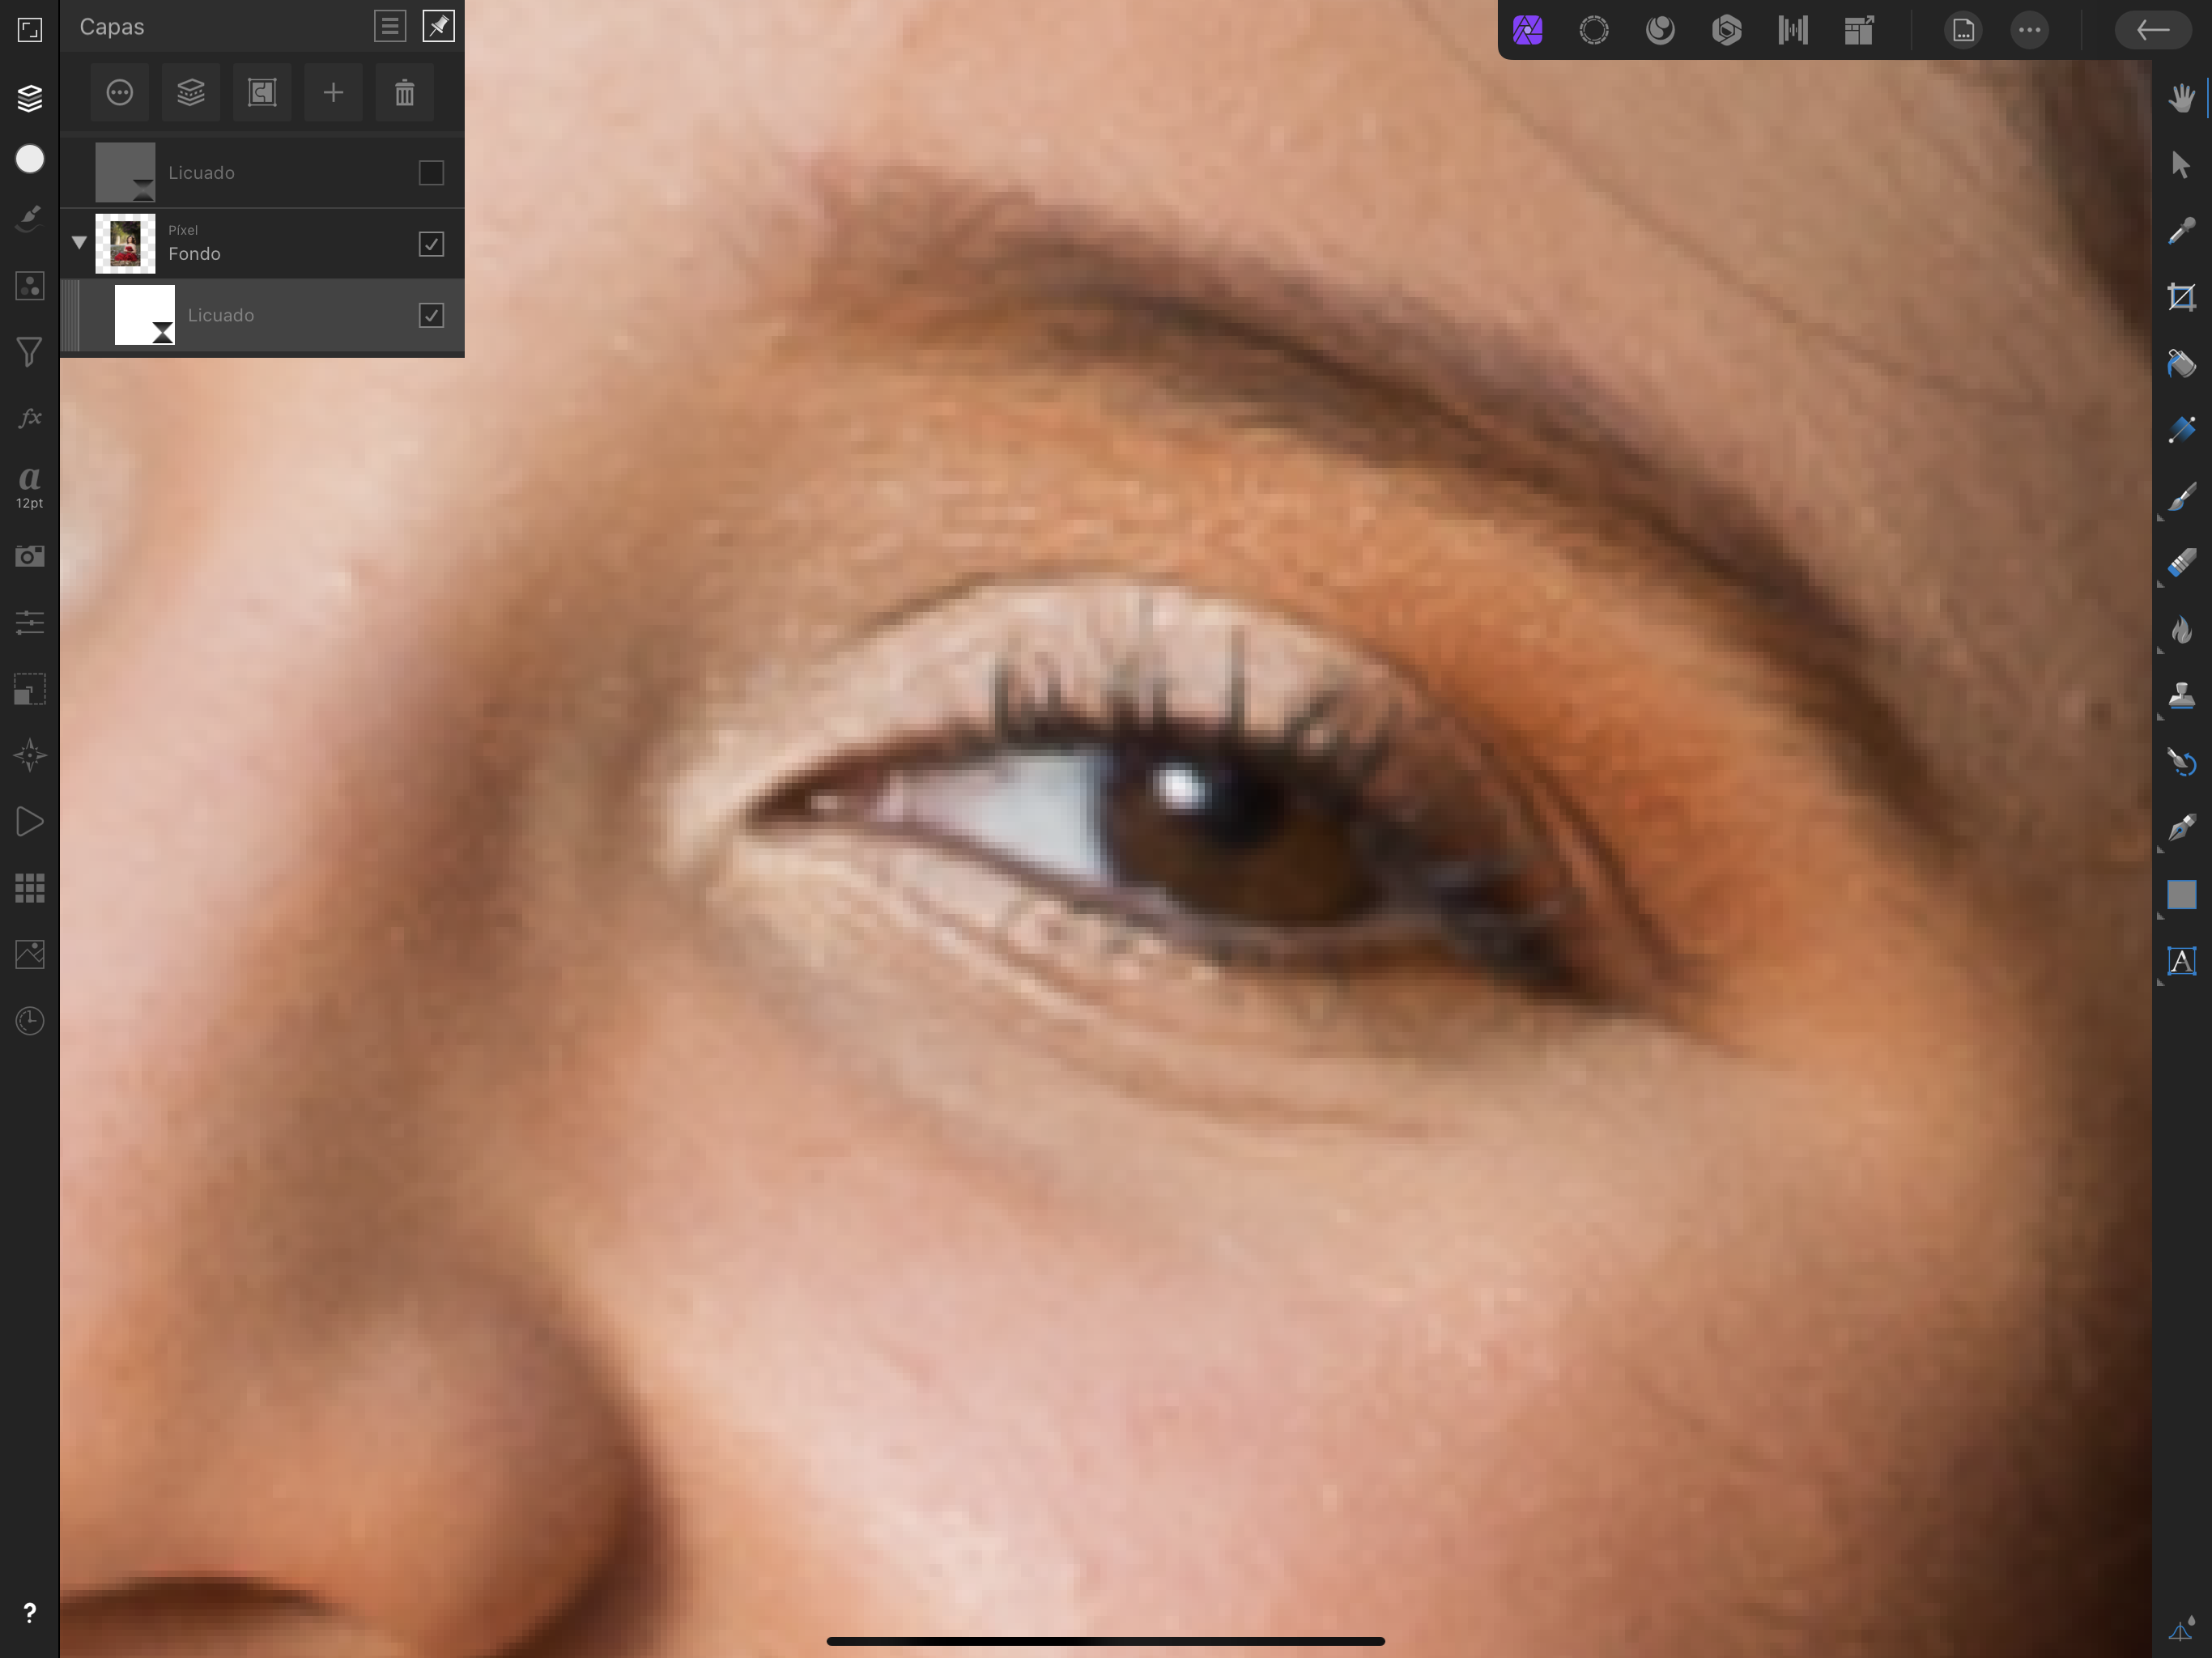
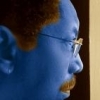
Hello.. I just noticed this problem with AP 1.9 for iPad (I haven't tried with Mac version yet). I applied liquify as a live filter, but it results in a massive loss of sharpness. No manipulation of the filter in these screenshots, I just applied it as an example.
-
 Hi, I'm experiencing a strange behaviour with the latest Beta when I duplicate a layer that has a Live Filter on it. Here is a video and the file attached. Cheers, Juan Live Filter.afphoto
- 1 reply
-
- 2
-
-
- linked layers
- live filter
- (and 1 more)
-
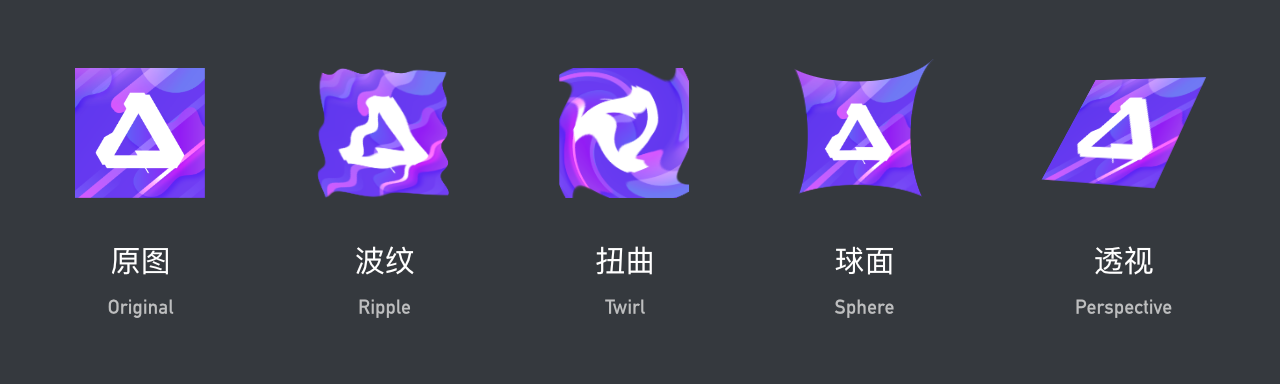
Can't wait to share these live filters!! I've found it from this link, the author told me that he was saved Affinity Photo filters as Assets and now #AD can use live filters as well, but perspective fitler not working properly Any way it's definitely cool in #AD, try it now Afans Live Filters - for Designer 1.6.zip
-
 Hello, Steps to reproduce: Apply live filter to the image layer. Add adjustments layer. Group everything together. live-filter-bug.afphoto Affinity Photo: 1.8.2 macOS: 10.15.3 (19D76)
-
Hi, I'm having a problems with live filter perspective. After I made few live filters perspective there is a quality problem while I zoom/export/move etc. Even the same files are different in export. So it is not a problem of linked (placed) file. I hope you can see this video and it is helpful: https://drive.google.com/open?id=1AJB719uyg9oW_iKr2D9oPxRvHijTW9sg
-
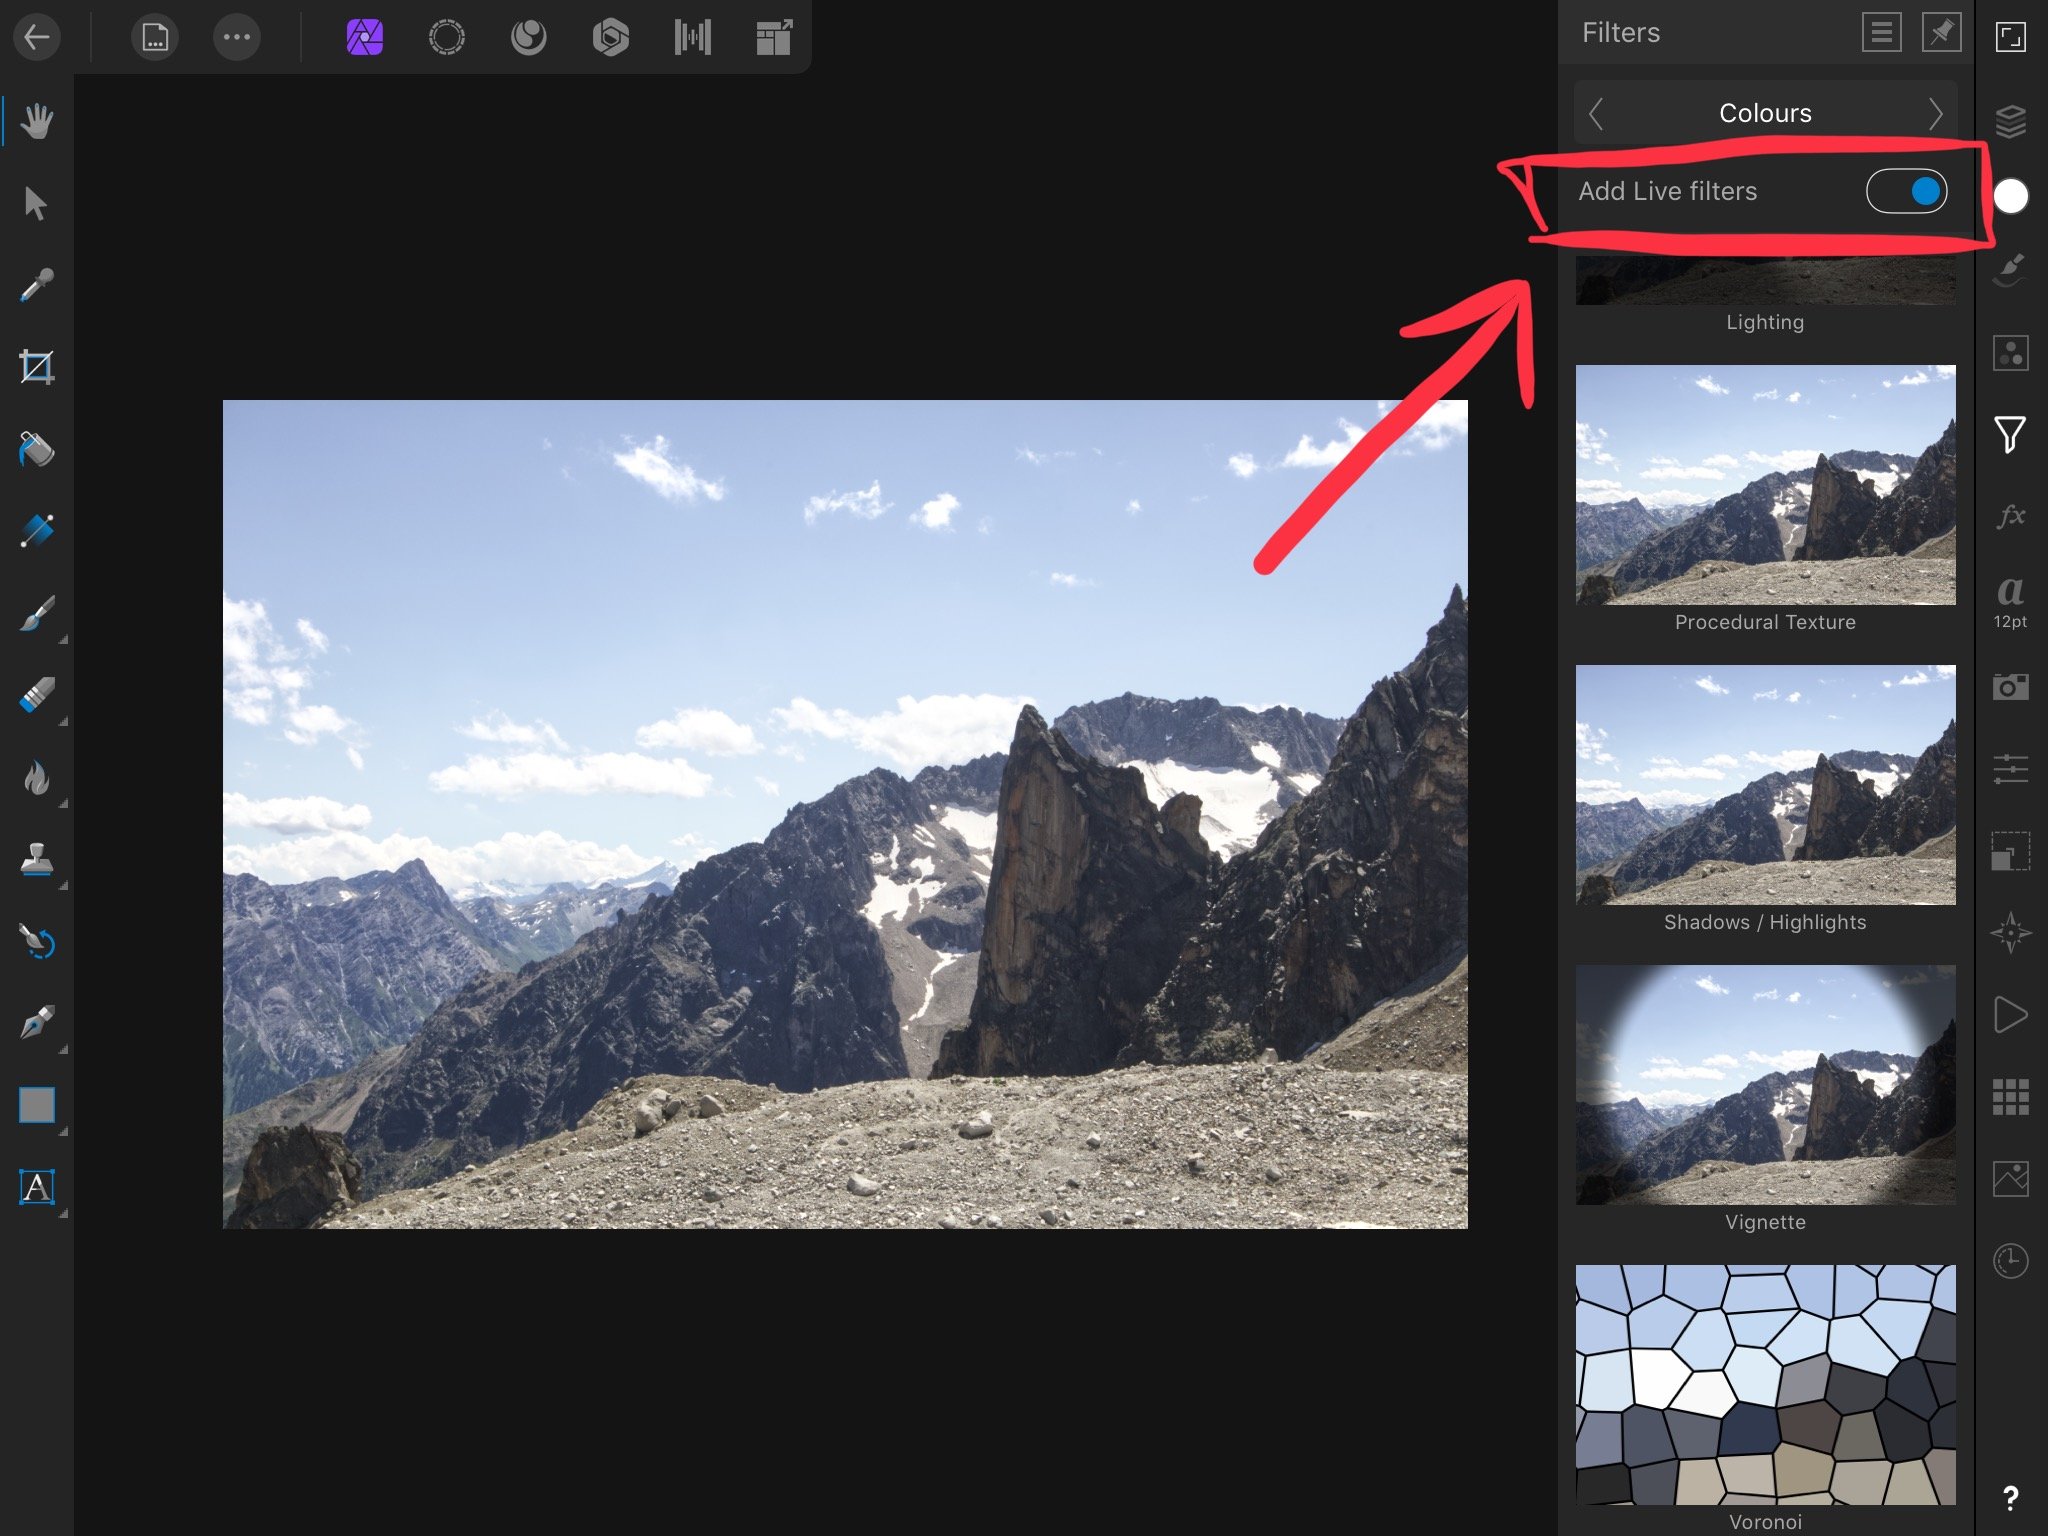
 Hi, I just started using Affinity Photo on my iPad 6th gen (2018). I couldn’t find a way to apply “live filters” to my image. What I did is: Tap “Filters studio” > Enable “Live filters” > Select a filter on the list Now the only option I have is “merge”, and the live filter lightning icon doesn’t appear (see screenshot below). If I click “merge”, I can’t modify the filter parameters afterwards, nor apply a mask to the filter. Am I doing something wrong? Or are live filters simply not available on iPad 2018? Thanks for your help
-
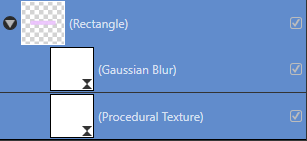
 I'm running Affinity Photo on Windows 10. Version 1.7.1.404. I'm also a new user of Affinity software. I've got a basic rectangle and I've added 2 live filters: Gaussian Blur Procedural Texture I seem unable to edit either. Double clicking either seems to select the entire group/layer as seen in the attached photo. If I right click on the mask and select "Edit Filter" my entire image just turns white (as if all layers are disabled - even though they're all still checked). I can only get my layers back via UNDO. Side note is the only way I've been able to delete a live filter is to "release it" and THEN delete the new layer. Is there a better/faster way? I can disable the filter with a single click but I try to keep my layers/filters organized and remove the ones I don't need. Thanks!
-
 I noticed that the ripple filter won't publish to PDF in export. ripple.pdf Ripple.afpub
 -

Live Filter: Skin Tone Feature
Uncle Mez posted a topic in Feedback for Affinity Photo V1 on Desktop
Hello everyone ! Hello Team ! Well, i just want to make this request/suggestion that i believe will be of great interest for many in this community. We love affinity Photo a lot but still there are point we often disagree with and tends to make use of other tools but we end up lose a lot of time and some time lose it all. Among those so much wanted features i notice the precious Skin Tone Fine tuning. Well, there are tons of methods that we can use to fine tune our skin tone but when looking closely they are intended for Pro or peoples who have considerable experience with Photo software, but when it comes to newbie ... they just lose it all. So i propose a New Skin Tone Fine Tune - Live filter to be implemented; that live filter must allow us to work fast on skin tone applying quick and auto mask to the subject skin so we can work on it. A bit more ? Well, I suggest this : - an Auto detection of skin tone to be implemented the second we select that filter then a quick mask applied, allowing us to fine tune the mask because skin also share the same color as background and environment. - After mask is okay then we can play with the sliders few of them can be : Smoothing, Brilliance, Vibrance, clarity, sharpening, blemish correction and maybe Hue (for those playing the Hulk stuff) ... do not forget to add a color/picking tool to allow average color picking (kind of manual method for those wanting to select precise areas or ranges) - All this should happen in live mode so we see in real-time what we do and how is the output - When all necessary tuning are done, just click apply Making this a Live filter is a plus that will enable us to come back to it tuning again and again thus increasing the interest Newbie and learners (and even Pro) may have about Affinity Photo. Believe this: the day you will offers us such quick way of working a lot of people will be at peace. Please do not remove or delete the actual way of doing the same job as many people like to do things manually so they have to be satisfied. May another one in this forum fine tune this suggestion for the good. Blessings until this is implemented for the Good of Photography.-
- 1
-
-
- skin
- correction
- (and 7 more)
-
 In this video, I am going to show you a unique technique for sharpening a portrait in Affinity Photo. I think its the best way to sharpen a Portrait in Affinity Photo. I hope you like it. Please Subscribe this channel and share this video on your social networks.
 -
 Hi, i'm just wondering about the live filter/perspective.Looks good at first sight, but subsequent corrections are nearly impossible. When the live filter perspective has been applied, any further mouse click is no longer related to the picture. Depending on how strong you corrected the distortion any tool you are usinf after the filter is no longer in sync with the mouse click. This makes this live filter useless to me. Or am i doing something wrong? Currently i'm using the normal filter for this, but this is destructive and cant be re-adjusted if you are not satisfied with the first attempt.
 -
Would love to be able to adjust where to place the center of my vignette, using the Live Vignette filter. Often the area to emphasized is not in the center of the image.
-
Can I use NIK filters as live filters like in PS where if you work on a smart layer, Nik shows as a smart filter.
-
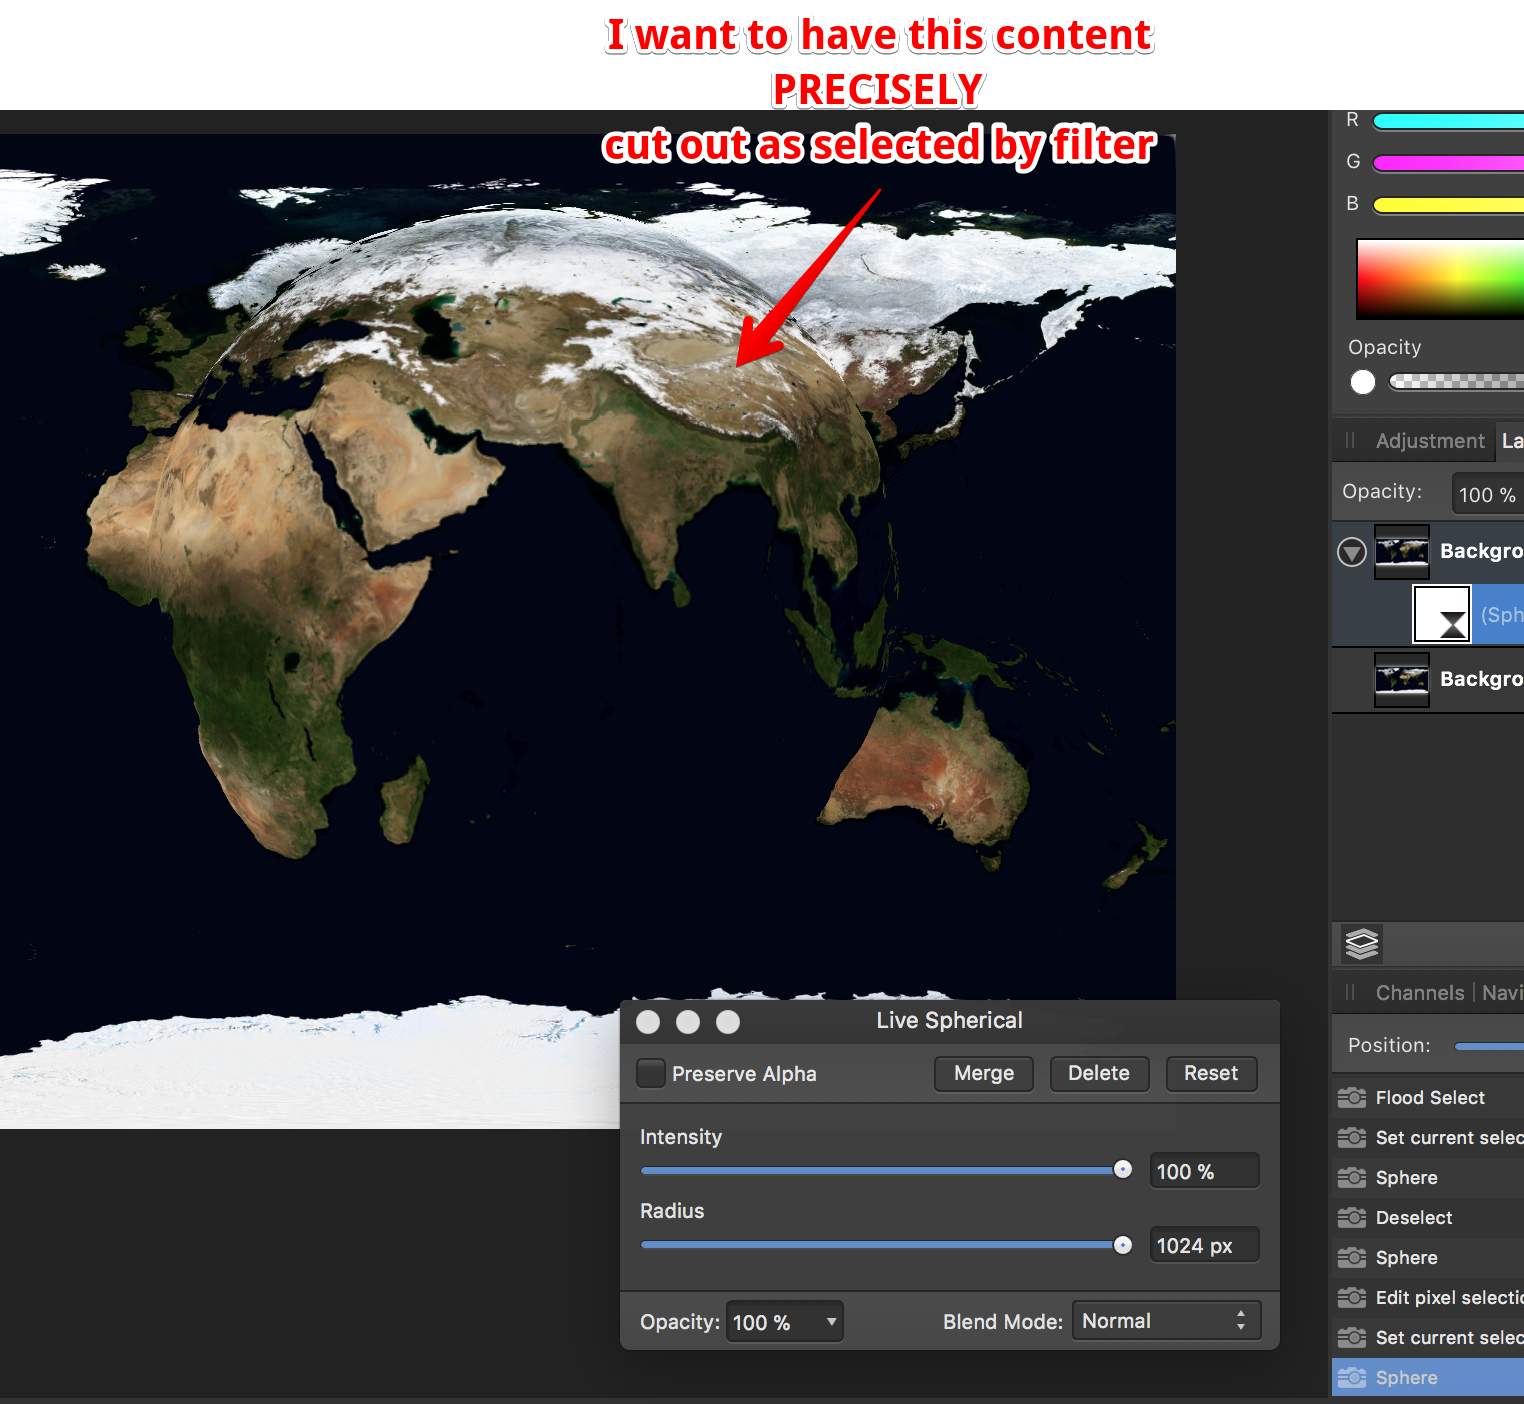
 How do I cut out precisely (!!!) the range I selected with the distortion filter "Sphere" - no matter live or destructive. I tried everything, giving up... FYC: if I make a circle selection first, I never get the range spherized I want to... Why is this filter limited to 1024 pixels??? Thanks for all reply in advance
-
 Hi folks, by accident I found out that those Live Filters from Affinity Photo are working very well also in the Designer environment. It's as simple as cut&paste a filter layer from a Photo project into a Designer project. I've tried to upload a small example with two effects... So why not make the filters available directly in the Designer Filter Menu? Best regards, AC Lens Effect.afdesign
 -
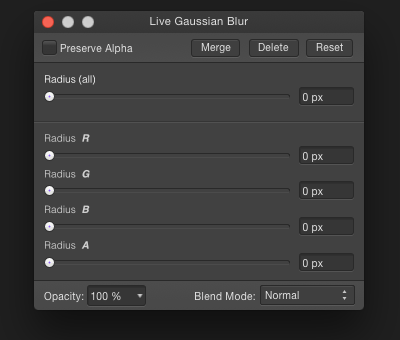
How about giving us some more control about how a live filter affects an image? Example: Live Blur
-
 Hi Folks, This issue appears in both the current commercial release as well as the current beta (1.6.5 B5), so I am guessing it may just be the way it is. I have recently been experimenting with some tonal balancing operations that bring highlights down and shadows up in an image (tonal range compression). The quick and dirty description is that I start with my contrasty image and produce a grayscale from one of the channels that represents that contrast best. I make this grayscale image a new layer above the background, invert it and set it to Overlay mode. This will produce a very flat, mostly awful looking image that has lost much of its local contrast too - however, if you then apply a Gaussian blur of suitable radius to the overlay layer, local contrast is restored. In trying to devise a strategy for automation via a macro and for producing a non-destructive workflow, I have experimented with using a Gaussian blur Live Filter Layer nested in the Overlay layer with an initial radius set - the user can adjust on the fly to get a good balance of local contrast restoration without halo. Here is the rub - if all I do is set up the overlay layer with the Live Filter Layer doing the Gaussian blur and then flatten the image, it takes AP many many seconds to perform the flatten operation. If, however, I apply a Gaussian blur filter destructively to the overlay layer, the effect is nearly instantaneous - if I then perform a flatten operation, the effect is nearly instantaneous. Here is an example: 5760x3840 px Canon 5DIII image. If I use the Live Filter Layer method and nest a 100 px radius Live Filter Gaussian blur to the overlay layer, and then perform a flatten of the two layers (the Overlay layer with the live filter applied, plus the background) it takes **24 seconds** to flatten on my machine; if I perform the same, but destructive, operation of blurring the overlay layer and then flattening, each operation in that sequence is nearly instantaneous. This is on a Mac Book Pro Retina Mid 2015 model, 2.8GHz i7 4 cores, 16GB RAM, etc. OS 10.12.6. OpenGL acceleration enabled. Is there any explanation for why it appears to take AP excessively long to render the Live Filter layer when flattening? The actual drawing to screen when I adjust the Live Filter is fast, pretty much real time. Seems odd. Thanks, kirk thibault berwyn, pa usa
 -
 So when are the live filter grid lines going away?
 -
Hi everyone! I have a question about using displacement tool and screen mode for blending a new layer with an underlaying layer. It is possible to make fake graffiti art's on walls with these two tools. Using these tools to make a fake tattoo on a skin. There are many video's for photoshop about making fake tattoo's. But it is different to Affinity. I was wondering if someone knows the answers for making fake tattoo's. My second question is about using screen mode. It automatically makes my text white. Is it possible to change that to black or an other color? Thanks in advance! Joran
-
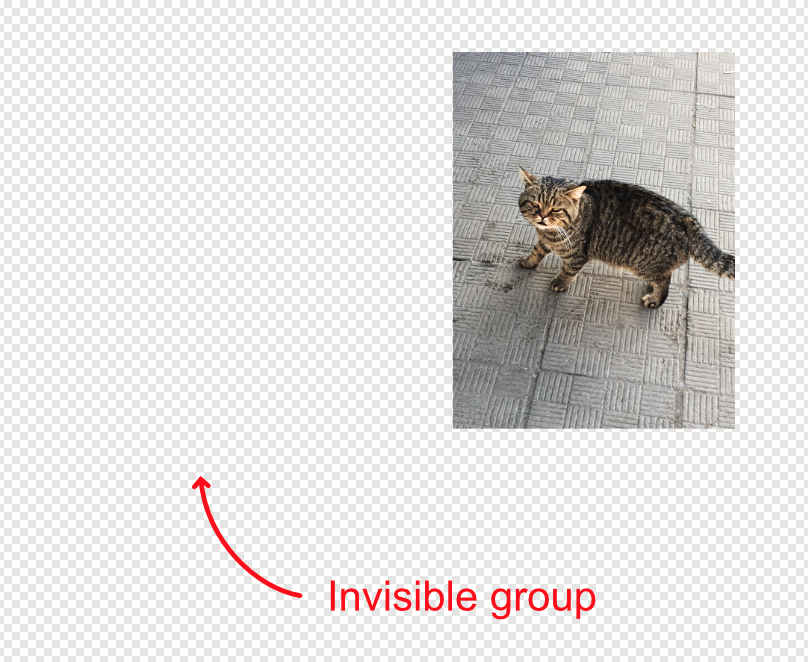
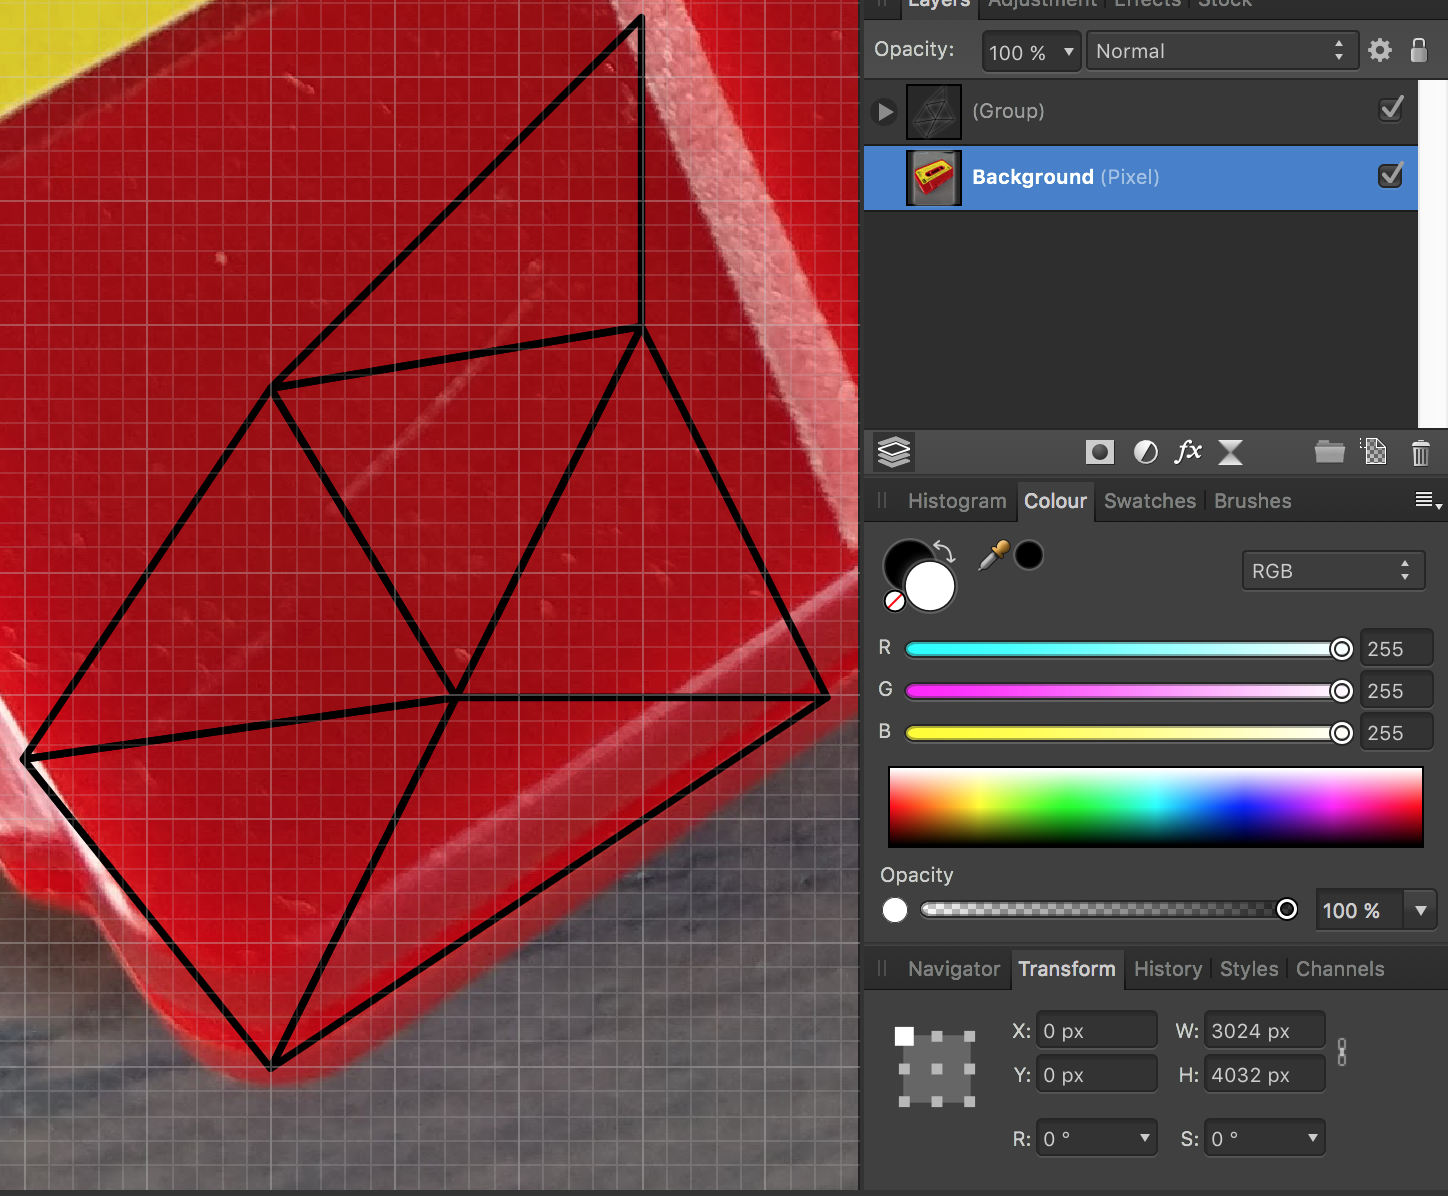
 Hi All, I would like to use Affinity Photo to create some nice low ploy art. In other software packages you draw some triangles and apply an average blur. In attached image I have started to draw some triangles using the pen tool and grouped them above the image. Please can someone help and advice if there is a way to apply a blur effect on the entire group which will affect the image underneath it. (Not the pen border). Any help is much appreciated! Thank you.
-
Hi, I'm trying the new beta (1.5.0.38) in windows 10.The Denoise Live Filter doesn't seem to work at all, I put a video on line where I show what's not working and hope it makes it more clear what I mean. https://youtu.be/u8ofDztWR-k