Search the Community
Showing results for tags 'Mask'.
-
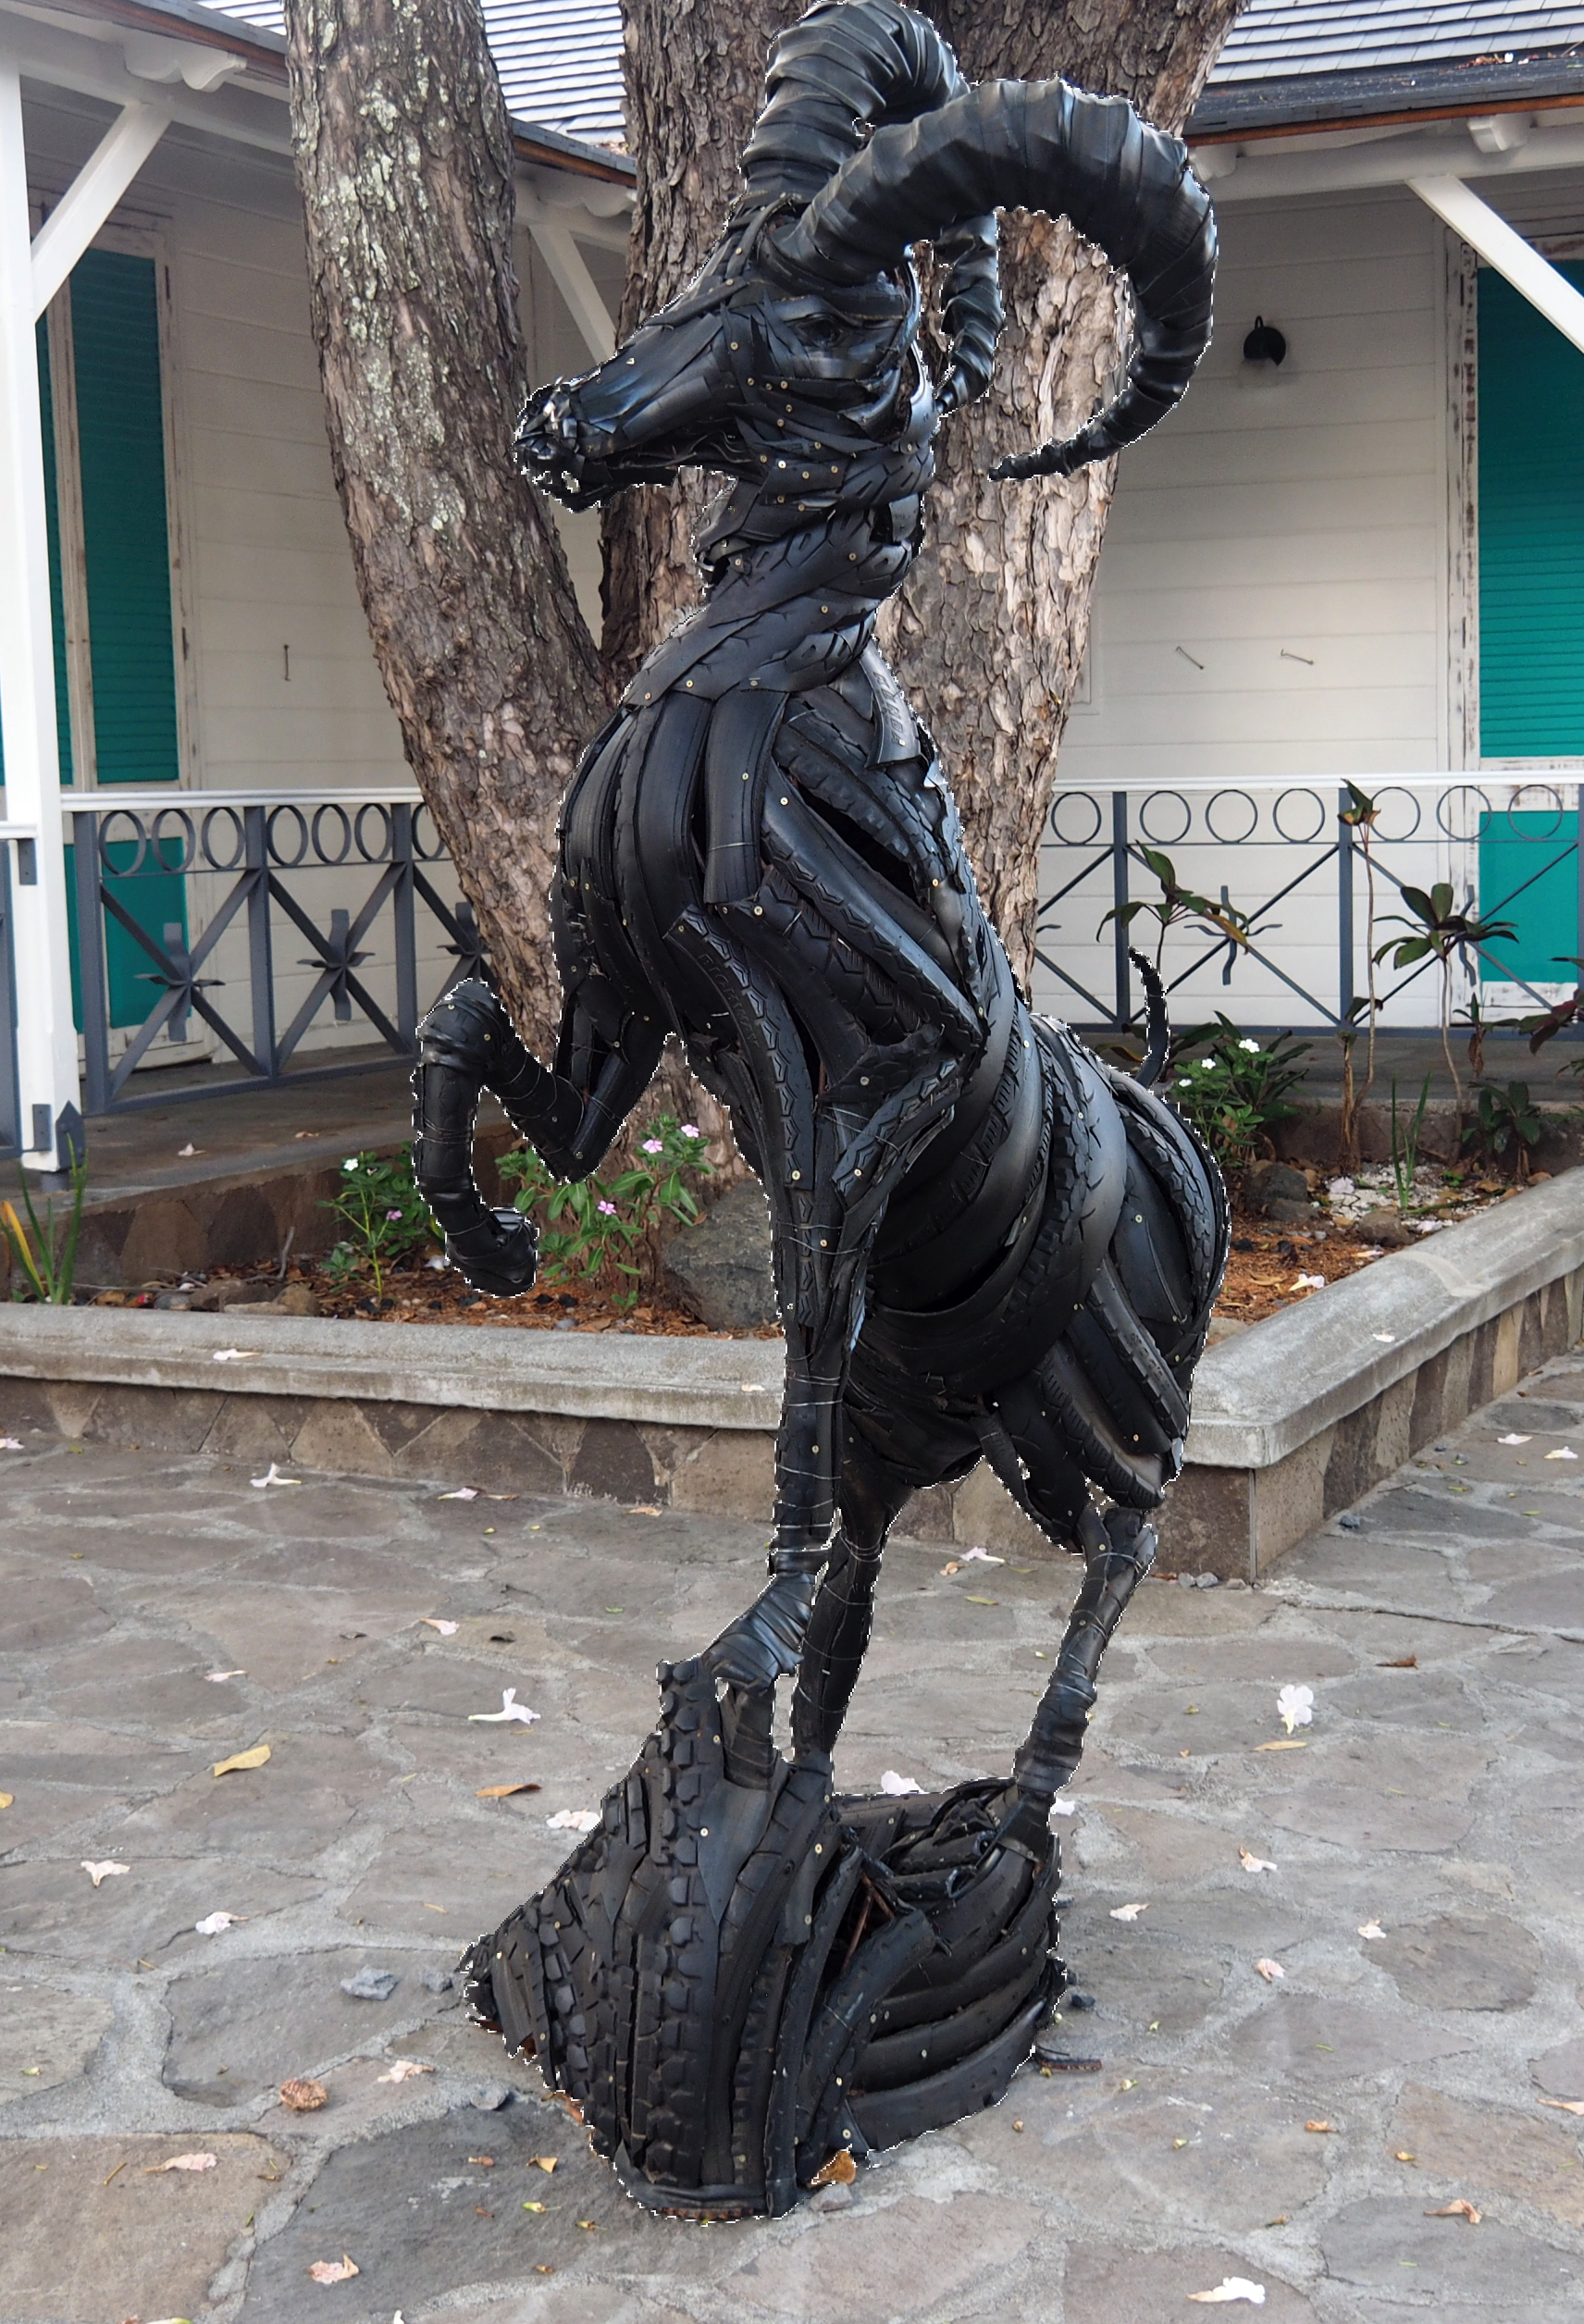
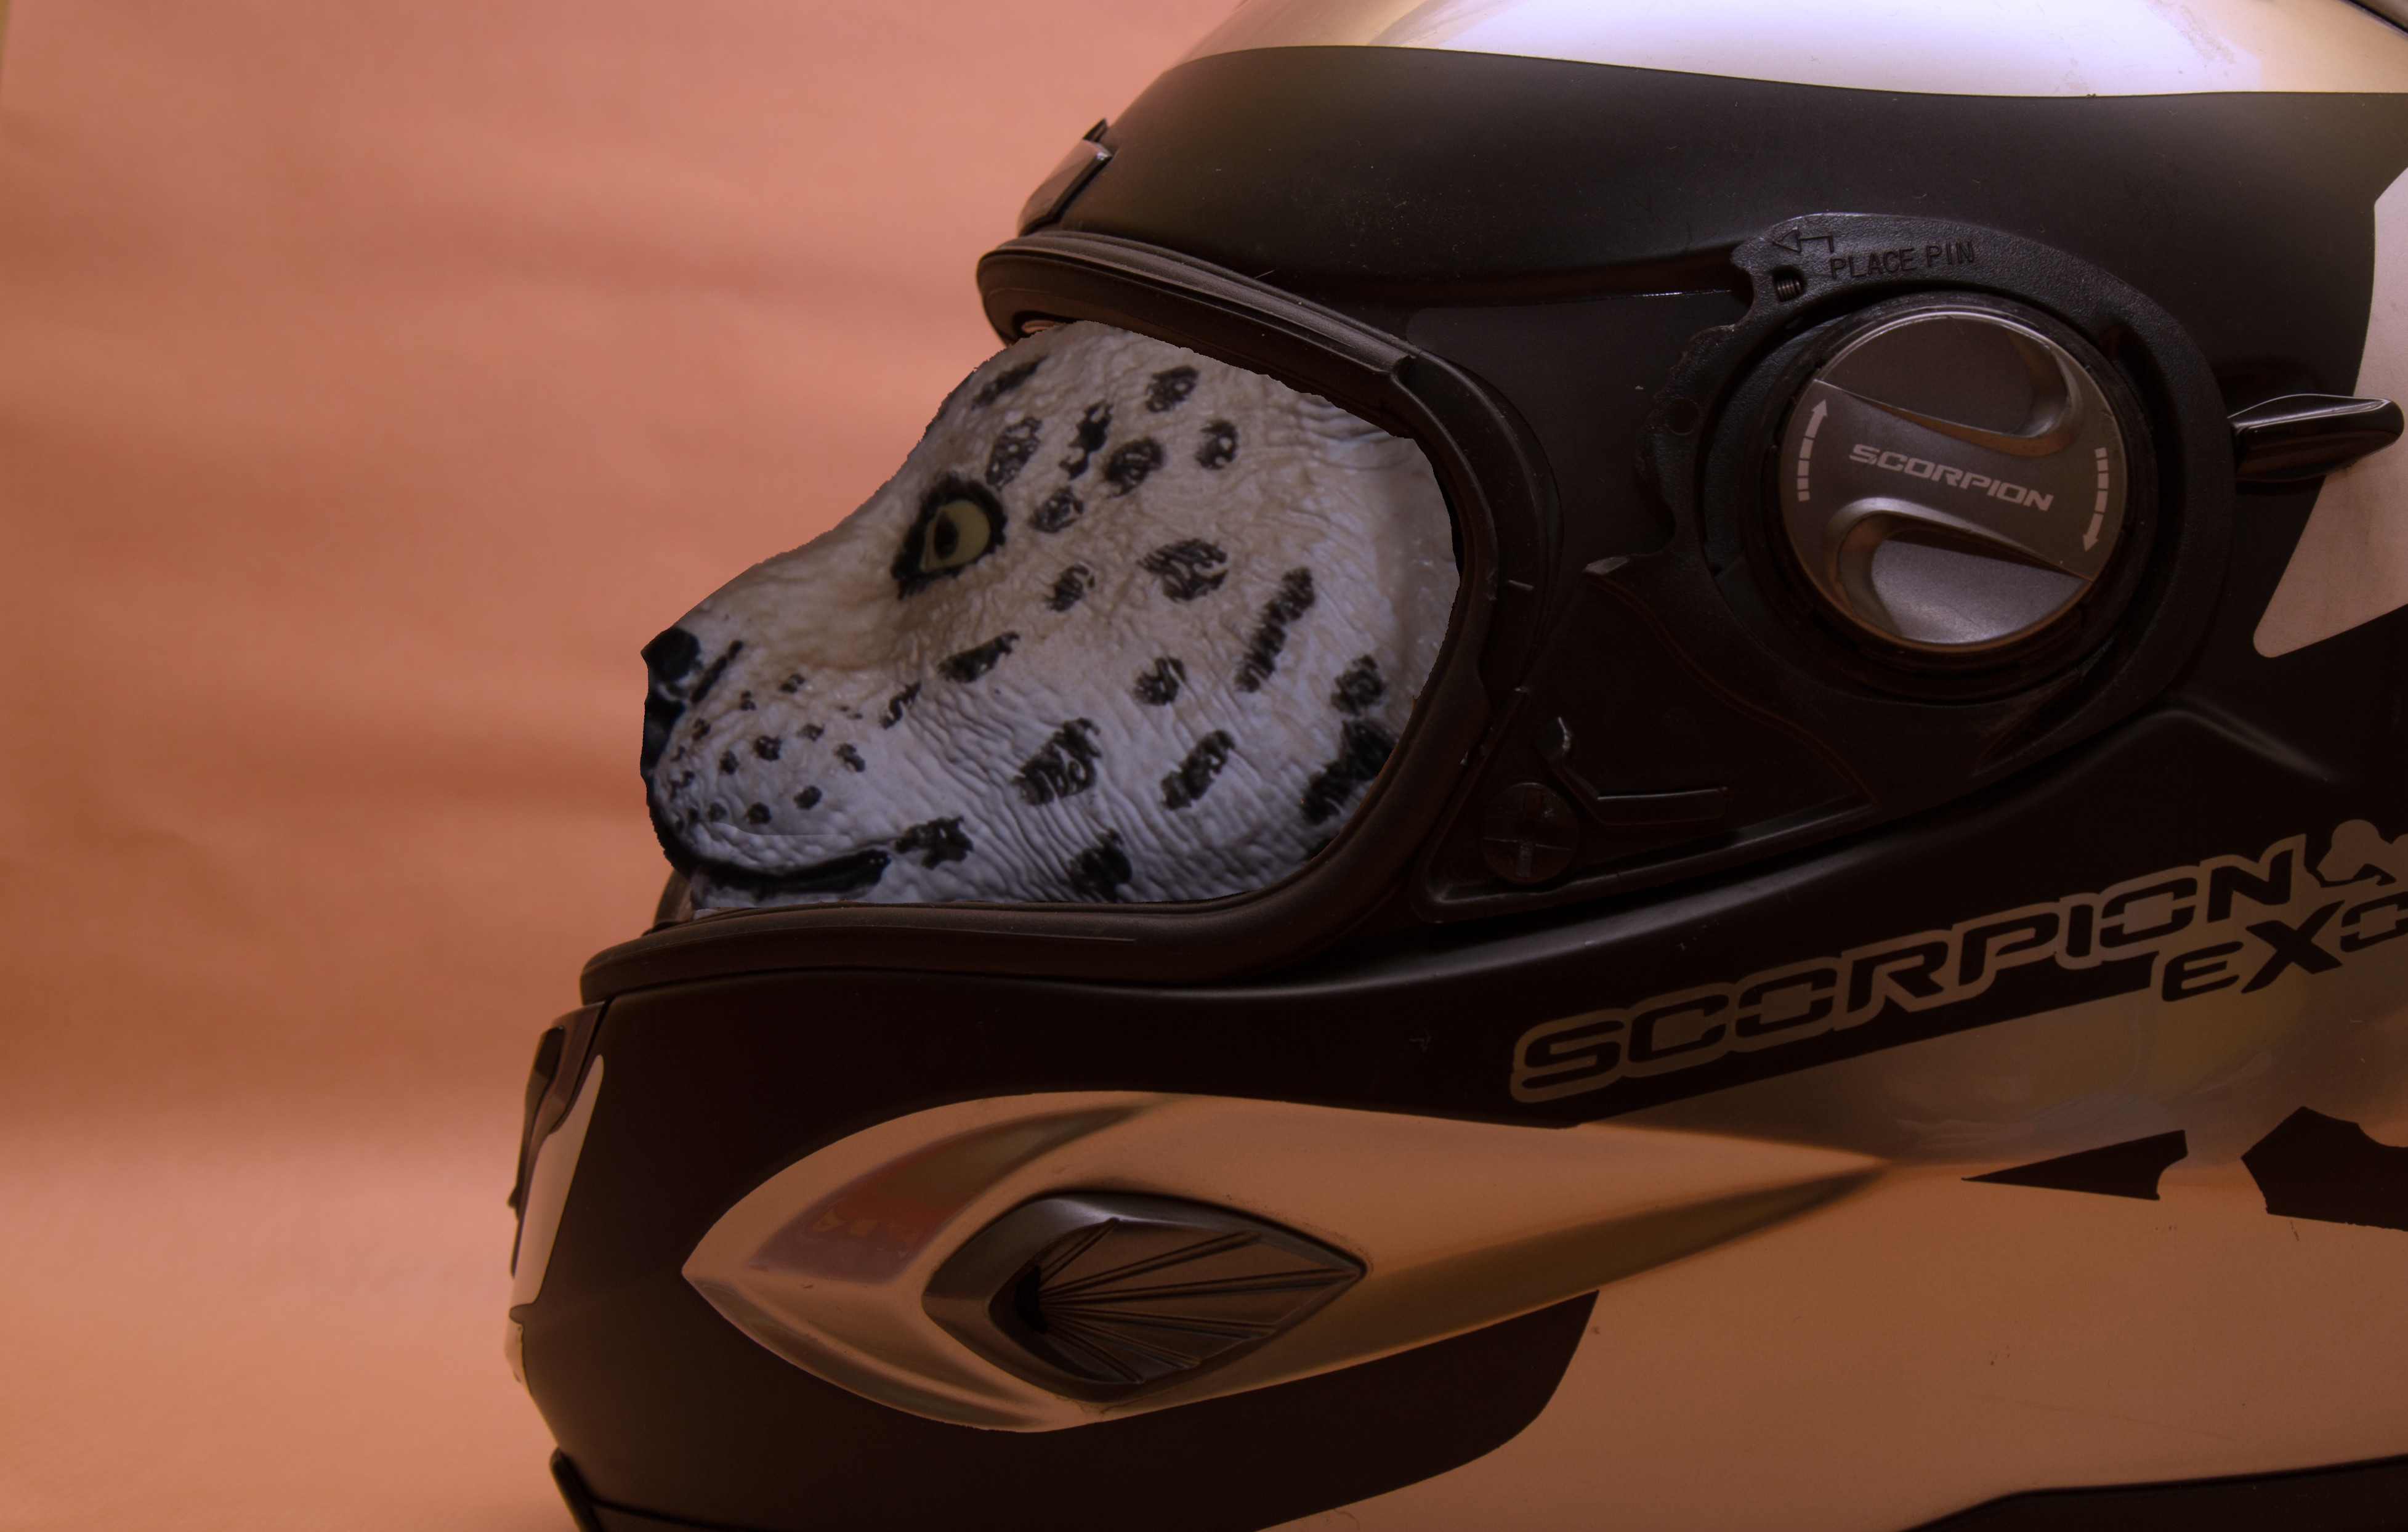
 I am quite new to Affinity photo and I use it because some functions are really superior to the equivalent in Photoshop ( I say some, because I only used some of them until now). One of those is the selection tool. I am preparing some effects for Final Cut Pro / Motion5 and I need to cut out some subjectd in order to animate them within FCPX (or Motion). I spent quite some time to cut out this really special goat made of rubber I saw recently in Port Mathurin (Rodrigues Island). My cut is done very accurately and is in my eyes very precise. When I apply a mask to this image, I find a lot of noise round the goat and I am really wondering how this is possible. Of course I could use a workaround to clean the exported PNG, but I would like to understand what I am doing wrong. I did not use Refine in this version because the contrasts are sometimes so tiny that Refine adds noise rather than solving the problem. Any help is welcome. Thanks in advance, Jean-Marie
-
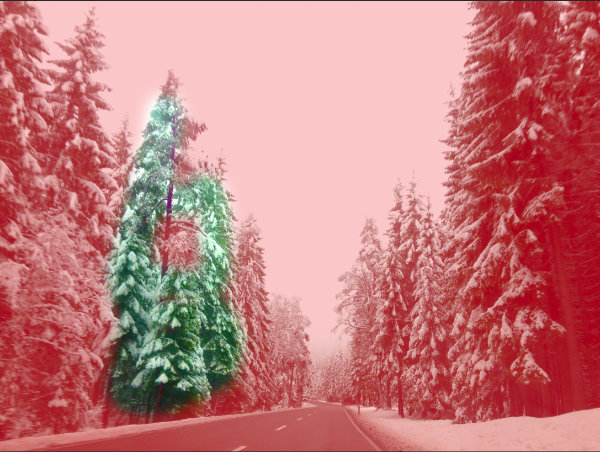
 I am using the Afinity Photo desktop version to replace a sky in a photo that has evergreen trees. Everything goes fine, EXCEPT, the border between the masked sky and the picture has white ghosting, looks like frost. I have used the refining tool, but to no avail. I am stumped. I have attached the file for a look. Does anyone have an idea what is causing this issue and how to fix it? I would appreciate any help.
-
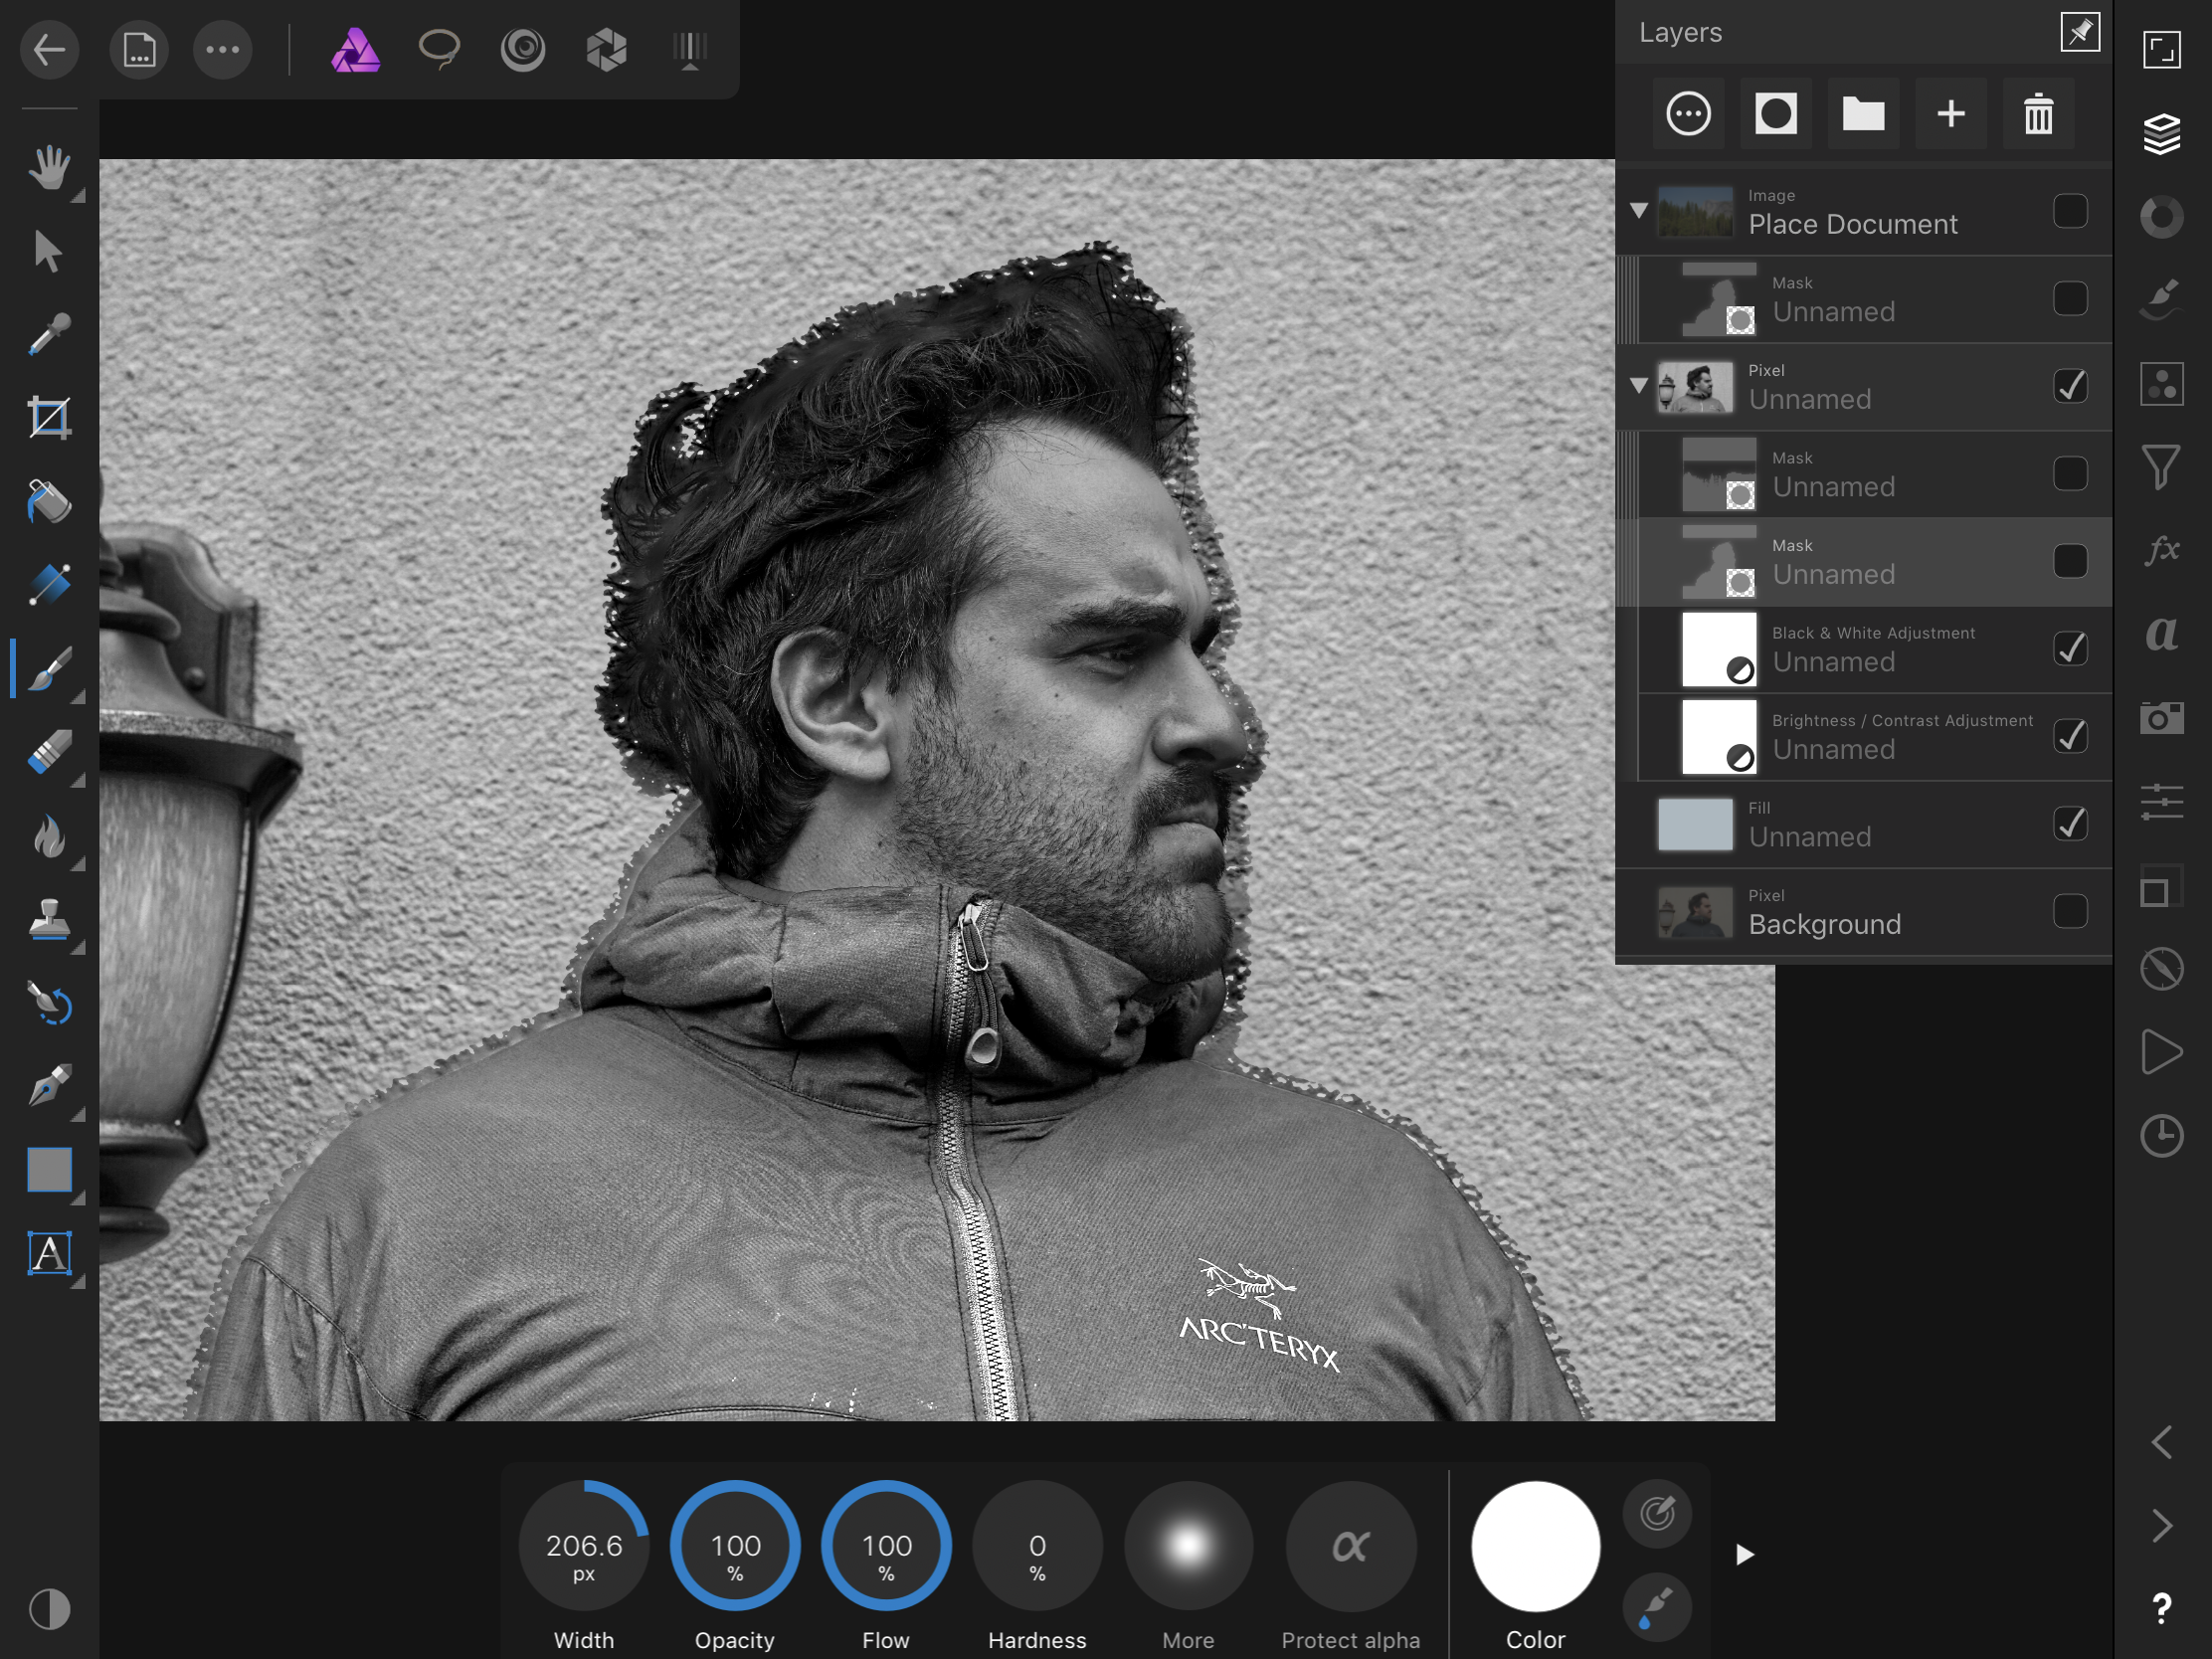
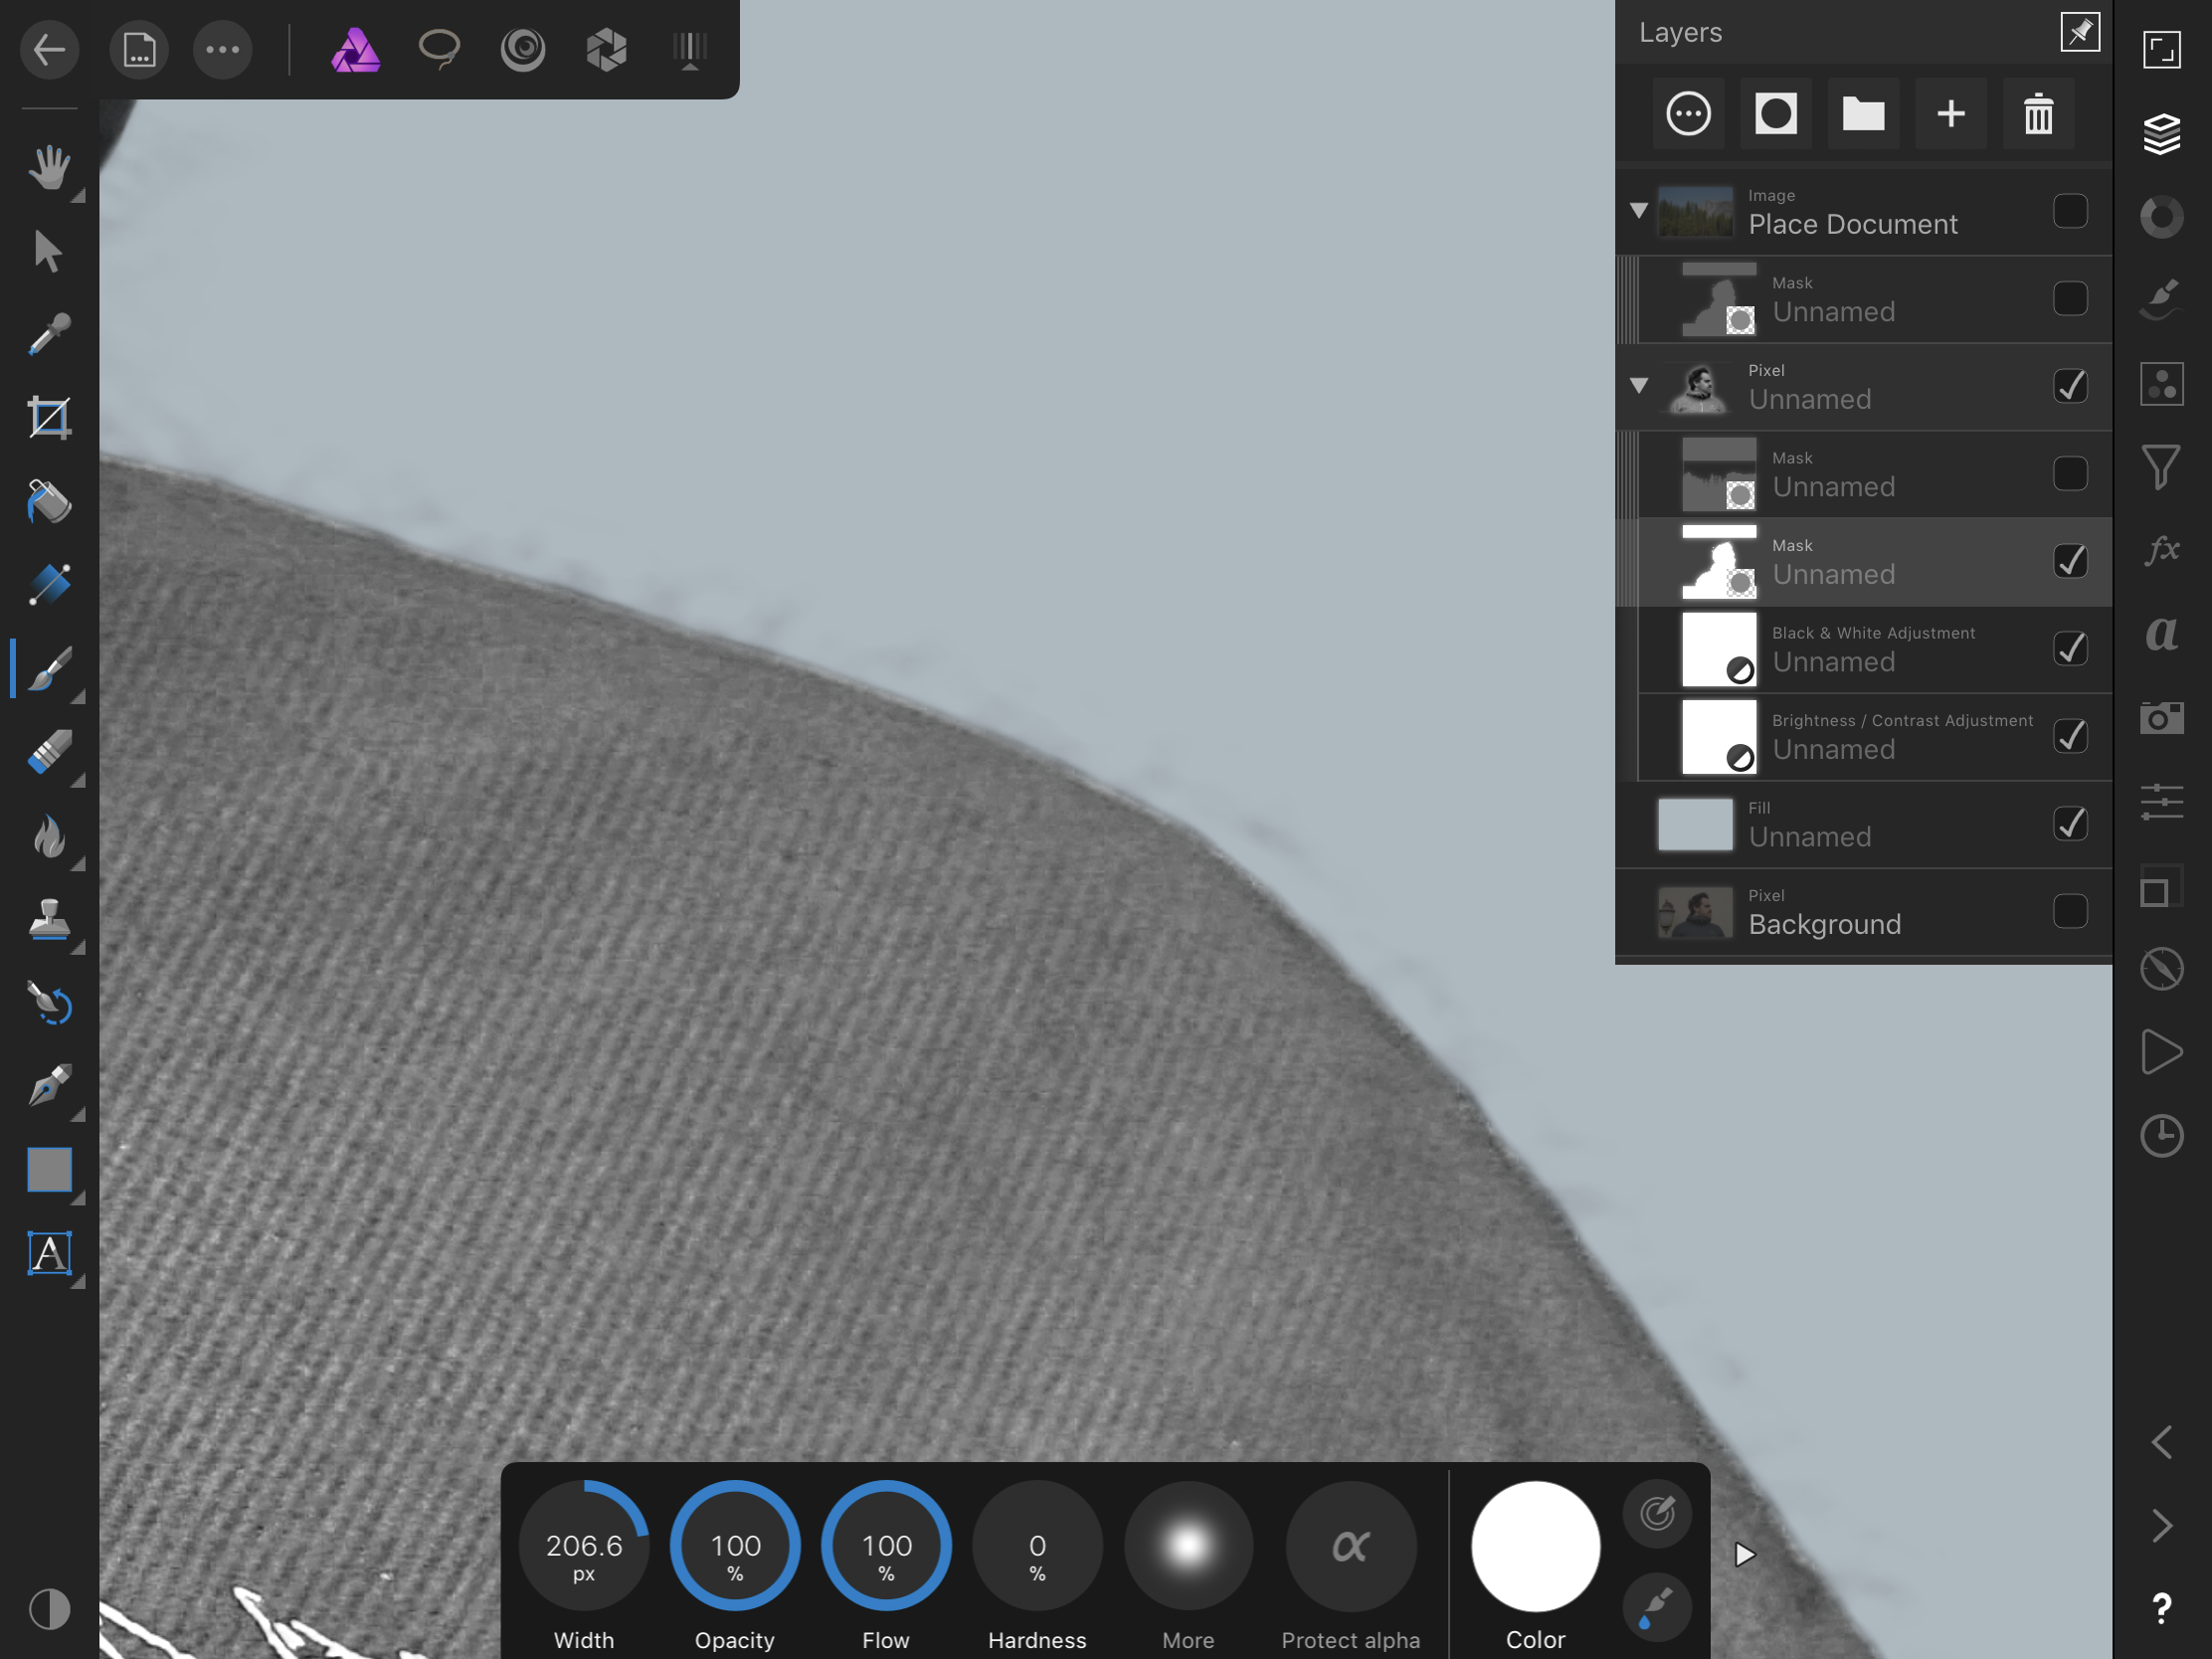
Hello! First post! Excited to be a part of the community. Absolutely loving Affinity, just got a couple of questions that have been confusing me about making selections. The refine tool seemed awesome at first and I was cutting out complex subjects from messy backgrounds easily, but now I’m finding upon closer examination that it’s really not that neat of a selection. I’ve seen other people ask similar questions so my question is this...when I refine a selection to a new layer with mask, why when turning off the mask do I see an image like the second one I posted? With the nasty selection outlining the subject? Also, how do I get a cleaner selection without all that mess along the borders? I’m extracting the subject from a very plain background, I dont think it should be coming out like this (third photo)....thank you guys!
-
 Hi guys! So, I have been triying to cut this guy from this image, but I can´t make a good selection. I have some problems with thoose small parts in his body, and I also have some weird edges when i refine it. I have tried it on Photoshop and I have been able to cut it almost perfecctly in just 2 minutes, what do I am doing wrong??!! Please help me!! I attach (In order) the original photo, the final result made in Afinity Photo, the final result made in Photoshop, the most difficult part for me of this image and also the weird edges I have when refining the selection. Thanks everyone!
-
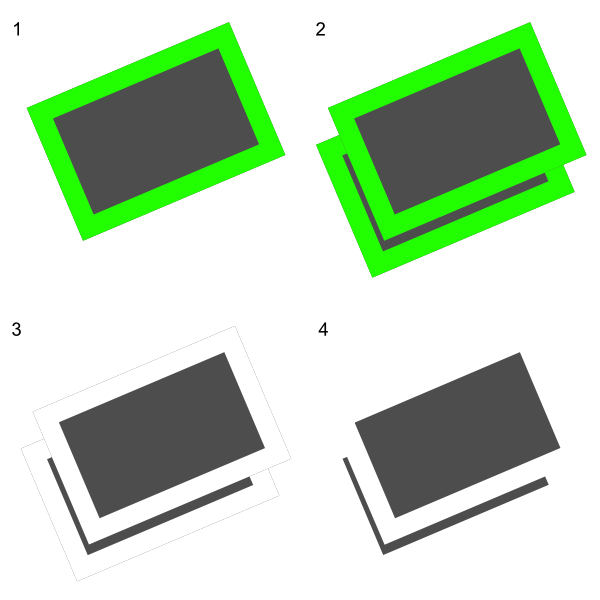
 Hi all, I've no idea how I call this. But what I want to do is create a graphic stack it on top of a duplicate. Like a pile of papers. Now I want to give each graphic (or paper) a border which will cut out on the layer below. I've tried to create an image that would explain what I'm trying to do. Image 1: is the object with the 'cut away space (green) for the below image' Image 2: duplicated objects Image 3: the top object will 'cut away' on the bottom one Image 4: should be the intended result On a white background this is easily done with a white border around the object. See image 4, but what I need is that all that is white is transparent. Any ideas or suggestions?
-
Hi everyone! I´m very new to Image editing, and I have been working with affinity photo for about 2 weeks, trying new things and tutorials around the web. Yesterday I decided to take a challenge, mask some girl´s hair, bute I can´t! Can someone help me do this? I don´t know what settings to use when refining edges around the hair and how to get some good selection. I put here the image to you so you can try it and if you are able to select and mask that hair pls let me know how you did it!! Thanks everybody!!!
-
 Hi guys, Is there a keyboard shortcut for vector masking? For example, for clipping, you can Ctrl+X, Ctrl+Alt+V, and layer clipping is done. Is there such thing for masking? I couldn't find anything in the help file, or the preferences. THank you
 -
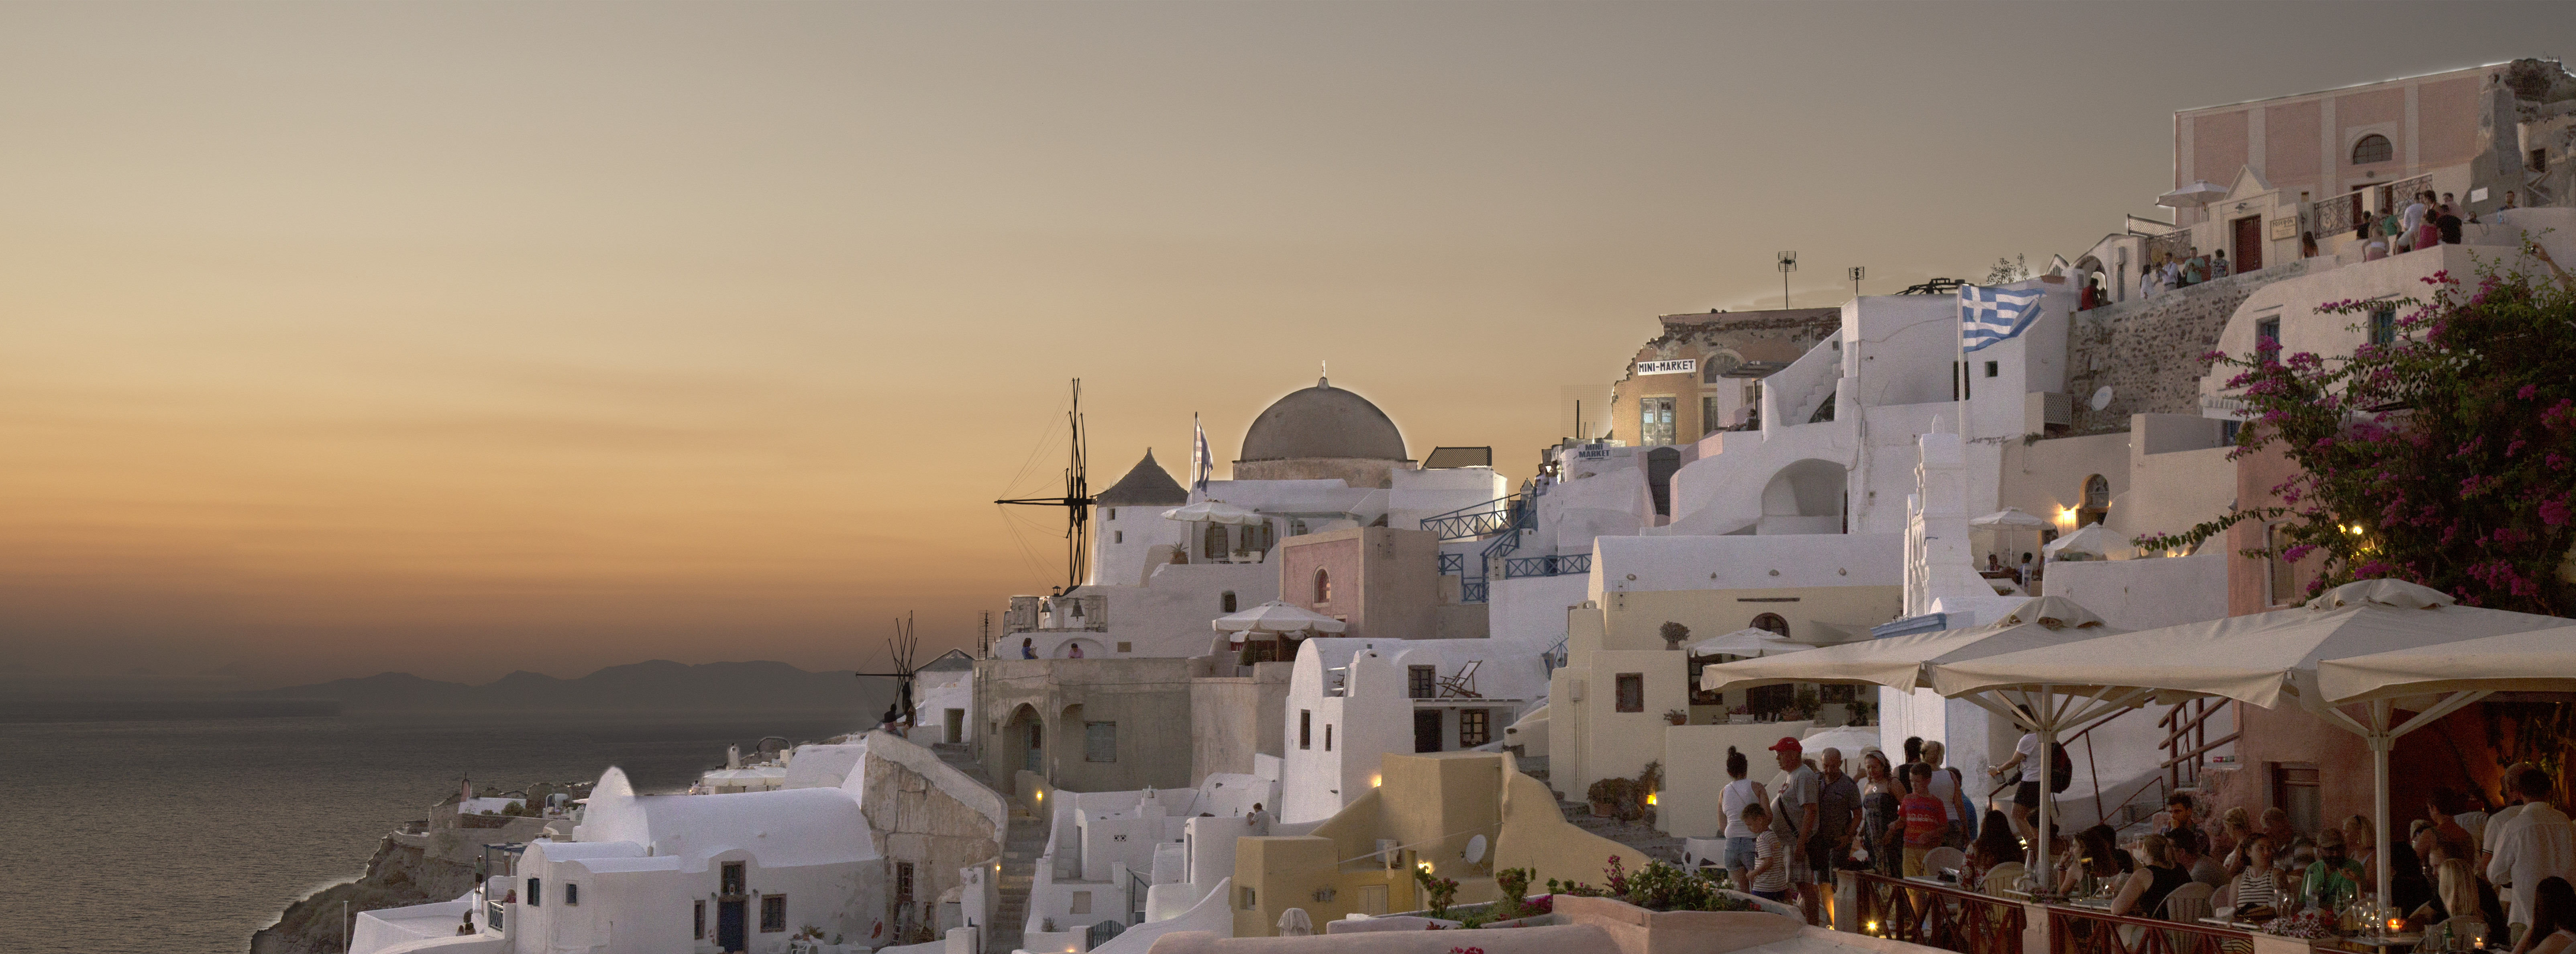
Hi, just as I like this software and need to share some stuff, here are 2 or 3 pictures using stacking (panorama, and stacks) some effects have been applied with Nik Collection (HDR effects)
-
 Hey, I regularly create non-destructive compound path. I then want to use these as masks and clip other layers to them. When I drag a layer onto a compound path, the path gets included into the calculation, rather than being clipped. How can I change this behavior and use the Compound Path as a clipping mask? Thanks!
 -
 Hi guys I mainly work with 32bit rendered EXR files. When I'm comping rendered objects into backplates, I need to be able to have coloured masks. This is to ensure shadows that are in alpha (masked), creates the correct tone on the backplate. A coloured mask can for example produce a blueish shadow, where a grey scale mask will produce a grey shadow. Is there perhaps a setting I'm not seeing? Whenever I convert a layer to a mask, it goes greyscale!
 -
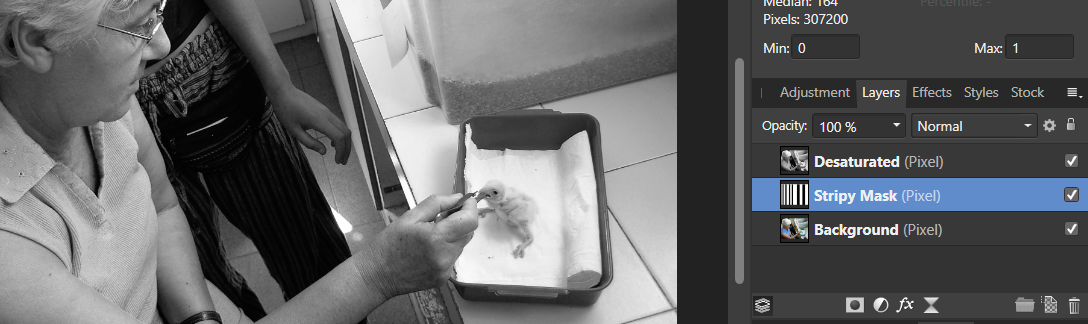
 I have an image where some parts need sharpening and some parts need denoising or smoothing. The obvious way to do this is to create a mask that divides the image into these two component parts. No problem, I create an edge mask as a new layer and refine it appropriately. I could now duplicate my original image and sharpen one version (using Nik Sharpener) and denoise the other using Nik DFine. The mask should now be able to ensure that what I see is partly sharpened and partly denoised. But I cannot see how I can place the mask I have created to perform this task. I Because sharpening and denoising are fairly subtle, I have been practicing on an an image and a desaturated version, and a layer comprising several vertical black-and-white stripes so that I should be able to see a fairly obvious mask effect. I have tried following various videos and on-line guides typically involving moving the stripy mask into a position on one of the layers, but what I see is always either the stripy mask or no effect at all. The image below shows what I see before trying to place the mask. Any advice gratefully received. John
-
 When using vector masks is it possible to be move the image under it ? Instead of only moving the curve/shape over the image ? I guess like indesign handles cropping images ? cheers
 -
 Hello, everyone. I dove in and bought all the programs. Now, I have a 'best practices' inquiry: How do I set-up the artboard so that the white dirt on the 'K' (a texture file) is actually erased (a layer mask? a clipping ask?), allowing the pink circle to be visible? Sorry - I am completely befuddled by this.
-
 Hi there, I'm getting stuck with masking and the paintbrush tool (in Affinity Designer)... - Pixel Persona - Have a photo I want to mask - When I select a part of the photo with any of the selection tools and create a mask from that selection, things are fine. I get a proper black and white mask layer. - Now I want to REFINE my mask, by selecting the mask layer, selecting the brush tool, setting the brush color to BLACK and then painting black inside the mask over parts I want to hide. The problem is... I can never make the brush tool to paint in COMPLETELY BLACK color! The color setting in the color panel is set to completely black (#000000), but the actually painted color on the mask is always dark gray. Never completely black. Thus there are always semi-transparent parts of the image visible. I can never mask them completely. Any ideas how I can make the brush color to be 100% black? Thanks!
 -
 Hi there people! I finished the linert of my drawing, now I have to color it. Problem is...I need to color inside my flat color without the brush go out of it. In Photoshop, I used to put a new layer on top of the flat color and -> Create Clipping Mask Is there a way I can do that in Affinity Pro for iPad?
 -
This thread gave me an idea to create an estimated Depth mask: I have created a macro to recover some depth information from the Remove Haze filter itself. Create_depth_mask.afmacro The way you use this is to select your pixel layer, run the macro, and then drag the resulting layer group into a mask position of some adjustment. The red tint is intentional to help previewing the mask. When the layer group is used as a mask of some other layer, the tint will be ignored, and only the alpha channel will be used. See example usage with a black fill layer being masked by the depth mask. Create_depth_mask.afmacro
- 4 replies
-
- 1
-

-
- haze removal
- depth
- (and 1 more)
-
 I feel like I must be missing something basic, but I cannot get a mask onto a layer. The issue may be that a pixel layer and a mask layer are totally different things, and never the twain shall meet. If so--and I think this has to be my ignorance--then that's a terrible design flaw. Background: I have an image where the foreground and sky need very different raw conversion to look good. Years ago in GIMP I painstakingly created a very detailed mask to combine TIFFs from the two different raw conversions. Now I want to use Affinity Photo to do the same thing, so I can work from 16-bit TIFFs in ProPhotoRGB instead (the stable version of GIMP is limited to 8 bits per channel, so ProPhoto RGB is not a good choice). So I exported from GIMP the layer mask as a TIFF. It opens fine in Affinity. I can paste it as a layer into the same file with the two raw conversions, but when I a Mask to Below, although the operation seems to work, it does not have the masking effect. I've also tried New Mask Layer followed by Paste Inside, but I can't seem to get my previously-created layer mask to function as an Affinity layer mask. I have to believe there's a way to paste into a mask a pre-existing layer, and thereby use it to create a mask. So how do I do it? Thanks!
 -
 Hi, is there a shortcut or a way to show a layer mask, like the way when i draw the mask in quickmask mode. I need a way to show an already painted mask as an overlay. like the example
-
 I'm moving over from Illustrator (so far so good) but I'm having issues working with moving/scaling masks and their content. I can create a mask, resize and reposition the mask over the fixed content, but I'd also like the ability to resize/reposition the content without affecting the mask. It would be the same as pasting the object into the mask shape (allowing easy repositioning/scaling of the content) - but with paste inside, you can't easily edit the "mask" shape without affecting the content as well. I work with photos and want to mask out portions but still be able to move/scale the photo and also the mask. In Illustrator, you just click on the object and then can choose to edit the contents or the mask path, and I'm looking for something similar. Am I missing something, or is this not possible in Designer (without releasing the mask, changing content and then reapplying the mask which is a pain and makes it harder to do right as the mask shape blocks the content below)?
 -
Hi, Wondering if I can assign a keyboard shortcut on "Mask to Below" in the layer menu. Or can I assign shortcuts for the items in the layer menu? Thanks! CY
-
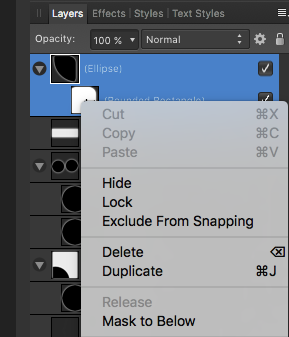
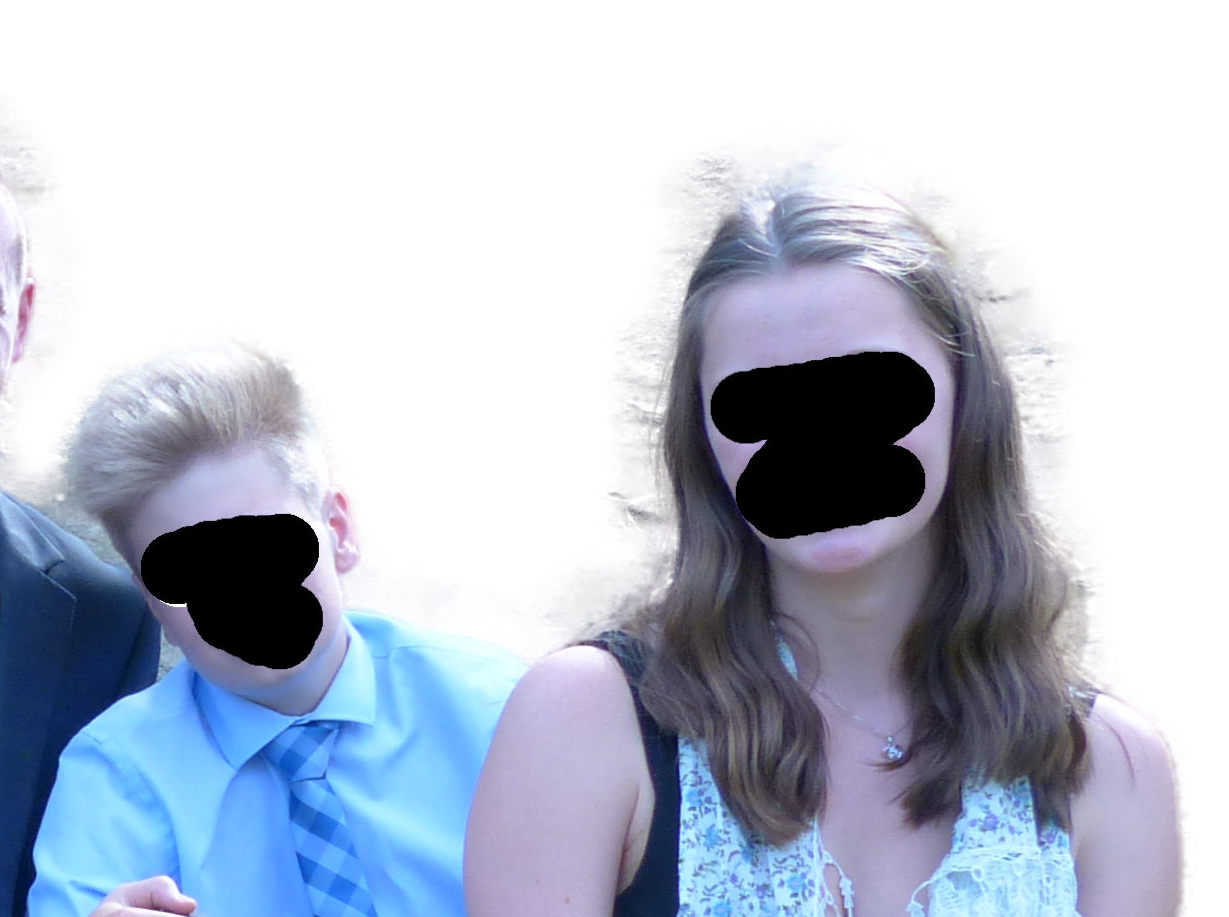
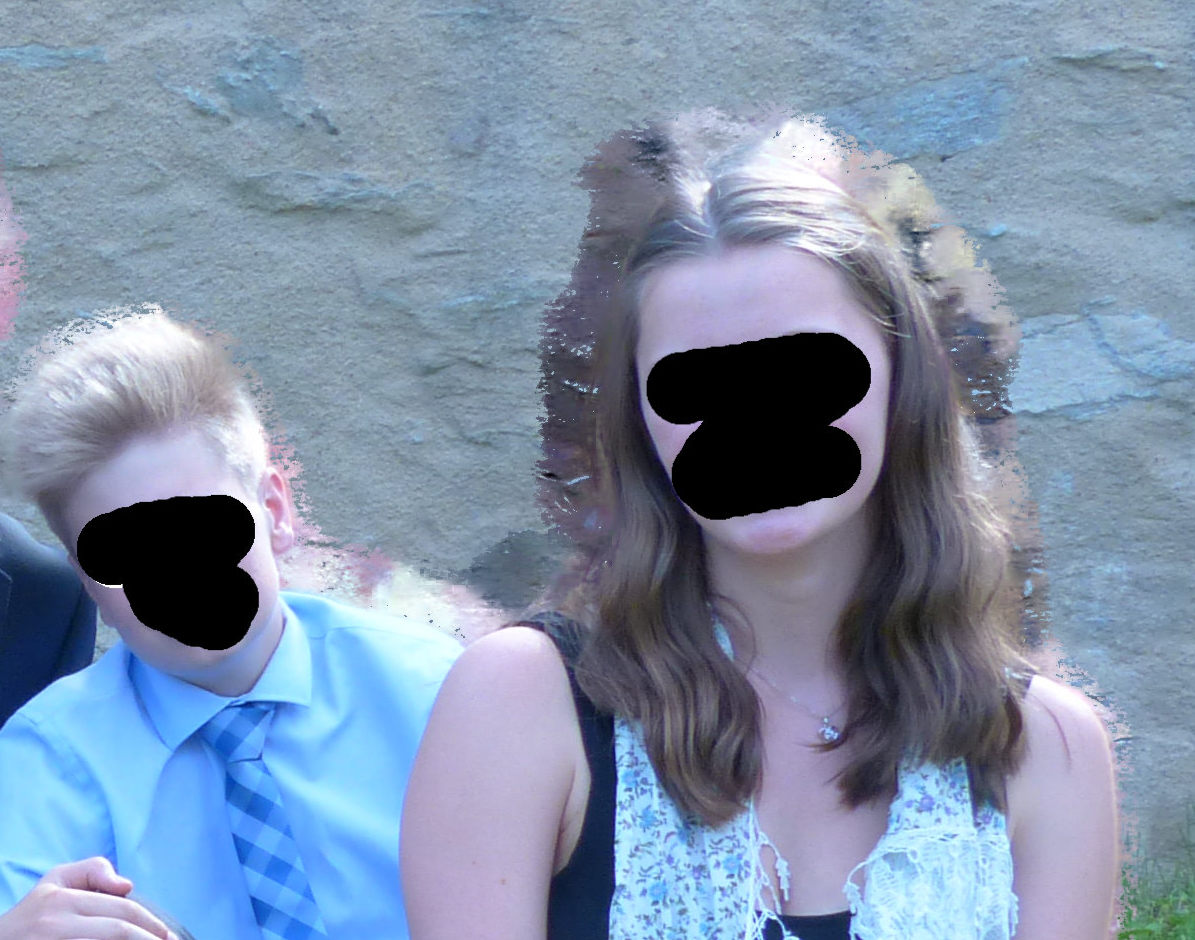
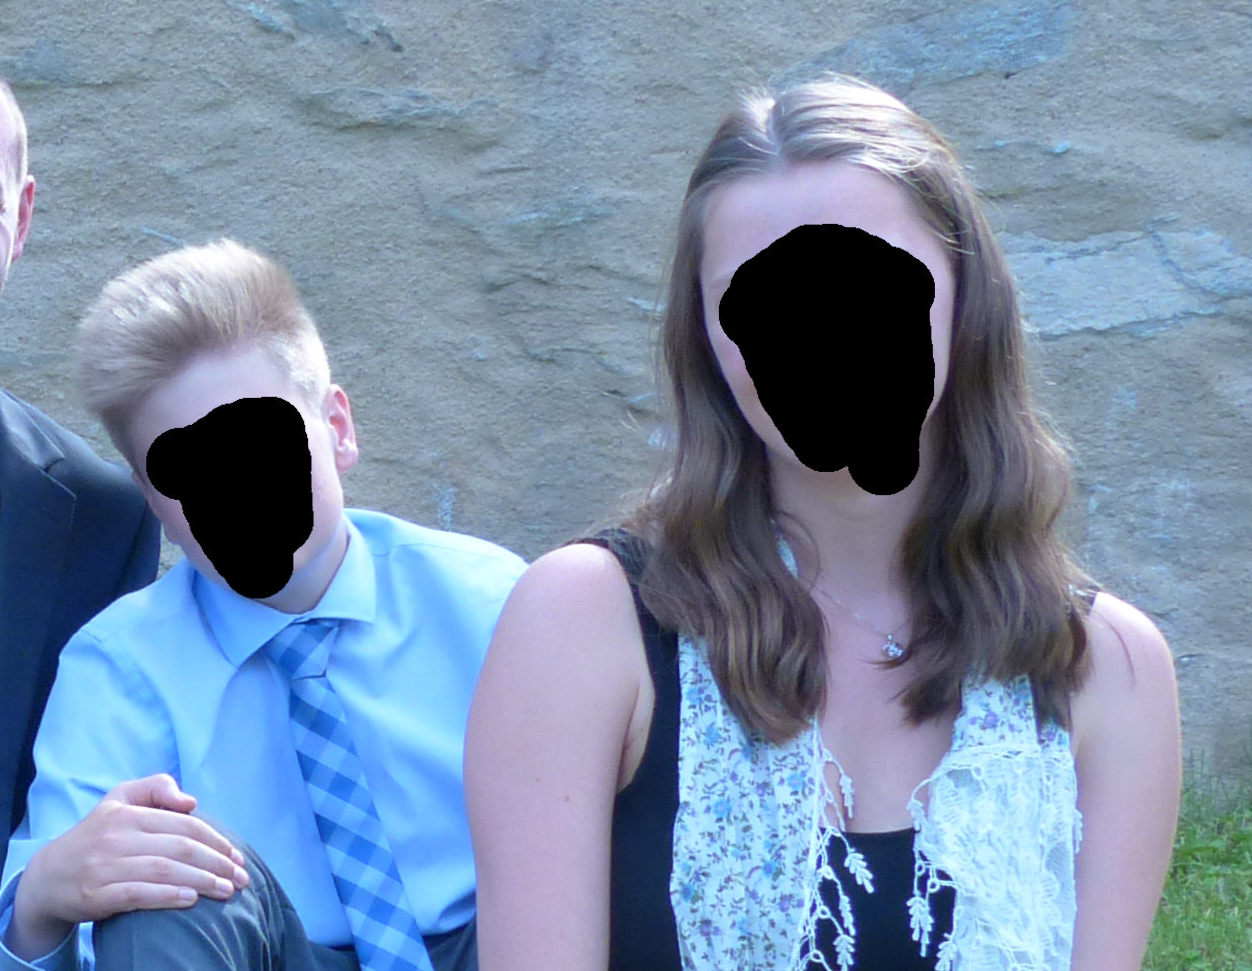
 Hi there, I do have a problem with masking. Samples see attached: What is the problem? I have a pic. (original.jpg) and I've done a selection with the selection brush. After this is I did "refine edges" to fine tune the selection. After this I safed it as a new layer with mask. The result was ok (see: with mask.jpg). BUT Once I disable the mask or I edit the mask I get horrible artefacts (see: mask disabled.jpg)... What is the problem? What is my thinking mistake? Thanks for your input and help.... Best Thomas
-
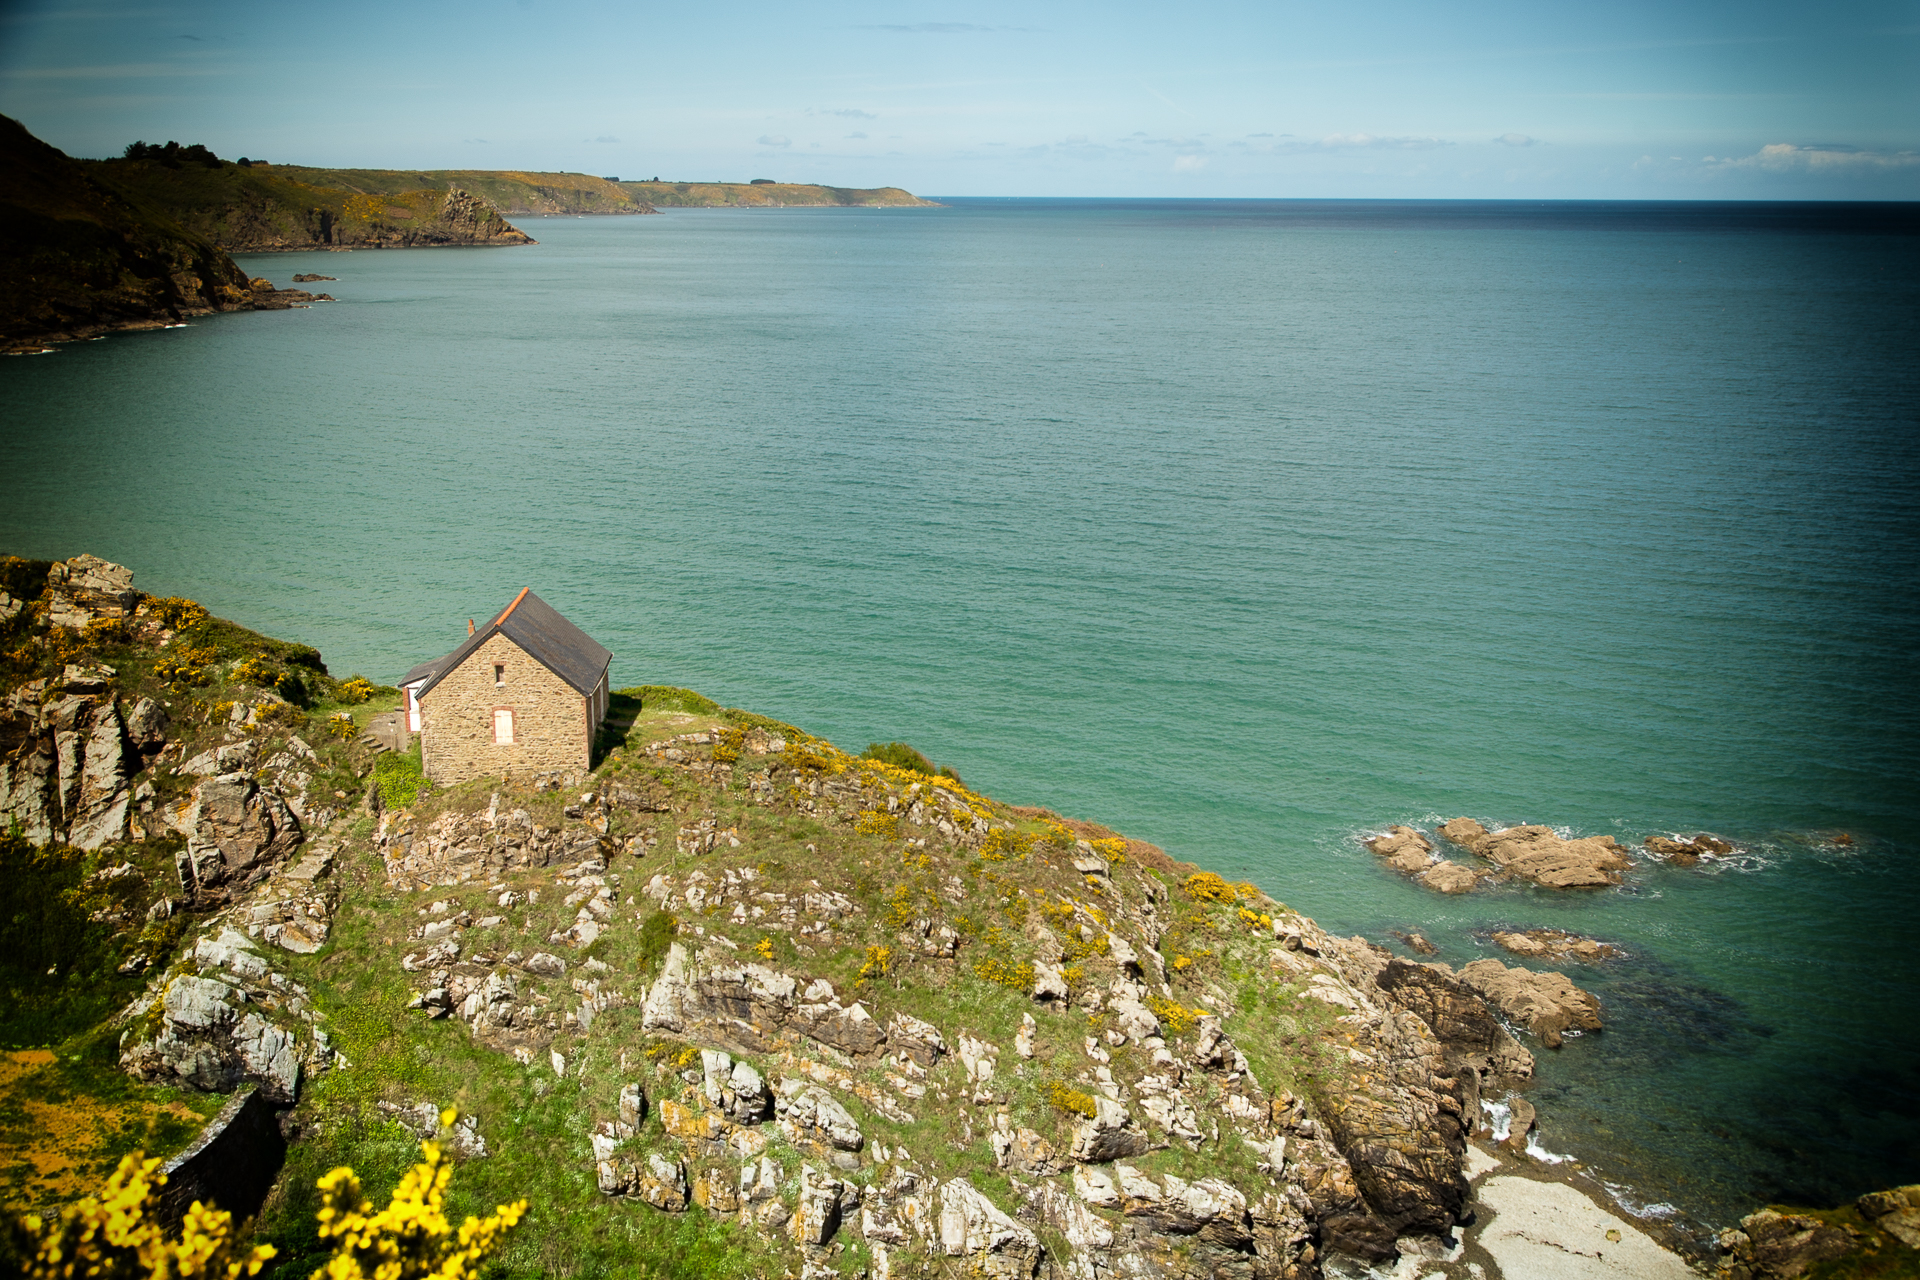
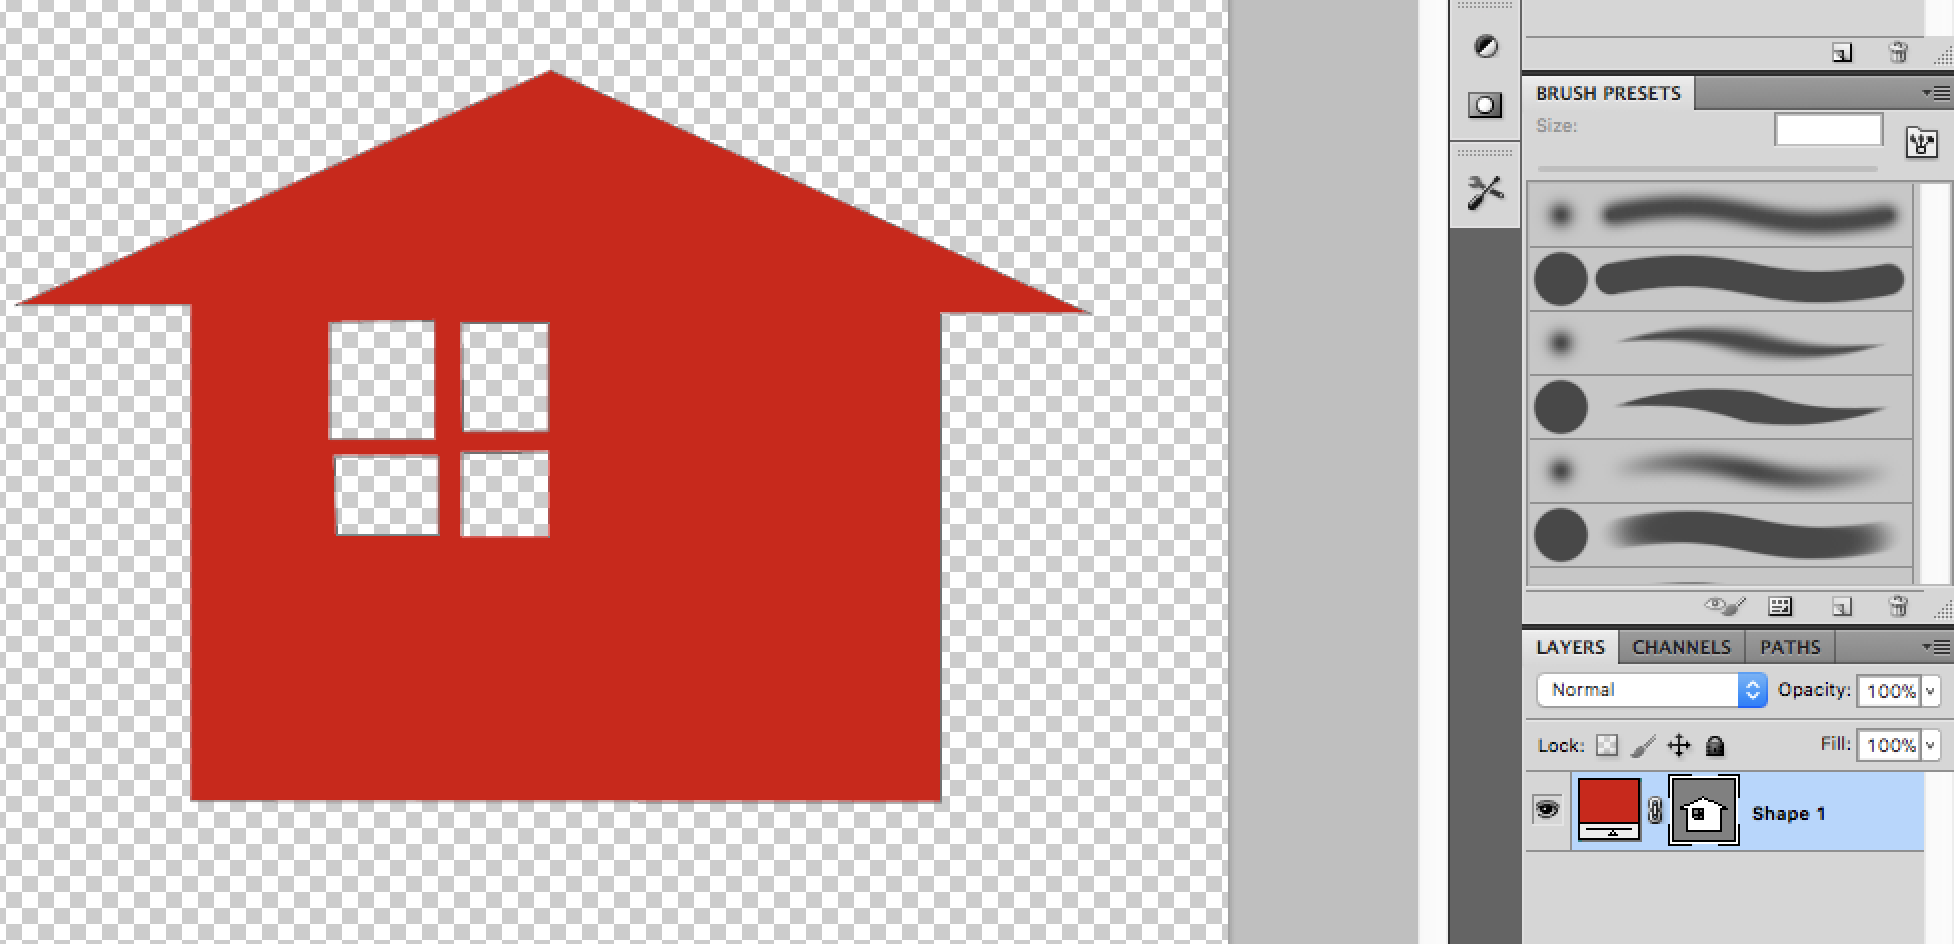
 I am trying to subtract from an enclosed vector but I cannot find an option to do this in Affinity Photo. I can do this in PS CS5, I tried doing this in Affinity Photo but I do not see a subtract from mask option. The window on the house vector is an example of what I am trying to accomplish, I watched all the vector cropping Affinity videos but I couldn't find anything about subtracting from a vector mask. If you know how this can be done please let me know, thanks!
-
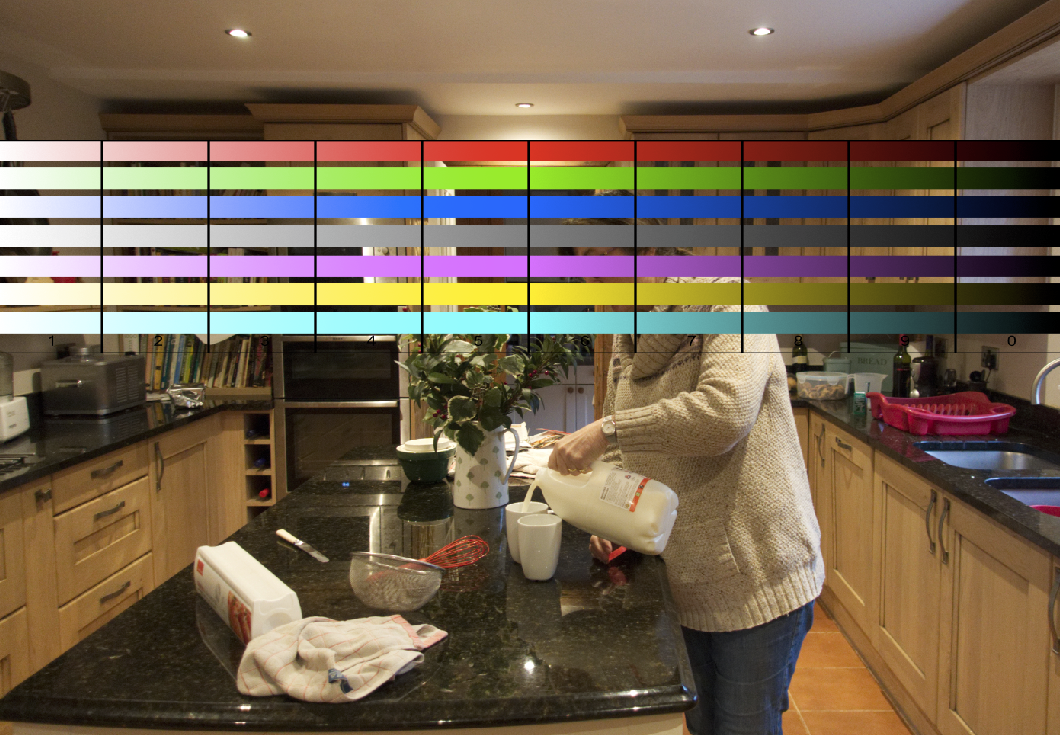
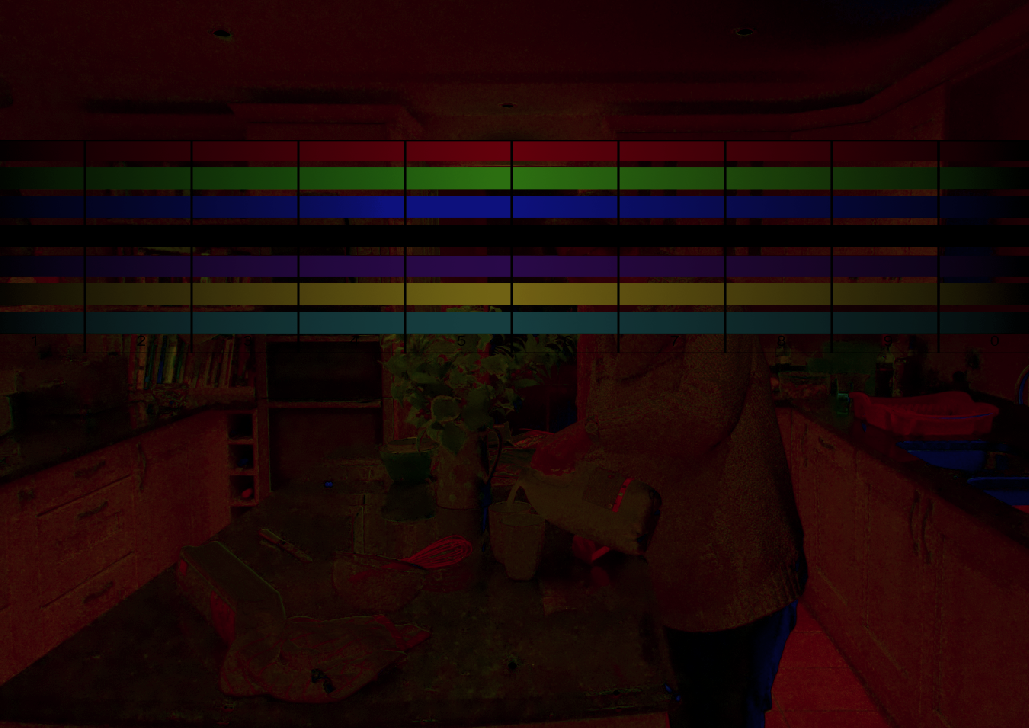
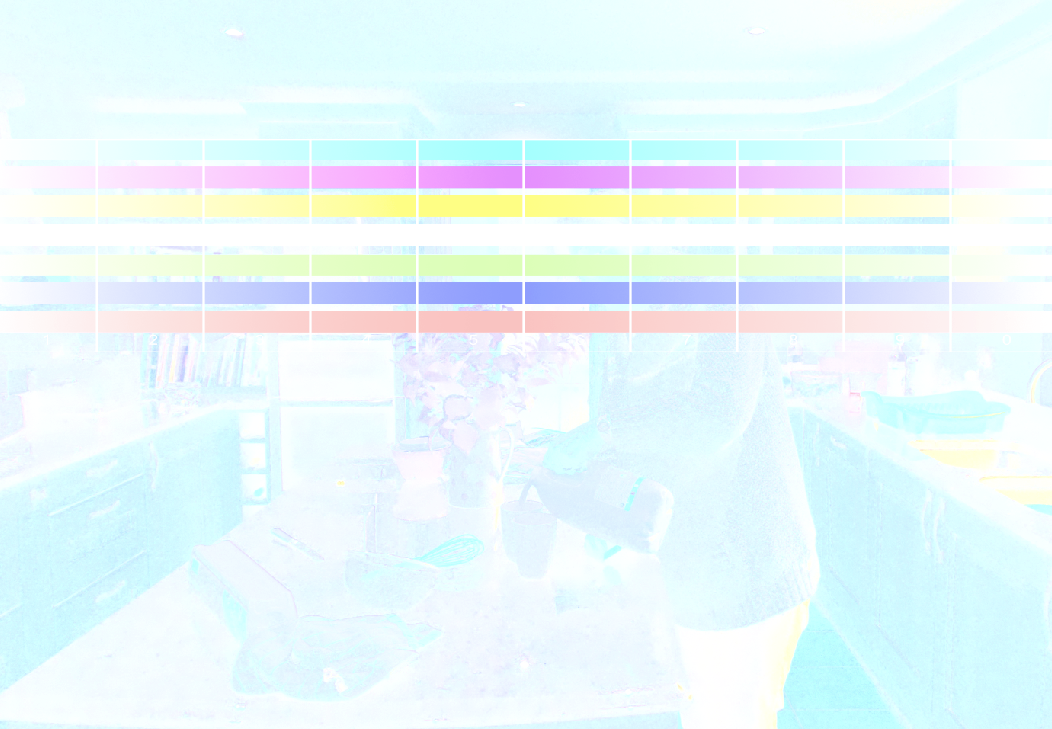
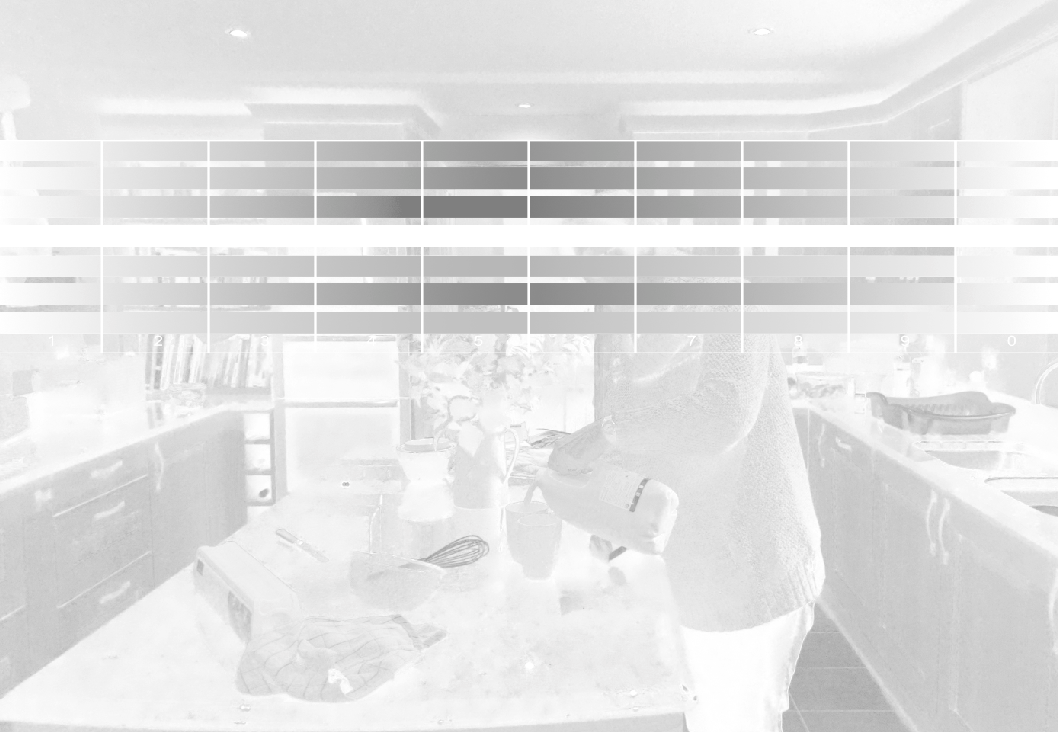
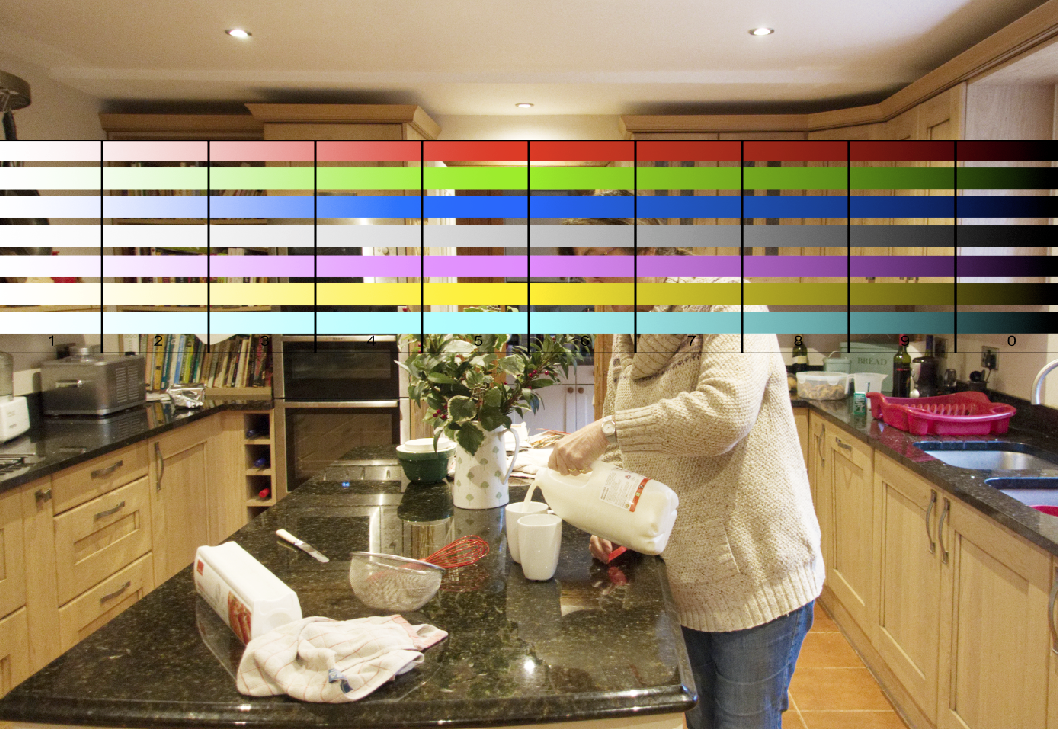
 I've been puzzling over how to create a saturation mask, where the darkness/lightness mask represents the saturation of the colours. You can select by hue and luminosity, but not by saturation level, which is a shame as it is possible in PS. Here's what I did, with images. Note: All adjustment layers are above the image, with the whole set collected in a group. Initial image has overlaid strips of RGBKMYC, fading from white and to black. They are at greatest saturation in the middle, so we should see this being selected. First step is to add an HSL layer, dragging Saturation to zero. Then set Blend Mode to Subtract. Here we can see the central areas of the strips are coming through, which is what we want (I tried Difference blend but it wasn't the same). There's more detail in there, but we can't see it at the moment, so add an Invert layer. To make it black and white for masking, add a Black/White layer. This is all rather faded, so add a Levels layer and drag the Black up to meet the histogram and improve contrast. We can now create a mask from this. Invert it again if you like to select the more saturated colours. Here's a quick example, with the mask loaded to a Curves layer which has been pulled up to affect lower saturation areas (note the lighter and darker areas of the strips are lifted) but higher sauration is not (as can be see in reds such as the draining board stand). As this effectively converts saturation to luminosity, areas of it can be selected with Blend Ranges, for example just the most or least saturated. The principle could also be applied to any other adjustment, subtracting it from the original and turning this into a mask. Bottom line - does this make sense? Have I fallen over any tripwires?
-
Is it possible to select by saturation level? I'm particularly thinking of using saturation masking (if it can be done).
-
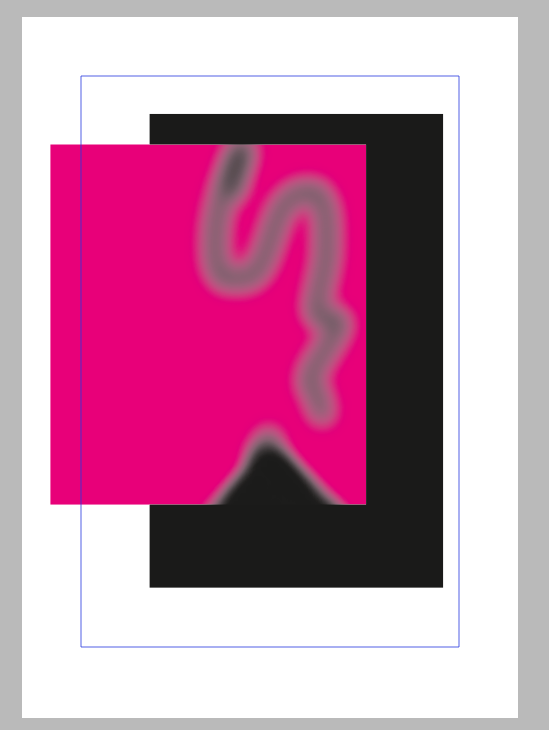
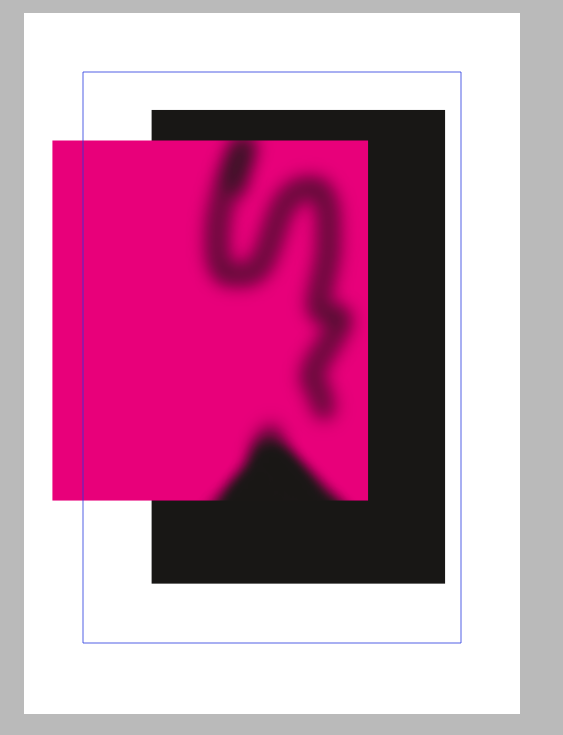
 Hi, I am not sure if this has been asked before, but I couldn't find anything about that. Also I have no comparison to Adobe right now - no subscription. Why is the mask in CMYK not really „alpha-masking“ the magenta layer but turning the edges grayish? How can I avoid that? thanks and cheers, Steffen CMYK: RBG: