Search the Community
Showing results for tags 'Frame'.
-
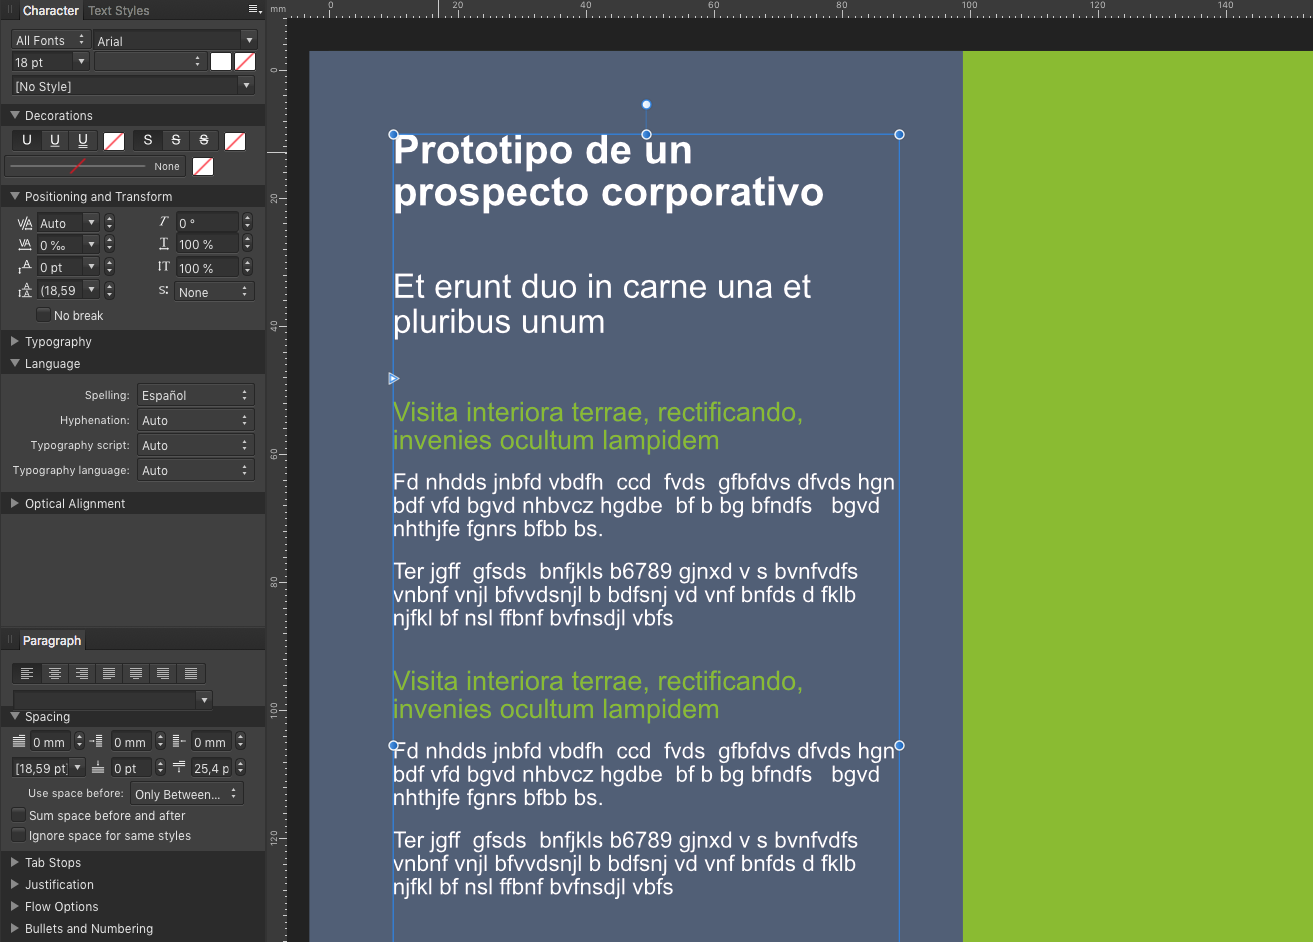
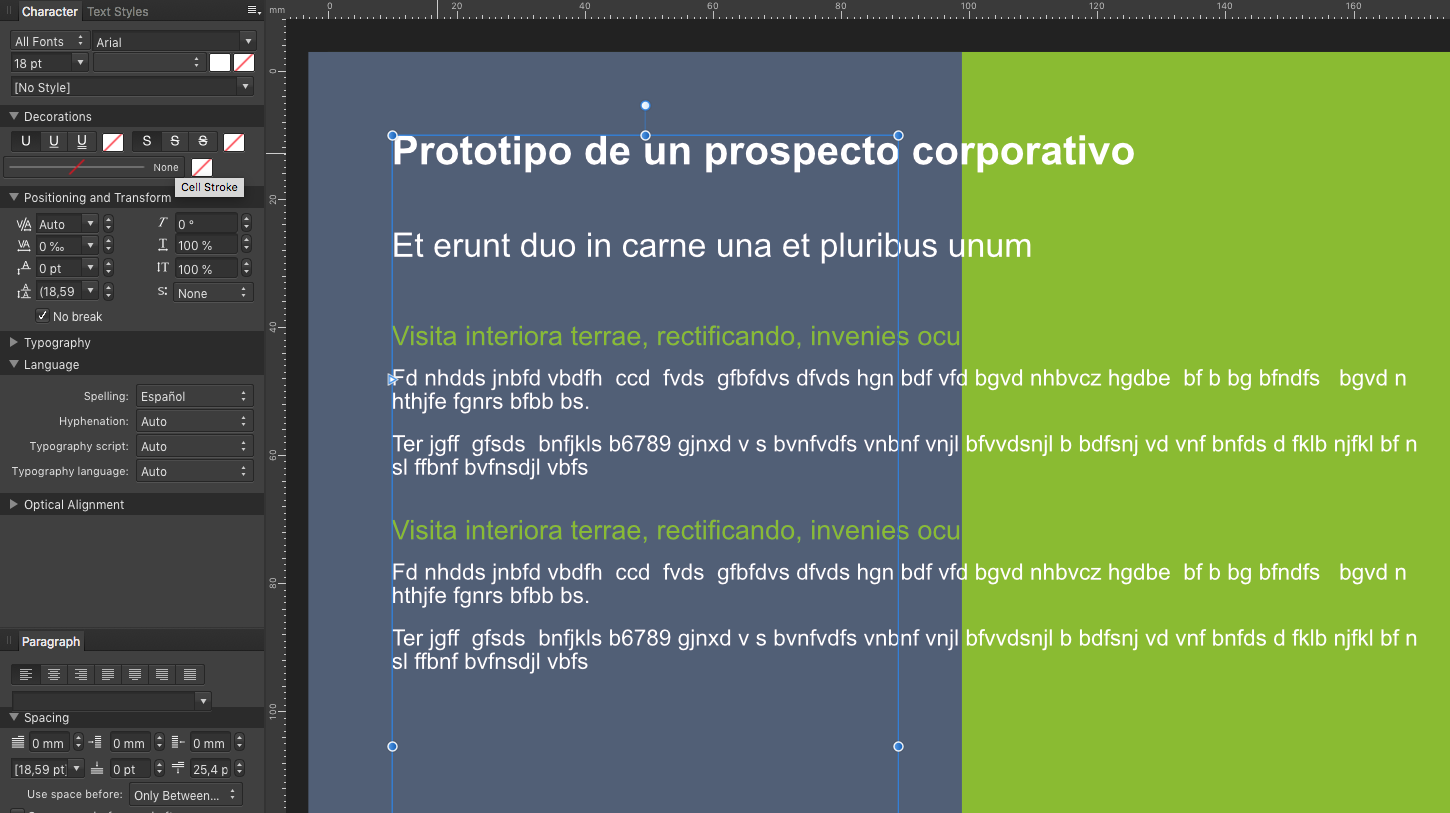
See screen shot. Using the Box style "as is" the frame is always not aligned to the actual text "frame". As you move the handles on the frame, the "box" underneath moves in unexpected ways due to the alignment problem. The most significant problem is centering. Since the centering is based on the outside frame, the inner "box" is not aligned properly. It is a bit difficult to work with it as is.

-
 I want to create graphics that look like they're on paper and cut out. I want to duplicate this paper form and move it for a shadow. The result should look like in the OpenClipart example: https://openclipart.org/detail/160609/new-cartoon-giraffe I don't get a suitable result with the effects. The graphics consist of lines and are in a group. Is there a possibility to create a border automatically (like in the example manually)? Regards test.afdesign
-
 Hi Apologies if this has been sorted elsewhere, probably very easy to sort out too. No idea what I've managed to do here but how on earth do I get my text back to normal, i.e. horizontal!! Quite bizarre as happens on both machines I'm using Publisher on Any help would be appreciated. Thanks
-
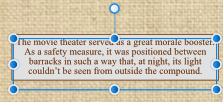
 Text entered into a frame text box works well if left and center justified, but if the text is entered in right justified mode, it does not adjust the text within the box when you use the tab key. Text appears temporarily outside and to the right of the frame box until you enter some text after the tab again. This makes it hard to see what you are getting as you are typing. It also does not put the last tab inside the box unless it is followed by some letter, number, or symbol. Also, you cannot leave a space or series of spaces after the last text is entered. When you press return, the spaces do not appear inside the frame box. The same problem existed in PagePlus X9.
 -
 The Picture Frame Tool properties should have a default of None. Or, please allow the user to choose a default, different to the present Scale to Max Fit. Keep up the good work. LesliePrint.
 -
 Windows 10 - Publisher 1.7.0.128. Is there a way to get a Linear Gradient to be anything other than horizontal in a Text Frame fill? For example, I'd like to be able to make a gradient from light grey at the top, going down to white at the bottom. I've looked around a bit but I can't see anything relevant. It's not a big issue as I can easily do what I want another way (well, probably a few other ways), I'm wondering if I'm just not seeing a better solution.
 -
 Hello. I'm sorry if I will suggest something which already exist in your software. I will be honest, I did not tried it yet but after watching tutorials and after fast look through the forum, I really see no points to try. Why not? I'm long-time user of Ventura (since Xerox Ventura Publisher v.1.1 DOS till the last Corel Ventura v10). And some features which existed in Ventura in 199X still missing in the modern apps - which made modern systems almost unusable for people like me, who have an experience without them, I can see only another clone of InDesign which make no more sense than the original one. Which features I mean to be so crucial? 1. A dedicated "paragraph" tool. Nowadays, all apps I know use the same tool for text and paragraph, but they are different beasts! Give back an ability to select and operate multiple PARAGRAPHS together in a random order. This is crucial for structured texts, like poetry or interviews, texts with multiple subheads, lists and bullets, etc. 2. Give us paragraph styles when vertical position will be related on previous paragraph position (first line's baseligh alignment, breaks, relative indents). It hard to explain, just refer to any versions of Ventura, even earlier DOS version. This is crucial for handling table-style texts, like documentation, without usage of actual table which is way faster and flexible. 3. Multy-column page layouts and Multy-column text frames! And advanced decoration (frames, rules) for frames, to avoid innecessary graphics, which is important for appkucations like magazine layouting. 4. Paragraph styles which can respect or IGNORE colunms. This is very important for a long structured documents - for example, magazine-style or book 2-columns layout with multiple heads breaking the columns. Please, do it, and the army of professionals who remember old good times will be yours Please, refer this manual for Paragraph tool, Paragraph style setyings and Frame Settings: http://www.bitsavers.org/bits/Xerox/Ventura/doc/610E03760_Ventura_Publisher_1.1_Reference_1987.pdf
 -
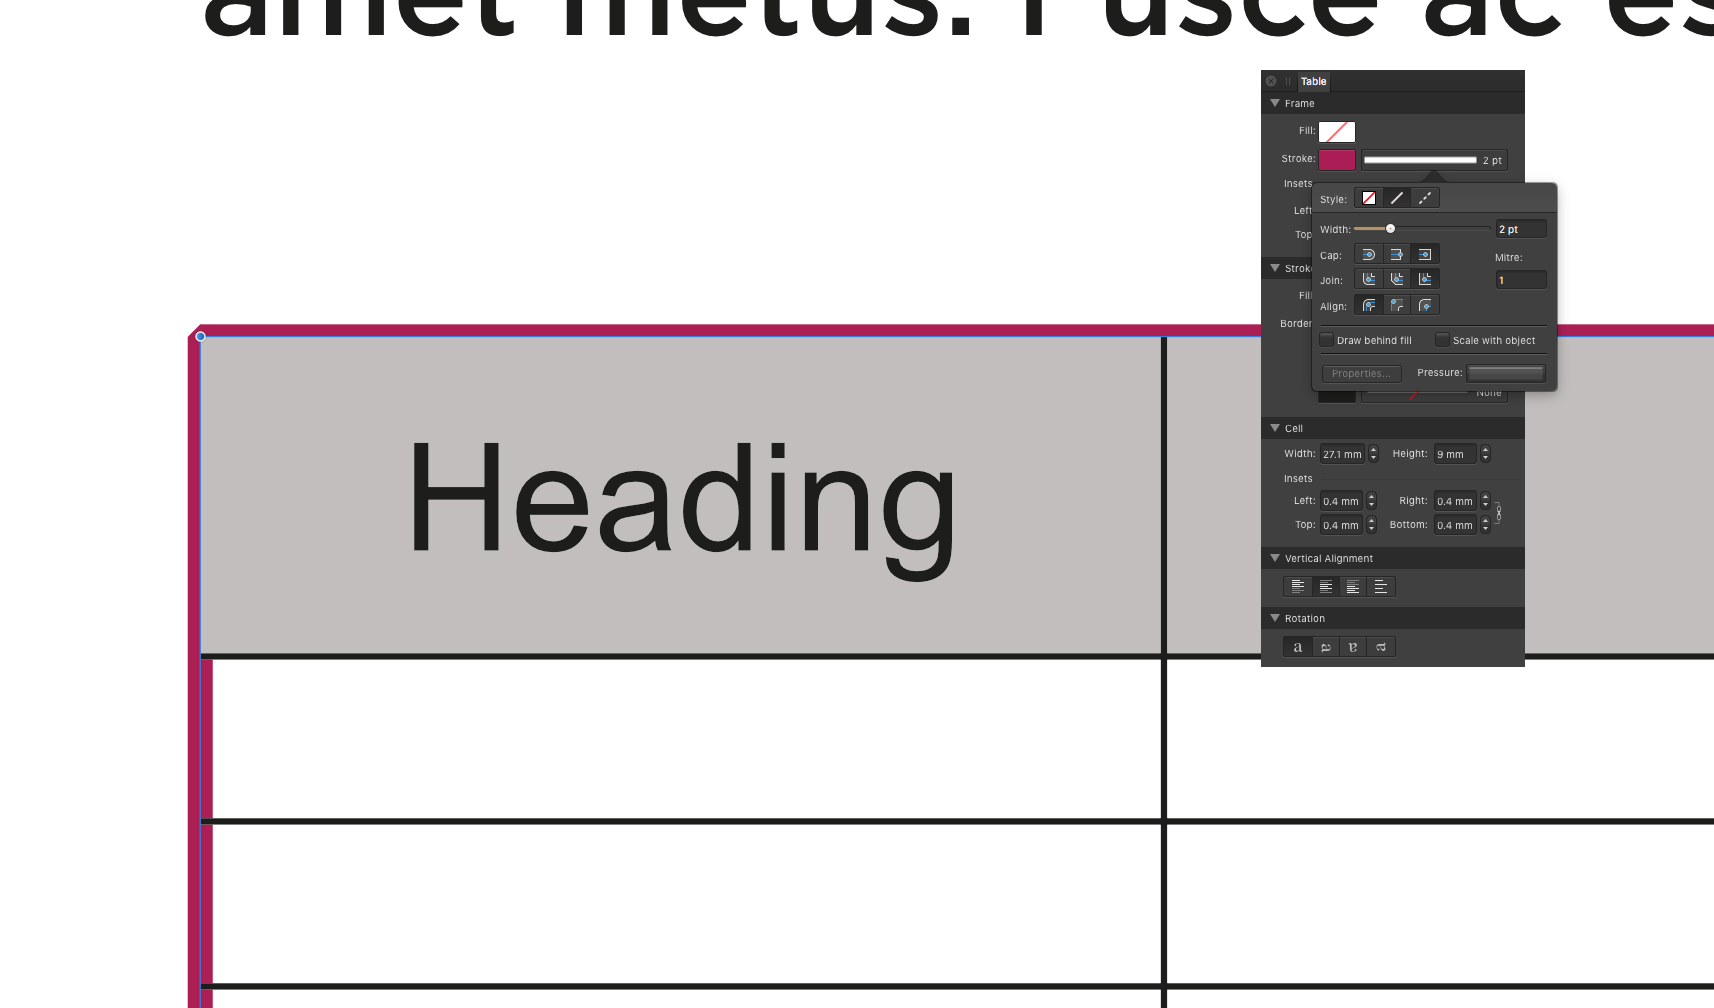
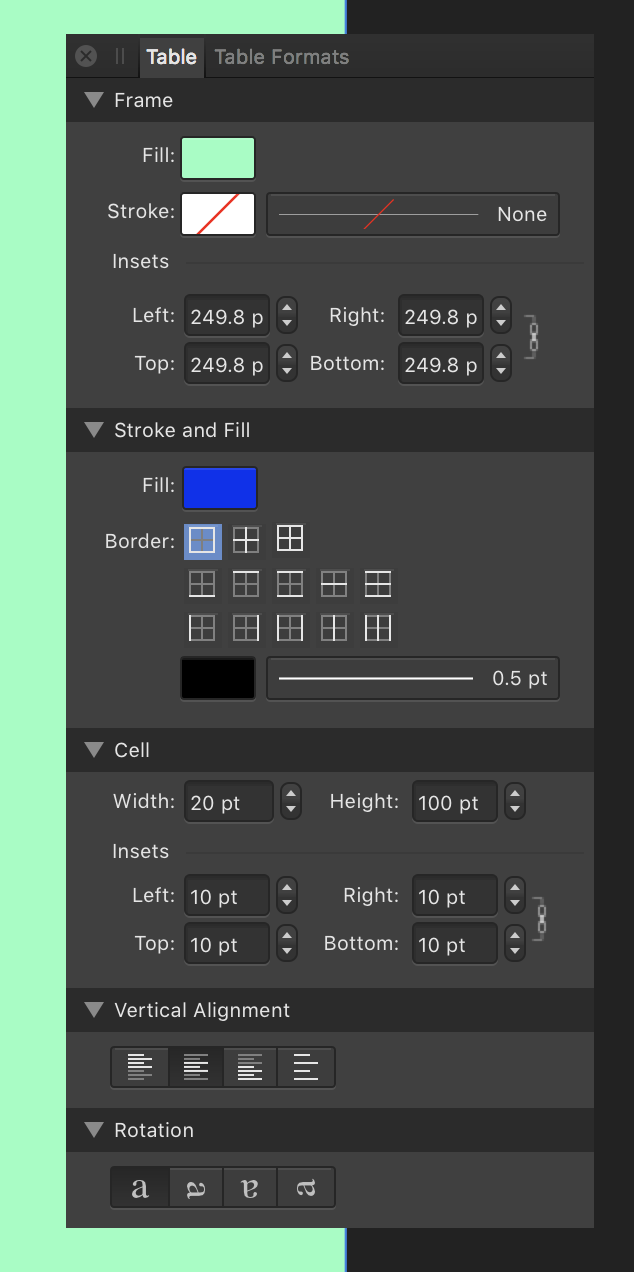
Hello Affinity people, First let me say thanks for giving us the opportunity to beta test publisher and to hopefully help to make it the application we all want it to be. It's looking really good so far. However, there are lots of things missing for me and my workflow (e.g. scripting and grep styles) but I hope that you will continue to add these kinds of features as the application matures. I am having an issue with the new publisher beta (1.7.0.58) where the frame around a table is always drawing behind the fill and strokes of the cells. I have attached a screen shot so that you can see the issue. The way I would imagine this working would be that the frame should always draw in front of the cells fill and stroke, unless you have the 'Draw behind fill' checkbox checked. By the way, this check box does nothing at the moment! Also if I choose 'Text | Find' from the menus the application will immediately crash - this happens every time. Thanks again Spacemanspiff
-
 The functionality to switch between artistic and frame text would be a great addition to Designer... Illustrator's implementation of doing this (double click a specific node on a text object, or right click > convert to...) is a perfect example on how it should be handled. Here's a thread with a whole bunch of other people wanting this as well.
- 42 replies
-
- 20
-

-
 Applying the "no break" option results in text expanding beyond the text frame. Happening since 1.7.0.58 version.
-
 Hey guys, Wondering if anyone else is having this issue. When I go to increase insets for a table frame it does what it's supposed to do. But when I go to decrease the insets, it does the complete opposite. See clip below about what I mean. https://gfycat.com/gifs/detail/FixedOccasionalAmethystgemclam Thanks
-
I don't know whether this is expected behaviour but I was just wondering what other people thought about it. In Designer, you can have this work-flow: 1. Select Place Image tool; 2. Choose image and OK dialog; 3. Click or drag where you want the image to be; ...with the Image Layer that's just been created selected... 4. Select Place Image tool; 5. Choose image and OK dialog; 6. Click or drag where you want the image to be; 7. Image will be put in a separate layer as expected. In Publisher this behaviour is replicated, however, using a slightly different work-flow gives a different result: 1. Select Picture Frame tool; 2. Choose image and OK dialog; 3. Click or drag where you want the image to be; ...with the Picture Frame Layer that's just been created selected... 4. Select the Place Image tool; 5. Choose image and OK dialog; 6. The image in the Picture Frame is now replaced. NOTE: As an additional issue, even if you don't have the Picture Frame selected, the image in the last-created Picture Frame will flash very briefly to show the newly selected image before reverting back to the previous image and allowing you to click/drag the position of the new image. Personally I think this could be 'wrong' behaviour. When I use the Place Image tool I would expect to be able to create a new image layer at all times. The Replace Image button on the context bar is there if I want to replace the image in the currently selected Picture Frame - even if one doesn't yet exist - and the Place Image tool should work the same way - creating a new image layer - no matter what is currently selected in both Designer and Publisher (except in the instance below). I have also noticed that, if you have multiple Picture Frames, with no selected Picture Frame, when you use the Place Image tool you can mouse over the Picture Frames and see a preview of the image in each frame you mouse over. This seems like very nice behaviour which I would like to keep but I don't really like the idea of the image being immediately replaced when a Picture Frame is already selected. What do other people think?
-
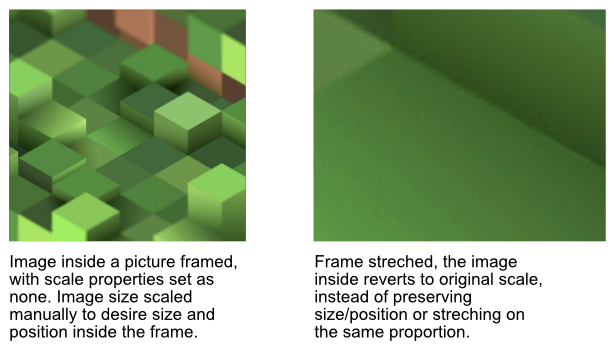
Placed an image in a picture frame, and set the scaling to none, so I can resize to my desired scale. If I try to stretch or resice the frame, the image inside reverts to 100% scale, instead of maintain size or stretch on the same proportion.
-
When I place an image I would like to resize the image to my liking and to crop it without it gets resized. In Indesign I can do this manually and on top of that I have several numerical controls to change things. Are these possibilities missing or couldn't I find the right way to do it? Cheers Andreas
-
 I've used DTP and graphics software for years, and I simply cannot figure out how your Frame Text works. It's not apparently like Photoshop, Word or Publisher. I can't find anything on it in the tutorials and Help and Support seem always to double-back to here. The little I can find does not seem to work as it says. Artistic Text works fine. But although I can type text into a frame, I cannot figure out how to modify it after that. I can't even select a word or a phrase to italicize it, say, or to correct a spelling error. Can you direct me to some help on this?
 -
 I'm not sure if it has been requested yet but it would be great to be able to convert Artistic text to Frame text because the text content doesn't always stays the same and for example, when you want to change a title to a paragraph at the moment you're force to create a new object (Frame text) and overlay it on the same pre-existing Artistic text. It just takes a lot of time if you need to repeat this action several times. And then again, if you need to change it back you have to start over replacing paragraphs with Artistic text.
 -
 What are the type of work each tool is suitable for? For example I was designing UI and I have been using artistic tool and I saw there was some spacing around the text. For example when I choose 24 pt text using Artistic tool there is some space while for frame tool it's exactly 24 pt. I hope I making sense. I wanted to know in what type of design do you use each one of them?
 -
Hello I was working on a UI design at 375px X 750px artboard. I used Frame text tool for some texts. I wanted to resize the artboard. So i increased the size using the transform option directly. I increased the size 3 times. Anyways, main point is the Texts didn't increase in size. It increases in size when I use Artisitic tool but not with Frame text. Is there any reason for that? Or was it made that way?
-
 or Is there a way to turn Text Frames into Artistic Text. I am trying to quickly resize the frame to the text. Thanks!
 -
We Windows users normally have to jump over hoops to produce symbols in our text, using the Alt key and the numbers keypad. However, this does not work in the AF beta. Holding down Alt and then typing 0169 should produce the copyright symbol -- © -- but both the Artistic Text tool and Frame Text tool produce a generic hollow rectangle shape instead.
-
Animatior in Affinity Photo, and or Timeline?? I think that it would be super cool if Affinity Photo like Photoshop added frame by frame animation, this is a huge downside to using Affinity Photo for me, I don't think it should become a seperate product since, well, I already have Affinity Photo, I do not need a full fledged animator and they already have their hands busy. The idea would be you could makes frames and export them as .gifs and maybe .mp4's? that would be cool! all the features would pretty much be a copy of photoshop (maybe some cool feature aswell.), then cartoonists could animate, photo editors could do some sick things and designers could make sick banners and internet .gifs, If affinity added this, I would completely forget about photoshop and leave it in the dust, affinity is amazing and with animation it would be great! Thanks for reading this post! please consider this :D - Segovo
- 15 replies
-
- 2
-
-
- animation
- affinity photo
- (and 8 more)
-
Firstly a big thank you to the Affinity Photo for Windows team for this software. I am learning more and more about it and liking it the more I use it. I would like to see a simple but accurate and consistent of adding a border to an image. In Photoshop it is done by going through "canvas size" and in Paintshop Pro (a program that I have been using lately because of problems with PS) it is even more simple, you go to "add borders". In both you can select what colour you want. I like to add a 4 pixel white border, then a 4 pixel black border to images that will be projected or posted on Flickr. The two methods do not remove any pixels from the image, whereas in the tutorials for Affinity it appears that pixels may be lost. Also it does not seem to be as accurate, or as easy, as I would like. Many Thanks John.
-
 I know, this feature has been requested several times, but I have to bring this up again, since it is still not included in AD 1.5. Please let me center a text vertically in a text frame. This is so important to get a text perfectly in the center of an object, ect. The only way I can do it, is by either do it manually with my eyes, or convert to curves and then center it. Which is destructive. I love all those new constraint features in 1.5, but having a simple button which would center the text vertically would be so useful for any graphics designer, especially UX-designers. Please consider this soon, I don't want to wait until it is implemented to Affinity Publisher and then added to Designer eventually. This is a feature that I am waiting since AD 1.0. Every graphic or image editor has that feature. Thanks.
 -
 Hello, Not sure If my system is borked but I seem to be having troubles copying text from an Affinity Designer Text Frame into another plain text editor. Simple command-c to command-v does not seem to cut it, nor does working from the edit menu. Any tips? Thanks.
 -
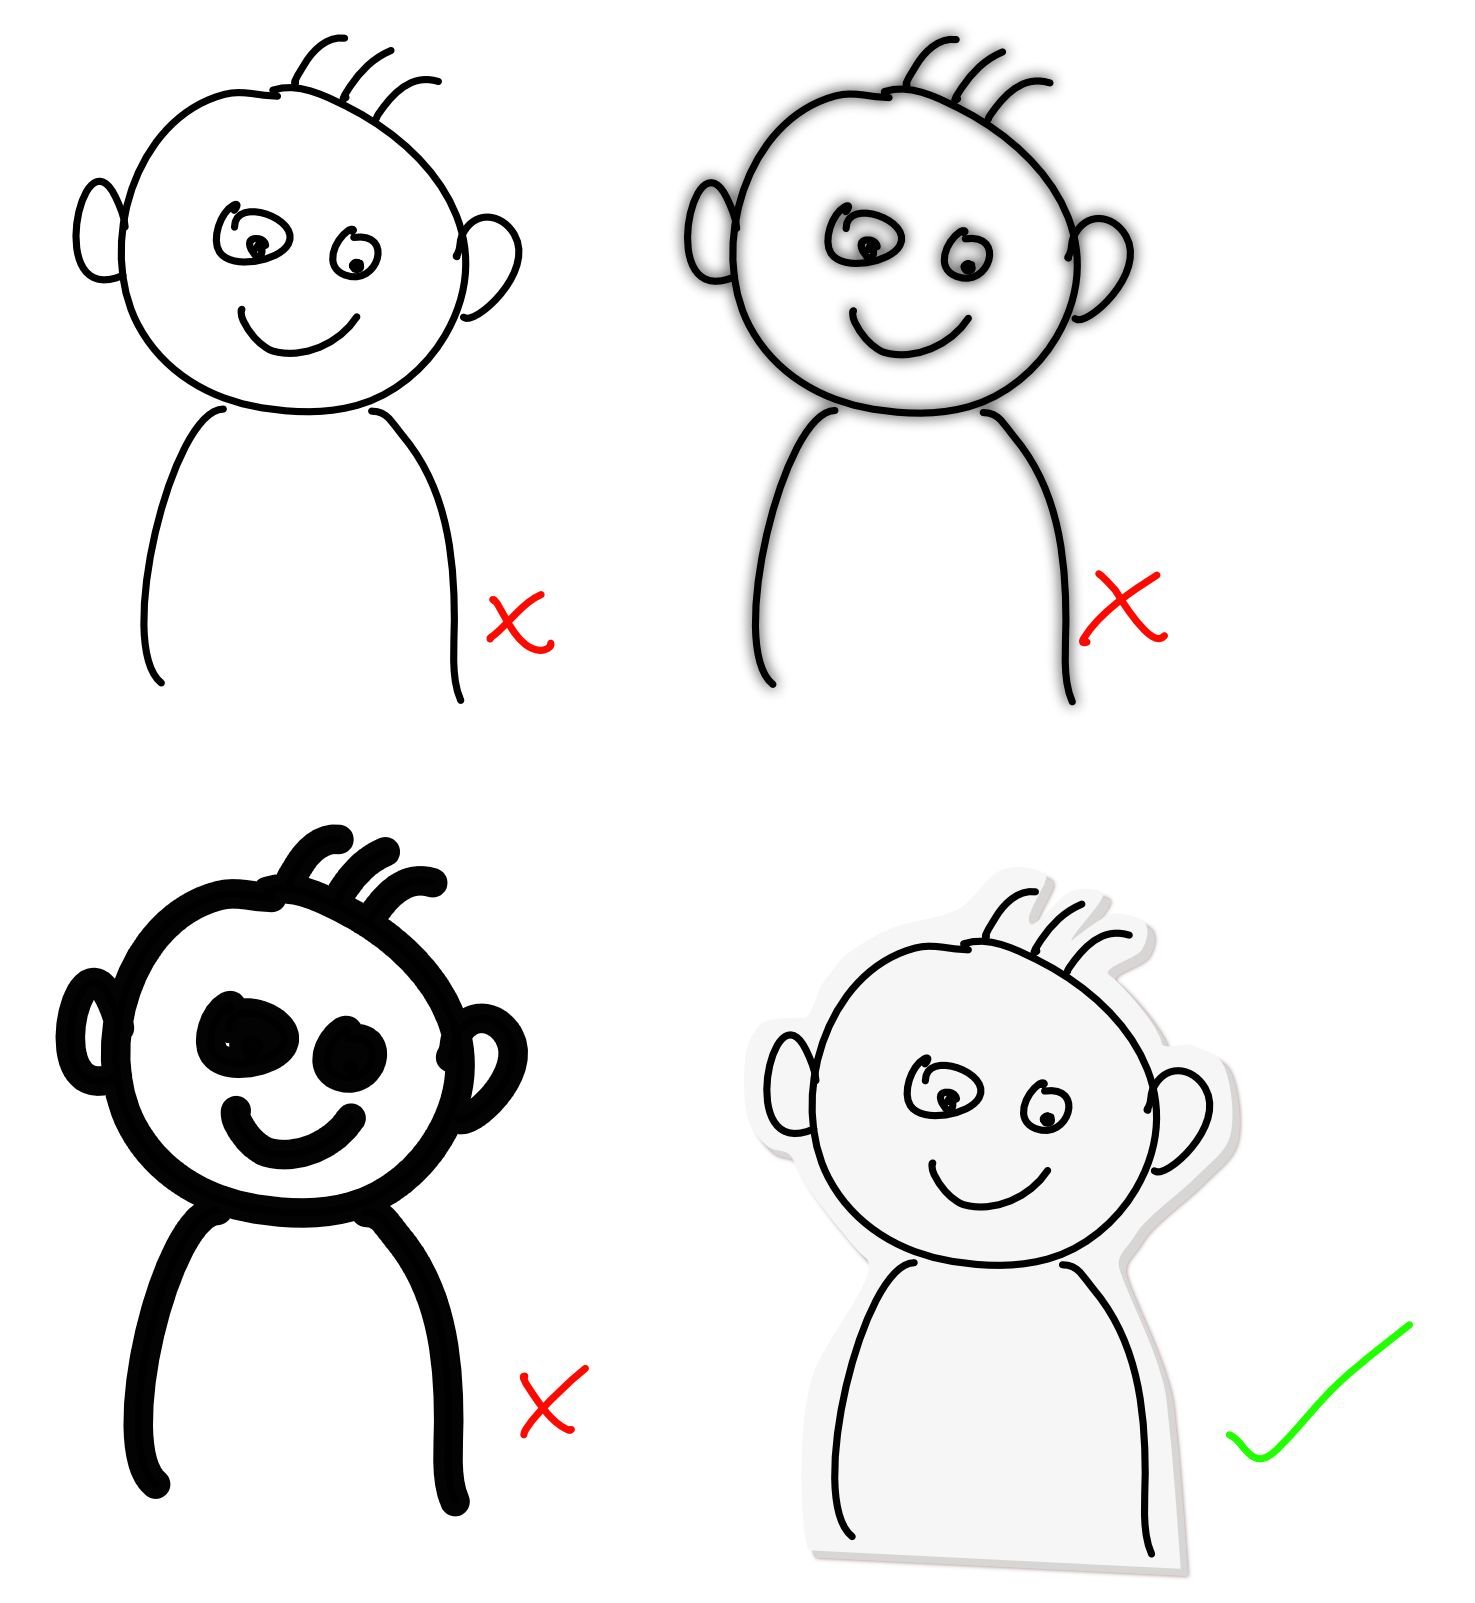
Good evening, How can I make a frame around my pictures (for example 4 px) with conservation of quality? Something like this. http://www.plantennamen.info/hydrocharis-morsus-ranae-kikkerbeet Regards, Maarten