Search the Community
Showing results for tags 'Affinity photo'.
-
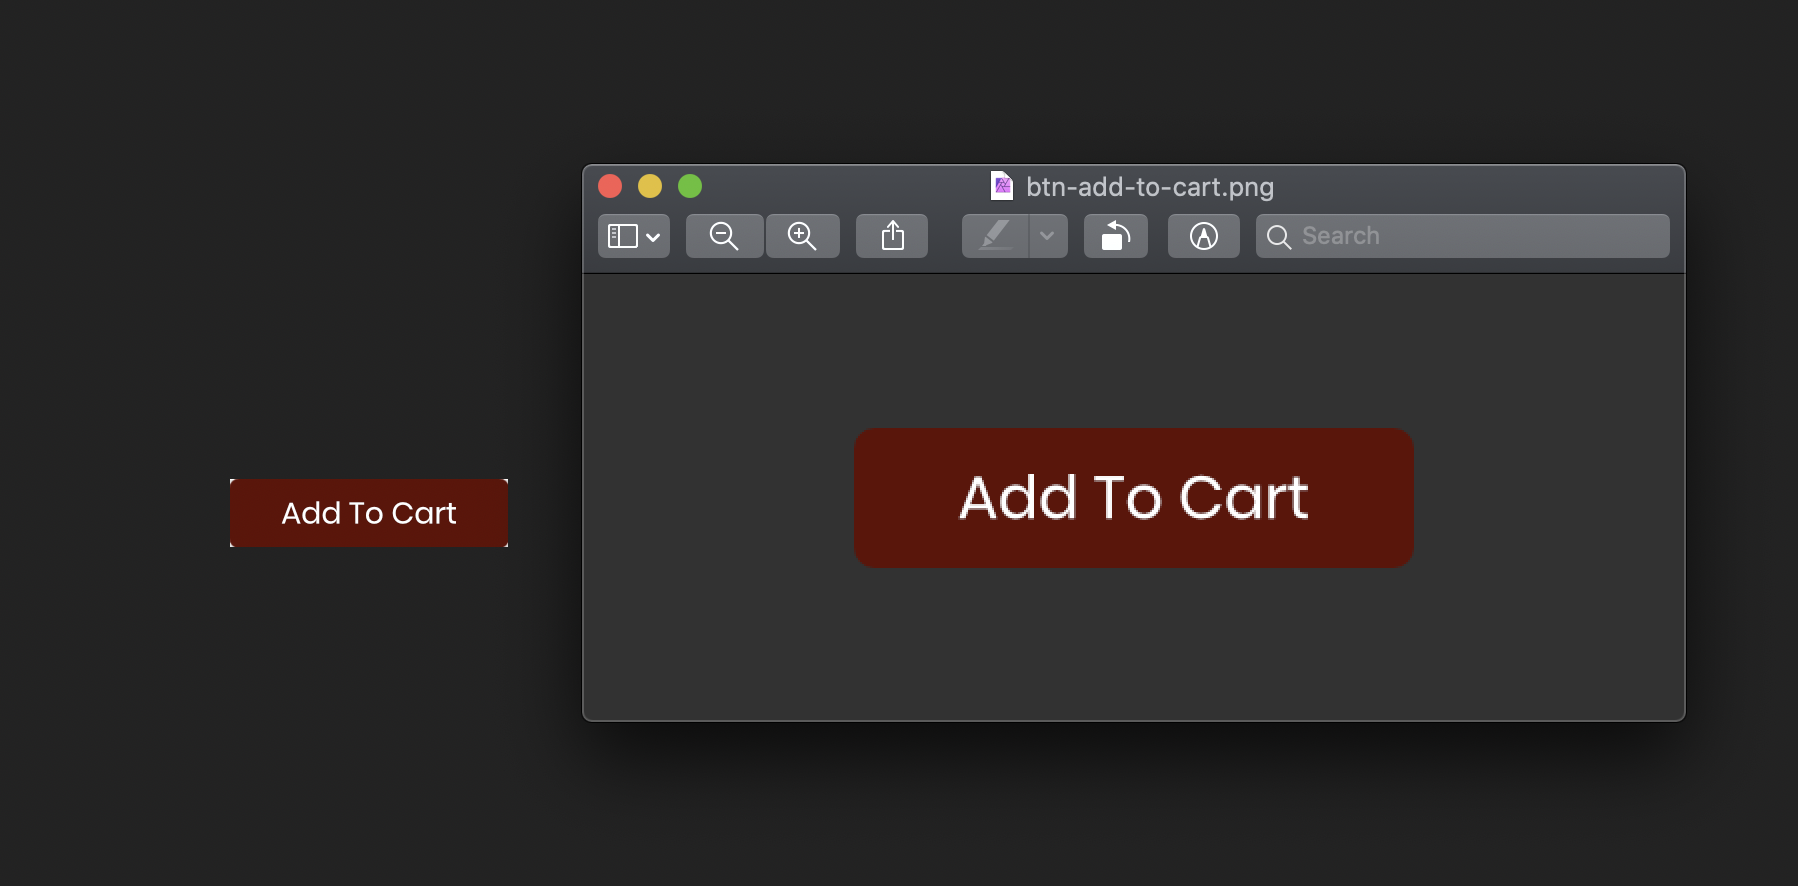
I am noticing an odd bug. I created a document at 280x70 pixels at 72dpi. When I view the image at 100% in Affinity Photo it is not the actual size. When I export the file as a PNG or JPG it is the correct size. I am attaching a screenshot showing the Photo doc (left) and the PNG opened in Preview on the right. Anyone know why they are not the same and how to fix it? Thanks.

-
Wanted to work on something a bit lighter with finished lineart inbetween some heavier projects, so I drew Alita from Alita Battle Angel. Really digging some of the brushes that got added in 1.8, which I used for this piece. ^^ https://www.artstation.com/artwork/8eB8E6
-
 I am creating a book cover, and trying to line up elements against the template in the background, and get some thing central within the margins etc. Is there a way to set ad hoc marks, and then have selected elements measured against them? Ideally I would be able to also center them with one click. I've added a little screenshot for illustration. Thanks
-
Vegetation Brushes Set 3 S Experimental Set of Brushes for use with 1.7 Versions of AP and AD only You will get an error if try to load into previous versions! Added a new set of Vegetation Raster Brushes (leaves 3) Original Brush Nozzles are based upon Poison Vegetation Set C So impressed with the added functionality of the Raster Brush Tools..... A big Experiment into how the new brush dynamics functions....nice! So many combinations..scary! Brushes are quite limited in the Nozzles as concentrated on mixing combinations to see what you get Built a complete set for brush library Synchronised brushes added (Different results when painting and changing brush size!) Enjoy!..... Zip file contains 30 brushes) PDF sample file added VB2 BRUSH PACKS VB 3 00-30.pdf Vegetation Set 3_1.7.zip Vegetation Set 3_.1.7sync.zip
- 14 replies
-
- 9
-

-

-
- version 1.7
- raster brushes
- (and 3 more)
-
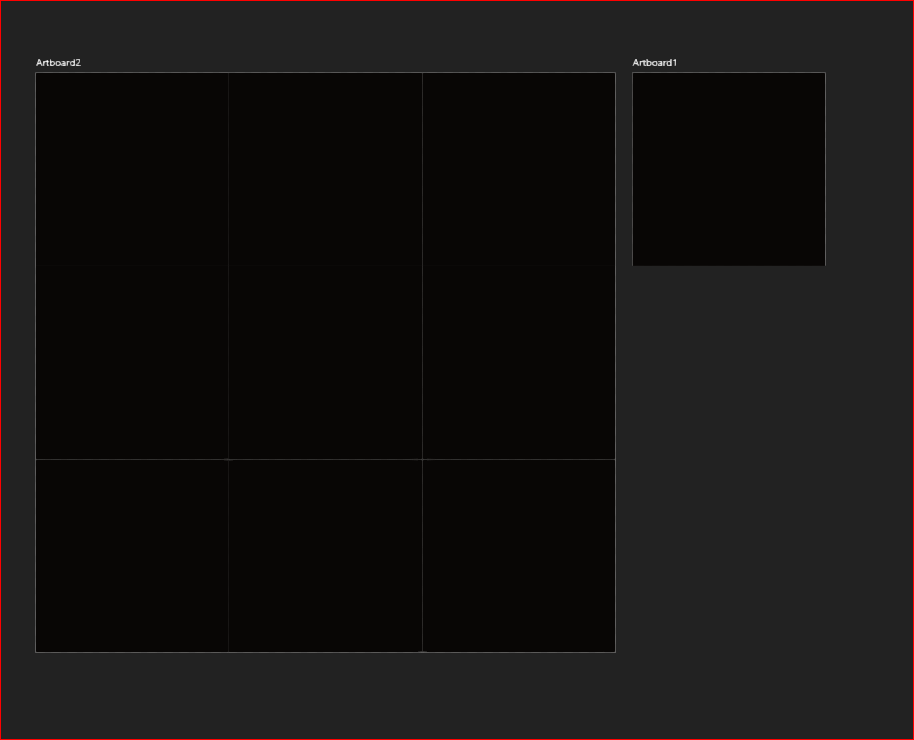
 I was just wondering does AD and AP need to run on a specific resolution? My PC is running 1920x1080 165Hz in a repeating pattern using Symbols I get white lines in my project, but when I export the project the white lines disappear. How do I fix this, so I'm not freaked out thinking I messed something up in my project? Inside Affinity Designer I see this.
-
 Hello, I installed the new versions of all my Affinity desktop programs Photo, Designer and Publisher. Today I wanted to change a picture. I can start the programs, I can open the picture or a new project, I can use hotkeys, but I can't use the tools inside of the programs. There is no change. My system is PC, Windows 10, version 1909, 32GB RAM, Intel i7, Nvidia Geforce GTX 680 Driver version 451.67 Thank you for your help!
 -
 Greetings, I'm a user of the whole affinity suite and I haven't come across any bug until now. I'm trying to open a TGA file that has a resolution of 9600 x 11035 px (72 DPI, 11 MB), but no matter which method I use to open it, A. Photo closes immediately. It seems to be related to the format, as in PNG it opens fine without any issues. But I really need to have them in TGA as that is the format I use to save my renders from Blender, to avoid gradient banding issues. Any assistance would be really appreciated. Thank you
 -
 I am exploring the use of ICC profiles in photo processing and printing. I have had some success, but am not sure that I fully understand why. Here is what I understand (or think I do); perhaps some more experiences users will provide me with some insight. I understand that ICC profiles describe the color space that individual devices are capable of reproducing and are applied so that one device may match another. If so, then in my system there are three devices; 1) the camera/lens. 2) the display and 3) the printer. My lack of understanding is where these should be applied to a photo file. It is possible to assign a profile to a raw file prior to development. This option asks for the "output" profile. Should this be the printer profile? That is the eventual output device, but applying it here before development has not produced a good result. I suspect that output profile means output from the development process, so at this point would apply the "camera/lens" profile. Then when printing, apply the "printer" profile as the "output" profile. The "display" profile only effects the display, how the camera/lens profile is represented on the screen and does not change the file. BUT - as a printer, wouldn't I want the screen to represent how the file will print so the printer characteristics can be accommodated while editing the file? Using the above procedure gives very good matching results, but it does not display the image as it will be printed. I hope I have adequately described my question. Anyone have some insight on this issue? Thanks & Best Regards to All - DK
 -
 Is there a way to change the default measurements in A.Photo to inches from pixels? Inches Decimal would be even better! Thanks, Ken
 -
It is quite annoying to overcome the problem with the TEMP directory set to another location than the default windows one. It would be nice to provide an installation ZIP file, so we can extract its content to "somewhere else" and run SetupUI.exe from another location. For example from the very same directory in the changed TEMP directory, where it originally fails to run from. :-)
-
 Hey community and devs! Problem is the following: I am not able to use the right click on the buttons of the stylus of my HUION display tablet in the complete Affinity Suite (latest release as well as beta). The right click doesn't get recognized. I have already tried experimenting with the preferences, but have not come to a sufficient result, but to the realization that it could be related to Windows Ink. I have already written in more detail about this here, a topic about a similar problem. I'm using the latest release of OS and drivers as well as both latest release and betas of the Affinity Suite. Display tablet I'm using: HUION Kamvas Pro 13 Now in the beta, the option to set Windows Ink has now been removed - but the problem still exists for me. Any thoughts/idead/workarounds/solutions about this? Greetings MrDoodlezz
 -
Sorry Serif, but you have a problem. I originally switched to Affinity because the software I was using (not Adobe) kept crashing. I was therefore delighted to have a programme that just did it's job. Of late however, Affinity is a pain to use. It started when I noticed that refreshing the display was slow and obvious then becoming blocky (grey squares). It has now degenerated to dark images in Develop and then closing in Develop or after progressing to Photo. I've read all the posts on this Blog and tried all the suggestions, pressing Ctrl when opening Affinity, uninstalling graphics card driver, changing driver from Studio to Game Ready, re-installing latest Affinity update, etc., etc. I've turned Tones and Exposure on and off in Develop Asst, and ensured I'm running RGB and it's 'managed. What I've noticed of late is that, since doing the Ctrl-open app, the opening splash screen appears every time that I open Affinity, even if I uncheck the box. I've also noticed that selecting the 'Tones' & 'Exposure Bias' in the Develop Assistant do not appear to make any difference. And, if I do get as far as 'Photo' the image from 'Develop' darkens after a few seconds and then Affinity closes down. Set up is W10, Intel i58600, NVidia 1050Ti, 32GBDDR4 running latest Affinity. All other photo processing software are running perfectly.
-
Even July is already over (by 10 days at the time of this posting!!!) Check out Julys illustration I continue my year-long need to drawing monsters and merge it with my love of retro games and arcades!! The illustration was made with Affinity Designer + Affinity Photo on the iPad Pro. Check out more illustration: https://bit.ly/36d5NtE Affinity Designer: I started the project in Affinity Designer (on the iPad) where I sketched out the core idea and layout before moving into a vector where I created the monsters, arcade logo, and background neon objects along with the ghost. After this, I moved over to the iMac + Maya where I worked on creating the 3D arcade assets + textures. After this, I moved back into Designer where I placed the 3D model arcades, brick wall texture and work on all the other small vector items. Affinity Photo: Now it's time to move into Photo, where I drag and drop the file from Designer over to Photo (on the iPad Pro) where I start working on raster effects, such as applying some brush texture effects to the vector monster to give some more levels of effects and style. All brushed used in this project is either the default Affinity ones or one from frankentoon. From where I was on adding some 2D shadows with a pixel brush and added in some layer adjustments and layer filters to the image to finish it off. Anyway, I hope you like the image and I hope you all have a great day. Before & After: Close up!!: What do you think? and I hope you are all doing amazing!!!!
-
Is there anyway we can get an info panel added in the next update? If the developers don’t understand why its critical: Colour correction to 10 + 245 Shadows and highlight are tricky to colour correct accurately on an ipad - if your screen it too bright - it can trick you into think the highlights are blown out. Too dark, and your shadows look as though the have no detail. It’s frustrating that this is not available for ipad. We need this as photographers on the go that want to travel light and with their ipad. I’ve been waiting for this addition for years. Any word on when this might be available? I’ve searched the forums and this is not a new call to action, but there seems to be no response as to if this is an update that will ever come.
-
 Issue/situation: When I've selected multiple layers and I want to rasterize them all in one go, I select Layer > Rasterise but it only rasterize the first layer. Question: Is there a way I can rasterize all selected layers? Screen recording: See screen recording of the issue in action. Operating system: OSX Catalina 10.15.6 Affinity Photo: Version 1.8.4 ( Separate mode ) Unusual hardware: Wacom tablet Intuos pro Any help or input on this matter is much appreciated. Thank you in advance. PS: if this post is in the wrong forum, then please let me know, and I will submit it in another. affinity-photo-forum-rasterize-all-selected-layers-screencast-10-august-2020.mov
 -
hi. After yesterday's update, all tools not working. Any ideas why? I will just add that in all affinity programs as well
-
 Hi! I must say that I'm coming to love Affinity software! I'm trying to figure out how I can disable font smoothing when using a tff format pixel font. I've tried following instruction below (adjusting the coverage map), which does remove the anti-aliasing but the font becomes mangled. Is this supported for this in Affinity Photo? https://forum.affinity.serif.com/index.php?/topic/57282-how-to-turn-off-anti-aliasing-for-text/ Thanks Jim
 -
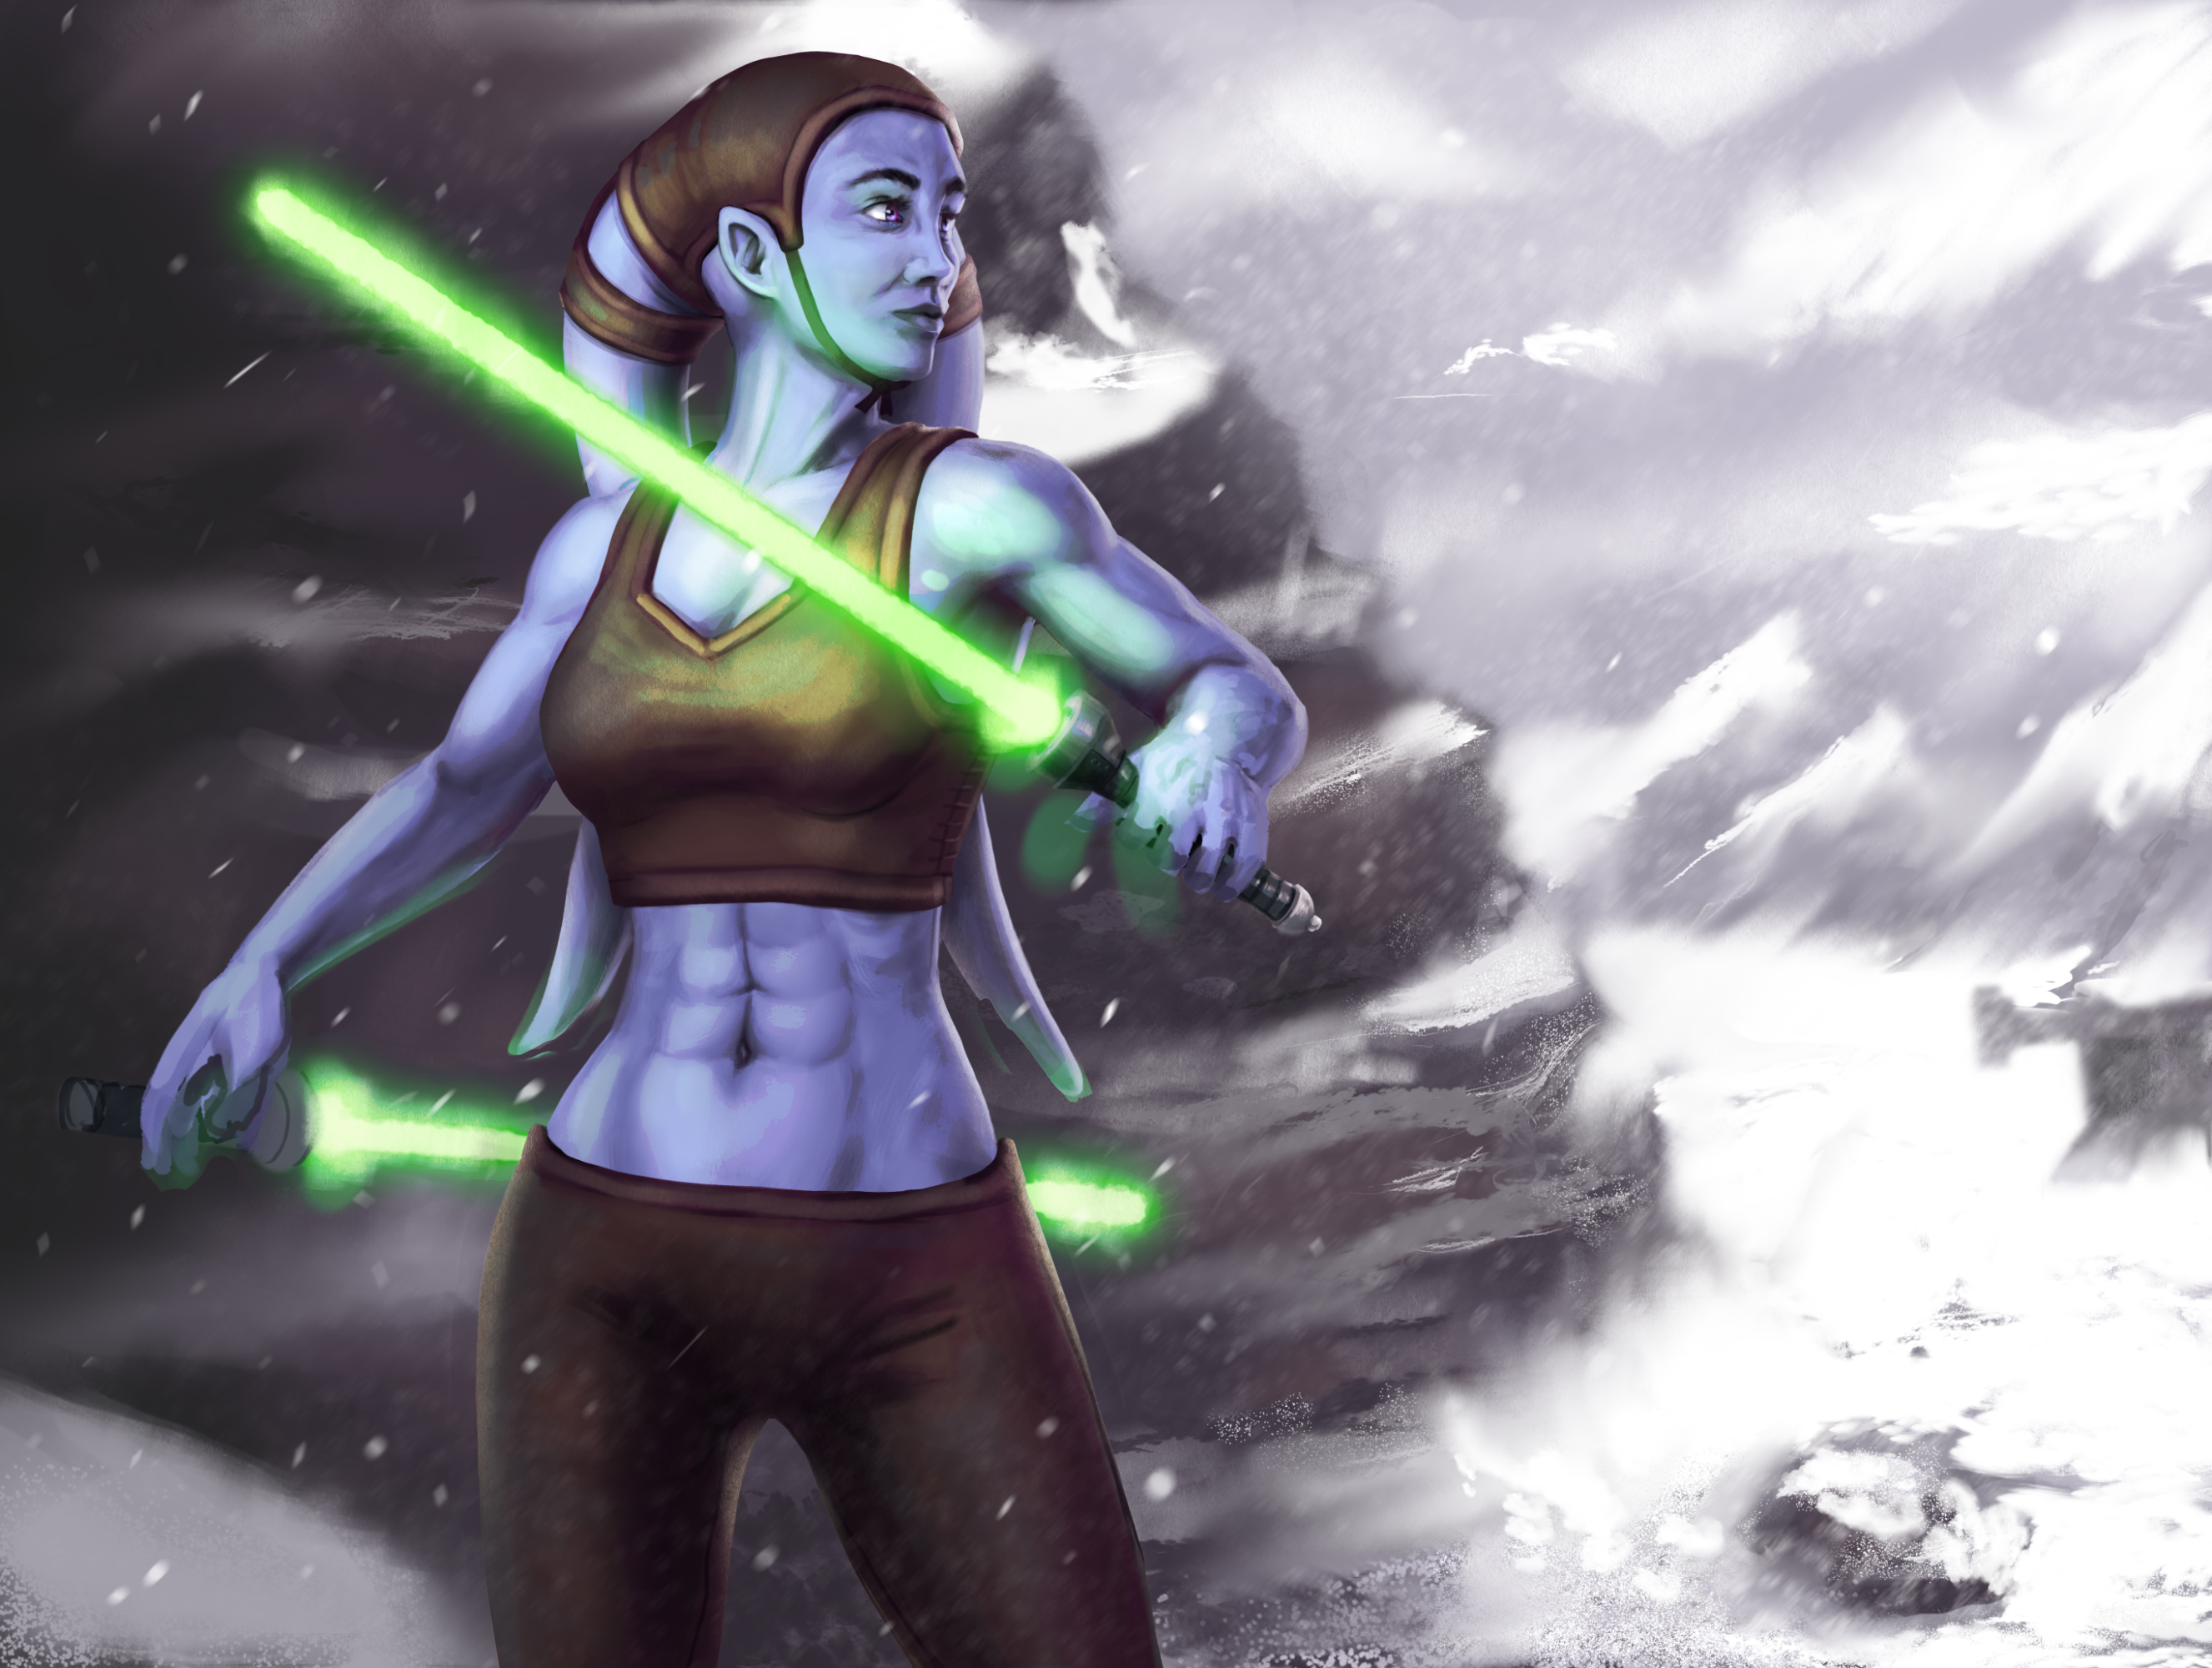
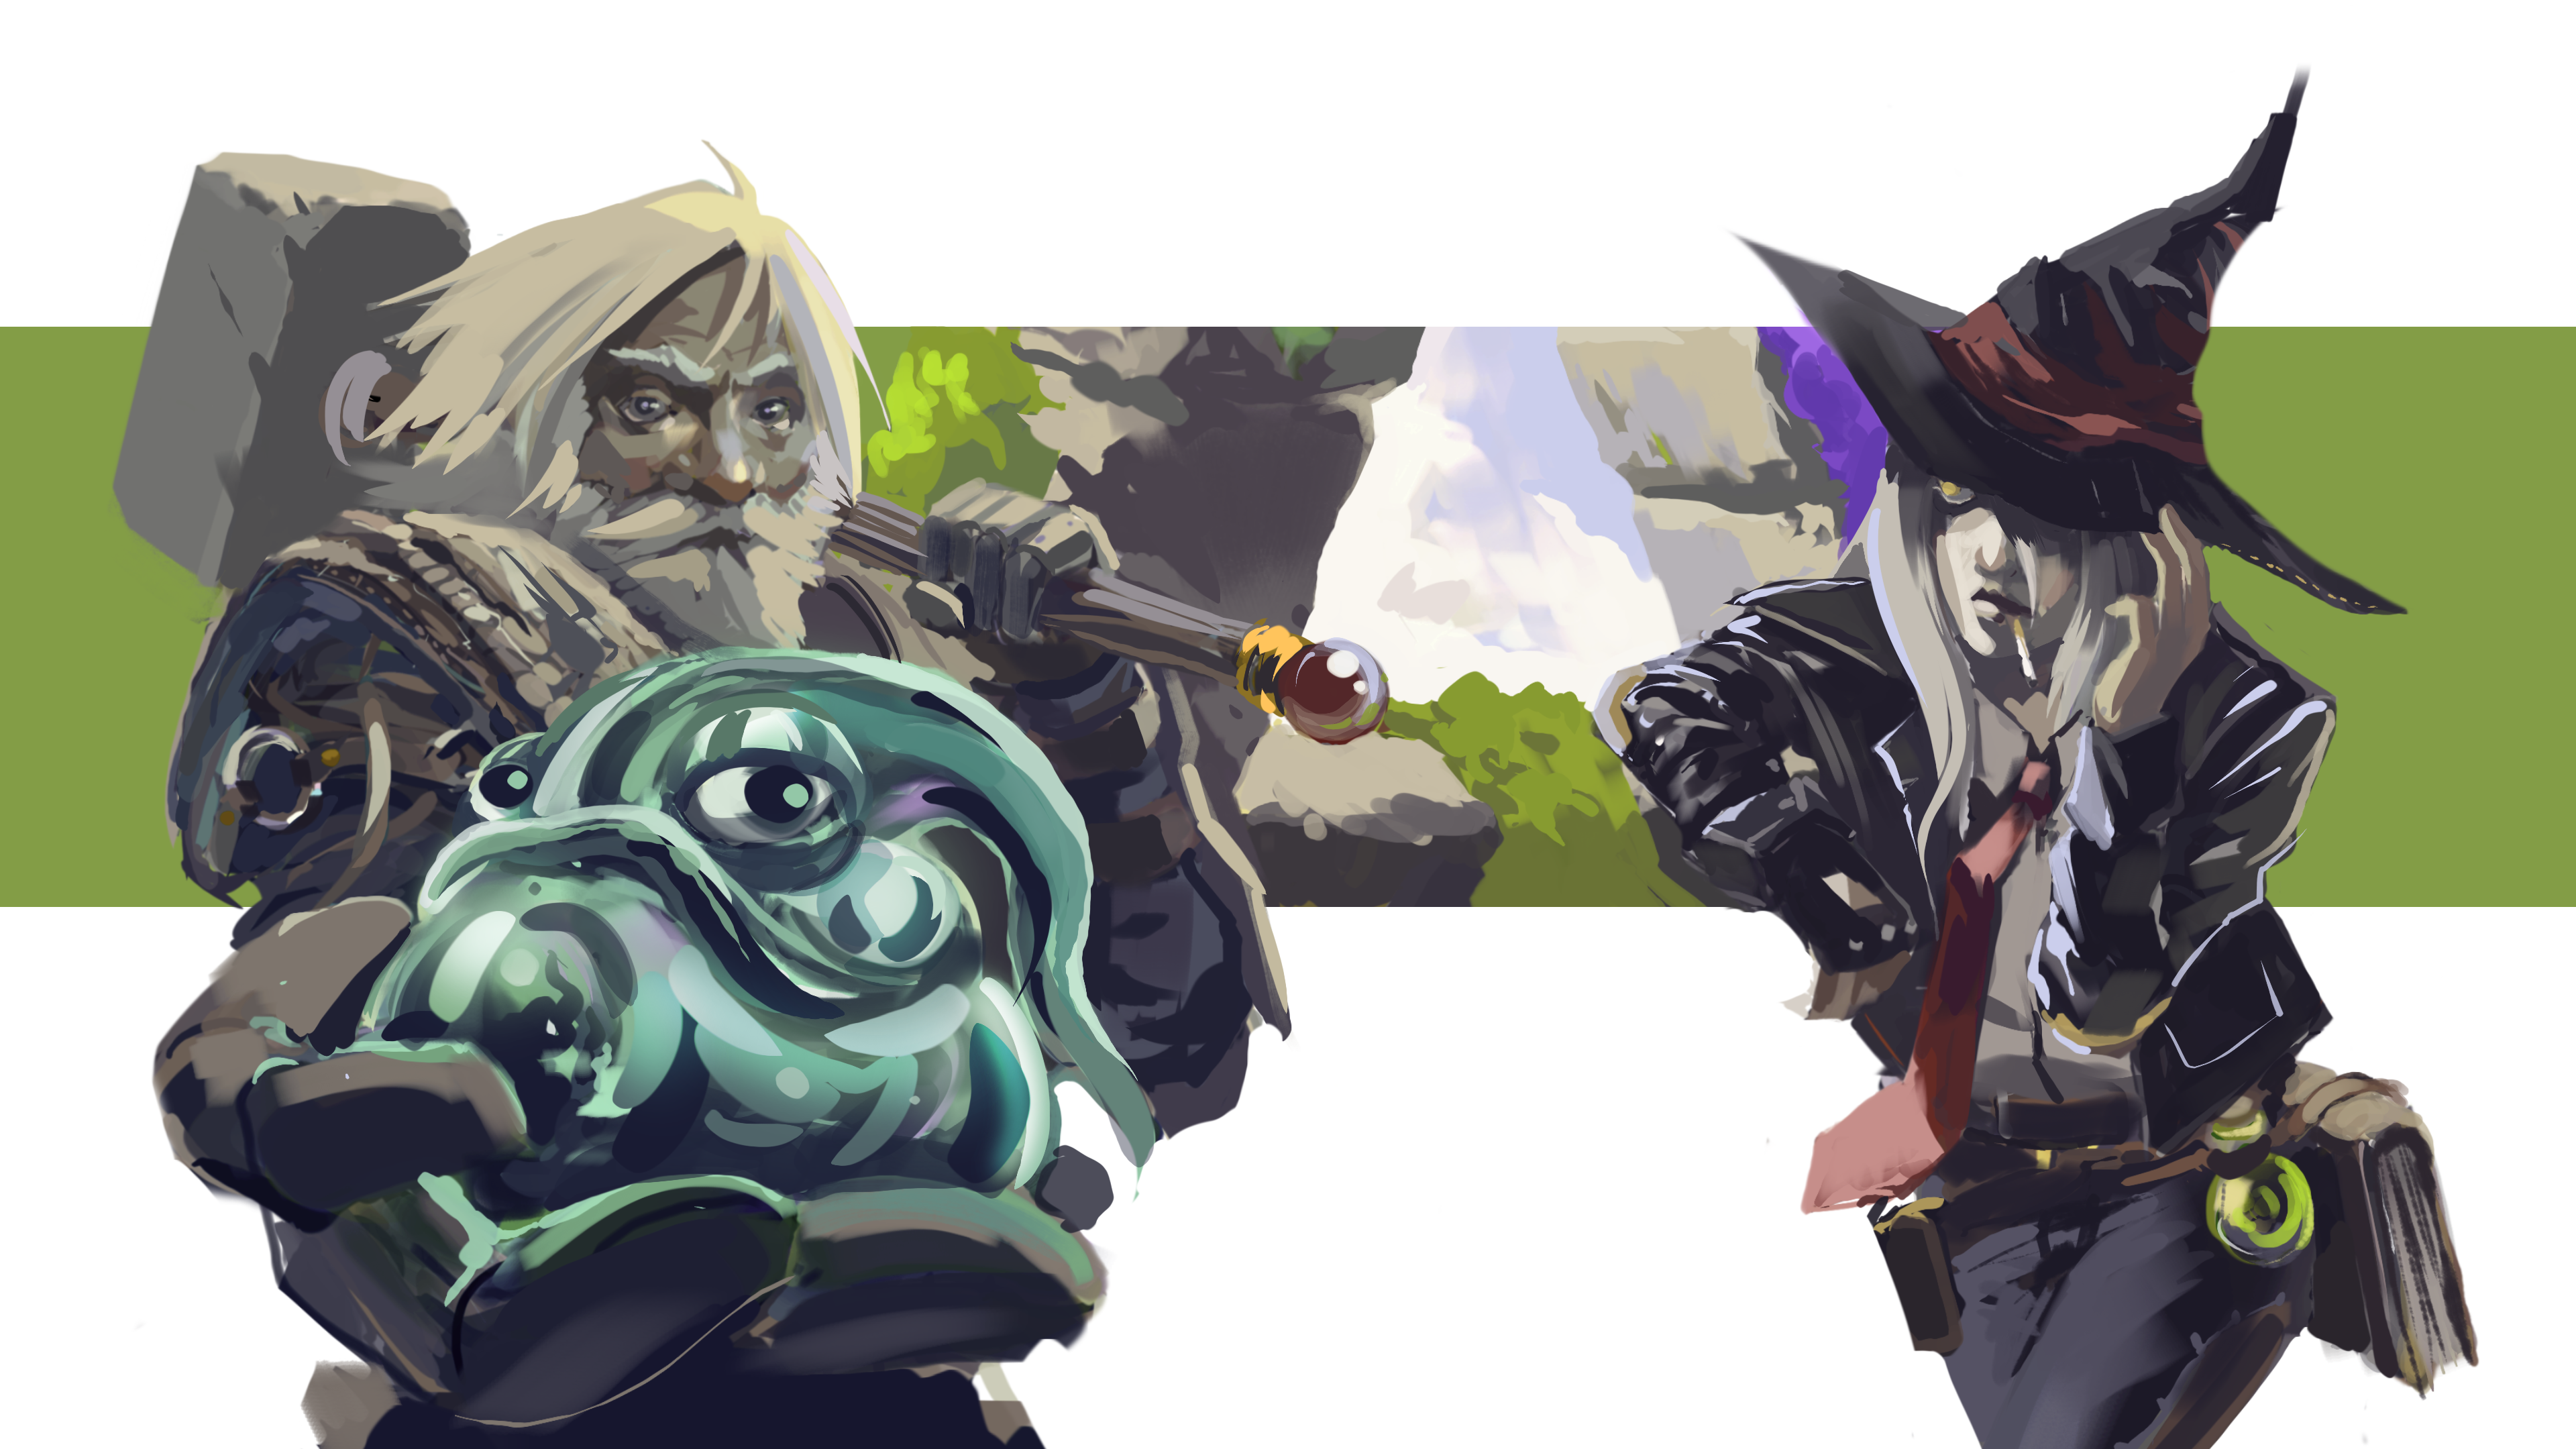
1.8.4 got me more pumped for some longer painting sessions, so I decided to boot up an old project I left unfinished for a long time in an attempt to finish it. Really need to fix the hands before I am satisfied. Also not super keen on the background, so will have to work on that. Anyway, enjoy my current progress! : )
-

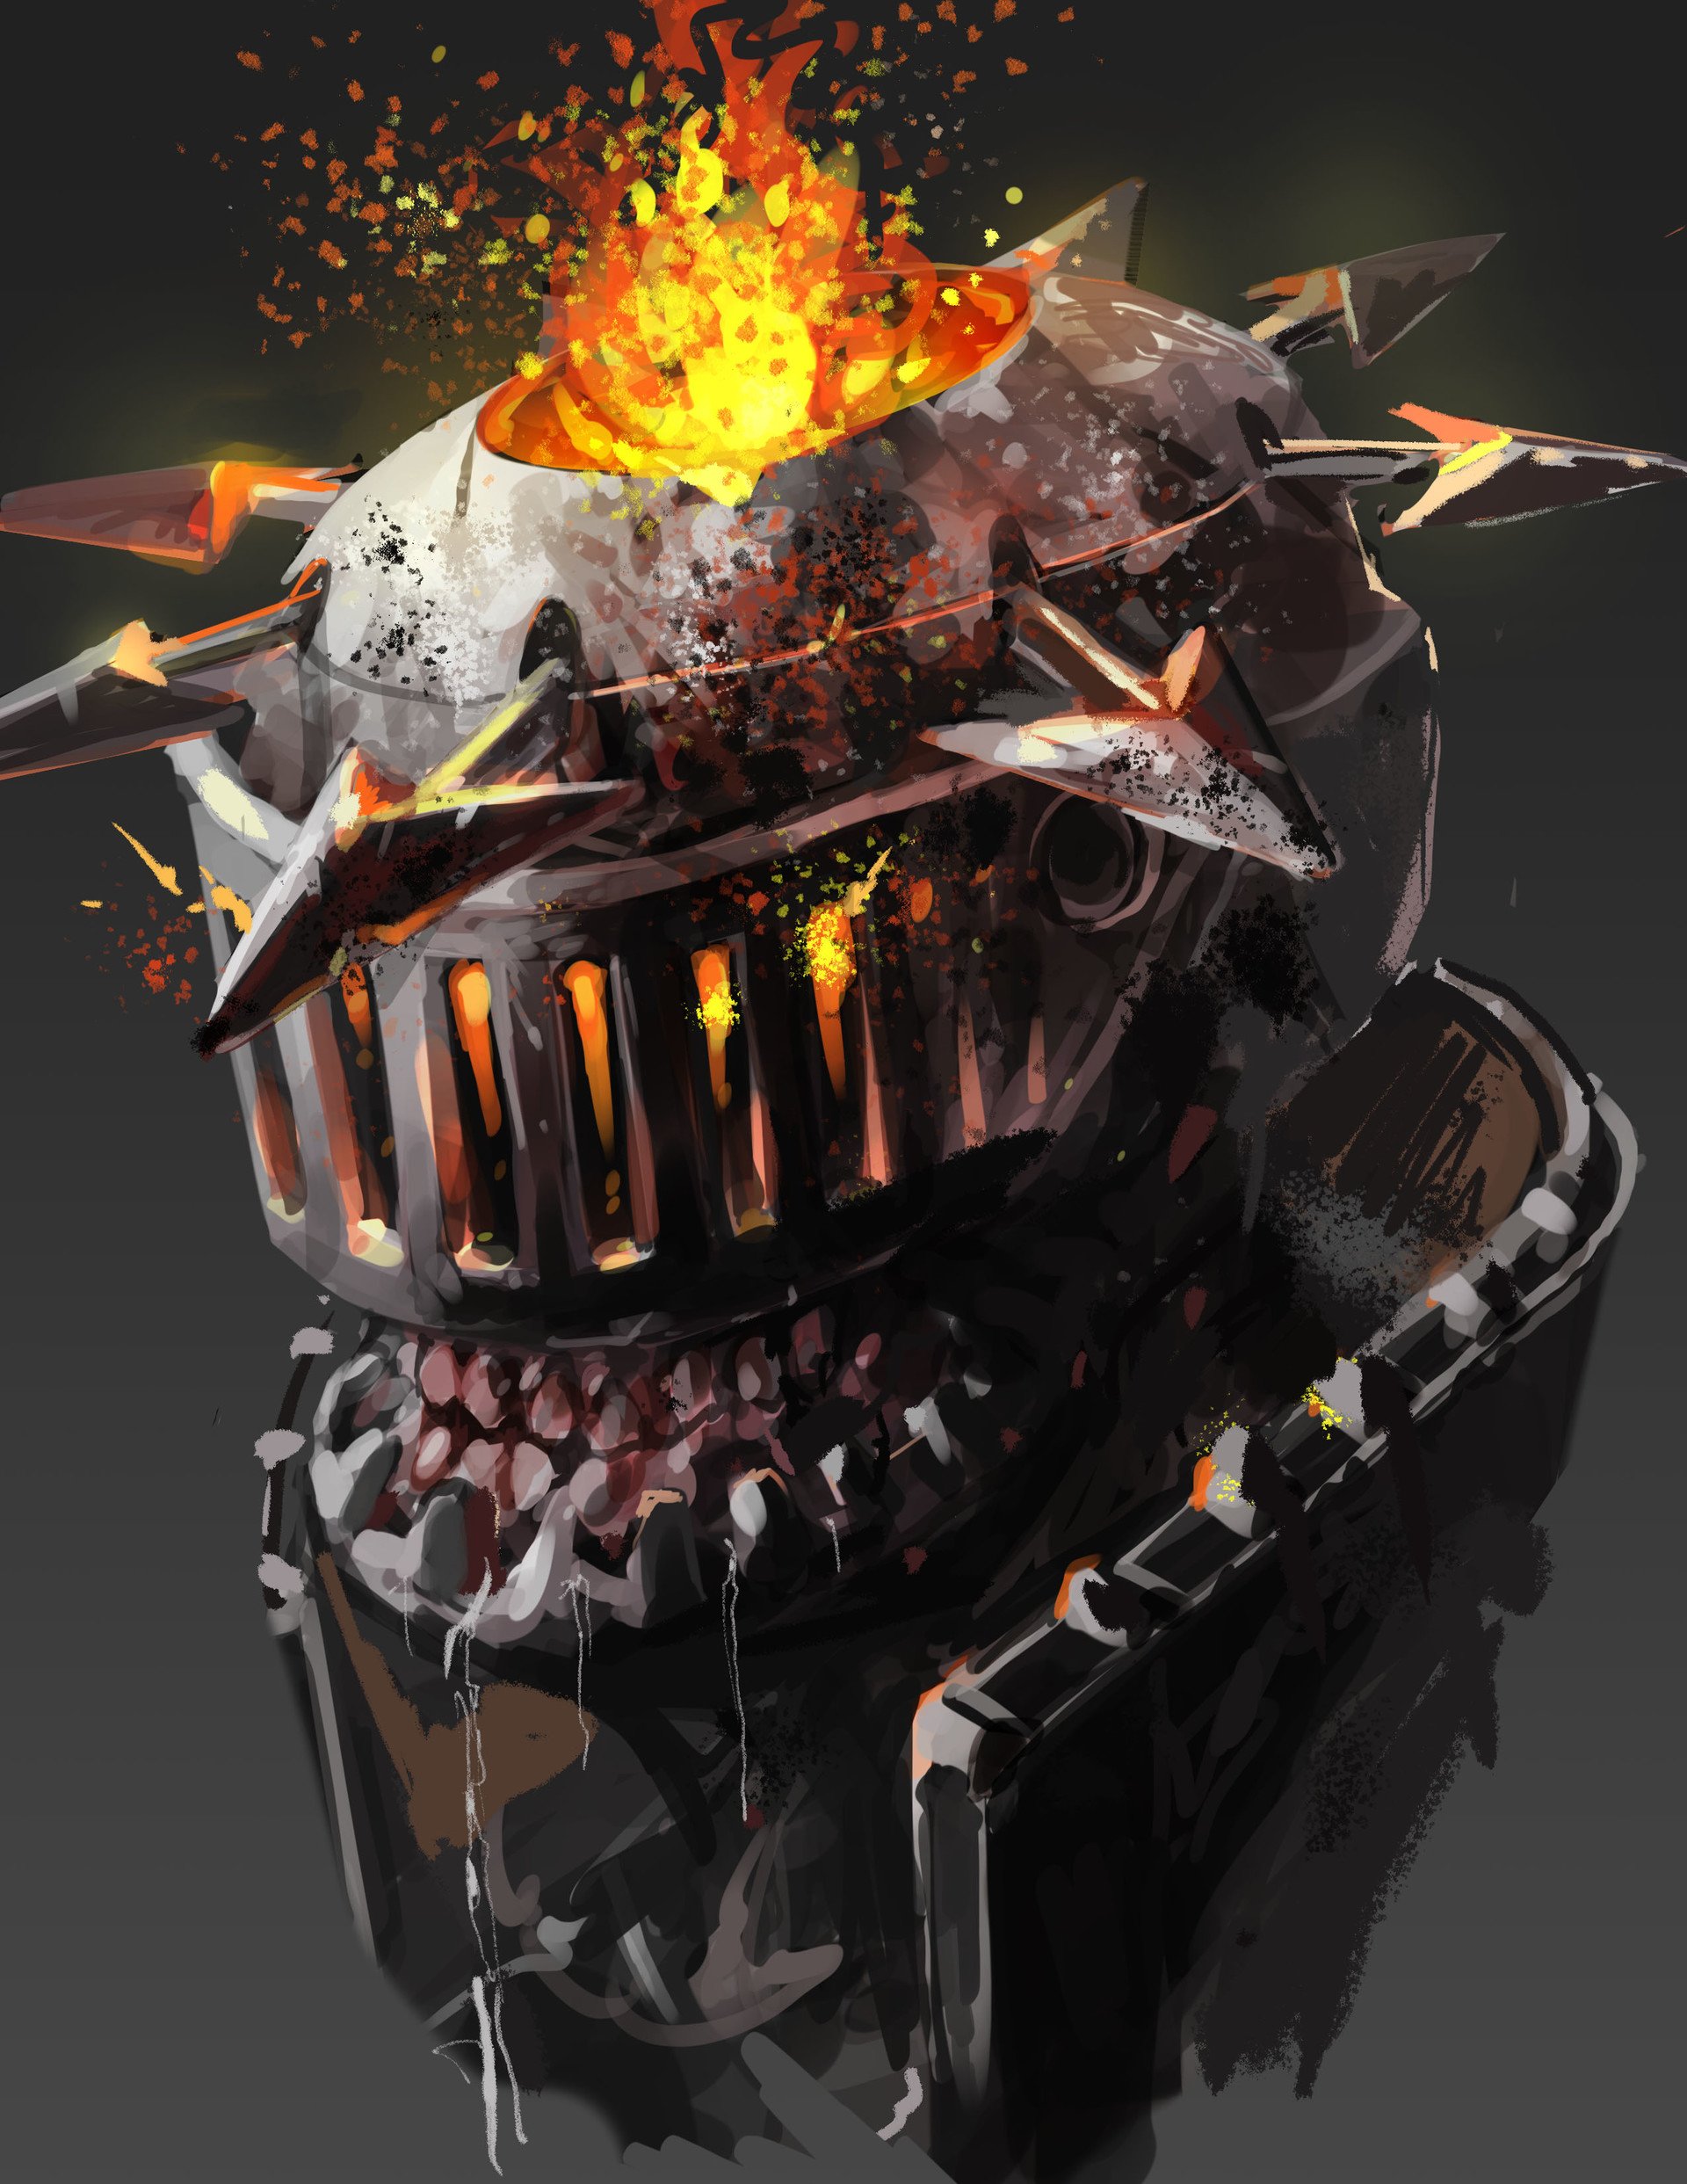
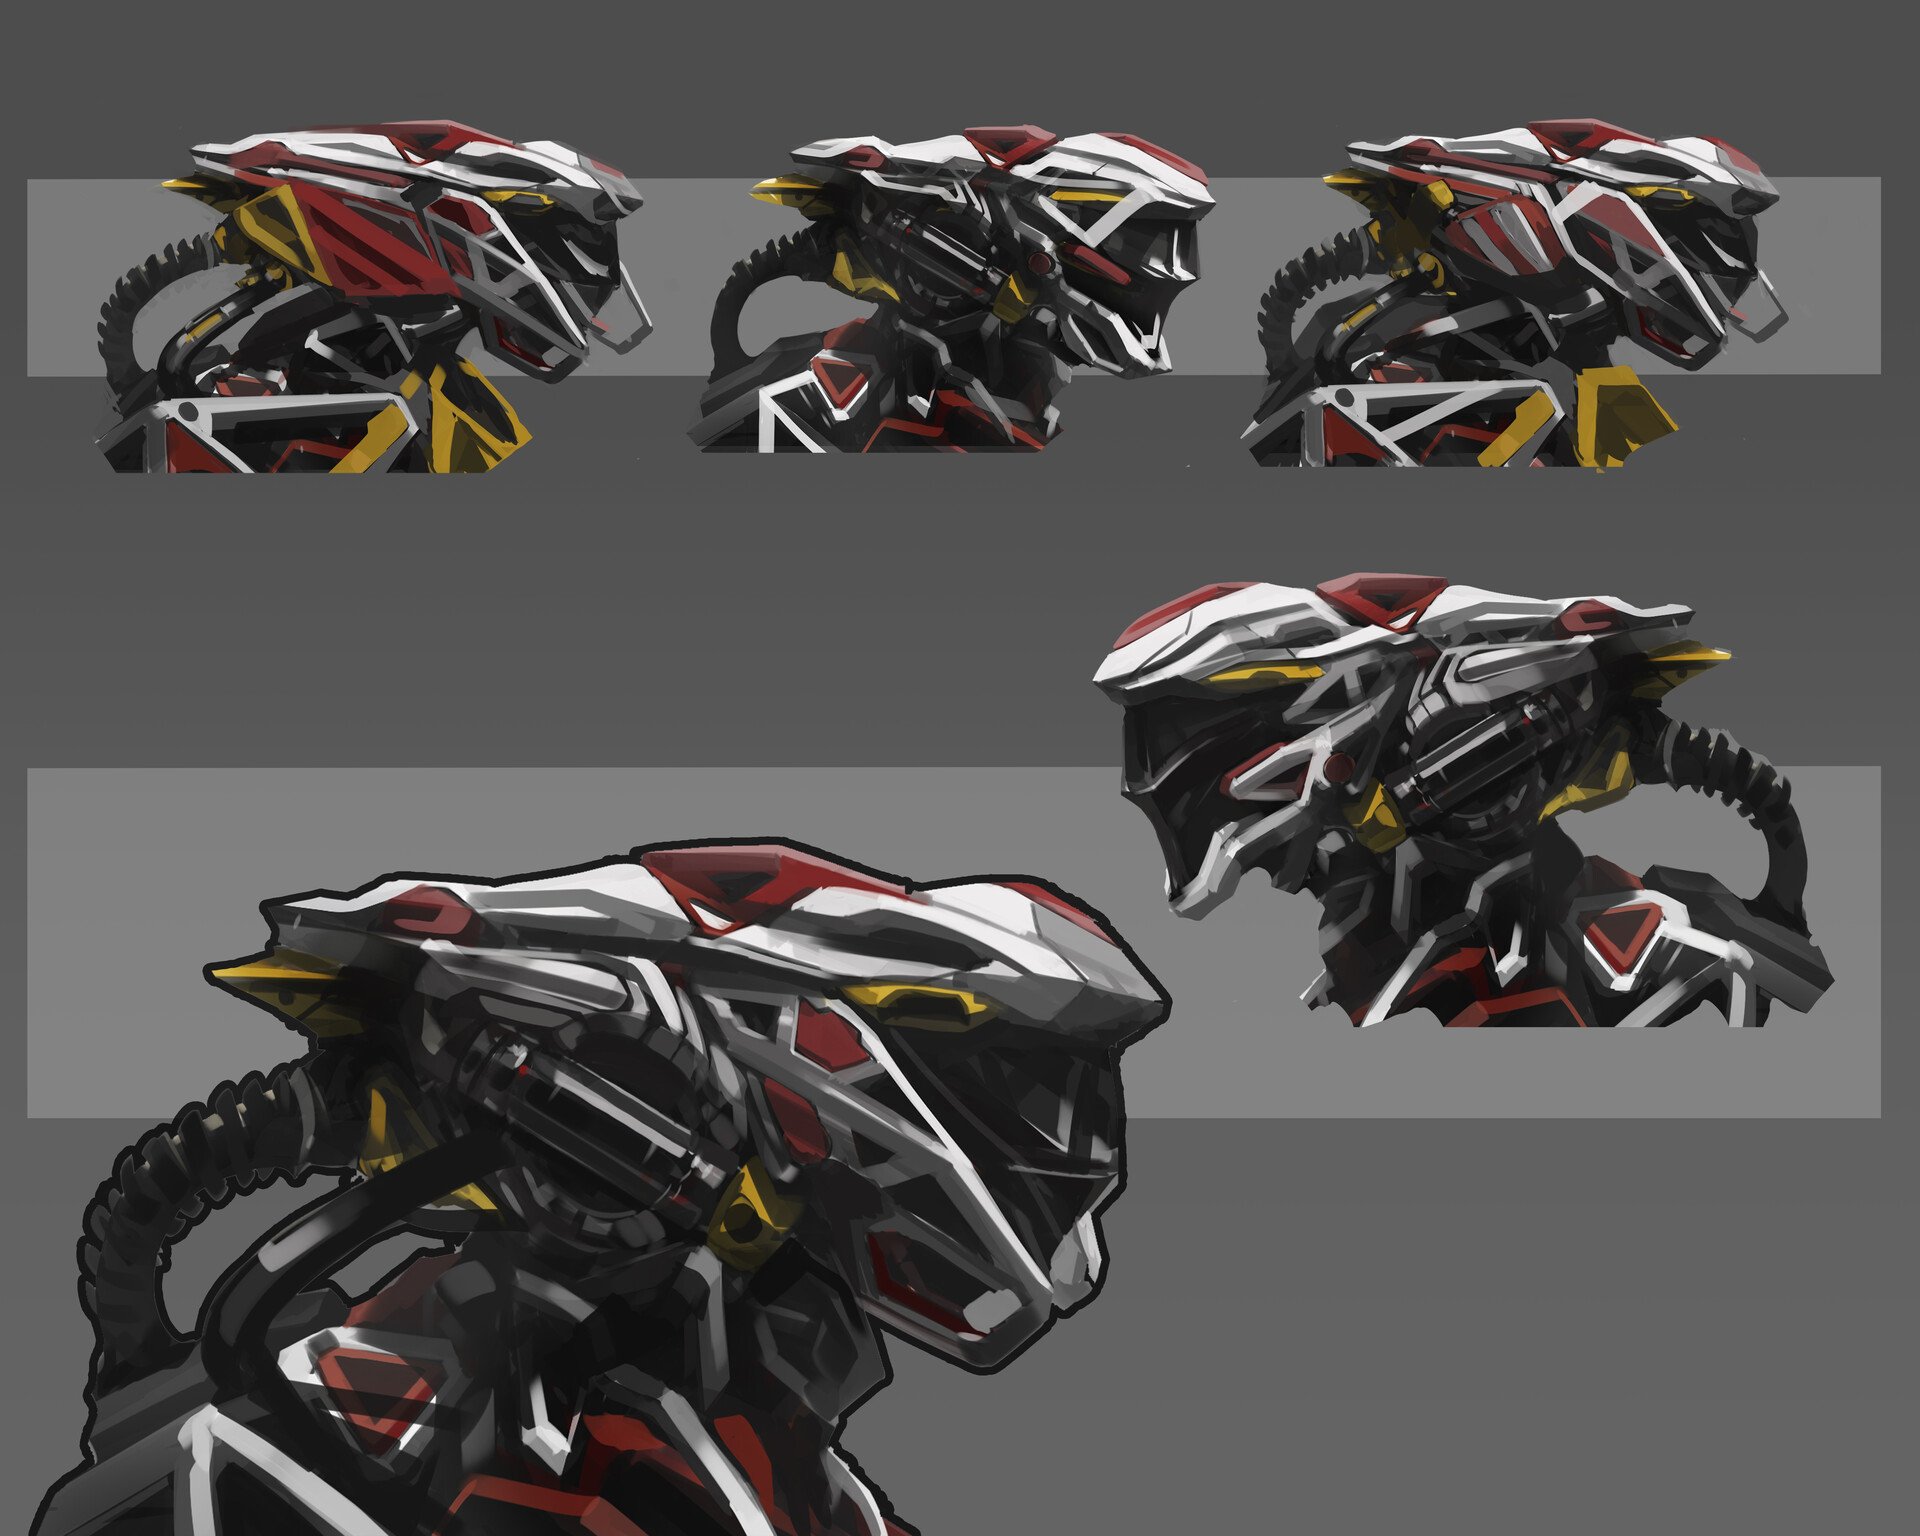
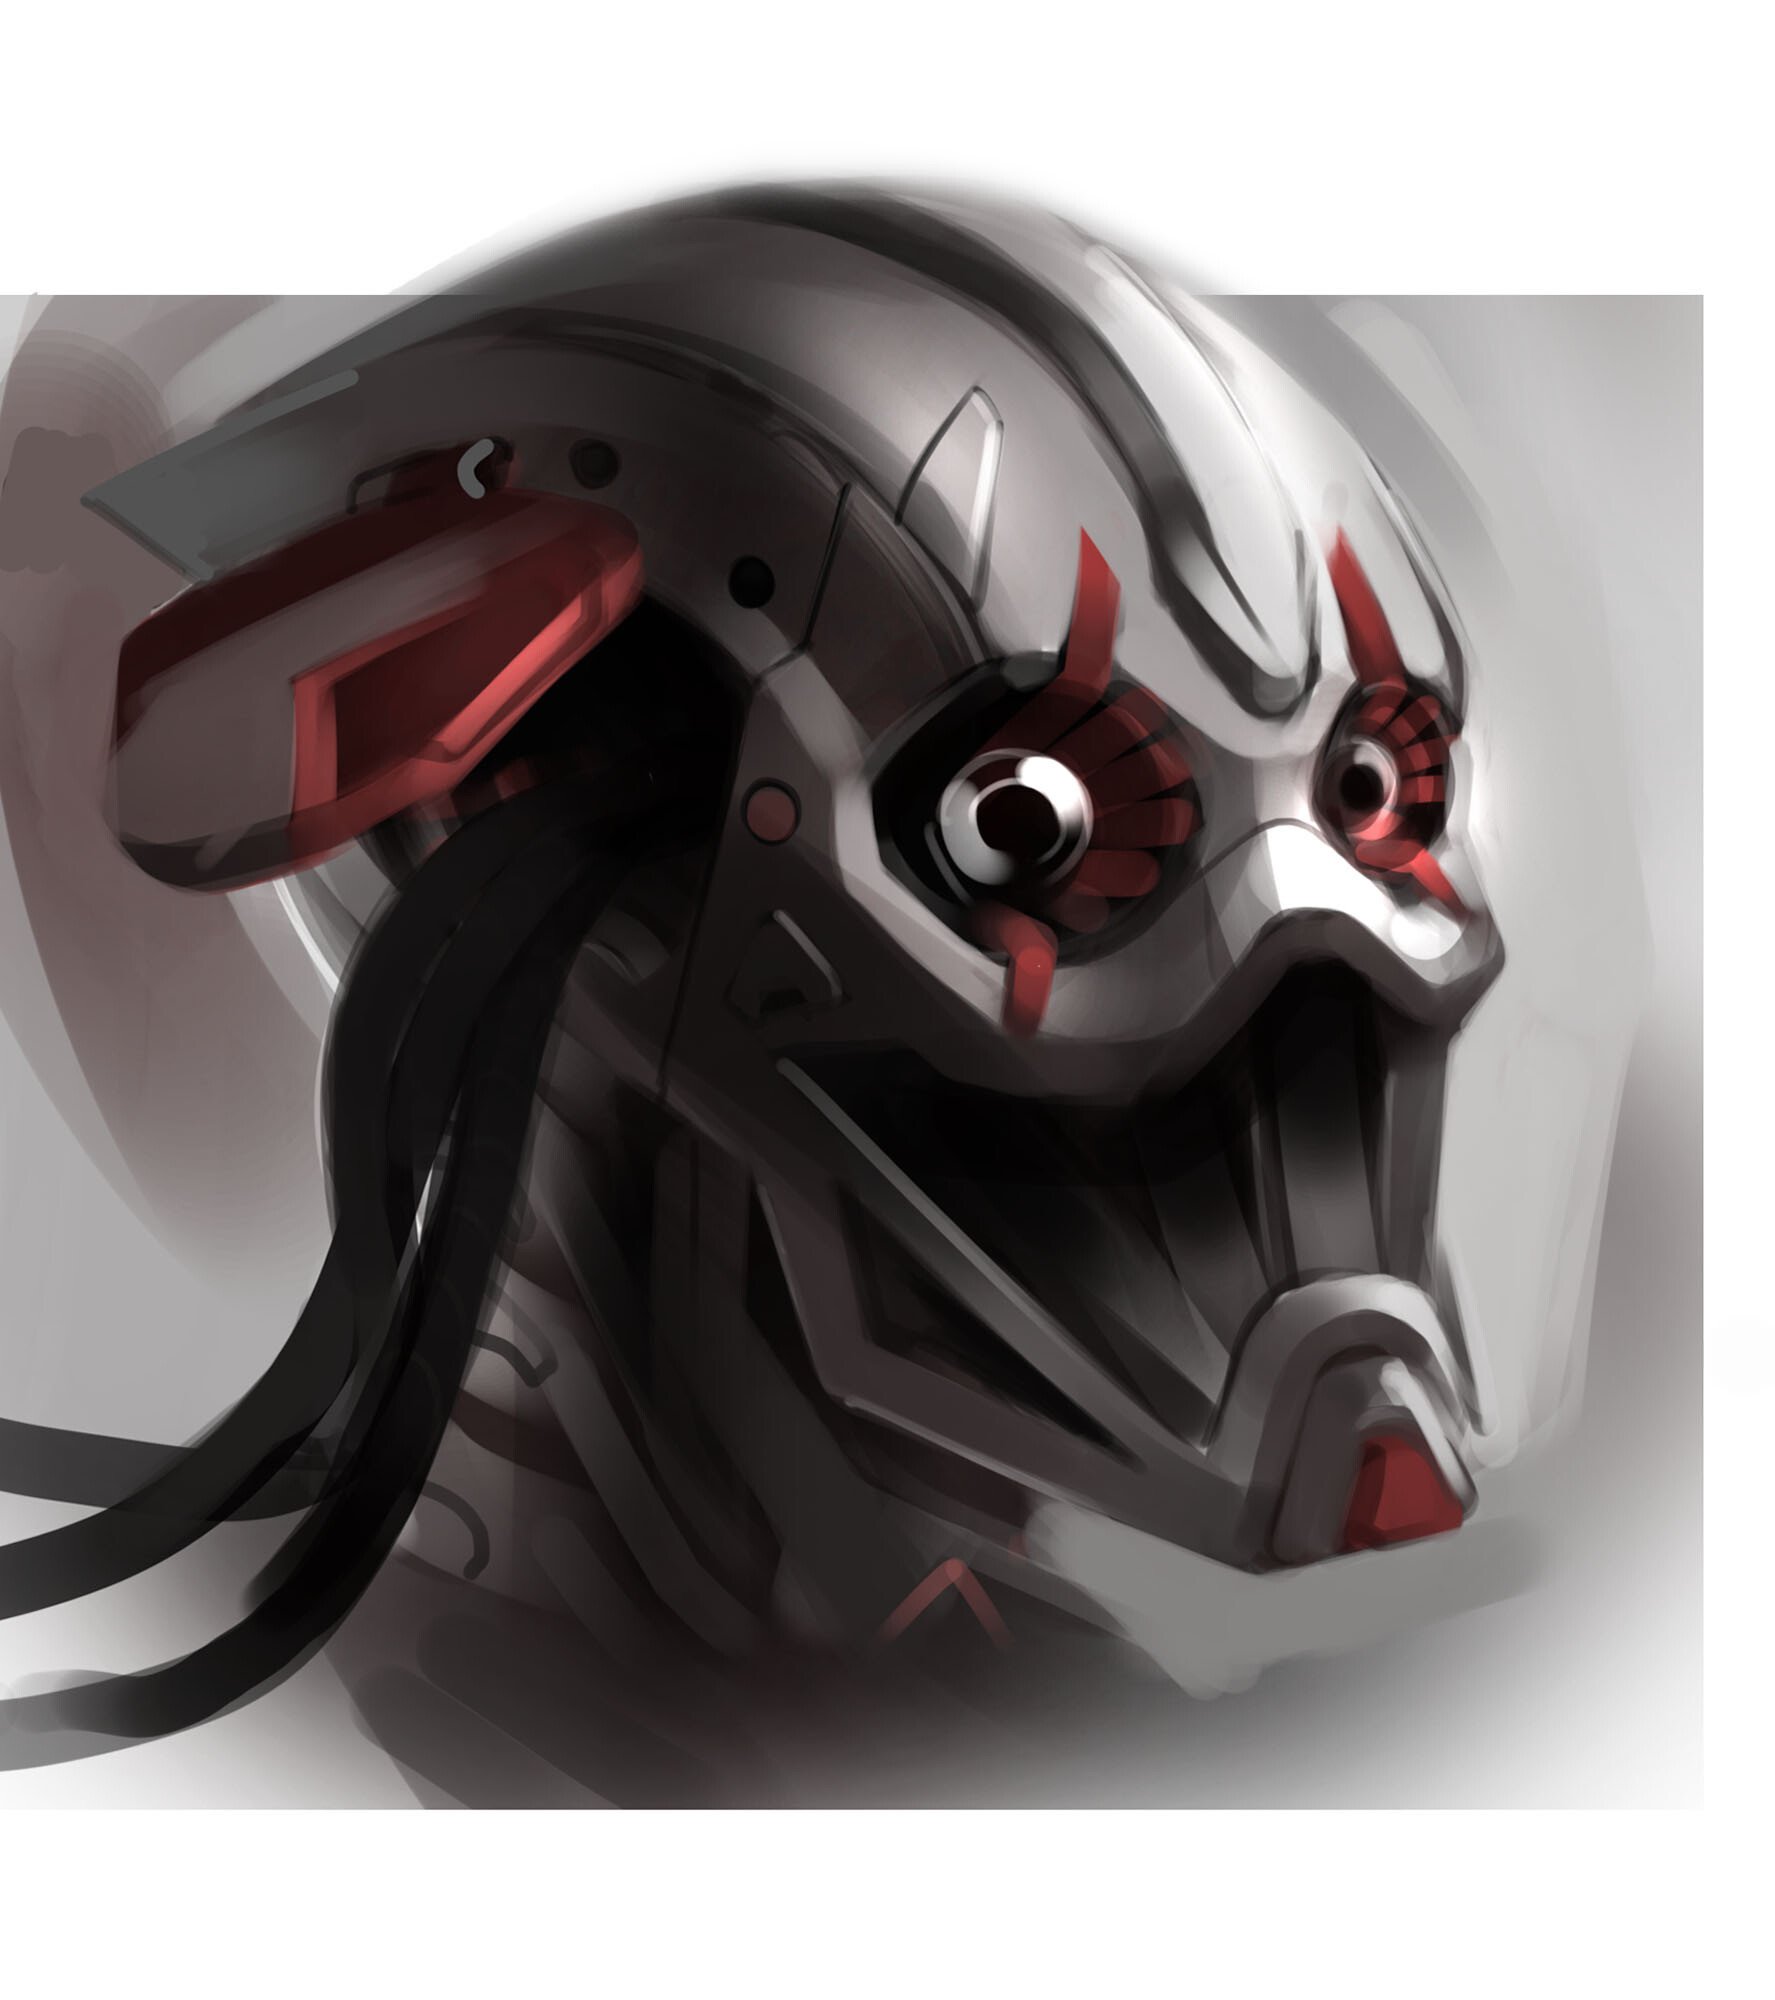
affinity photo Concept Art :) Just switched over from PS
swobyman777 posted a topic in Share your work
At first the tool cycle option was frustrating until I found out how to turn it off with a setting. Overall Photo runs far lighter than PS, the brushes are nice when they work and image resolution is always nice and sharp on export. The cons are that I can't simply import my PS brush collection and sometimes lines have weird jaggies/anti alias artifacts.
- 4 replies
-
- 8
-
-
- concept art
- illustration
- (and 1 more)
-
 I update my old PC and now i cant open affinity photo at all. I try to uninstall and now I cant even open the setup exe, it just pop for a sec in the taskbar and then disappear. My PC is very old but is still capable enough to run affinity photo just fine. I7 2600K with no overclock ,8GB dual channel DDR3 1333Mhz RAM, z68 chipset, and SSD. I don't know what to do.
 -
 I'm happy with the new release of the Affinity suite but as always ... I'm a beta cycle man, So I feel such boring and would like to know when is next Beta session planed and what's targeted ! Thanks.
 -
 Hello, I'm a beginner Affinity Designer & Photo user, and I would like to know if there are any tools or options to show center lines of selected areas or the canvas, to help me with work on my project.
 -
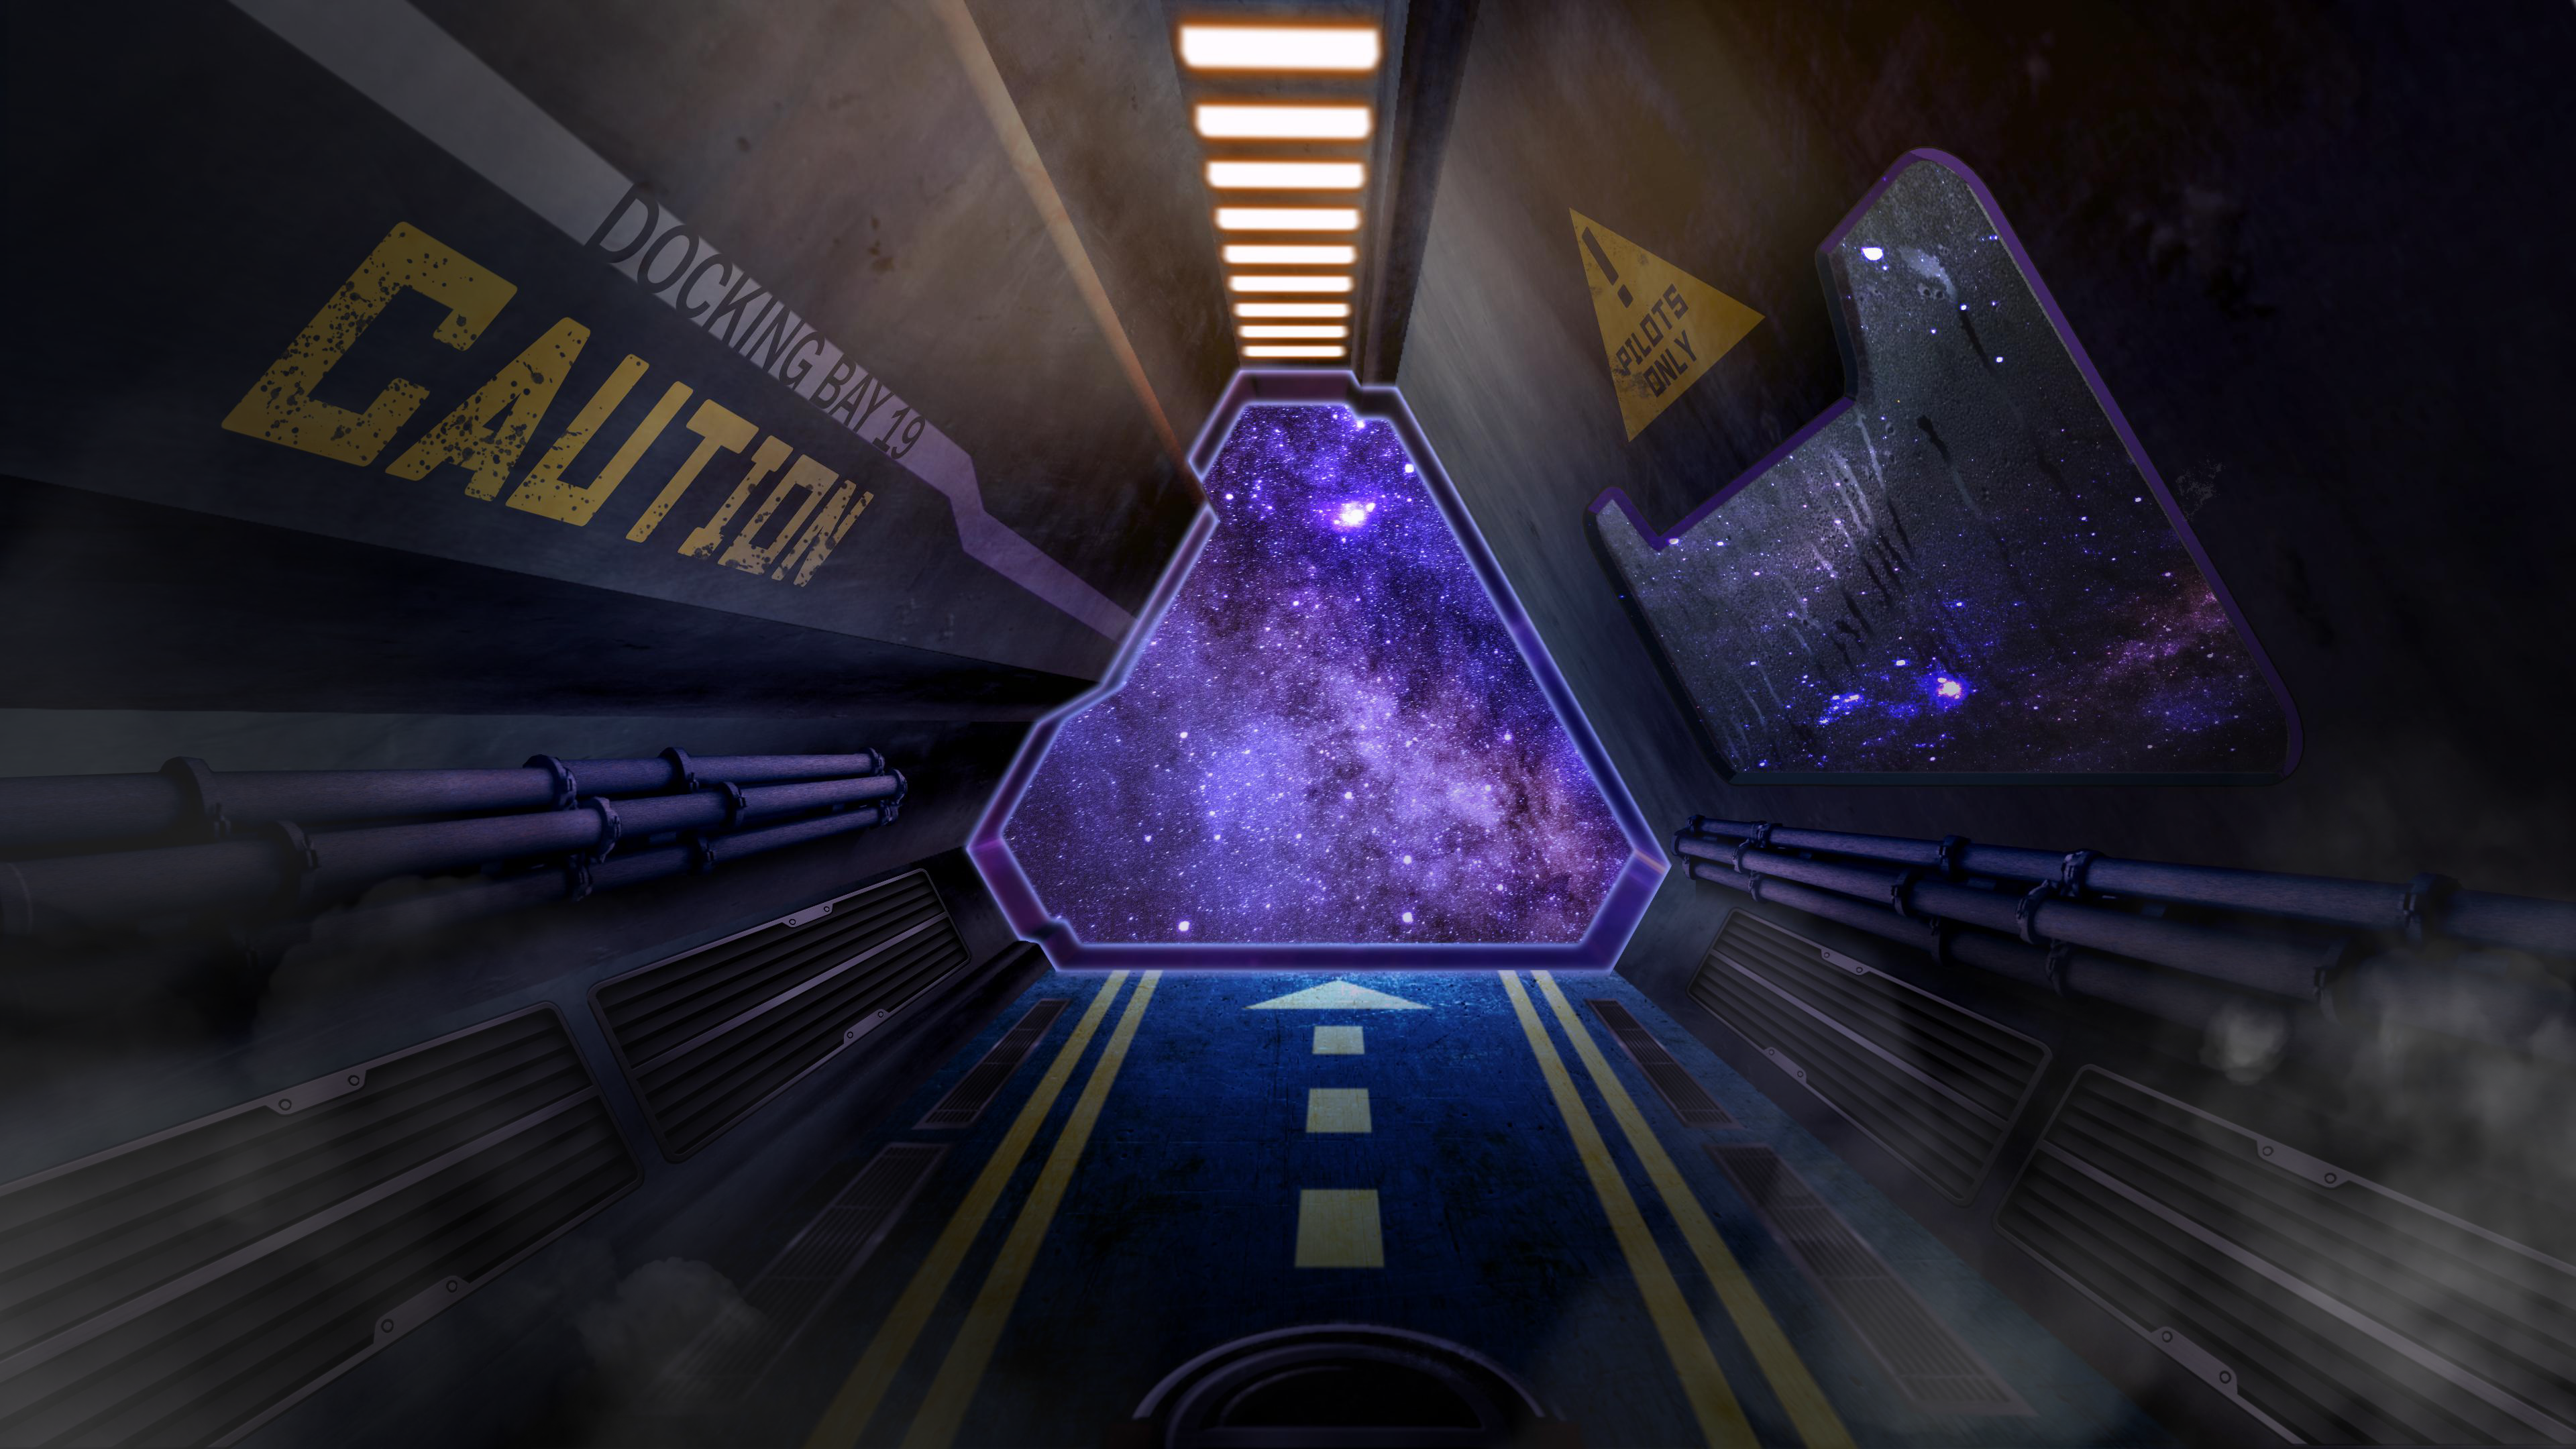
Hello! My name is Mikołaj but you can call me Mik. I've been using affinity software since first release in 2014 for graphic design(any kind of user interface design and visual identity assets). Lately some idea popped in my head – I am using the same tools in the same way all the time, so to prevent some kind of stagnation I want to challenge myself to create different kind of artwork that I usually do. Goal: Creating artwork from scratch in a poster format using every tool that is available in the software. I invite you to enjoy this journey with me. 001
-
Bought ‘Mystical Lights - Overlay Collection’ recently and played with a few of the included jpg’s. Decided on one of the ’Sun Beams’ with ‘Colour Burn’, overlaid on an image of a bright orange ‘Marigold’ and did a little bit of erasing. Tweaked photo with AP first, then modified, sized and exported with AD (jpg for website and pdf for printers). Very pleased with results. Now created a series of flower blooms with the same settings, probably do a lot more! Photos on website(work in progress): https://sbeech.uk/ BTW: Cannot upload photo, keep getting 200 error?