Search the Community
Showing results for tags 'Affinity designer'.
-
 Hi There: Was initially notified by email in June which coincidentally was not long after I'd jagged a new bill paying job, that I'll receive a batch of commissions for a set of figurative portraits from a single client later in the year. At first pretty stoked but at the same time tentatively thinking if I could pull it off, since I've not attempted any serious paid work for ages, well 1998...! to be exact using traditional media via a genre without mincing words, had previously excelled when a working artist, during the 90s. So anyway, I'm guessing they'd hit on an old long forgotten post of something leading too sparking an interest. Therein over the preceding months amidst a plethora of day to day detritus whilst also week in/out preforming high risk duties as an essential onsite worker, throughout a series of nationwide covid lockdowns due specifically to the Delta strain, coupled with our low vaccination rate in my region...trying to get back up to speed practicing using either stylus or pencil, sketching like there's 'no tomorrow' . Henceforth, finally taking delivery of relevant reference material several weeks ago, made a somewhat hesitant start, plus time-frame toward completion considering my usual workrate, at face value was a little tight (two & a bit months) however it's paid so needs must. Consequently, decided to lean heavily upon a digital format, hopeful in providing an efficient alongside effective solution meeting or indeed sliding under the agreed deadline. Current progress, first done, actually final edit was yesterday evening so happy to report the client's response was an approval of the finished result. Vector Outline: Curve Segment Paths - [Blockout] Workflow Breakdown For those interested, a brief walk-through of the process I've been 'tweaking' for the best part of two years, drawing realistic content utilising Affinity Designer. Personally I think I've struck a balanced approach in terms of technique out-putting whatever subject whether organic or hard surface, basically not that dissimilar too 3D pipeline tasks i.e. Background Ref's Blockout Base Sketch Refining Details Final Pass / Render Post Processing / Comp Typically, when freelancing as a Portraitist back in the day I'd mostly work from photographs, simply because of a preference for painting at ones own pace and also suited my persona as an artist without the additional hassle of in situ sittings. Now this particular methodology is fairly straightforward, base sketch is blocked out by tracing an image, from the outset primary color gradients are initially layered down. Once appropriately edited, I'll toggle over to ADs Persona suite of raster tools for texturing. In my opinion they're fully featured for my present need, default brush sets are intuitively user friendly including a fleshed out settings menu, quite useful when changing properties on the fly while implementing effects such as blur, opacity, glow etc, as well. Although that all said, layer management is pretty crucial, when dealing with complex content, the layer stack especially vector / pixel combinations will propagate fast, quick! so keeping tabs on usable naming conventions is well worth keeping an eye on, probably mitigated to an extent by some forethought during pre-planning. Each Relevant Stage Highlighted via Gif: Generally, with some optimism can state I've 'ironed' out more than a few wrinkles drawing using this app which hopefully bodes well for the remainder. Cheers.
 -
I make some SVG clip art for openclipart.org. I create it in Affinity Designer and export it to SVG. I always have to make sure it is pure vector art because openclipart.org does not accept SVG files that contain bitmaps. I also have to make sure to convert all text to curves because there is no guarantee anyone who downloads it will have the same fonts I do. After I have exported everything, I open the SVG in my text editor and cut out everything I can to make the file as small as possible. Most of it is just simple shapes, like this Cool Cellface thing: At other times, it is just some text, like this little joke: Affinity Designer is really good at designing clip art, though its SVG exports could be more optimized (luckily I am perfectly capable of optimizing them myself, but it takes extra effort).

-
I have decided to take up doing mandala art. I created my own template using symbols and layers for drawing and colouring. This is my first one, there will be more
-

affinity designer Watercolor Painting in Affinity Designer
risingkirin posted a topic in Share your work
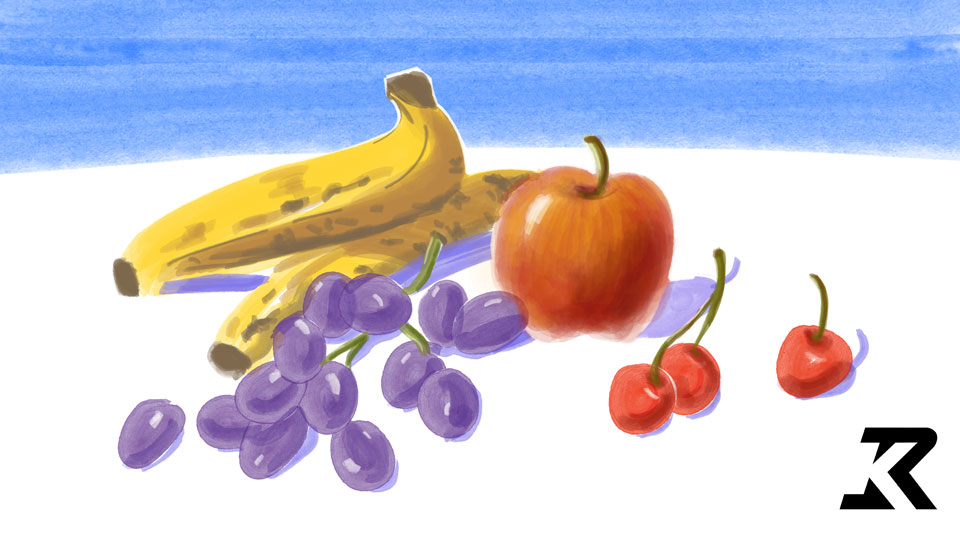
Hey Everyone, Here is a timelapse video of me creating a watercolor still life painting in Affinity designer. I had a lot of fun playing with the different brushes and testing the different capabilities of the software. Enjoy! Here is the video from start to finish: https://youtu.be/y6l6-wOOf2A Let me know what you think? Thanks, Mike
- 8 replies
-
- 4
-

-
- vector
- illustration
- (and 6 more)
-
 I am working on a job in Affinity Designer 1.10. When I was using the Pen Tool, I noticed that the pen cursor was offset to the right of the vector nodes as I was drawing a line. Not only that, but this offset increases dramatically as the cursor moves further to the right of the screen. By the time I reach the right side of the screen, the offset is over 5 mm between the cursor and the node. This problem also occurs when using the Pencil and Vector Brush tools. It only occurs when I use the Wacom tablet and not with the mouse. Also, this is only happening in Affinity Designer. When I bring up Affinity Photo 1.10, the Vector Pen tool in that application worked flawlessly. All my other applications work fine with the tablet. I am using a Wacom Intuos 4 tablet in a Windows 10 environment. I recalibrated the mapping in the Wacom controls, and I also performed a number of reboots. I need to mention that I have a second monitor, which is a Cintiq 16. The Cintiq is for painting, but I prefer the Intuos for all my vector designs. This was never a problem before, so I am puzzled as to why this started happening now.
 -
I feel the Opacity slider should be moved in Affinity Designer & in Affinity Photo what do you guys think ?? This small change would make it so much easier and much more enjoyable to use
-
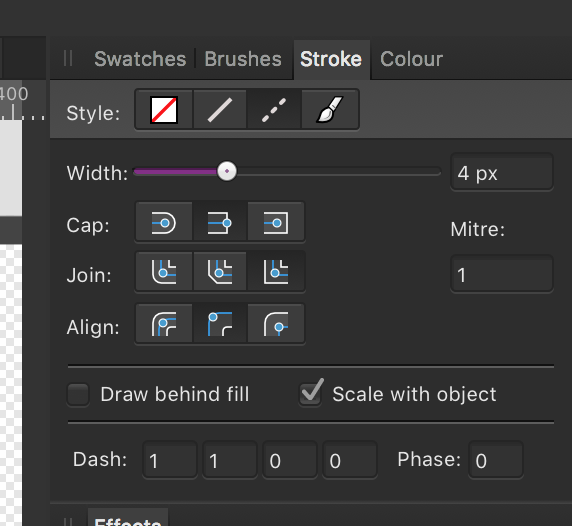
 I'm having some troubles with the dashed line. The corners of the icon doesnt look the way I had hoped. Is there any saetting I have missed or am I doing any thing wrong? I would like to have the corners sharp.. The size of the artboard is 64x64 and the icon has the same values and is placed in the center. Any advice?
-
 Please add the ability to add pure vector based vector brushes based on vector objects for texture instead of PNGs. For now we can only add pixel based vector brushes. Being able to add pure vector brushes based on vector objects would allow us to create vector based textures and designs, which would be much easier to handle for any kind of (print) production. For example I tried to separate the colours to a spot colour PDF for screen print from this awesome work by Pierre Kleinhouse made for the Affinity Work from home series https://youtu.be/lL6gc8Oi2uw .afdesign file on DropBox: https://affin.co/LD2020PierreKleinhouse It was sort of a nightmare. I couldn't find a way to create a vector based spray texture within the Affinity Suite like in the second screen shot with the chimney. Expand stroke, working with spot colours, working with boolean operations ... a lot would be easier.
- 9 replies
-
- 9
-
-

-
- texture
- vector brushes
- (and 8 more)
-
 😁 Hey there! This is a preview of my project for my students at the Vectorize Club, where I create this cute panda! Visit our Vectorize Club page and get access to this and many tutorials https://www.vectorizeclub.com! Have a nice day! Reels Live 72 (1).mp4
 -
 Currently, Select Same is great. However it seeks the entire document, across artboards, everything. I typically only want to grab files in specific part of the layer/group hierarchy. The UI issue is, how does a user specify 'where' the Select Same should look? Below is an idea I had for this. So, this lets a user specify the Select Same to only look in the parent of the currently held object. >What if a red object is inside a group, then a layer, then an artboard? Does it look inside just the first level parent? I'm not too sure. Maybe we default to artboard, since this is an explicit work area separate from other content. Groups and layers tend to be used together in one design, and Select Same's entire point is to blast through all the structure. So, maybe 'Select Same inside artboard' is a good middleground of powerful and simple.
-
- 1
-
-
- affinity designer
- feature suggestion
- (and 2 more)
-
 I seem to have a vanilla setup in Designer, but there is no sign of any selection tools. And there is no help in the help menu - it does not tell me where to find them, only how to use them. So where/how do I find them? Thanks. Update: In case anyone else is lost on this - I found that you have to hit pixel persona in the top left, next to Designer persona, which is next to the traffic light buttons for Mac. It would be very helpful if Affinity could put this location info right at the top of the Help section.
 -
 3 questions: 1) AP - When I open a Raw, in Develop Persona, I can set a "preset" singularly for Basic, Lns, Tns...this is good but is it possible set one "preset" that automatically includes all three these values? It’s really uncomfortable having to save and select 3 separate presets each time. 2) AP - Color Picker Tool: is it possible to see the picker radius on the cursor, like a brush? 3) AD - Is it possibile to hide the outline selection of the selected objects? I ask this because I need the color changes of the stroke when I pick some color. The Outline Selection hides the object stroke, so I can't see the changes. Thanks
 -
I created a small little tool to help me build more interesting color palettes, you can download it and try it yourself! I wanted something dynamic where hue, saturation and brightness graduated in ways I would never think of picking by hand. It uses difference blend modes, and in the smaller circular swatches it doubles up on itself - kinda inverting things a second time, giving you two palettes from each to choose. Super funky! Magic Color Mixer Amplification Designer (2)_1.mp4 Rudantu's Magic Color Mixer.afdesign
-
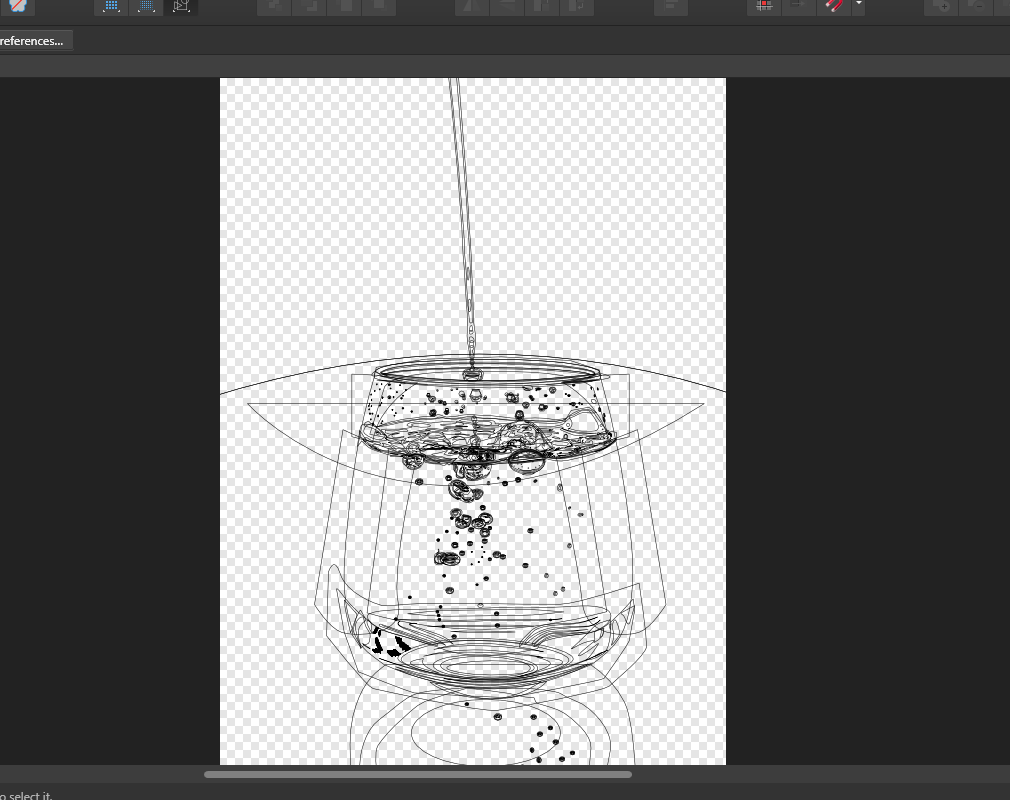
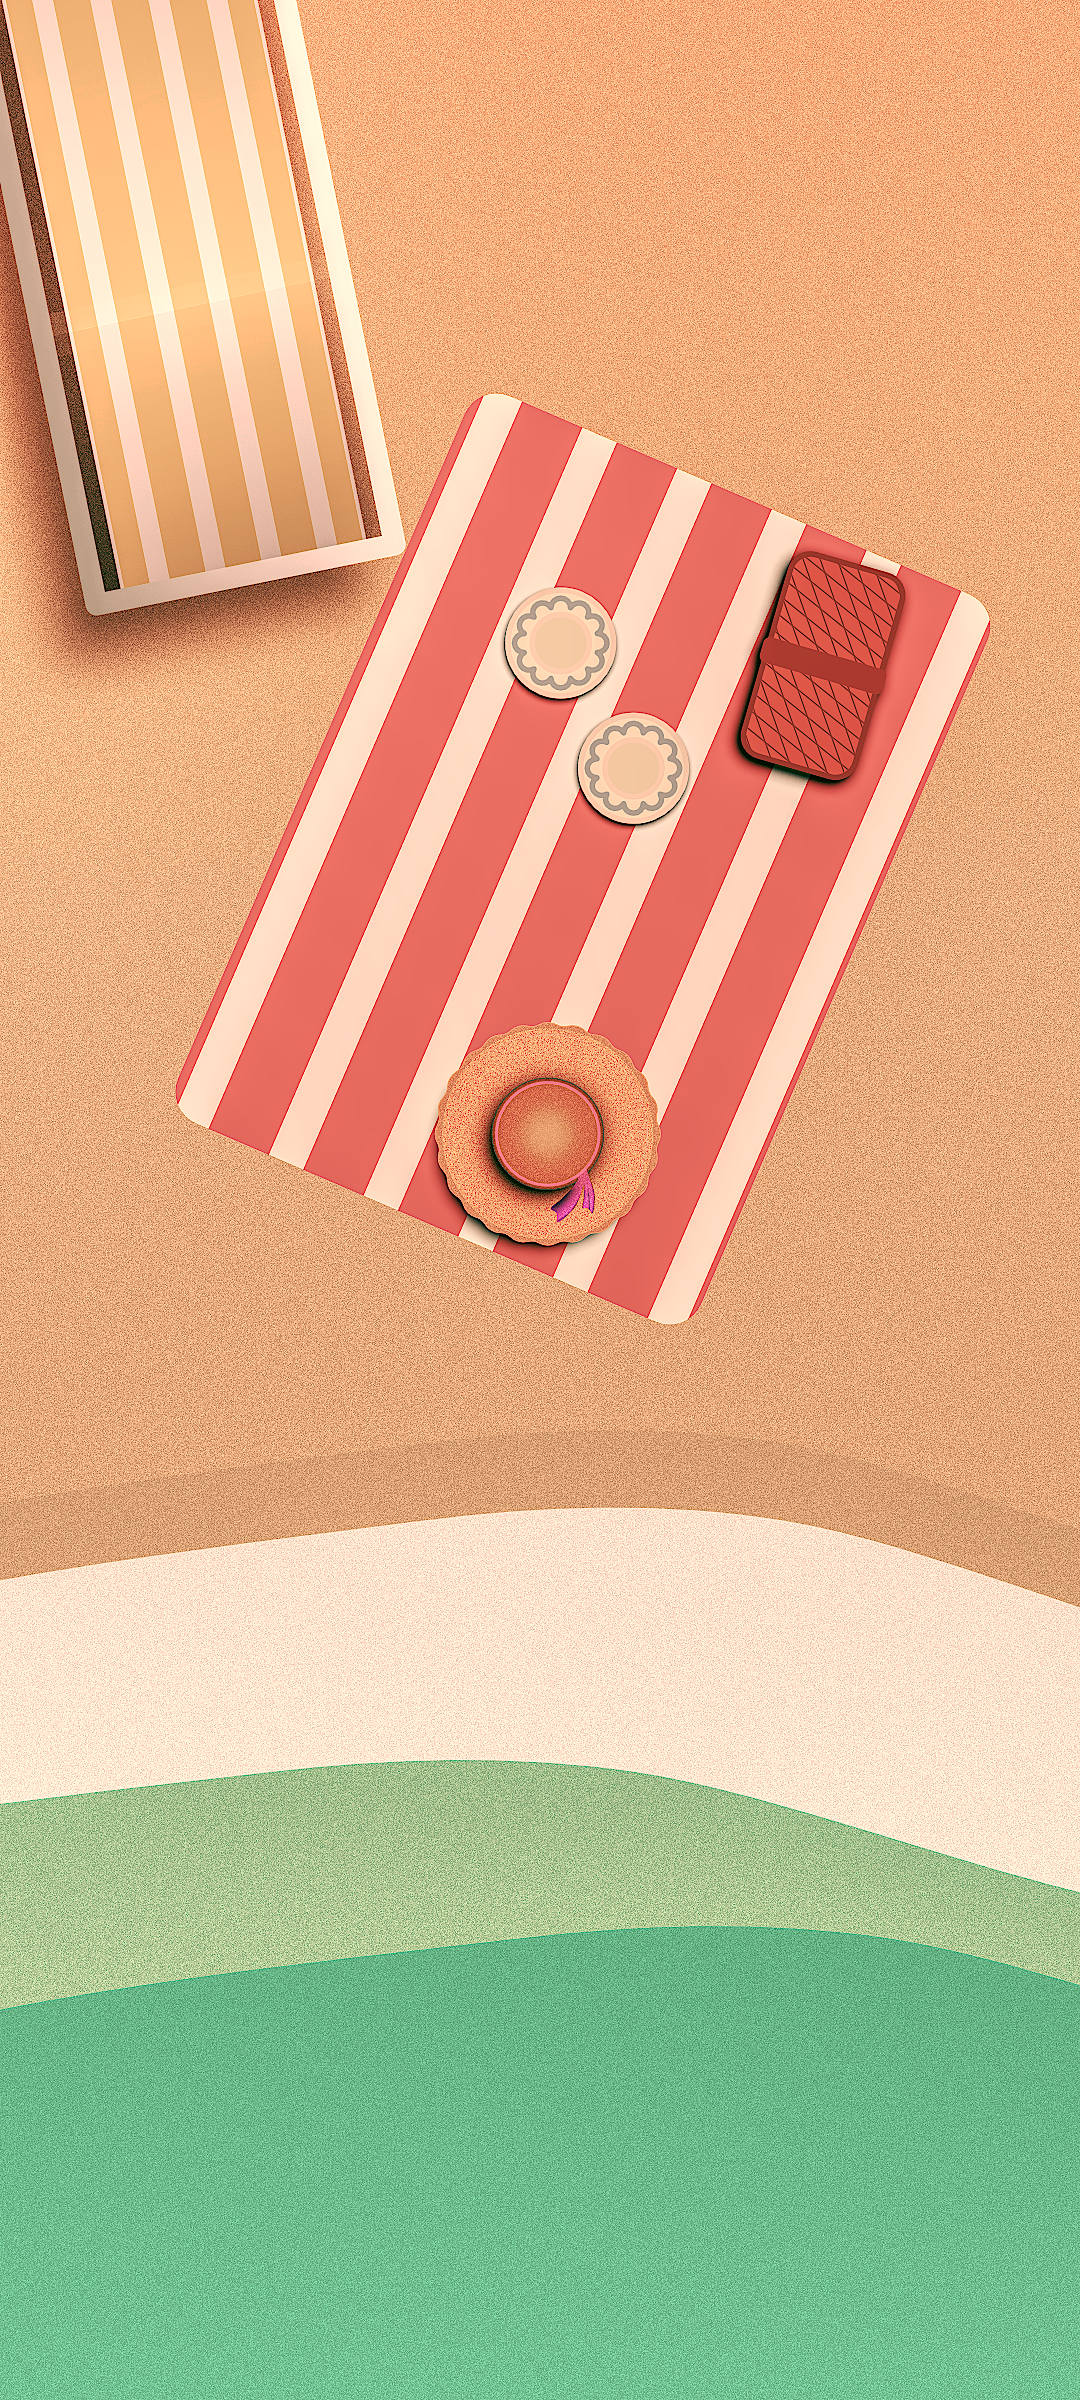
 One of my recent works. I enjoy doing realistic pieces and this one took quite a while. It's all vector, not sure what the drink is inside the glass but suspect it's Rum & Coke, and the reference pic was one from Pixabay.
- 12 replies
-
- 13
-
-
- realism
- realistic drawing
- (and 5 more)
-
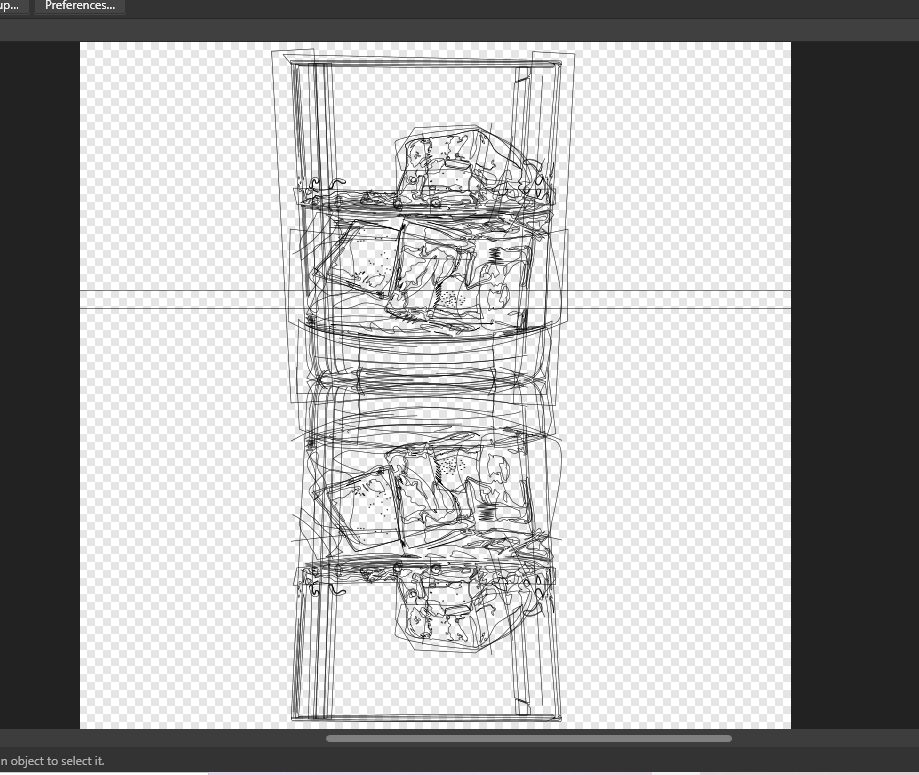
More 'Realism' from me again and yes... more 'fluid' and glass, just plain old water in this instance. It's 100% vector..... not even a vector brush used even though I was tempted to use some here and there. Looks a little darker in places than I had wanted compared to the reference image but 'hey ho' I think without the comparison 'it ain't too bad'. As always C & C is welcome 2021-09-01 21-44-30.mp4
-
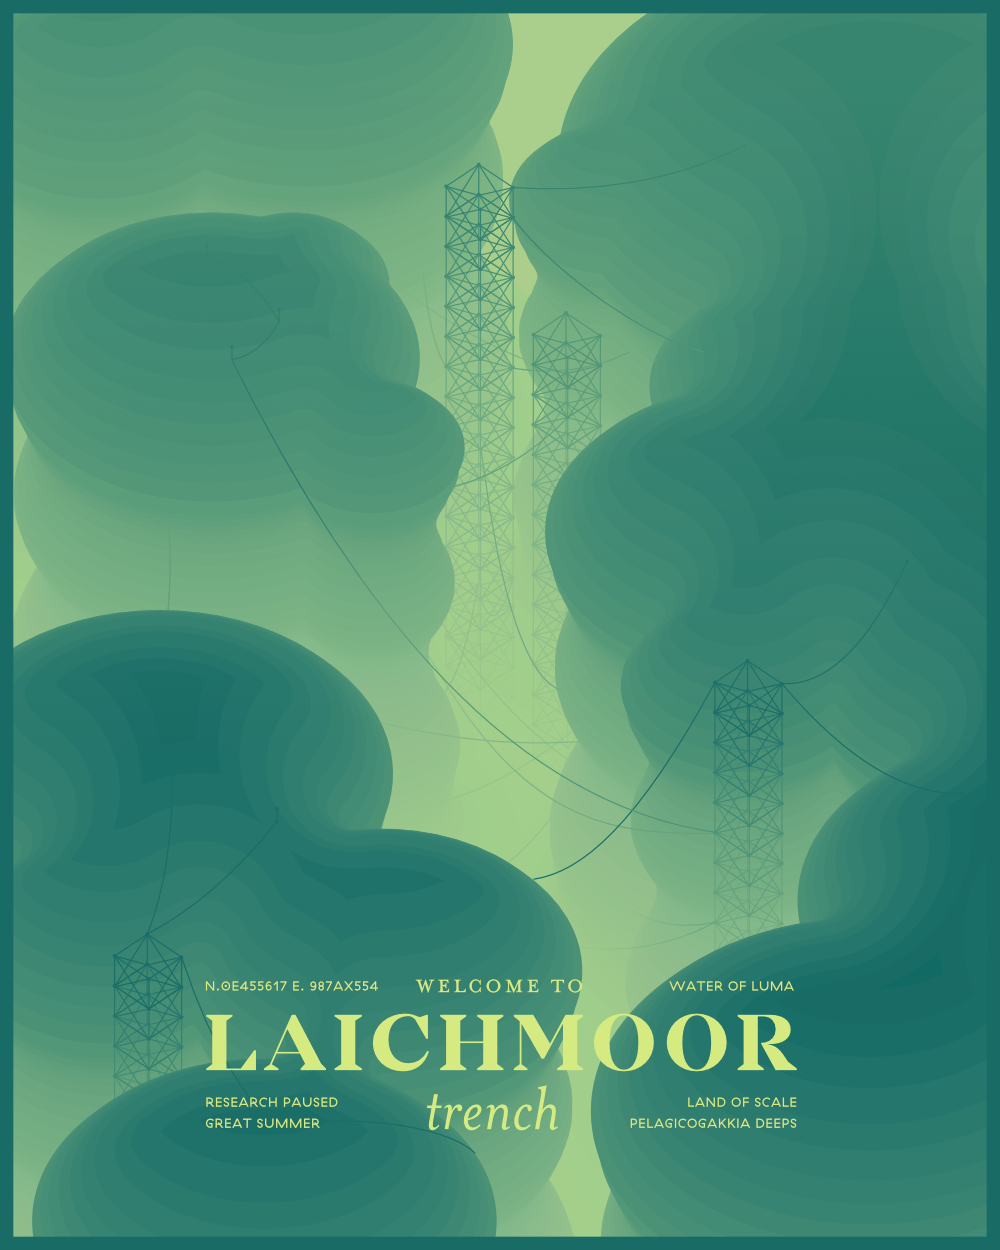
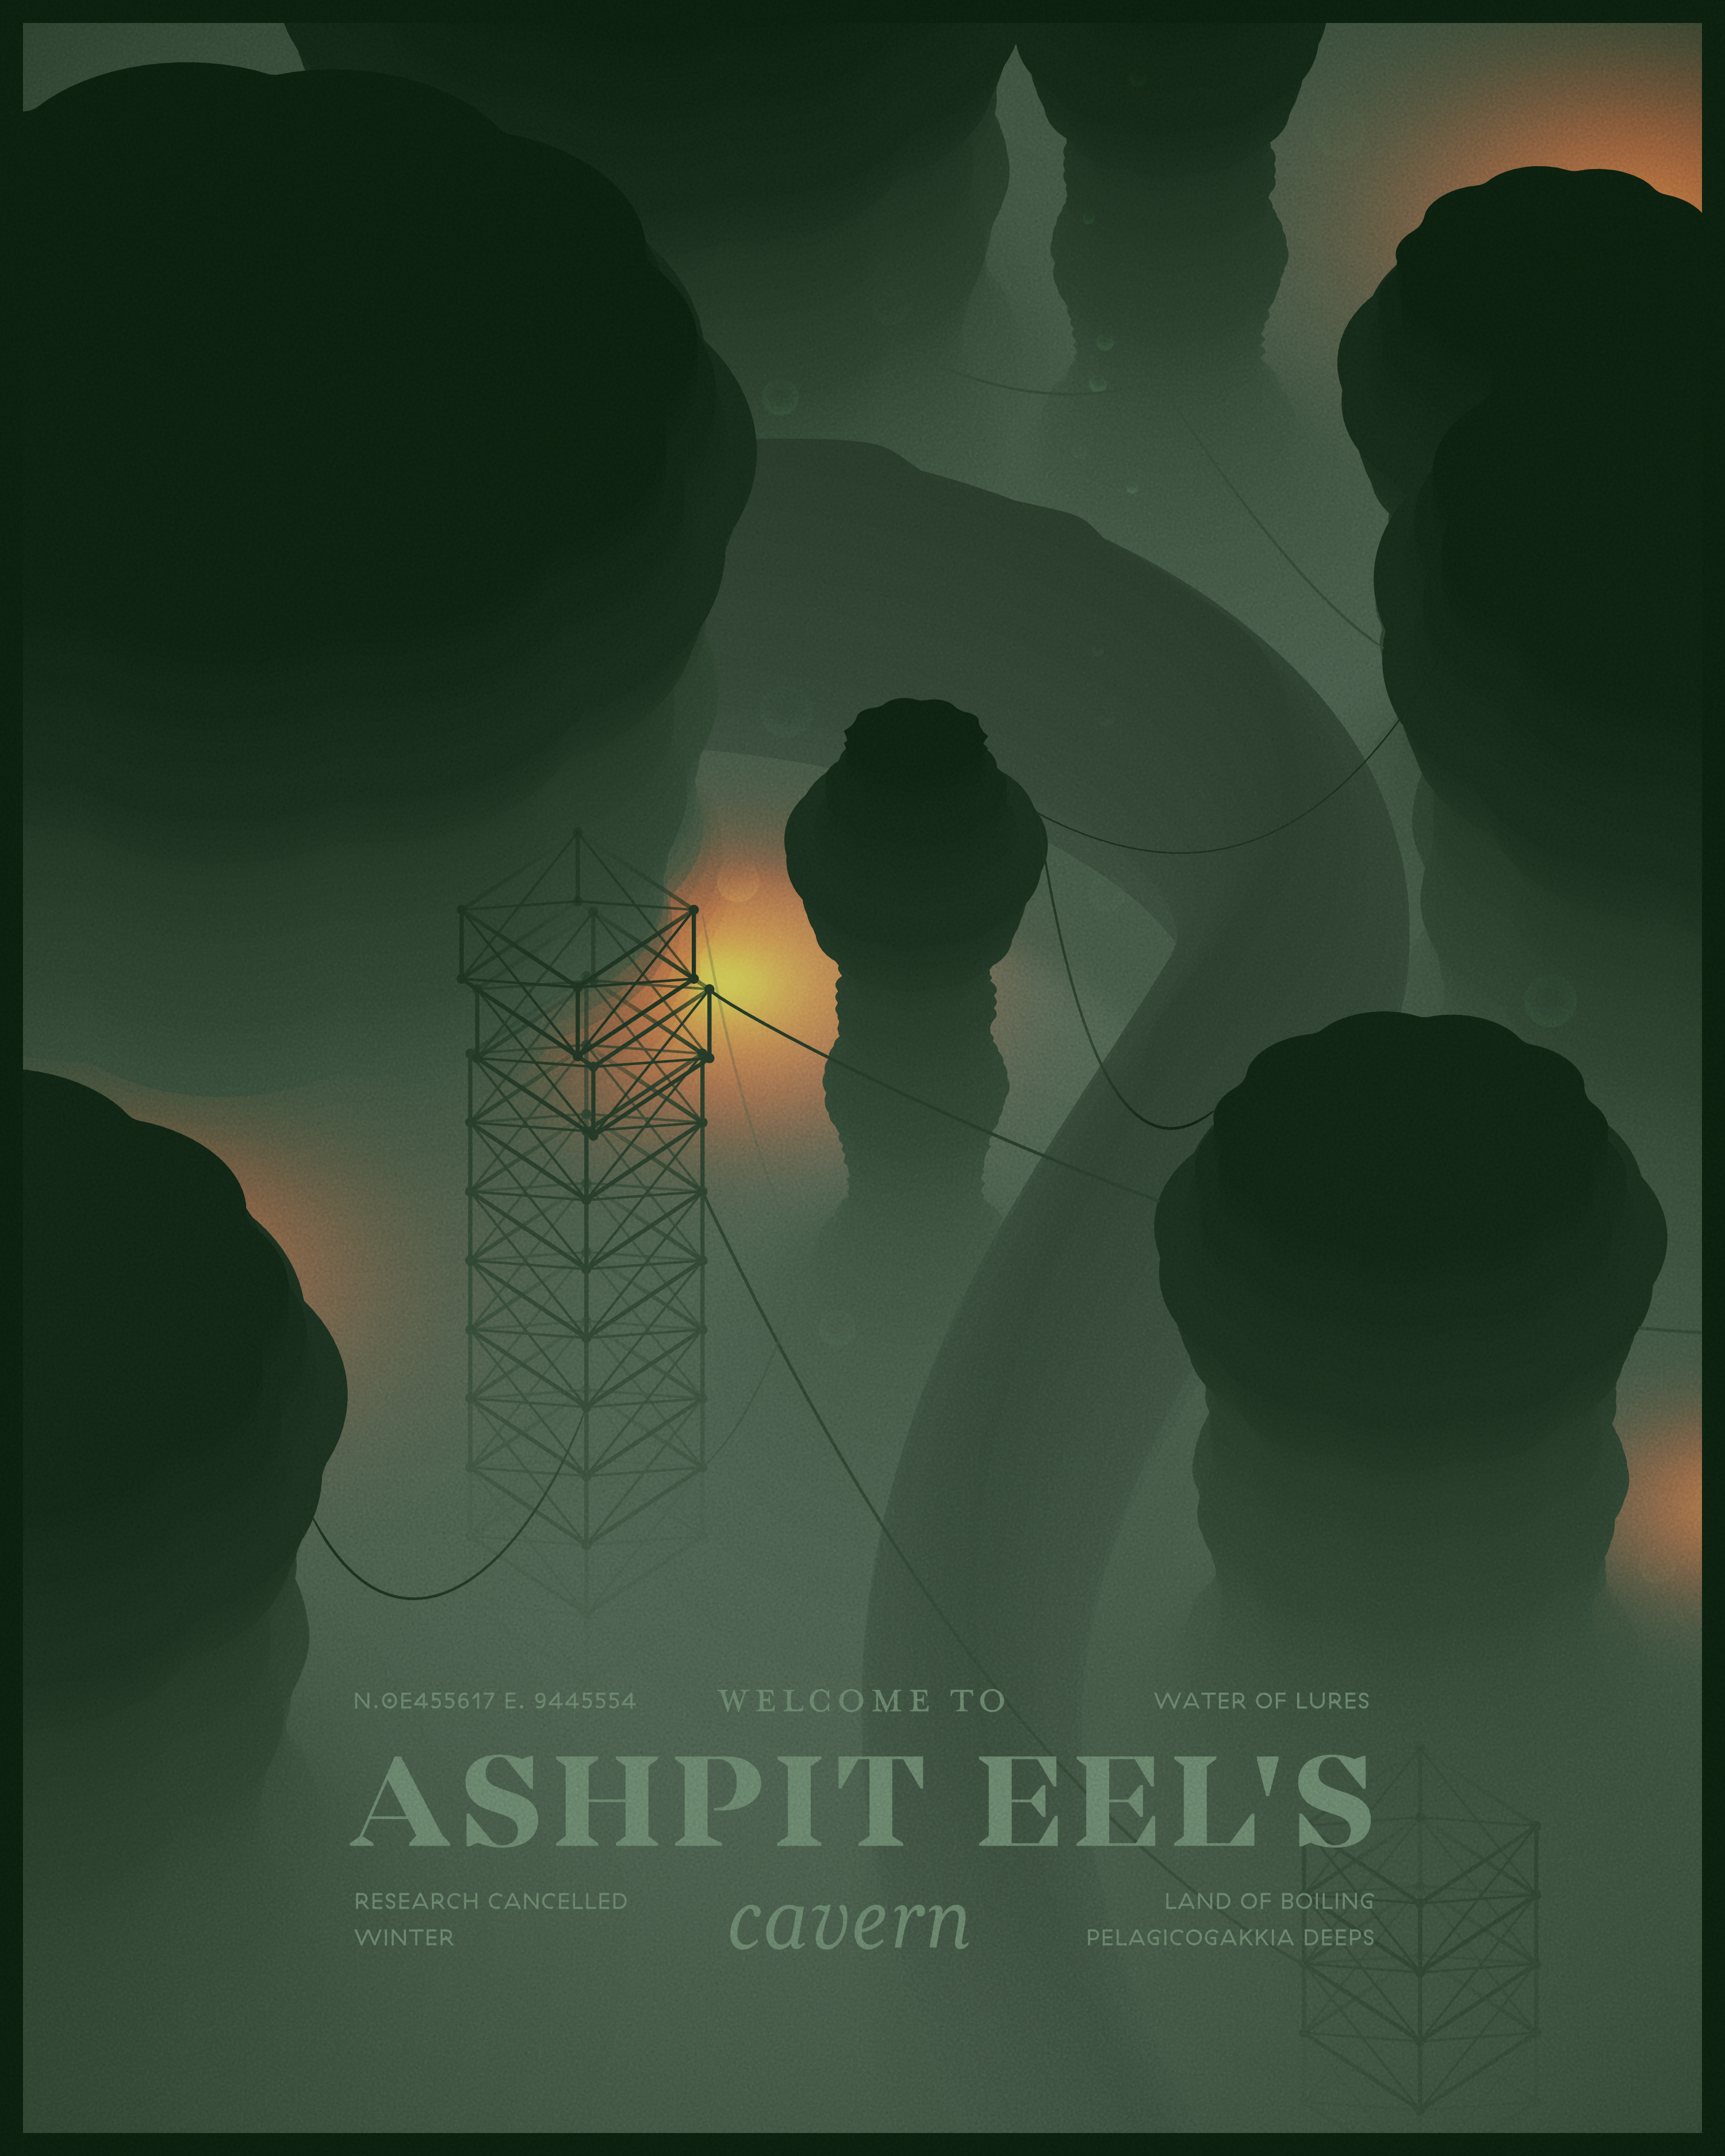
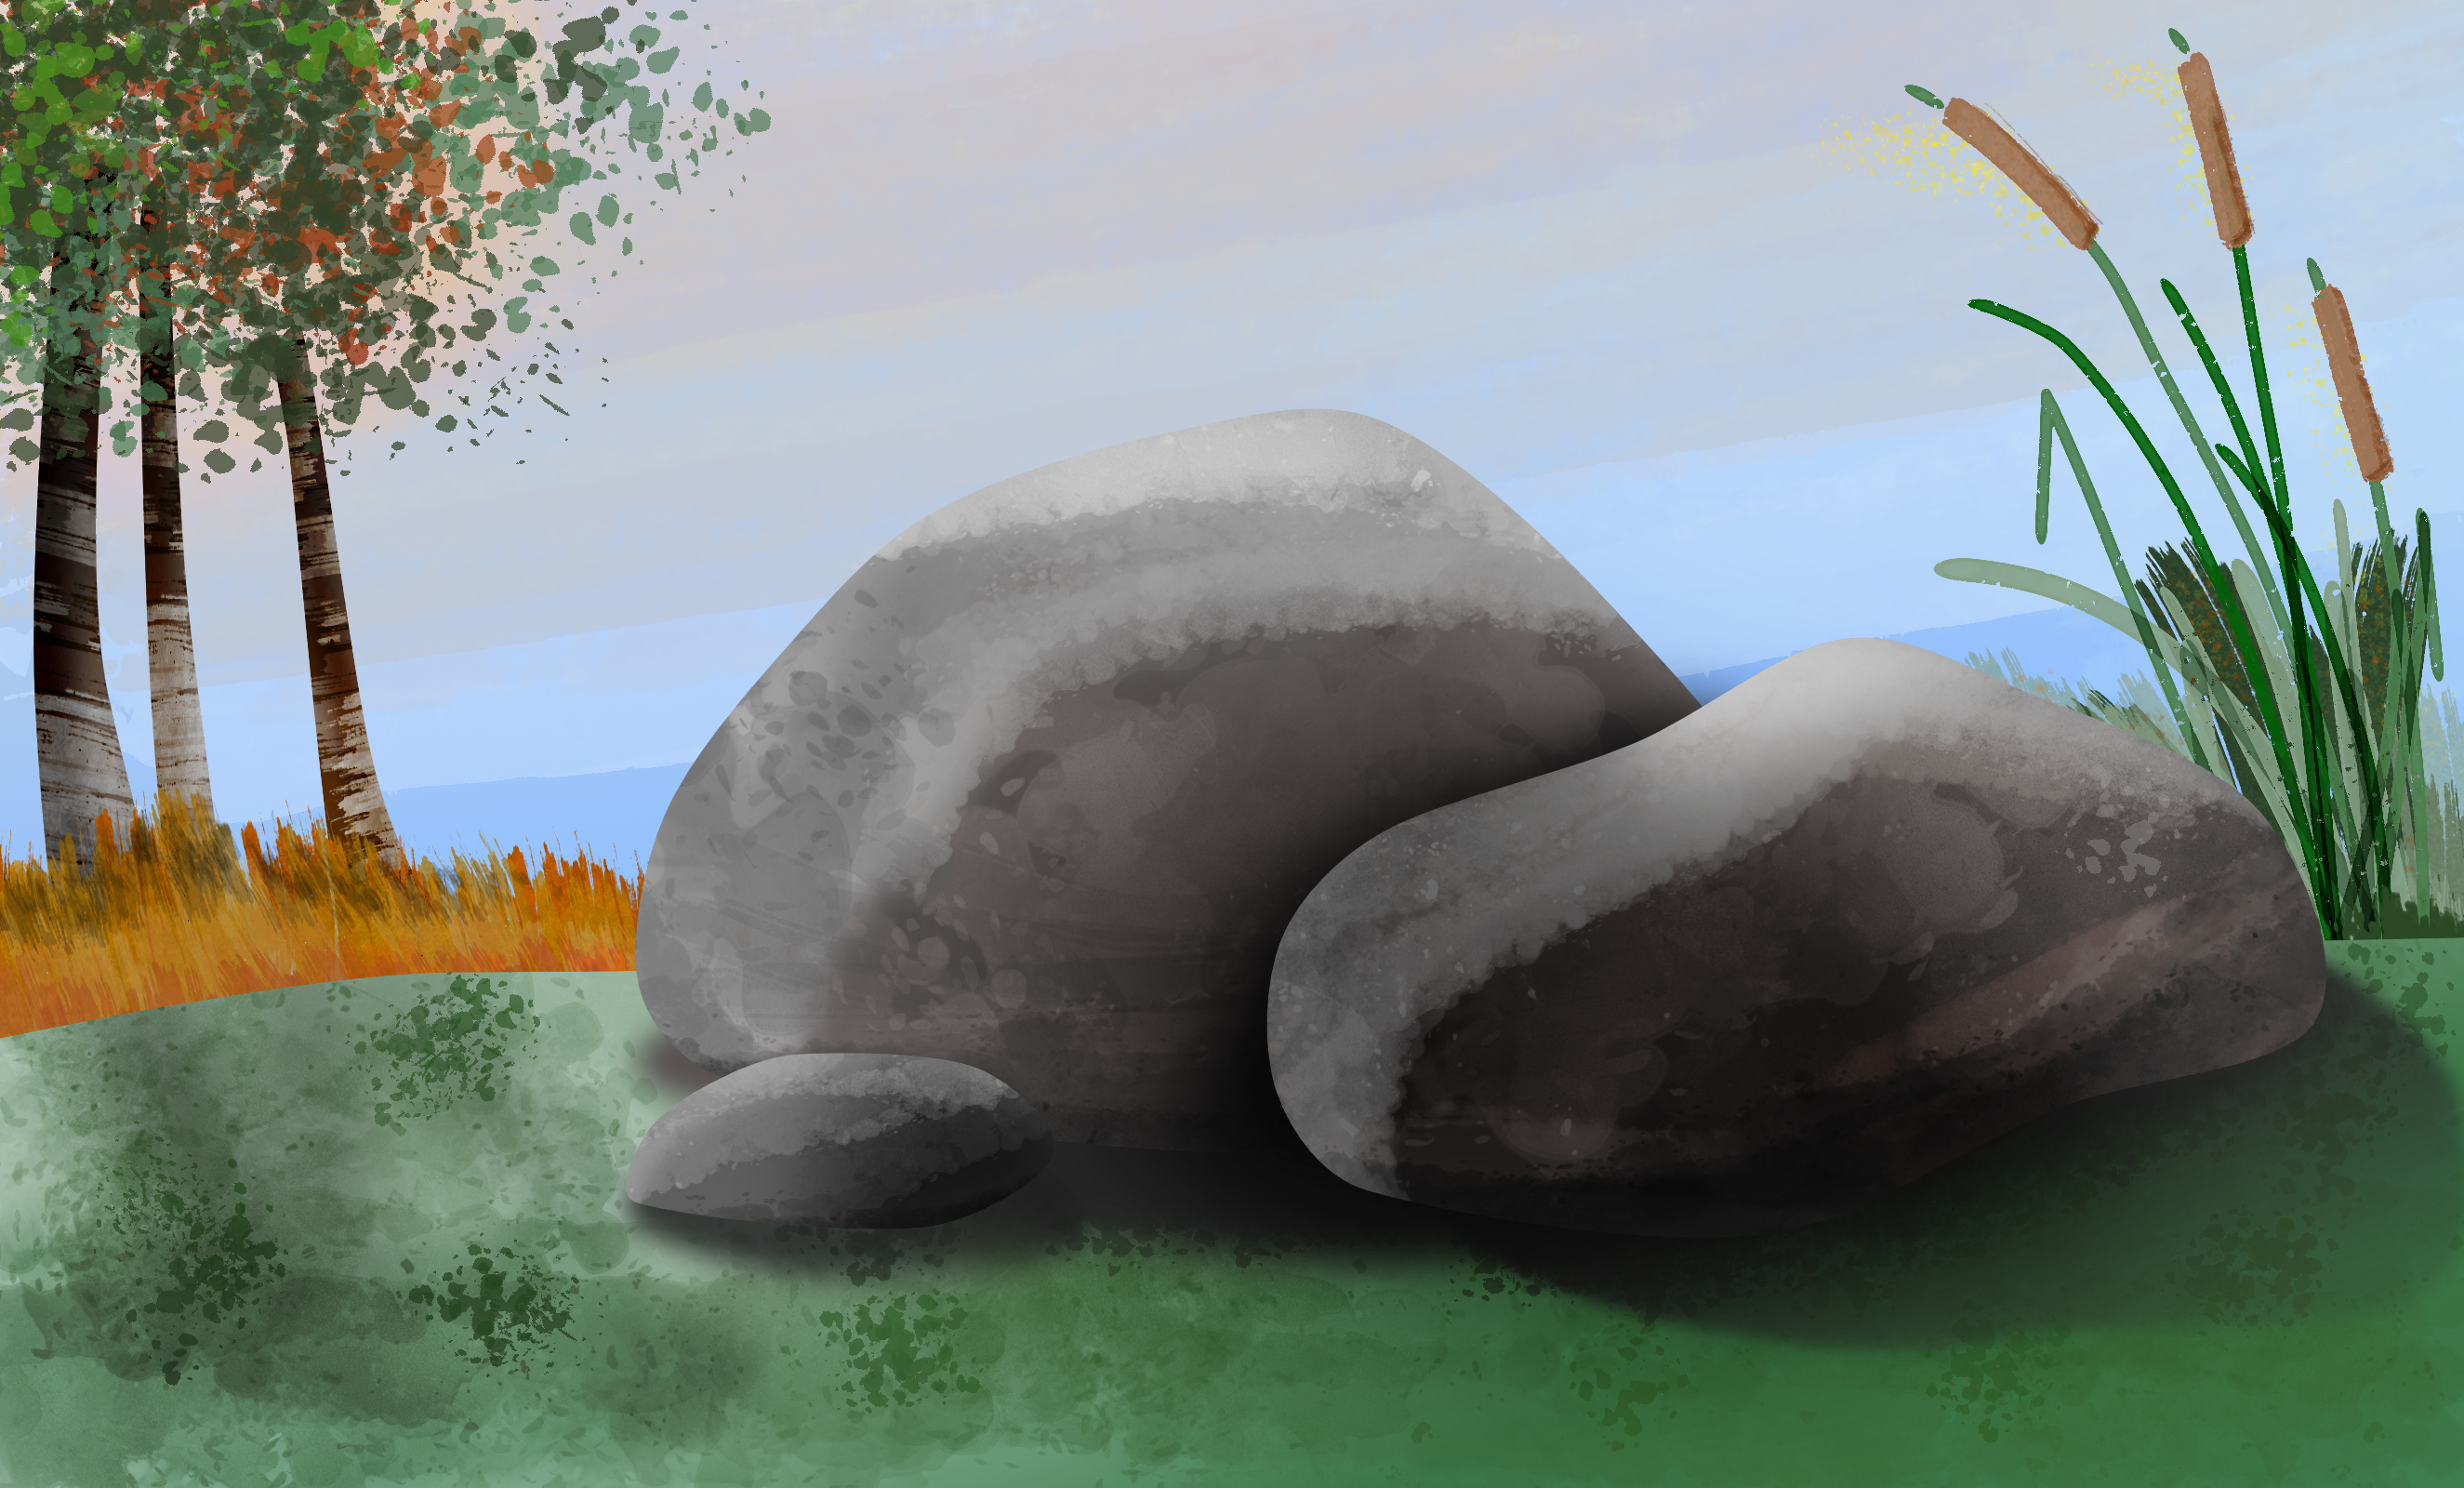
Hi! I've been having a lot of fun with purely 2D illustration, and a bit of worldbuilding. These are from a series 'Pelagicogakkia' - focusing on a mysterious region of the ocean. Everything is made in Affinity Designer. Those pseudo-3D landforms are my favourite part, they're made with many duplications of one layer, and varying contours. The fog effect gives things a lot of depth, and is both cumbersome and elegant. Its just many many thin levels of 'screen layer' inbetween each 'real layer'. This means you can simply put objects at whatever 'depth' looks right (by using the layer stack) and the fog automatically overlays the colour and tone realistically.
-

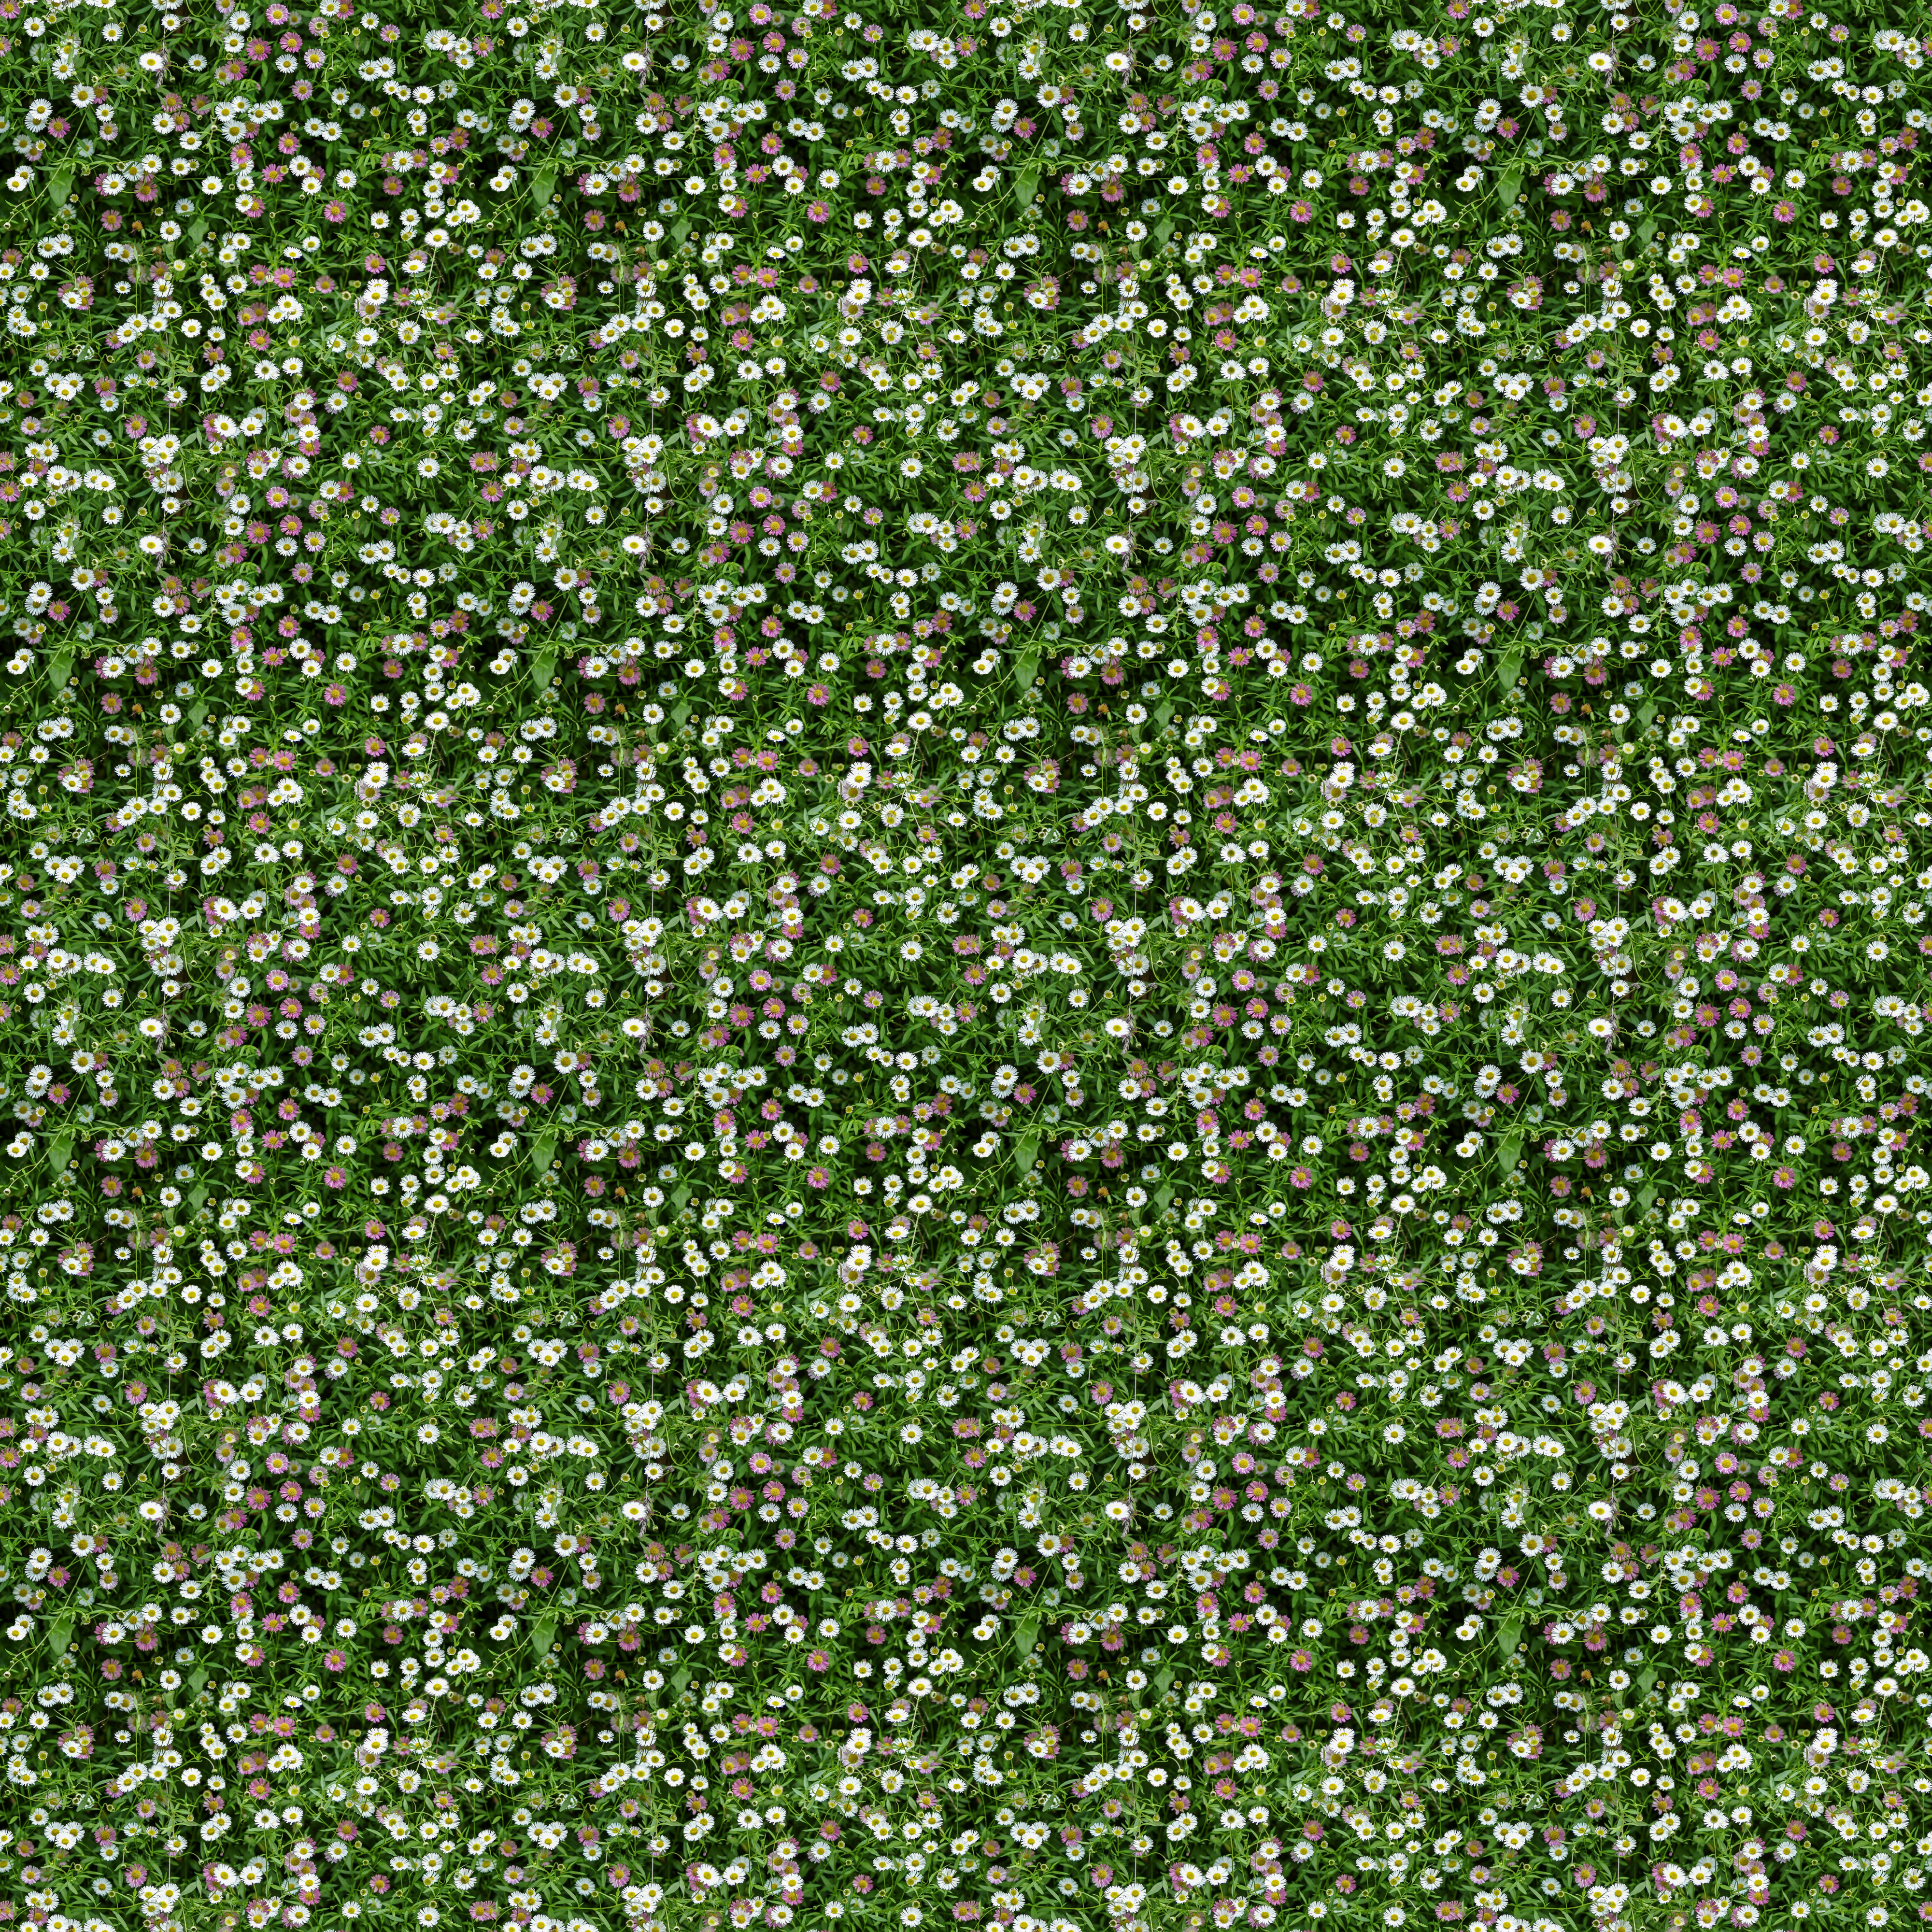
affinity designer Finally got the daisies nearly right!
Antony parks posted a topic in Share your work
The hard work is done in Affinity designer.....with retouching in Photo. (There's a thread in AD mac bugs about pattern design work flow and colours etc.) I can still see some retouching to do....can I call it work in progress? However it probably won't get taken much further at the moment. These softwares are becoming addictive! Loving It Antony
-
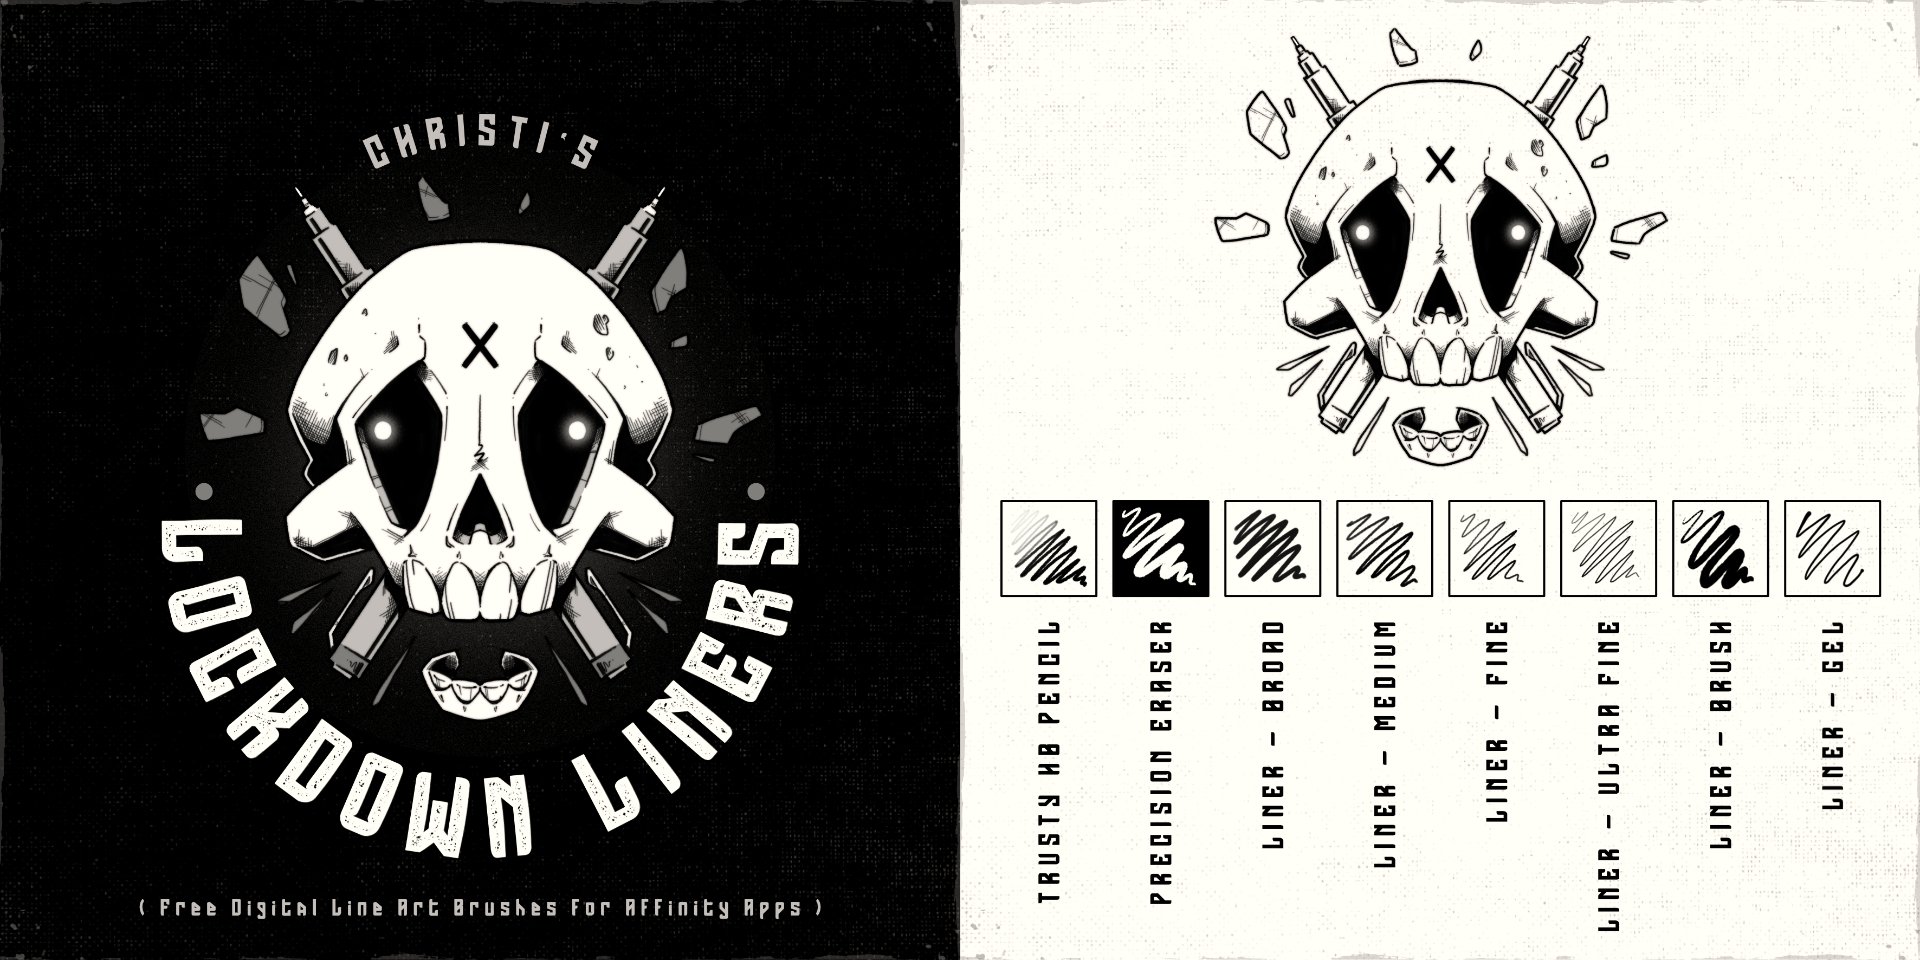
Hiya folks! 🖖 I'm sure we're all dealing with the same stresses and frustrations brought on by the COVID-19 chaos (my country has been on full lockdown for a while now). It's important to stay busy to stop the cabin fever from kicking in, so I decided to create a little custom raster/pixel brush pack for Affinity apps - free for all! The brushes are not too complex, mimicking some traditional inking tools we all know and love, such as brush pens and fineliners. Perfect for those 'run-and-gun' illustrations where you just want to get to work and avoid the option-paralysis brought on by having to go through hundreds of custom brushes first. Included in the "Lockdown Liners" brush pack you'll find: 1 x HB Pencil (inspired by the Palomino Blackwing 602 pencil) 1 x Precision Eraser (inspired by the Tombow Mono eraser) 4 x Fineliners in Broad, Medium, Fine, and Ultra Fine (inspired by Pigma Micron technical pens) 1 x Brush Pen (inspired by the Tombow Fudenosuke Hard Tip brush pen) 1 x Gel Pen (inspired by the Sakura Gelly Roll) Fully compatible with Affinity Photo for desktop and iPad, and Designer's Pixel Persona for desktop and iPad. *Best used with a drawing tablet or iPad with Apple Pencil to take full advantage of the pressure sensitivity that the brushes offer. I'll likely make a few tweaks to the pack as I go along, but I'll be sure to update it on Gumroad when I do so that everyone who has already downloaded it can be notified. Hopefully you can create some cool work with the brushes to help pass the time while we're all stuck indoors - if you do, be sure to tag me on Instagram, http://www.instagram.com/christidutoit, I'd love to see what you make! Here's the download link to the brushes on Gumroad: http://www.gum.co/lockdownliners As mentioned, these brushes are totally free to download and use, just type $0 in the price tab and click "I Want This!". Stay safe out there! - Christi. ☠️
- 1 reply
-
- 14
-
-
-
- brushes
- affinity photo
- (and 4 more)
-
 I am putting a 600 page book together in Publisher but making the cover in Designer. The book is facing pages - What is the best spine calculator for this? I know it has to do with the thickness of the paper as well. Any thoughts would appreciated.
 -
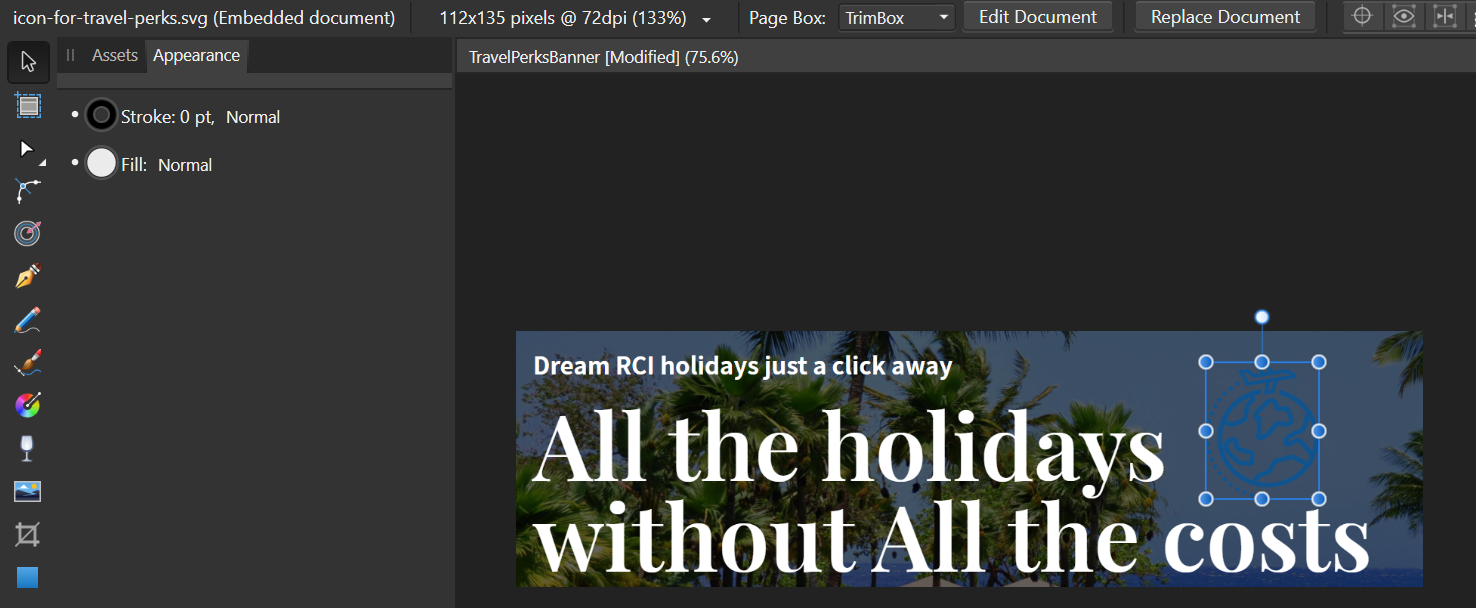
 Hi I have placed this SVG file into the document as seen in the image. What I want to achieve is having that file in white. Like PNG file, so that the image would be white, instead of blue. Ultimately I'd like to put a whole png file on that backdrop, which actually includes the Icon. But I'd want the icon and the Travel Perks UK part all in white, and not have the white background. Is this possible please and what's the best way to end up with the best resolution of the smaller image, on top of the back ground. Thanks
-
 Hi folks, I was wondering if anyone could help with the following. This is something I've been trying to figure out for a while. Basically, I'm looking to expand the blue selection box to fit the entire shape where the red outline is, however, using the outer align option doesn't seem to work. Is there something I have missed? Secondly, what causes thin lines at the edge of a shape when you use the erase blend mode on top? Is there anything that can be done to remove them or should I be using a different method altogether? See screenshots attached for reference. Apologies if there are articles on these already. I find it easier to explain specific situations and get feedback that way as I'm quite new to graphic design and Affinity products overall. Feel free to link any tutorials regardless. Many thanks.
-
Hello, New forum member here. I've come across an issue on Affinity Designer for iPad where assets from the content store and installed fonts for example will randomly uninstall or disappear during the design process or after restarting the application. I don't know if this is a known problem or if anyone else has experienced something similar but I thought I would put it out there anyway. I am running the latest version of the application (v1.10.1) and the latest version of iPadOS. Any help or advice would be much appreciated. Have a lovely day/night all. Thanks.
-
hello I have a problem with an affinity designer file and I can't finish the job, the program closes if I make any changes. IMG_1062.MP4
-
Hello everyone, first of all I would like to mention that English is not my native language, so big sorry if something is not understandable. This is my work that I've done since last month when bought Affinity Designer and Photo. I've always wanted to lean into digital graphics, so when I bought my first MacBook an opportunity to start new experience appeared. I've never had any experience with other graphic programs other than GIMP, so Im totally novice. Currently I'm learning from Affinity videos, some speedart on YouTube and written tutorials here and there over the Internet. I'm still learning the tools and trying to find my style, so my work is probably a copy of something I've found on the web... But after all, I'm proud of myself what I have achieved since the beginning. Mostly, Im working with Designer, because I don't have good camera to play with Photo, but I'm trying to learn both. What do you think?
-
 Just a little sunday animation exercise. Graphics created with Affinity Designer (still love love love ❤️ the export persona so much!) Satisfying-Machine-Def-19By9-30Fps-On-Background.mp4