.jpeg.1b727463d44a0d52bc3499597e28d11c.jpeg)
James Ritson
-
Posts
855 -
Joined
-
Last visited
Everything posted by James Ritson
-
.thumb.jpeg.6f143e8223547aba974205ef53397036.jpeg) Hardness at 0% is fine and is desirable for a softer edge (it's specified in the book). It definitely looks like a flow issue, Flow should be set to 100% by default - have you perhaps changed it at some point, or are you using a custom/different brush? If in doubt, switch to the Basic brush category and choose one of the first few brushes (up to the 128px sized brush) - they're all guaranteed to have 100% flow and accumulation.
Hardness at 0% is fine and is desirable for a softer edge (it's specified in the book). It definitely looks like a flow issue, Flow should be set to 100% by default - have you perhaps changed it at some point, or are you using a custom/different brush? If in doubt, switch to the Basic brush category and choose one of the first few brushes (up to the 128px sized brush) - they're all guaranteed to have 100% flow and accumulation. -
Hello all, Just to let you know that in conjunction with the latest update, I've re-recorded one video and there are three new videos: Opening, Saving & Exporting (Updated; 22nd February) Learn how to open images from different sources (Photos App, cloud storage), see how images are auto-saved and discover how to export and share images - both in common formats (JPEG, PSD) and as Affinity documents. Watch: Vimeo / YouTube iPad/Desktop Interworking Check out a quick and simple workflow to share and edit your work between the iPad and desktop versions of Affinity Photo using Open In Place. Watch: Vimeo / YouTube Exporting Learn how to use the export dialog on the iPad version of Affinity Photo to share your work in a number of different formats. Watch: Vimeo / YouTube 360 Live Editing See how to apply Live Projection editing to 360 images and retouch them. Watch: Vimeo / YouTube As usual, the list in the first post has been updated. Hope you find them useful!
-
@KyleG overscan is typically a TV issue, not an app issue - have you checked your picture settings? It's usually called Picture Size or Picture Frame, and you'll have options like 16:9 (which typically overscans), Zoom, Fill, etc. There should be one called Just Scan or Fit, which will display the entire frame. Hope that helps.
-
Hi, don't worry, you're not losing any quality - what you see during the RAW development and subsequent edits in the Photo persona is the full resolution image. It's just the resolution metadata that's incorrect. You can double check this if you develop the RAW file, then go to the Document menu at the top and choose Resize: the X and Y dimensions should match the expected full resolution values. Hope that helps!
-
Downloading tutorials
James Ritson replied to sam3's topic in Tutorials (Staff and Customer Created Tutorials)
Hi Sam, if you follow the links in the Designer and Photo tutorial threads to the Vimeo versions, you can download high quality versions - there's usually a Download button to the left of Share. Given the choice, I'd go for the highest resolution available - this is usually 1080p, UHD 1440p, or, in some rare cases, UHD 4K. You can also download the "Original" versions which are the original uploaded video files, but they'll be significantly bigger in file size. If file size and download time aren't a concern the originals will look very nice Hope that helps. -
Hi again, check your Develop Assistant settings. At some point, you've switched to 32-bit output rather than 16-bit. 32-bit will be using a linear colour space, which Apple Photos doesn't interpret correctly, so it's causing the mismatch that you see when passing the document back. Once you switch back to 16-bit and then open a RAW file from Photos, everything should then correct itself (that's my hope, anyway ) If you're not sure where the assistant is, check out this video: Bear in mind that you might have to re-open the RAW file once you've changed the setting for it to apply (the above video will need an update when I have time!). Hope that solves it!
- 12 replies
-
- 2
-

-
- mac
- affinity photo
- (and 1 more)
-
Hi Allison (I think? ), I see the issue with the first part where you're using Edit in Affinity Photo. Apple Photos passes Affinity Photo the RAW file, which it opens in Develop from scratch. Because of this, all the changes you made in Photos won't carry over. The solution here is to simply pass the RAW file to Affinity Photo without making any edits first, then make all your edits within Affinity Photo (you don't have to use Develop necessarily, just develop the image then use adjustment layers in the Photo persona if you wish). Once you save the document and close it, the changes should then be reflected correctly. I've tried this workflow and it seems to work fine here without any issues (no big differences between Photo and Photos), just avoid making any changes first before opening the image in Photo. Do also bear in mind that you lose a lot of flexibility this way: Apple Photos will flatten the document passed back from Photo because it will always be over 16MB in size, so you'll lose your layer structure and non-destructive editing. Hope that helps!
-
Hi, as firstdefence mentioned above, the best solution is to download the trial and see if it works for you. I can tell you that your specs are still pretty decent - the 13" i7 processor is I believe a 4578U model (or variant thereof) which is dual core with hyper threading, so it should run Affinity Photo reasonably well. Because you've got an Intel Iris graphics chip, however, the first thing I would check is under Preferences>Performance. See if you can enable "Metal compute acceleration". If so, you should find the 360 projection will run incredibly well. Some of the live filters will also benefit from Metal compute too. Hope that helps!
-
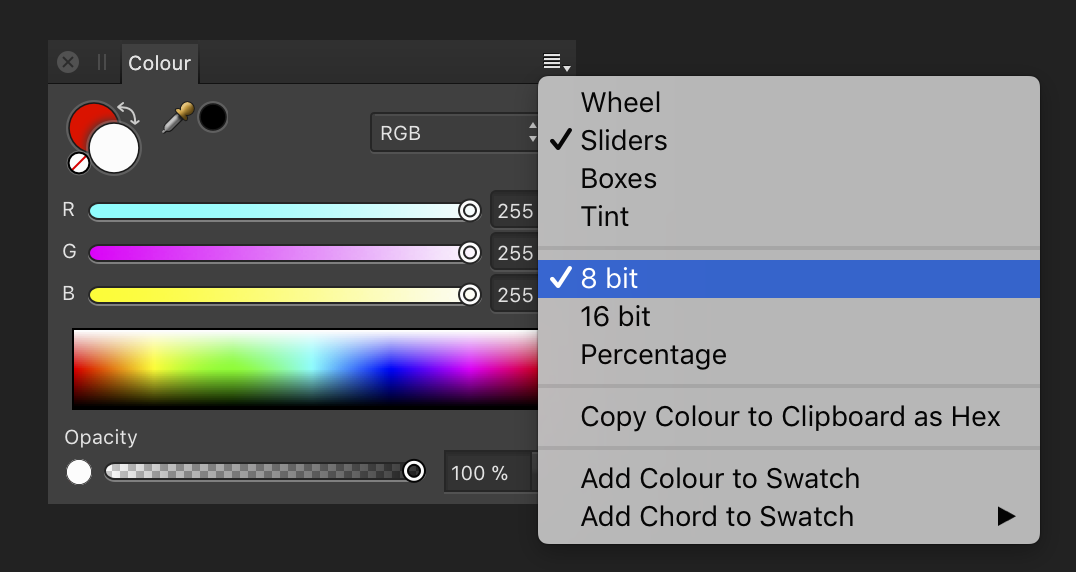
Hi Mike, looks like you've got your colour panel set to 16-bit values rather than 8-bit. This means each colour value will top out at 65535 rather than 255 (thus explaining why you can't match the values given in the book). To set the values back to 8-bit, click the "burger" icon next to the X and choose 8-bit. I've attached a screenshot to show you. Hope that helps, let me know if you're still running into issues!

-
Hello all, just reappearing briefly to post a new video! It covers how to achieve the Orton effect in Photo. I've seen various videos and guides that more or less replicate the Photoshop method, but that's a destructive approach, and I wanted to demonstrate a few tweaks to make it non-destructive. Hope you find it useful! Orton Effect - YouTube / Vimeo
-
Hey Paul, it's a tricky one. The vast majority of monitors, especially lower-end models, tend to ship with a high brightness level for the same reason as you've observed: everything looks "punchier". Unless you're working specifically to a medium such as print, you should aim to make your brightness the same as the ambient light level in the room you're in. If it's brighter or darker then you won't perceive tones and detail correctly. However, I'd really recommend that you invest in a colorimeter (e.g. the i1Display Pro) - this way you can profile your monitor to particular conditions, including brightness levels. For example, in a typical office environment with overhead lighting, you might calibrate your brightness to 100cd/m2. 120cd/m2 is the typical value given for general office and web use, but it really depends on the environment lighting. What will shock you is just how bright monitors ship by default: most iMac 5K panels I've profiled tend to be around 170 to 180cd/m2 by default (this is with the automatic brightness control enabled), but I've seen some other monitors that come in at over 200. I had an old Hazro monitor that was highly rated for photo work, and that was insanely bright to begin with. With a colorimeter, you can also profile your display to a colour temperature more accurately. Most of the time you'd profile to D65 (6500K) for office and web use, as well as photo editing, but you can also profile to D55, D50 and other temperatures for print work, proofing, etc. It depends on what you need to do. You will likely find that your monitor has some sort of colour cast, even if it's slight. The 2014 iMac I use shipped with a horrible green tint, and I recently profiled a 2015 model that had a blue cast. To give you an example, I typically create two profiles for my photo editing at D65 and D50 and I keep my brightness at 80cd/m2 because of dim lighting conditions. I stick with D50 most of the time (it also reduces my eye strain because it's warmer ), but toggle between that and D65 to sanity check my work. I'll often create a third profile which is based off the office's ambient temperature (profiling software allows you to take a measurement from the colorimeter) - this is for printed work where I want a closer idea of how it will look when printed and viewed under the same lighting conditions. So, a bit of a ramble, apologies... At the very least, I would recommend making sure your monitor's brightness looks "level" with the room lighting, then work from there. I would definitely recommend looking at a colorimeter though, because that way you can ensure that you've taken steps to standardise your working conditions - that's all you can do, really. Different panels, different devices - they can all have varying temperatures, colour casts and brightness levels, and you'll drive yourself mad trying to satisfy every scenario. That said, if you have devices you can test on (such as phones, tablets, other monitors), all the better. Hope that helps somewhat!
-
Hi Andrej, you can do this in Photo using Snapshots and the Undo Brush. Photo's Snapshots panel is very similar to the History panel in Photoshop. There's a video that covers using Dust & Scratches and the Undo Brush, but it's not as in depth as the video you linked to: It doesn't use Snapshots for one, so to emulate the workflow you're trying to follow, try this: Go to View>Studio>Snapshots to expose the Snapshots panel. Click Add Snapshot (second camera button) and name it Sharp. Run the Dust & Scratches filter (under Filters>Noise) using appropriate settings. You can do this on a duplicated layer if you wish. Add another snapshot and call it D&S. Click and select the Sharp snapshot, then choose Restore Snapshot (first camera button). Select the Undo Brush from the Tools Panel on the left (it's just underneath the Clone Tool) and set your desired blend mode settings (she uses Darken and Lighten for example). In the Snapshots list, click the little grey camera icon to the left of the D&S snapshot. This will set it as the active snapshot. You should now find when you hover over the image that the Undo Brush reveals areas from the D&S snapshot, just like in the video. Now you can just paint away and retouch the image quickly. A couple of pointers: The Undo Brush has a default Hardness of 80%. For smoother retouching you might consider setting this to 0%. You can always swap the layers for retouching. So you could work off the Dust & Scratches layer and instead choose to restore sharp areas from the Sharp snapshot. That might seem quicker and more intuitive depending on the image you're working on. Hope that helps! And it might also be time for an update to that tutorial
-
Non destructive working
James Ritson replied to Daryll's topic in Tutorials (Staff and Customer Created Tutorials)
Hi Daryll, Creating an empty pixel layer and adding content to it is far more economical (in terms of file size) than duplicating the entire image. There's no right or wrong method; just do whichever you prefer. I always use the new pixel layer approach as working in 16-bit gives you a base file size of around 120MB for a 20 megapixel image - if you're duplicating entire image layers all the time, you can see how that can quickly add up! Cropping is non-destructive anyway - those areas you've cropped away are simply hidden. Let's say you've cropped your image and want some of the original image back. At any point during your editing, you can either: a) Select the Crop Tool, extend the crop boundaries outside the current area, then click Apply. b) Go to Document>Unclip Canvas; this should, as the name suggests, "unclip" the canvas to the entire image rather than your chosen area. If you do want to crop destructively, right-click the Background pixel layer and choose Rasterise (this will effectively discard the areas hidden by the cropping). Hope that helps for now! Regarding the sunset question, I'll investigate further as it may form the basis for a suitable tutorial video... -
Why Affinity Photo sucks and rocks!
James Ritson replied to jens79's topic in Older Feedback & Suggestion Posts
Hi Jens, I can address a couple of these points quickly: I appreciate it's not a solution, but there are a plethora of video tutorials that will show you the interface in detail. You can check them out on YouTube here: https://www.youtube.com/playlist?list=PLjZ7Y0kROWitLXsh6z4Z3qBYCS6xoIXHN and in particular there's a Discover video here which runs through the interface: https://youtu.be/_wwgo9Z9yYQ If you open a JPEG or PNG straight into Photo, you'll be able to "write back" to them instantly based on edits you've made. If you've made purely destructive edits, using Save or CTRL+S will write back to the file instantly. If you've added non-destructive adjustments, filters, etc, then you'll get a prompt to either flatten and overwrite the initial file, or to save as an .afphoto document to retain the non-destructive edits. You can also do this with PSD documents, but you need to enable write-back through Preferences. I appreciate that having common file formats on a typical Save dialog would be useful; for now, though, you could quickly use the Export shortcut (Shift + Ctrl + Alt + S) and it will remember the last image format and preset you were using. Photo has live filter layers, they're accessed from the Layer menu. They behave like adjustment layers, so you can indeed tweak filter settings and edit the filter's mask whenever you want. Bear in mind that although you can add separate mask layers to adjustments and filters, there's no need to. Just click on the layer's thumbnail - that's the mask. So you can invert it, paint on it using white/black to show/hide parts of it, Alt+click to isolate it, etc. Hope that helps, that's all I've got time for this evening! (Got to go and play with the dogs ) -
[Edit] Beaten! One solution is to switch the RAW engine over to Apple Core Image, which obeys crop instructions and will discard the edge pixels. With a RAW file open, you can click the suit/tuxedo icon to open the Assistant. On this dialog, you can then change RAW Engine from Serif Labs to Apple (Core Image RAW). The processing will differ slightly - Core Image RAW performs some automatic noise reduction and colours may differ slightly from Serif Labs, but your pixel resolution will be consistent with other software. Hope that helps! I've attached a GUI shot below:
-
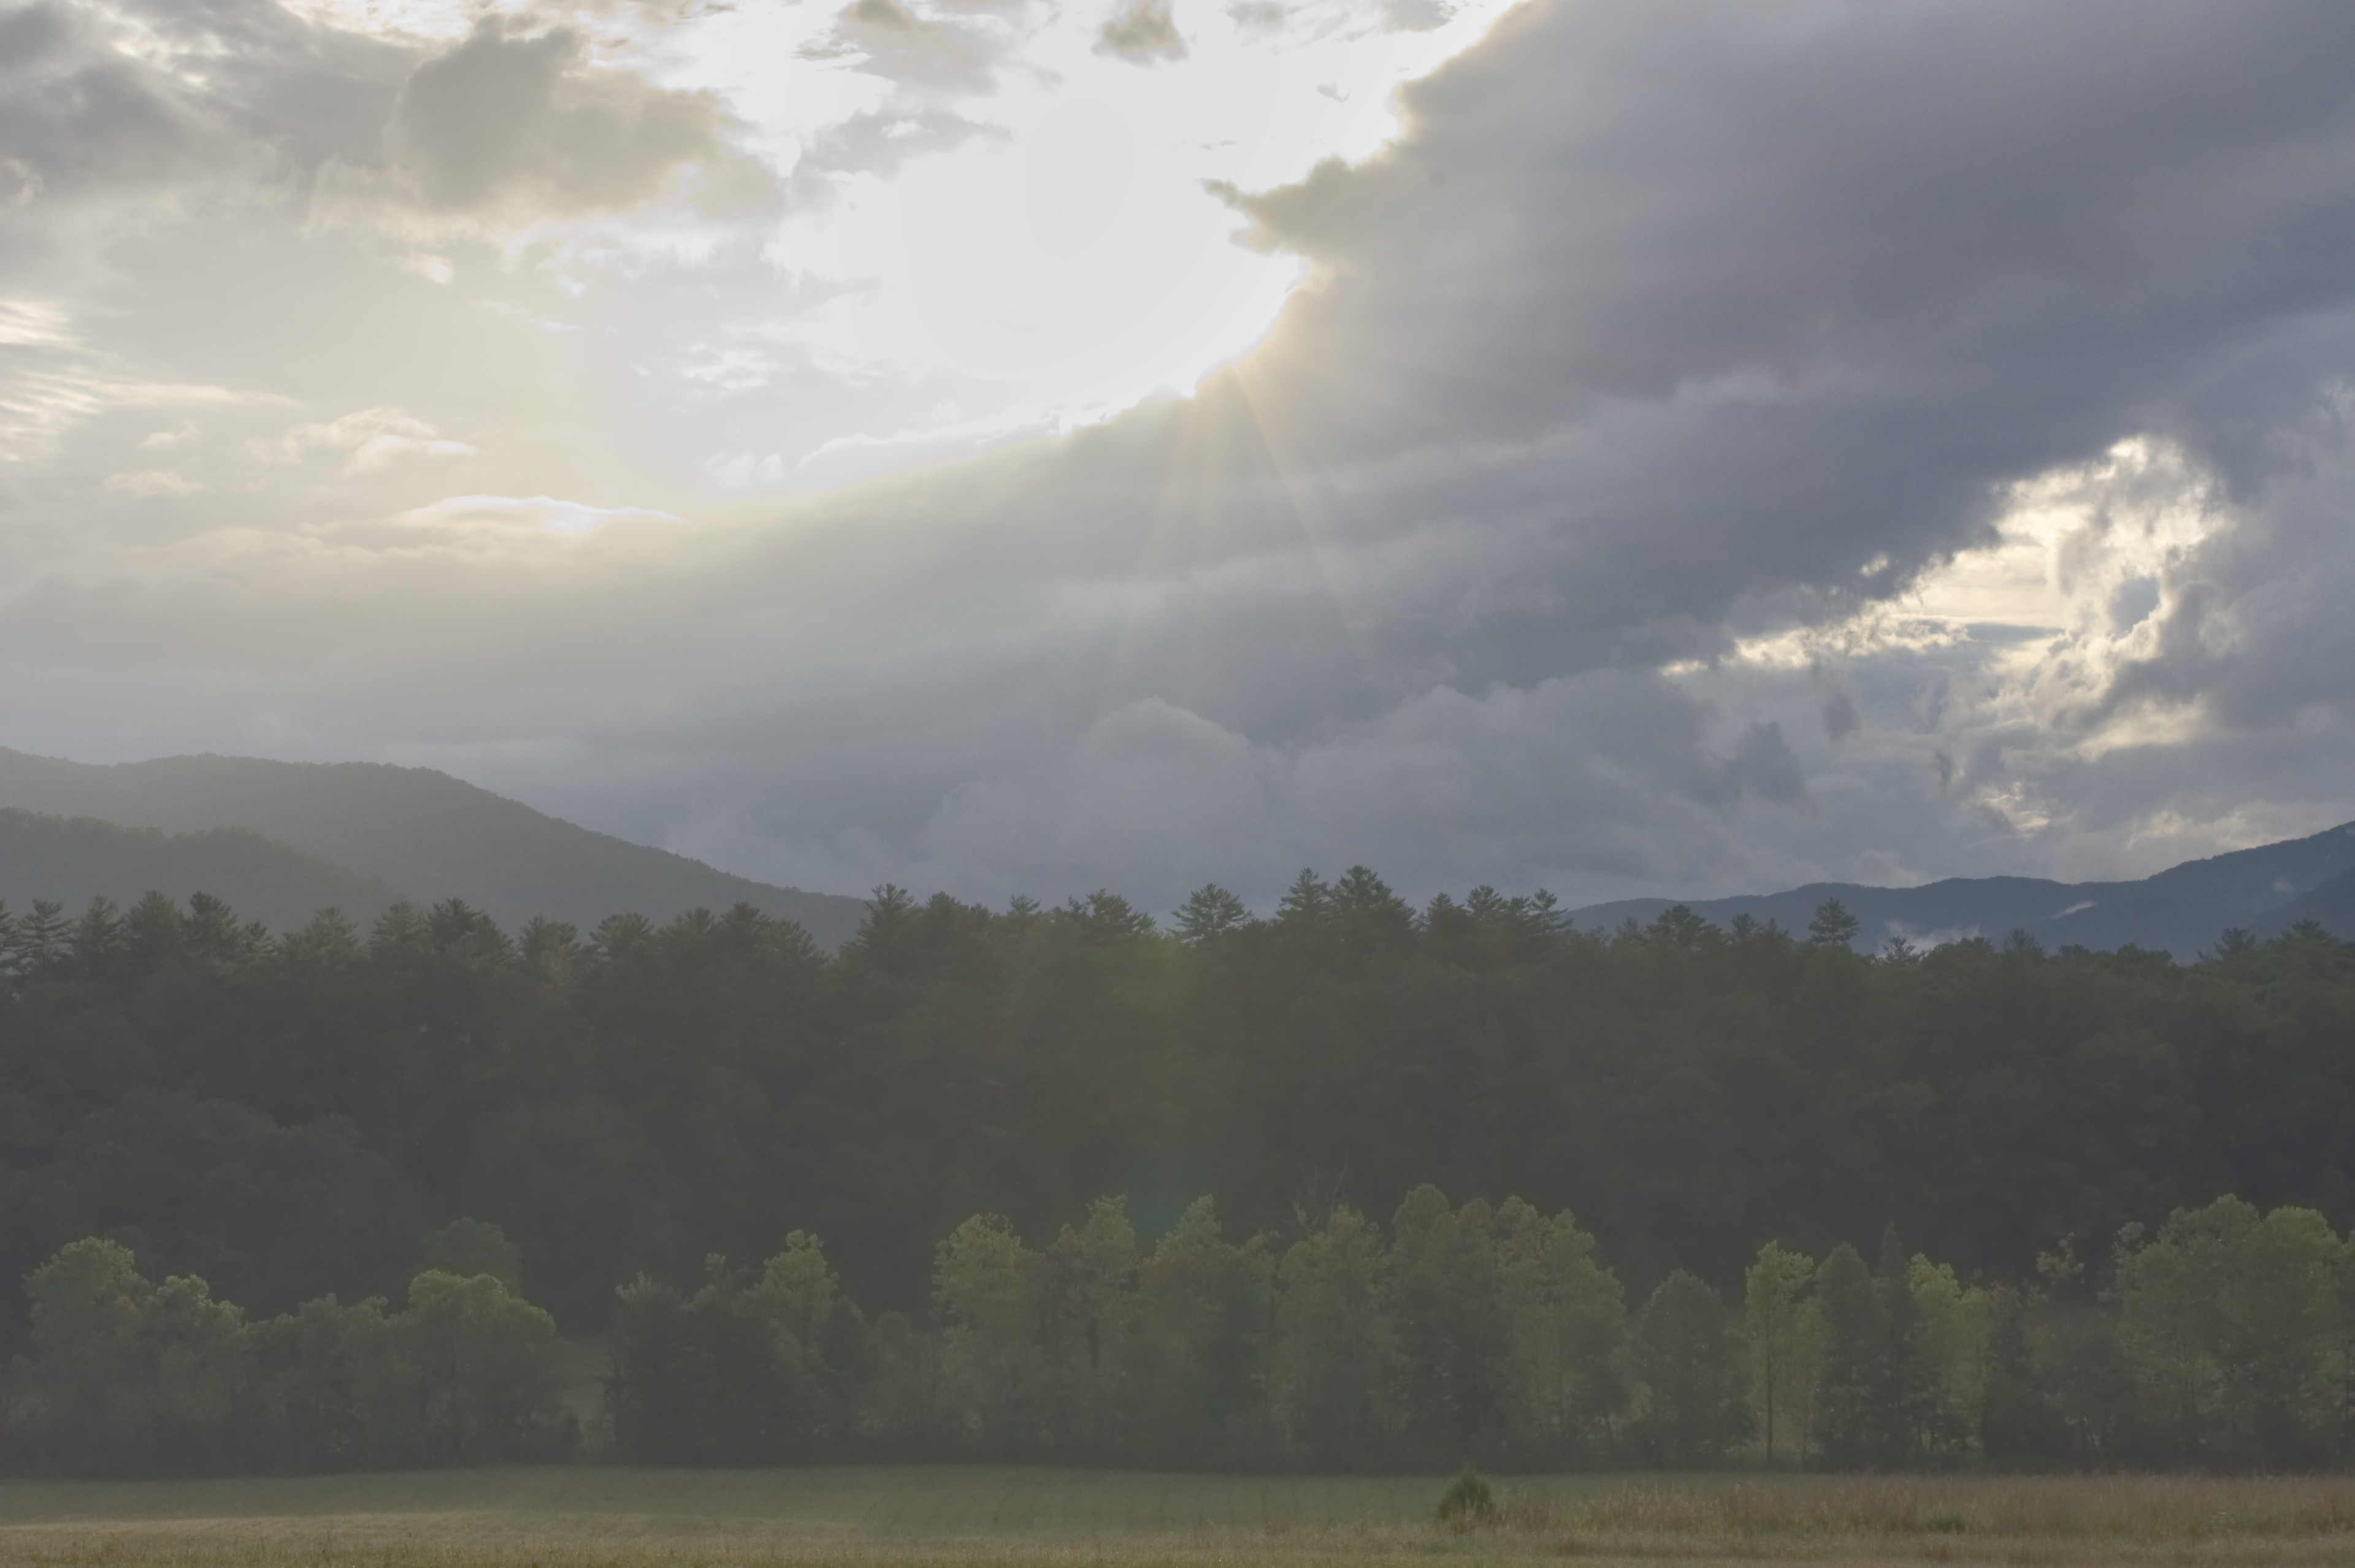
Hey, just thought I'd attach a result as well using Affinity Photo - not sure if the aim here was just to try and claw back the highlights but I've boosted the shadow detail too. There's not much precision there, as expected, but taking the tone curve off, sliding highlights all the way down and using a custom tone curve to boost the shadows/mid-tones produces a flat result that you can then do further work with. I've attached the flat version straight from Develop and then the edited version (a couple of adjustments, local contrast enhancement, etc). I've found that changing your mindset enables you to get the most out of Photo's RAW editing - I use it to get a flat result with no clipping, perhaps add some light noise reduction, then build the tones back up in the Photo persona where you have the entire toolset (and to be honest, that's where Photo's strengths lie). This could be because the iPad version uses Apple's Core Image RAW exclusively - on desktop, SerifLabs is used by default, but you can switch over to Core Image if you prefer the results. [Edit] Are you running the latest TestFlight beta by chance? The new shadows and highlights functionality is in that version too.
-
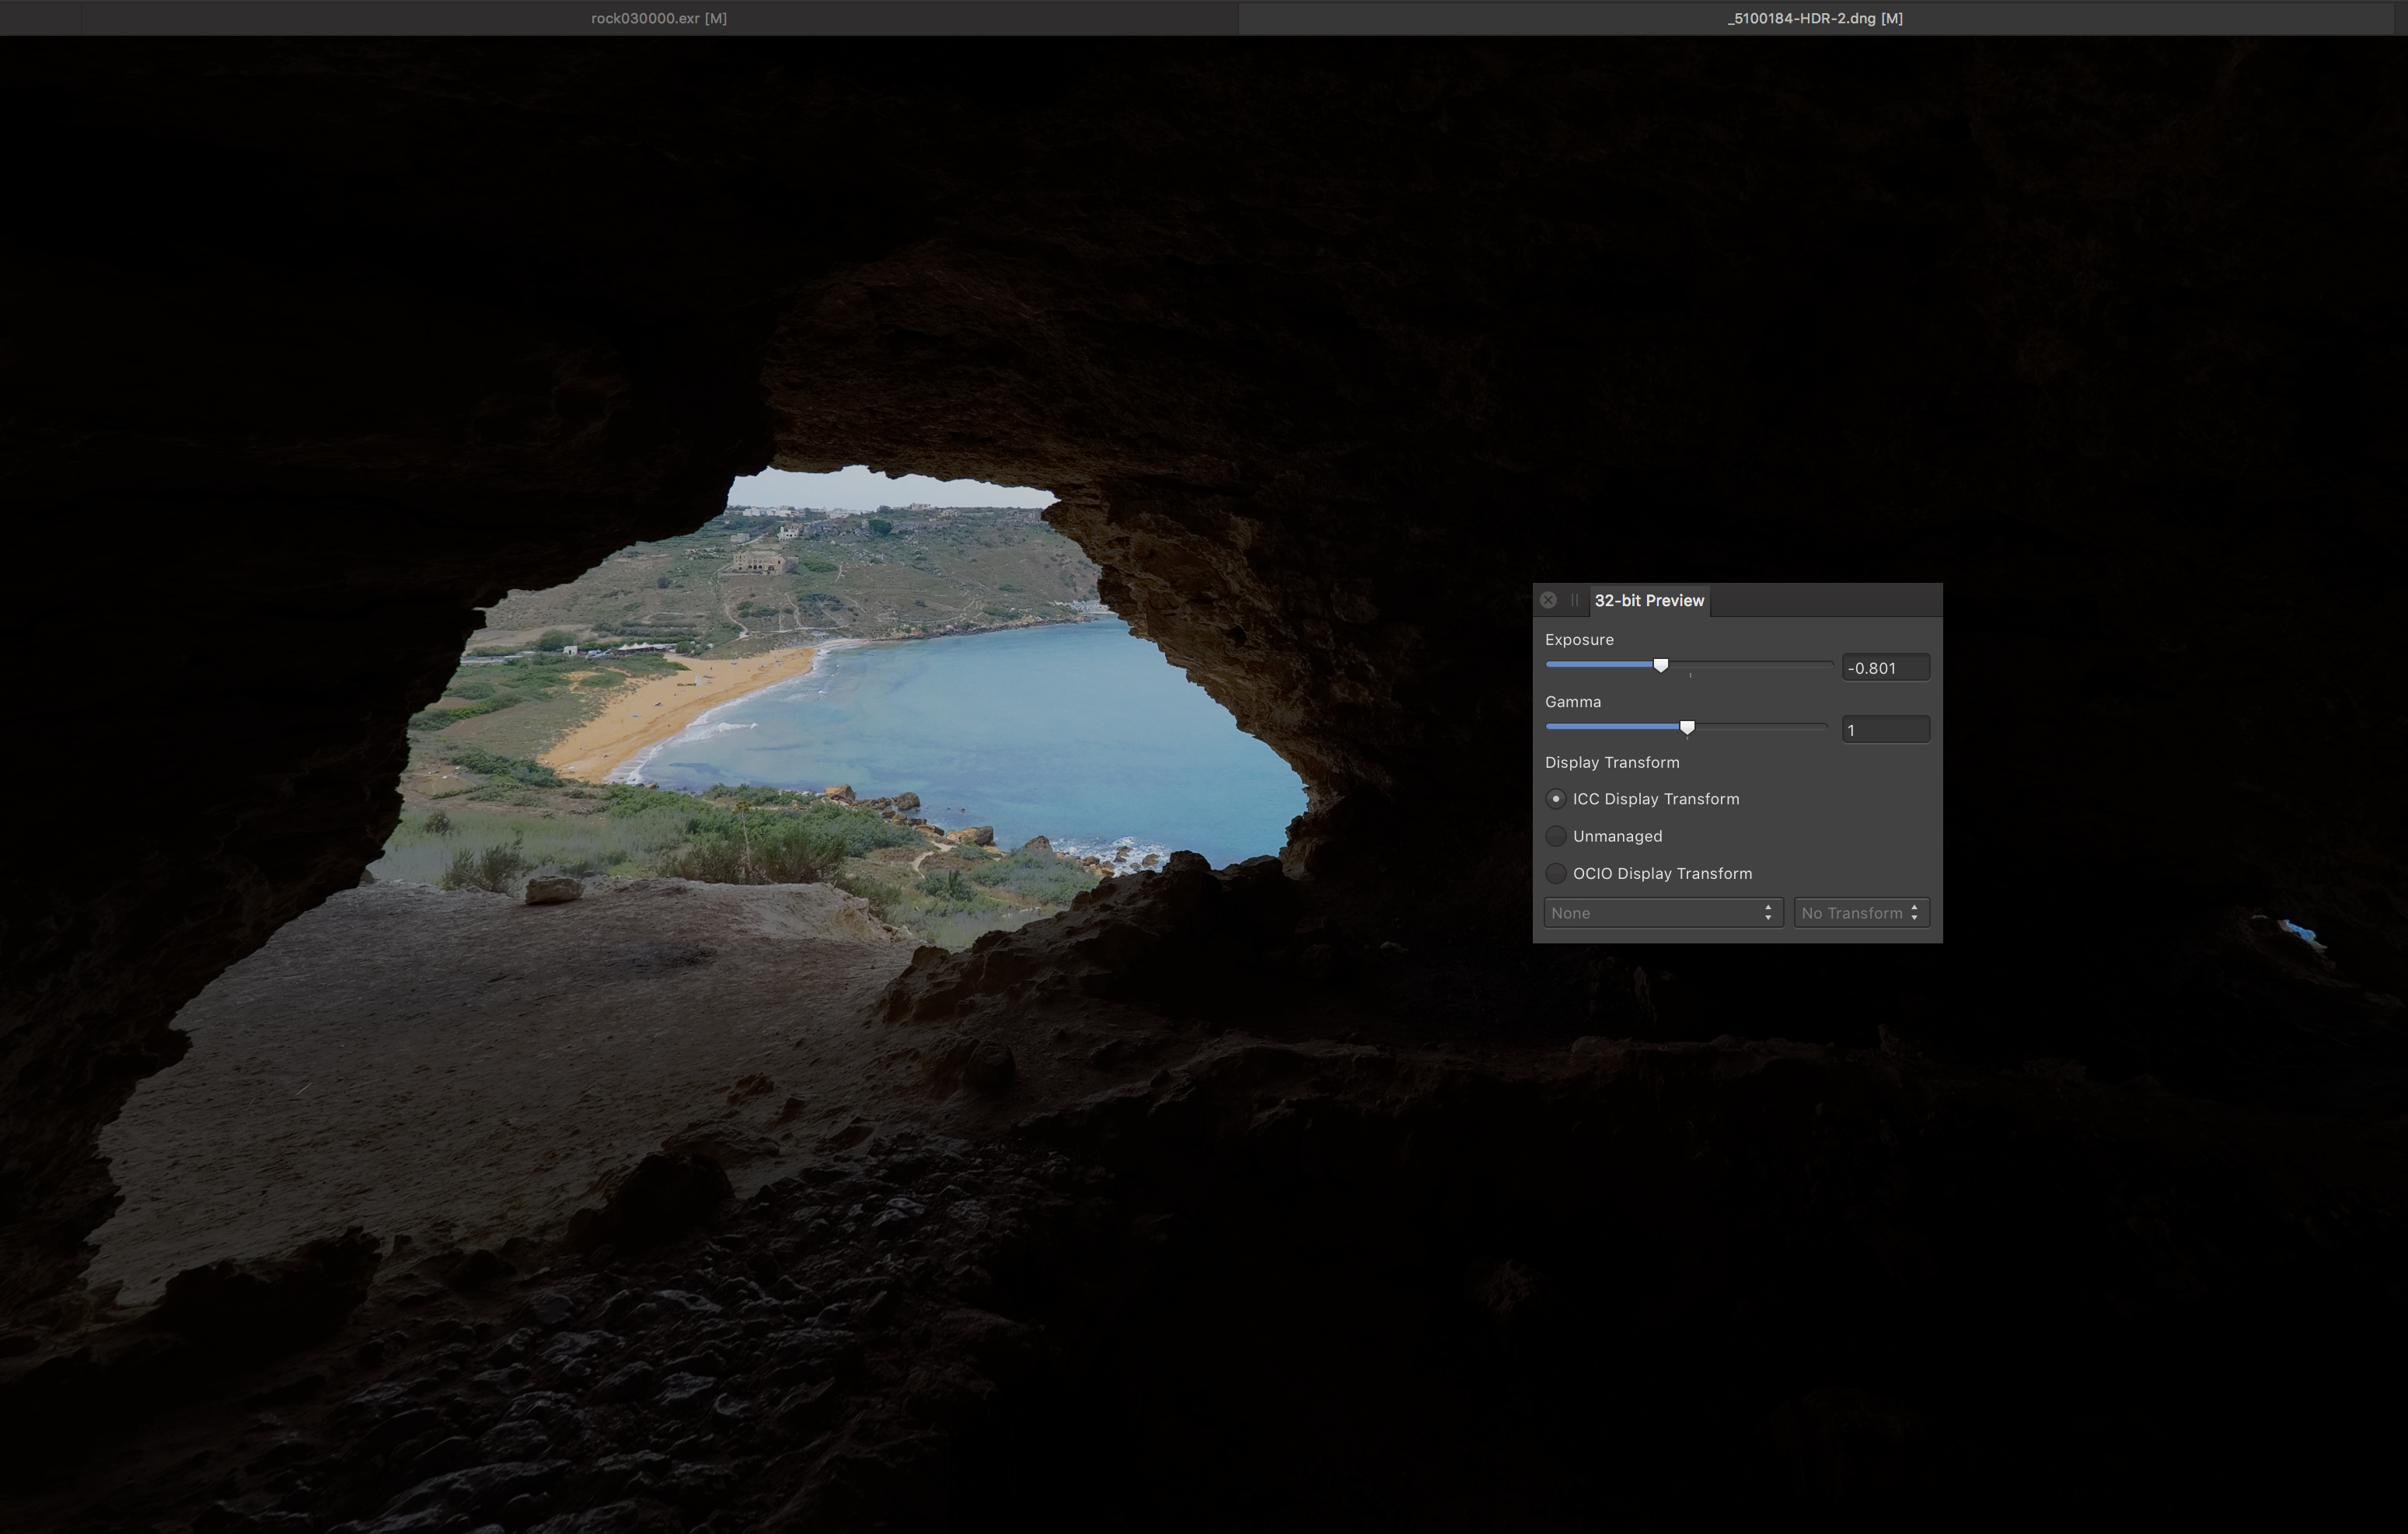
Hey Seamaster, I've just tried to emulate your approach using Lightroom CC Classic by creating an HDR Merge, choosing not to tone in Camera Raw, then exporting as original (which does indeed export it as a DNG). In Affinity Photo, you can change the RAW Development from 16-bit to 32-bit unbounded by using the assistant (the little suit icon on the top toolbar), but this change only applies to images opened afterwards. This isn't a problem, simply: Open Affinity Photo with no document open Click the suit (Assistant icon) Click Develop Assistant at the bottom of the dialog Set RAW output format to RGB (32bit HDR) Open your DNG file The 32-bit output option will avoid clipping or rounding the pixel values in the DNG file. I've attached a screenshot to show my result and the visible highlight detail from scrubbing the 32-bit exposure preview slider. From a technical standpoint, the DNG exported from Lightroom will be in half-float, but you'll be temporarily importing and working in 32-bit within Photo. On the OpenEXR export dialog, you can always click the More option and set the Image pixels format to 16-bit (HALF) to save on file size Is there a feature that's tying you to do the merge in Lightroom mobile, e.g. does it stitch HDR 360x180 panoramas? (You mentioned using HDRIs) - If it's a single scene, I just wonder whether it would be easier to do the HDR merge in Photo (uncheck Tone Map on the dialog) and export straight to OpenEXR? Hope that helps!
-
Hi, the issue is likely related to your use of the 32-bit preview panel. It's designed for working with 3D renders/HDR images that have a large tonal range - the idea being you can work on the images, previewing different tonal ranges as you go, then export the result back to OpenEXR for handoff to other software or another artist. Because you are exporting to JPEG it sounds like you are completing final editing in Photo. Make sure your 32-bit Preview Panel options are: Exposure: 0 Gamma: 1 Display Transform: ICC Display Transform When you export to JPEG, the results should be similar if not exact (converting 32-bit to 8-bit may result in some differences depending on the contents). As long as you are using the display transform colour management, you should be fine - do not use Unmanaged (linear light). I will just cover this in case there is confusion: the 32-bit Preview Panel does not make tonal changes to your image, it is simply a non-destructive way of previewing different tonal areas. If you want to make tonal modifications, leave 32-bit Preview alone and use adjustment layers, brush work, filters, etc. Hope that helps!
-
Hi, sorry for not replying sooner - that behaviour is expected since the adjustments behave differently to account for the (potentially) huge tonal range in 32-bit float. An image developed from RAW still contains a relatively small amount of tonal range compared to what 32-bit can hold, so the adjustments will seem very sensitive. Things even out a bit if you're working with an HDR image or 3D render that has a large dynamic range. For all scenarios though, that's why you have Min and Max input options on the Curves dialog - these allow you to restrict the adjustment to particular areas of the tonal range (e.g. 0.2 to 0.8), and as a result the spline graph adjustments will be less sensitive. I might just ask if there's a reason why you're working in 32-bit? (Your image doesn't look like an HDR merge). For most single-exposure imagery I'd argue the benefits of working in 32-bit as opposed to 16-bit are negligible, with the exception of some edge cases like astrophotography... hope that helps!
-
It's a term that refers to masking the background or foreground for compositing. It's more commonplace when dealing with video (e.g. green screen keying, you have "matte spill" and other options related to the term) but also applies to what we're doing with selection refinement and masking in Photo. If you're after some light reading there's a Wikipedia article on it: https://en.wikipedia.org/wiki/Matte_(filmmaking) - hope that helps!
-
Thanks for all the feedback so far, in response to the architecture workflow video posted above I've produced a portrait retouching workflow video which you can see here: Portrait Retouching Workflow - YouTube / Vimeo It's 25 minutes long and covers a variety of techniques including: Initial RAW development Working in a wider colour space Frequency Separation Retouching tools including Blemish Removal, Patch Tool, Healing Brush, Clone Brush and Inpainting Brush Selection Refinement Quick Mask mode Mask layers and tweaking matte spill with Curves/Levels Brush work to enhance tones Masking on adjustments/live filters Final sharpening Export and conversion to sRGB colour space Hope you find it useful! I would hazard a guess that these more workflow-focused videos are quite useful, so I hope to produce more of them in the not-too-distant future. Thanks again.
-
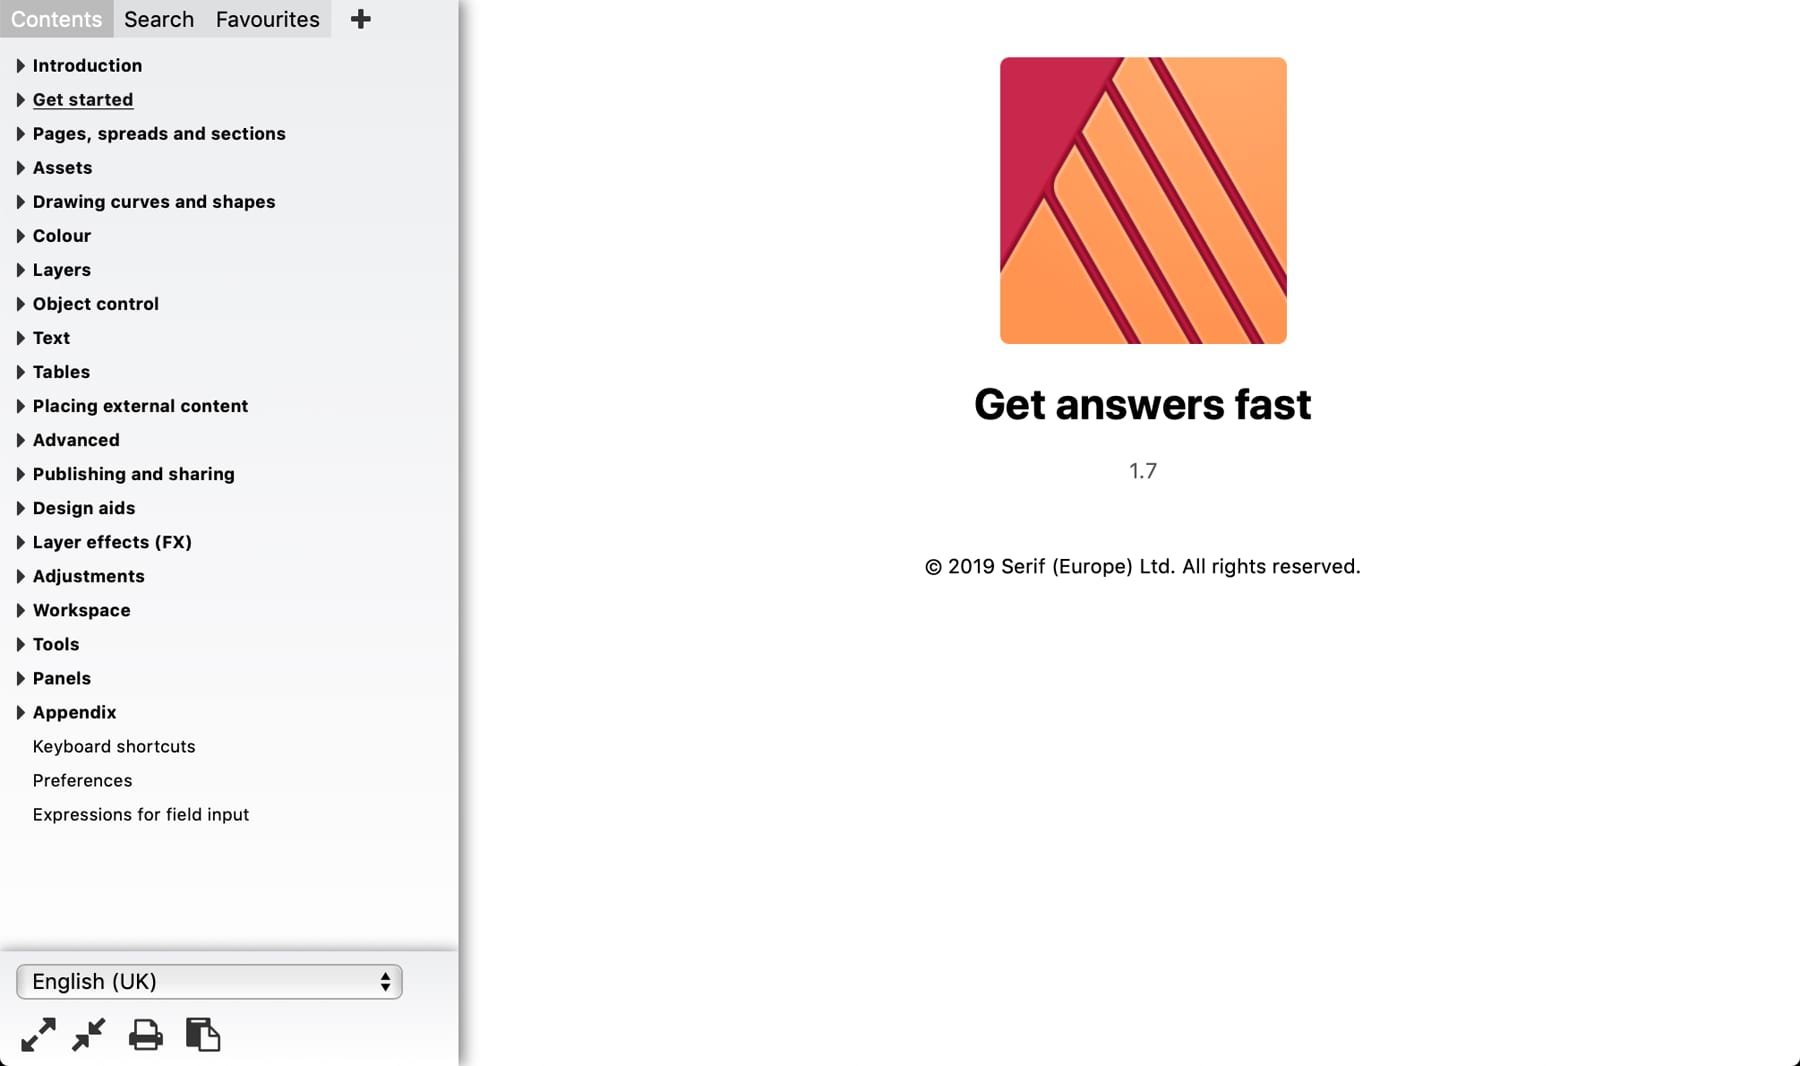
Affinity Online Help Hello all, we're happy to be able to offer you an online version of the in-app help! Access Designer, Photo & Publisher Help here: https://affinity.help Here are some of the additional features we're able to implement as a result of having proper browser support: Dynamic language switching: The help will determine your language and (if it's available) serve you a localised copy of the help. If you prefer to read in another language, however, you'll find a combo box at the bottom left which will enable you to change languages—and stay on the page you're currently reading. Print: Sounds simple, but with full browser support we can now implement printing of the topic pages. The print icon in the bottom left will give you a nicely formatted printout of the current topic. Share: Clicking the clipboard icon will copy the current topic's URL to your clipboard, which means you can easily point other people towards topics that may help them. Responsive: The help was responsive anyway, including off-canvas menu functionality so you could collapse the window and still read a topic, but this is taken further in this version of the help. The help is formatted nicely and usable even on a 4" iPhone SE screen. Search: we've implemented our own bespoke search for the online help which is fast and accurate. Access it via the tab system along the top left. Favourites: you can add topics to your favourites list to easily access them during future browser sessions. Simply click the + (plus) icon next to the "Favourites" tab to add the current topic. With this online version you'll be able to print out topics and view them on your tablets/phones, which are two of the most common requests when it comes to help feedback. As always, if you have any feedback or find any issues with this online version, please let us know! Hope you find it useful.
- 82 replies
-
- 20
-
-

-
The stickied thread at the top of this forum (Official Affinity Photo tutorials) has a list of project and workflow videos... they're at the bottom under the Projects and Windows Workflow headings and they all cover a variety of techniques for editing from start to finish - there are two portrait editing/retouching videos (although a newer one is due that is perhaps more extensive). Hope that helps!
-
[AP] Why is raw different jpg?
James Ritson replied to szczemp's topic in Older Feedback & Suggestion Posts
It sounds like Irfanview is showing you the embedded JPEG preview within the RAW file. As Merde said, Photo's RAW processing differs entirely to the processing that happens in-camera for the JPEG so it's natural for the result to look different. The point of RAW is to have more flexibility at the editing stage - rather than have it look the same, wouldn't you prefer to try and bring back some of the shadow and highlight detail? If you want them to match, it looks like the RAW version needs desaturating and perhaps a little reduction in contrast.. Some options only apply to RAW files, as Develop works in a completely non-destructive format where assistant options like the Tone Curve are applicable. Entering the Develop persona from an already opened file (e.g. JPEG) will limit your options because it's no longer working in that same format (as your image is already processed). Hope that helps! -
Hey all, I've slowly been posting new videos over the last week, so here are three new ones for you! Using Adjustment Layers on Masks - YouTube / Vimeo HSL Tonal Separation - YouTube / Vimeo Nighttime Architecture Workflow - YouTube / Vimeo The Nighttime Architecture video is a standout; it's a 17 minute complete walkthrough of an image edit from start to finish - I took the photo during a recent trip to Bern, Switzerland and got a few interesting shots, but this one came to life with a bit of editing and careful treatment of colour. Let me know if you find these workflow-focused videos useful!