

JariH
-
Posts
72 -
Joined
-
Last visited
Posts posted by JariH
-
-
On 4/11/2023 at 7:36 AM, Hautemeal said:
+1
Another one of the "basic" features I'm greatly missing after converting from Illustrator. Smooth curves might work in some cases, but you can't even isolate its use to a few points, which could actually make it a lot more useful.
Please, please add this to V2.Agree! The current "Smooth curve" tool should have an option to affect only the selected nodes.
-
28 minutes ago, v_kyr said:
Yes, that's pretty trivial to fix!
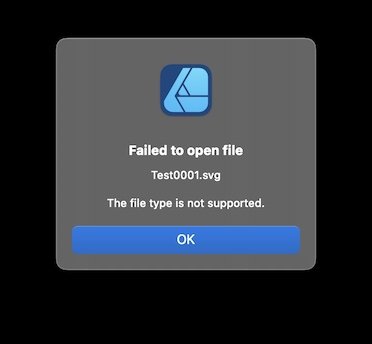
- Opening your Blender generated "Test0001.svg" file inside some text editor.
-
In the first line of the SVG XML code one can see ...
... replacing the 'ascii' with 'UTF-8' ...
- After that little change inside a text editor, saving the file and opening it again in ADe, APh or Apub. - It should now load and showup without any problems!
Thanks. I use the text edit trick. I meant, I don't know if it is possible to tell Blender to encode UTF-8. This seems to be a problem in "Freestyle SVG Export" Add-on
-
11 minutes ago, Andreas CH said:
... Another observation.
The Test0001.svg can be opened with the Publisher.
And this is how you bring it into the designer.
- Place Test0001.svg in Publisher
- Click on "Edit document"
- Select all (Ctrl+A)
- Copy (Ctrl+C)
- In the Designer "New from Clipboard"
Sorry, unable open or import into Publisher either (V2.0.4).
-
-
-
Hello
I could not find any posting related to this. Seeking possible information and advice, where to start digging.
- Affinity Designer 2
- macOS 12.6.3
I need to render svg-files from Blender (V3.4.0) to edit them in vector format in Designer. They refuse to open in Affinity Designer.

Mac Quicklook, Adobe and Safari web browser opens them fine. Any advice what to try next, please? I have attached a svg-file here if anybody interested:
-
Thanks N.P.M. I have used the "Split curves" to add a node in the mid point. There are a lot of workarounds.
-
19 minutes ago, N.P.M. said:
My guess is that what you see it snaps to with the single line is to completely something else as I cannot make it snap to the center of the single line with the nodetool.
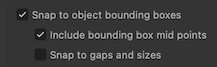
Darn! You may be right. Something funny. Pen Tool > When I construct a single segment line, the "Snapping" button on top menu had a bounding box option selected:
It does snap to mid point as expected.
But in the example video, the cursor is definitely Node Tool when snapping occurs. Single layer, off center (no snapping to spread mid point), no other hidden object to snap to. Today I too was unable to repeat the video above 🤪 Me very confused. But anyhow, Affinity: "Snap to curve mid-point, please?"
-
15 minutes ago, Pšenda said:
Or this?
Unfortunately this magnet button is separate to Node Tool snapping. Seems to affect only the Transform Tool.
-
4 minutes ago, Pšenda said:
Did you notice this option?
Thanks for the tip. I do use "Alt" sometimes. With more complex things, it is just much easier to work without keeping your finger on the button all the time 🙃
-
Hi
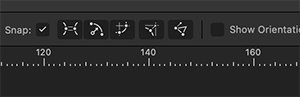
I wish to have snapping option to the midpoint of curves in node tool. Snapping works with a single line segment, but not with poly lines or curves.
Please add a tick box ☑️ in Node Tool for turning node snapping on or off. More convenient than toggling individual snap options one by one.
-
-
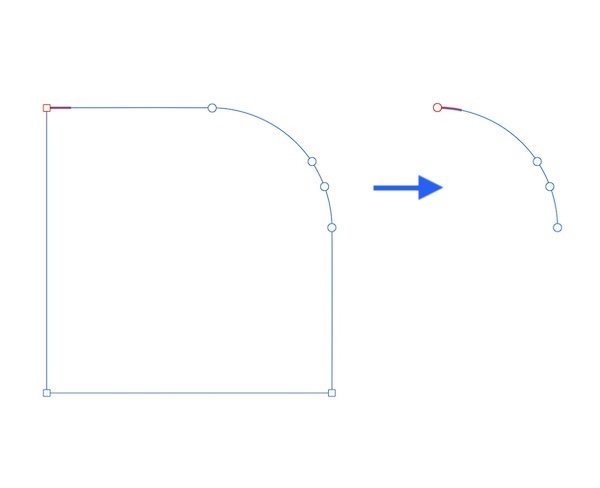
On 1/19/2023 at 9:02 PM, Old Bruce said:
... Grab the middle node and drag it onto the node which would be the middle of the curve section you need copied. The other two will snap to their equivalents.
Hi. Can anyone please explain this reconstruction in a bit more detail (video tutorial anywhere)? I can't make it work.
Thanks
-
My vote too!
Copying part of the shape/selected nodes would make building of complex shapes much easier. Please, Affinity. A little thing to speed up the workflow.
- lepr and Krustysimplex
-
 2
2
-
One of the things I miss in Affinity is this very useful temporary tool access feature. It makes workflow so much fluent.
Simple thing like picking a colour in any tool holding the "I" (Colour Picker) key pressed and releasing to return back to previous tool you were in. Fast and efficient. Or access Transform tool from anywhere holding "V" key pressed. I have an example from today when I really missed A***be software workflow.
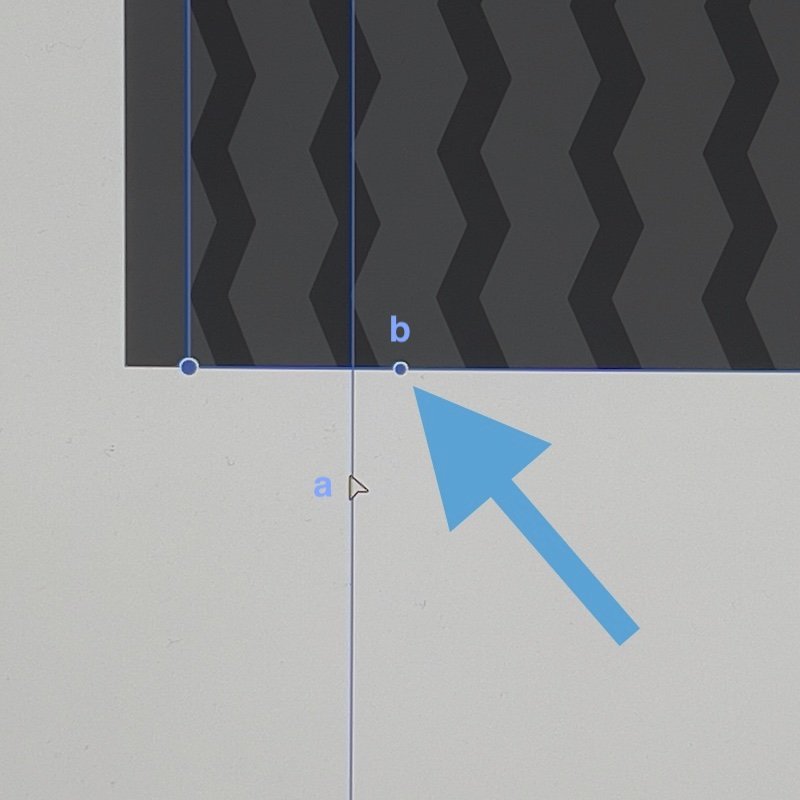
I am warping a shape. I need to match my guide position (a) with the warp handle point (b). But since I am in the Node Tool, I cannot move the guide without loosing the node handle. In Node Tool, If I could just keep pressing "V" or "Cmd", etc. key to temporarily access the move tool, keep all my selections visible, move the guide (snap!) and release the key to return working with the Node Tool.
Please, Affinity.
-
macOS 12.6.3
Affinity Designer 2.0.4
Hello
I keep my UI window filling the whole screen. I often find the window shifting out of position, which is very annoying, hiding the menus, scrollbars, etc.
Especially working with tablet & pen it is very easy to accidentally move the app window when pressing any of the top menu bar icons. Please fix this. When pressing into button area, moving the window should not be possible.
-
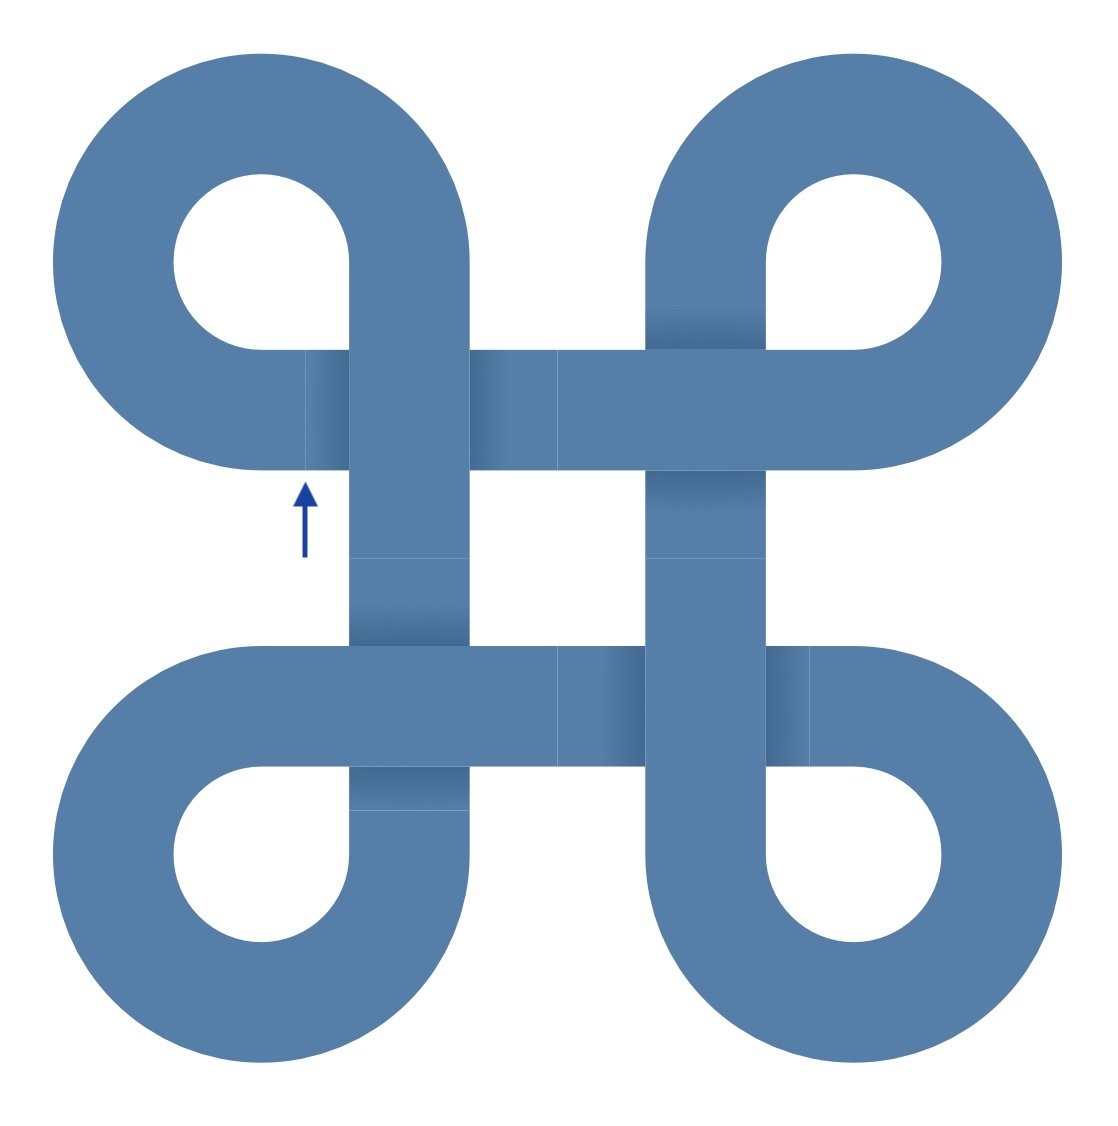
Mind the gap!
Is this a bug or is there a way to avoid gaps between combine shapes? I was practising with the Shape Builder Tool and separate pieces have a visible gap (in app and exported). Gradient pieces have a different fill. Vertices and gradient are snapped in position. I "could" add a tiny edge to shapes to fill the gap, but that workaround does not work well in all cases.
-
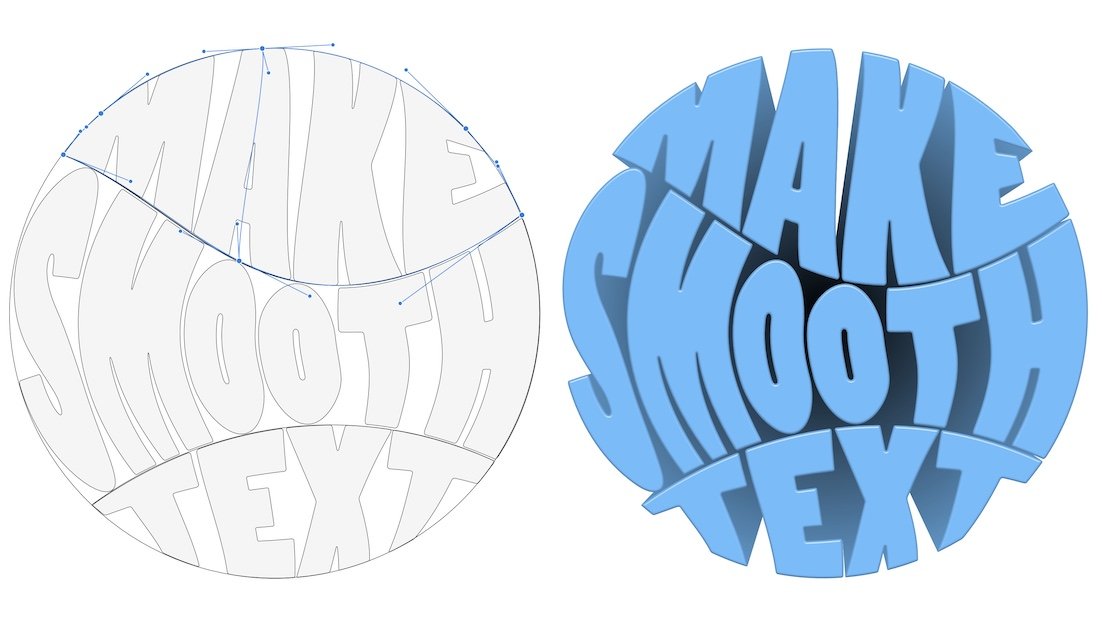
Tried to mimic an Illustrator tutorial. Got there because the gradient fill works with the simple spherical shape. This would have been so easy with blend tools.
Instead of manually tweaking everything: Select text and shape - blend. Rescale group and darken the fill colour - blend.
- IPv6, Affinity NueBe, deeds and 2 others
-
5
-
Dear Affinity.
As a new user the first things I found odd is why picking colours is so complex procedure?
Here is an example of worst case:
When you have selected a UI target where you want to sample a color, why all extra steps. I select the gradient tap, open the color box, drag a sampler over the screen area and then select the sampler color to transfer it into the colour box - I just want to pick a color! Why not just select the gradient tap and click the cursor over the area you want to sample from, please.
Three steps instead of six.
Any comments?
-
On 9/30/2019 at 11:32 AM, lalcimo said:
...
1. Select everything you want to reverse the order
2. Cut it (Ctrl + X)
3. Enable "Insert behind the selection" or go to LAYER > INSERTION > BEHIND
4. Paste it
You can see that the order of the objects are now reversed...
Thanks for this trick.
Please Affinity. This could still be a bit simpler: reverse order of selected layers in menu or simply select and cut layers in reverse order and paste.
-
-
To me the Illustrator-like Blend tool is the number one feature still missing. I do hope it will be in Designer rather sooner than late. Blending curves, shapes, gradients and colours would open up so much creative possibilities and speed things. There is just no way to create certain things without it.
Keeping my fingers crossed for 2023.
-
I am trying to replicate various tutorials and see how far I can get them with Affinity. Here is a small interpretation finished today in Designer V2. I wish we had a full vector custom brushes. Spattering shapes for stars and clouds would have been so much easier. I don't want to mix anything rasterized in vector work. (Well, there is a tiny-winy paper texture layer used.)
Original art idea - Wolf by Marko Stupic
Deer photo by Hans from Pixabay
- iuli, dannyg9, Adalbertus and 2 others
-
5
-
I wish to see a true vector brushes in AD2. Using the name "vector" in brushes is a bit misleading at the moment.
Scattering a shape or tracing a path with a vector shape would be much appreciated, please.
 It does snap to mid point as expected.


Colour picker is unnecessary complicated
in Feedback for the Affinity V2 Suite of Products
Posted
Just for comparison of user experiences: Here is a screen recording from another (ahem...) software. How to pick gradient colours easier.
OK. Maybe this is a bit oversimplified example, but selecting colours could be simpler. Once the colour wheel is open, why not just pick a sample directly from the screen? It is a pain to drag the sampler over the image, and then select the sampled colour again from the small dot. Drag & press from totally different screen positions compared to just tap to sample. It is a great idea to sample anywhere on the screen not committing the change, but for better usability, the workflow could be more fluent.
Kind Regards