Search the Community
Showing results for tags 'tutorial'.
-
 Hy everybody, I'm struggling with a common effect I cannot reproduce in AD up to know (I'm new to AD and didn't find a possibility). Often I have to use some kind of glitter that is scalable -> it has to be vector and (this would be best) a style or whatever so that I can just apply it to other objects. Here is a tutorial I found for Adobe Illustrator - how can we realise exactly this effect in AD? https://design.tutsplus.com/tutorials/how-to-create-a-vector-glitter-text-art-effect--vector-6133 Thank you so much in advance for your help! Best, Foxi
-
 Here is available sophisticated manipulation tutorial in Affinity Photo, In this video tutorial, You will see, How to create Paint Splash Effect on the face and also learn how to use masking layers. If you like this video, So please share this video with your friends. Thank You.
-
- 1
-

-
- affinity photo
- tutorial
- (and 3 more)
-
I am a beginner form China.For some reason of policy,I can not watch video from vimeo or Youtube,so I really hope that the Policy can create an account in China's Web like Bilibili.com or Youku.com and update tutorial.So that I can learn from it and it's update.Thanks!
-
 Hallo, in diesem Affinity Photo Tutorial zeige ich wie man per Manipulation einen Mann ohne Kopf erstellt. Dabei geht es ums Freistellen, Auswahl erstellen, Maskieren und Farbanpassungen. Viel Spaß Jack Hi, In this Affinity Photo Tutorial, I show you how to create a manipulation man without head. It is about selection, masking and color adjustments. Have fun Jack YouTube Video Tutorial
- 4 replies
-
- 3
-

-
- Affinity Photo
- Tutorial
- (and 6 more)
-
 I recently purchased these two applications because I'm looking into university courses to do with graphic design etc. I'd like to pursue a career in this field. Sadly I'm rather new to all this. I've looked at the tutorials that Affinity give you for these two applications via their website and via their apps, both the written and video format. However I don't find them to be that helpful and because of that I was curious if there is anywhere online that can provide me with more in-depth tutorials? If there isn't, Adobe Illustrator & Photoshop are the most popular applications that are similar to Affinity Designer & Photo but are they similar enough to where I could watch tutorials for Illustrator & Photoshop then use what I learnt from that and put it into practice in Affinity Designer & Photo? Also, I know Affinity provide coffee table style books for these applications (no PDF versions available) but they would cost around £80 for the set and right now I can't see the justification for it, at least for me, unless the books really are the best option for tutorials. Keep in mind though that I'm using a 12'7 iPad Pro, not a desktop. Yes I have the Apple Pencil, don't worry. If anyone can provide me with links, advice or just point me in the right direction it would be extremely helpful.
 -
In this Affinity Photo tutorial, We will learn how to create a typographic portrait effect in Affinity Photo or Affinity Designer. Watch Full Video Portrait Text Effect Speedy.mp4
- 5 replies
-
- 3
-
-
-
- affinity photo
- text manipulation
- (and 5 more)
-
 Hi everyone, I am completley new to affinity and purchased both affinity photo and affinity design. I would really like to learn how to make flyers for clubs and events but am clueless as to what to do. I would really appreciate it if someone would be willing to teach me how to use either software to get this done. Thank you so much!
 -
 My Smashing Magazine article was out last Wednesday, coinciding with the presentation of the new tools Serif showcased at the first Affinity Live: Affinity Designer for iPad and Affinity Publisher. I had the honour and luck to be there with them and to be sponsored to create this detailed tutorial: "How To Create A Flat Vector Illustration In Affinity Designer." If you want to learn how to create this, check it out, and please, whatever your questions, ask there in the comments section on the article itself. Thanks! PS - Source file is provided for you all to explore Here the link: https://www.smashingmagazine.com/2018/07/flat-vector-illustration-affinity-designer/#top Cheers all and hope you enjoy it.
- 14 replies
-
- 6
-
-
-
- tutorial
- affinity designer
- (and 4 more)
-
 Beside the actual series of Workshops for Affinity Photo on iPad I have published 46 videos about the desktop version. Hope you enjoy and find it useful. Markus
 -
Hi, I have a series of tutorials about Affinity Photo iPad in german on Youtube:
-
 when I learned form the tutorial <resizing the canvas>, I can't repeat the results ,I don't know why can someone help me ? there is the tutorial and what I do . when I selected part of the picture ,ctrl+j., in the tutorial , the result is just repeat the part of where the selection is . but , my result is ,repeat the whole layer. why ?
-
 In this beginner tutorial, I'll show you how to use Affinity Designer 1.6.1 to draw a dartboard with simple tools. The following tools from the toolbar are used in this tutorial: • Move [V] • Node tool [A] • Rectangle [M] • Ellipse [M] • Graphic text [T] I mainly work with the following panels in this tutorial: • Transform • Layer • Swatches / Color • Stroke With power duplication we also get to know the function of rotation and changing the rotation origin. Keep on drawin' Norbert
 -
Hi peeps, Here a time-lapse on a flat illustration for my learning channel on affinity vectors and bitmaps. As usual, you can slow down the video on settings to get better insights. Also you can ask questions and make comments on my channel. Cheers all! https://www.youtube.com/watch?v=9-LChvQzzmM
- 6 replies
-
- 6
-
-
- flat
- illustration
- (and 2 more)
-
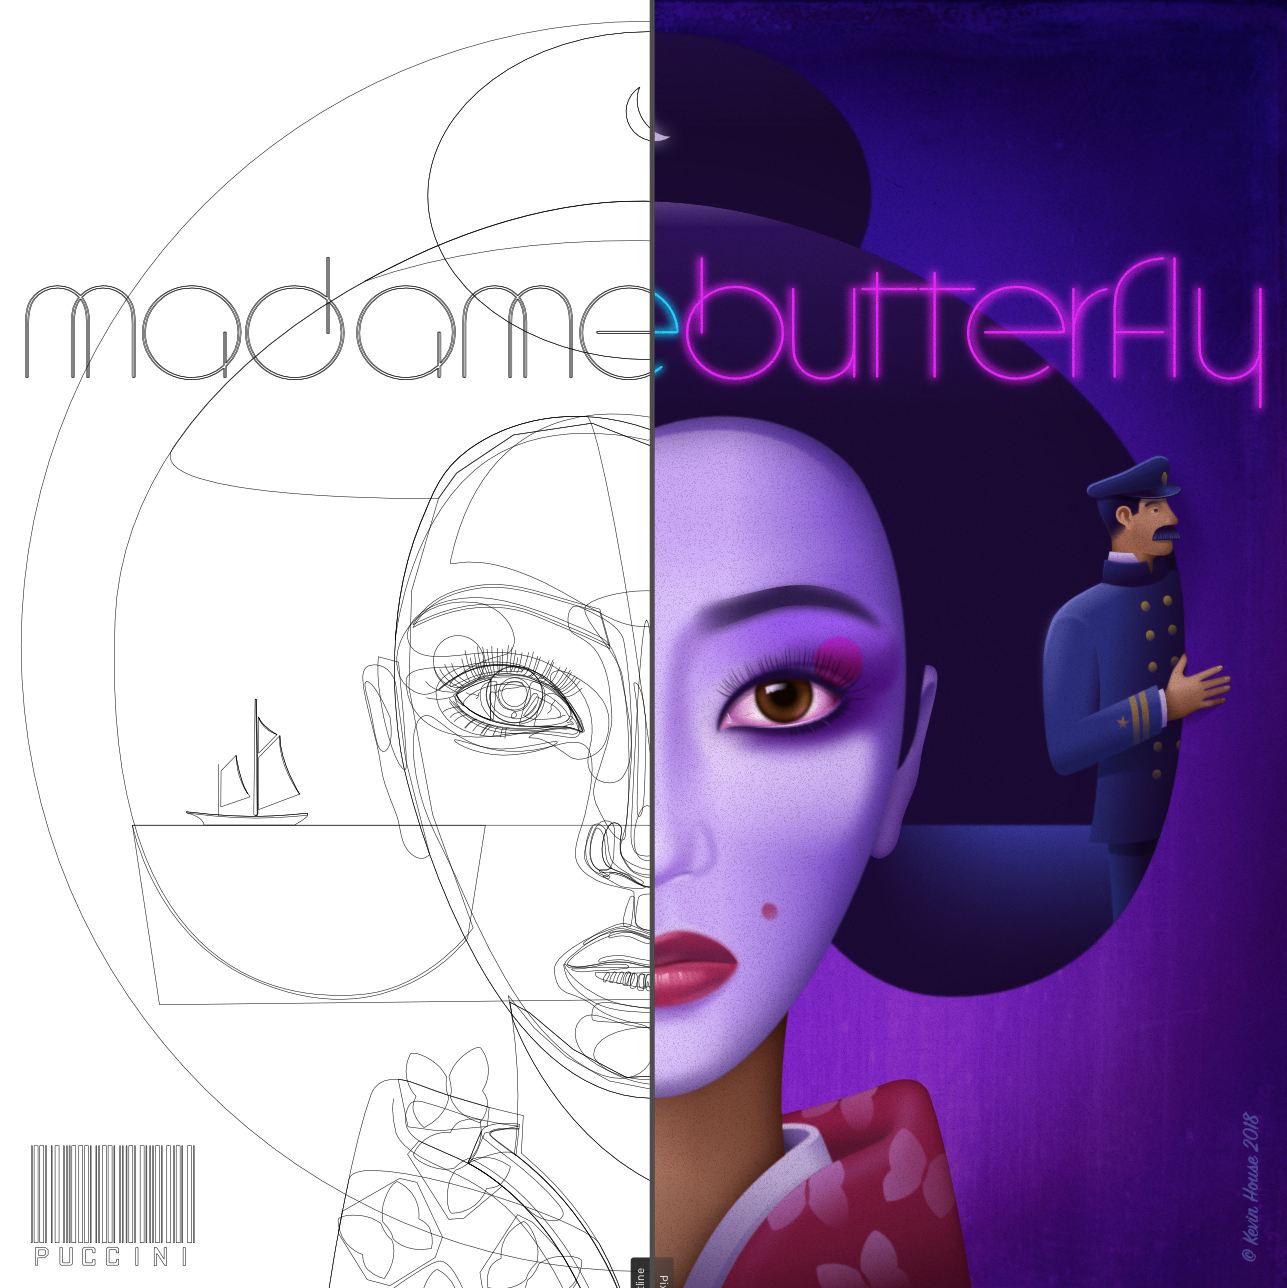
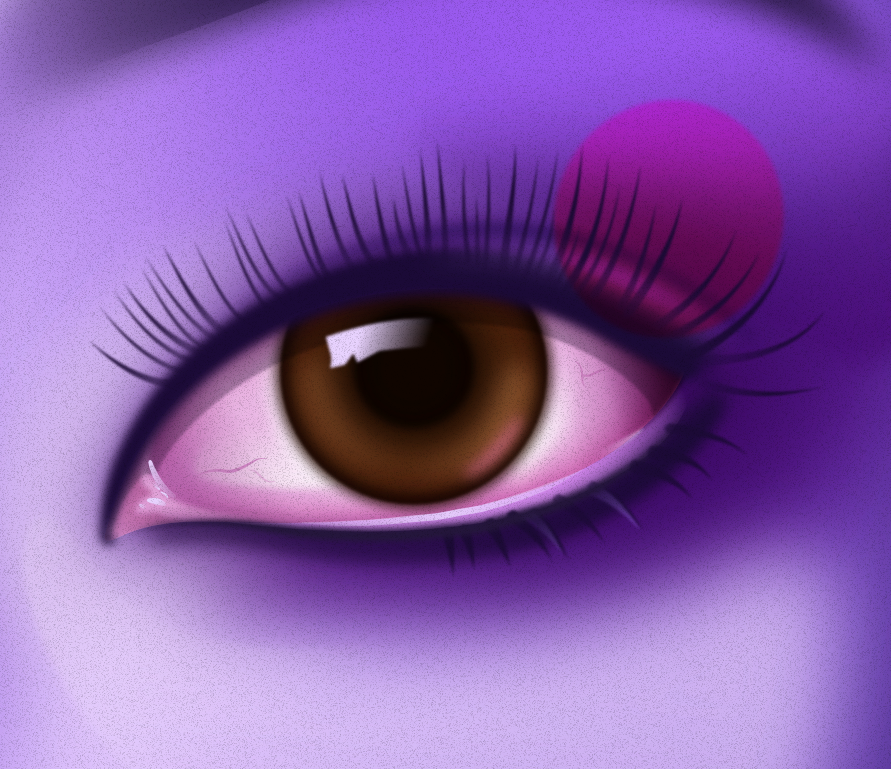
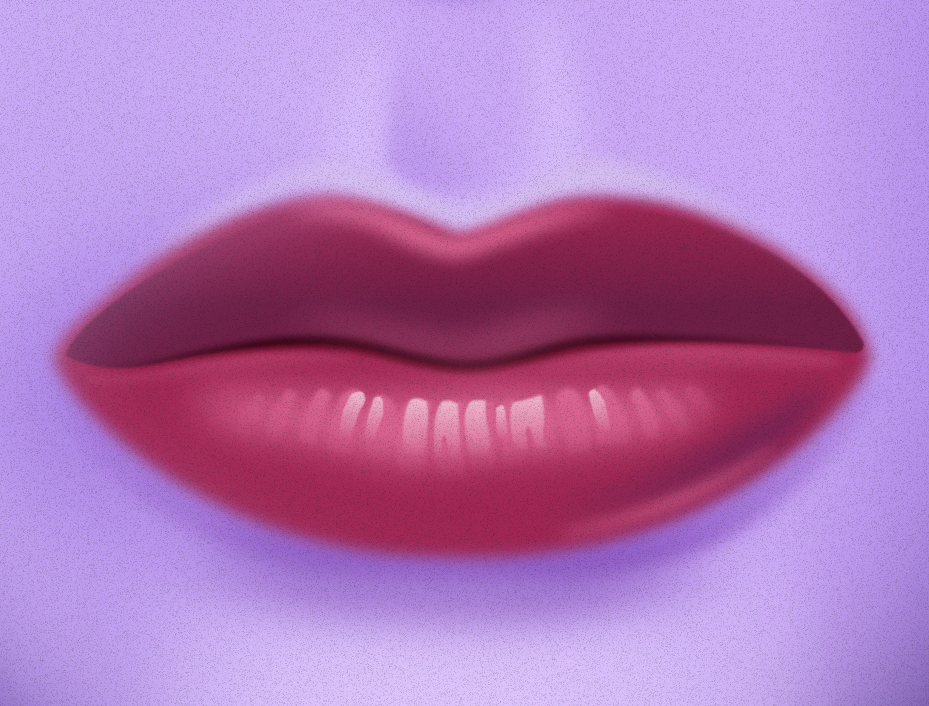
Just recently completed another fun project using Designer exclusively. I had this concept for a Madame Butterfly opera poster for awhile but really didn't feel like my previous app was up to it so I put it on the shelf until a few months back when I decided to tackle it in Designer. The look and feel I was shooting for was sort of like those rich coloured album cover airbrushed illustrations from the 70's and 80's. Where everything is soft and saturated. I was really pleased with the outcome and glad that I waited to do this in Designer. Below are some screenshots, with more on my Behance site and there's also a short tutorial just uploaded by Affinity's Andy Capstick on the new Affinity Spotlight blog specifically on the creation of the eyes for this piece. Hope you like! https://affinityspotlight.com/article/the-eyes-of-a-butterfly-with-kevin-house/
- 8 replies
-
- 8
-
-
- poster
- illustration
- (and 2 more)
-
 This video is an excerpt from my -soon to be launched- "Learn Affinity Designer Fast" e-course. The most complete and comprehensive course on Affinity Designer. In this video I'll show you how to customize the object defaults, which allows you to set the fill color, gradient, opacity and noise values. You can also set all of the variables for the stroke, including color, gradient, opacity, noise, style, width, cap, join, alignment, draw behind, scale with object, and pressure curve values. This includes using a brush stroke! Being able to set the defaults for your objects whether it is just for that document or globally for future documents, is a great time saver. Your workflow will be come more efficient and your creative juices can flow freely without getting bogged down in the details. Setting defaults is a great web design tool for all you app creators out there. Enjoy and happy creating! Jen
 -
 Today we are looking at Tilt Shift: How it's done. The secrets behind it. The story of it's origin. Tilt Shift is a fun effect that is most often used in digital Software for Miniature faking. Make the world look like a Toy World. It's easy, fun and can be done with almost every photo that was taken from the right angle. Support me on PATREON and get my Affinity Photo File with all layers as a Thank You: https://www.patreon.com/sarikas Find me on Steemit: https://steemit.com/@multi4g Photos used: https://unsplash.com/photos/7R9JQJB9R2A https://unsplash.com/photos/o98T4Fj30Qk https://unsplash.com/photos/BWtyq5fn6Ng https://unsplash.com/photos/_Kp1WFKoCRk #tilt #shift #tiltshift #toyworld #miniature #fake #perspective #photo #design #art #colorful #fun #dtube #artistic #creative #steemit #easy #tutorial #education #handson #learning #free #affinity #editing #episode #series #making #DIY #minute #quick #pictures #howto #designer #cover #elearning #video #online
 -
Today I will show you how to create a cool looking 3D font effect. I will explain to you in detail how the 3D Font tool works and what the different settings are. After that we will paint in some more 3D details to make it look even better and create some overlaps that the software can not find on its own. Support me on PATREON and get my Affinity Photo File with all layers as a Thank You: https://www.patreon.com/sarikas Find me on Steemit: https://steemit.com/@multi4g Font used: https://www.dafont.com/reality-sunday.font?psize=l&text=Love #font #3d #space #color #contrast #simulation #light #shadow #photo #design #art #colorful #fun #dtube #artistic #creative #steemit #easy #tutorial #education #handson #learning #free #affinity #editing #episode #series #making #DIY #minute #quick #pictures #howto #designer #cover #elearning #video #online
-
 Hey all! This is my new video about painting in Affinity Photo @AffinitybySerif Share please and thanks for watching!
 -
 So I made a new tutorial this week....based on a simple text I saw going through the airport...the pallet I used is below and attached Custom text pallete for tut.afpalette Custom_text_working_file.afdesign
 -
 A couple of days ago I finally received my copy of the Affinity Photo Workbook. Having read the first 240 pages I must admit that I am mostly disappointed. By purchasing the book published by the developers of Affinity Photo I hoped to gain some in depth insight into how Affinity Photo works and how I could apply the different techniques demonstrated in the book to my own projects. Sadly though this is exactly where the book fails. Because I know that simply telling you that the book "sucks" is not enough and certainly wont help you improving it I am going to give you a few examples why exactly it has been such a disappointing experience to me. My biggest issue: From page 120 onward you explain in depth how to move, nest, rename and otherwise manipulate layers. While I admit that this might be useful to some beginners I think anyone who is not a complete computer illiterate will figure this out within minutes. In fact when I started editing images it was immediately clear to me how to perform such basic layer actions that do not differ much from the basic concept of manipulating files and folders in any file explorer. On the other hand any information on how the different blend modes work is completely missing. I ask you, if we talk about the average person who want's to get into image editing, what would such a person typically need help with? Creating or renaming a layer or comprehending what a multiply, hard light or reflect blend mode does? Why are there layouts with keyboard short cuts but no explanatory chapter on blend modes? Again the question, what would I probably want to read a book for? To learn the keyboard short cut to invoke a certain command or to gain a better understanding of the concept of blend modes? If I read a book like this I expect to learn new techniques and I generally want to gain deeper insight on how a program like Affinity Photo works and how I can use the software for my personal work flow. But in the case of your book it has repeatedly left me with more questions than answers. Here is a list of examples where the book has left me with unanswered questions: On page 144 you explain how to control certain colour tones using a black & white adjustment layer and the blend mode overlay. Now maybe I'm the only person on earth who finds it confusing to use a black and white adjustment layer to change colour tones in a coloured photograph but fact is, I don't understand this technique and thus I'm not able to use this trick for my own photos. Unless of course I had exactly the same photo as in the book in which case I'd certainly be able to replicate the steps described. But in order to apply this trick to my images I would need someone to explain me what a black and white adjustment in combination with the overlay blend mode does and why it does this. The next example would be page 160 (Laying the tonal ground work) and following. Here you explain how to control tones with brush strokes, an empty pixel layer and the overlay blend mode. And again you fail to explain why it does what you describe. But at least this one is not as bad as the case mentioned above because here I can actually use the technique for my projects (with the slight inconvenience that I use a technique I don't really understand). In other words, if someone watched over my shoulder while I am applying this technique and asked me why I had chosen the overlay blend mode I would not be able to answer the question because frankly I don't know, I just copied the steps from the book without knowing better. Another one: On page 228 you show a way to eliminate or at least reduce a colour cast in the sky by using a black and white adjustment layer (again in a coloured photograph) and the multiply blend mode. Once more you fail to provide any background information on why and how this combination works. Without this information the process remains a mystery to me and I'm probably never going to be able to use this technique for my own photos. I just don't feel comfortable to work with tools I don't understand. I could mention further examples but I suppose by now you are getting the point. Now one could always ask why I didn't search the web for more information. And while this is of course true and I also do this on a regular basis I have been asking myself why on earth I'd read a book that makes me search the web for basic knowledge about the described techniques. Didn't I buy the book exactly because I wanted to gain more in depth knowledge about image editing with Affinity Photo? Wouldn't I be better off not buying the book at all and simply asking the search engine of my choice (which is completely free by the way)? But enough criticism for now. Let's also mention a few positive aspects. Apart from the missing information as described above the texts are very understandable (even for non native English speakers like me) and the book looks generally very professional. I've also found the selection of images and projects to be well chosen, the projects are interesting and the photographs are of high quality. While reading the book one immediately notices that the authors not only know what they are writing about but it's also clear that the persons involved in the creation of the book are passionate for photography and Affinity Photo in particular. In other words: If you added the missing background information on how and why certain techniques work as well as a comprehensive explanation on the various blend modes available this could become one of the best books about image editing in general and Affinity Photo in particular on today's market. Oh and one last thought: If you don't want to clutter the book with too much information and avoid overtaxing some readers why not provide an appendix with additional background information (be it in the book or as downloadable resource) for those who desire to better understand how and why certain techniques work? And if you plan to improve the book and add the requested information it would be a very nice gesture of you to make this additional information available to the buyers of the initial issue as well (as a download for example). P.S. I opened this thread here because I couldn't find any other, more suitable place. Please feel free to move the thread if necessary. And sorry for having created such a lengthy post
 -
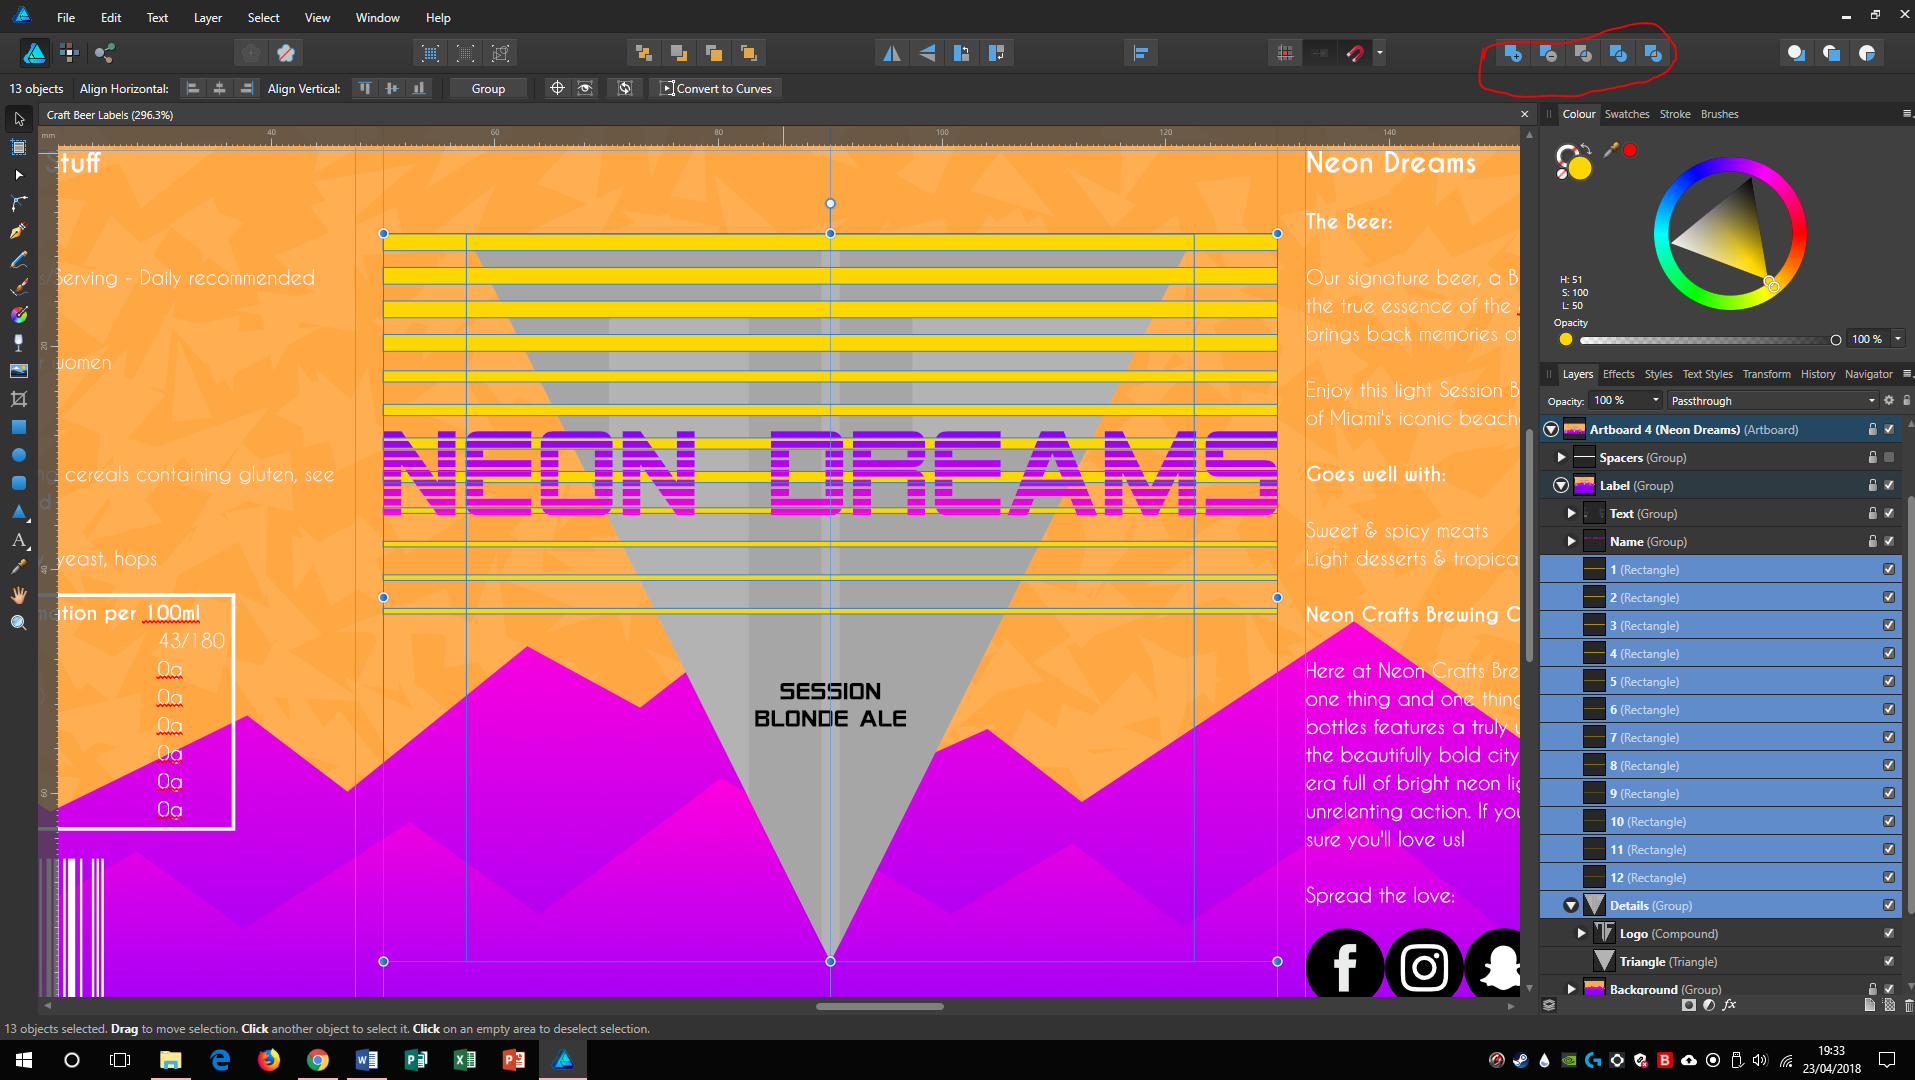
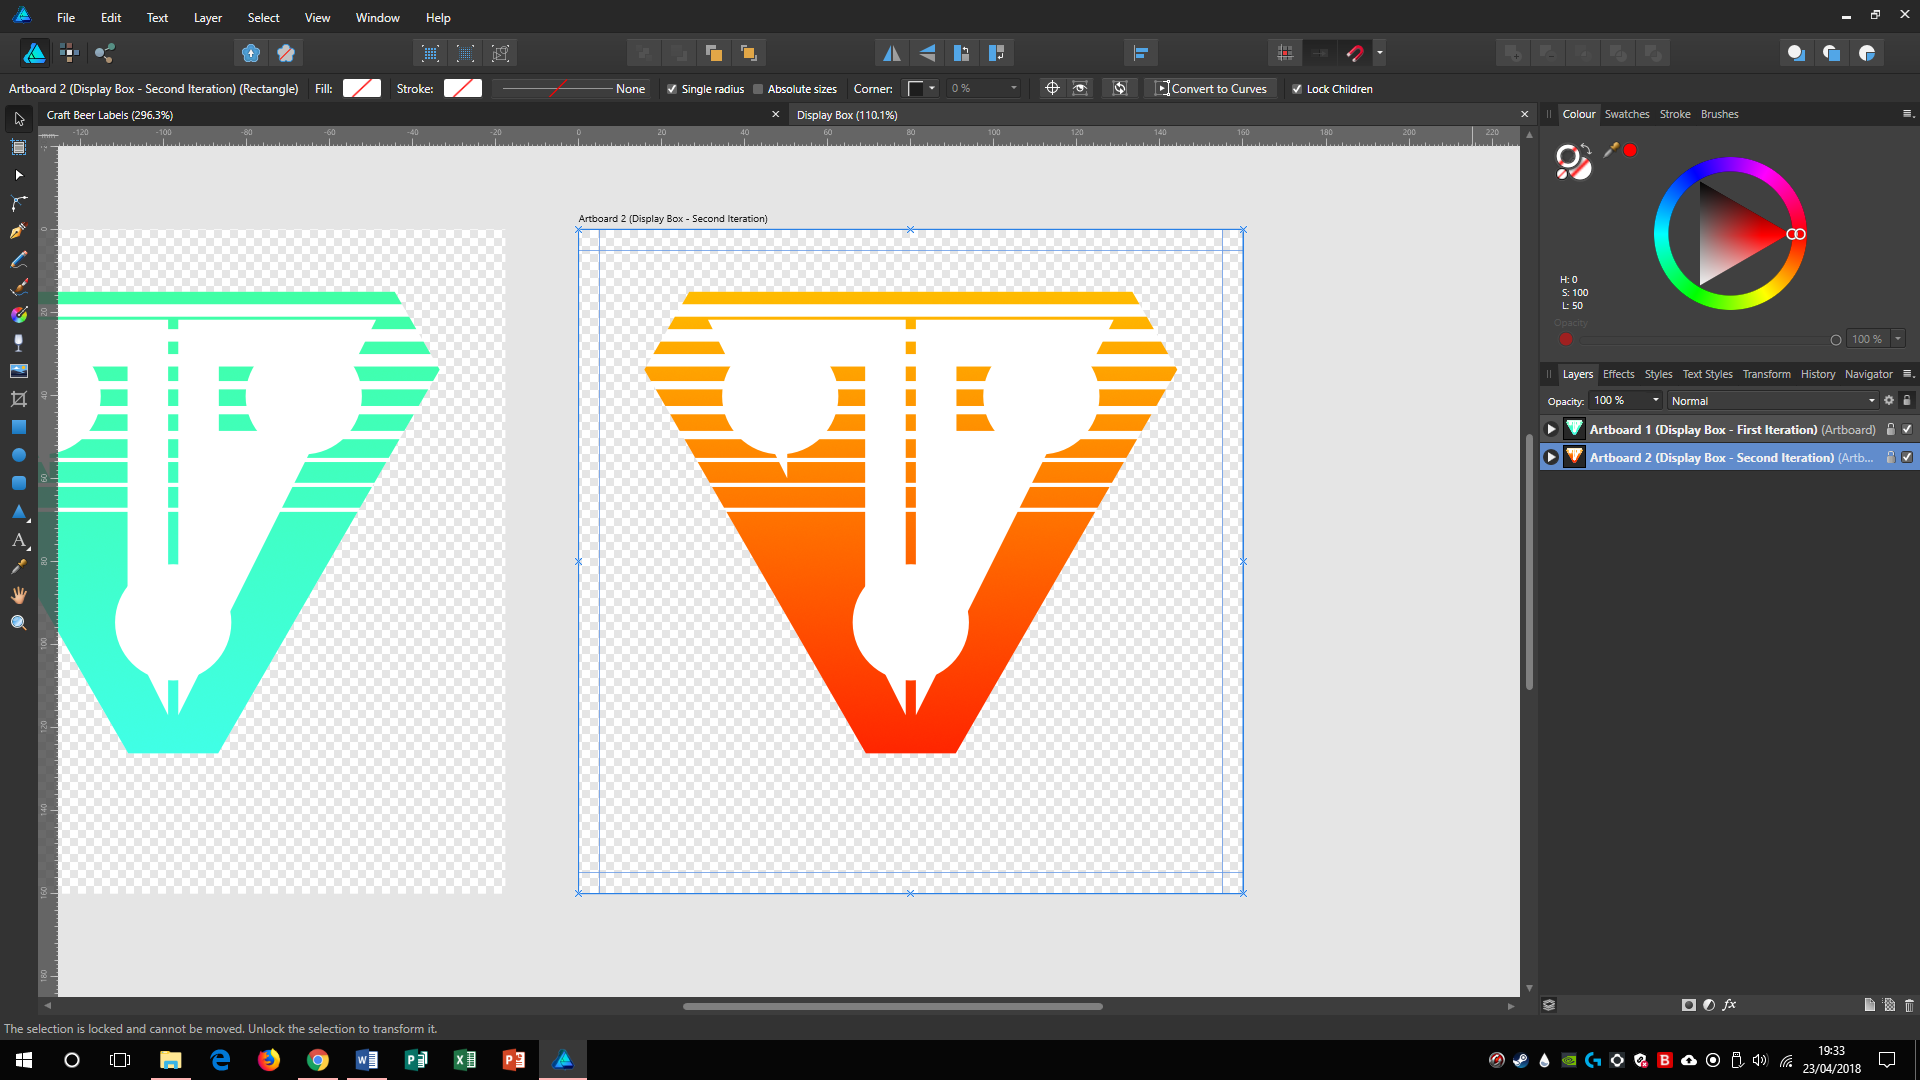
.thumb.jpg.ec3ac405965a6040f598665741c04a59.jpg) I'm not quite sure if I can explain this in a way that makes much sense so I'll let the screenshots do more of the talking; what I'm trying to do is use the "subtract" function to create and effect on the "Neon Dreams" piece similar to that of the other screenshot, with the transparent lines, I don't want to make it too complicated so I hope the screenshots help make everything make sense. I know what I have to do but it seems that I can't because I'm trying to subtract an existing compound? Am I doing something wrong here? Thanks. Dylan
I'm not quite sure if I can explain this in a way that makes much sense so I'll let the screenshots do more of the talking; what I'm trying to do is use the "subtract" function to create and effect on the "Neon Dreams" piece similar to that of the other screenshot, with the transparent lines, I don't want to make it too complicated so I hope the screenshots help make everything make sense. I know what I have to do but it seems that I can't because I'm trying to subtract an existing compound? Am I doing something wrong here? Thanks. Dylan
-
Hey guys! Here is my first post here, and this is my video about painting the Monster in Affinity Photo. Hope you like it! Feel free to share and subscribe to my YouTube channel! Best regards, Andrew Bzh.
- 5 replies
-
- 9
-
-
- painting
- affinity photo
- (and 3 more)
-
Here is a tutorial for how to do a simple drop shadow using affinity designer....figured I would share drop shadow working file.afdesign
-
Hi, I have a bunch of fotos taken under water and they are really crappy. I found some tutorials for photoshop like this one: The foto is like mine and its astonishing what can be done... unfortunetly I am unable to translate this tutorial to affinity, can somebody halp me out what was done and how to do this in Affinty? If necessary I can upload one of mine fotos.. Thanks in advance
-
 Me gustaria saber donde encontrar tutoriales completos paso a paso de Afinity Foto,cursos completos desde cero,sin previo conocimiento de photoshop,en español,castellano,habla hispana,solo encuentro en ingles.Espero puedan dar una respuesta favorable y de gran ayuda,muchas gracias.Un saludo