Search the Community
Showing results for tags 'images'.
-
 I have found "Lock Children" useful but hard to reach. I haven't found it in any menus yet. So far the only access I've found is to click a very tiny icon at the extreme upper right of the Publisher window, drop down a small menu, and select Lock Children. This involves hitting tiny icons or UI elements with the mouse, which is not what I'd call the most user-friendly thing ever. Then, do the same if you need to toggle the setting off again. With this apparently not being anywhere in the keyboard shortcuts dialog, there's no way to assign a keystroke to the command that I know of. But is there some easier way to get to the command? Maybe I've just missed something obvious. If not—publisher developers: Could this check-box not be available at least in the Frame Properties dialog? Or be a menu item in its own right when you right-click a frame? Or be part of the Frame Properties fly-out menu when you right-click a frame?
-
- 1
-

-
- lock
- lock children
- (and 5 more)
-
Following up another thread in which I wrote about having trouble putting a simple rule (stroke) around a rectangular object of type "pixel." The controls for adding a rule work with an object of type "image," but don't work with one of type "pixel". The convert-to-picture-frame menu item is inaccessible when you right-click a pixel object. By accident I discovered an odd workaround: If you select the vector crop tool and crop the pixel object by even some imperceptible amount on one side, suddenly the convert-to-picture-frame menu item does become accessible. Which of these features are by design? Might any of them be bugs? 1. Can't draw a rule (stroke) around a pixel object* 2. Can't convert a pixel object to a picture frame—not immediately. BUT: 3. Slight crop with the vector crop tool enables converting the pixel object to a picture frame * It can be done with the Outline layer effect, but that dialog does not permit enabling square corners (it supports only rounded ones) as far as I know.
-
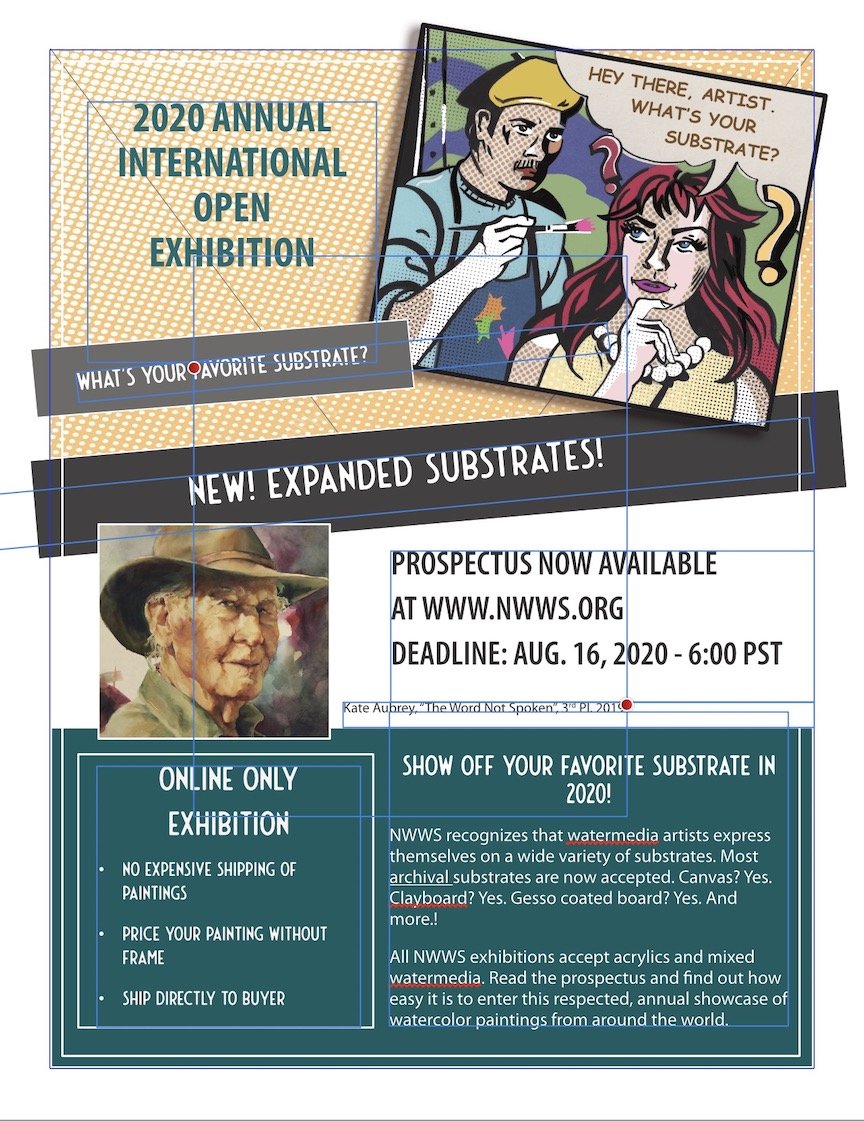
 Am new to Affinity (brand new, and baby boomer, so you may have to speak slow . Using Publisher, I've created a simple one-page ad, 7.5" x 10"H to print on standard 8.5 x 11 sheet. Outside the margins are overflowing rectangles and other elements that need to be cropped out but need to retain the 1/2" white margin all the way around. Cannot figure this out and have googled best I can. Was told it involved picture frame tool and paste-inside, but...please help. I'm attaching the image so you can see the margins, etc.
-
 Dear all. I need to place approx 1750 images (photographs), 1 per page and control them all via a master page. Is this possible without having to individually place and resize every single one? I will be needing to do this fairly frequently so am hoping Publisher can do this, rather than using InDesign. Then I can edit text, contents, cover pages etc as required, but it means I can output a book as a PDF or for print pretty efficiently. Thanks in advance for you advice. Ian
 -
 I have created a table with several columns and rows and would like to insert a full-size image in each cell of the table. Is there any way to do this directly without inserting individual picture frames into each cell?
 -
 Hi guys, prior to this problem I could 'Place' an image and add effects from the 'Filters' toolbar but now it's not showing at all. I have just updated to the 1.8 version and this problem started on the older version ( cant say which ) Im a complete novice and would just like to add simple 'blur' to my images like i have been doing for the past year Thanks Steve
-
I'm putting together a small book of photographs and as a newcomer to Publisher I'm not sure what are considered best practices for working with images. I can give an image a border (a thin rule) whether or not it's in a frame. Then again, I can't seem to assign a style via the Styles palette (specifying a particular rule width and color) to images lacking frames. Using the Styles palette is pretty quick and the results are predictable. I could be missing something here. There might be situations I haven't encountered in which not having a frame would cause problems in the future. What might they be? On the other hand, is using an image frame simply overkill a lot of the time? (If I want to lock the image "in the raw," that's one command within the Layers palette. But if it has a frame, I have to lock the frame and image separately ... somewhat irritating that there's no option to lock both at once as it doesn't seem possible to select both at the same time...or, is it?)
-
I did a first-time test of the make-collection feature and got quite the surprise. I made a temporary directory of the hard drive. With a small Publisher document open, I selected Document > Resource Manager, selected all image files shown there, and clicked Collect. For the destination I selected the temporary directory and then the collection was made. After checking to ensure that all files appeared in the temporary Collect directory, I removed it. At that moment Publisher announced a loss of linkage to all of the image files in the document. It appears the program had just re-linked all images to the versions that were copied to the Collect subdirectory. (Had I missed an option that specifies: only copy them — don't re-link them?) Then I had to re-link all of them manually to their original location. I'm glad it's a small document. If I had to do that in the document once it's finished, I'd be at it all day as there does not appear to be a way of doing it in a batch (which would make sense if the missing image files were all in the same directory—which, in this case, they were). Restoring the links seems to be a one-file-at-a-time operation. As far as I can tell, Publisher's online help file (the topic on making a collection from the Resource Manager) does not mention the change of linkage in this situation. Is the feature working as designed? The "gotcha" of suddenly changed linkages could be a nasty surprise indeed for the unwary with a large document containing image files residing, originally, in multiple locations.
-
 Point 1. I decided to try to put a pdf together in AP Beta. I successfully created a pdf. The following day I accidentally deleted it, which was not really a big deal as I needed to update many of the images (.jpg). I was surprised that when I created a brand new pdf with the updated images, Publisher placed the old images! How is this possible? Point 2. Also, I can see no way to 'refresh' images. Point 3. All my images are linked, but do not update.
 -
 I replaced all images in the folder linked to a project in order to have the linked images in my .apub file replaced. This leads to a prompt where I can decide to search for them or open the resources window with further options. What ever I choose the pictures in the file are updated, which is good. However the program crashes after various durations of time. It would be great if you would fix tihs. (Saving the file with a different name doesn't help.)
 -
 Publisher v. 1.7.3.481 on Windows 10 Home, 64-bit. I am producing magazines, importing Word files and/or clean, unformatted text, inserting mainly .jpg files. On several occasions, an inserted or placed image will suddenly not be "reachable", instead being displayed as belonging to a master page. That means that I am no longer able to move, edit, crop, replace or even remove the image. The Layers panel displays the image as belonging to the master page where it should not be. I cannot delete or move it from the Layers panel. The master page itself seems unchanged and OK and does not contain the errant image. The trouble is that it seems to happen randomly even to other - but not all - single images than the one currently being worked on, forcing me to step back and lose any intermediate work done to my whole document. If I discover the problem in time... Here is a screenshot of how the image is shown (on the left) as if on a master page and in the Layers panel under Master page. Also, the text element shown under the image in the Layers panel is also errant as seen in the next screenshot. When opening the original .afpub file, please note that the bridge image on page 18 is an image placed on top of the offending image (my workaraound!) NytOmGammelt2019-04.afpub
-
 I am thinking of creating a sort of collage of images in an Affinity document. I need three columns with separation lines. I want to ensure that I can use a standard Affinity template and just place three images in the appropriate place and move them around so that they look good together. I want the image to be visible in one column only. I used rectangles and created mask layers under them. However, this does not seem to be fool proof and I run into issues with the center column invariably. Also, I lose the column border. I have attached the afphoto file. Can you suggest a better method to do this? EMW.afphoto
 -
 I need the ability to automatically change the image to vectors. Designers use pen tools on top of images with poor resolution, not vectors, below them to make them vectors. I think it needs to be automated. In fact, if you take a program that's automated, it's Vector Magic. Even though it is not very accurate, it is very helpful in images that require a lot of vector conversion work. Obviously, if we include this feature in our efficiency, it will be a simple and automated function.
-
 Hello, I am just starting my new Project.. and try to realize it with Affinity Designer... I've tried to rebuild to Elements I have seen on other Watchfaces… because I would like to use them in my own watchface... But unfortunately.. my skills with AD and my creativity ) isn't that good… so Maybe some of you could support me somehow and show me a better way to realize my too Images.. and to help me improve my skills with AD. One is the outer ring (like in the IMG_4816 and the other thing is the "Tag" (or however you would name it).. Thanks in Advance... With Kind regards from Germany... AD_Rookie49 tag.afdesign Outer_Ring.afdesign
-
 I am getting some issues with PDF exports when applying Effects (FX) to images under other layers with FX. As you can see from the attached files, the Exported PDF has the bitmap image (with Blur FX applied) 'bleeding' into the effects on higher layers. Once I remove the blur FX from the 'bubbly water' bitmap, the issue disappears. Boiler TEST.afpub Test Export B.pdf Test Export.pdf
-
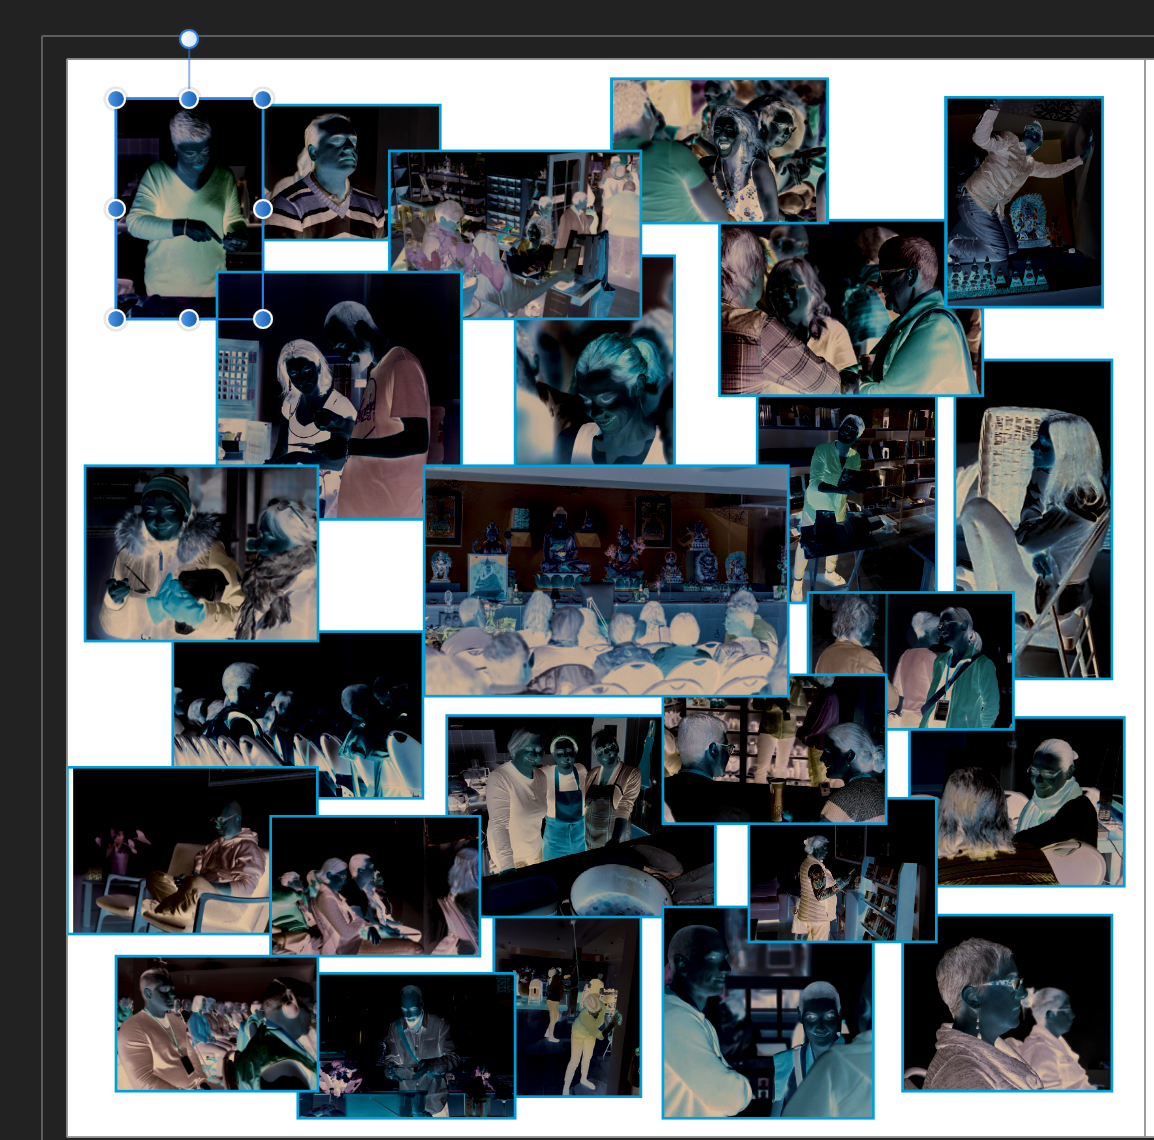
 Hello! I'm experiencing a problem with Affinity Publisher 1.7 (launch version no Beta upgrade), using Mac OS Sierra 10.12.6 Last night, I was working on a few opened document within the App (probably not recommended I know!) One of the doc I was working on stopped responding. I could not come back to the Move tool after using Text tool. I did not think too much of it and continued successfully to work on my other docs. I completed some and was able to save, export in PDF without any problem until I came back this morning to work on that still unresponsive doc (after a whole night). Not responding I tried to close it and then the whole program crashed. I reopened Publisher and a popup asked me if to re-open the docs which shut down unexpectedly (sorry I don't have the exact message it displayed) which I accepted. When reopening the docs, one displayed perfectly, one suddenly had an image in black and white and another image missing completely and another much bigger file (with many photos) had all the photos displaying as "inverted", like old negative rolls on old cameras (see image). ALL the photos were like that in the entire doc. When I went to the Resource Manager, it said images were "linked" rather than "embedded", I might have changed that the day before since there were so many photos (I read in another post it might be good to link instead). In there, all thumbnails were exactly like the photos, "inverted". When I went in my computer's folder to link back to the original images, a whole bunch of inverted photos were there as "duplicates" of my original photos and named whatever name Publisher gives it in that manager (file name - #of image)!! Fortunately, my original images are still there! Can you please help me figure out why all my images in an opened document were changed to their "negative" inverted images after the program crashed so it doesn't happen again? and if there is a quicker way to change these images than doing it one by one? Like in InD one can relink 1 image and it will automatically see other images from this same location and ask if you want to re-link other images. But because the names of the images are changed from the originals in Resource Manager, it can't identify them as such. Sorry for my lack of technical jargon and long explanation, as you can probably tell, I'm not a techie nor a graphic designer! So thank you for keeping the answer understandable with very basic terms and clear directions on where to go and what to click The answer might be very simple for all I know Thank you!
-
 Whenever I'm using Outline mode, it's always to trace an image. I prefer to use Outline mode because the "visible stroke" is as fine as it can be, and there are no styles applied (i.e. no fills, strokes, gradients etc). In my opinion (and my usecase of course), having the "Outline" view mode seems incomplete without being able to set an image layer as a background. I don't think every image layer should be visible, but there should be a way to change an image layer's view setting to "Traceable" (or something similar) so it is visible even when in Outline mode. It makes sense for this "traceable" layer to be slightly opaque just so the outline can be clearly seen on top. The opacity could be set on the layer, or it could be set as a global setting (whatever's easier).
-
- 3
-
-
- outline mode
- traceable
- (and 4 more)
-
 I imported a file from my photos folder into Publisher and everything was fine. Printed it all out, worked great. When I went back to the Publisher file today it look extremely pixelated. Can someone help me as to what is going on? I didn't move then image in the Finder (if that even makes any difference.)
 -
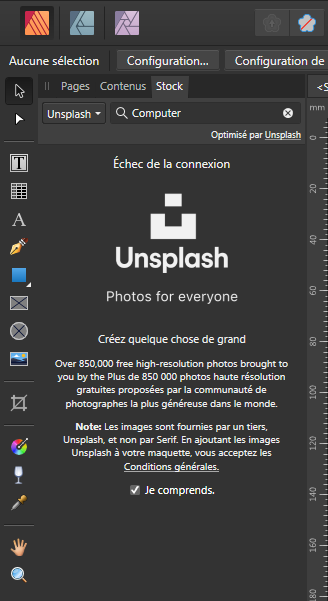
Good evening, Whenever I go under the Stock tab to load images, Pexels and Pixabay work fine, but Unsplash displays the error message "Failed to connect" I do not understand why. Is there a solution to remedy this problem? Thanking you
-
 While selecting multiple images placed on different pages of a project, app crashes Asus laptop with core i7 4700, 16 Gb RAM, nvidia GTX860M graphics Affinity publisher 1.7.0.376 Beta
 -
 I have problems with the size you get once you prepare a document with images. A ten-page document with images at 300dpi weighs over 180MB, yet the same document in InDesign weighs only 6MB. In both cases the images were linked, but AFPUB seems to include a copy inside the document as well (I'm not embedding). The big question, however, will AFPUB be useful for professional graphic designers to create magazines, catalogues, artbooks, etc., especially when using hi-res images inside (not lo-res web images)? If such is the case, here are a couple issues that need considering: 1. Linking images make the file too heavy. Consider the example I gave above, and then think of an 88 or more pages magazine/book, etc. 2. Not being able to import into a single document other documents prepared separately. Also, although I haven't figured it out yet, can you design a cover, a squarebound one, including the spine? Couldn't find any indication when creating a new document. Seems everythings is for what goes inside and not what covers it.
 -
 Hey everyone! When opening Document, Resource Manager, selecting all files and setting them to linked, my document will still be at 109,3MB file size. In fact, before linking the unlinked images, the file had 108MB. So linking even increases file size by a small amount. The Resource Manager will show them as linked and Publisher will report errors when renaming a file. It just doesn't decrease file size. And even when Publisher cannot fint a file, it is still being displayed, instead of an error frame, which I would expect. Is this a known issue? It seems it shouldn't be since there is a tutorial on the website for this. I am using High Sierra. Best wishes, Shu
 -
Just started playing with Publisher and it is looking impressive. I will be using quite a few images and have added border and shadow styles, so created a new style and applied to images as I go but now want to change the style on all that styles images, I can't see any way of doing this. Is it possible or is this one for the wish list ? Thanks Mike
-
 not Let me join the list of complaints about the inability to center an image when printing in Affinity. I have used both the direct print mode as well as the soft proofing method but to no avail. The images are always skewed to one side. I agree that this is an important issue if Affinity intends to replace Photoshop as a significant image post processor. This is not a "printer" issue. I have the Canon Pixma Pro 10 and when I print the same image using Photoshop controls, it is well centered. I am very interested in shifting entirely to Affinity but, so far, I remain hesitant because of this serious problem. Affinity should consider making Canon Print Studio Pro available as a good solution. I have tried but learned that Affinity is not compatible with Print Studio Pro. I sincerely hope that this issue can be resolved soon. From what I read it has lingered on for quite some time and has not been resolved with the newest upgrade which I am using.
 -
 Hi, Working on a document converted from PDF, I had some images cause a freeze any time I applied a text wrap to them. Also, I made bulleted lists using a character style on the bullet, with different font, size, color and baseline. The character style doesn't update automatically and the bullet baseline jumps erratically high, like 20 pt when it should be -3-ish. BTW, I managed to get Finnish hyphenation working on a semi-decent level using the attached Public Domain library. The library makes Publisher crash as is, but when you remove the first charset line, it works just fine. The library is not perfect, but it's a good start. Should you be able to tap into the OS X library, that would be just smooth too, but I understand it's not as simple as one would like to think . Sorry to include multiple topics in one post, bit of in a hurry here and wanted to contribute… Asukkaan_opas_01_2019.afpub fi_FI.zip