Search the Community
Showing results for tags 'affinity designer'.
-
I've just been experimenting with creating a vector brush style using images from PPX9. The result is interesting, and I thought I'd share it with other Serif users. It includes Hessian Stitching and Eyelets. Textiles.afbrushes

-
 When scaling text effects the propper settings doesn't change with the scaling. Are there settings which could help with this issue or should it be a feature request?
 -
 How do I edit this mask in Photo (after selecting edit mask), all it does, no matter what I try is add to the mask, ie black, if I want to subtract from the mask with a paintbrush or an eraser, I can't no matter what colour I select, I can't see any setting that will allow me to do this, which seems absolutely mad, I must be missing something, surely you can't only edit a mask one way?
-
 Very often I am unable to subtract the top layer and punch a hole in the bottom layer. 95% of the time it works but a few times it doesn't. Please see the attached AD file - trying to carve out a simple "A" - can you please tell me what is going on or if this is a bug? I am using AD on Mac OS 11.6, AD ver 1.10.1. I am on an M1 Mac. Why won't this work.afdesign
 -
A loving tribute to the once revolutionary Commodore Amiga 1000 computer, released in July 1985. Made a pixel art setup in Affinity Photo, then drew vector shapes over that in Affinity Designer. You can earn a (higher) place in my coolbook if you can guess the game. 😎 🎨 metinseven.nl
- 3 replies
-
- 15
-

-
 At some point when adding a new guide, all the guides disappear. I tried to "Show Guides" (Ctrl+;) again, but no success. You can see the guides on the ruler area, but not on the work area. Had to close the application and open it again to make it work. Very annoying! I don't remember having this problem before last update. Running Affinity Designer version 1.9.0.932 Windows 10 Pro v.10.0.19042 Build 19042
 -
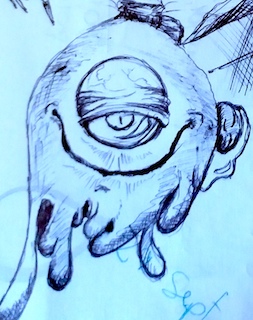
A weird alien being parasitized by an amoeba. The image is full made in Affinity Designer (100% SVG). https://www.behance.net/gallery/128223355/Amoeba-vs-Alien?
-
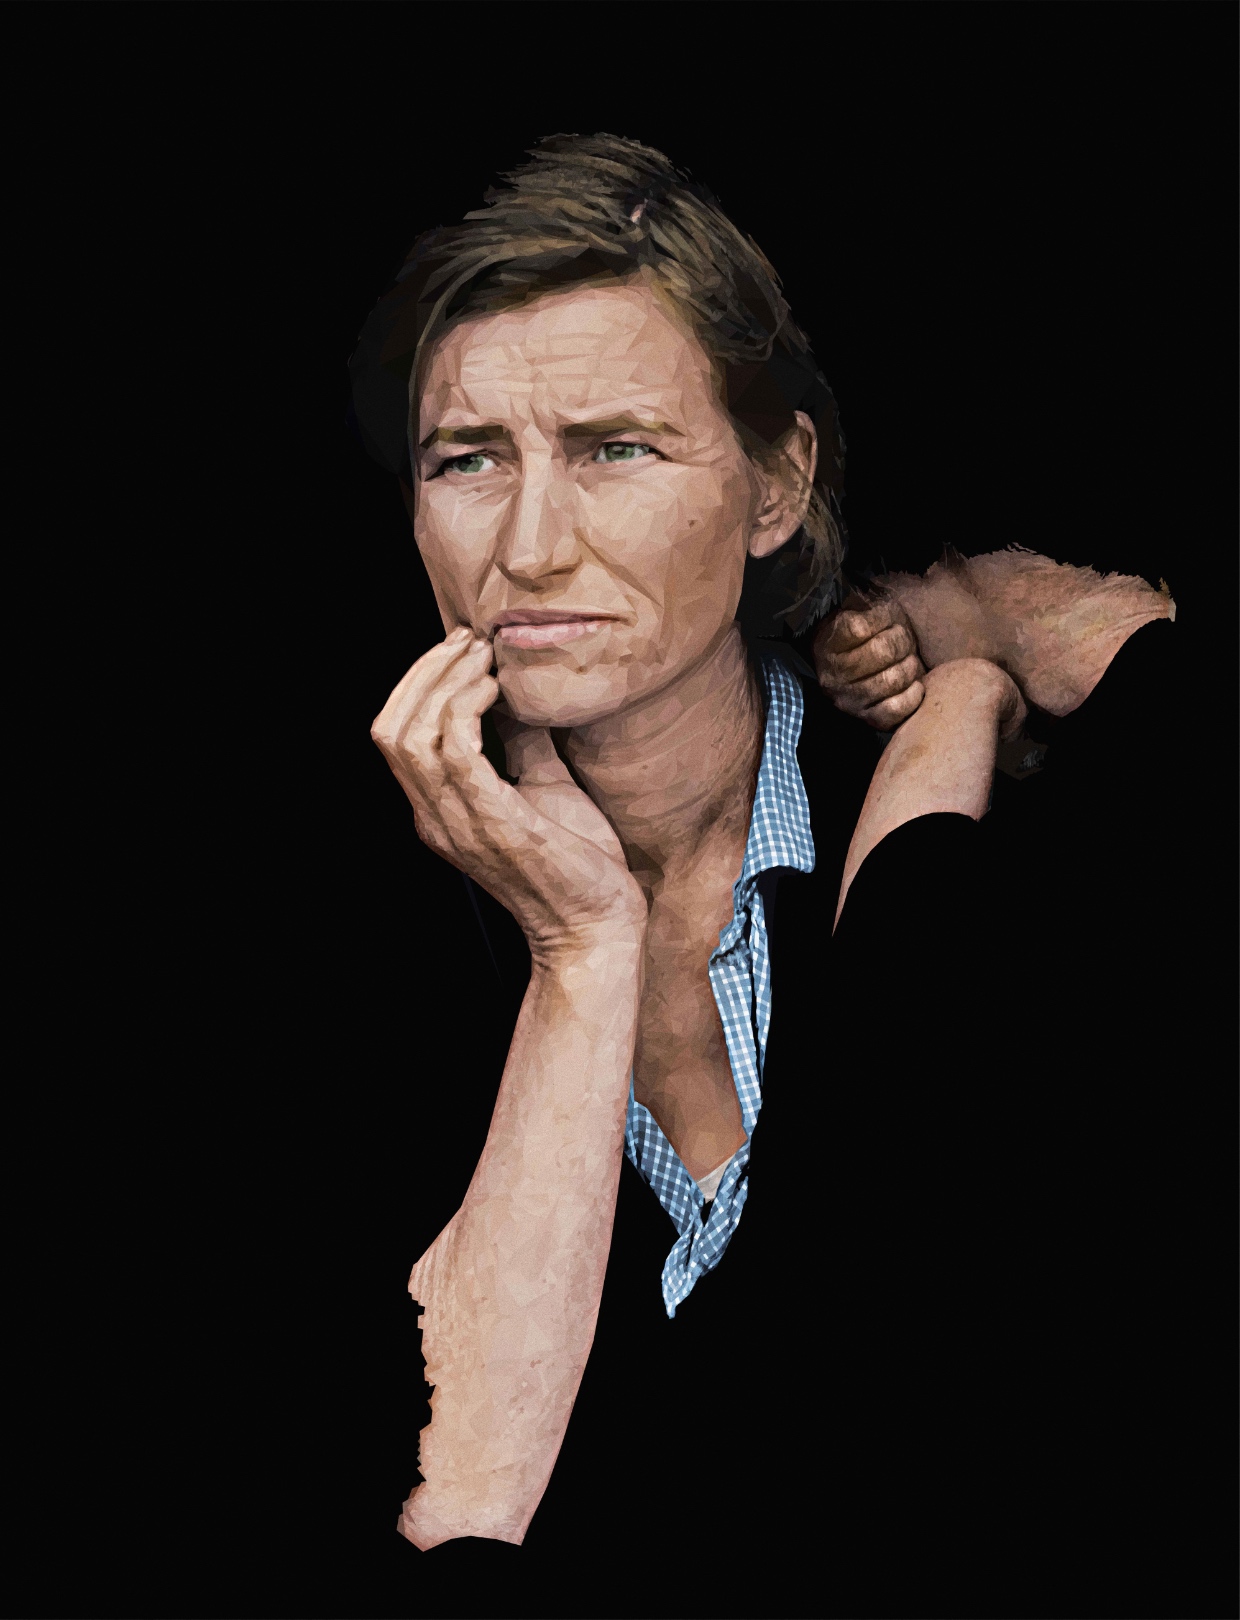
Part of the iconic photo of Florence Owens Thompson by Dorothea Lange. Not sure whether I'lll get around to doing the whole thing, depends on how much free time I have.
-
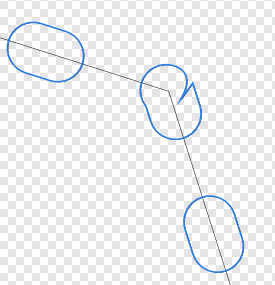
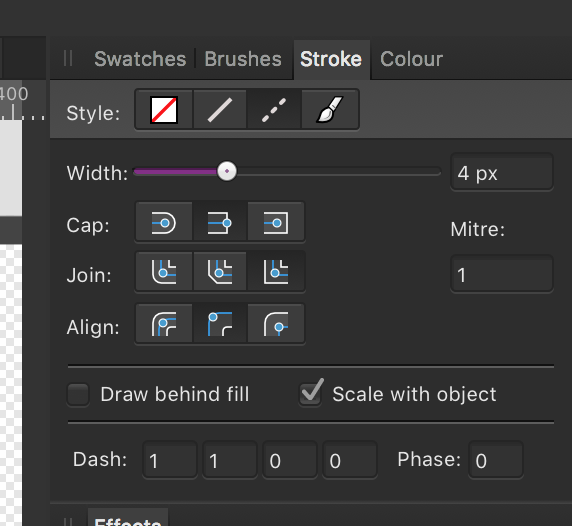
 Hi, I've not been able to find an answer to this with some googling, so I thought it'd be best to ask. Basically, I'm trying to recreate a logo that was originally done with a sweeping calligraphic brush, but the original has been lost in the mists of time and now the file only exists as a 400px png. I've managed some of it so far with the pen tool and poking at that with the brush options (the dark path in the image), but what I'm really looking to do is like a blade-tip marker so that it will look like the rest of the text - as in the angle of the brush stays at the same angle rather than perpendicular to the path. Is this possible? Thanks, Sean
-
 😁 Hello everyone! Creating an ax from scratch using Affinity Designer on the Ipad! Come check out the complete tutorial by visiting the Vectorize Club page https://www.vectorizeclub.com! See You! Reels Live 04.mp4
 -
Good evening everyone, I have now got a hexagonal repeat working...... Still loving it Antony
-
 Is it possible to link text frames in Designer the same way you do in Publisher?
 -
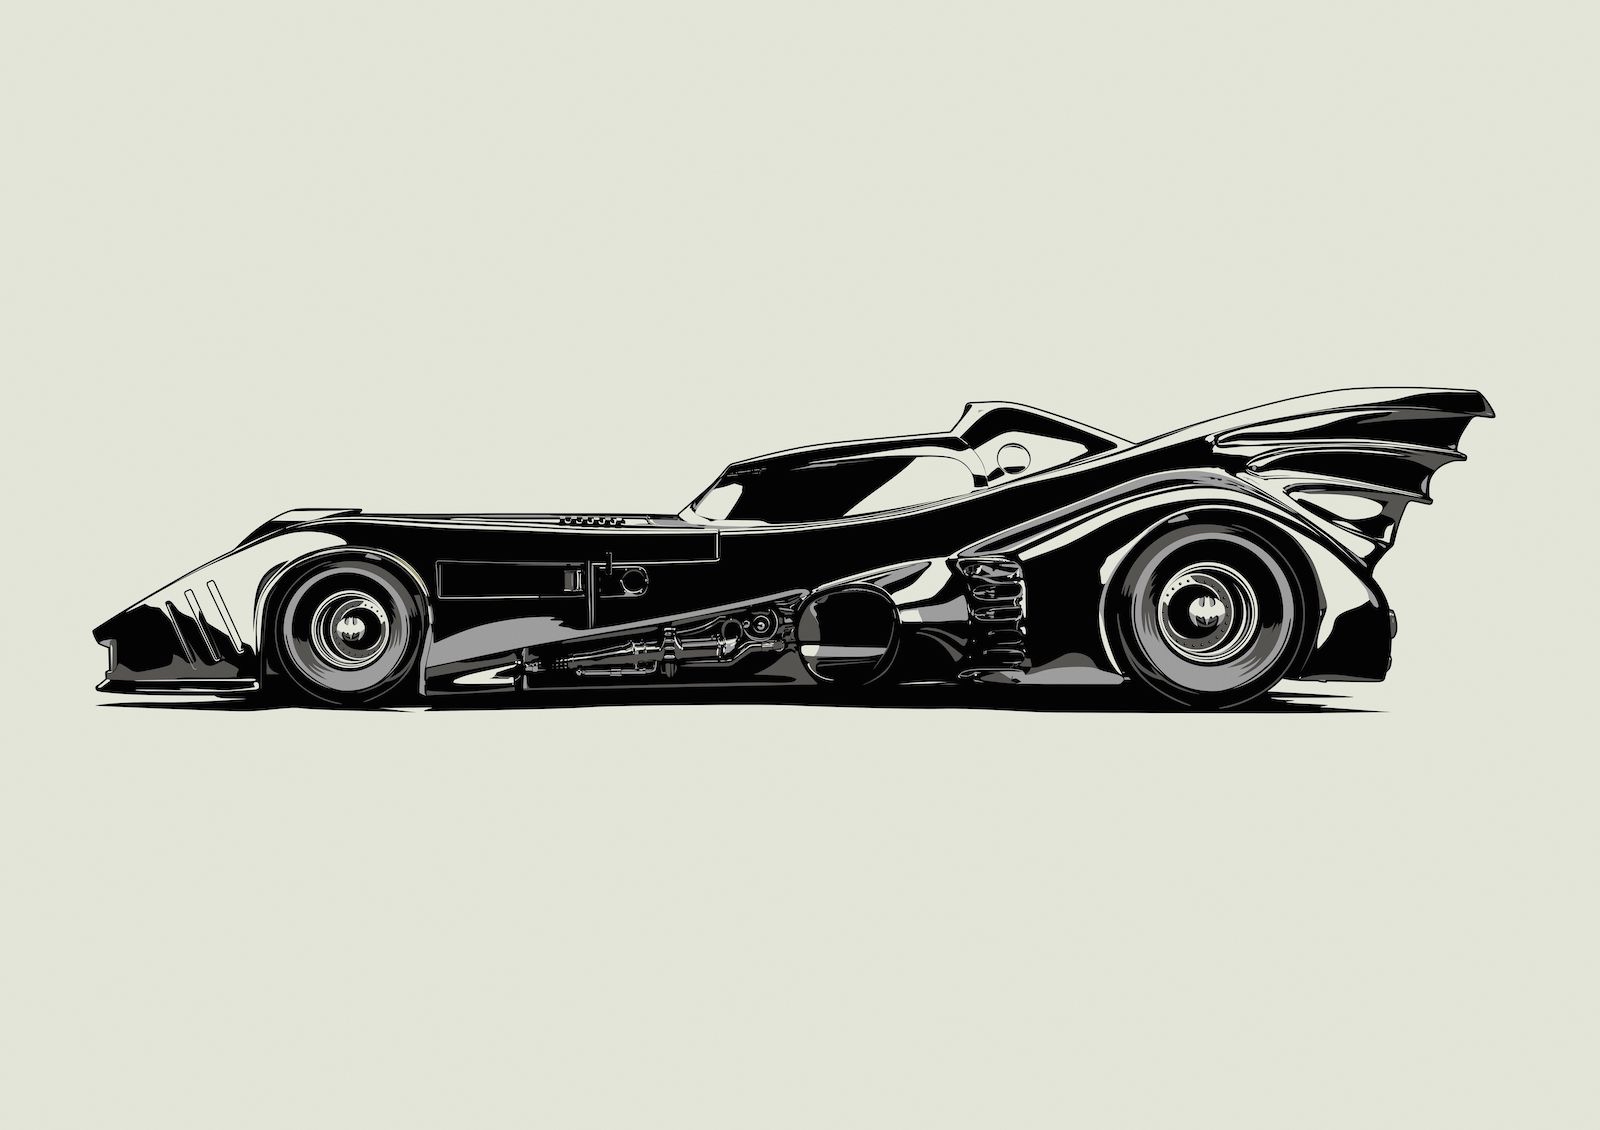
Just messing around, 3 colours (plus the paper colour). I used the ipad for a change, still not a big fan of the mobile version. The 1989 Batmobile. Might do some more when I'm bored.
- 3 replies
-
- 12
-
-
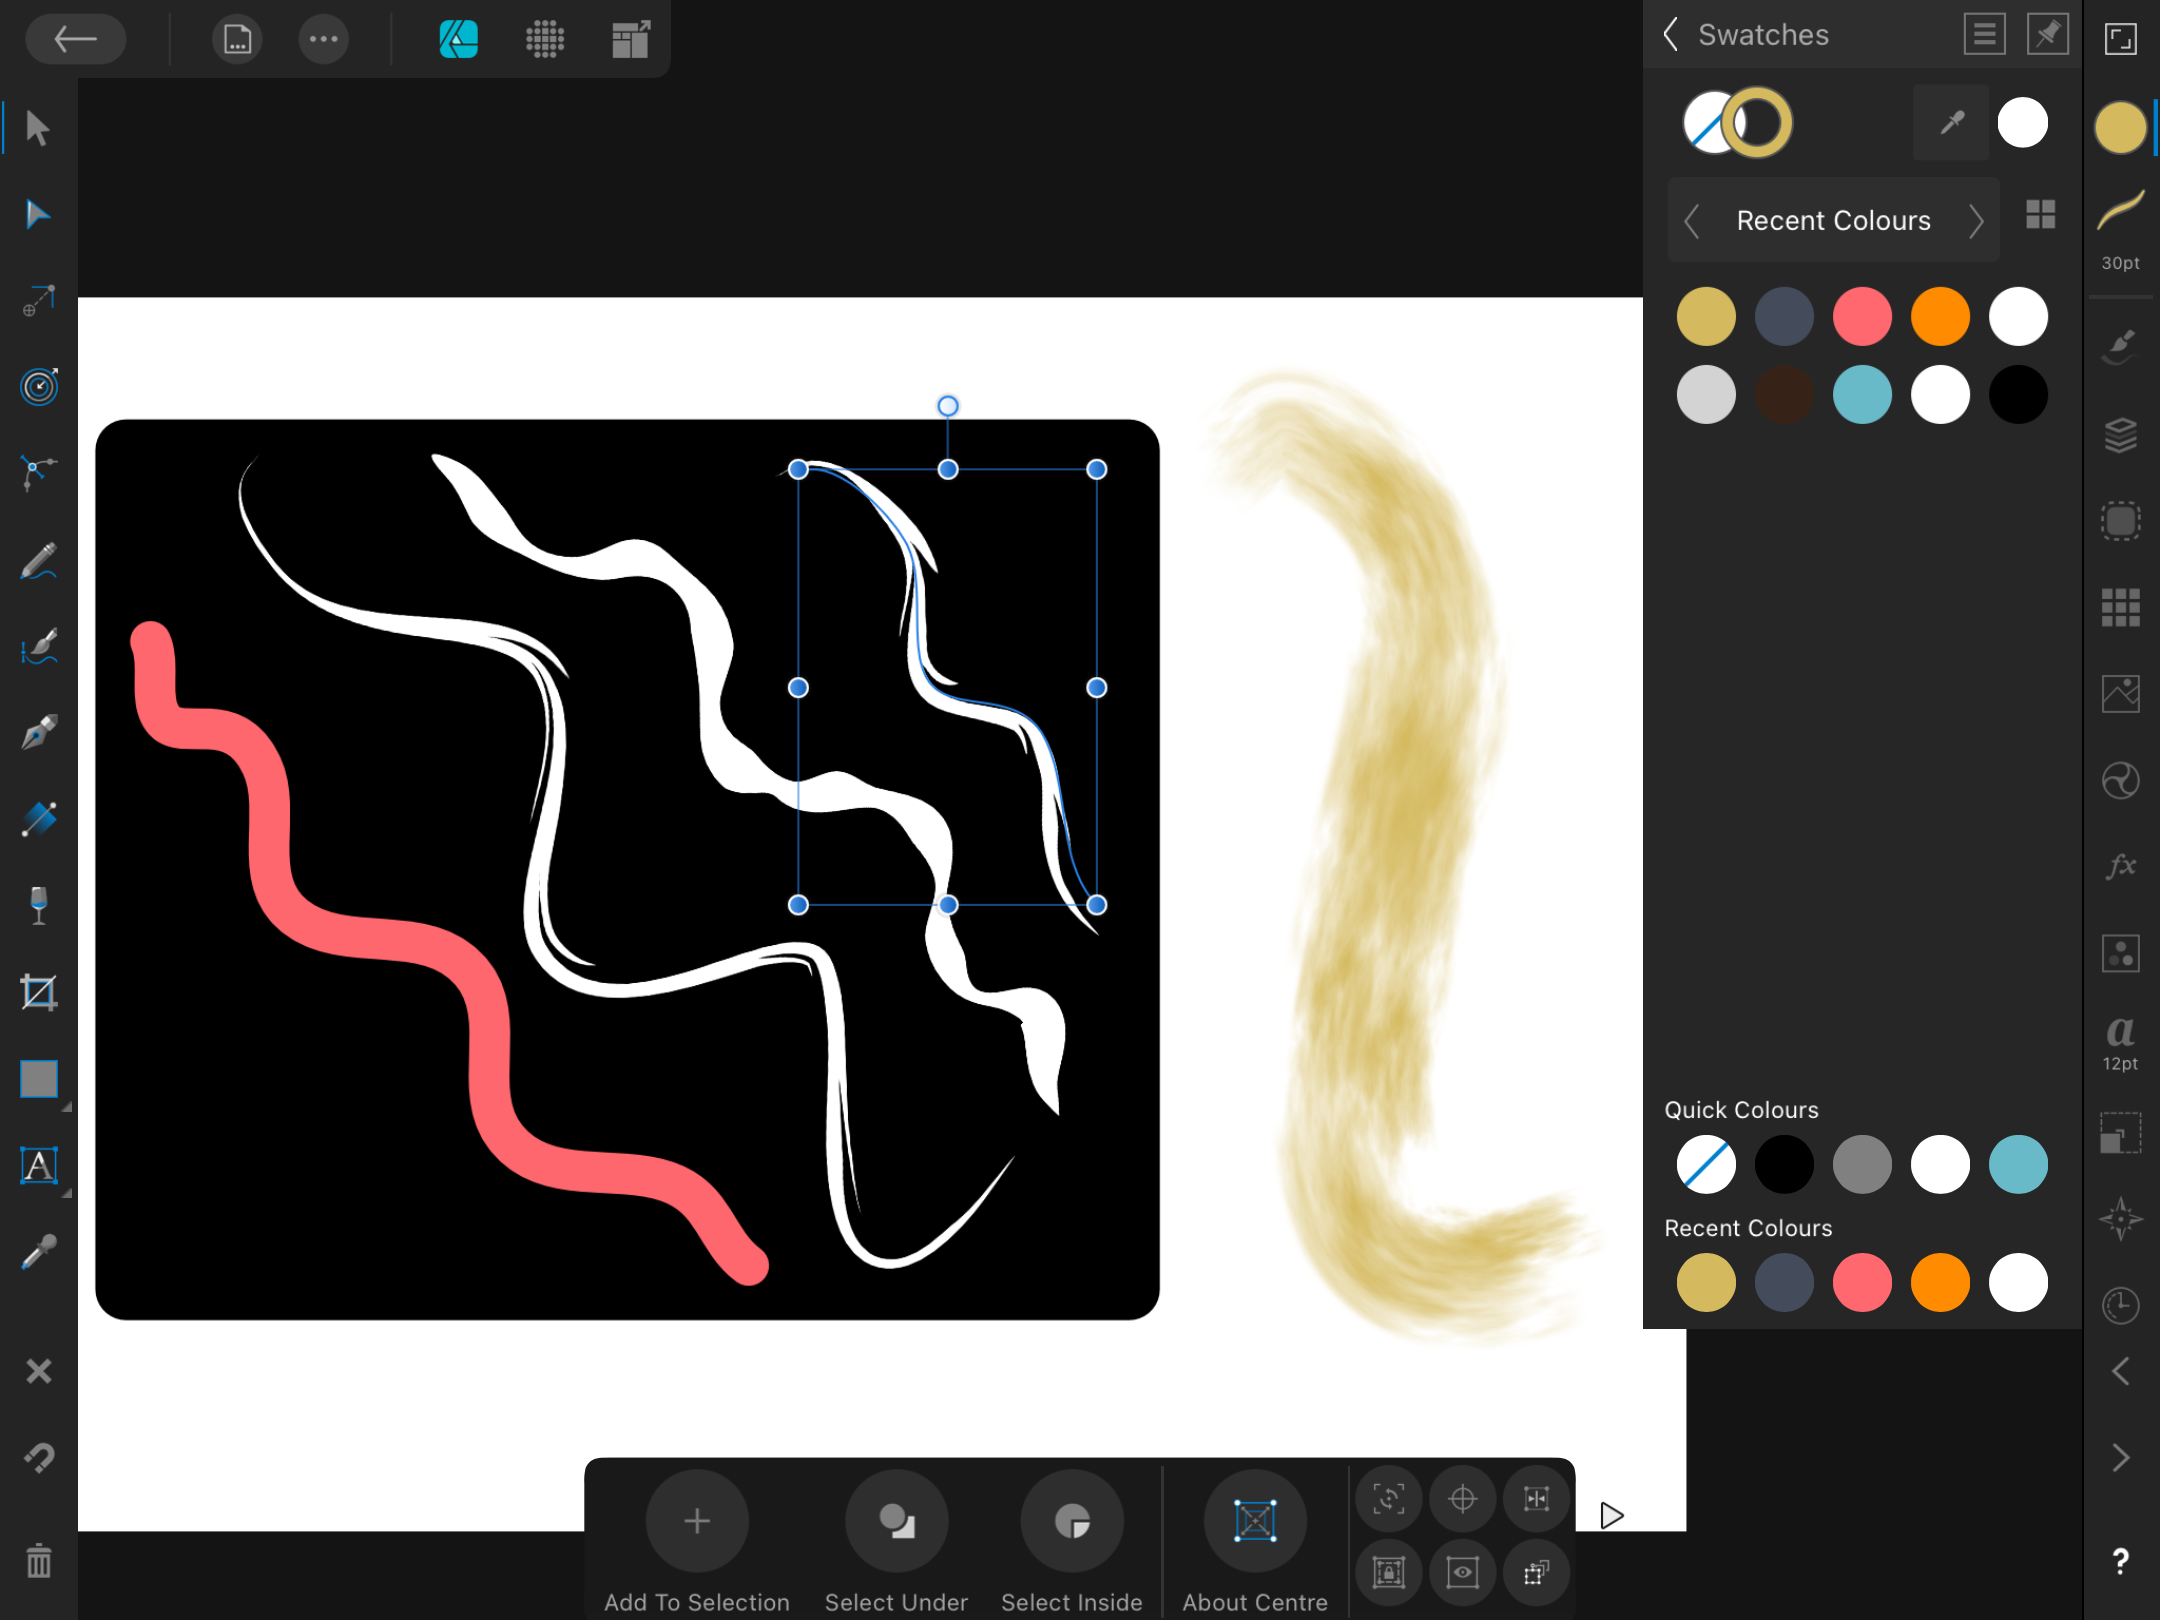
 I decided to try and recreate some of my favourite brushes for Affinity Designer and I am really struggling with this. The pressure I set in the brush creation tool doesn't seem to work when I use it as an actual brush for the brush I made from a solid brush. When I try to create an image brush it doesn't change colour. But the brushes I purchased or downloaded are image and solid brushes but they do everything the way they are supposed to. What am I doing wrong? Screenshot attached. In the image the left is a solid brush with varying pressure sensitivity that is set in the brush settings. But it doesn't show when I paint. I have to manually create the pressure I had set on the brush each time. This is tedious and the reason that I made a specific brush for this. but it doesn't work. I Tried making the same kind of brush with a shape using an image brush but that refuses to change colour. You can see the selected brush is meant to be yellow but it refuses to be anything but white. But the brush stroke outside the shape changes colour as it should. I've checked the settings and I don't see anything about this. How can I fix this? In screenshot 2 I'm having the same issue. But this time on the desktop app. Again it won't change colour and the pressure won't work except when I'm testing the brush. I'm sure I am doing something wrong because the brushes I download seem to work. Could someone help please. Thank you.
-
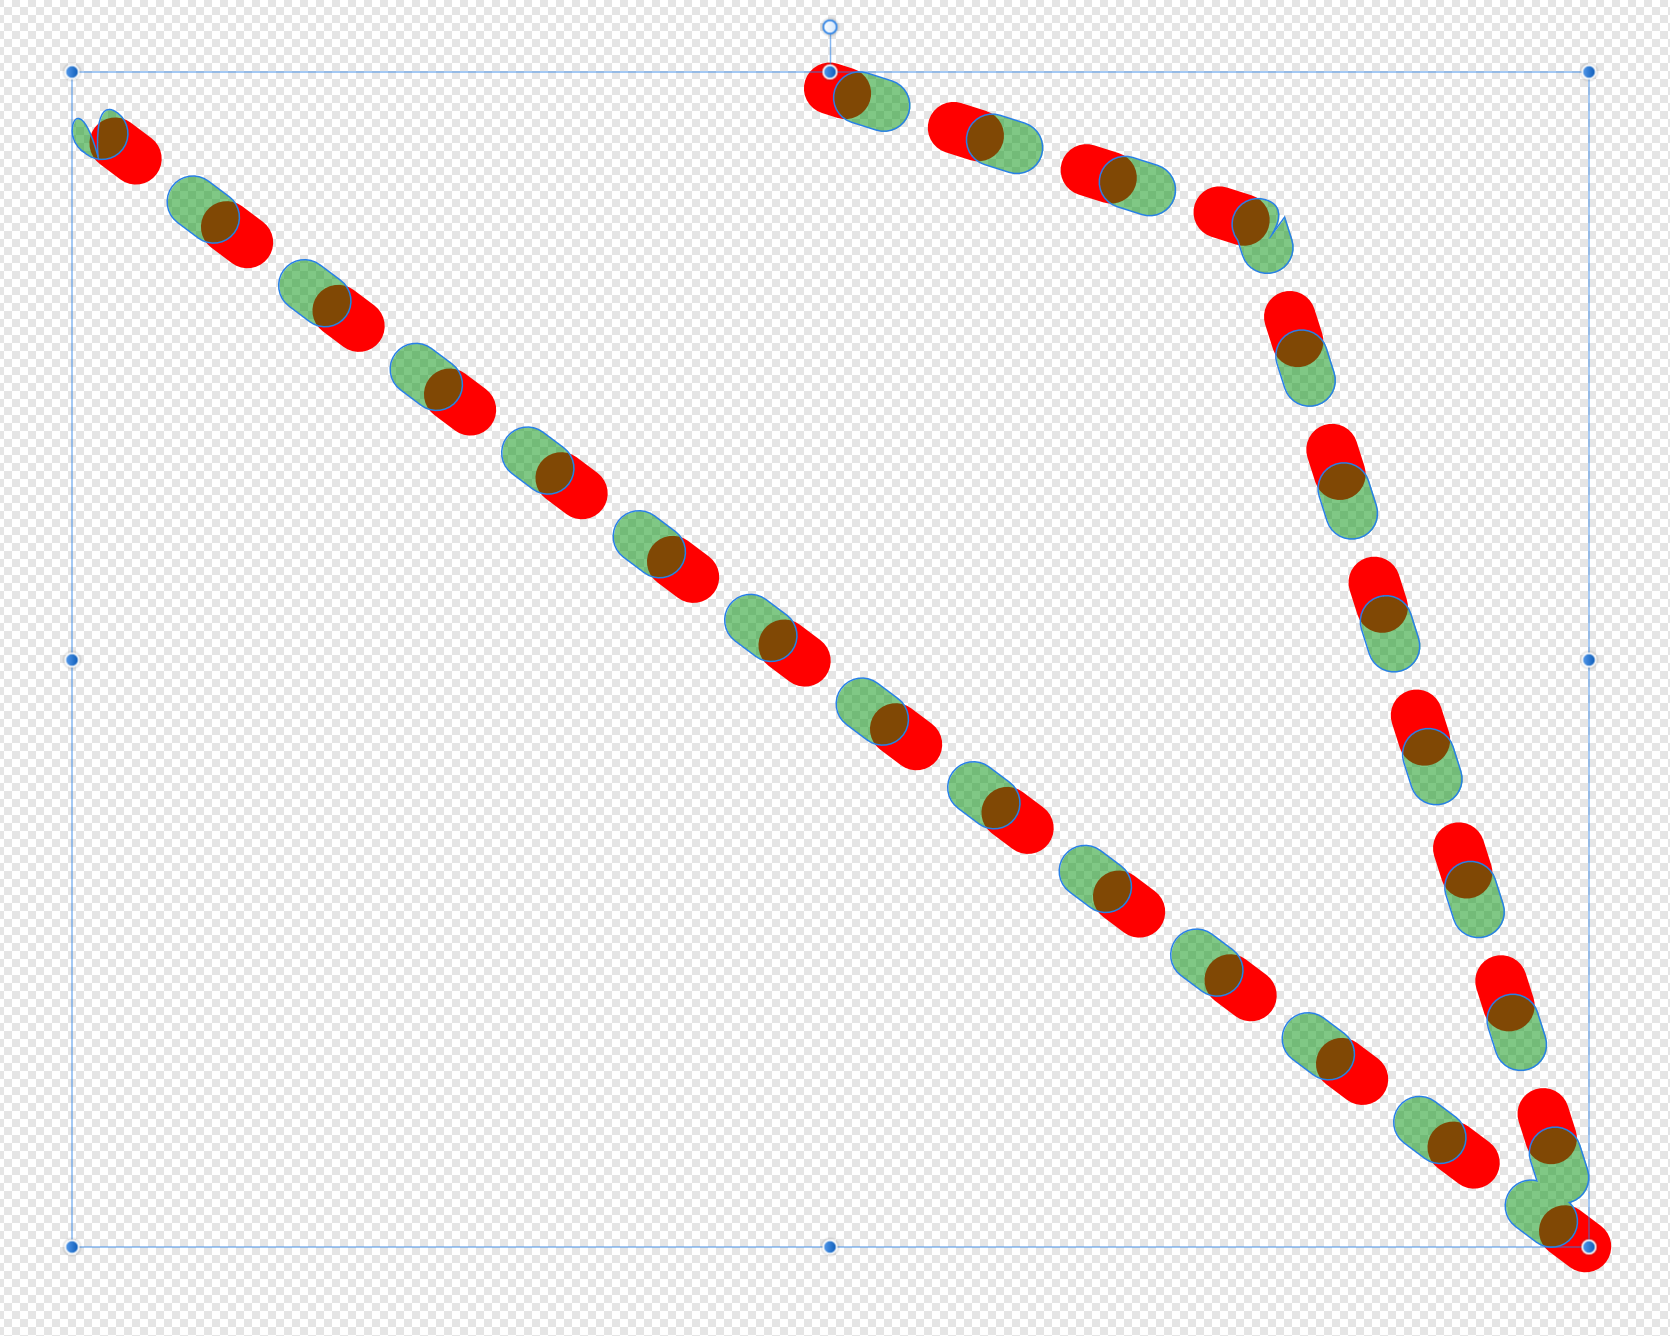
I'm working with an old design where I've (unfortunately?) used lots of dashed lines for a pattern fill. I need to convert everything to curves for this job. I'm seeing issues and as a consequence the patterns are no longer consistent across the filled areas. I can't show the actual design but here's an illustration: The red is the original vector and the green at 50% is the result after Layer | Expand Stroke has been applied. The curve has a negative phase and it looks like this gets set to zero when the expand is applied. Also notice the funky shapes top-left and the corner top-right. This is in the latest release of AD under Windows 10. Any thoughts?
-
Hi Affinity Users and Developers - Just a little AD fun - haven't posted in a while - Not to be selfish but you guys really need to create affinity animator! Come on you know everyone wants that... Hope all is well!
-
 Please I am from an Arab country most of my work is based on Arabic Fonts (Right to Left fonts) so I find a difficulty in Affinity Designer because it doesn't support tight to left fonts. I have to right it in Adobe illustrator export it as a png then import to to my Affinity Designer project as a png image. You see how it is difficult! My request is that you can fix that problem and support Arabic fonts or right to left fonts. Thank you in advance.
- 2 replies
-
- 2
-
-
- arabic
- arabic font
- (and 5 more)
-
 Hi There: Was initially notified by email in June which coincidentally was not long after I'd jagged a new bill paying job, that I'll receive a batch of commissions for a set of figurative portraits from a single client later in the year. At first pretty stoked but at the same time tentatively thinking if I could pull it off, since I've not attempted any serious paid work for ages, well 1998...! to be exact using traditional media via a genre without mincing words, had previously excelled when a working artist, during the 90s. So anyway, I'm guessing they'd hit on an old long forgotten post of something leading too sparking an interest. Therein over the preceding months amidst a plethora of day to day detritus whilst also week in/out preforming high risk duties as an essential onsite worker, throughout a series of nationwide covid lockdowns due specifically to the Delta strain, coupled with our low vaccination rate in my region...trying to get back up to speed practicing using either stylus or pencil, sketching like there's 'no tomorrow' . Henceforth, finally taking delivery of relevant reference material several weeks ago, made a somewhat hesitant start, plus time-frame toward completion considering my usual workrate, at face value was a little tight (two & a bit months) however it's paid so needs must. Consequently, decided to lean heavily upon a digital format, hopeful in providing an efficient alongside effective solution meeting or indeed sliding under the agreed deadline. Current progress, first done, actually final edit was yesterday evening so happy to report the client's response was an approval of the finished result. Vector Outline: Curve Segment Paths - [Blockout] Workflow Breakdown For those interested, a brief walk-through of the process I've been 'tweaking' for the best part of two years, drawing realistic content utilising Affinity Designer. Personally I think I've struck a balanced approach in terms of technique out-putting whatever subject whether organic or hard surface, basically not that dissimilar too 3D pipeline tasks i.e. Background Ref's Blockout Base Sketch Refining Details Final Pass / Render Post Processing / Comp Typically, when freelancing as a Portraitist back in the day I'd mostly work from photographs, simply because of a preference for painting at ones own pace and also suited my persona as an artist without the additional hassle of in situ sittings. Now this particular methodology is fairly straightforward, base sketch is blocked out by tracing an image, from the outset primary color gradients are initially layered down. Once appropriately edited, I'll toggle over to ADs Persona suite of raster tools for texturing. In my opinion they're fully featured for my present need, default brush sets are intuitively user friendly including a fleshed out settings menu, quite useful when changing properties on the fly while implementing effects such as blur, opacity, glow etc, as well. Although that all said, layer management is pretty crucial, when dealing with complex content, the layer stack especially vector / pixel combinations will propagate fast, quick! so keeping tabs on usable naming conventions is well worth keeping an eye on, probably mitigated to an extent by some forethought during pre-planning. Each Relevant Stage Highlighted via Gif: Generally, with some optimism can state I've 'ironed' out more than a few wrinkles drawing using this app which hopefully bodes well for the remainder. Cheers.
 -
I make some SVG clip art for openclipart.org. I create it in Affinity Designer and export it to SVG. I always have to make sure it is pure vector art because openclipart.org does not accept SVG files that contain bitmaps. I also have to make sure to convert all text to curves because there is no guarantee anyone who downloads it will have the same fonts I do. After I have exported everything, I open the SVG in my text editor and cut out everything I can to make the file as small as possible. Most of it is just simple shapes, like this Cool Cellface thing: At other times, it is just some text, like this little joke: Affinity Designer is really good at designing clip art, though its SVG exports could be more optimized (luckily I am perfectly capable of optimizing them myself, but it takes extra effort).
-
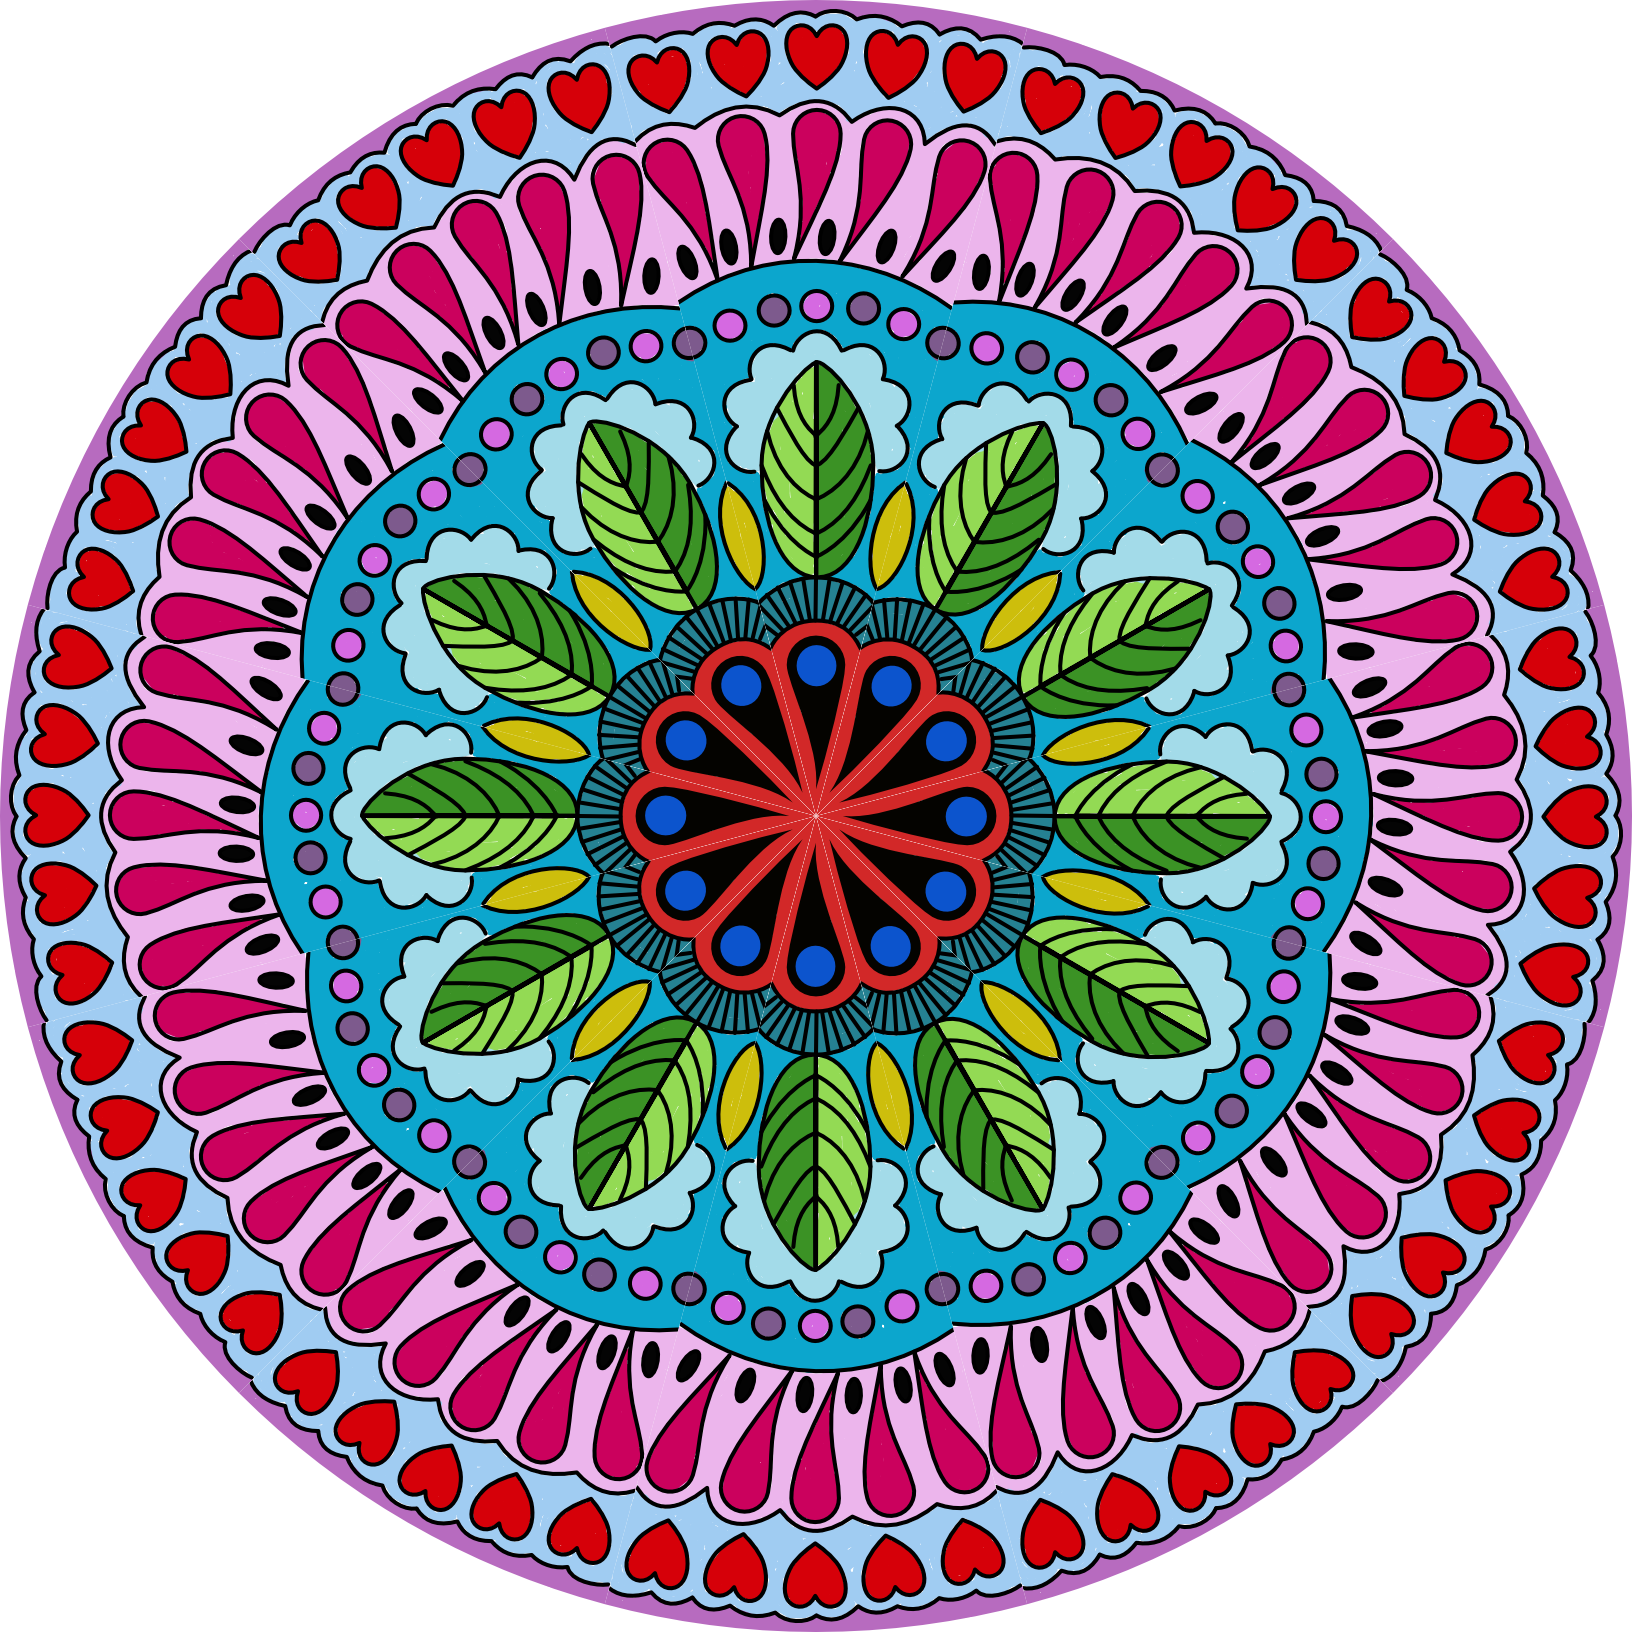
I have decided to take up doing mandala art. I created my own template using symbols and layers for drawing and colouring. This is my first one, there will be more
-

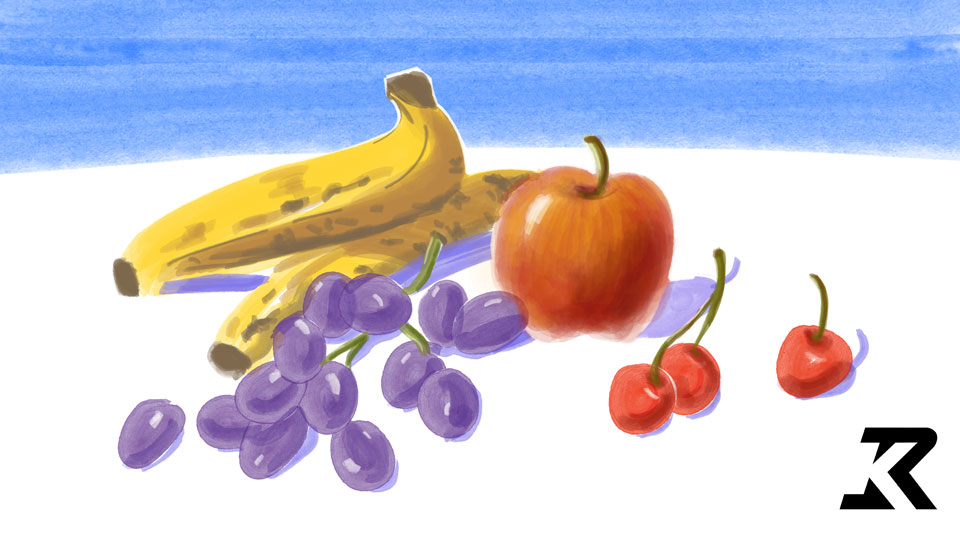
affinity designer Watercolor Painting in Affinity Designer
risingkirin posted a topic in Share your work
Hey Everyone, Here is a timelapse video of me creating a watercolor still life painting in Affinity designer. I had a lot of fun playing with the different brushes and testing the different capabilities of the software. Enjoy! Here is the video from start to finish: https://youtu.be/y6l6-wOOf2A Let me know what you think? Thanks, Mike
- 8 replies
-
- 4
-
-
- vector
- illustration
- (and 6 more)
-
 I am working on a job in Affinity Designer 1.10. When I was using the Pen Tool, I noticed that the pen cursor was offset to the right of the vector nodes as I was drawing a line. Not only that, but this offset increases dramatically as the cursor moves further to the right of the screen. By the time I reach the right side of the screen, the offset is over 5 mm between the cursor and the node. This problem also occurs when using the Pencil and Vector Brush tools. It only occurs when I use the Wacom tablet and not with the mouse. Also, this is only happening in Affinity Designer. When I bring up Affinity Photo 1.10, the Vector Pen tool in that application worked flawlessly. All my other applications work fine with the tablet. I am using a Wacom Intuos 4 tablet in a Windows 10 environment. I recalibrated the mapping in the Wacom controls, and I also performed a number of reboots. I need to mention that I have a second monitor, which is a Cintiq 16. The Cintiq is for painting, but I prefer the Intuos for all my vector designs. This was never a problem before, so I am puzzled as to why this started happening now.
 -
I feel the Opacity slider should be moved in Affinity Designer & in Affinity Photo what do you guys think ?? This small change would make it so much easier and much more enjoyable to use
-
 I'm having some troubles with the dashed line. The corners of the icon doesnt look the way I had hoped. Is there any saetting I have missed or am I doing any thing wrong? I would like to have the corners sharp.. The size of the artboard is 64x64 and the icon has the same values and is placed in the center. Any advice?


.png.ebb85789df855bfb2e73be15039dda9b.png)