JaneE
-
Posts
34 -
Joined
-
Last visited
Everything posted by JaneE
-
Do you have the right layer selected? As long as the background is transparent, I would just use a color overlay under FX.
-
You are assuming that anyone who wants to rename from within the app doesn't permanently save their work. That's not the case! If it was just temporary and I didn't plan on keeping it, I probably wouldn't care about the name. Yikes! That sounds rough. Though I'm not sure why renaming a file would lead someone to think that they were saving different copies of a file. If users don't understand how to save properly, that's certainly an issue that should be addressed. I just don't see what the capacity to rename within the app has to do with that.
-
That sounds like a problem where the color space you designed in was different than the profile that was exported. If you haven't already, it might be worth testing out different color profiles to see if any of them look the way you expect.
-
Thanks for the suggestions. I do get that there are multiple ways to get copies of a file with different names. That's perfect when you want different iterations. I use those options when I am working in that way. However none of the options seem to rename the original file. Which means you still have the extra step of deleting the original file, if you don't want to keep it. Workflow 2 just hides the original from live docs. It is still there in Files. Sometimes I literally just want a way to change the name of the original file. I hope renaming can be added in a future release!
-
I can see how in some cases that would be helpful. However sometimes you literally just want a different name - not to take up space with multiple identical versions. Maybe there's a typo you just noticed, or maybe something was accidentally left with the name untitled because you were working too quickly or didn't pay attention. Sometimes you just change your mind. Sometimes the option to rename instead of duplicate/save as is truly better.
-
Just want to say, hoping that renaming documents will be possible in the future. Saving As isn't a great option since you then also need to delete the original if all you want is a different name. Why add an extra step if you don't need it?
-
Affinity Designer 1.8 Freezes and is unresponsive
JaneE replied to tribalcarver's topic in V1 Bugs found on macOS
I'm having this problem with 1.84 on macOS 10.15.4. Designer hangs on a new document after trying to draw on a pixel layer. If you don't try to draw, making a selection on a pixel layer is really slow - the spinning ball appears for a while. Trying to fill the selection causes a hang. I'm not sure how long this has been going on as I tend to stick with vector layers. Edit: Actually the fill does succeed but it takes a good 5 minutes or so to do so. The pixel persona is so laggy or unresponsive that it's not usable. -
Publisher becomes unresponsive
JaneE replied to MadHugger's topic in Pre-V2 Archive of Desktop Questions (macOS and Windows)
Personally, I've found attempting to use the pixel layers/the pixel persona is making Designer hang on macOS. Oops, sorry. I just realized this is for Publisher. -
wrong function in color swatches
JaneE replied to Thomahawk's topic in Feedback for Affinity Publisher V1 on Desktop
I think the entire point of Publisher is that we can do layout and make design elements and adjust photos in one place without having to leave the app. I love it! It's really helpful having the option to create or adjust design elements as needed, without having to leave Publisher. If I'm reusing a design asset, I might realize the color or transparency or etc. doesn't quite work in the new project. Now I can adjust it immediately, in Publisher. Not everyone will need access to all of the design features - that doesn't stop them from being helpful to others. -
Migrating from InDesign to Publisher
JaneE replied to Martien's topic in Feedback for Affinity Publisher V1 on Desktop
Right now, PDF import is the only way, as far as I know. IDML import will be added at some point, so I would export all of your InDesign files to the IDML format too. Someone shared a script for batch processing to idml. -
wrong function in color swatches
JaneE replied to Thomahawk's topic in Feedback for Affinity Publisher V1 on Desktop
I think the reason there are multiple locations to set opacity is probably due to the pixel layers in Designer and Photo. Pixel layers need the ability to change the opacity for colors, independent of layers. Consistency in the suite is important. Personally, I use both locations to change opacity. I change the opacity in the color or swatches palettes when I am choosing a color. The proximity saves a little time. If I am adding translucency to a photo or a group, then I'll use the layer opacity. For my workflow, both locations are helpful/useful. Ability to change the brightness directly from the swatch palette would be a great addition though. We can double-click a swatch and use either the hsl or lightness sliders, but it would be better to select the swatch and just change a percentage. -
There definitely is a transparency/color issue there! That must be frustrating. Since the Affinity programs were originally built for macOS instead of Windows, I wouldn't count on the programs being similar internally. I think that if it was feasible in a reasonable amount of time, they would make importing work.
-
I love the first version but...
JaneE replied to redlik's topic in Feedback for Affinity Publisher V1 on Desktop
Most of the time I just use the touchpad on my MacBook Pro. As far as I know, there's currently no way to simulate a middle mouse click without a third party app. -
I love the first version but...
JaneE replied to redlik's topic in Feedback for Affinity Publisher V1 on Desktop
That's definitely helpful for anyone with a mouse, though not everyone uses one. -
I had the same problem. In my case switching personas out of Photo, then opening the Photo app, and then trying the Photo persona again resolved the issue.
-
On macOS, you can enable split view to have 2 app windows open side by side in fullscreen. To do so, hold down (with force if using a touchpad) on the green fullscreen button of one window (ie. Finder) and drag to the left or right. Then choose the 2nd open program (ie. Publisher) from the selection of open windows. The 2 windows will automatically fill half of the screen each - but you can drag between them to resize horizontally. So you could have a narrow Finder window next to a wide Publisher window in fullscreen. This could be too cramped on a small screen.
-
Colour and transparency gradations
JaneE replied to PaulBraddon's topic in Feedback for Affinity Publisher V1 on Desktop
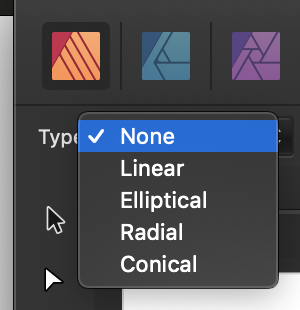
A. Do you mean a gradient? With the fill tool (color wheel icon) you can change between none, solid, or various gradient types for both fills and strokes. B. With the transparency tool (wineglass icon) active, you should be able to change the type from none to linear to radial or etc.
-
When I looked in Gmail, the publisher release email was hiding under the promotions tab. If you haven't received the email yet, and use a gmail account, you might want to check there.
-
I have the same problem with the touchpad on a MacBook Pro too.
-
Placed photos flipped the wrong way
JaneE replied to Jeremy Bohn's topic in Feedback for Affinity Publisher V1 on Desktop
I have that problem occasionally in a couple programs. When there is a problem image, I use Finder or Preview and rotate it completely around - back to the starting/ideal orientation (and save if using Preview). Afterwards, when I open the photo in other programs it always displays properly. -
I wish this button was OK instead of Close
JaneE replied to Mr. K's topic in Feedback for Affinity Publisher V1 on Desktop
That's fine, personally I wouldn't expect pressing enter to close the window. However, it's irritating when there's one behavior on Windows and another on Mac - unless it is a platform specific standard. -
I wish this button was OK instead of Close
JaneE replied to Mr. K's topic in Feedback for Affinity Publisher V1 on Desktop
On a Mac laptop keyboard, since it's compact, the enter key is the return key. For programs that treat the two commands as something different, holding down on shift when pressing enter/return gets the enter behavior. However, that has no impact here. So neither return nor enter closes the dialog - no matter how many times you press the key. -
Similarly, I had a crash adding a hyperlink through the hyperlinks panel - also on Mojave. In my case, it seems to happen when adding a url to a text box applied with a master. At first it won't let me apply a link. If I've already applied a link to text without a master, then I can try to add a link & get a crash.
-
Stroke and rules styles
JaneE replied to GeoffM33's topic in Feedback for Affinity Publisher V1 on Desktop
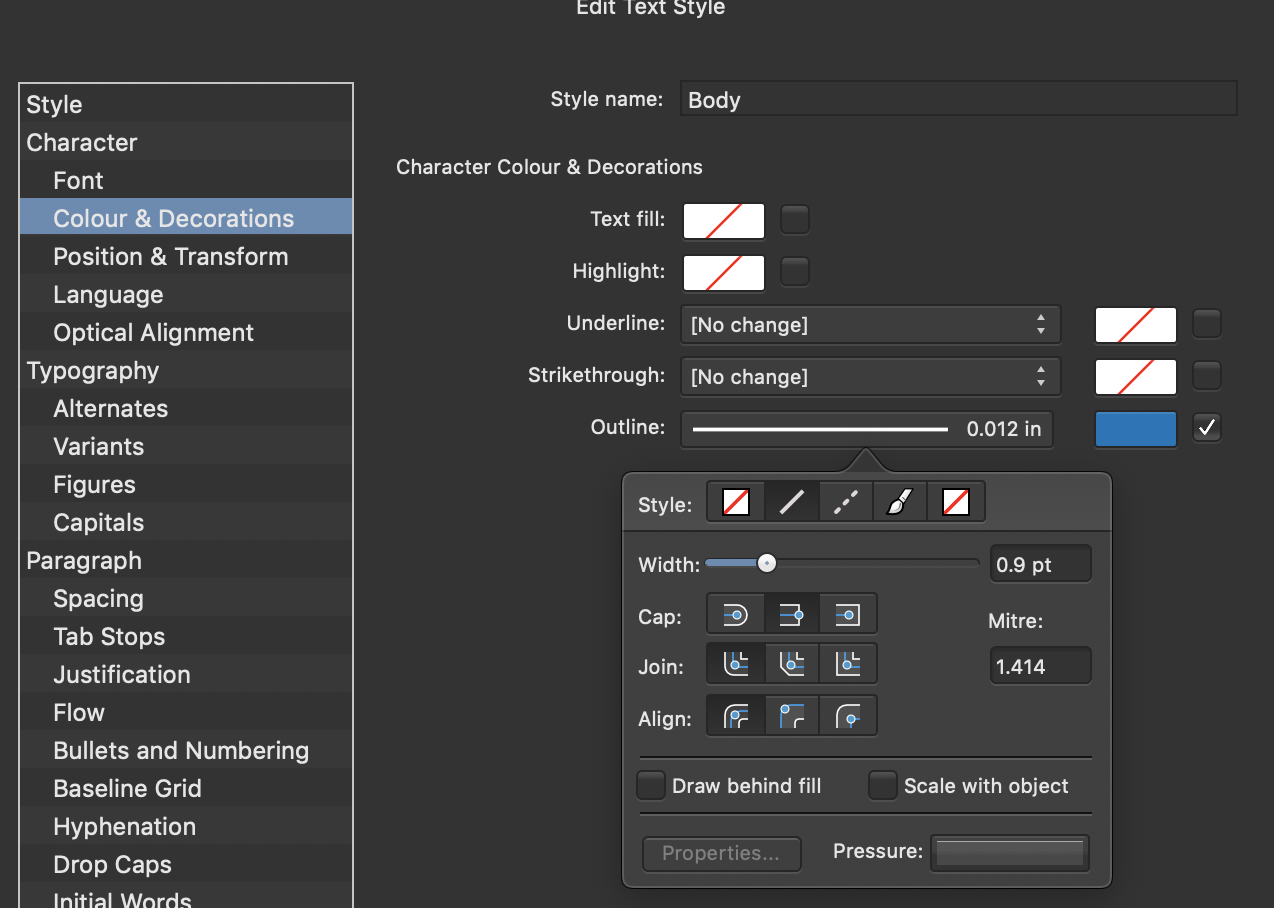
Re #2: Are you looking for this? If you click on the line next to outline, you get the normal Affinity stroke options.
-
I think the 2nd method is something like this: 1. Open your image in Aphoto. 2. With the layer selected, in the Layers menu, click on "Rasterize to Mask" 3. Copy the newly created mask layer (it should look similar to below) 4. Paste the mask layer on a page in Publisher (since it is a mask you won't see the image on the page) 5. Create a rectangle or ect. with your desired color (about the size of your image) and directly over the mask layer 6. In the layers tab, drag the mask layer directly under the shape layer and to the right