Medical Officer Bones
-
Posts
719 -
Joined
-
Last visited
2 Followers

Recent Profile Visitors
7,575 profile views


.thumb.jpg.2ac1b0424a6896c349d3d16eea40c7f3.jpg)
-
 Meliora spero reacted to a post in a topic:
Affinity Suite: Why is the essential ICO format still absent?
Meliora spero reacted to a post in a topic:
Affinity Suite: Why is the essential ICO format still absent?
-
nodeus reacted to a post in a topic:
Affinity Suite: Why is the essential ICO format still absent?
-
 @Meliora spero Absolutely agree with your comment on a plugin architecture. If the developers had only integrated (for example) a Python API based plugin architecture from the very beginning! Just imagine the ecosystem of tools, exporters, importers, etcetera that all Affinity users could have had access to. Serif could have created their own add-on market for more revenue, and so on. It's mind-boggling how that low hanging fruit has been left to rot on the ground for years. Such a wasted opportunity.
 -
Medical Officer Bones reacted to a post in a topic:
Affinity Suite: Why is the essential ICO format still absent?
-
Meliora spero reacted to a post in a topic:
My current sentiment, re: v2.6
-
Boldlinedesign reacted to a post in a topic:
My current sentiment, re: v2.6
-
I second this. I posted a rather negative point of view --"review'-- of VectorStyler on these forums the first time I tested it, but have revised my opinion a few months ago and actually made the purchase. It's good. Really good now. The developer proved to be very responsive as well in regards to comments about performance. It's now part of my vector illustration set of tools: PhotoLine, VectorStyler, and InkScape. To be honest, Designer doesn't get much use nowadays. Graphite is super-intriguing and the node-based workflow/editor together with layers already works quite well. The only issue when I tested it: its incredibly slow performance with bitmap images and more complex files. The developers have stated that a complete rewrite aimed at improving its performance is the next step. Certainly one to keep an eye out on, I agree. Just might become a game changer.
-
Xanadu reacted to a post in a topic:
My current sentiment, re: v2.6
-
PaoloT reacted to a post in a topic:
Epub suport export
-
debraspicher reacted to a post in a topic:
My current sentiment, re: v2.6
-
Markdown file export would be all that we'd need to easily convert to a reflowable ePub file...
-
Boldlinedesign reacted to a post in a topic:
My current sentiment, re: v2.6
-
Medical Officer Bones reacted to a post in a topic:
My current sentiment, re: v2.6
-
HCl reacted to a post in a topic:
My current sentiment, re: v2.6
-
Bryan Rieger reacted to a post in a topic:
My current sentiment, re: v2.6
-
Seriously??!!! When Adobe released their first version of InDesign it wasn't ready to challenge the market leader QuarkXpress yet. This was August 31st, 1999. Only 7 months later InDesign 1.5 was released, and it turned heads in the industry. Only 16 months later InDesign 2 caused the industry to turn their backs on QuarkXpress. 16 months. That's all it took a dedicated team to create a professional DTP tool to dethrone the king. It wasn't buggy. It was ready for production. It introduced new and innovative features that made QXP look decidedly old in the teeth. Now, requirements have grown and are more complex. Still, Affinity Publisher was released almost 5(!) years ago: June 19th 2019. In 5 years and 5 months time the InDesign team released InDesign CS2, which is arguably still more production ready in a number of areas compared to the current version of Affinity Publisher. One person. ONE PERSON created an Illustrator alternative in less than 5 years time that easily surpasses Affinity Designer. (VectorStyler) ...and here we are sweet talking Affinity in that it is still supposedly in its "wayfinding phase"????!!!! If, after more than TEN YEARS OF WAYFINDING since the initial release of Affinity Designer back in Oct 2014 they are still lost, I am seriously starting to wonder whether they actually brought someone to draw a map. What. The. Heck.
-
Medical Officer Bones reacted to a post in a topic:
Xara Designer for PC is software to live up to
-
Designer export to PNG pixelated
Medical Officer Bones replied to _SteveC's topic in Desktop Questions (macOS and Windows)
A general tip: I found Illustrator's and Affinity's direct export to small sized bitmaps to be acceptable, but not that great. Instead: export to a 4 to 6 times increased resolution version, and scale down that version to the required lower resolution. Before you do this you have the option to sharpen the higher resolution version a tad, and that will generally improve the smaller version's edges somewhat. By far the best method is to use a rsampling algorithm that is strong in maintaining contrast while scaling down images. My experiments and experience tell me that CatmulRom is generally the best candidate to tackle this final down-sampling step. This is also supported by independent research on the matter.** Unfortunately most image editors do not support this algorithm. Certainly not Adobe, which is stuck in the past with its file formats and core code. Squoosh, PhotoLine, PixInsight, COlorQuantizer - those do support CatmulRom and other resampling methods (such as Mitchell). If the best quality is required for this type of work, the only path is to use one of these tools. **https://pixinsight.com/doc/docs/InterpolationAlgorithms/InterpolationAlgorithms.html -
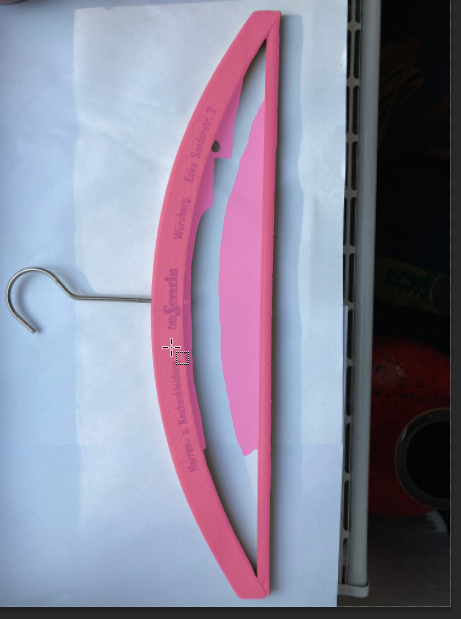
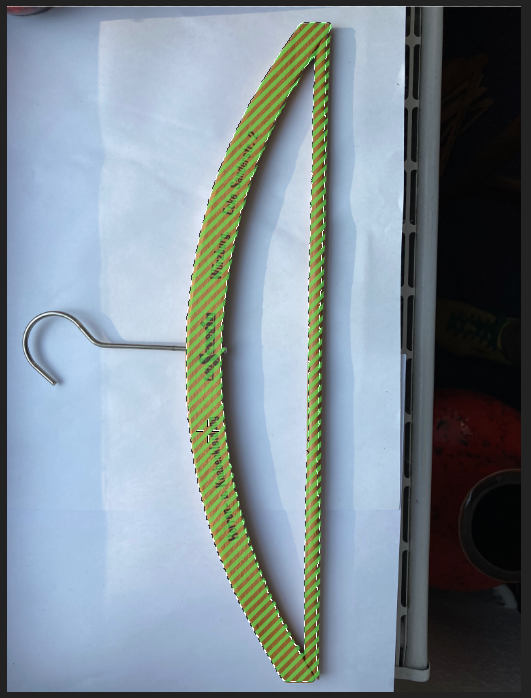
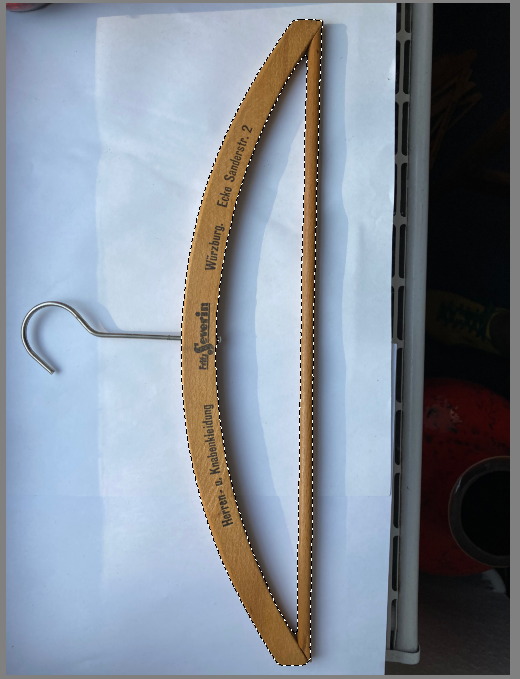
For fun I tested Photoshop, Affinity, and Krita (with the free open source segmentation selection plugin). Photoshop 2025 wouldn't cooperate at all. Soft edge, hard edge, ... Unusable. In Affinity Photo I had to turn off soft edges. Then it did an okay job. Krita was the simplest. No change of settings required, a single click on the wood sufficed. The selection is slightly better than Affinity's. Neither Affinity's nor Krita's selection is acceptable 'as-is', and both require more (manual) work. But I can see the potential to at least speed up the selection process.

-
James Ritson save AFFINITY
Medical Officer Bones replied to GRAFKOM's topic in Feedback for the Affinity V2 Suite of Products
Photoshop is, in my opinion and experience, the worst candidate for optimizing and preparing bitmap assets for digital, screen, and web contexts. It is inferior in almost every regard compared to other options. That said, if print is the context, I suppose Photoshop is still a good option. 😉 -
Medical Officer Bones reacted to a post in a topic:
Create editable PDF
-
Medical Officer Bones reacted to a post in a topic:
Who will use Publisher in 2025
-
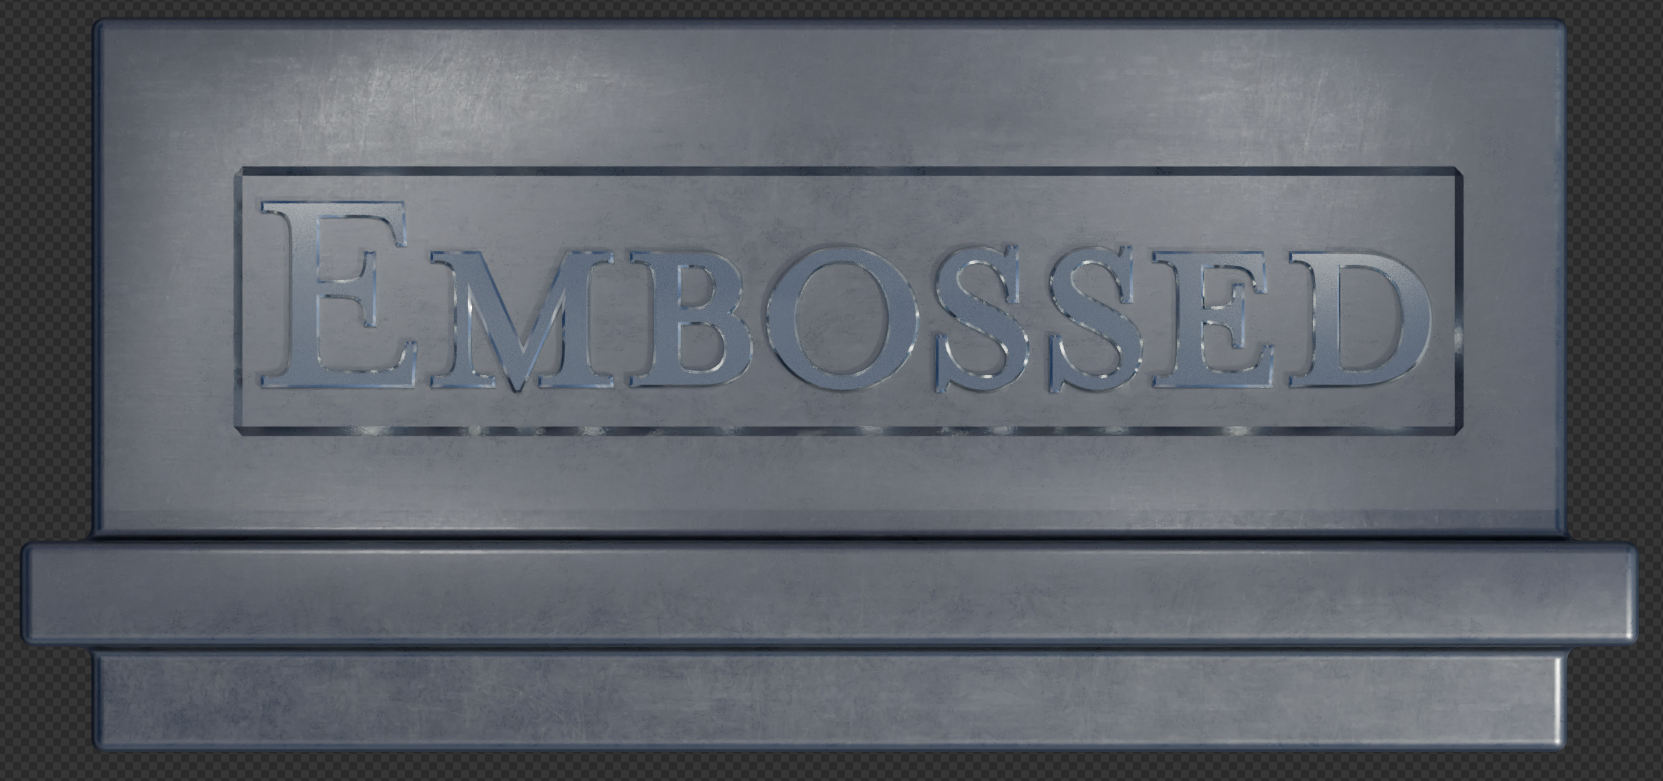
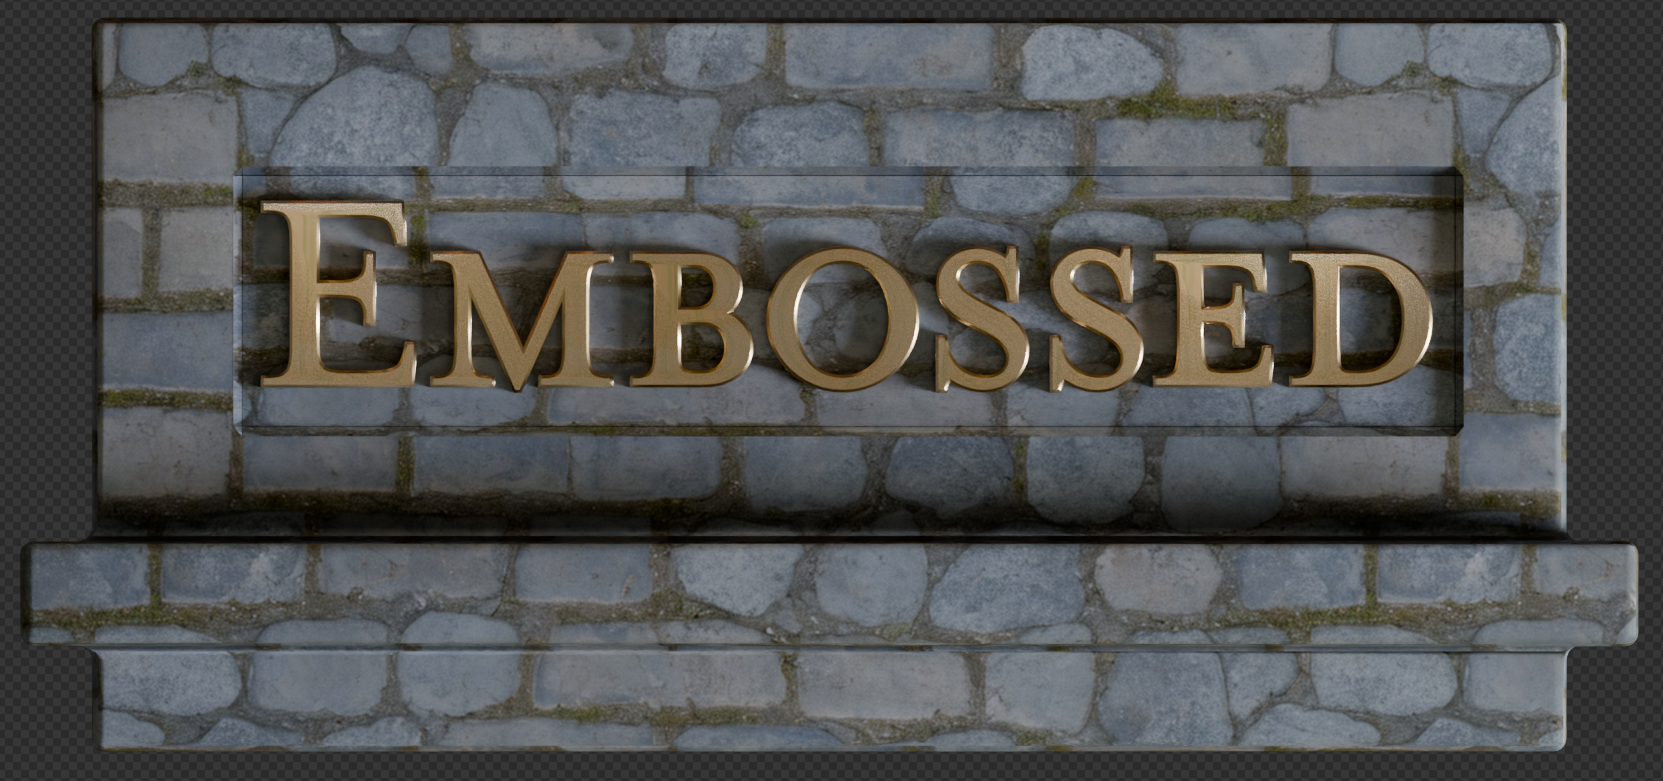
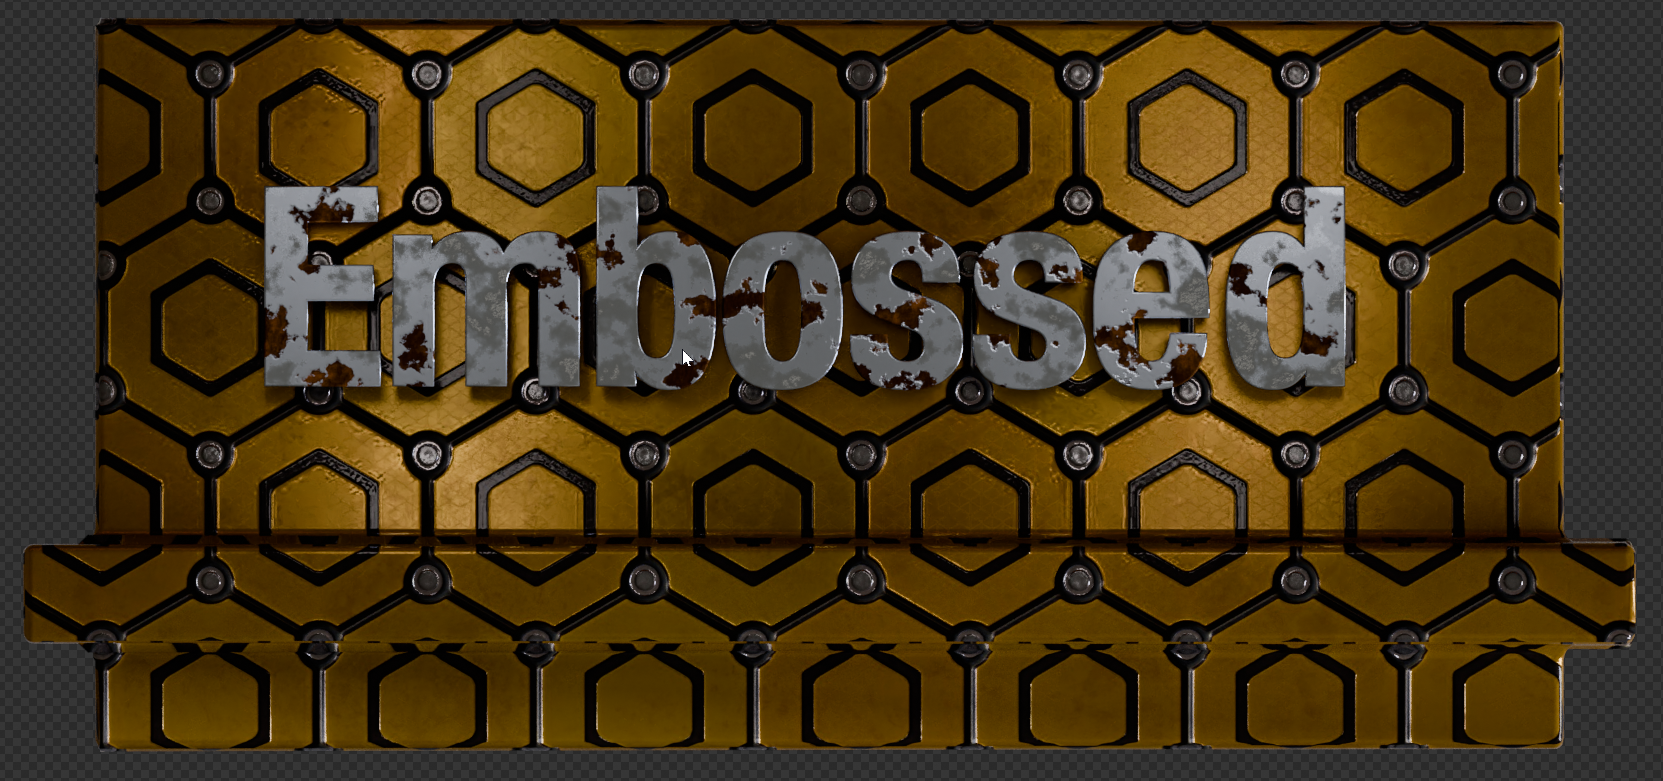
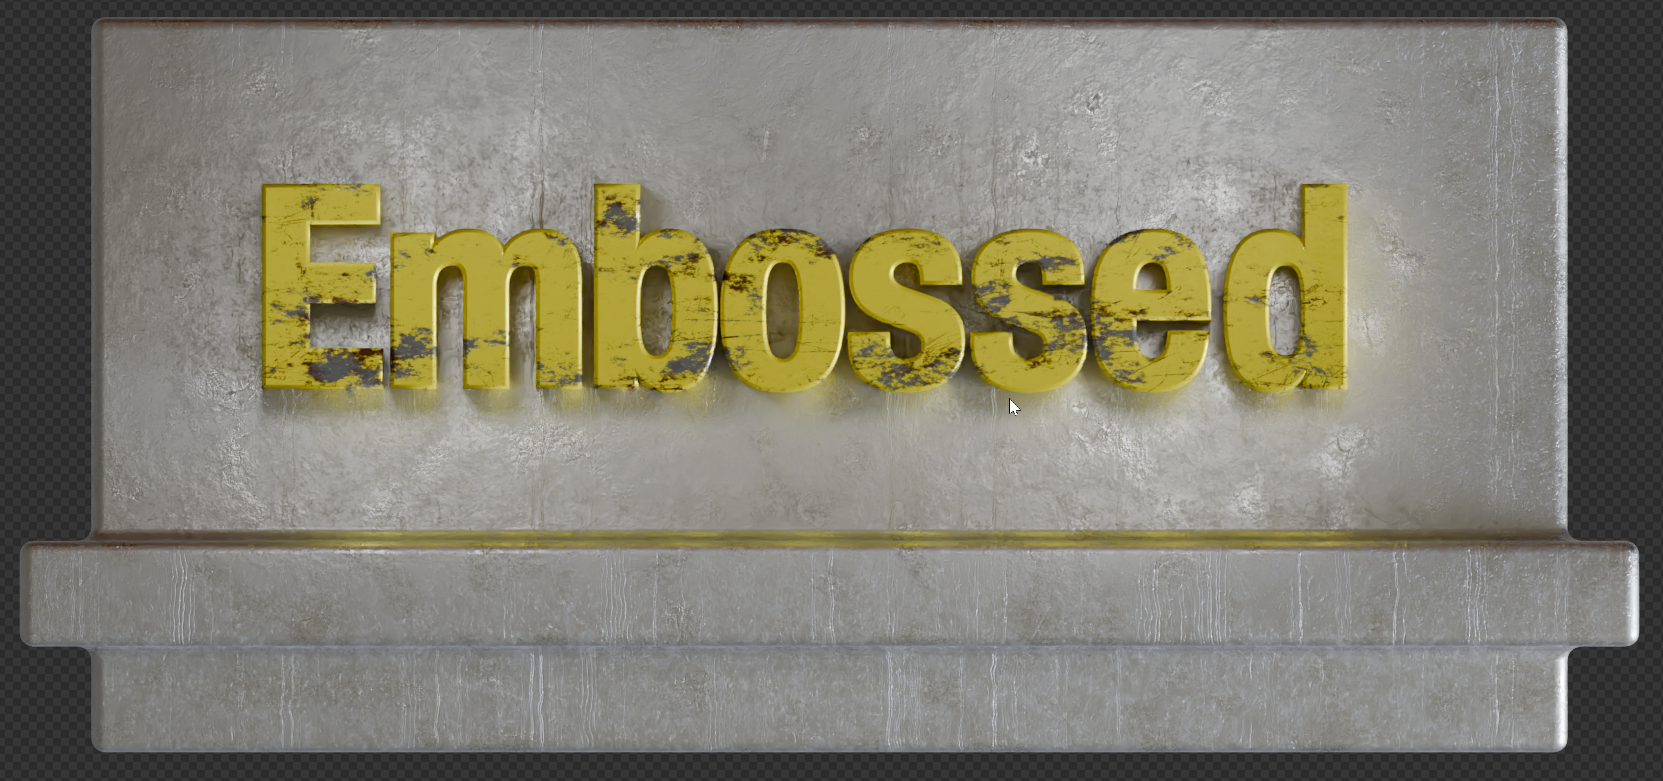
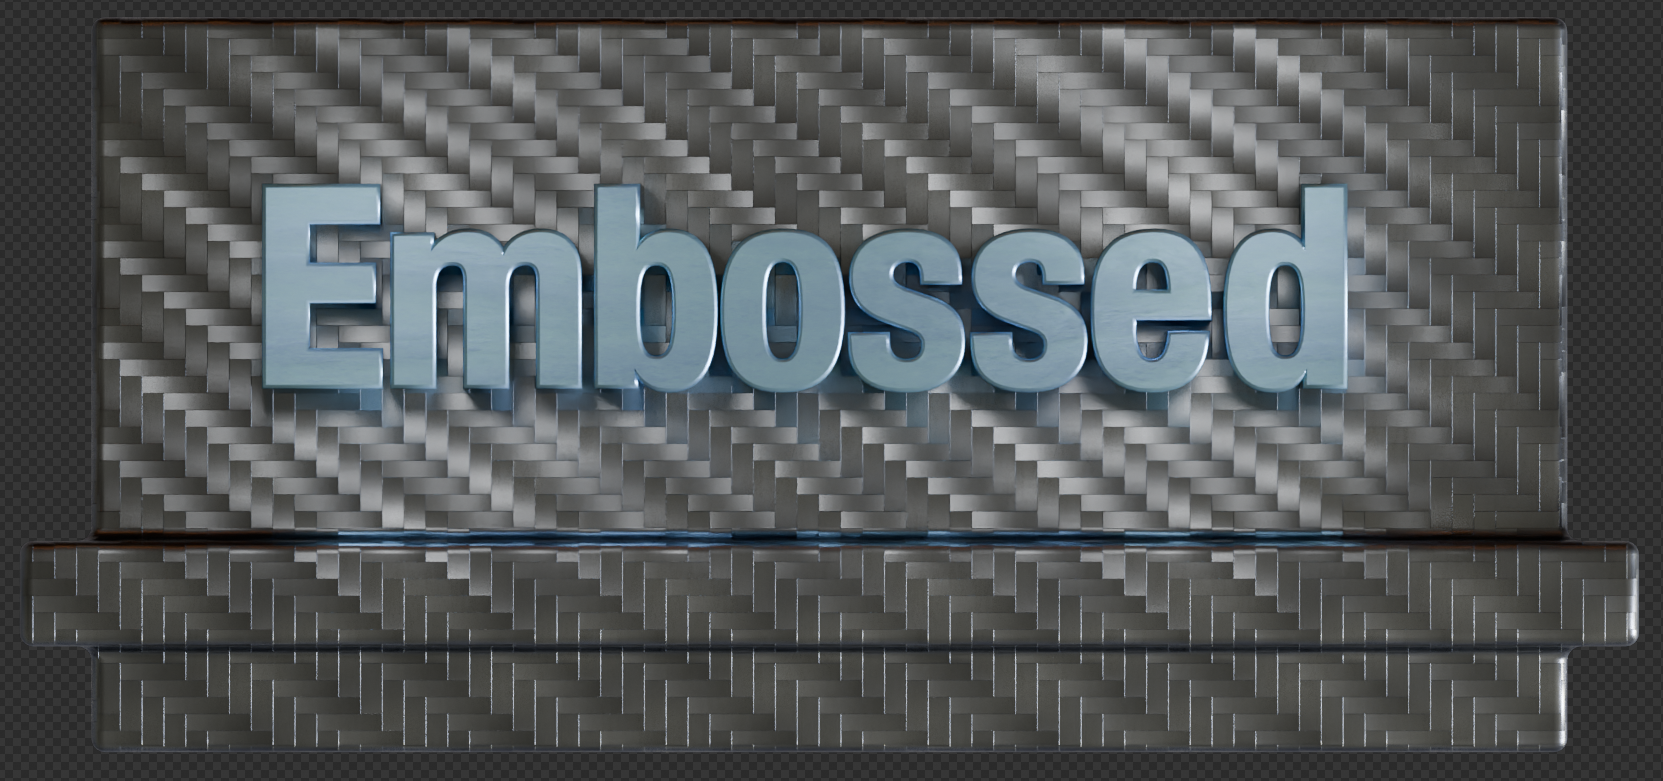
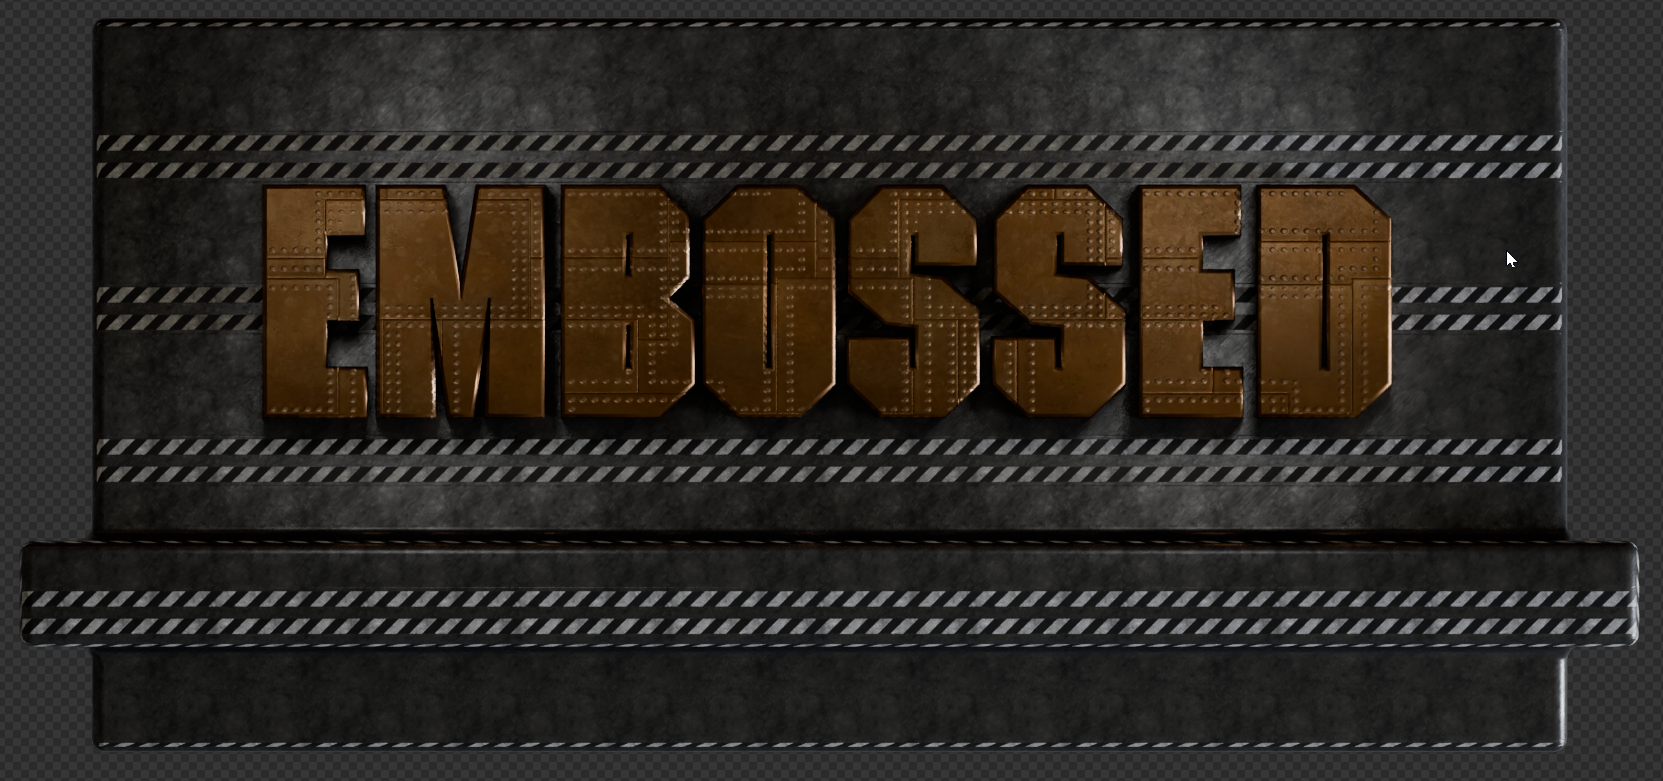
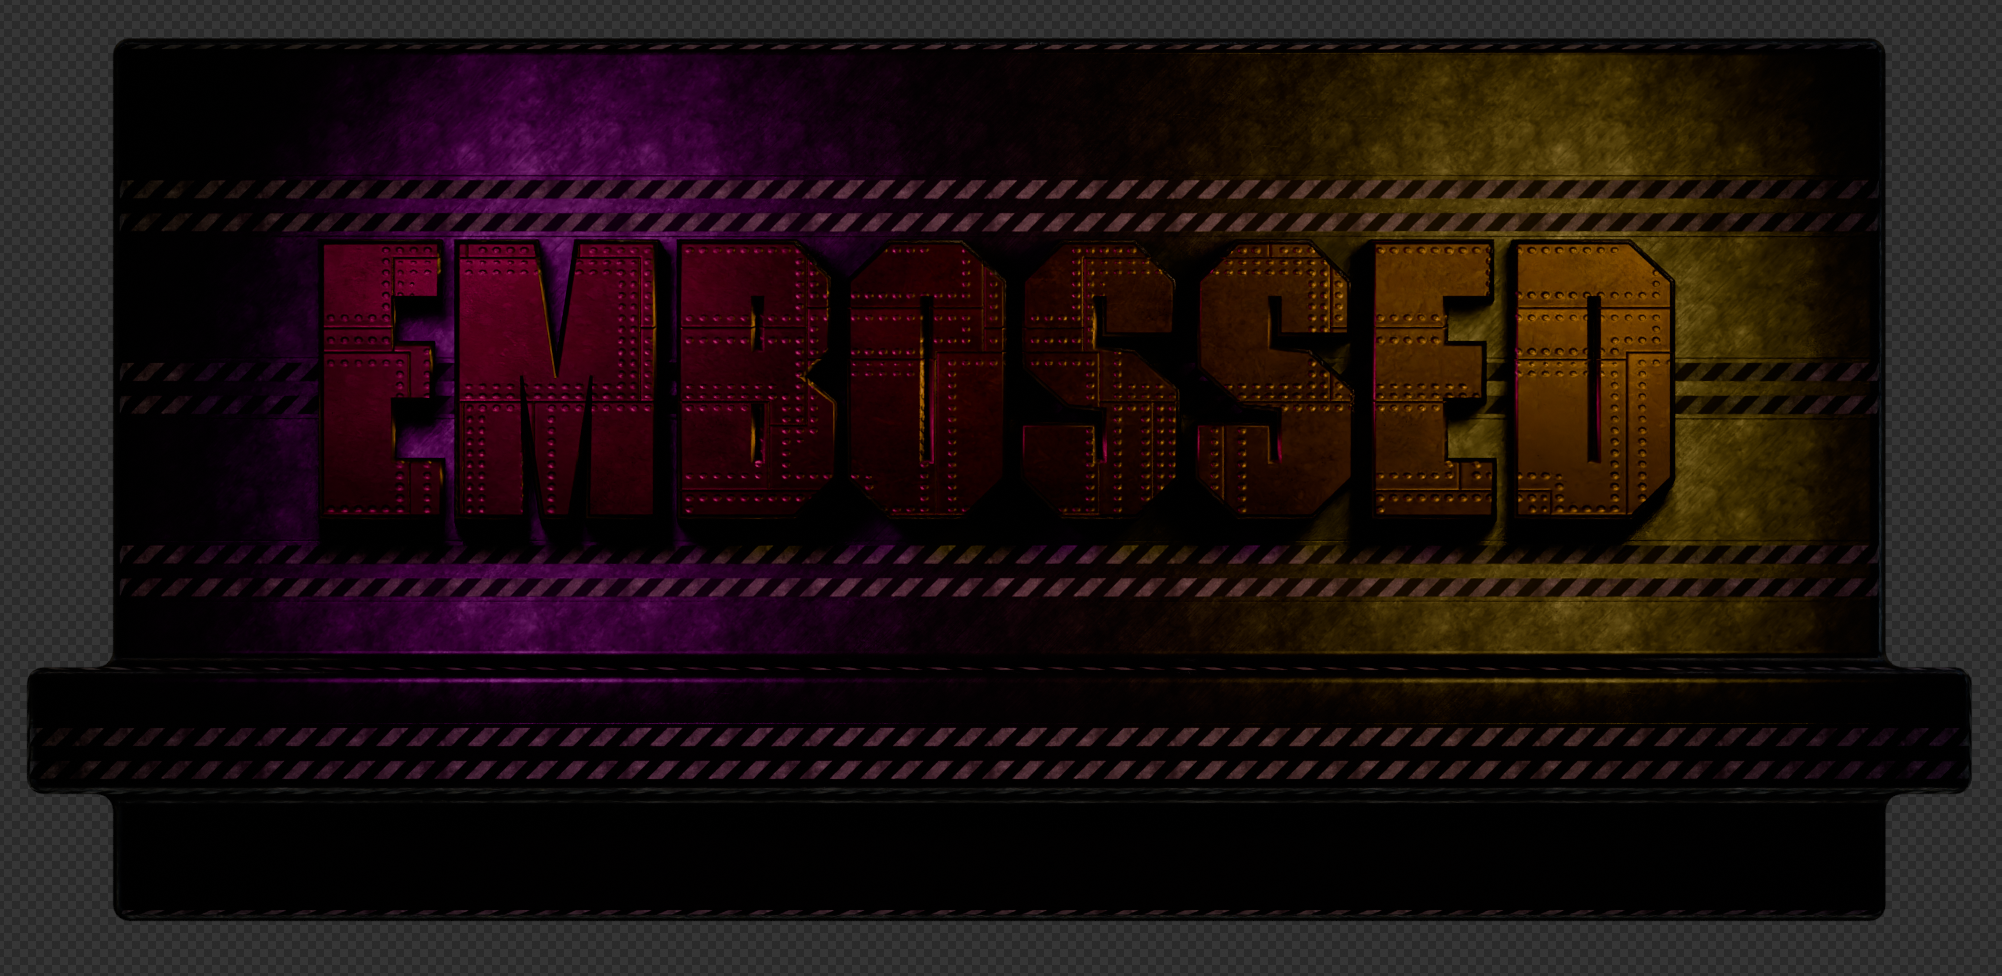
Ah, yes, true enough. Got carried away, and made these quickly. Forgot about the actual meaning of the word in the process Obviously "true" embossed or engraved lettering is also simple to achieve. Anyway, if a more stylized effect is required simple layer effects will suffice.
-
? Switch the camera to orthographic... Then just drag and drop various materials, and vary the lighting.
-
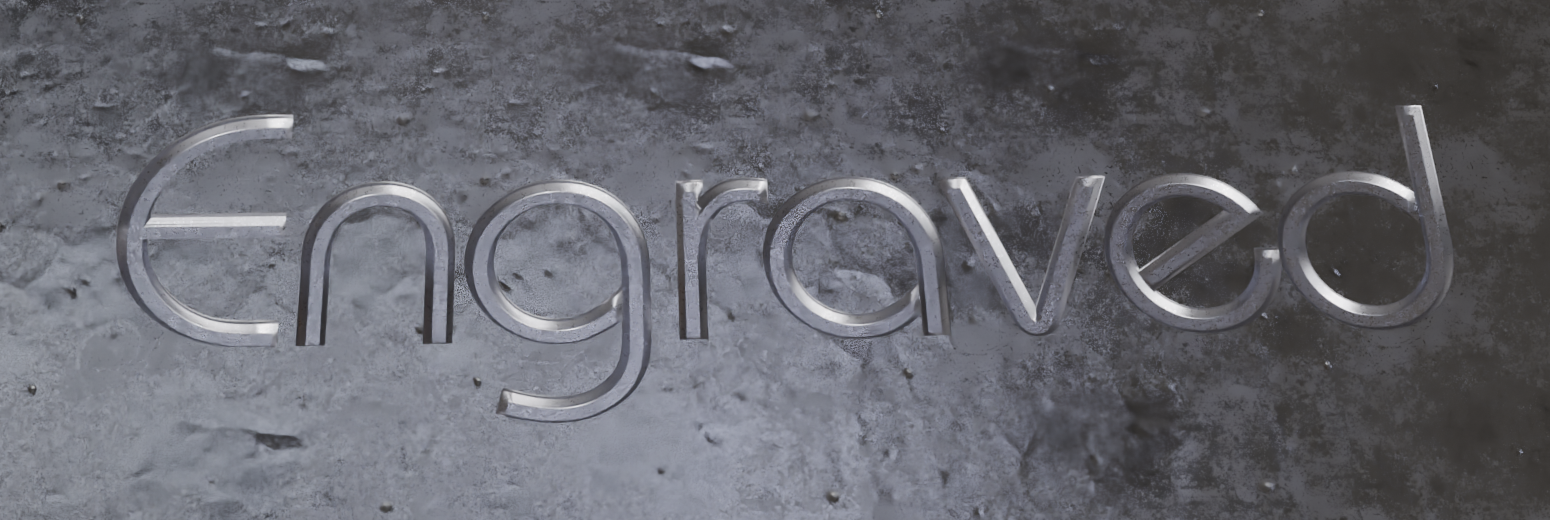
Honestly, nowadays I feel that playing around with layer effects in a 2d image editor to create effects like these is a bit of a waste of time because they can't be changed or varied very easily. Effects like these look a) much better and b) can be adjusted in real time and c) with quick texture and realistic lighting variations in a 3d application such as Blender (for free). Point in case is the engraved end result as demonstrated in @KarinC's posted video: it looks very rough and unfinished - unconvincing even for a layer effects version. I agree that learning a 3D app can be daunting, but it's also a lot of fun. And massively expands your creative possibilities. Here is a 3 minutes rough Blender-made doodle:
-
That's how it also works in Photoshop, Krita, PhotoLine, ClipStudio, Pro Motion NG, VectorStyler, Illustrator, ... To name but a few. Are you saying they all got it wrong? One of the few exceptions to this behaviour is GIMP. GIMP will multiply a foreground's layer pixels with the underlying transparent background to full transparency. But 90% of other design software behaves the opposite. That said, a provision to ensure the opposite behaviour should be made available, of course. Other design software resolves this through a layer specific setting such as Protect UnderlyingTransparency (PhotoLine), or Clip to Layer Below (ClipStudio Paint), Clipping Masks (Photoshop), or other layer blend settings. I agree that it would be very useful if groups in Affinity Photo could be used or set to clip their contents without the use of extra layer masks.
-
Delete pixels??? Like Photoshop
Medical Officer Bones replied to influxx's topic in Desktop Questions (macOS and Windows)
When a selection is made and copied, it copies the current layer's properties and resolution (and dimensions!). Let's say we are working in an 8 bit RGB 1920x1080 image and drag a 3000x2000 32bit EXR file, an A4 300ppi 8bit CMYK, and a 1200ppi A3 1bit black and white into this document. We would need to scale some of these down to fit the lower resolution document. All three layers retain their original data. When a selection is made of the 1 bit A3 1200ppi layer and duplicated or cut into a new layer that copy will maintain the original data. When a merged copy is made of that marquee selection it will be pasted at the image file's intent, i.e.: 8 bit RGB 1920x1080 resolution (but canvas size of that layer will be the size of the marquee selection). The layer's original data informs how merging of layers functions as well or how the tools work. If we merge down the CMYK layer into the 1bit layer the CMYK layer's data is converted to the 1bit's layer bit depth and resolution. If we use the brush tool to draw in one of these layers we cannot use colour in the 1bit layer: only black or white with aliased brushes. And no transparency (although it is actually possible to assign transparency to 1bit monochrome files/layers in PhotoLine - which is very handy when editing these and we can work in layers in 1bit monochrome mode too!). Obviously certain blend modes will not have much effect (if any at all) when working with 1bit or greyscale bitmap layers. At any rate, it's a different way of working compared to other layer-based image editors, and as always there are advantages and disadvantages. One caveat is that this adds a new level of control yet adds more complexity. For example, when we merge that CMYK layer into a 1bit layer, the default conversion will be a very bad one without any dithering. A simple 50% threshold is used. So to prevent this we could first add a threshold adjustment layer to the CMYK layer to at least control the conversion a little better. Or we could convert the CMYK layer to a dithered black and white version with the reduce colors filter and then merge it into the 1bit layer for a good conversion. Or (since the bottom image layer in the layer stack controls the final rendering intent) we could switch the bottom image layer to CMYK mode, then turn off the layer's CMY channels in the layer properties, and merge down the K channel only into the 1bit layer, then switch the bottom layer back to RGB, and voila: only the black of the CMYK layer is merged down without affecting any other layer but the bottom one (which would be preferably an empty bitmap layer just to control final rendering intent). This last move is utterly alien to any other image editor, by the way. -
Delete pixels??? Like Photoshop
Medical Officer Bones replied to influxx's topic in Desktop Questions (macOS and Windows)
The native resolution of a layer is always maintained unless the user decided to "fix" the resolution of the layer. When the document is scaled up or down as a whole, bitmap layers merely scale up and down as well and the effective PPI is adjusted for all. This is similar to how Affinity and image layers work (or how DTP apps also handle it) when the document is scaled. This is also one of the reasons why PhotoLine has a "pixel view" mode. When assets are placed at (for example) at 600ppi or higher in a low resolution 100ppi document, zooming in resolves more and more detail. This is not always wanted, so switching to pixel view mode renders the higher PPI assets at the document's resolution intent. And it is of course possible to edit pixels in any mode, so the creative user is able to seemingly work in lower resolution, and preview the pixel edits at that lower resolution, yet in the background the higher resolution version is actually updated with high resolution edits. Bitmap layers also have their own canvas settings, btw. Also quite handy, in particular when assets require transparent padding. Export and output control over layers is btw excellent in PhotoLine. Just like in FIgma and other modern design tools each layer can be configured quickly to export to different formats and varying resolutions. Works well with those higher resolution assets placed: export a lowres, midres, and highres asset using different file formats and optimization settings in one action. And destructive pixel edits do not negatively affect the highres asset even in a low resolution document. -
Delete pixels??? Like Photoshop
Medical Officer Bones replied to influxx's topic in Desktop Questions (macOS and Windows)
Every property can be individually controlled/maintained per layer, and that includes transparency (on or off) and colour management. Of course, some tools rely on transparency to work (such as the auto transparency tool), and as such transparency will be activated for a specific layer when those are used. -
Delete pixels??? Like Photoshop
Medical Officer Bones replied to influxx's topic in Desktop Questions (macOS and Windows)
The only image editor that I know of that actually manages this is PhotoLine. PhotoLine's Image layers do not differentiate between arbitrary "raster" and "image" layers or "smart objects" (Photoshop). In PhotoLine an image imported/dragged into a layer is by default an editable pixel layer, yet it retains its original bit depth, resolution, image mode, transparency setting, colour management profile, and transformation independent of the file's output intent. And the pixel data remains editable without affecting the original intent of that image layer. So it is entirely possible to have such a workflow. It's just that 99% of creatives aren't familiar with this or can even imagine how that is possible because (as far as I am aware) outside of node-based editing workflows, no other layer-based image editor allows for such a workflow. Which explains your confusion how that would work @R C-R. Nevertheless it is possible and a bit of a game changer in one's workflow, albeit that the workflow is a tad different, of course.