Search the Community
Showing results for tags 'soft proof', 'affinity photo' or 'mac'.
-
.thumb.jpeg.6f143e8223547aba974205ef53397036.jpeg) Good day everybody! To support the huge release of Affinity Photo 1.5 on both macOS and Windows, we have 36 new video tutorials for you that cover most of the new features in great detail. In addition to that, 4 older videos have been revised and updated to match 1.5's new functionality. We hope you enjoy the 1.5 update, it's a beefy one! Here are the videos you need to get started with its new functionality: HDR HDR: Merging & Tone Mapping HDR: Tone Map Presets HDR: Panoramas HDR: Preprocessing HDR: Advanced Editing HDR: Ghosts Removal HDR: 32-bit Editing Tone Mapping Regular Tone Mapping Focus Merging Focus Merging Focus Merge Retouching Focus Merging Bracketed Images Live Projections (360 editing, perspective projection) 360 Live Editing 360 Advanced Editing 360 Retouching 360 Multiple Views Live Perspective Projection OpenEXR support OpenEXR Multichannel Import/Export OpenEXR Import Options OpenColorIO OpenColorIO Setup OpenColorIO Adjustment Macros Macros Macros: Equations Batch Processing Batch Processing Clone Sources Panel Clone Sources Clone Sources: Texture Creation Raw Development Improvements 32-bit Raw Development Raw Colour Quality Automatic Lens Corrections Apply Image Apply Image Apply Image: Equations Equations Filter Equations Filter Dust & Scratches Filter Dust & Scratches Filter Halftone Filter Halftone Scanlines Effect Pixel Art Resizing Pixel Art Resize PSD round-tripping Direct PSD write-back (round tripping) Freehand Selections Freehand Selection Tool Updated Older Videos Discover Raw Development Quality Custom Tone Curve Exporting I hope these all prove useful to you in getting to grips with the new update - if you have any questions please ask.
Good day everybody! To support the huge release of Affinity Photo 1.5 on both macOS and Windows, we have 36 new video tutorials for you that cover most of the new features in great detail. In addition to that, 4 older videos have been revised and updated to match 1.5's new functionality. We hope you enjoy the 1.5 update, it's a beefy one! Here are the videos you need to get started with its new functionality: HDR HDR: Merging & Tone Mapping HDR: Tone Map Presets HDR: Panoramas HDR: Preprocessing HDR: Advanced Editing HDR: Ghosts Removal HDR: 32-bit Editing Tone Mapping Regular Tone Mapping Focus Merging Focus Merging Focus Merge Retouching Focus Merging Bracketed Images Live Projections (360 editing, perspective projection) 360 Live Editing 360 Advanced Editing 360 Retouching 360 Multiple Views Live Perspective Projection OpenEXR support OpenEXR Multichannel Import/Export OpenEXR Import Options OpenColorIO OpenColorIO Setup OpenColorIO Adjustment Macros Macros Macros: Equations Batch Processing Batch Processing Clone Sources Panel Clone Sources Clone Sources: Texture Creation Raw Development Improvements 32-bit Raw Development Raw Colour Quality Automatic Lens Corrections Apply Image Apply Image Apply Image: Equations Equations Filter Equations Filter Dust & Scratches Filter Dust & Scratches Filter Halftone Filter Halftone Scanlines Effect Pixel Art Resizing Pixel Art Resize PSD round-tripping Direct PSD write-back (round tripping) Freehand Selections Freehand Selection Tool Updated Older Videos Discover Raw Development Quality Custom Tone Curve Exporting I hope these all prove useful to you in getting to grips with the new update - if you have any questions please ask. -
I wanted to do a little project to start to get the hang of Affinity Photo. So my long suffering wife of 30 years 'Deb' agreed to be the guinea pig for my first effort at making someone younger. So this is a woman of 50+ made to look 40+. I think it came out pretty good for a first attempt. The aim was to try to just take a few years off rather than do a beauty touch up. I took the photo with my trusty little a6000 with the 16-50 kit lens. Features of Affinity Photo used were.. Frequency separation. In-Painting brush. Patch tool. Blur brush. Smudge brush. I'm really impressed with how Affinity Photo performed. I had no real problems apart from my lack of knowledge. And the fact that I had never done anything like this before. Cheers -Scott.
-
I'd like to see the ability to position a marquee tool selection while forming it. Similar to how holding down the spacebar while dragging out a selection in Photoshop gives the user the ability to reposition the selection, and then, when releasing the spacebar, continue to shape the selection. It would be good if while in "add" mode that selections are able to be positioned independently as well instead of being treated as one universal selection and moved as one. Matt ------ I explain more about the issue I am describing HERE in this forum post and give an example of when I bump up against it.
-
 Hey guys, first off I want to thank you for your great work on Affinity Photo, it is truly a wonderful piece of software. In order to make it even better I think it would be great to see basic animation/video editing tools added in the near future. I'm speaking about opening video files, trimming, setting keyframes, adding masks, working with video layers, changing opacity etc. The reason why I'm requesting this the need for a tool to create cinemagraphs. In 2016 we've seen a shift from stills to video when it comes to website design and online marketing and this trend will continue in 2017. Being able to create small animations will become crucial if Affinity Photo wants keep up with Photoshop. I hope you will look into it and put it on your roadmap, but again: Great work so far!
 -
Vector Mix

-
Hello all! To celebrate Affinity Photo's first birthday, we're releasing a short set of beginners videos to help people who are new to image editing and the concepts of layers, adjustments, filters and exporting. The videos have all been transcribed (English UK) and the subtitles are available via the "CC" icon in the bottom right of the video player. You can watch each video from the links below, or see the album at http://affin.co/photobeginners Additionally, you can download the practice files for the Adjustments, Filters and Exporting videos here: http://affin.co/photobeginnersfiles Here's the list: Opening and Saving: covers how to open and save your images, and explains the benefits of using the Affinity Photo document (.afphoto) format. Layers: explains conceptually what layers are, how they're used, and how they affect your image or document. Adjustments: looks at what Adjustment Layers are, and how you can use them to tonally alter your images. Filters: learn how to use filters to manipulate your images, and get to grips with Photo's unique "live layers" feature. Exporting: find out how to simply export and share your finished images.We hope these are of great use to people who want a more straightforward grounding in the basics of Affinity Photo, and do stay tuned for further beginners videos in the future. Main Shortcuts differences between the Mac and Windows version Windows keyboard shortcut equivalents: Mac 'Command' key = Windows 'Ctrl' key Mac 'Shift' key = Windows 'Shift' key Mac 'Alt' key = Windows 'Alt' key Mac 'Ctrl' key = Windows 'Right Mouse' button NOTE: Most recent Affinity videos and tutorials have been made to reflect both Windows and Mac keyboard shortcuts. However there are still some that currently refer only to Mac accelerators.
-
 Hey, great Application (Affinity Photo) . I´m using it on an almost daily basis. But one thing is bothering me. Is there an option for seamlessly rotating the canvas? I just found the 90° Option. But it would come really handy if it was possible to rotate the canvas with a button and the mouse like in Photoshop (R + Mouse). When Painting Masks and so on this would really help, because of stroke directions. Thanks, Elmar
 -
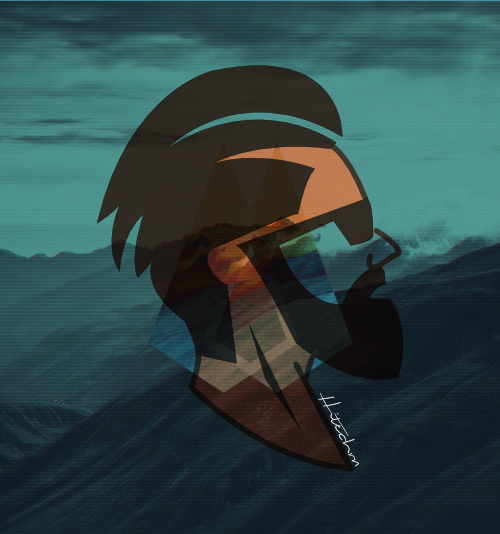
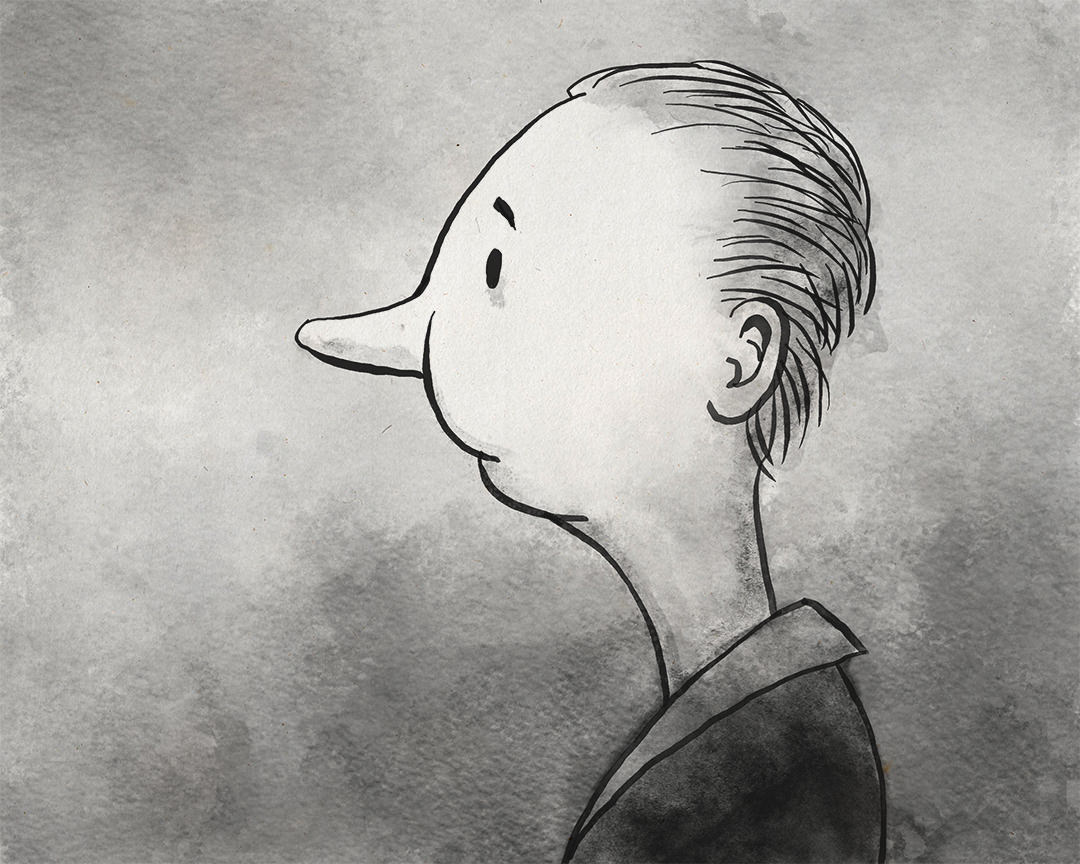
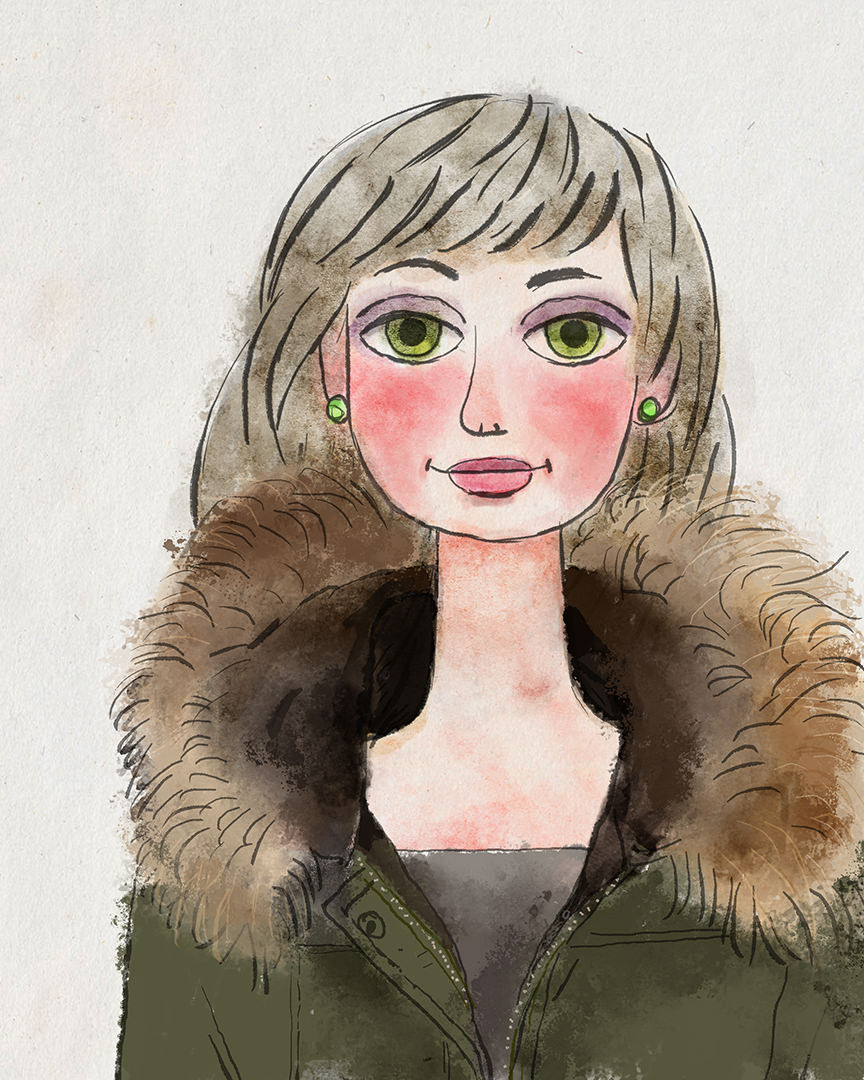
 Hi, guys! I love drawing, and also I like learning new ways to do it. I came across with digital painting and after using some programs like GIMP, Krita, Corel Painter Essentials and Photoshop I've started using Affinity Photo for that purpuse. Here I colored a drawing I made long time ago for a good friend of mine. Now it has more life thanks to Photo. Best regards!
-
 I'm using Affinity Photo for Windows. My question is does it support typing in Arabic? because when I tried to the letters appeared detached where it should be connected. Also it appeared out of order, the last letter in the word comes first for some reason. Detached = ع ن ب Connected = عنب This problem happen with Photoshop and there was a solution for it. I'm not sure where or how to do it in Affinity Photo if it's there.
 -
 I've just been working with Affinity Photo 1.5 in earnest and watched a number of the video tutorials. It's a great program! But I haven't spotted anything about capture sharpening for RAW images. I do use that feature quite a bit as an initial step in processing RAW files with other programs, like Lightroom and Photoshop. Is there an option like that in Affinity Photo and I've just missed it? Do you offer some way of applying capture sharpening? All I've seen in the program and videos so far is creative sharpening and output sharpening. Thanks, Dave
 -
• These may just well prove my perversions to get close, trying to observe and discover more, see better… always closer. As I said before, I am not a birder. I'm just a photographer who likes to see how light is revealing (in this case, through swans) Mother Nature's "nature". A simple and commun bird under Her light turns into a sculpture, a magnificent visual pleasure, an eye candy… to me! I don't have the words in English, so I will show you what I mean… C&C welcome… as always! 1 2 3 4 5 6 7 8 9
-
 Love the Affinity apps, bought both Designer and Photo for windows. However --- PLEASE add the ability to draw a pixel brush or eraser stroke to a constrained 45 / 90 / 180 degree angle by pressing and holding the SHIFT key. This is the third time I've requested this. This has been a default UI behavior in Photoshop since at least Photoshop 7. EVERY SINGLE TIME I forget that Affinity Photo doesn't have this (yet), I grit my teeth. I know you can click --- then press shift --- move the cursor --- click again and it will draw the brush stroke to the exact spot of the second click, but there's no way to 100% know that you've constrained the angle exactly 45, 90, or 180 degrees using this method.
 -
 Hi there guys, is there a way to stop the previous brush stroke from darkening the next, I understand if I am at 100 opacity then its not so bad, but I am working around 20% adding makeup to a model etc... Cheers Ryan (WINDOWS)
 -
 Hi, After affinity photo 1.5 I'm at least able to process raw images from 5d iv, but the software shows them very underexposed. Am I the only one seeing this? Is there some configuration that needs to enabled? Thanks, -ND
 -
 Hello Guys, A short introduction of myself as it is my first post here. I life in germany and i am not a retouching or photography professional. I just do photography as a hobby and I am waiting for affinity photo (AP) for Windows since they announced the beta. Today I am using an old version of Adobe Photoshop Elements for retouching and Capture One 9 Pro (CO9) for Sony as my RAW Converter. You can easily edit your Image in Affinity Photo out of your Capture One Viewer To edit a Image from CO9 first go to your Windows explorer. Right-click on a jpeg File, open with. Choose other app and search your AP folder. You should do this with a jpeg and a tiff document. To edit a Image from CO9 in AP right click on the Picture in CO9 and choose edit with. In the following window click on Open with and browse to you AP folder. AP will start. Make your Changes in AP and Save the file. Only save not save as. Back ip CO9 right click on the image and regenerate Preview. Now you should see your retouched image. If you don’t want to browse to your AP folder every time you want to use AP from CO9 the first step in windows explorer is necessary, otherwise CO9 can’t save the settings. I have testet jpg and tif. Both works fine in this combination. I hope this will help someone. I have the german versions of all programs installed, so I hope i have translated all step to the english version of CO9 or Windows correctly. This was tested with Capture One 9.3.0.85 and affinity photo 1.5.0.37. greetings GermanDennis
 -
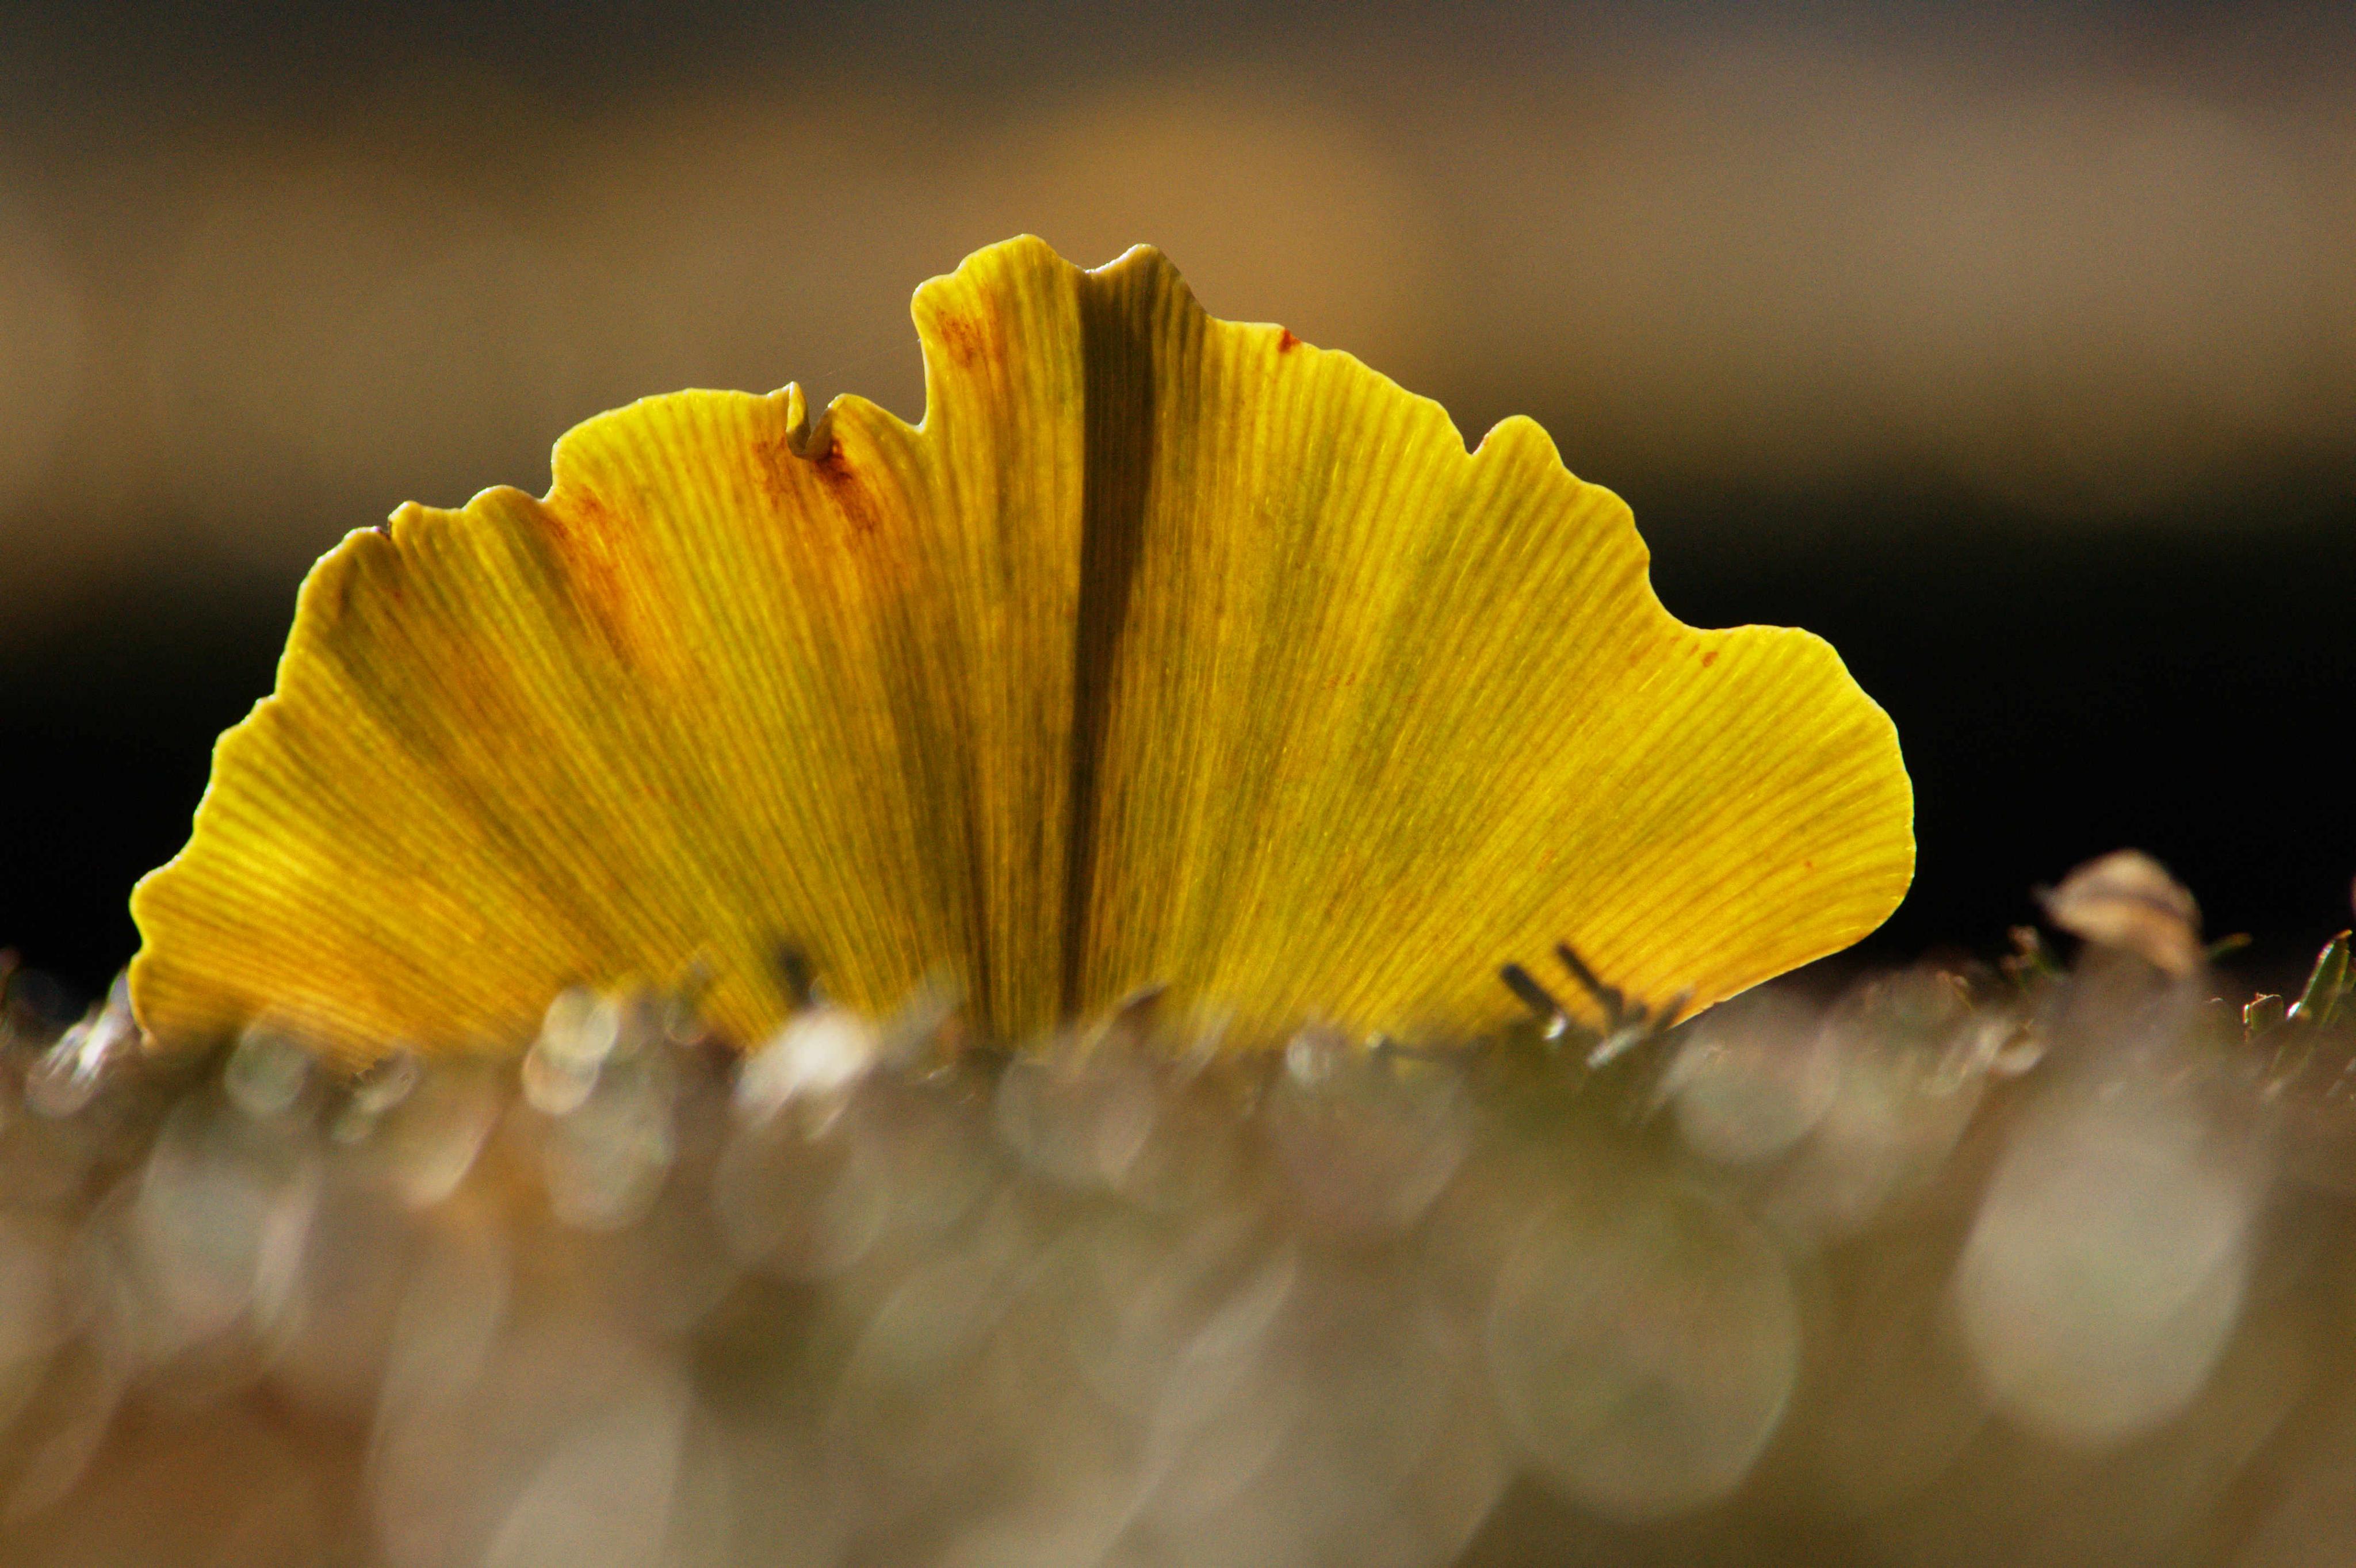
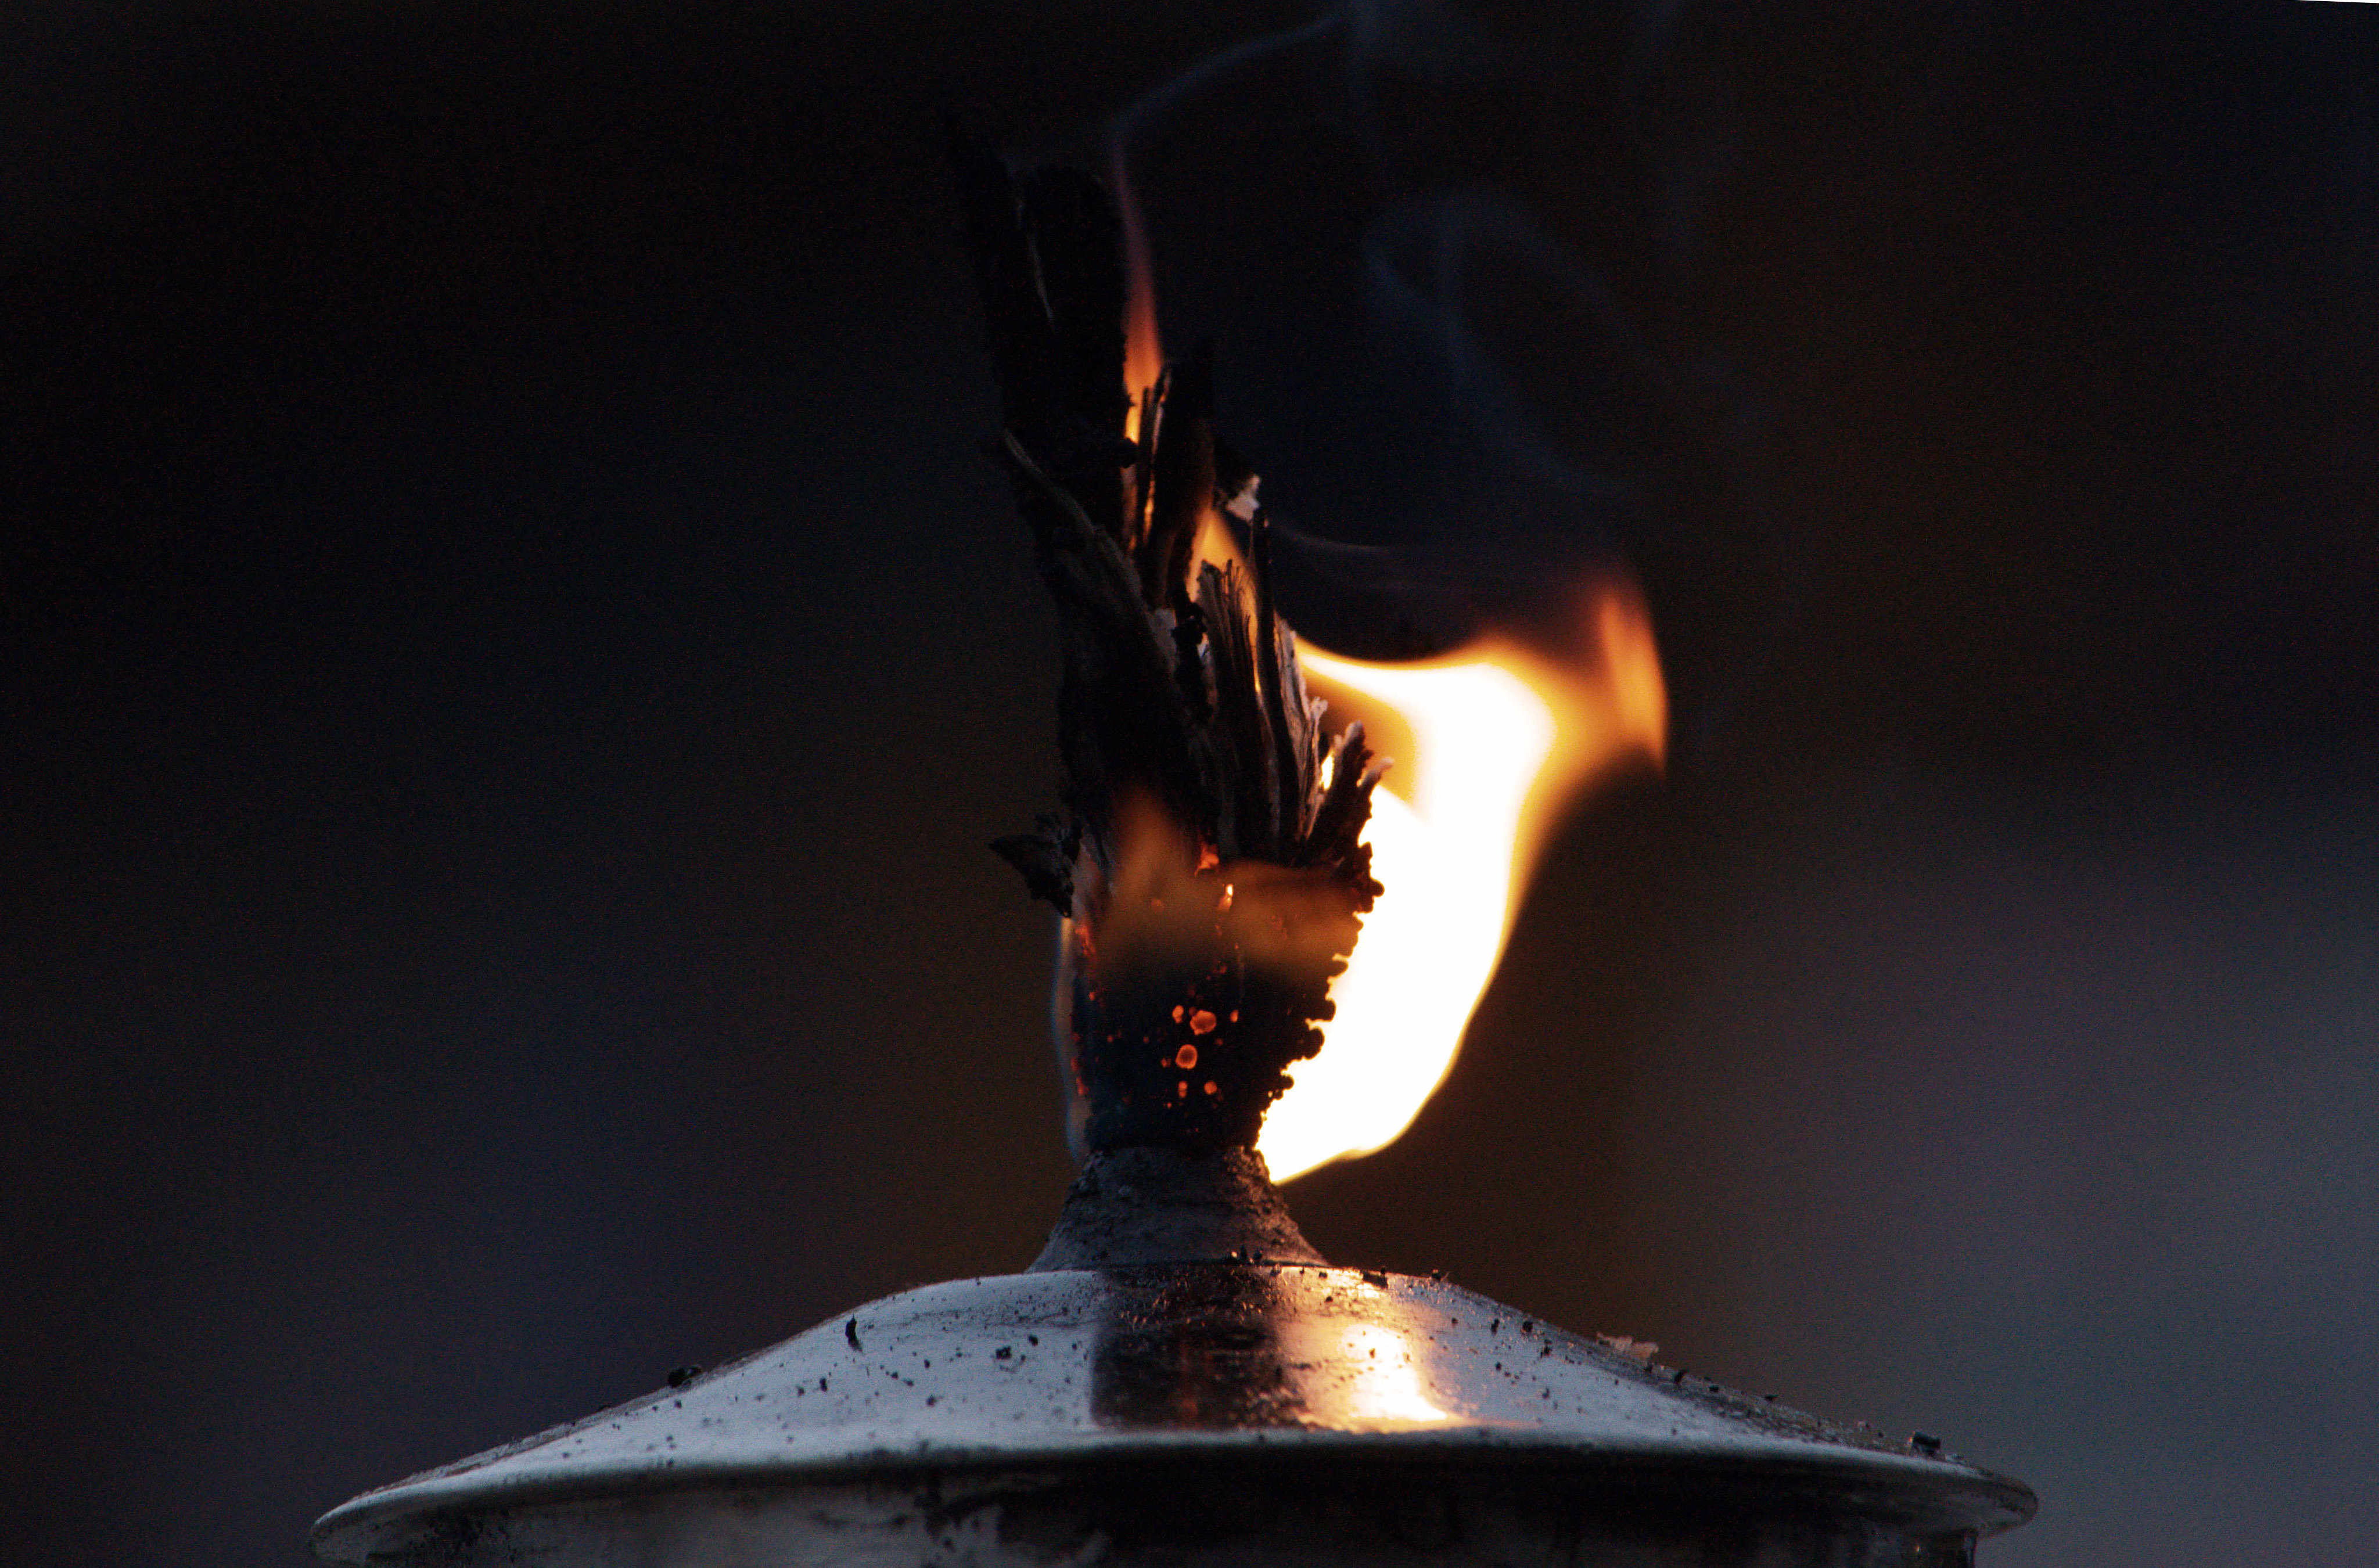
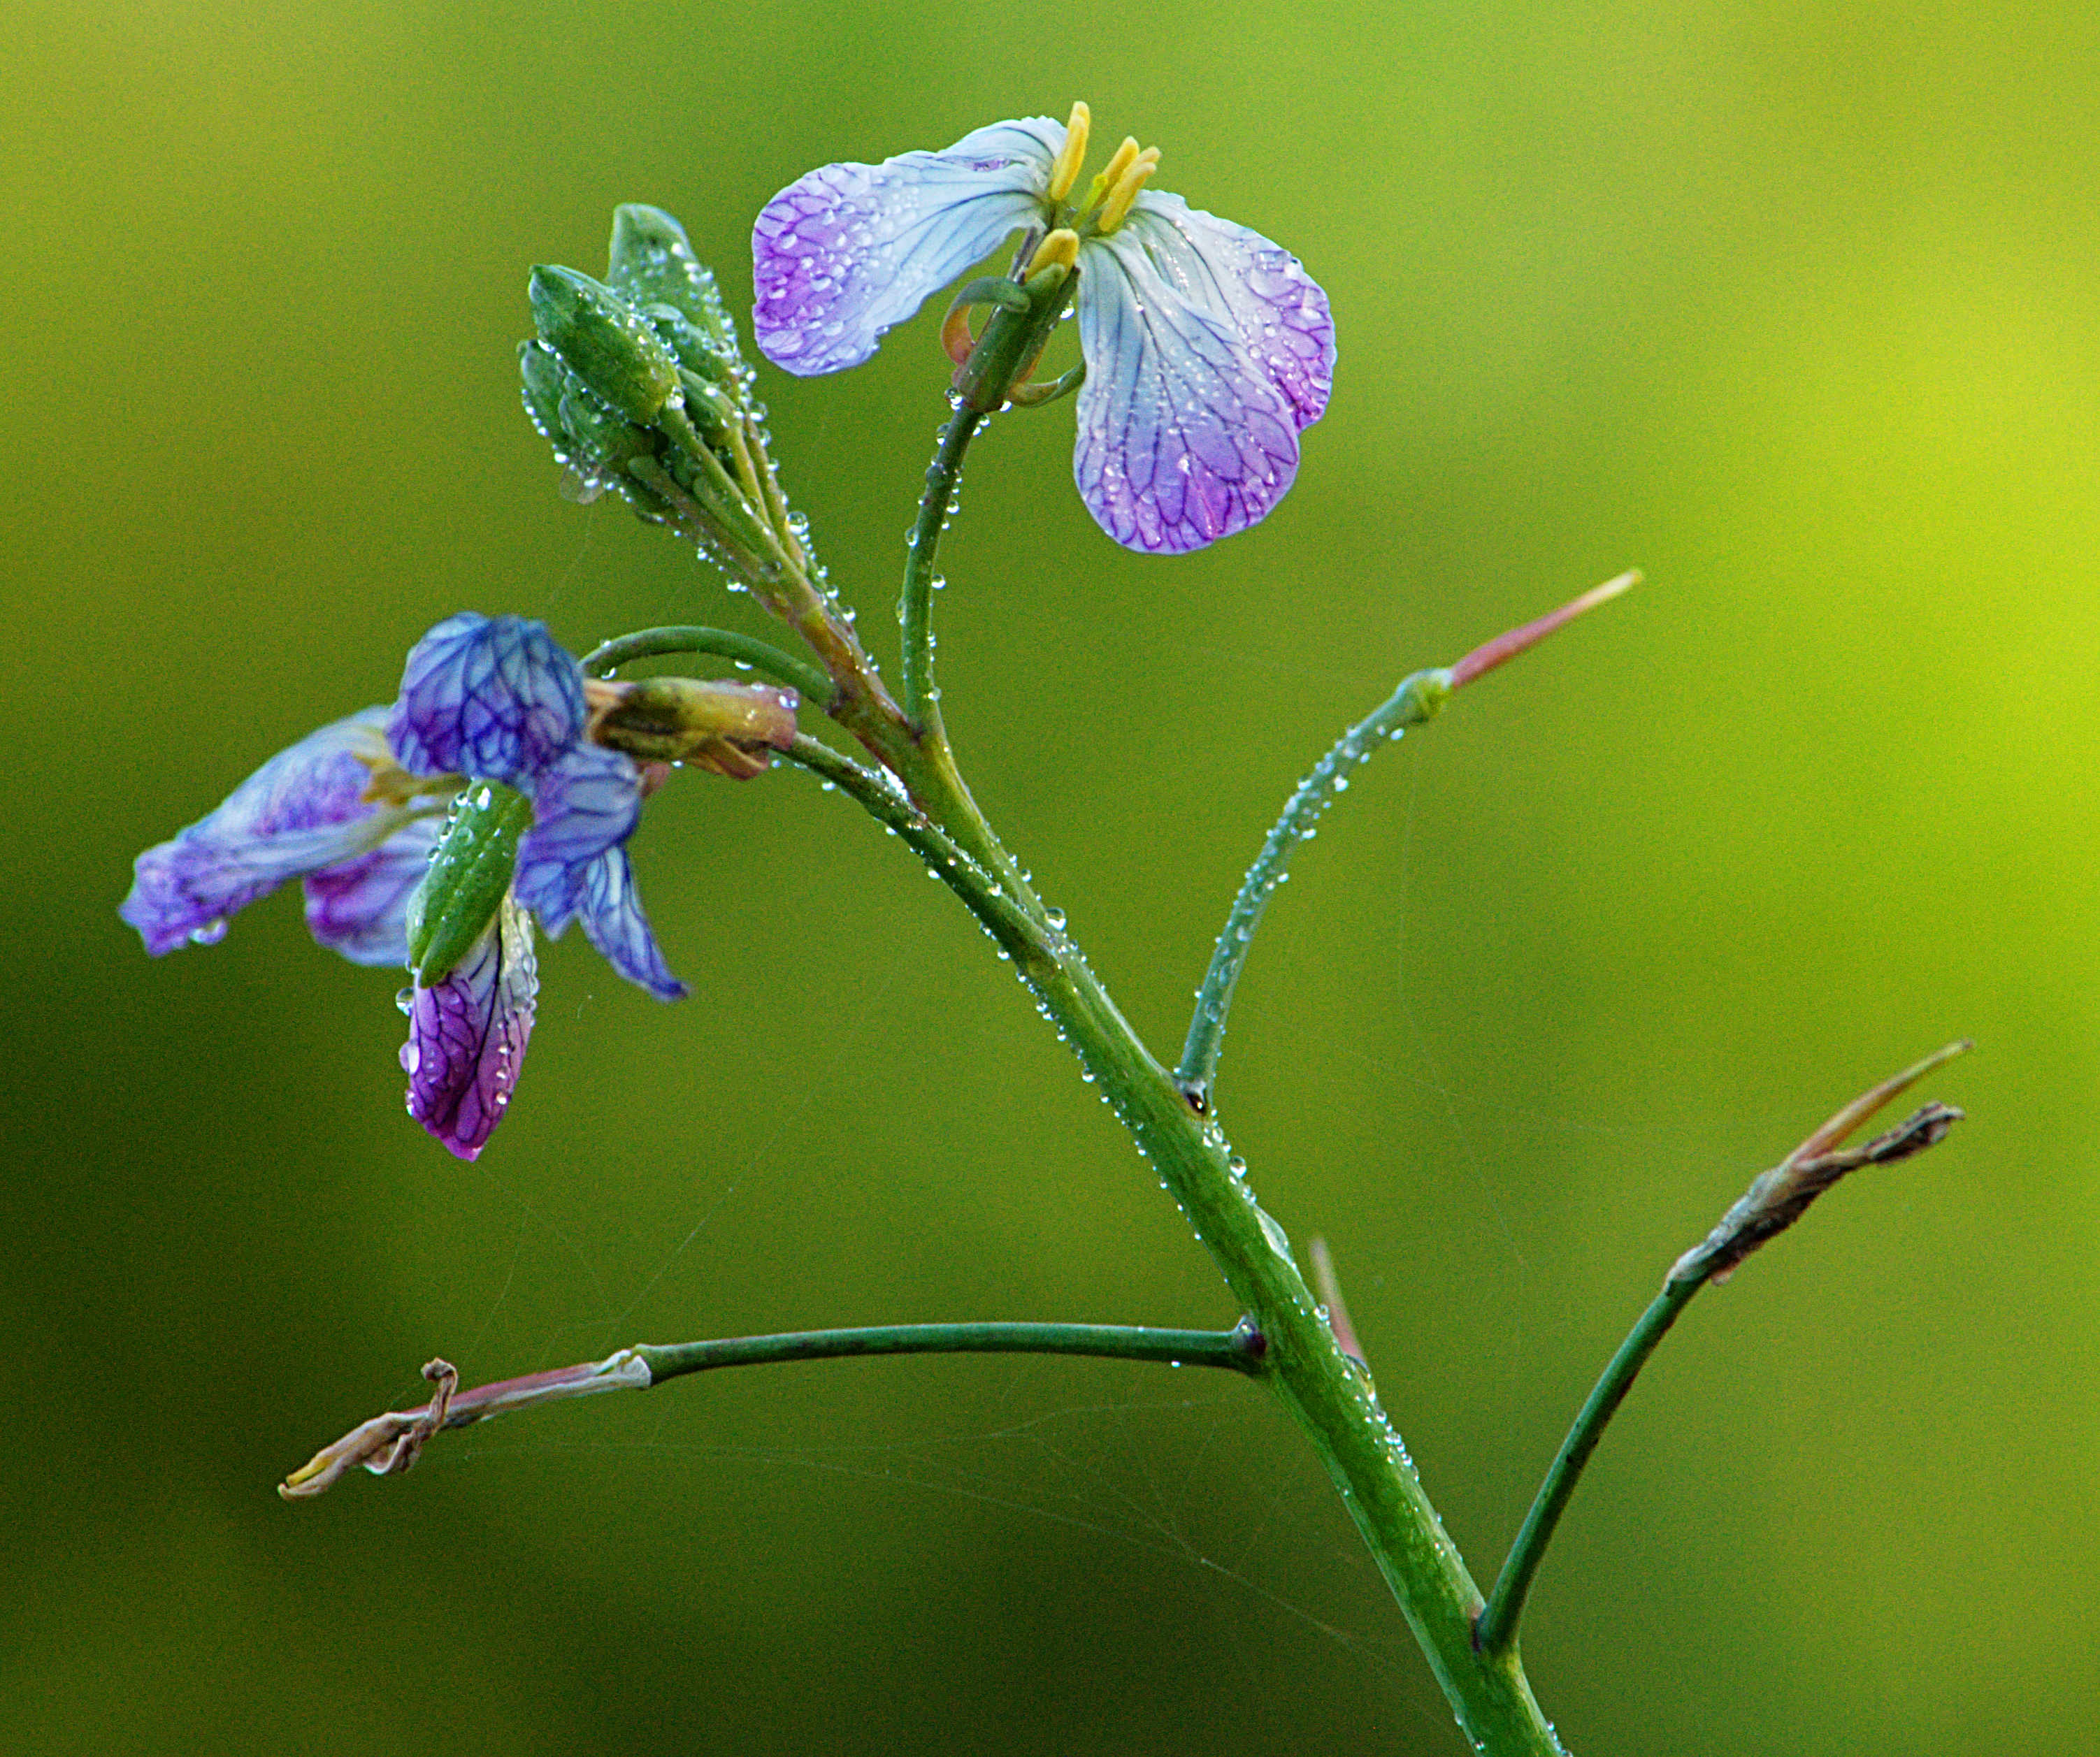
These, and later following pictures i edited with Affinity Photo - most of them converted from RAW (Nikon NEF) to JPG.
-
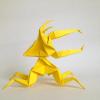
I am not much of a vector illustrator. Only bitmap, really. That is why I love DAUBs brushes. 110% right for me! These are my very first illustrations done in AP using Daubs brushes. First one i painted in Grayscale at 300 dpi. This second one is RGB at 300 dpi. Hope you like what you see :)
-
Set up for landscape and this happens :o Regards. Sharkey
-
 Please, I ask if i can write arabic with Affinity Photo ???
 -
Every year i make up a little 'Happy New Year' video, using the two bored-to-death putti (the posh name for cherubs in paintings) from Raphael's Sistine Madonna. This year I decided to be mean and not send any Christmas cards; instead I've made a video, which I shall post on social media a bit nearer the day. I used AP to extract the eyes and mouths (yuck -- that sounds awful!) from the original image. With a combination of pixel painting and mesh warping, I made half-closed and closed eyelids, and various mouth shapes for the dialogue. I used AD to make a couple of end caption texts. Then I recorded the different bits of dialogue (on my smart phone, then copied to my laptop), which I edited with Audacity to make female and child voices. Some time ago, I bought an animation package called Anime Studio -- it was one of the 'other' third-party products that Serif market from time to time. It's mind-numbingly tedious and utterly non-intuitive to use, but it's the best means of animating mouths (and eye-blinks) and syncing them to sound. All the bits and pieces came together for the final 'cut' in Serif's MoviePlus X6, which is great for this kind of thing -- quite the opposite of the animation job. Anyway, here's the finished product: https://youtu.be/hwQvSqbr-iA. Merry Christmas!
- 1 reply
-
- 2
-

-
- merry christmas
- video
- (and 4 more)
-
 Hi, In diesem Affinity Photo Tutorial zeige ich wie man aus Zeichnungen von Kindern Weihnachtskarten oder Anhänger machen kann. Viel Spaß dabei. Euer Jack In this Affinity Photo Tutorial, I show you how to create christmas cards or labels from drawings of your children. Have fun Your Jack Foto / photo: eigenes / self made Link to YouTube Tutorial
-
- 1
-
-
- Affinity Photo
- Tutorial
- (and 6 more)
-
 Hey guys, I was able to drag n hold an vector/image onto another vector/image and an purple color indicator will flash once at the bottom object to indicate you can now snap your current selected image/vector base on the bottom vector/image. But now I can't, in not mastered in AD or any other illustrator app, so I not sure where to chance the setting to able it once again. Please help, it's urgently needed!
 -
 Is there such a guide to download. In the store maybe? As a beginner I find my self going screen blind after spending so much time going between the online help menu and my project. It would be nice to have a hard copy and maybe there is one and I'm just missing it. To be able to read through certain sections away from the computer would be beneficial in my case. Obviously I know I could load and shoot the sections in the help menu, just thought I'd inquire. Thanks anyone,,,
 -
I have recorded my first macro "BlueSketch" (attached below). It is doing this: if you import a scanned sketch, graphite on paper like mine, it is sometimes hard to use the digital tools to trace it. It can be hard to see what is sketch and what is digital linework. The macro adds a new raster layer on top of the sketch, fills it with blue, turns the layer into Colour mode, and adds new empty top layer for your linework / inking. Just like the layer function in ClipStudio, where I use it all the time. Put the macro in the Library and the BlueSketch is instantly done. I hope it works for you the same way it does for me. BlueSketch.zip
- 4 replies
-
- 2
-
-
- BlueSketch
- macro
- (and 1 more)
-
 Itried Affinity photo a long time ago. At this time, Affinity Photo was not abble to substitute Photoshop for my use. Since then, impossible to test any new version. I always get a "Trial period expired". Inthat forum (https://forum.affinity.serif.com/index.php?/topic/30384-tried-affinity-photo-but-crashed-each-time/?hl=trial) people at Affinity was telling " Affinity Photo 1.5 should be out soon and there will be a new trial available in case you want to give it another try." Great news ... but no way. I downloaded Trial and i continue with the same "Trial period expired" .... Having a closer look i saw that Trial is 1.4.3 version and not 1.5 ... could you fix this ?