Search the Community
Showing results for tags 'photo'.
-
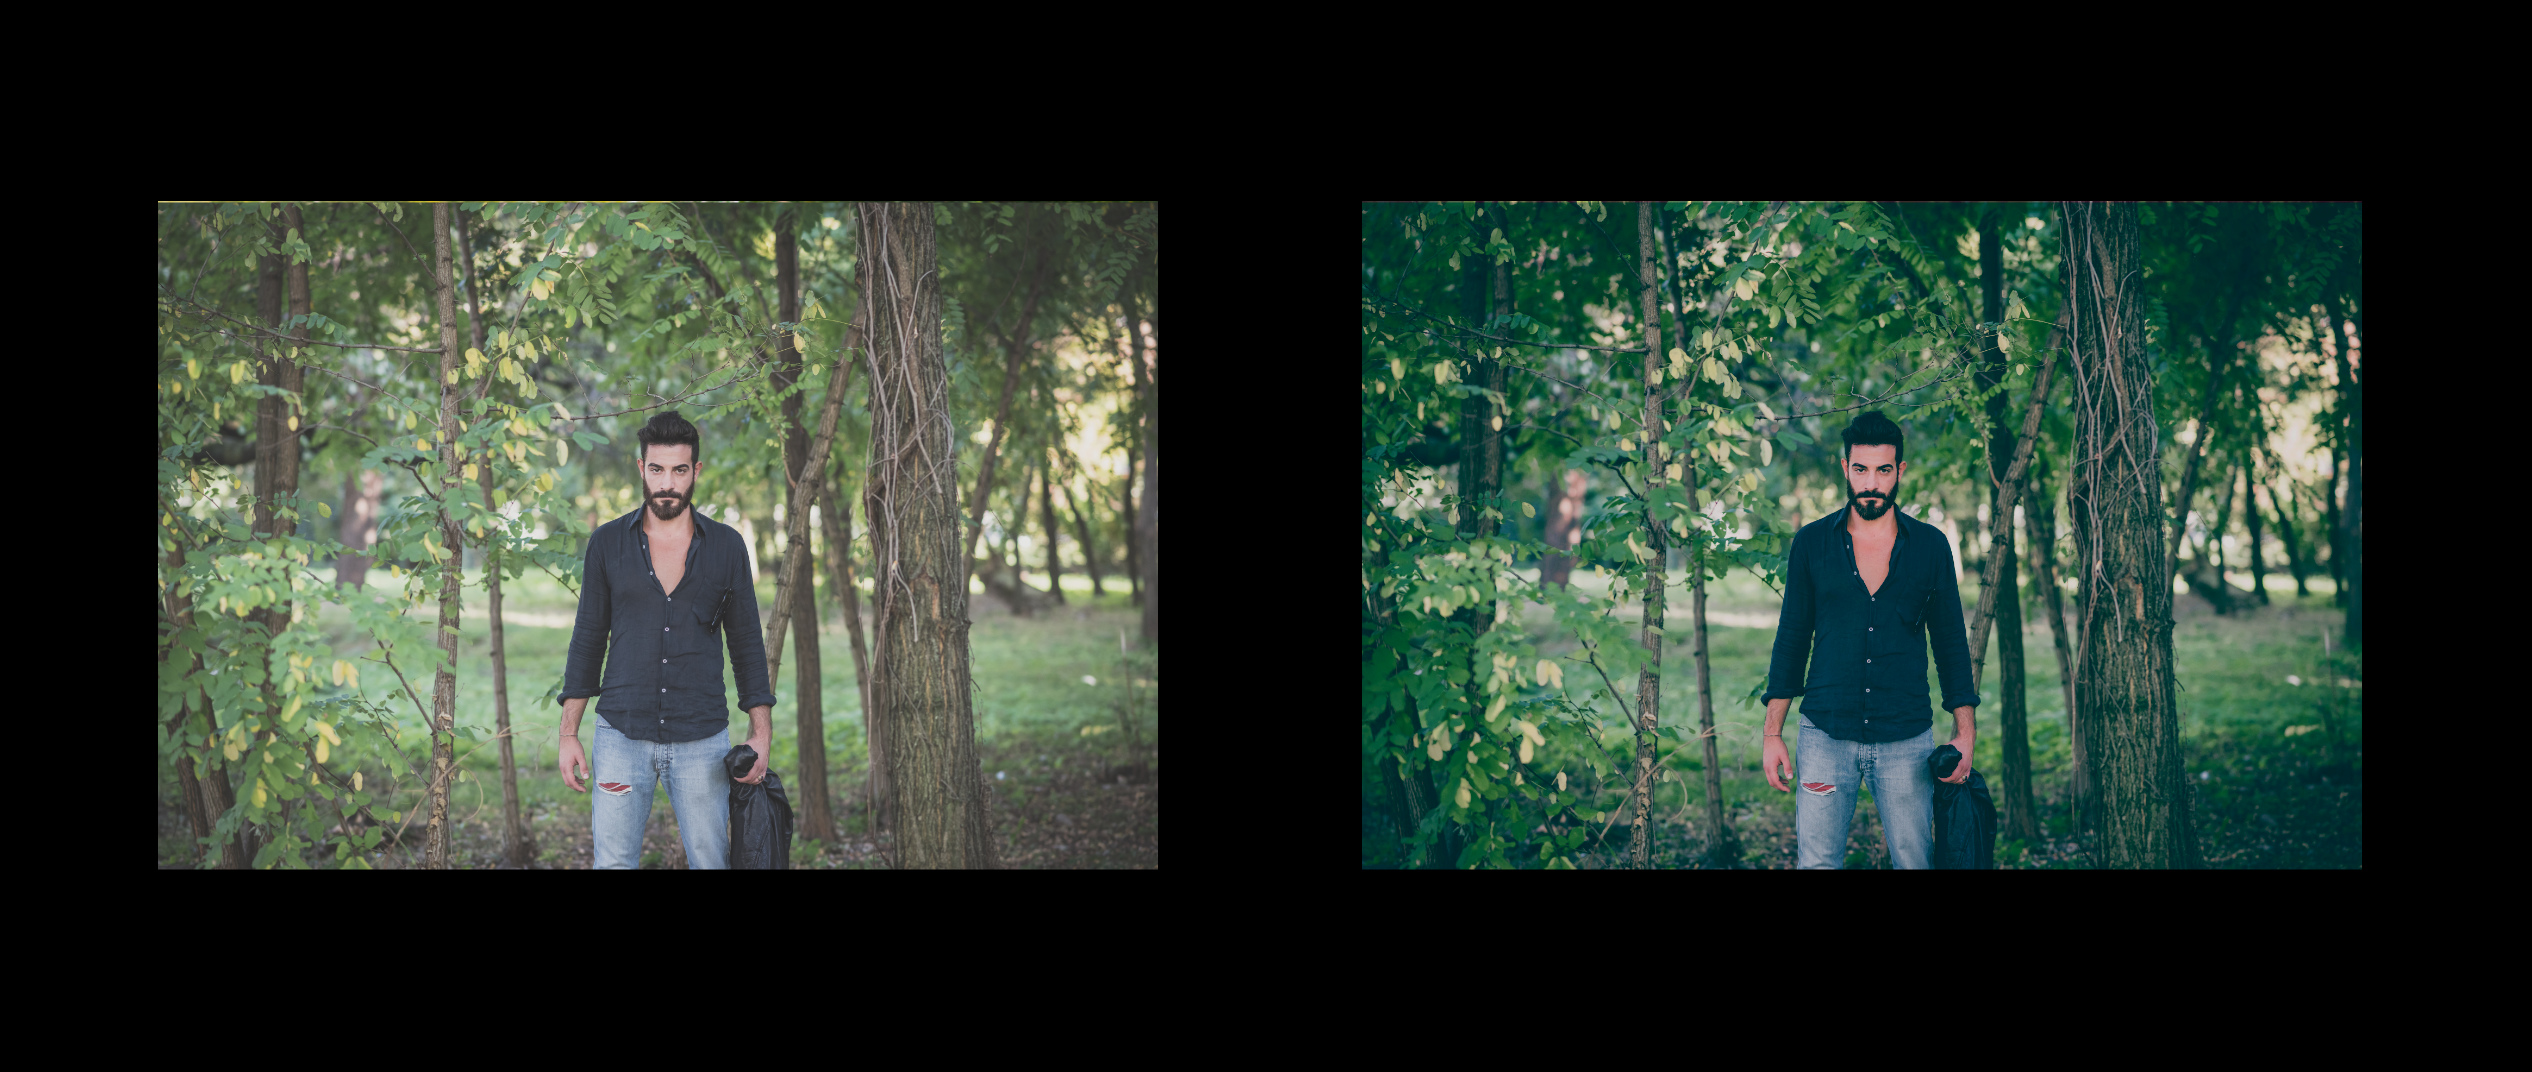
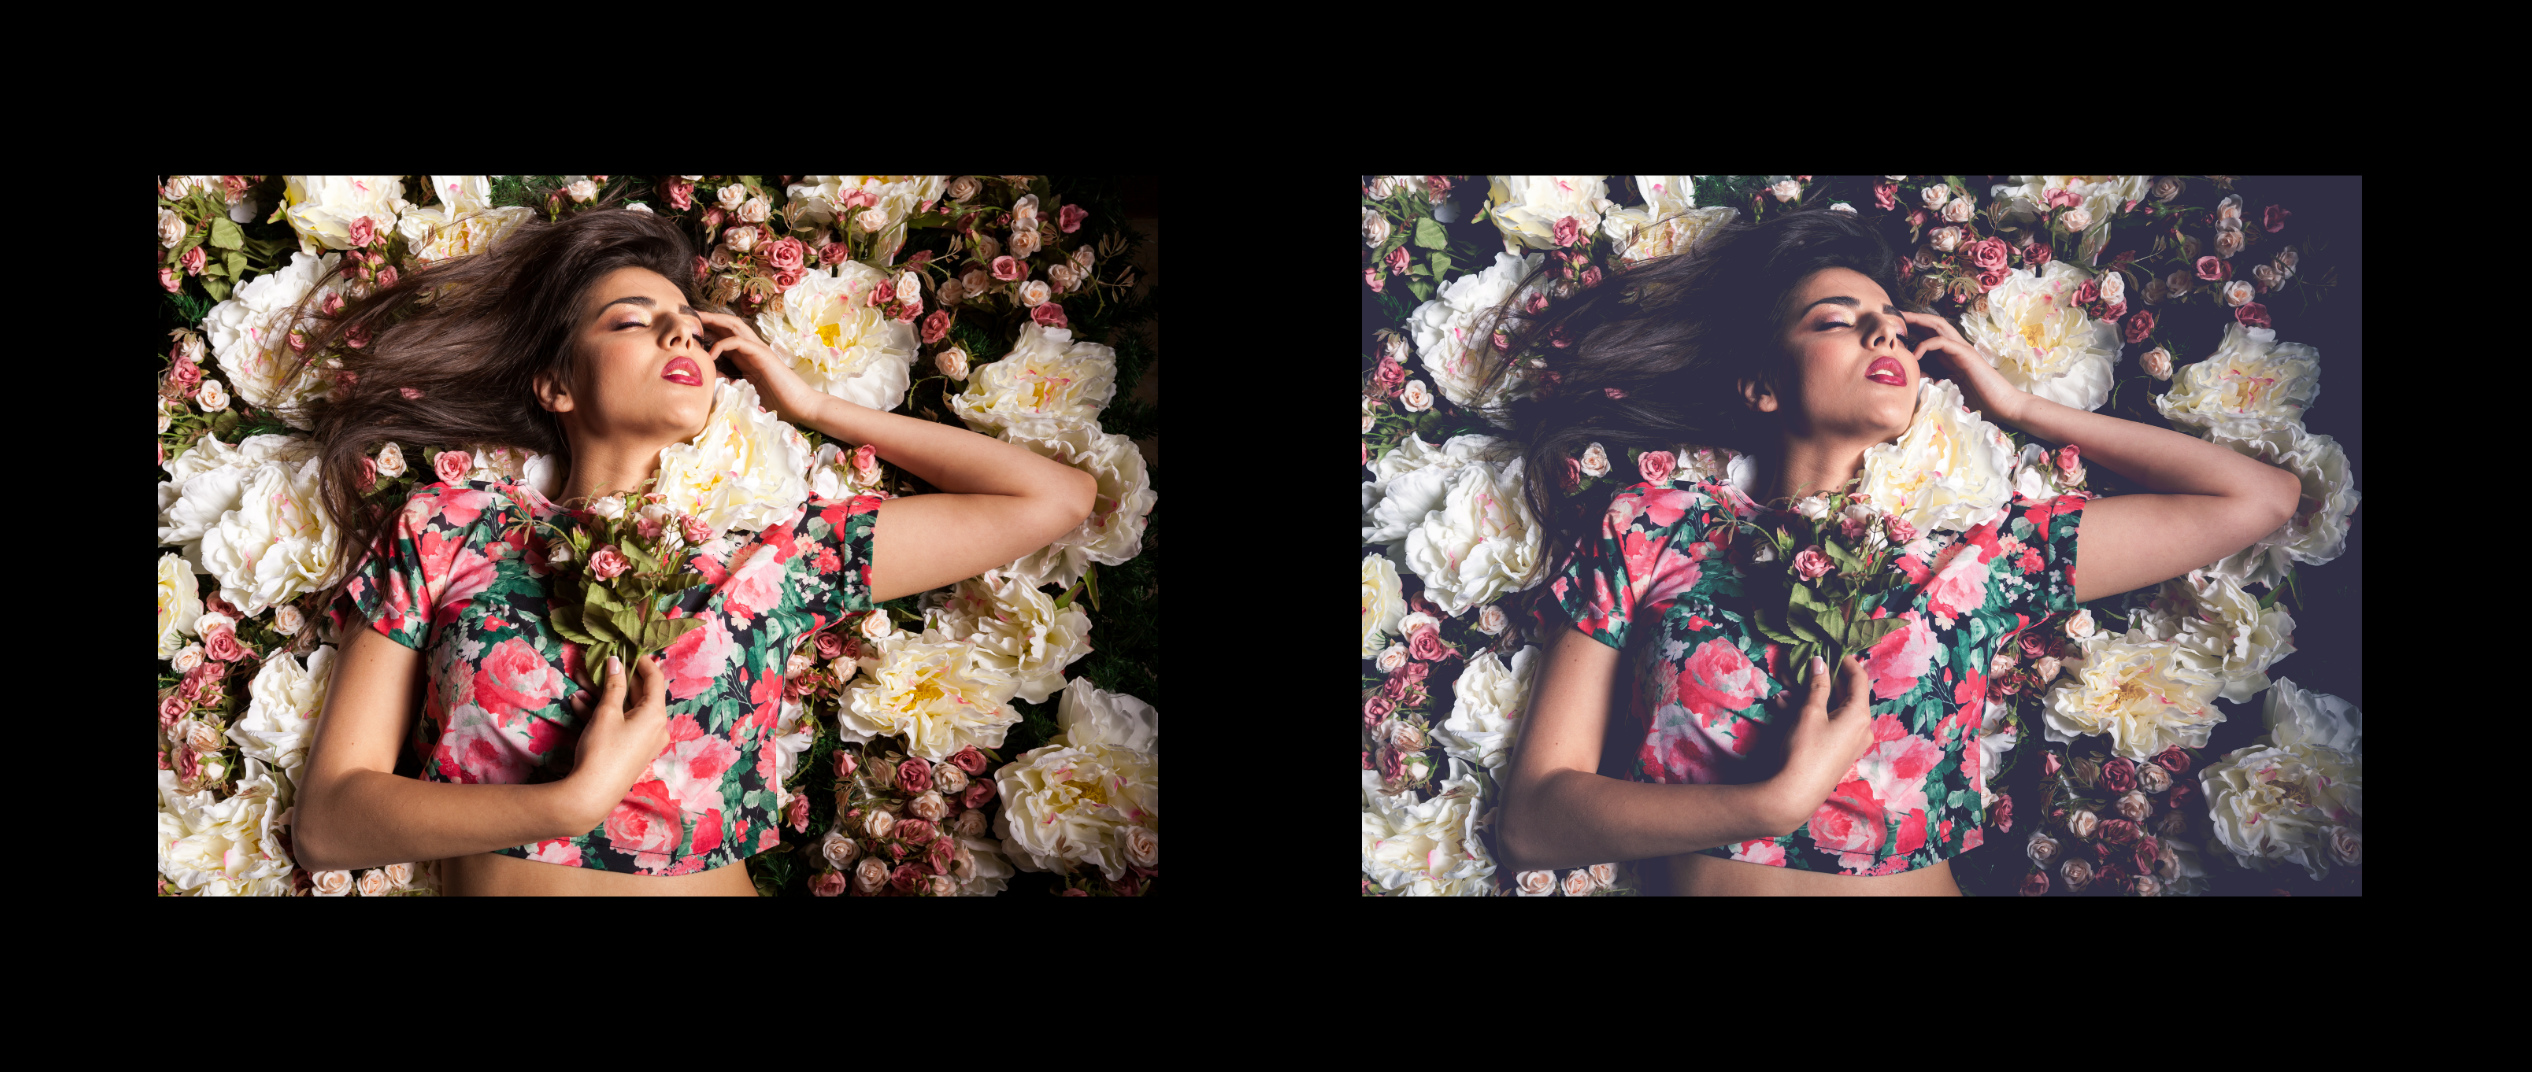
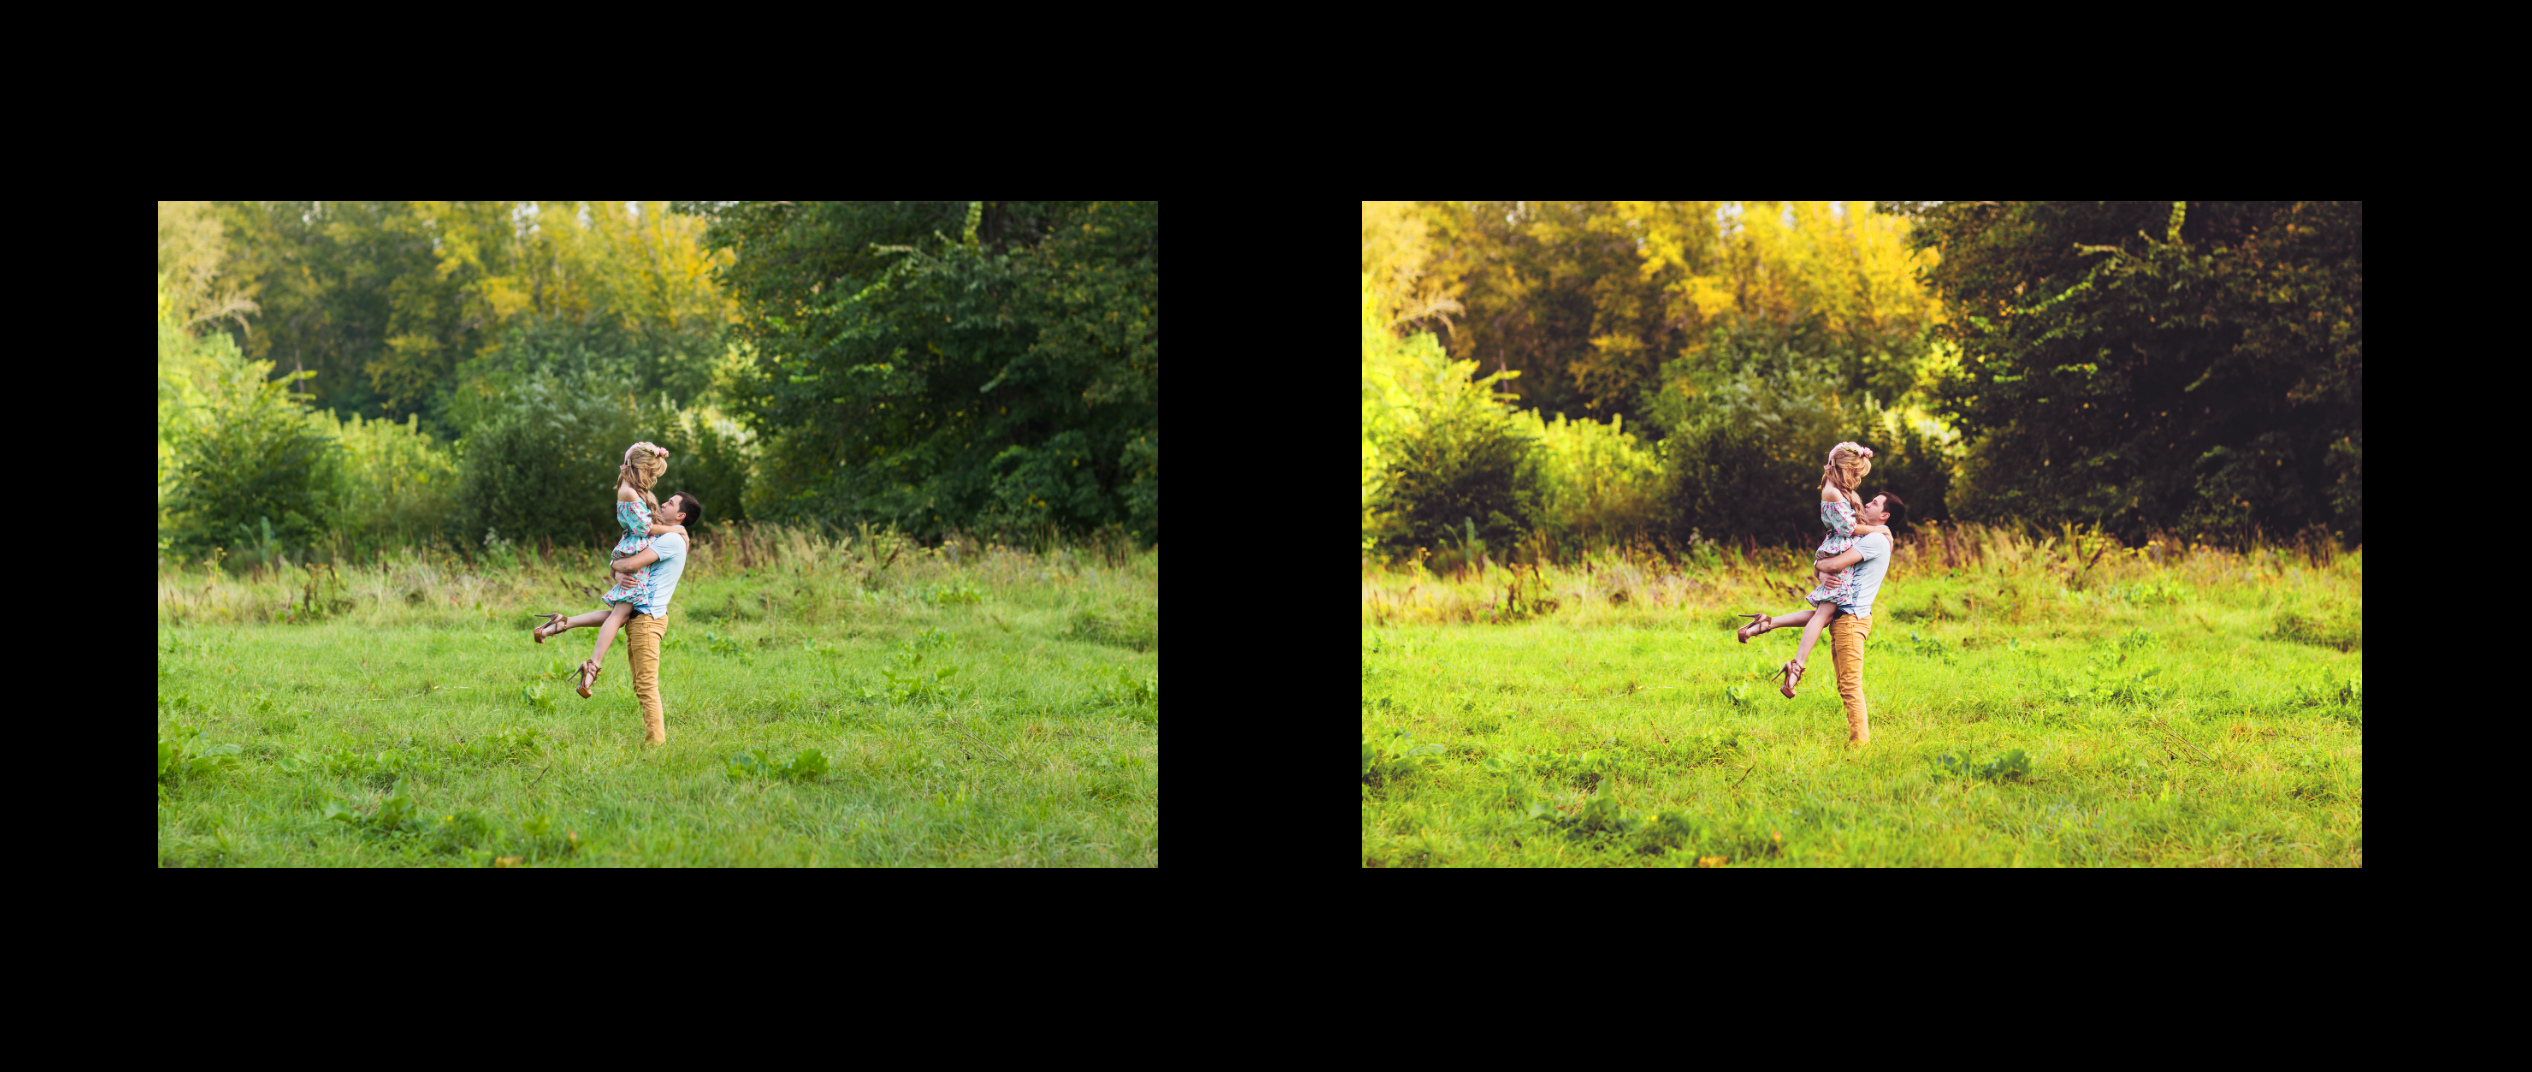
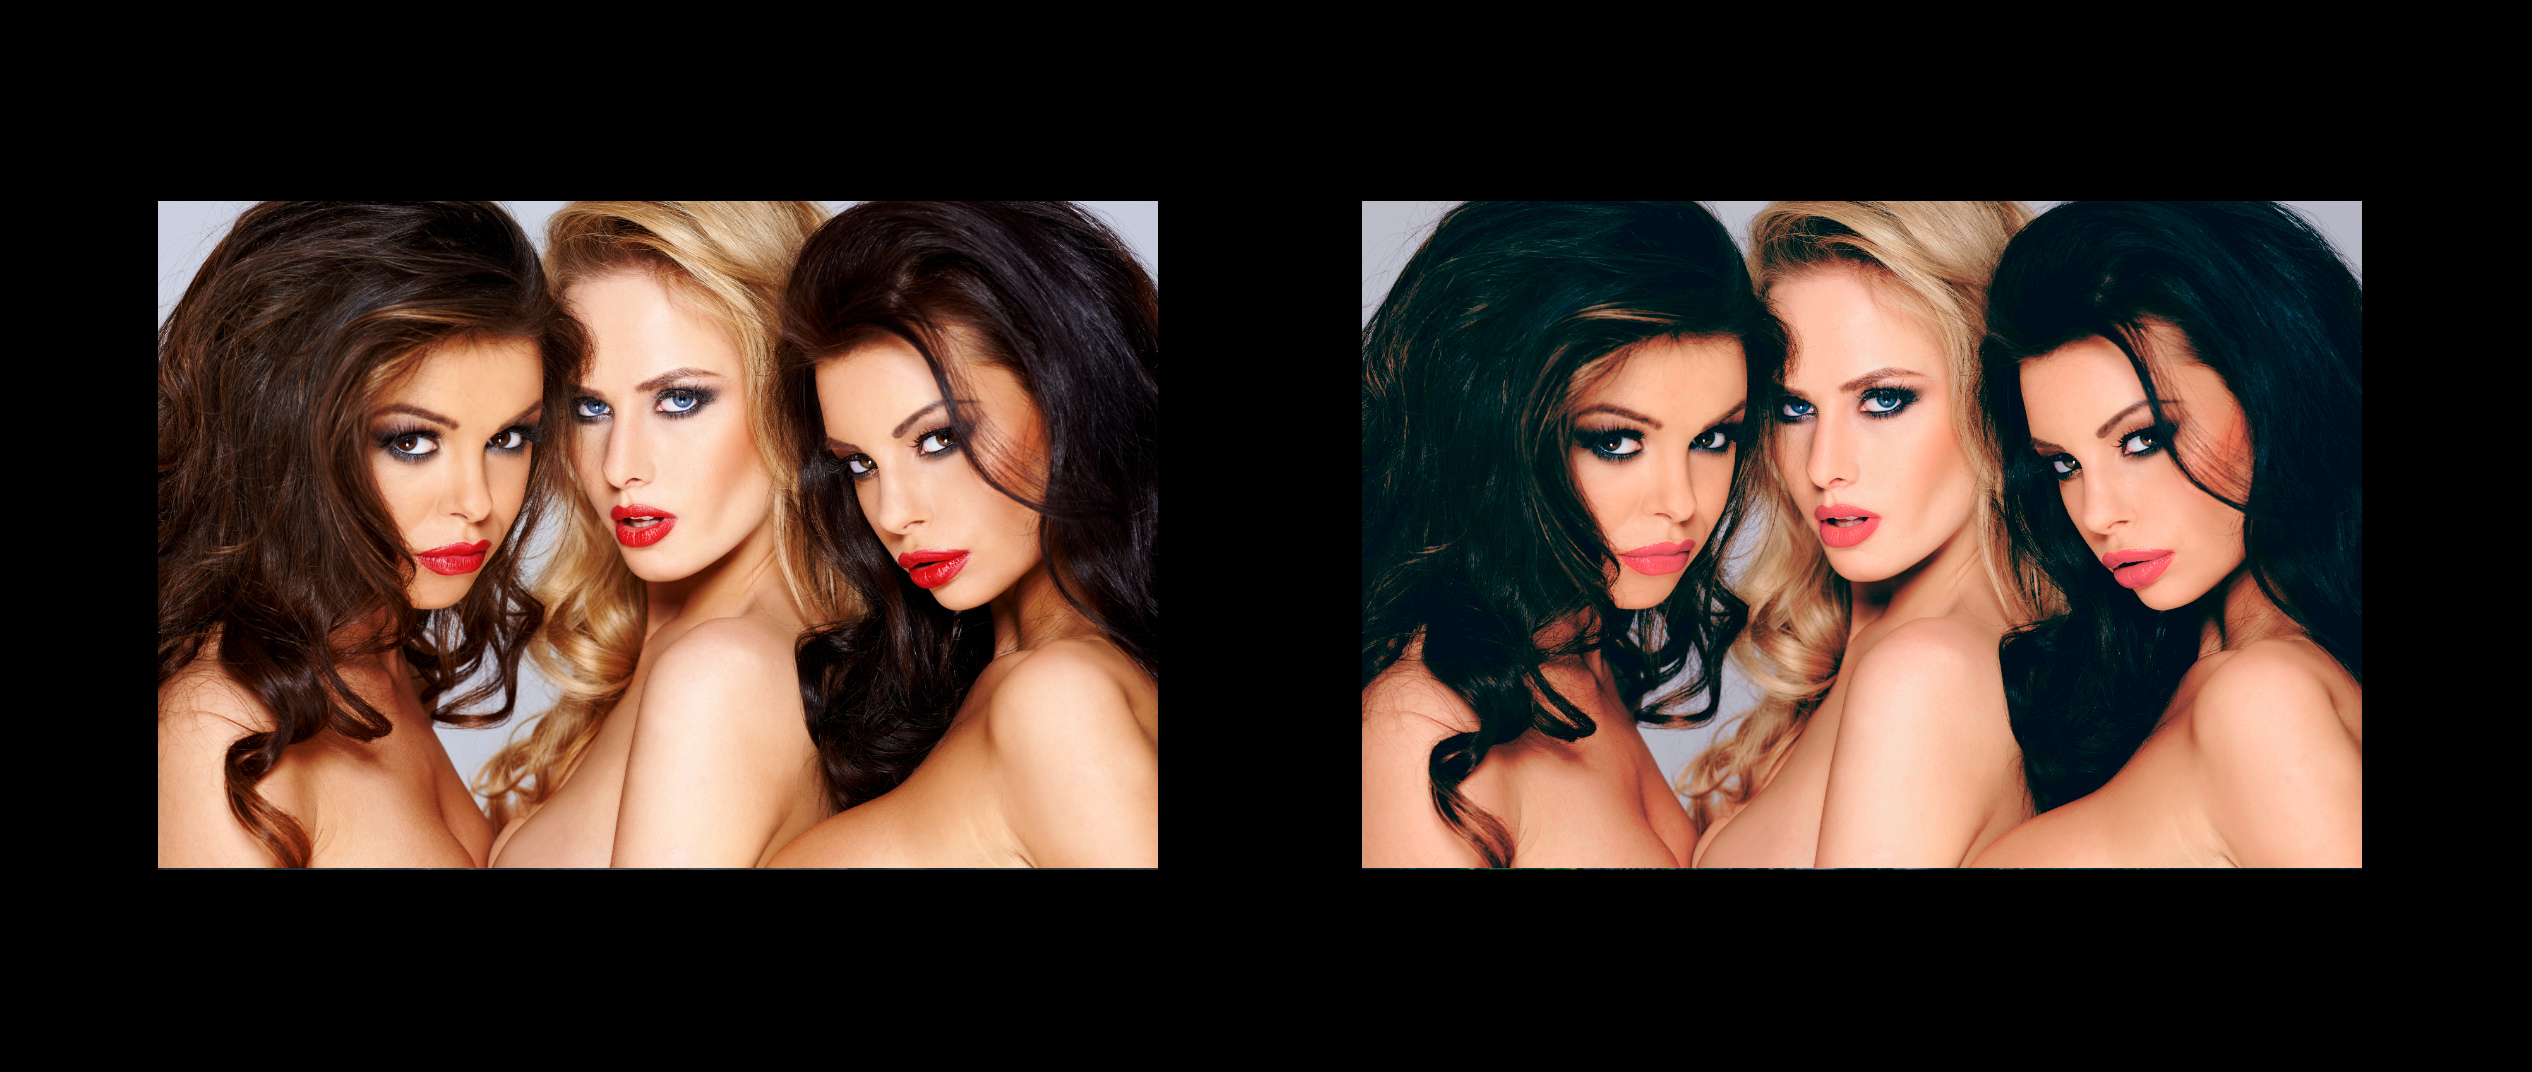
21 macros for Affinity Photos to make your photo awesome :) Made by me Download: Egor_Komarov_color_grading.afmacros Examples: Download: Egor_Komarov_color_grading.afmacros

- 22 replies
-
- 16
-

-

-
 Hello everyone! I'm new to the Affinity scene and love it so far. I've been a Lightroom user for years and decided that it's time to put the presets and sliders aside for a while and really take control of my editing. Enter Affinity. The purpose of this thread is to discuss workflows used when editing multiple photos from a photoshoot. I can't seem to figure out a truly effective way to edit 50+ photos without creating a mess. Any pointers, videos, web articles, or books are welcome. Thank you all for the support and I look forward to reading your responses.
 -
 The download instructions for the free macro pack say "Just click the download button to get your free macro pack. To install, open the .afmacros file or alternatively import from your Library panel." If I try to open a .afmacros file, I get a 'Failed to open file' dialog that tells me, "The file is not an Affinity document."
 -
 I create a new document. I create a layer of colorful flowers. I duplicate that layer. I adjust the top layer to Black and white. If I erase on the top layer, the color below shows through. Now I create a mask on the top layer and paint on it in black and nothing happens. So I try painting in white. Nothing happens. What in the world am I missing? Thanks
 -
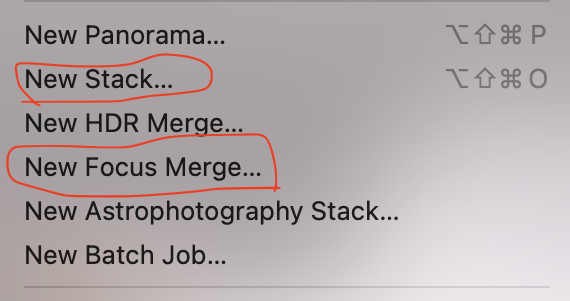
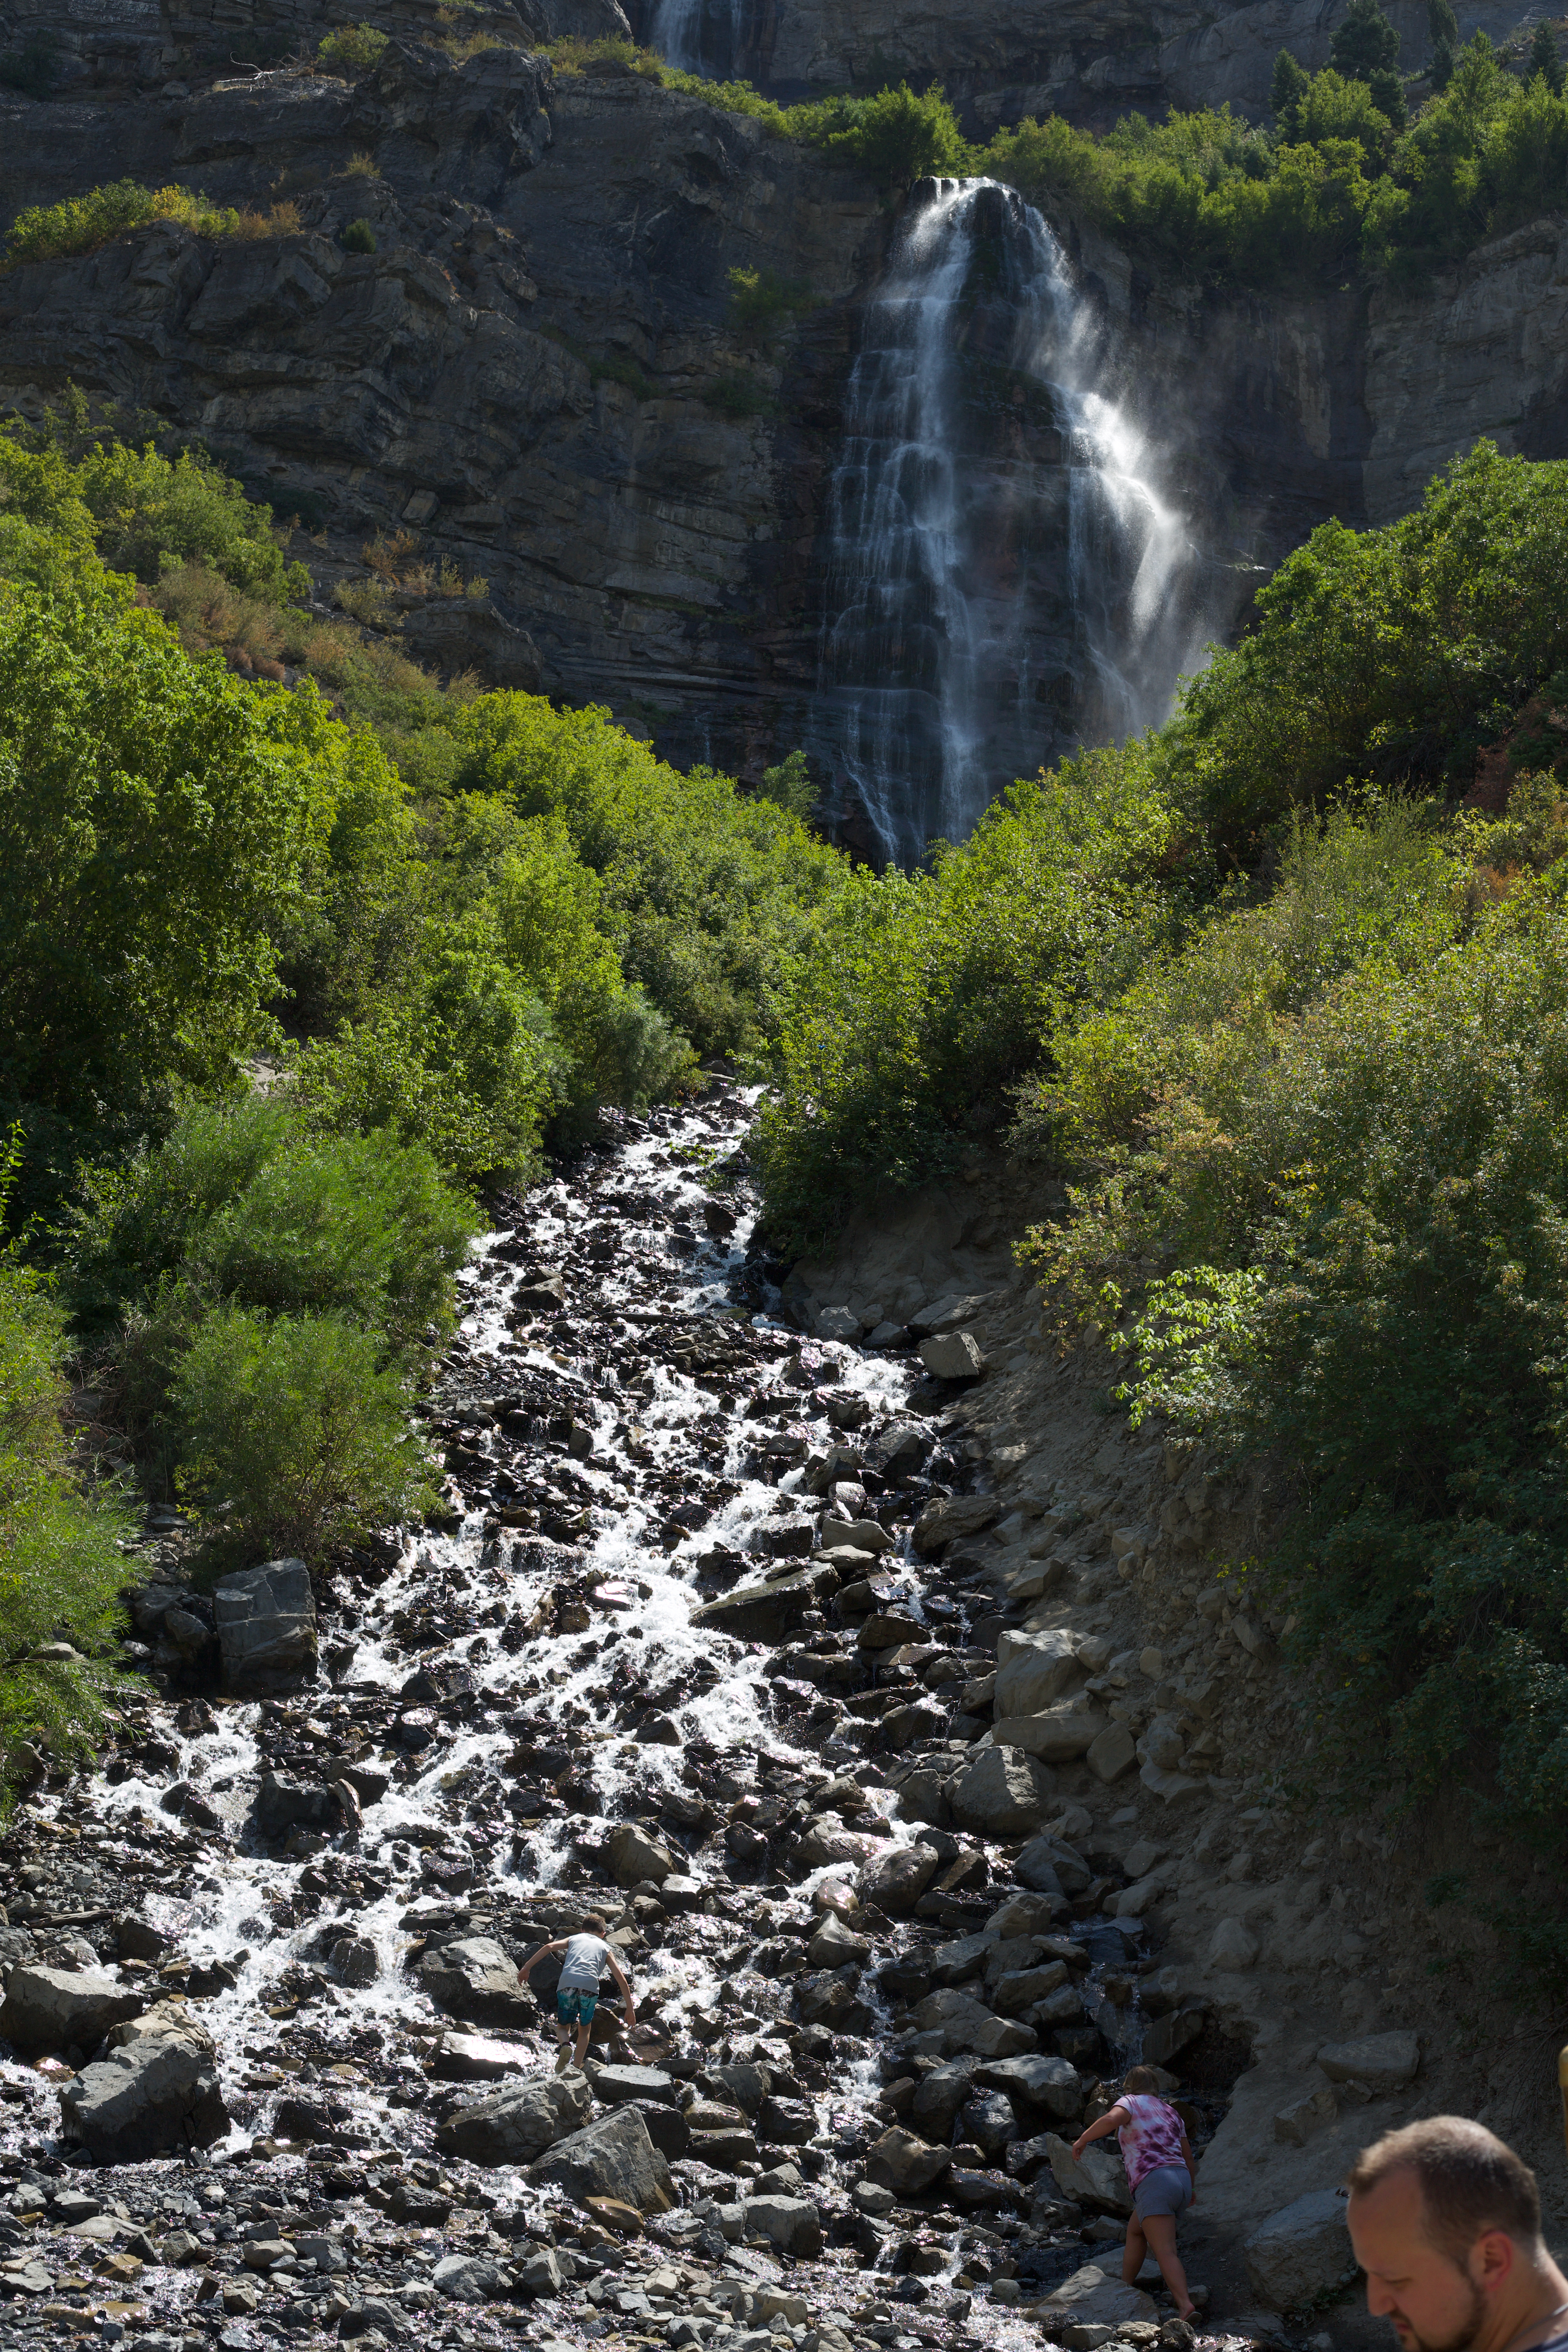
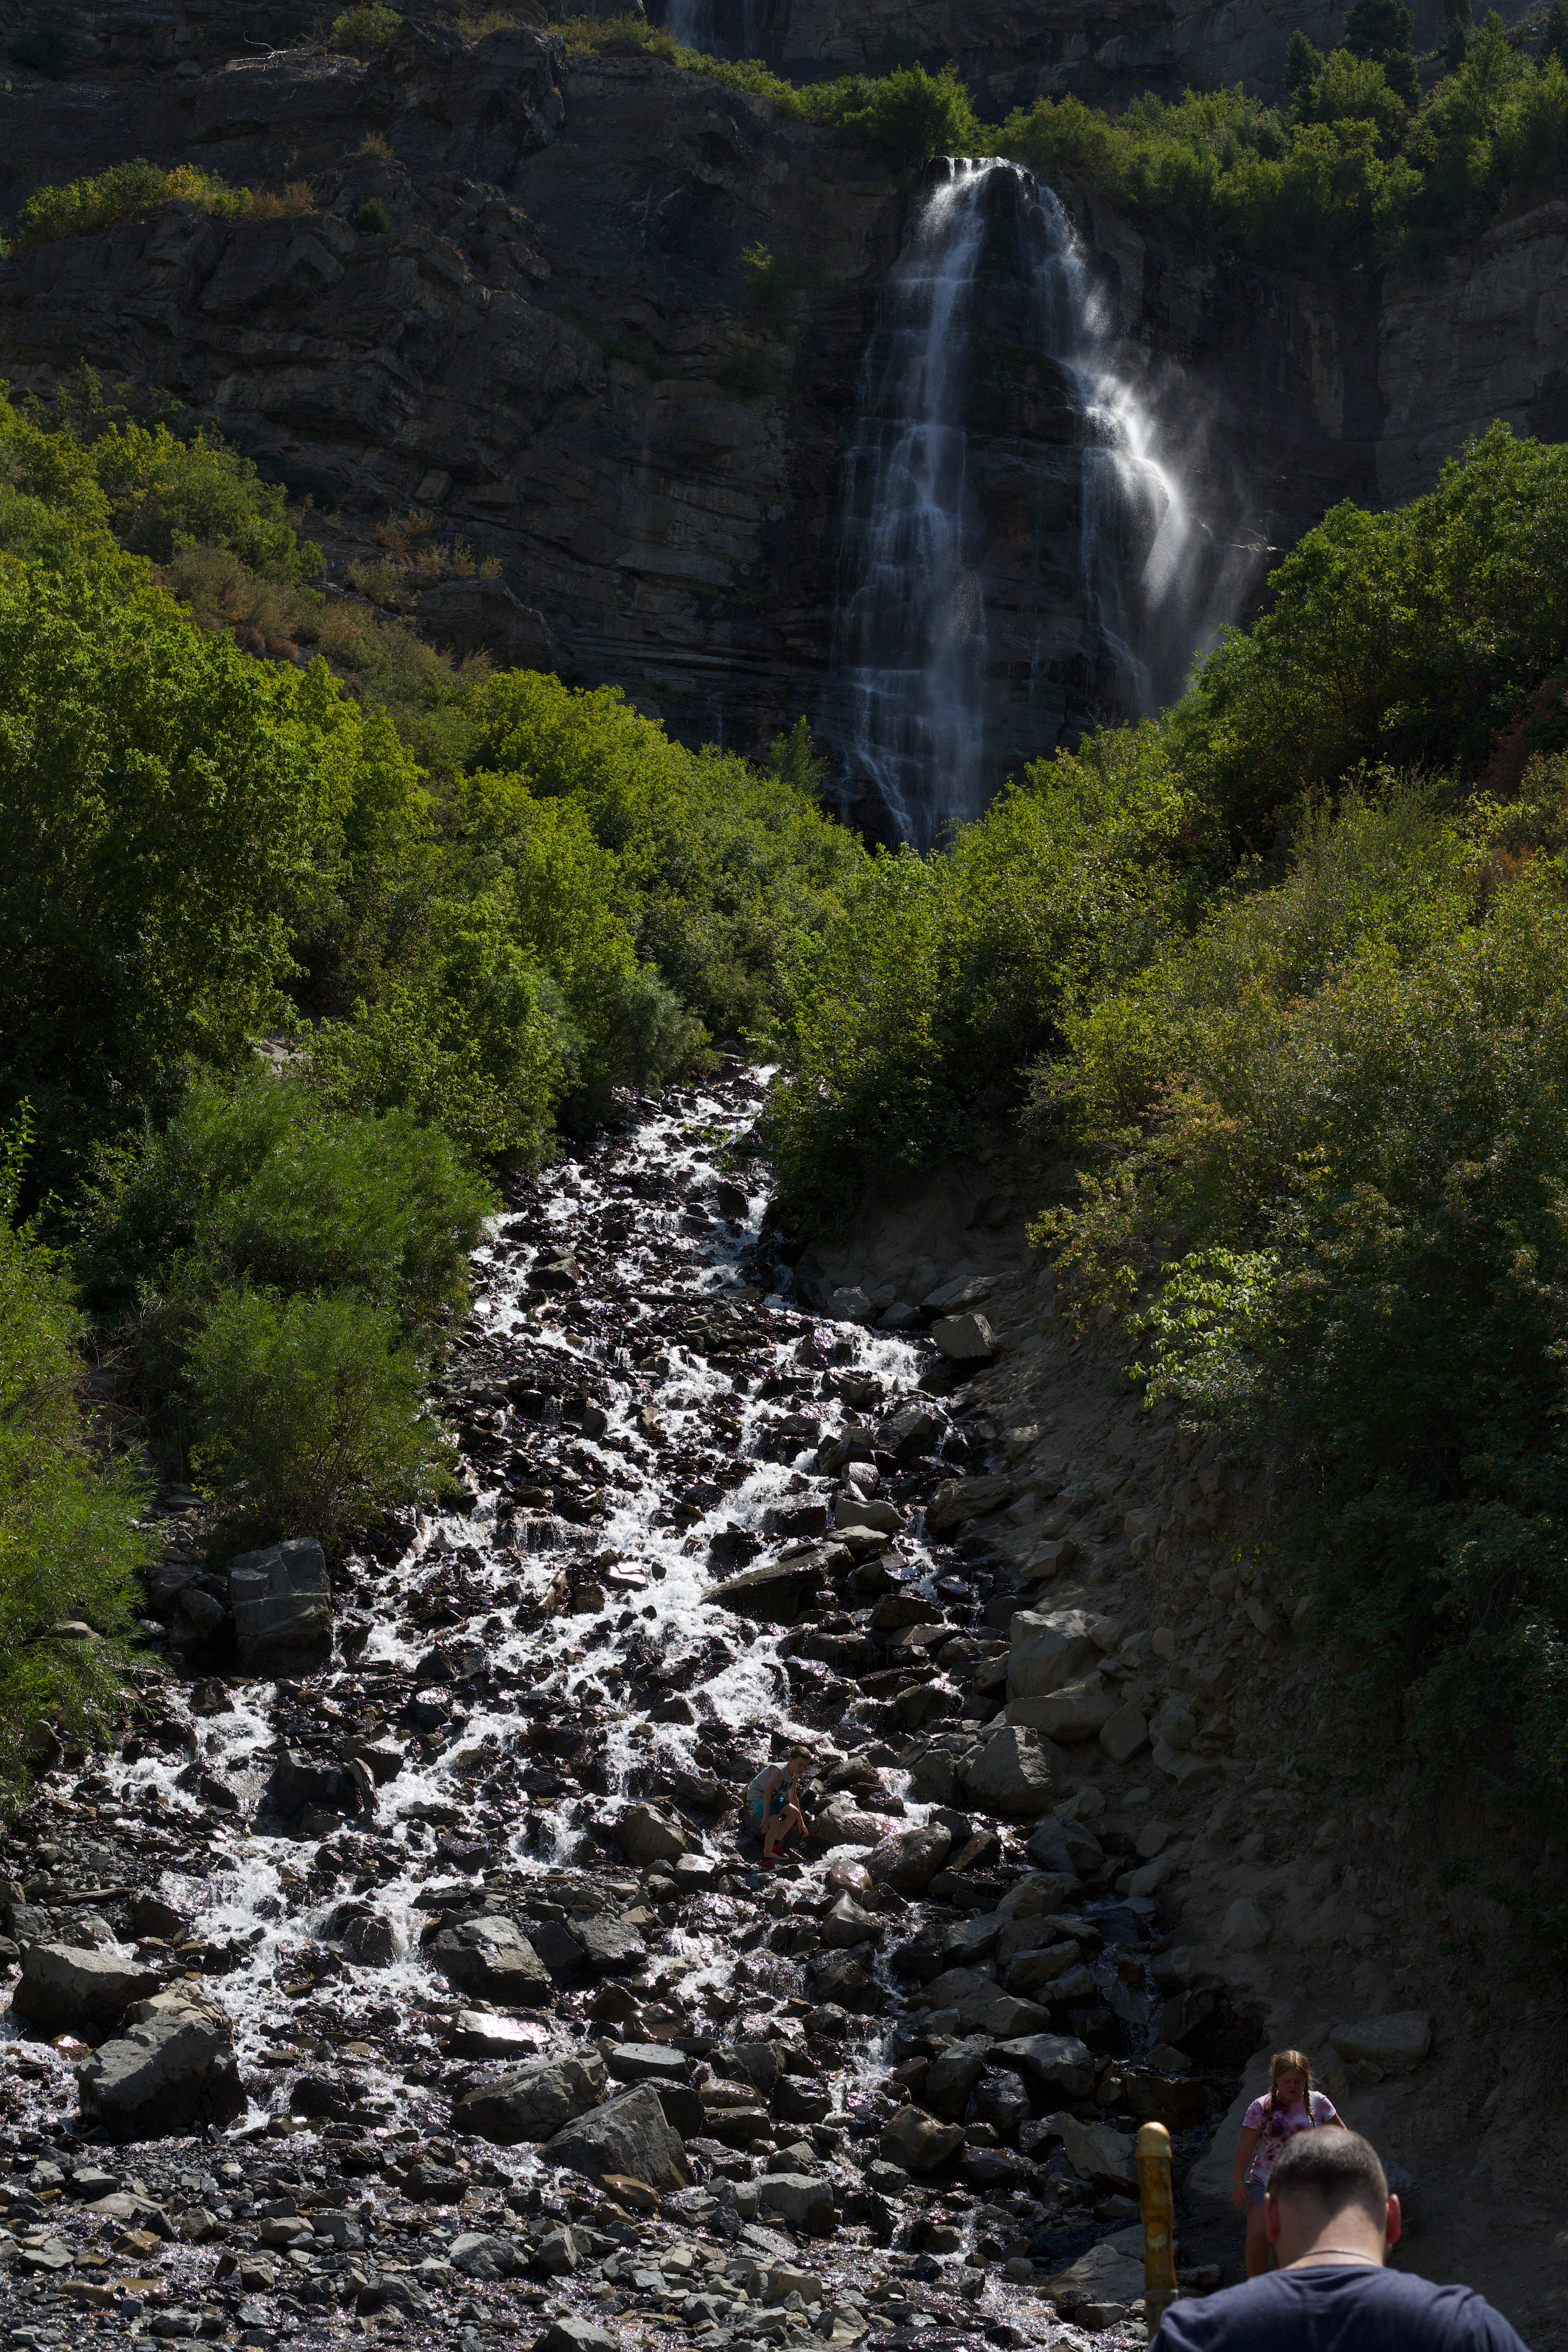
 How would I go about stacking these photos. What is the difference between Focus merge and stacking. I am trying to learn how to make gigapixel photos.
-
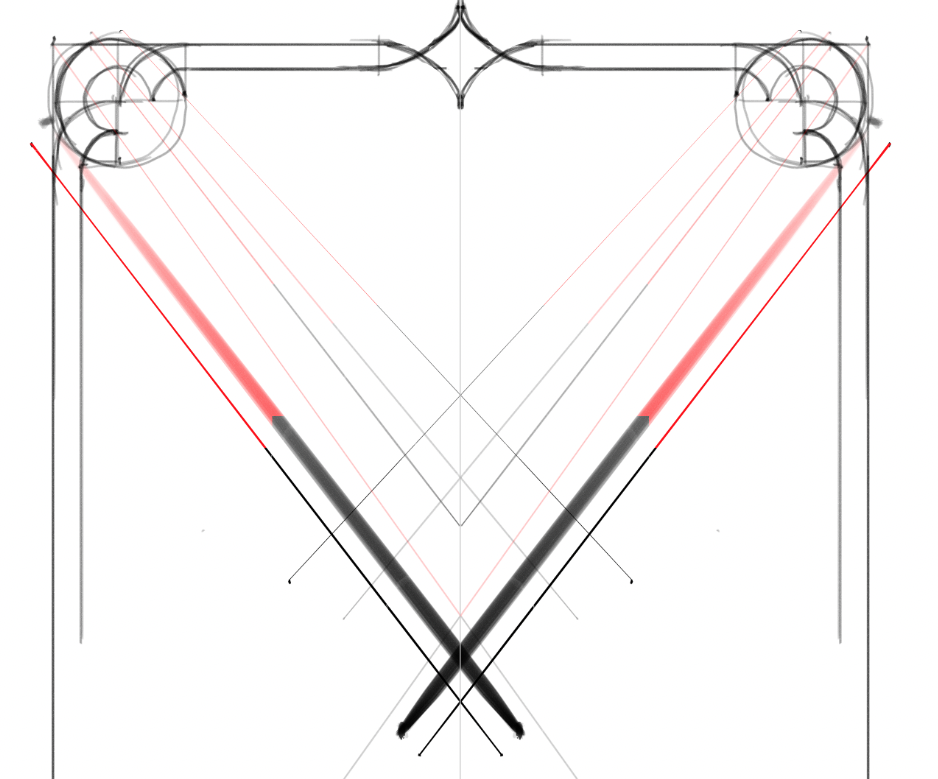
 @dmstraker @James Ritson Hi, i really can't get behind about Affinity's concept of "Blend Options" / Anti-Aliasing / Coverage Map. In the screenshot, you can see a totally simple rectangular shape, no fill, 1 pixel stroke of 50% gray. The shape is intentional rotated to stimulate anti-aliasing, utilizing a (default) coverage map. Key question: in case anti-aliasing is "forced OFF". What criteria are used by affinity to decide if pixel is visible or transparent? Based on the default coverage map, i would assume that pixel needs to be >=50% covered by stroke to get visible. The screenshot proves this wrong. Even pixel with less than 10% coverage are rendered. If you add a node to the coverage map at 50%/50%, and move it to the upper left corner, you get the maximum number of pixels colored: every pixel which is within half a pixel stroke (from center) gets included. Seems ok. If you move it to the lower right corner, you get the minimum number of pixels colored: None. Seems ok. What seems to be impossible: get exactly one pixel per x-position colored. This is un-intuitive. With the default straight coverage map, i would expect all pixels which are >=50% covered by the stroke to get colored. But the result is totally different, and includes much more pixels. Again: why? based on which criteria? The Blend Gamma has no effect when Anti-aliasing is forced OFF. I hope that someone can put some light into this 😉
 -
 See image attached, in the bottom left corner when I open a RAW image (Nikon D800 .nef), there's a square/block that's just a re-rendered copy from another part of the image. It goes away when I close the image and open it again and only happens for the first image I open during an editing session.
-
 pattern layers can be layered in a graphic and bit can be erased out to show the layers underneath which is quite useful but what I would like to do is apply a gradient mask to a pattern layer so I could at any time go back in and adjust the gradient mask to adjust the transparent areaof the pattern layer. Currently when you apply a gradient mask to a pattern layer the pattern no longer repeats. I may be asking for things that are not possible but I would be really great if a gradient mask could become a pattern layer and be nested as a child layer of another pattern layer so you could adjust the pattern and its transparency seaparately
 -
 Today while downloading purchases from my account via the app, if the progress-bar is clicked it resets the progress and the download starts over. I realize for a lot of users it's not a big deal, since they probably have very fast internet downloads. I didn't intentionally click on the progress-bar (%), but hit it instead of the view license. For me this is somewhat of a big deal. My internet download speed is 3MBS max. When the download is nearly done after taking about 20 mins, will cause a person to rip their few remaining hairs out of not only there head, but nose and ears too. I'm sure this is as designed, and not a bug, but should be. It should take an intentional act of telling the app you want to cancel the download or restart it. Not doing so would just pause it or do nothing at all to disrupt it.
 -
I have weird issue where I set the size to 5x7 in but when printed it is not 5x7 in. size issue.afpub IMG_1448.HEIC
-
I add a new photo AP. I go to Color, Swatches,, and Add Document Palette, nothing happens. Am I wrong to suggest the colors from the open photo would be added as swatches? If wrong, how can you obtain photo colors to add to swatches, other then color picker one by one.
-
Hi all, I would like to give my opinion on how I see the market. So considering Adobe does not have interest in the Linux market, you guys could at least take the opportunity and make a version of Affinity Photo for Linux, which would be a really nice alternative to Photoshop. I've tested and looked at a few Photoshop for Linux (mainly open source ones), but unfortunately none of them really stand that well. I've been using Photoshop since 2007 while I was in college, and I still use it at work, so it is really challenge to find out one to use at home that functionality wise, shortcuts, and everything fits to my pace. Best regards, Antonio Neto.
-
 Can anyone recommend a cheap graphics card that complies with the requirements for Affinity Photo's recommended hardware specs for graphics accelleration. John
 -
 Hello, Where am I going wrong, please? I want to cut out the policeman’s cap. 1 I crop the image so I can see just the cap. 2 I cut out using the pen tool 3 I click mask 4 I Cmd-C and Cmd-V into a new Affinity Photo file. See RBhBwyuhb6K3E2Y1AnDVaIsa9z4hkk The issue I have is that this takes over the cropped elements of the file. Help appreciated! Will
 -
 There seems no simple way to add a background color to a textbox from within Affinity Photo. Am I missing something? I've enclosed an image below to display what I am trying to do but seem unable. Thank you for your assistance. Doug .
-
 Having issues when trying to paste. I first make a marquee selection in a photo, long tap with one finger, select copy, long tap with one finger, select paste, and it pastes the whole image in another layer. It does not paste what I had selected. Even if I take that same selection and inverse it and select cut, it cuts the whole picture. It’s as if it doesn’t know I have a selection. I’ve been trying to figure this out for a long, long time and now I’ve just given up. Please help.
 -
An oddly specific bug I just discovered in Photo - unsure of whether this shows up in Designer too. While sketching out an ornate frame design, I used the symmetry tool with a brush, and everything proceeded as usual. I then used Shift to create a straight line and noticed that the stroke automatically coloured certain parts red - screenshot attached. I tried a few different brushes and ended up with the same result (as you can see), but only when using my tablet pen/stylus - this didn't happen when clicking with the mouse and holding Shift. The layers I worked on didn't have any FX applied, and red was not a colour I had selected (my foreground and background colours were black and white). I've done a quick screen recording for reference: https://youtu.be/blPZMQsAhNQ It's not embedded as a glitch into the document/file though, as I can easily use a "Colour Overlay" effect to change it back to black.
-
 I don't seem to be able to get Photo or Designer to start after switching to 1.9. I tried to look at the prob -- it seems they crash right after scanning the fonts, but unable to determine why. I'll attach a procmon trace in xml format. The 257MB trace shrank to 6.7M in 7z format. Running Win7SP1x64 on an 8-core (Hyper threading disabled), 96G RAM, w/6-10GB GPU mem on a GeForce RTX 2080 Ti. I haven't used either product extensively since the long time to startup made me lose interest in doing anything. I keep hoping that someone will take the font performance issue seriously, such that it is eliminated, since the serif apps are the only ones with such a problem on every startup, even though I almost never used the font features in photoshop (not a big part of my workflow). They have gotten better, but I note that many of the fonts are read twice and for some reason the font-reading process does a disk-status call with each font lookup, so it doesn't look like much time has been spent trying to make it efficient or fast, not to mention doing the whole font read-in once and caching it -- then updating the cache only when new fonts have been added. Also besides reading the font resources in a background thread, could also get some serious improvement by splitting up the job across multiple cores and merging the results via shared memory, though even a merge-sort on 'N' result files (N maybe # of cores) would likely give a strong speedup. Of course being the masochist that I am, I'll startup both photo+designer at same time because I don't know them very well and not sure which has which features that I might want to try. But now, doesn't want to startup at all. Any ideas? Especially since both crash now? :-( photo-procmon.7z Designer-CrashReports.7z photo_CrashReports.7z
 -
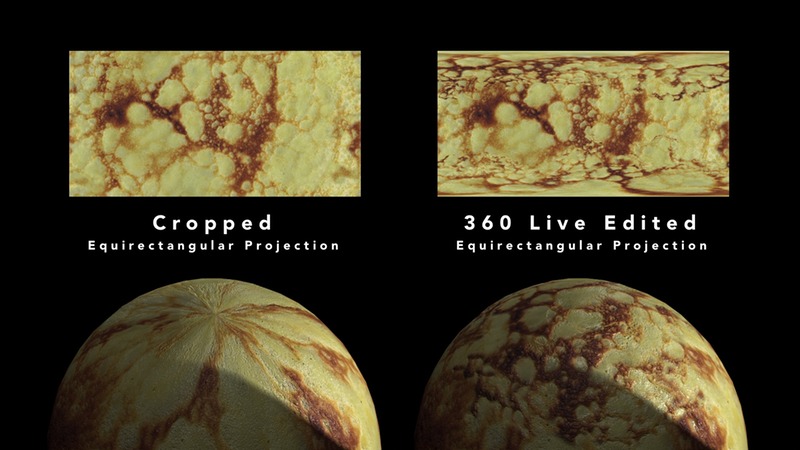
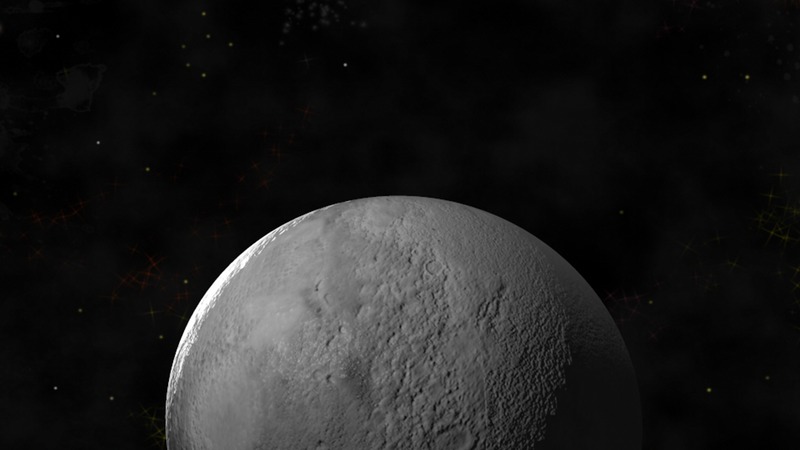
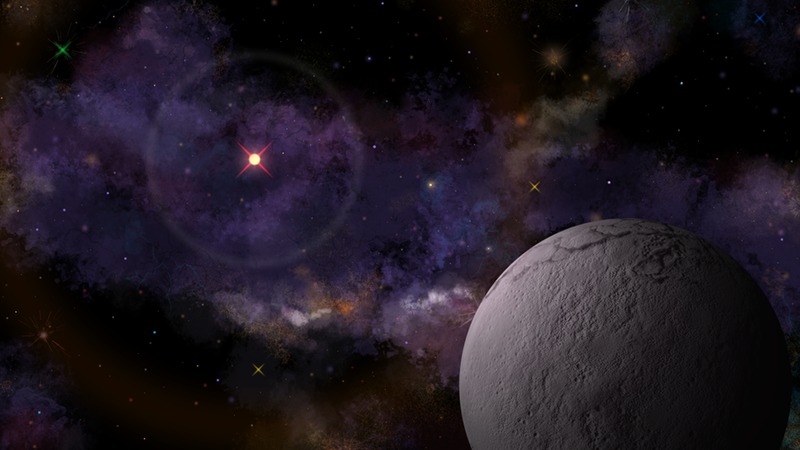
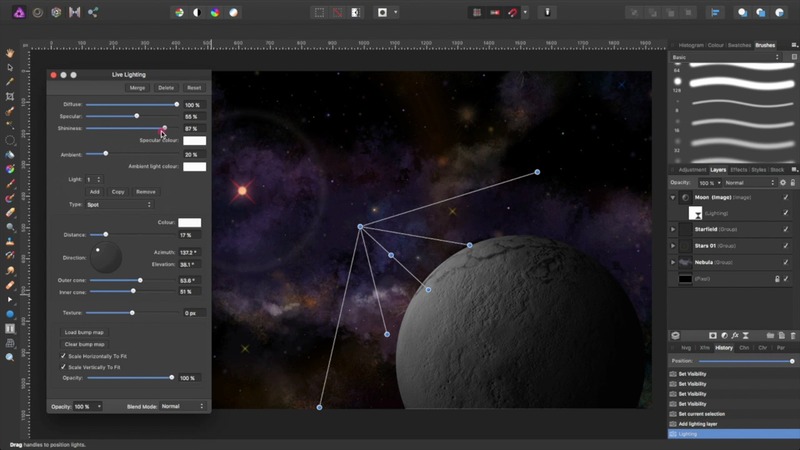
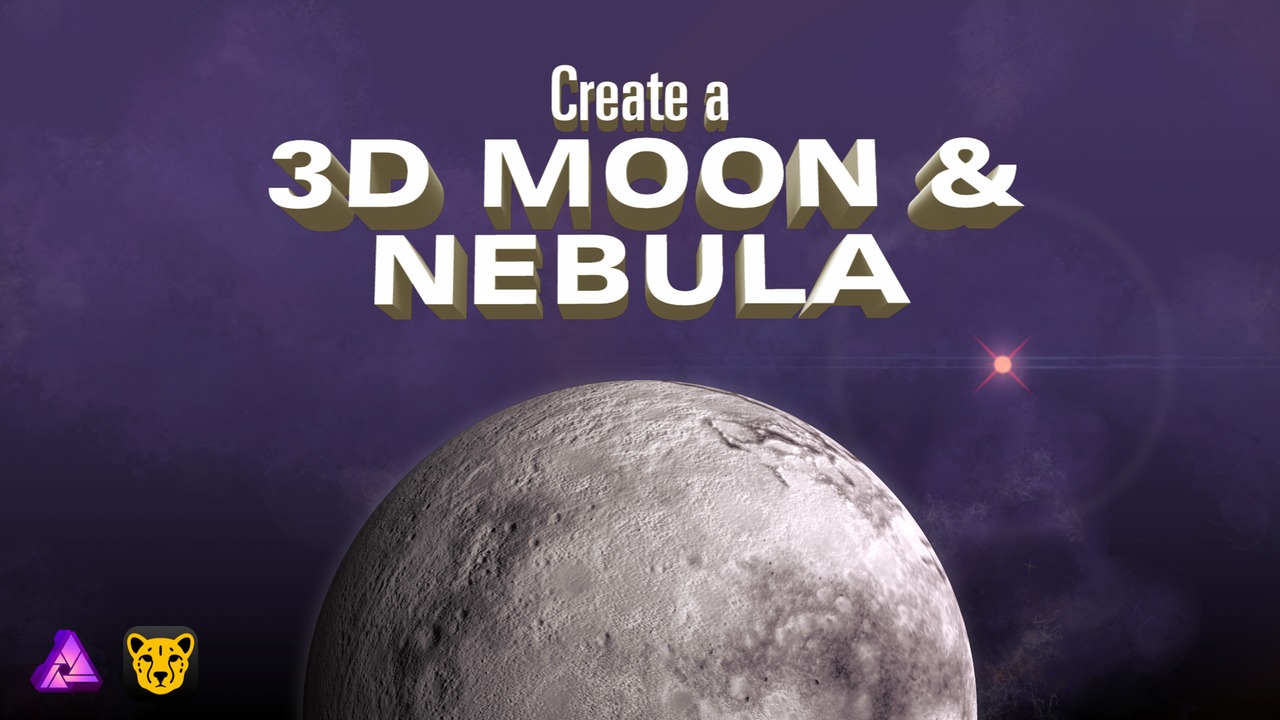
 Now on Skillshare here: http://skl.sh/2GjWV8q Note: I have renamed this class. It was "Create a Space-Themed Illustration". This class covers a range of easy to master skills, from cooking, to 3D rendering, to digital painting. Part 1 – The Pancake Moon In Part 1 of the class, you will learn how to: make pancakes in your kitchen using Affinity Photo, make equi-rectangular projection texture and bump maps out of the pancake's cratered surface using Cheetah 3D, wrap the texture and bump maps around a sphere, and render your pancake moon. We will be using Affinity Photo to create our texture and bump maps, and Cheetah 3D to render the pancake moon. Part 2 – Painting a Starry Nebula With Affinity Photo, you will learn how to: use shapes to create stars and simple lens flares use the standard set of Affinity Photo brushes to paint star fields and a nebula composite your moon with your starry nebula, and fine tune the lighting of your moon. Here is the permanent link to the class: http://skl.sh/2ooIWa9 Note: This link requires a subscription to Skillshare. Please use this link if you already have a subscription, or you are intending to sign up to Skillshare. I'm not sure what the current deal is, but Skillshare sometimes offer free access to all their classes for a limited time. Links to other space-themed classes by the following Skillshare teachers are available from this class. But wait, there's more... Free Access Link: http://skl.sh/2ogF9L2 Note: This free access link is limited to the first 12 people who use it and is valid up until the 28th of February 2018. It only provides free access to this class. You may need to sign up, and it's free. It's best viewed on a desktop browser or tablet. I hope you enjoy the class. Disclaimer: I have no affiliations with Serif nor Cheetah 3D. This is not an official Serif nor Cheetah 3D class. Permission was obtained for using the Affinity Photo and Cheetah 3D logos for the purpose of class promotion.
-
 Every time I want to start affinity photo it crashes. After first installation it had the same problems but at once open a file direkt in affinity it starts. Now the same bug comes up. It does not help to install an older version, every time the same bug. Designer and Publisher works great and even in publisher I can switch to the photo persona and it works. Maybe some base files are corrupted any chance to delete them or is there a safe start option for photo. If I open affinity photo by apple photo edit in affinity photo it starts and works, but only for this session. I am working on a MacBook Air 2020 with the newest updates of BIGSUR and Affinity but problem was existing before.
-
The official MAS downloaded Designer v1.9.1 update tells BETA (?) ... BTW, same for the Photo pendant!
-
Hi, On W10 and with AP 1.0.0.932, i get several strage observations: Blend ranges give strange results. i tried to limit the recolor on one or two channels, e.g. by reducing red channel participation to zero. The result leads always to no recolor at all.This might be by design, but then the GUI shuld give a hint, e.g. only allowing to adjust master, and no individual channels. The Blend range dialog appears in the middle of the screen first. But when i try to move it, it goes straight to the top, and cannot removed from the top. Might be related (side effect) to the LG / DELL OnScreen Control Performance with OpenCL aktive is poor, much slower than without OpenCL. I have a capable GTX 1080, new driver, etc. Photo becomes totally laggy, sometimes hanging, often need to wait several seconds for every mouse click. rainbow.afphoto
-
Hi, I'm getting confused how Affinity Photo handles "Color Formats" like RGB8, RGB16, RGB32. Question 1: How many colors are displayed for and RGB8 Color Format? To test how many colors are visible, i created a very simple test document: Create new 3840x2160 document with RGB8 and P3 profile Create a procedural text filter which creates the smoothest possible gradient from black to white. This will create steps of 1/3840 create a second procedural text filter which creates steps of 1 /256 (and is adjustable by the slides for later steps) Now the fun part begins. If you disable / enable the top layer you will see visible changes - meaning Photo will display a gradient with smaller steps than possible in 8 bit. Changing the blend mode of the top layer to "difference" will confirm both layers are different. This is a surprise for me. You may need a levels adjustment to emphasize the difference. Actually it seems like Photo is rendering a much higher color channel depth than 8 bit - even if the pixel layer is restricted to 8 bit. Is there a good explanation for this observation? My assumption is that RGB8 layers are strictly limited to 8 bit depth for each color channel, and only 256 different gray scales are possible. But the observations above prove it wrong.
-
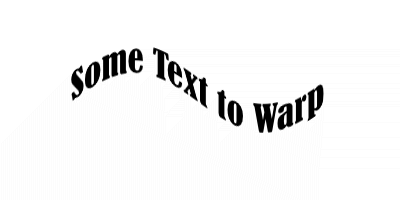
Some time ago I presented a formula to plug into Equations to warp text along a wavy baseline. I promised to create a macro to perform this, but never got round to it. Well here is that macro and a library containing it. Wavy Text.afmacro Wavy Text.afmacros The transformation is just a sine/cosine curve: y=y-(h*a/3)*(b*sin(360*x/w/c)+(1-b)*cos(360*x/w/c)) The a parameter determines the amplitude. The default is a=0.5, which creates a wave that reaches about half way to the top and bottom of the layer. The b parameter shifts the position of te wave along the horizontal axis. The c parameter affects the wavelength. Reducing c gives more waves along the x-axis. If you start with a text layer such as: and apply the macro with the default parameters, you get: The macro is designed to operate on a text object on a background. It needs the background to give it room. It begins by rasterizing the text to a pixel layer. It uses the height and width of the background layer to determine the amplitude and wavelength, not the height and width of the text itself. To use this, I would suggest creating a new document of a size to hold the text, then warp it, then place or copy it into the target document with an appropriate blending mode. John
-
Hi all, I'm trying to figure out how to add new parameters to the Live Procedural Texture but I can't get my head around it. Basically I would like to use the Smoothed bars preset and add a rotation parameter and a way to control the thickness of the black bars and white bars independently, is this possible? Thanks in advance, Juan