Search the Community
Showing results for tags 'mask '.
-
 How can I turn my curve into a selection so that I can continue working with it? Or is this function not yet available?
 -
 Hello Peoples ! Coming again here but with few questions that you may like or not but i believe it is quite useful to ask. All my questions here are based on Beta version of Affinity Photo not on the stable version and they're intended for understanding and helping to improve what already exist and not to raise comparatives between Apples and Oranges. ---------------------------------------------------------------------- Object: The Ring Function! I've been using it (not that much) since it was added to HSL Adjustment; well i really enjoy it and found it very useful when it comes to narrow and make precise color selection ...but i only see it in few of the adjustment layer that aims to work on colors. Q: Don't you think Recolor adjustment needs it to ? --------------------------------------------------------------------- Object: I've seen that there is the gear icon on the bottom right of adjustment layer when we have them opened but for unknown reason it does nothing when i click on it. Q: What it is intended to do or achieve ? --------------------------------------------------------------------- Object: As we all know that there is not enough online tutorial talking about really crazy tricks with Affinity Photo, i usually watch PS tutos and work on applying them in my AP workflow and they just work but ... for some reason i get lost when it come to do the Blend if thing. Q: Can you please point to a tutorial talking about that in details or simply share here how you do Blend if with Affinity Photo ? --------------------------------------------------------------------- Object: i often use the blend ranges function and just found it not working even if you click a million times on that gear. Q: Bug or me missing something ? Possible to fix it ? --------------------------------------------------------------------- Object: Let say i select a red color and want to add more to already selected using the same method, well ! on other software such as PS i would simply sample more color selection color by clicking Shift + Click and drag or click to add to already selected color. Q: How to that with Affinity Photo ? --------------------------------------------------------------------- Object: It is really useful to save selection made on a Photo or any other pixel related stuff but in the same time i personally found it to be quite hidden, burried into menues. Q: Possible to create a button on related tools (Sel. Brush - Flood Sel. etc.) next to the refine tool that allows that to be done without trying to find it in the menu ? -------------------------------------------------------------------- Object: in this last one, i will come to something i already asked about but i see no change until now. Let's talk about Masks (also i target adjustment layer because i love using their masking functionality). Okay ! Let's create a mask and press cmd/ctrl+i to invert it ... it stays the same i mean pure white when it should turn black (actually dark grey) when inverted and even when i paint with the brush tool on the mask it shows after i do another action such as cmd/ctrl+s or switch to another and start using it. Quite bad hein ! Q1: it is possible to fix this and make work as it should ? Q2: Possible to make the painting on mask more live and less delayed ? Okay ! Here i'm done with this. few here you will understand are bugs that need to be corrected and few other are kind of request but i count them as things that needs to be corrected at this level of development of Affinity Photo and what i point to here should also be checked and if possible get applied to Affinity Designer and Affinity Publisher because all 3 are based on the same principle and should not grow independently one another when it comes to these basic stuffs. Blessing to Y'all and don't forget it is not to raise a troll but to help improve the software.
 -
 Hi all, Sorry if this has already been covered somewhere, but I was not able to find anything. Basically I have a layer with a mask applied to it. I want to transform the layer using the perspective tool, and I want that transformation to apply to the mask as well. I can scale/rotate the layer, and the mask follows, but for the perspective tool this does not seem to work. Can this be done?
 -
 I have two curve layer adjustments for my dodge and burning retouch work on AP for my iPad Pro. I’d like to select a section of the mask and add a Gaussian blur. Is this possible? If so, how do I do this? I new to AP but a Photoshop veteran looking for an iPad alternative. Thank you so much in advance.
 -
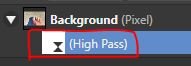
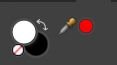
 If I am applying "high pass filter" and want to mask certain content from the effect of the filter, I invert the mask but the Icon of the filter does not "black out" when I apply "Invert" by presing "Ctrl+I" , however the effect of inversion is visible on the picture. Now If I pick the white brush and paint some areas to reveal the effect of the mask ... nothing happens. What is going wrong here? Snapshot of applied filter, brush color icon and Brush selected attached as JPEG files
-
Okay ! here comes the proposition or question. I've noticed everything or all tone map we apply to a pixel layer (let's say i merged visible and decided to apply tone map to it) that operation is still destructive. I mean, tone mapping is very helpful but would be great if it become non-destructive. Okay maybe i'm missing a way to do that but i always : merged visible and applied tone mapping from that thus preserving the other layers ! if there is a way to tone map non-destructively please let me know if not yet then please Serif, make it happen. Blessings !
-
 This should be so easy but can't seem to figure it out. I am trying to use designer to create a graphic larger than a single sheet of printable sized paper. Print the graphic and tape it together for a leather cutting template. the graphic would cover 4 A4 sized sheets of paper so I setup 4 artboards sized at A4. I draw my image below to scale and I believe I should be able to "Clip" the image 4 times and drag the clipped regions up to the artboards for printing and assembly. This is at least how I believe it should work but can't seem to figure it out. Any help would be greatly appreciated. I use this software only for creating my leather templates and now my templates are getting bigger and I am stuck. Any guidance would be greatly appreciated as I have exhausted my web searching on this matter. Thanks
 -
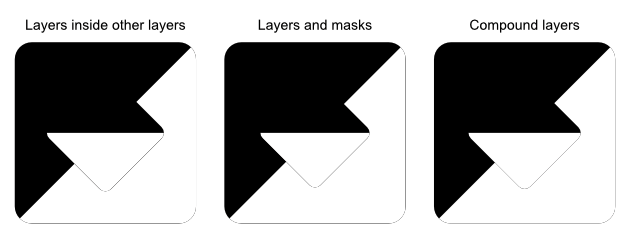
 Windows 10, Designer 1.6.5.123 (also happens with the 1.7.0.178 Beta but that's by-the-by). I was experimenting with shapes and noticed something strange, see attached image. The image shows three different ways of doing the same thing (I've also attached the afdesign file). On the left I have: * a black rounded rectangle with a white triangle inside it at the bottom-right; * the same as above but rotated and made smaller. In the middle I have: * a black rounded rectangle, a copy of the same rectangle as a mask for a white triangle at the bottom-right; * the same as above but rotated and made smaller. On the right I have tried to use compound layers but got the same result. I can't seem to get rid of the very thin black line around the shapes. Is this a bug, or am I doing something wrong, or is this just expected because of how vectors work? Is there a way I can stop this from happening without 'cutting' the shapes up (or making the black rectangles ever-so-slightly smaller)? lines around shapes.afdesign
-
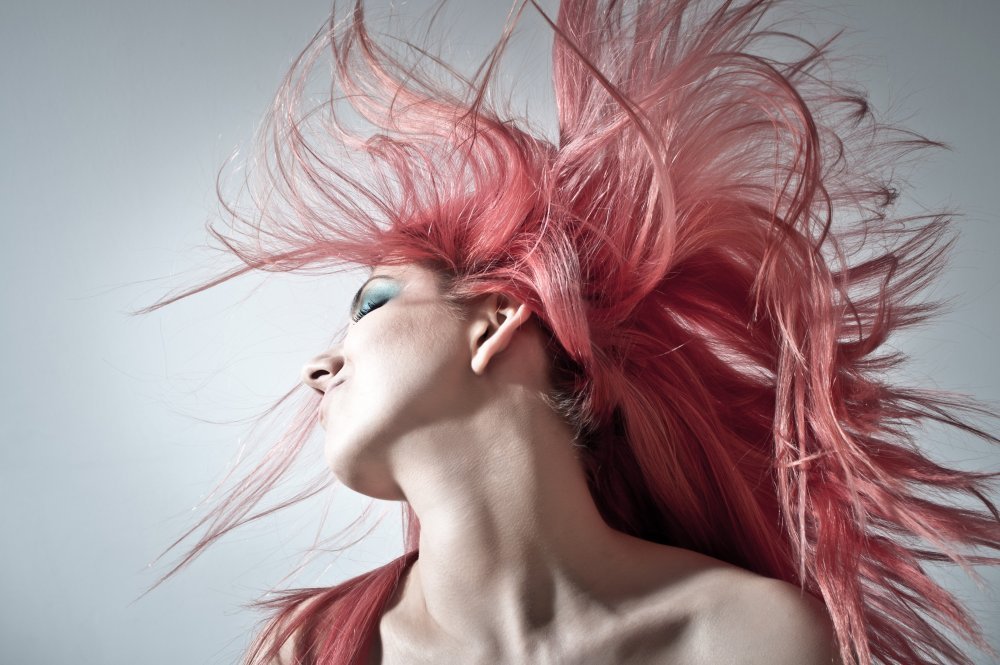
Dear staff, i've done a quick test on a photo to select subject including Hair selection but noticed there is no real improvement with that related tools. Maybe it works with kind of things to select but when it comes with Hair it simply not that good. OKay maybe i'm doing it wrong but i believe here you need to improve it at the level of introducing a fresh new way of subject/person selection with a much detailed menu that will help us to tweak things to get the best we can. i often deal with photos like many here (while i'm not good at photo) so not having such kind of operation working optimal or even painless generate high frustration. Please bring to light what you have hidden so we can test it and help you make it better before APhoto goes on sales. I've attached the picture i tried with, just try on your side and if you are successful with it please share the method. Blessings !
- 1 reply
-
- 1
-

-
- hair selection
- mask
- (and 3 more)
-
 I'm wondering if this is the expected result from Refine selection. I've included a video, but I'm wondering if this isn't a bug? Process: Selection Tool --> Refine --> Paint with Matte brush (Matte edges selected) --> Output --> New Layer with Mask --> Hide the mask. The new layer seems to have been destroyed (old layer is not touched, as expected) I would think that after going through the process, I would be able to touch up the mask, but the new layer is so ruined, that I can't use any of the area that I would unmask. I am able to move the mask to the old layer and touch it up there, be the new layer isn't good. Video: https://drive.google.com/file/d/14dkQlwMszAn0vPi7hnB7MbQF_WzP3IpR/view Thanks!
-
 Hello, Is there a way to create a luminescence mask similar to what is possible in photoshop? Thanks
 -
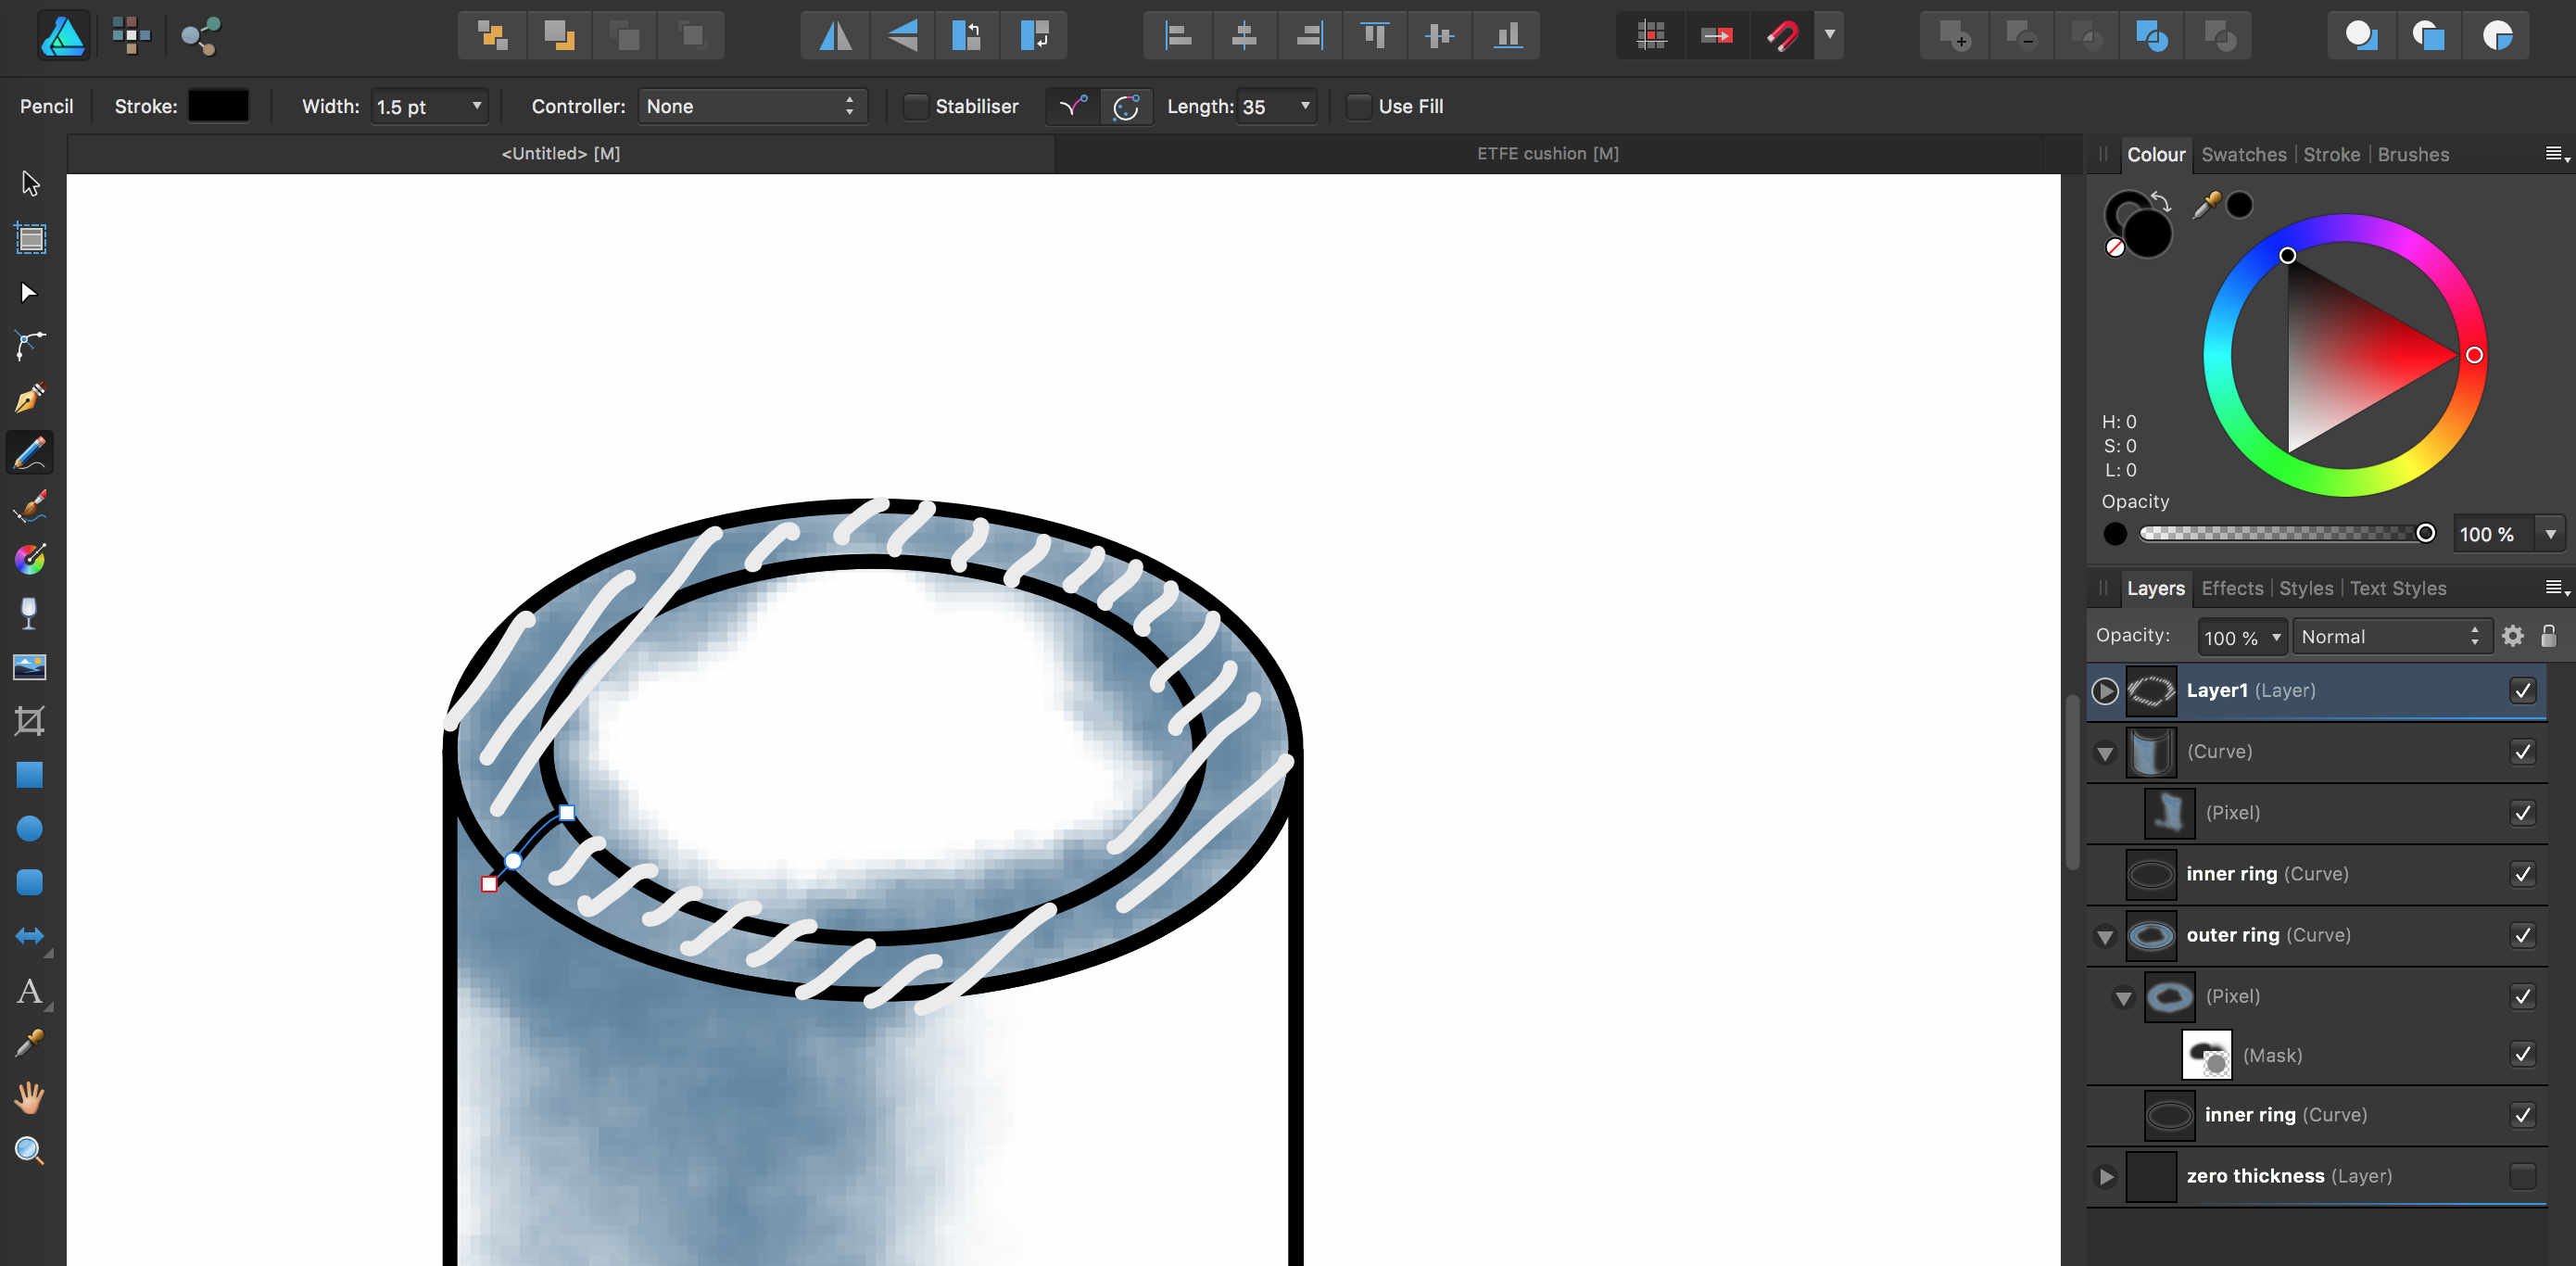
 Hi I'd like to know how to paint a vector shape as shown in the attached image, the hatched area? I know how to switch to pixelpersona to paint within a vector shape (circle, rectangle, triangle...), but failed to figure out how to paint a hollow circle ( a ring zone) ... In the attached image, I used the outer circle as mask to paint, however it will also paint into the inner smaller ring, yes, I can use eraser to carefully erase it off... but is there a way I can paint "freely" directly in this ring area? or is there a way to set up a mask for the eraser to ease the job? Thank you!
-
 If I'm editing a mask with a brush, then I would expect the blend modes to work like they do when I'm normally painting a layer. Examples include: Brush with White Color and Overlay Blend Mode should help fill in white parts of the mask, without revealing/coloring parts that are already black. Brush with Black Color and Overlay Blend Mode should help fill in black parts of the mask, without hiding/coloring parts that are already white. Works best with a low flow For clarity, these do what I expect if I just paint with black and white on a normal pixel layer. But none of the blend modes do anything when painting on a mask.
 -
 In a triangle frame (or any other shape) it would be nice to use Place Image from the menu. I know that masking is possible from the Layer-menu
 -
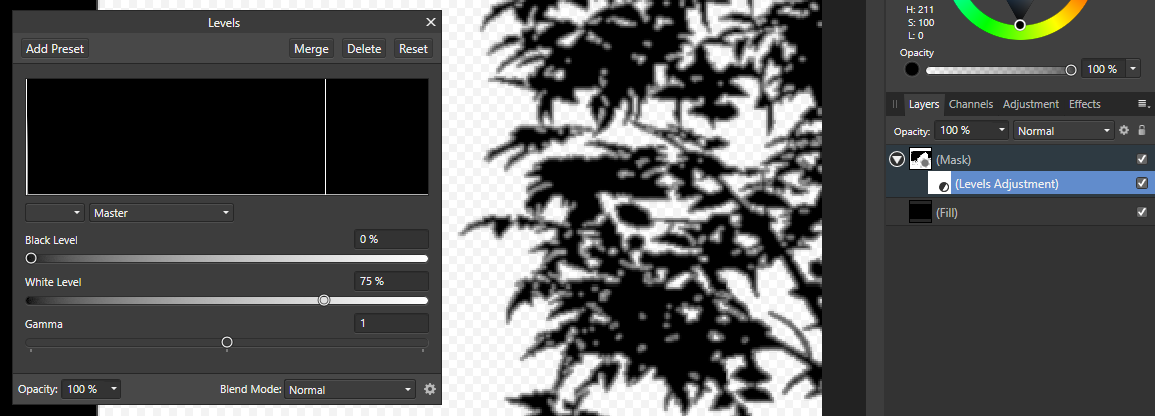
Hello! I'd like to make Adjustments like Levels, Brightness/Contrast etc. on a Mask Layer, to reduce edge fringes. It is obviously possible to put Adjustments under the Mask, but they seem to have no effect. Is it me, or is this a restriction or bug? Thanks a lot! AP 1.6.5.123
-
 I'm a bit rusty with any design app, and I've never gotten completely up to speed with Designer. I'm trying to do something which I think is fairly simple, but I don't seem to be able to get it right. Simply, I have two shapes, and I want one to cut out of the other. Right now I have a group of shapes and I put it on top of the shape I want it to cut from, and I say to mask below, and it makes the bottom shape into the shape of the group above. What I want is in fact the bottom shape minus the group above (so it is transparent where the group was). How do I do this? Thank you.
 -
 Hello, I am new to masks and have a question I am really hoping has an easy answer. I have created a document imported an image and then created a mask. I am wondering what are the steps I must follow to edit the mask to make further adjustments as no matter what I try I cannot get into it. Apologies for the beginner question.
 -
 Hi How copy pixels information, to mask or alpha channle. For example, I need copy all pixels from the layer 1, and paste in the layer 2 alpha, or paste in the layer 2 mask. I'm stuck in this point Thanks!
-
Using the Dodge and burn on a mask layer is handy when using to affect only shadows, midtones or highlights. Eg. Dodging a lighter sky through a dark tree. Tx
-
 Hi all Affinity Photo friends, two questions: Is there something like a Clipping Mask as in Photoshop? It seems to be, that the tweaking made in Effects tab has zero effect on e.g. Masks and Adjustment Layers. In case I don't do something wrong or just couldn't figure out how to do it: This must be urgently added... Need to blur a mask non destructively all the time. If there is a possibility, please let me know, many thanks in advance. Appreciate any reply!
 -
 Is there any way to toggle the default layer mask of adjustment layer in Affinity Photo?
-
 Hi. When I select a layer and click on the layer mask icon, it creates a layer mask above and separately from that first layer. I have to manually drag it underneath the layer I meant to mask. Why is not automatically apply it to the layer I've selected? It should work exactly that way, like in photoshop or in any online Affinity tutorial, but not for me.
 -
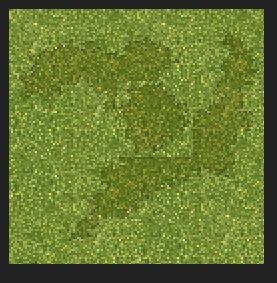
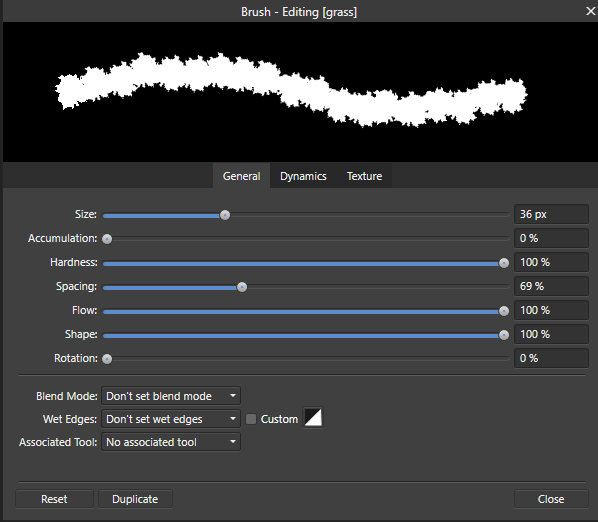
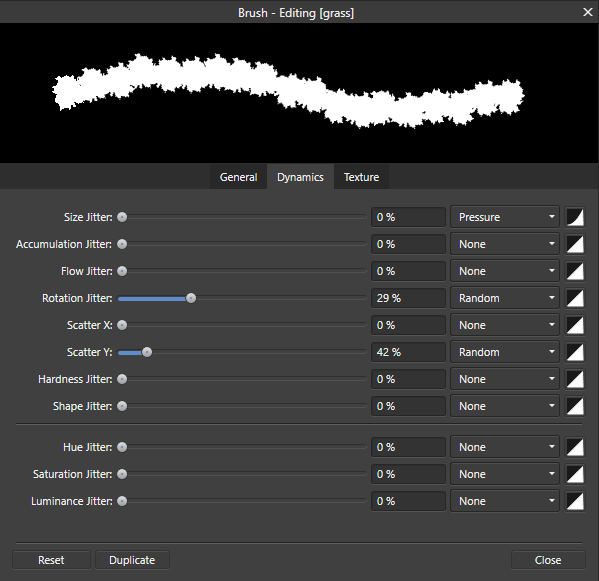
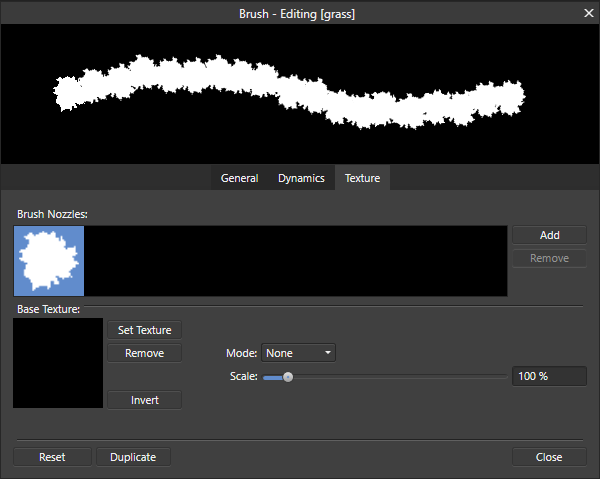
 Hello everyone, I'm trying to create some custom brushes to use when painting over masking layers, but I cannot achieve my desired result. This is the new Image Brush I made (white on transparent background): The layer setup: What I want to use this for is adding/subtracting from a mask, but the transparency is not ignored in the process, resulting in something like this when adding to the mask: As you can see the transparency acts on the mask layer as an eraser (I'm using the pixel brush), and the only thing that I want to do and can do is removing from the mask while holding down CTRL (to erase). Is there a setting, or color combination in the brush image that I can use in order to have the desired effect of only adding or subtracting the brush shape, ignoring the rest of the image? Thanks in advance for any help! Cheers
-
 Good morning, all. I am new to Affinity and also new to creating SVG files. I feel as though I’ve got the SVG file creation part down. Lol. This is what I need help with, and I will try to explain this by example: Lets say that I import a simple two layer SVG file into affinity. By this I mean, a transparent background (as displayed by the white and grey checkers) and a layer on top holding the vector (as displayed by the shape represented in black so that I can see the transparent background behind the shape). Let’s say that the shape is a black rectangle. Inside the rectangle I would like to write text. Then, I would like to make that text transparent so that it appears to have been cut out of the rectangle, so I can see the checkered transparent background where the words used to be, in the shape of the text. How do I do this? If you could describe it to me in simple steps and assume that I’m a total n00b, I would greatly, greatly appreciate it. Thank you so much for reading my post!
 -
 Hi, I'm wondering if it's possible to mask a stroke in Affinity Designer and keeping it open? As you can see in the image attached, I'm creating a compound object (Stroke + Sphere Shape). Unfortunately the stroke always gets closed after creating the compound object. What I'd like to do instead is to split the stroke in 2 with a sphere mask. This should be done in a non destructive way so that I can adjust the sphere mask later on. Is this possible? Thanks and best regards, Daniel