Search the Community
Showing results for tags 'affinity photo'.
-
 just purchased Affinity Photo from app store for $39.99 but the charge on my credit card shows $44.98, why?
 -
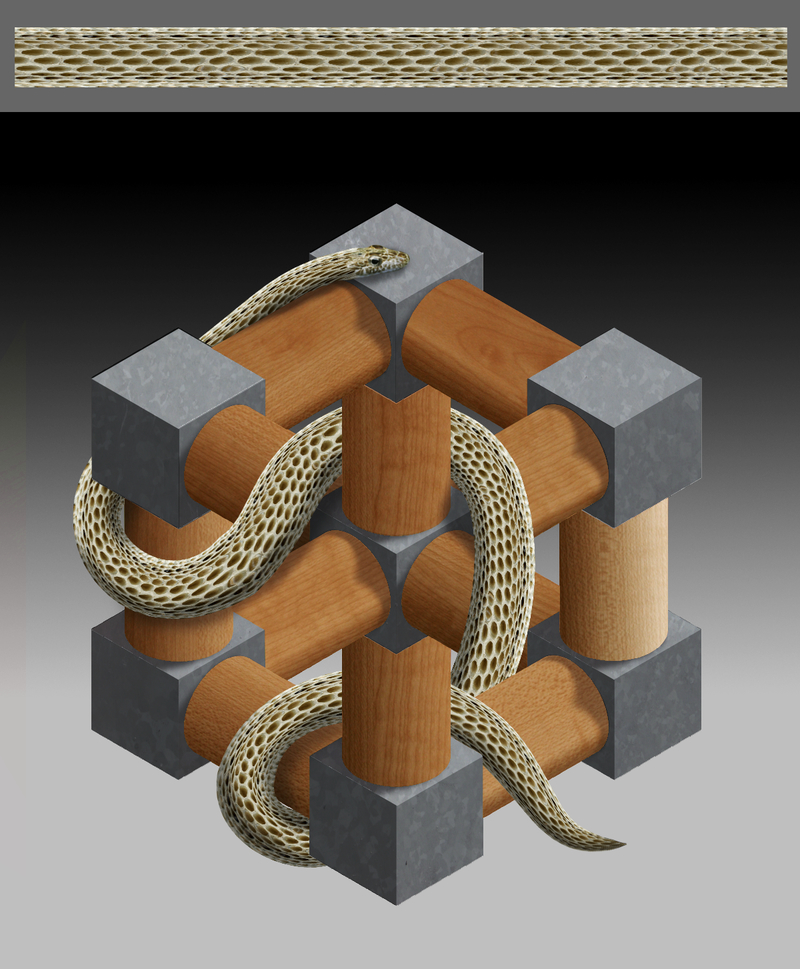
This is my second full image produced with Photo. Once again it is quite simple and, once again, it is focused on familiarising myself with a small set of specific tools. My previous image (the egg) focused on pen and brushes. This image focuses on vector shapes, boolean operations, fills and mesh warping. The snake was created from the rectangular texture shown in the inset above. I used the wonderful Mesh Warp Tool. This is an amazing tool!! The ability to define where you put the mesh grid yourself is just terrific. Whoever developed this gets my five star award ...... so if someone from Serif is reading this please pass this on to them. :) I also played with the Deform Filter but failed utterly to comprehend its workings and got hopelessly lost. So I shall have to hope that there is a tutorial on this later. :unsure: This really is a great app! :) :)

-
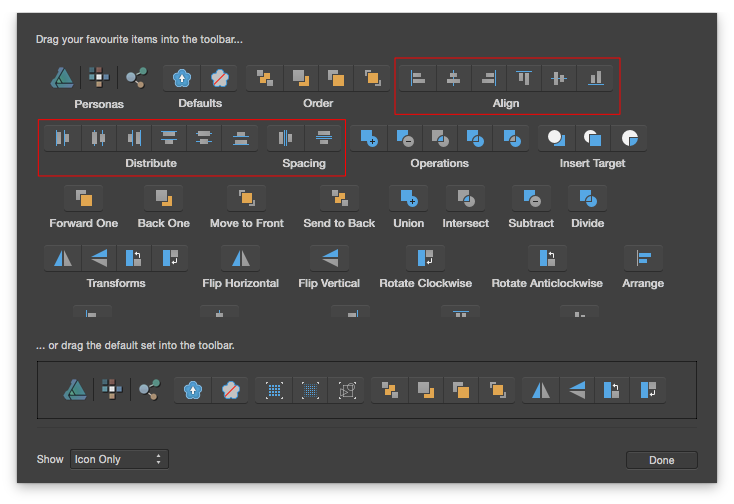
The screenshot below was taken in AD. The alignment and distribution blocks are missing from AP's toolbar customisation window. As it currently is, one has to drag the alignment buttons one by one to the toolbar (not as convenient as dragging the blocks). Could we have them in AP as well please? Cheers!
-
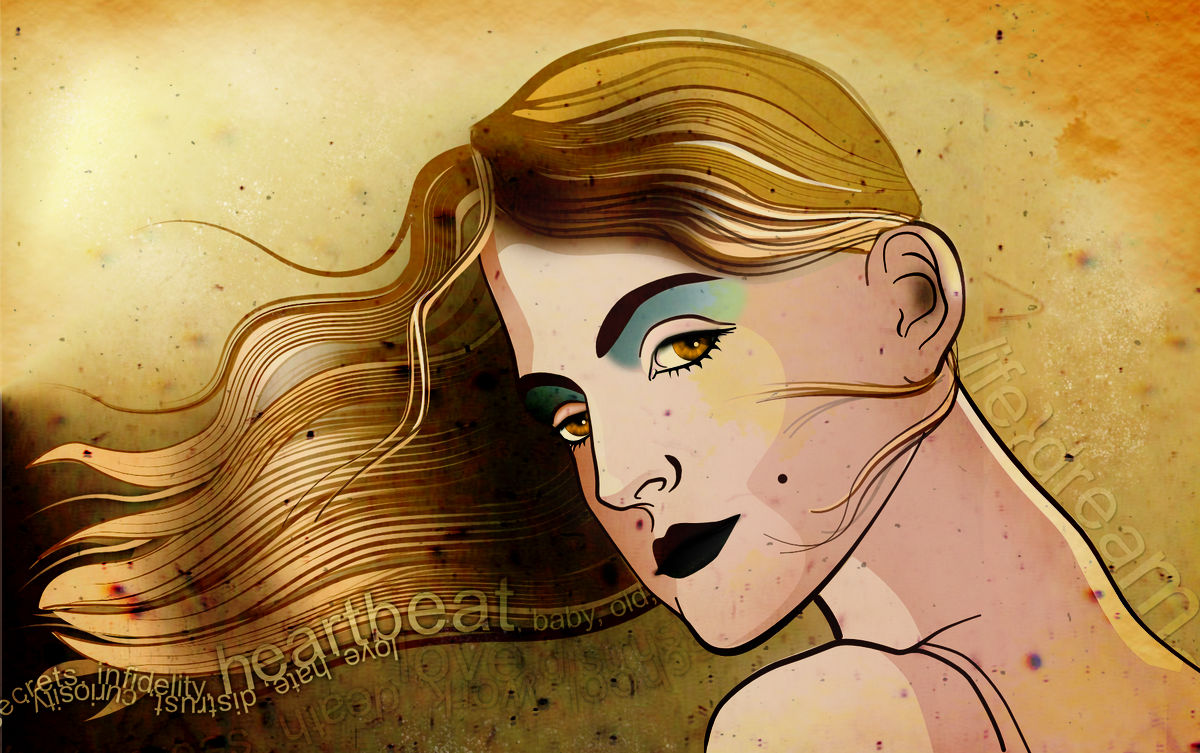
vector drawing (AD), edited with APh (effects). I try Affinity Photo beta, and what can I say ... it’s damn good! :rolleyes:
- 4 replies
-
- 1
-

-
- drawing
- illustration
- (and 3 more)
-
Ok so my mum asked me to fix some photo's to put into new frames on her photo wall. They had all been trimmed in the past to fit oval place holders. One of the photos had a face obscured by a shadow......here we go. 1. The shadow of a tree is blocking my face (one on the left). I duplicated the layer, removed everything except my face from the new layer. Brightened the layer a lot, and the blended it into the base layer. 2. With this one i needed to fill in the blank areas and restore the photo. The clone tool was used to fill the edges, and i adjusted the contrast. I could have used the clone tool to repair the scratches but went to Snapheal for speed. Back to affinity photo and i used layers and the selection brush tool to fill areas with some colour. These were then blended using Multiply and an opacity of around 20-30% .....with more time i would have tidied things up a bit, oh the joys of a paid job and kids to keep me busy.
-
 My question right now is how to compile multiple images into a layout for a website header. I created a new document as a web file with a transparent background. I created a new layer, opened my first image, and copy/pasted it into the document, but it pasted onto the background and not the new layer. So I can't move it, and I'm not sure how to put it onto a different layer and keep the background layer clear. As a disclaimer: I'm trying to learn Affinity Photo without prior experience with Photoshop or any other similar editing program. I would love any help someone can offer! Thanks so much! :-) ~ Stacey
 -
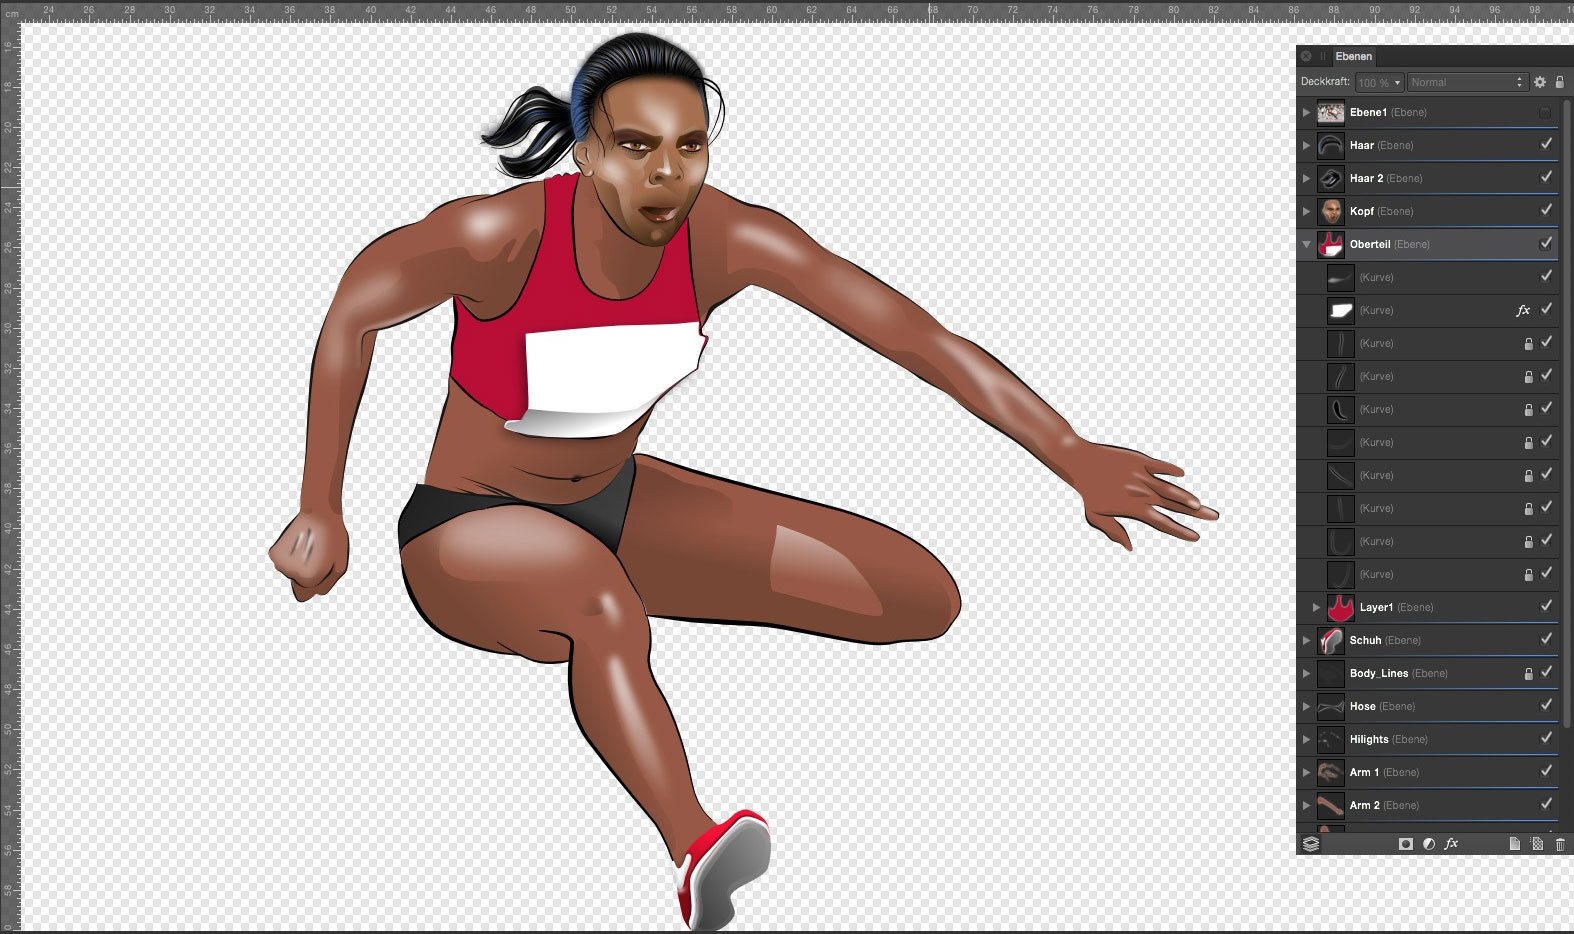
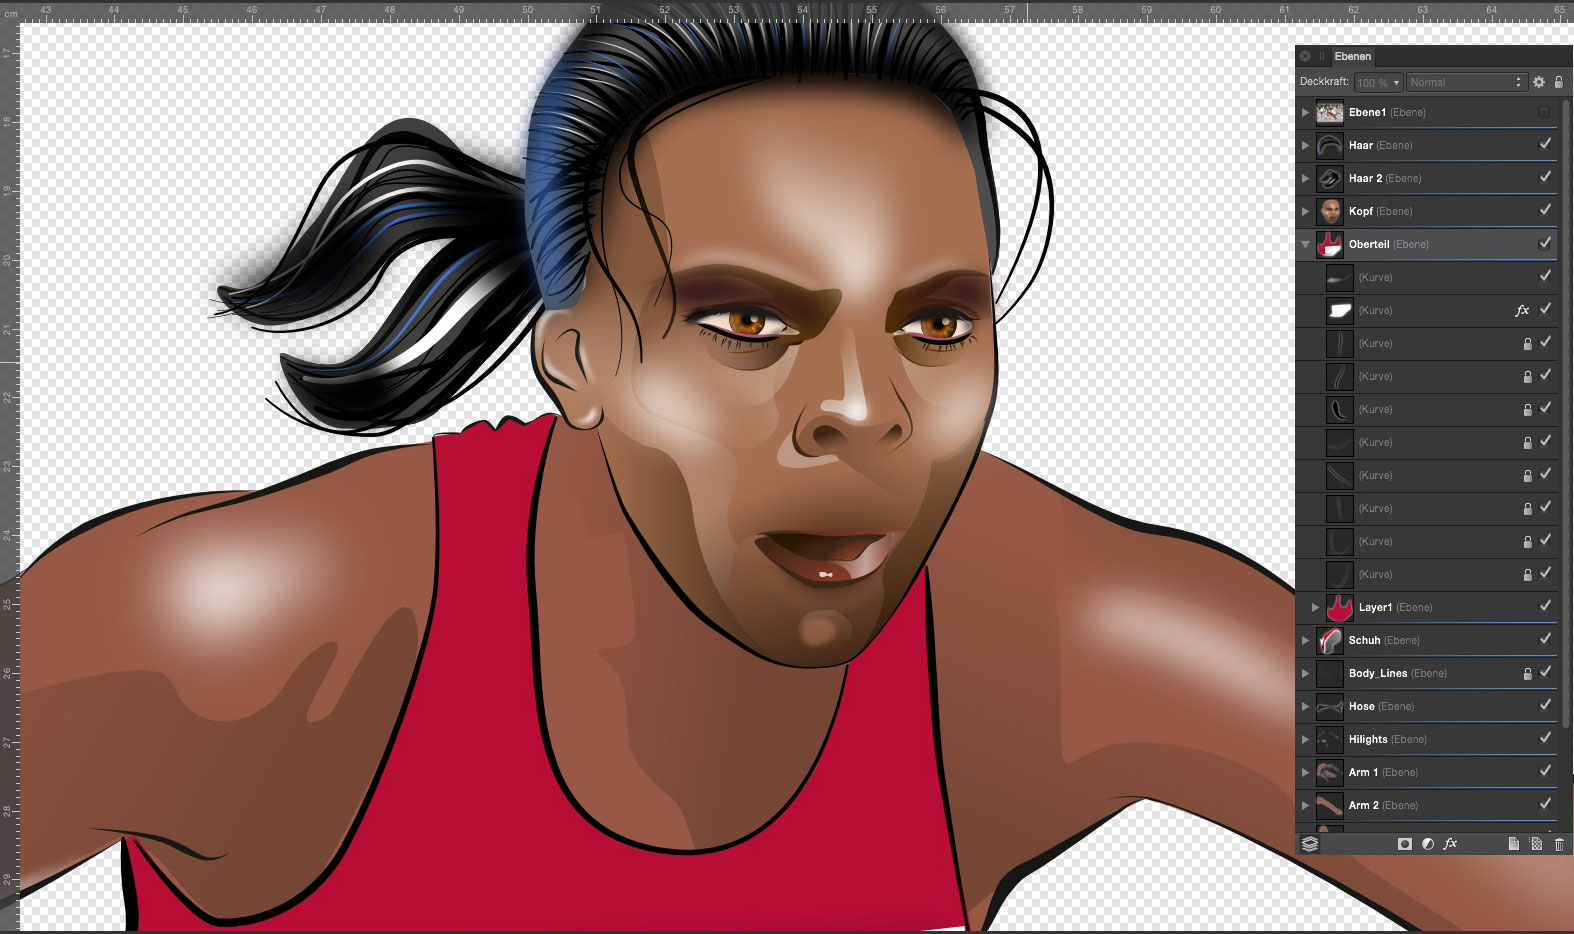
First steps for a sport project (mockup), still in progress ...
-
 Hi, I'm trying to replace Photoshop with Affinity Photo, but I'm kind of stuck in my process right now. I've read smart objects are on the roadmap, but I'm trying to figure out if I can just use the current feature allowing to embed an image. So let's say I want to make a basic compositing with two pictures in the same file. I have "placed" my two picture A and B, on the left and the right side, and grouped them. Now I have duplicated that group, switched A and B to get B on the left and A on the right. I there any means to have A replaced in both group if I "replace image" ?
 -
 I have a black logo on a white backbround as a JPG image. I would like to make all the White transparent (alpha channel), so that I can save it as a Black Logo on a Transparent background PNG. What is the cleanest/ most accurate way to do this, please? Using a bitmap image as a mask is ideally what I need (copy the inverted greyscale image into the alpha channel to get the transparency) any help is really appreciated. I have Affinity Designer & Photo beta.
 -
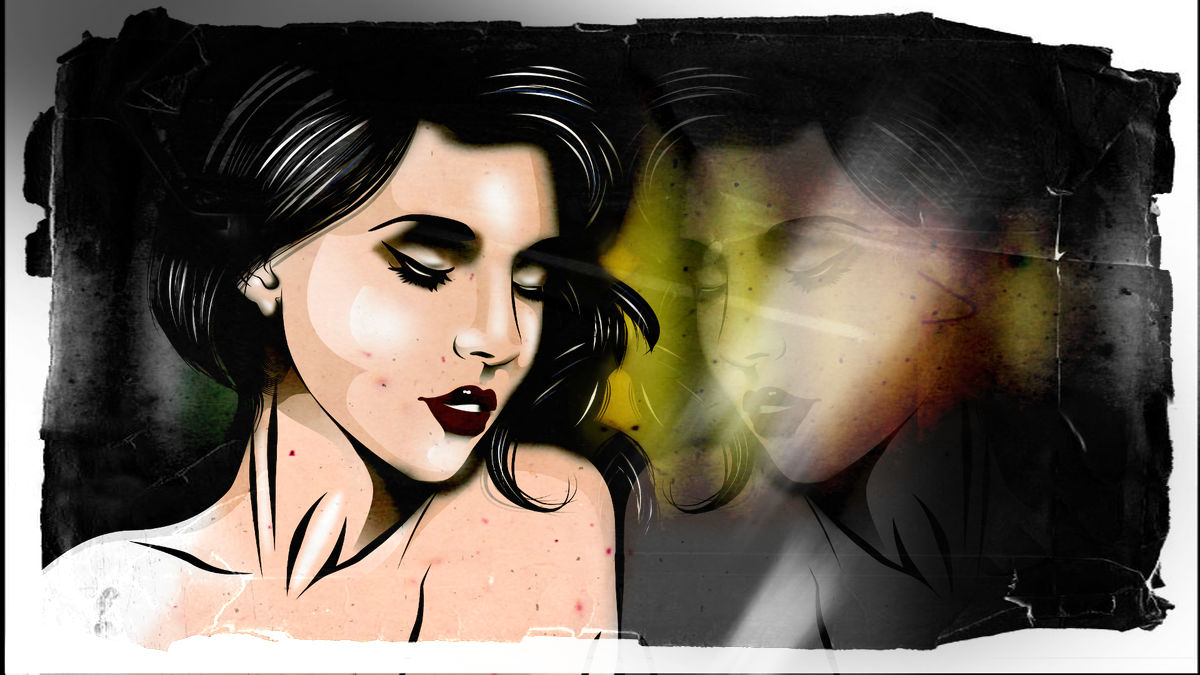
Recently I had a client for a portrait shoot. She is an actress and someone really talented and full of crazy ideas. The resulting images where very good and but I wanna do something different so I played a bit with Affinity Photo and this is the result.
- 2 replies
-
- 1
-
-
- photography
- black and white
- (and 1 more)
-
I just downloaded the beta application. I hope to leave very early Adobe Photoshop. Thanks! :)
-
Used the develop persona to tweak this (took it in a café this morning) Nice tools.
-
 Here is a brand new lesson for Affinity Photo. In this tutorial we look at placing text/logo in perspective using Affinity Photo. We look at using 3 examples. https://youtu.be/jv3szSbyu80 Go be creative and show us your results. Allan
 -
Hi, My take on a classic. Made the shots dramatic to enhance the feeling of old and prestige. Rendering time was quite short about 5 min each. POST in Affinity Photo Beta. ;) For more pics check my behance + a modeling timelapse. https://www.behance.net/gallery/24002497/Classical-Violin? Cheers, Vlad
-
 Hi All, You might have seen this on social media, but could be useful here - a quick introduction to the Live Filter Layers Andy added to the beta build last week...
 -
Hey guys, Here is something I done in Modo today. Post in Affinity Photo Beta. Everything went smooth apart from those live filters hanging and slowing things done.... A LOT!!!! Render time about 2 hours with Modo Renderer. Hope you like it :) Cheers, Vlad
-

affinity photo Toying around with T-Rex -Affinity Photo
ronniemcbride posted a topic in Share your work
-
 I have an image where I need to remove a wall-outlet right next to a dress and I am having a ridiculous time getting a clean removal. (Yes, I know I should have moved her over 3 inches and this would not be a problem...the first few shots taken all was well and then they must have moved and I didn't pay attention and these were the ones where they looked the most adorable...wedding day rushes with the little ones :-) I worked for literally three hours trying to use the different options: healing, inpainting, patch, etc and I had to do several things to get it removed and it is not even a clean removal. I am attaching the image and if you would be so kind as to tell me how to go about this, I would be super grateful. For some reason, I am unable to attach the image...it won't let me. I can try to upload a different way if you share how. Thanks so much! Amy
 -
This may already have been discussed, but in the most recent beta of Photo I'm still having an issue with pixel snapping with slices. I had a set of 520x520 profile images and resized them all to 66px (having a "resize each" command would be lovely!)—it looks like slices actually scaled with my resizing which was very nice to see, however about half of them were still one pixel off (67px wide), which means manually resizing. I do have snap to pixels turned on.
-
Taken today in Abu Dhabi...
- 1 reply
-
- 1
-
-
Downloaded the software this morning after seeing it on Facebook. Took some getting used to. Everything done in Affinity Photo except liquify. Check out the before and after images.
-
Also duplicate the current edited version. Very handy to quickly try out a load of ideas. Colour or B/W
-
Erster Eindruck AFFINITY PHOTO - Super - sehr intuitiv - kam sofort damit zurecht - nur habe ich ich, vom COREL-PAINT gewöhnt, die Möglichkeit schmerzlich vermisst, die Werkzeuggröße mit "STRG+ziehen der Maus" zu ändern. Wäre ein hilfreiches Feature und meinem gewohnten Workflow sehr zuträglich ,,,,,,,,,;-)) Caution - FUNNY - i try it in english ;-)) I miss the feature to change the tool size by mouse+STRG, like in CorelPaint. It´s a powerful nice to have and I and my workflow need it ;-)) Greetings from Germany :michael)
-
i'd like to be able to rip off the layer tab in the studio box and put it to the left or right of the studio box so i can see a longer list of layers but also have some of the other things in the studio. it lets me do that beside the tools on the left, but i'd be better to keep it with the other things on the right.