Search the Community
Showing results for tags 'Affinity photo'.
Found 4,753 results
-
I have an issue with UI scaling the brush variable settings on the side of the workspace when in my usual landscape orientation (iPad) The three options for hardness, size & opacity bleed off the screen and make them unusable at the higher or lower values (see pictured example) These options fit on screen just fine in portrait mode, however I almost never work in portrait mode, and having to flip my iPad around every time I need to change brush values is annoying. Is there a future fix for this?
- 4 replies
-
- ipad
- affinity photo
- (and 7 more)
-
I have recently upgraded my entire suite to V2. Looks great so far, but I can't for the life of me find how to adjust the value for the rope / window stabiliser for the brush? I can see the selection for window, rope & none - I can't find how to adjust the numeric value of each option as I used to be able to in V1? I'm having this problem on the iPad version - can someone please help direct me? Please don't tell me this adjustment option has been removed in iOS?
- 2 replies
-
- ipad
- affinity photo
- (and 8 more)
-
Hello, Just bought Affinity 2.0 after learning in a class on 1.7. It seems that there is an issue on the histograms representation between version 1.X and 2.0. I am using a Fuji XT-4 and here is the result on the same image (you can find the .dng attached). The DR may have been to 200% or 400% during this photoshoot (I usually leave it to auto) Here is the histogram on the version 1.10.6 And here is the histogram in the version 2.0 _DSF1237.dng
-
-
Hello, I use Affinity Photo for color editing my 3D rendenrings, so my starting file is a jpg and not a raw file. What I would like to do, is to to apply some development settings to my jpg, export the immage and then be able to open the affinity file after months and keep adjusting the the development settings from where I left them. Let's say I apply +30 saturation, I export the immmage, then if the client ask me for some changes I would like to be able to open the affinity file again, go under the development persona, and find the saturation slider to still be at +30, and be able to move it to let's say +20. I understand that with Affinity Photo 2.0 this is now possible with raw files. But I work with .jpg. Is there something I can do to achieve the same flexibility with jpg? Thank you
-
Affinity Designer is the program I use most from the Affinity suit and I haven't yet done a lot with Affinity Photo. So I thought it was time to do a little experimenting. I found an image of an occult statue on line, that intrigued me and used it to retouch it to my personal preference. I narrowed its wings and changed its face somewhat (among other things). I have to practice more with Affinity Photo, which I will do when I have more time. Being a vector drawing aficionado this type of work is a little out of my comfort zone, but looking outside of it probably is a good thing to do in this life, bearing in mind that many matters obviously are intentionally induced and imposed, which of course has a certain purpose that does not necessarily concur with my intuition. More info about this in my portfolio blog: https://communicats.blogspot.com/2022/12/occult-image-retouching-experiment.html
-
Here's my third attempt at a single frame story. I'm thoroughly enjoying the ability to use both vector and bitmap techniques together. This allows me to not have to plan too far ahead and go with which technique works best. Not having to worry about workflow issues makes images like this possible for me. I don't really know what I'm creating until it's finished.
- 1 reply
-
- affinity designer
- affinity photo
-
(and 1 more)
Tagged with:
-
I just wanted to share my approach to digital painting. I have tried many different approaches over the years and find this one works for me . I initially create a graphite drawing on vellum drawing paper, photograph it and then take the digital file into AP. Using the default blending tools, I blend the previously shaded drawing into a nicely sculpted form ready for the application of colour using gradient maps. Here is a sample of the final stage of the grayscale and its readiness for colour. Comments welcomed.
-

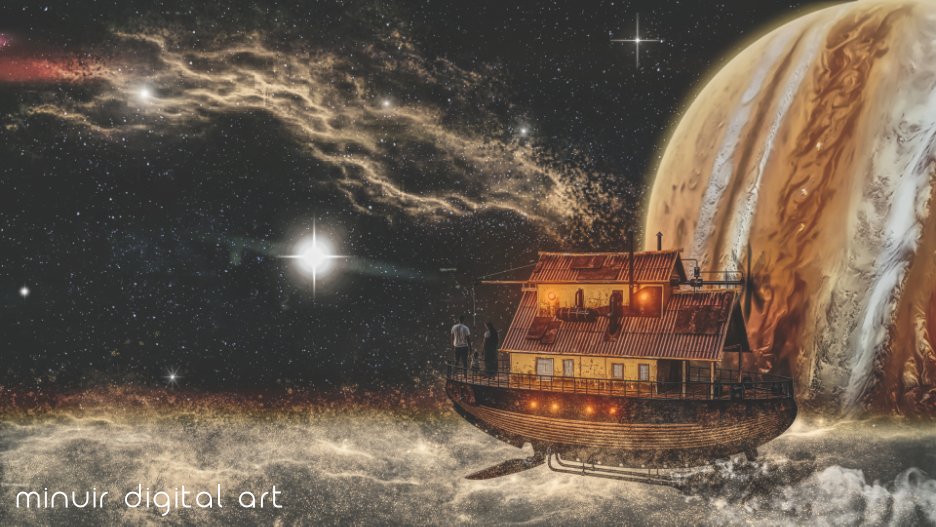
affinity photo Affinity Photo Manipulation - Travel to Space
minuir posted a topic in Share your work
Since I was young, I loved flying boats, so I imagined traveling in space on a ship with my parents. So this time, I made "Travel to Space" by affinity photo manipulation. "Travel to Space" speed art : https://youtu.be/ZKt7Z9moTkQ-
- minuir
- digital art
-
(and 2 more)
Tagged with:
-
Hi! I'm using Affinty Photo, And I made a few templates on affinty photo! And I want to sell them on websites, But I want to use PSD bc a lot of people using Adobe Photoshop. And PSD is the way to work on templates! When I export it on PSD and then I try to open on photoshop It's taking the group and make it like an Image.. So I cannot work on it.. Can someone help me please?
-
-
Hey everyone, I honestly don't know exactly how to describe what I've been missing for a long time (actually since day one of Photo) other than the title. But I can try to describe what behaviour I would expect. As you can already tell from the title, it's about the Crop Tool. From certain other tools I am used to being able to click on the top and bottom and left and right centre nodes of a selection, a shape or an artboard and adjust the element symmetrically by holding down the ⌘ key. Here is a short demonstration of what I mean by this (Sorry for the poor quality, but I didn't want it to be a big clip): Crop_Tool_function.mov You could say: »Why don't you just move the active area so that it snaps into the middle?« But here's the thing: Snapping to the centre of the current canvas for some reason does not work with the cropping tool – only document edges and rulers are recognised. All other elements in the document are ignored as snapping candidates. For some reason these two functionalities (simultaneous crop opposite sides and snapping) apparently never made it into the crop tool and I really don't know why because these to me are the most basic functions I use on a daily bases – to crop equal parts from the sides or to snap to elements/candidates on the canvas. I really miss these – am I the only one? 😔
- 4 replies
-
- affinity photo
- crop
-
(and 2 more)
Tagged with:
-
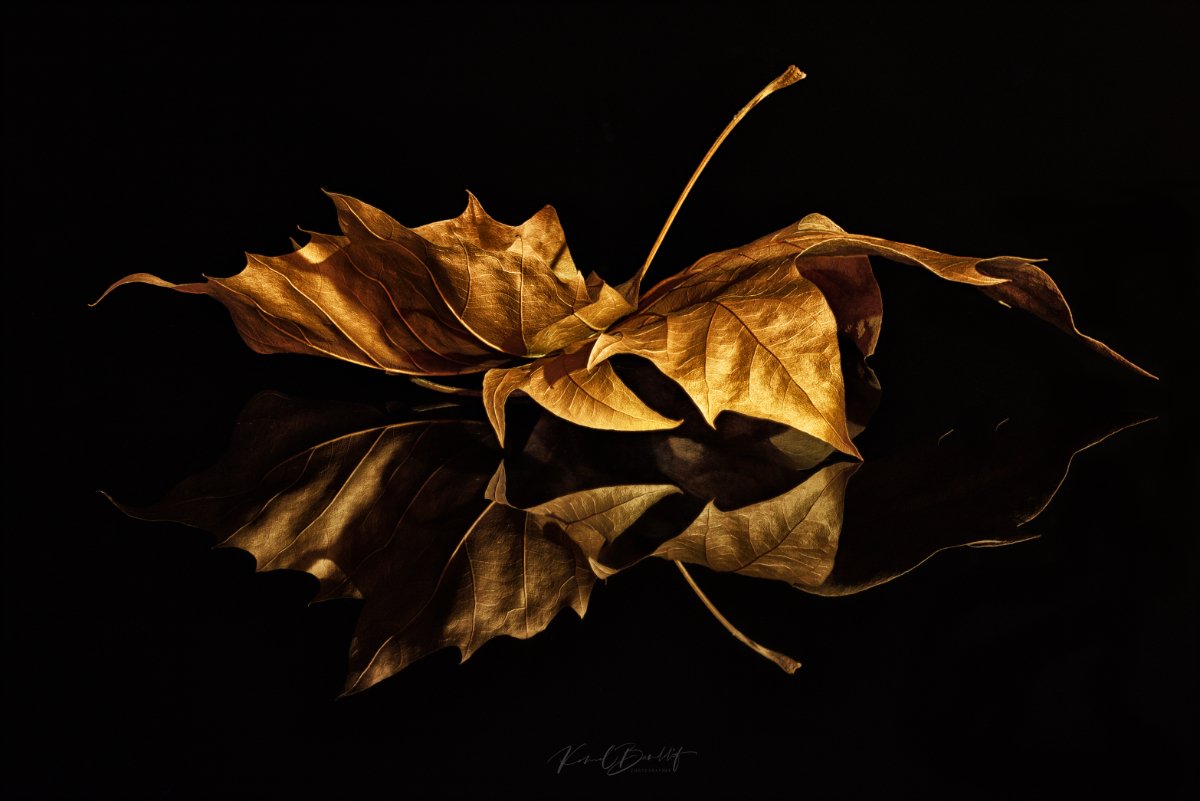
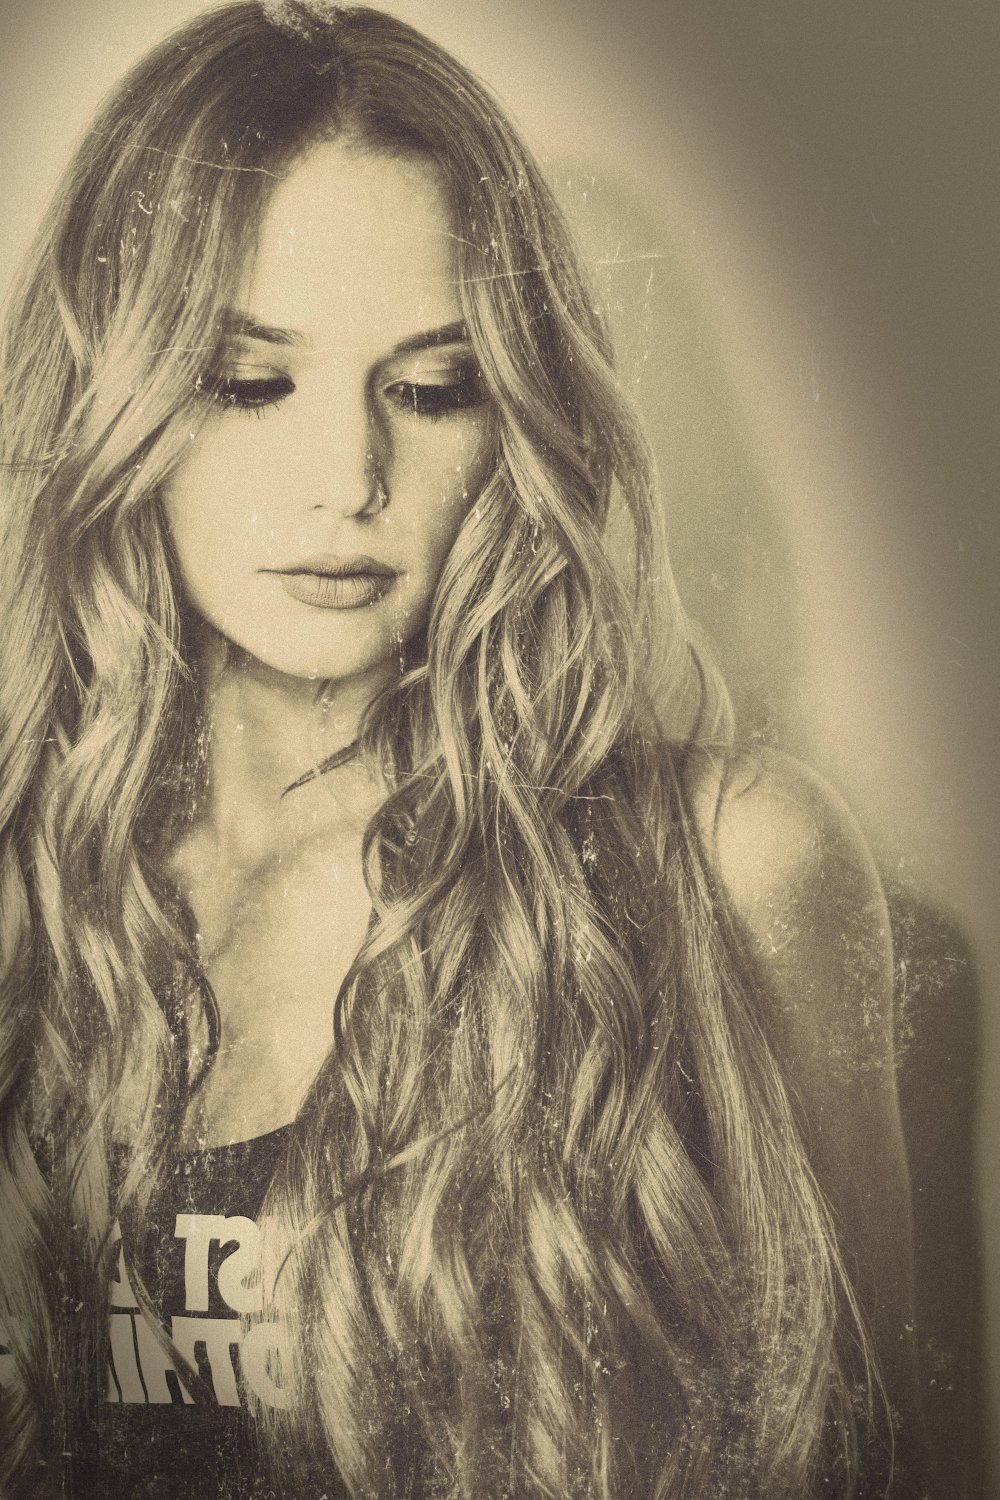
Done in Photo 2 using Obscura 39 pack by Frankentoon and a vignette, in order to simulate an old photo made on copper plate. I put a mirrored image...
-
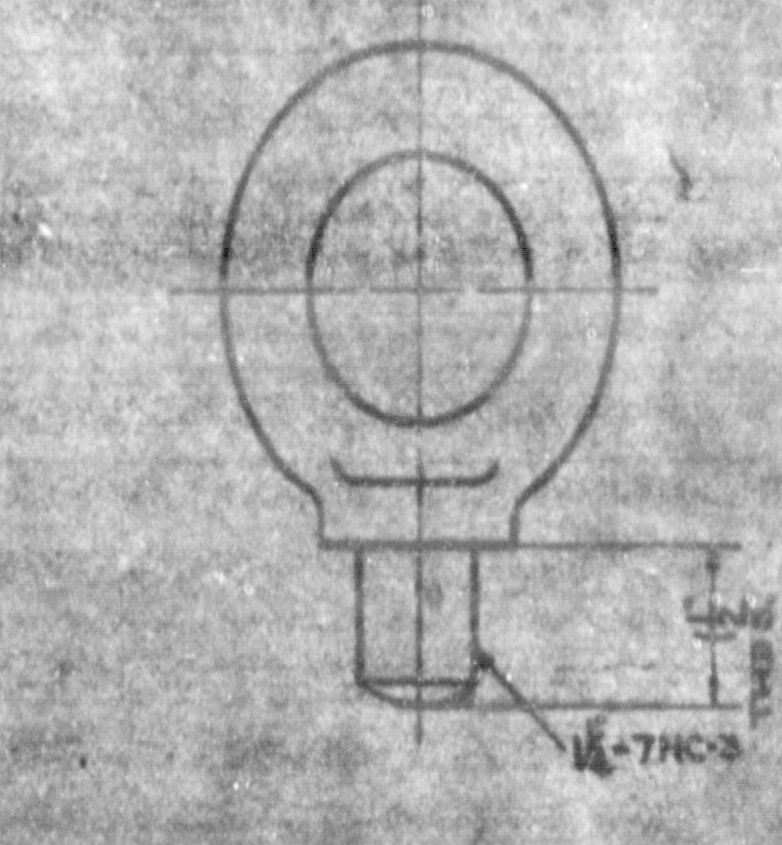
I have a large number of microfilm images like the attached that I need to clean up for print. I would like to know what sequence of cleanup would get rid of the noise in the background here.
-
I already owned version 1 of all three softwares. Today I bought the universal upgrade. Once I downloaded from the serif site the three dng files for the installation, they did not install in the applications folder, where I could still find only version 1. I tried to cancel the old files of version one from the folders, but still the opening of the dng files does not result in the creation of any file in the folder of the applications. When I start the dng files they open and at the end of the process open the program, but it functions only temporarily and they disappear when restarting the Mac. Can you please suggest a solution?
-
Fun Photo Composite in APhoto….escaping … ’Once Upon A Fairytale’ - by Jason Hanson, Copyright 2022, All Rights Reserved.
-
-
Hi, I made two templates, Horizontal and Vertical, for engraving effect. You can modify them as you want! You can play with gradient fill layer, with BW adjustment, also you can replace the engraving files. (for a stonger effect, you can duplicate them, and then you have to play with opacity, you can pick-up another blend mode) I attached them below, also a folder with some engraving patterns in .png. I attached the final result, in a gradient and two colors, for the Vertical template. More, in the below link. I would like to say a big THANKS to the author GraphicalFinity. engraving-png.zip
- 5 replies
-
- engraving
- affinity photo
-
(and 2 more)
Tagged with:
-
-
-
Users have reported an issue related to exporting after updating their iPad to 15.4 (or later). You may find that your exported image may not include recent changes and shows a previous edit of the image. Our developers are aware the issue and a workaround is to quit and reopen the app, open the same document from the Home Screen and export - this time it will export correctly.
- 1 reply
-
- ipados 15.4
- affinity photo
-
(and 3 more)
Tagged with:


