Search the Community
Showing results for tags 'Affinity photo'.
Found 4,747 results
-
Hi everybody, I've searched for a similar question but I haven't found it. It's even difficult to express the topic exactly in a title. I hope I did nothing wrong and that I'll make myself clear as this is not my language. I'm painting some boards in Affinity Photo. I have to make 31 and I have to put 90 different labels on each for a total of 2790 different labels. Data merge feature in Publisher will help me populate the labels quickly. The problem is that I can't find a way to import them in Photo (and I'm not that much into Publisher yet). Actually I have found several ways but not the practical one I'm looking for, since Publisher cannot export pages separately in Affinity format, while importing an .afpub into Photo won't give you the chance to separate pages as you can do with PDFs. I came up with this: Dragging/placing the .afpub file in Photo document will show only one page. To have all the 90 labels displayed I should duplicate the layer 89 times and select the right page for each. Too long to repeat 2790 times. Copying/pasting every page in a new group in Photo would be at last as long as the previous method. Exporting every page in a raster format would prevent any further edit. It's not that I really need it, but if I'd need I should go back to Publisher and export/import again. Also I'd prefer to deal with text and shapes until the end. A more viable approach would be to export every single page in PSD format, but having to rely on an external file type instead of the proprietary one sounds cumbersome to me. Also there could be inconsistencies too. Any ideas on how to import quickly all Publisher document's pages into Photo as individual embedded documents or groups?
- 8 replies
-
- affinity photo
- affinity publisher
-
(and 3 more)
Tagged with:
-
Hi. How do you think this is done? One frame and. retouching or completely all each individual photo collected in a collage? Instagram and YouTube
- 3 replies
-
- affinity photo
- tatoo
-
(and 1 more)
Tagged with:
-
I have an image that I want to apply an adjustment layer over. I want to keep the image mainly black and white, but then I want to paint over specific colors using the In-painting brush tool. For some reason, whenever I paint the image, Affinity just wipes out whatever progress I made, for absolutely no logical reason (I suspect it's a bug). Here's a video I want to follow, for reference purposes: https://www.youtube.com/watch?v=NXANeRRPBdw Any help is very much appreciagted.
- 2 replies
-
- black and white
- black
-
(and 4 more)
Tagged with:
-
Hi guys, here's a video about how to create a glitch text effect in Afifnity Photo. I hope you enjoy this video, thank you!
- 1 reply
-
- affinity photo
- tutorials
- (and 4 more)
-
Hi, This is a two-part question really... 1. Does anyone know if you can make a brush stroke that is a straight line? 2. Also, is it possible to make a brush stroke follow a shape's outline (eg. a circle so that you paint along the circle's circumference) or along a path ? Thanks.
- 2 replies
-
- brush
- brush stroke
-
(and 3 more)
Tagged with:
-
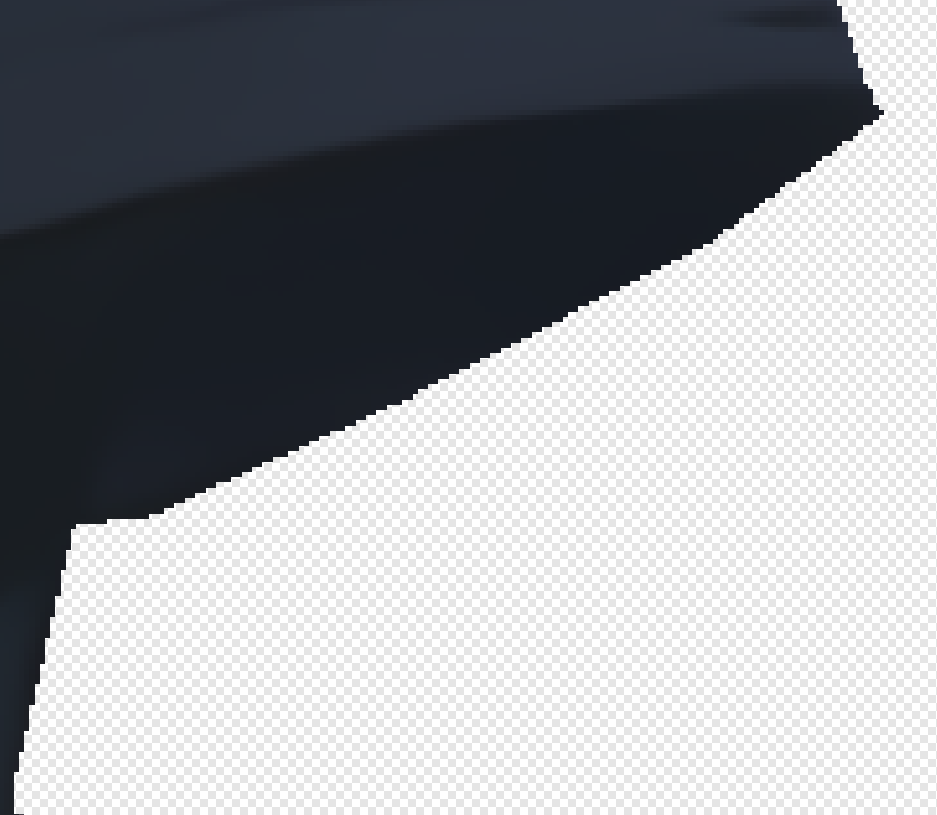
Hi Affinity team, I'm not very knowledgeable on Affinity photo as of yet but I have chosen it as my choice of software for cropping and repainting layers that will be used for animations for some time now. The issue I have found and have not been able to find a way around it without hurting my selection when cropping with the freehand selection tool, is that the cuts are too 'aggressive', I do not know the correct term for this. This is not an issue when editing a file, but when it comes to animating those 'aggressively' cropped png layers there is a visible distortion in the movement of the cropped bits of the png layer. I used to use pixlr e online as an alternative before getting Affinity, but I always find my way back to it to crop my layers after repainting them in Affinity, which has become very inconvenient. Pixlr e online cropping is a lot 'smoother', again, I do not know the term. I will attach the examples of Affinity photo's cropping and Pixlr e to compare. Again I apologize if there is an obvious way to fix this and for my inexperience, any help is appreciated. Finally, Affinity photo is an amazing software and I am very happy with this purchase overall, good job Affinity Team!
-
-
I don't know if it's a question or feedback. For the past 5+ hours I've been trying to make sense of how to check how my work will look like when printed, and here's what I found. What I need I need a quick way to check whether my colors are within the printable gamut range and also to see the out-of-gamut colors. They keyword here is quick. What I get The Soft Proof layer works not like that. Suppose I am in the sRGB color space. It seems like it takes the RGB coordinates of current image of the sRGB space and simply applies them to the Proof Profile that I select (without conversion). But that's not what I want, this naturally gives the wrong results. What happens is that once I apply soft proof with the "U.S. Web Coated (SWOP) v2" profile I suddenly get a brighter image, as if it tells me that this is how it will be printed. And if I click the "Gamut Check" button most of image becomes grey. But it's not the case, it's not how it will be printed. In fact, all the original colors will be printed (in my particular case). The step that this Soft Proof feature misses is the conversion of Color Spaces for this "check". If instead of applying the Soft Proof layer I convert the color space (Document > Convert ICC Profile...) and select CMYK/8 + "U.S. Web Coated (SWOP) v2" then the image will remain exactly as is, it will not become brighter. Furthermore, if I now apply the Soft Proof layer and select "U.S. Web Coated (SWOP) v2" then the image will stay exactly the same, and if I click "Check Gamut" then no area will be grey. Because all colors are within the color space range. Bottom line It's very misleading what the Soft Proof shows if you don't convert your profile first. But if you have to convert your image profile to check the gamut then it makes the "Soft Proof" feature not helpful. I am attaching an image, just for reference, which I used to play around with this. Can you please help sort this out, why does it work like that and has that been done intentionally.
- 18 replies
-
- affinity photo
- soft proof
-
(and 4 more)
Tagged with:
-
When opening a file and performing an export and no other operation. The export is logged as a change in the history to the original. This is not what the export function does. It uses the original as a source to create a new file in a different or same format but different name. This should not be taken as a change to the original. Since AP logs this as a change to close the original requires an extra step to save the change that didn't happen or exit without saving the non-existent change.
- 4 replies
-
- affinity photo
- exiting document
-
(and 2 more)
Tagged with:
-
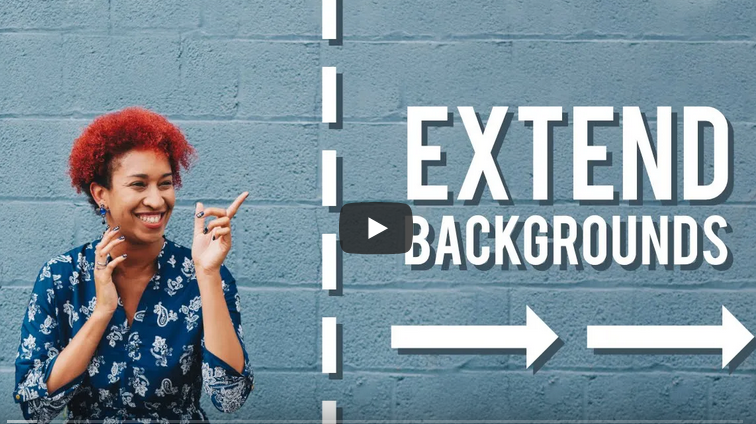
Hi there everyone, thank you for your help. I used to do something in Photoshop that I would like to replicate in Affinity. In Photoshop, I was able to extend the canvas size by typing in the new dimensions in the 'Change Canvas Size' dialogue box. I used this when I wanted more space in the picture to add text to it (as in the image below) but the original picture didn't allow it. In Photoshop there's a 'Change canvas size' function that allows you to dictate the width and height you want (second photo). Then you select which edge you want to extend,whether top, bottom or either side and use the eyedropper tool to select what color you want to fill the extended canvas, and then use the brush tool at about 30% to tone it down if necessary. In Affinity Photo you can extend the canvas quite easily, but how do I tone down the color? And how do I blur the 'join' line so that you don't see a definite demarcation between where the original picture ends and the extension begins? Sorry if I'm not making myself clear..I'm such a newbie I don't know all the right terms. Thanks so much!
- 8 replies
-
- canvas extension
- affinity photo
-
(and 1 more)
Tagged with:
-
Hello, If you guys could add these contrast ratio feature in Affinity, it would be a really great tool. Here are some links that checks the contrast of background and foreground color. https://coolors.co/contrast-checker/112a46-acc8e5 https://colourcontrast.cc/ https://webaim.org/resources/contrastchecker/ I also attached a video explaining the feature request. Regards, Hossein Affinity-Feature-Request.mp4
- 7 replies
-
- color wheel
- contrast
- (and 5 more)
-
I am probably missing something obvious here, but when I am exporting from AP, the preview thumbnail is quite small. If I increase the size of the preview window, the image itself does not zoom in so I can't properly assess the image quality prior to export. Can somebody tell me what I'm doing wrong?
-
Hi guys, here's a video about how to apply any color to object without having to do selection in Affinity Photo. I hope you enjoy this video, thank you!
- 1 reply
-
- affinity photo
- tutorials
- (and 4 more)
-
-
- affinity photo
- affinity designer
-
(and 1 more)
Tagged with:
-
-
Specs iPad Pro (2020 Model) 12.9” iPad OS 15.2 Affinity Photo 1.10.1 Paid Photoshop Course followed: Kevin Carden Sword in the Stone Originals:
-
Hello, Would anywone be aware of a plugin that would allow asinh colour stretching, as used in astrophotography? I read this plugin exists for Photoshop, and PS plugins should be compatible with AP (or am I wrong?), but I have absolutely no idea where to find the plugin. Is it integrated in the original PS setup? As an aside, would functionality like asinh find its way in AP's set of astrophotography tools...? Many thanks for pointers. (edit: Just discovered James Ritson's astro macros. Some of them handle the arcsinh stretching.) Cheers, Dom
- 1 reply
-
- astrophotography
- affinity photo
-
(and 1 more)
Tagged with:
-
I have come across something a little odd that has got me baffled and hoping I can get some insight as to what is going on or if this is a bug. Basically when I use the eraser to remove a portion of an image and then use the flood fill tool to change the colour of what remains, it fills it in but also brings back the section that was previously erased in the new colour. Steps to recreate. 1. Create a new pixel layer and paint a big blue circle 2. Create a second pixel layer on top of the first and paint a red circle inside the blue circle 3. Change to the eraser tool and erase a portion the middle section of the red circle creating two half circles 4. Switch to the flood fill tool change the colour to yellow 5. Click the flood fill onto one of the red half circles. Both the two red half circles change to yellow but in addition the middle section previously erased re-appears also yellow. I would expect that if something is erased it is erased? Thanks
-
Here is a piece of work I created in Affinity Publisher to honour my sister's commitment and work as a paramedic. I used Fotosketcher and Corel Paint It! to create the artwork in the background, which I then enhanced in Affinity Photo using the tone map facility. I am waiting for the finished canvas to come from Vistaprint. However, here is a representation of the finished artwork with frame. Text editing was done in LibreOffice Writer. I hope she enjoys the gift.
- 35 replies
-
- fotosketcher
- corel paint it!
-
(and 1 more)
Tagged with:
-
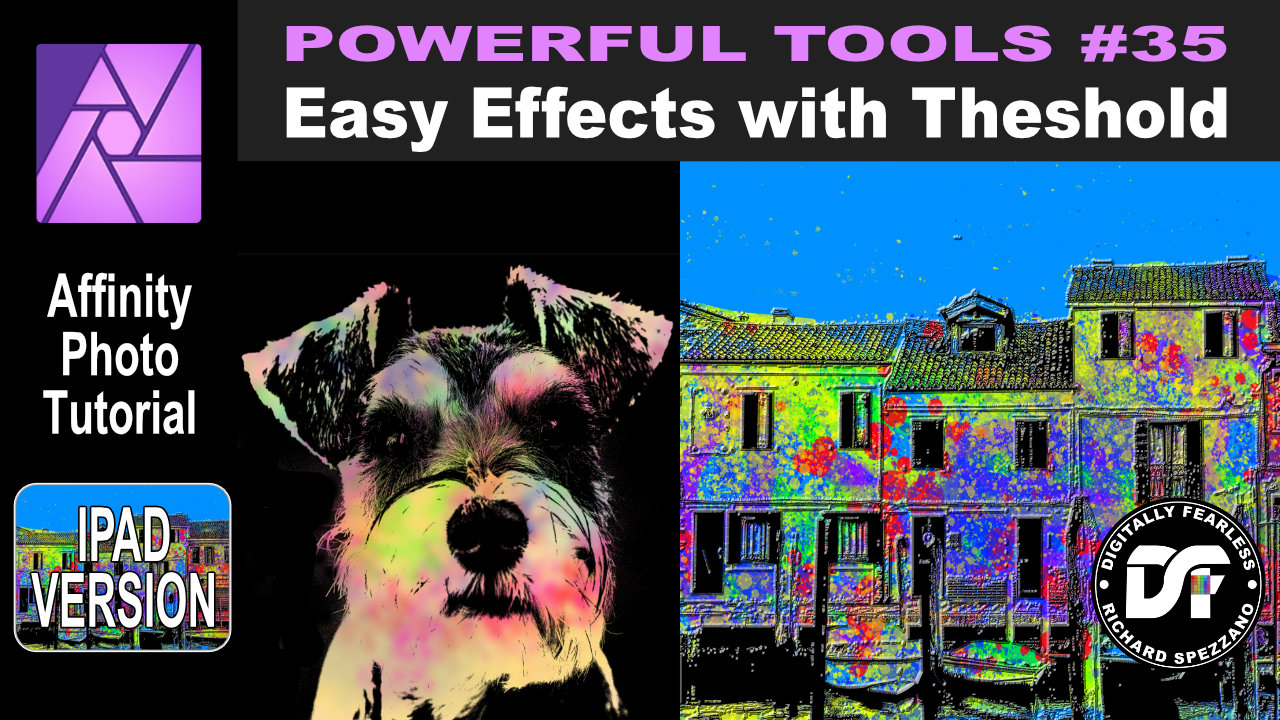
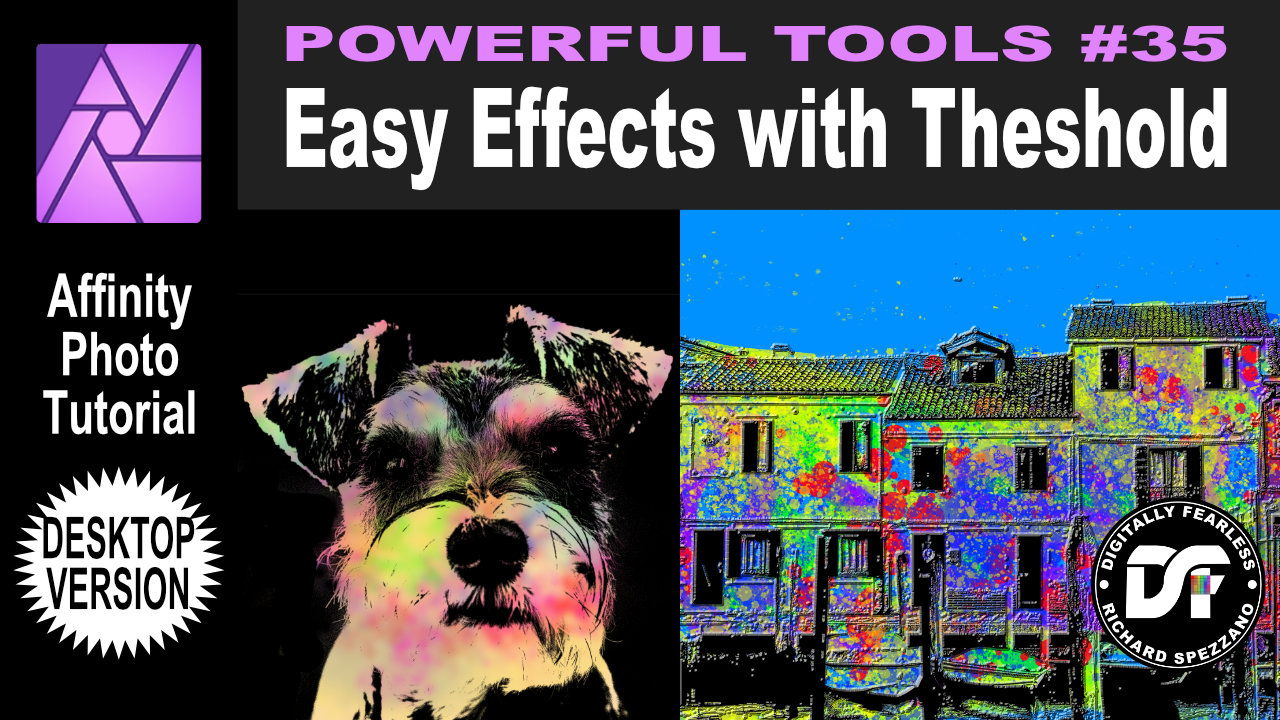
Affinity Photo beginner tutorial photo manipulation. In this beginner Affinity Photo tutorial I use the threshold filter to create some interesting photo manipulation effects. This is number 35 in the Digitally Fearless “Powerful Tools of Affinity” series. The links to the iPad and desktop versions of this tutorial in the video description and below. iPad version of this tutorial: https://youtu.be/OzVzMuVw5zw Desktop version of this tutorial: https://youtu.be/4RNqDk6qpIk
-
Have used a few adjustment layers on a photo. Got it looking just right, saved then exported to jpeg at 100% quality. When comparing the .afphoto and .jpeg files side by side the jpeg looks washed out. Tried replicating by turning off some of the adjustments but couldn't - looks like something just did a global desaturation/cooler white balance adjustment. I've attached screenshots from within AFPhoto. Any ideas of cause and correction. Thanks Paul


