Search the Community
Showing results for tags 'Affinity designer'.
-
https://dribbble.com/shots/1809240-Music-Player-UI-NCD2014 Just a project I did for NDC 2014. I don't have a lot of time to work on personal work, but I'm trying to find the time. Most of my work is internal, and private unfortunately. This was my first serious go at using Affinity Designer for a project. It was a decent experience, but I did miss a few key things.

-
So I find that sometimes when you mess around trying to figure ways of doing thing you tend to stumble across new things. I encourage tinkering around you might stumble across something interesting you can use in your work later. I was messing around with creating my own pixel based texture brush and I came across something interesting. I could actually make a somewhat fake 3d brush from a shaded rounded brush.
-
Hi all, here is my first AD drawing. It was very interesting experience and after few different approaches drawing is complete. Best, Greg
-
Yep... I'm a bit nostalgic sometimes... :lol: This is a tool icon crafted for Krita
-
 Good Morning :-) I want to share my latest work for a cover of a cooking book. For this I used AD and a little bit of Photoshop (there I have some eCover templates that I dont want to miss ;-) What do you think? Have a nice day! Kathrin
-
Little and simple works made today :P
-
 I'm delighted to have been involved in putting together this article on the popular Creative Bloq for designers using Affinity Designer... you'll know some names in the piece from this forum :) http://www.creativebloq.com/examples-affinity-designer Please share these talented folks' artworks by using the social buttons at the top of the article. You'll also recognise most if not all the designs as they have appeared in some form on Twitter, in the product in some cases, in the forum, and in some Affinity marcomms. I take my hat off to these designers in particular for what they've achieved but appreciate all of you that are producing artwork with AD, I hope we're able to give you all an opportunity to look fantastic. Designers in this spotlight piece are: Val Motsch (Lescot) Jonathan Ball (Poked Studios) Ben The Illustrator (The Huddle Formation) Neil Ladkin (Serif & Affinity Art Director) David Wildish (FLOKK Creative) Sascha Preuβ (Bubblefriends) Paolo Limoncelli (UX-DesignStudio) Ignacio Valicenti (IDV) and YoAz Thanks guys, Dale.
 -

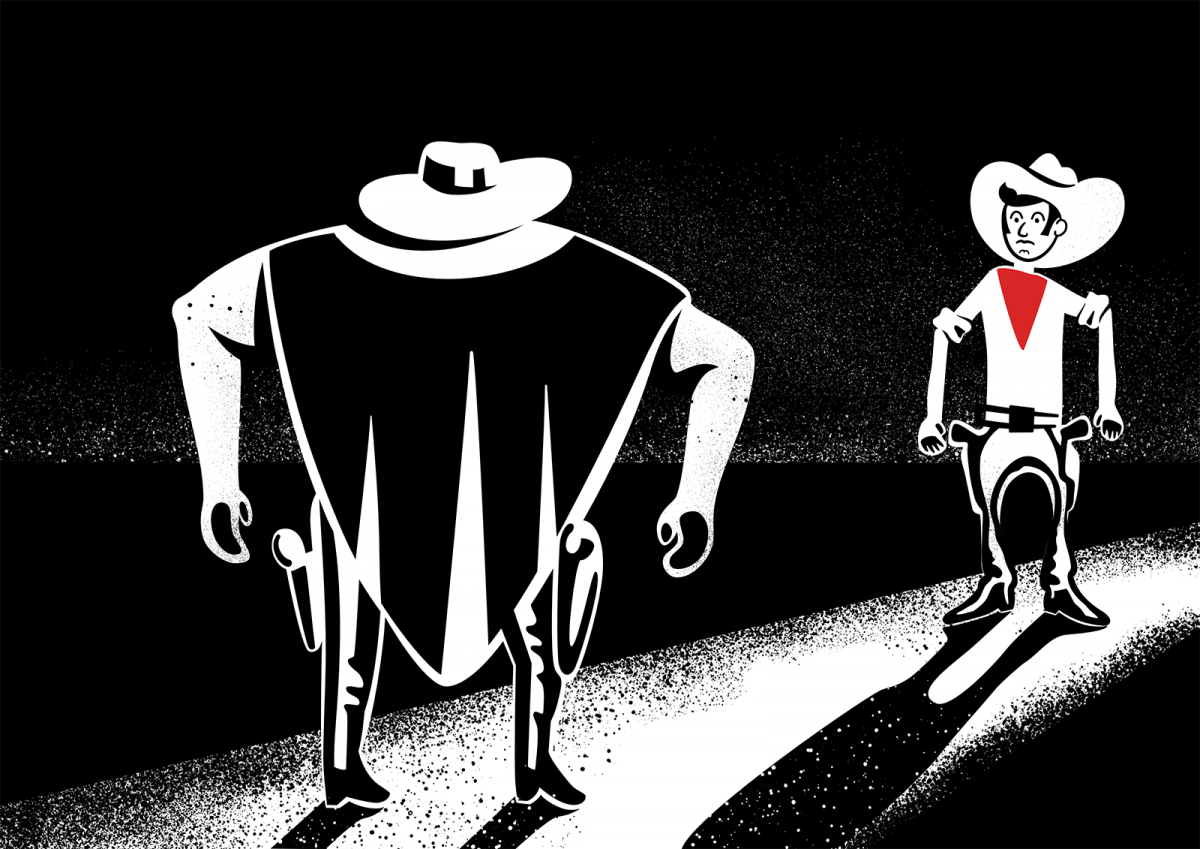
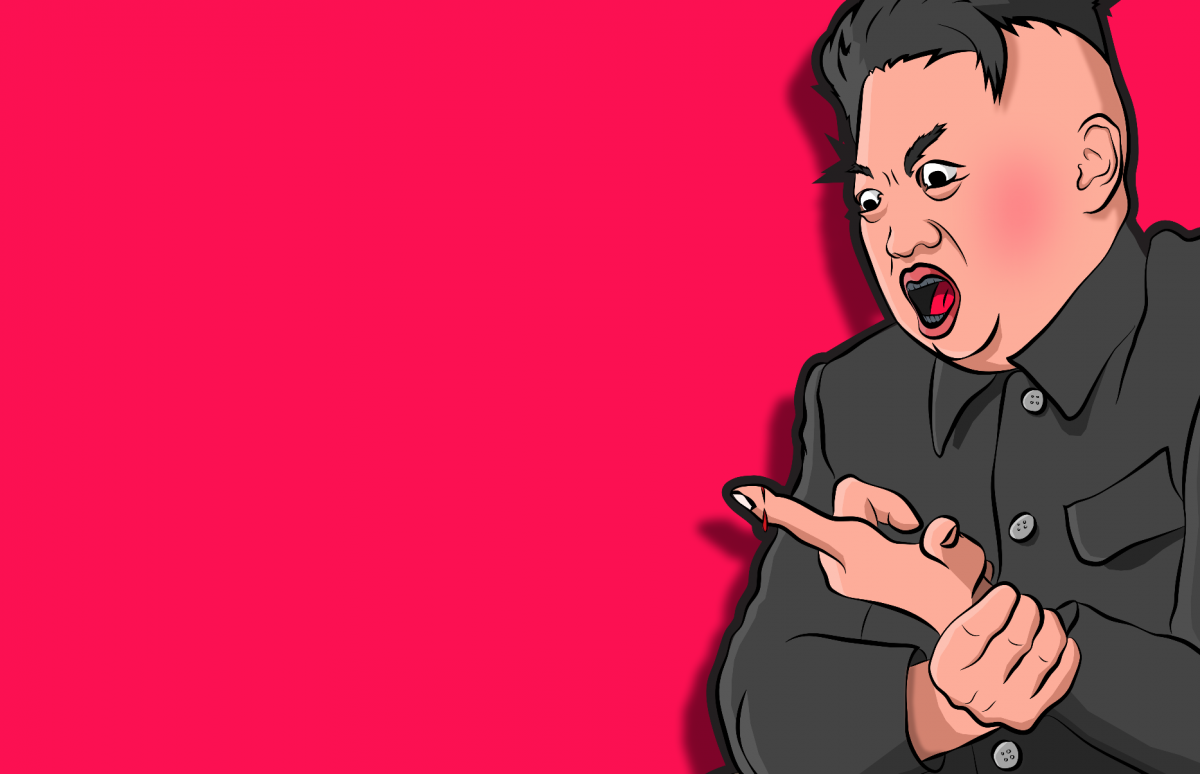
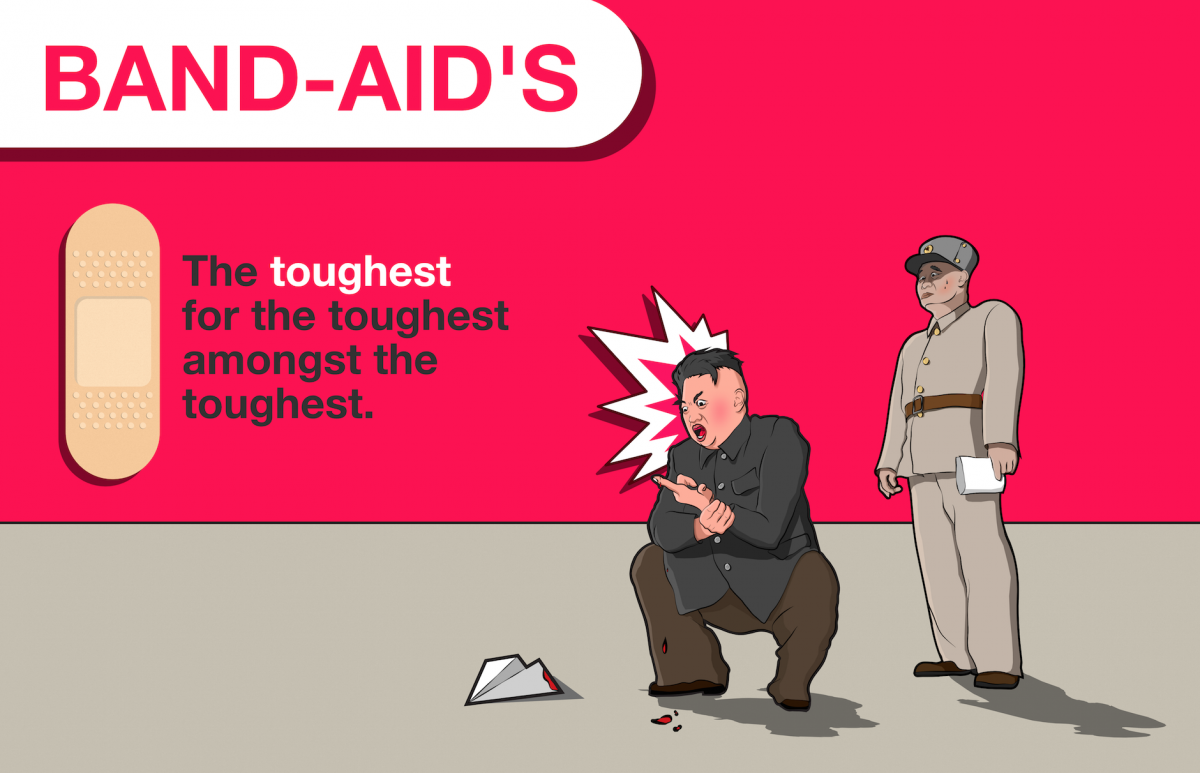
affinity designer Where is a Band Aid when you need it? (WIP)
madeinxyz posted a topic in Share your work
A work in progress. A small political satire. I live in South Korea and having a missile wielding excruciatingly fearsome and devilish handsome dictator as a neighbor makes life here interesting to say the least. This work is based on an actual photograph of the 'great leader'. I am being sarcastic, of course. No offense intended. Cheers! Ps: Loving the ease of use of Designer. Can't wait for the future updates!
- 10 replies
-
- 8
-

-
- north korea
- kim jong un
- (and 1 more)
-
So tonight I was working on something else then started doodling this character and then it ended up turning into a rabbit and then I just ran with it and this how it turned out. I am not even sure whats it about but maybe you know haha.
- 1 reply
-
- 3
-
-
- illustration
- character design
- (and 2 more)
-
I'm working up a set of silly designs for my "corporate" Christmas cards. Just wanted some feedback on it....is it too gruesome for Christmas? would you find it offensive?
-
Tonight doodle was to see what i could make without drawing it in my sketch pad first. No pen tablet was used either, I retrained myself to just a mouse and a dream.....
- 5 replies
-
- 5
-
-
- illustration
- art
- (and 1 more)
-
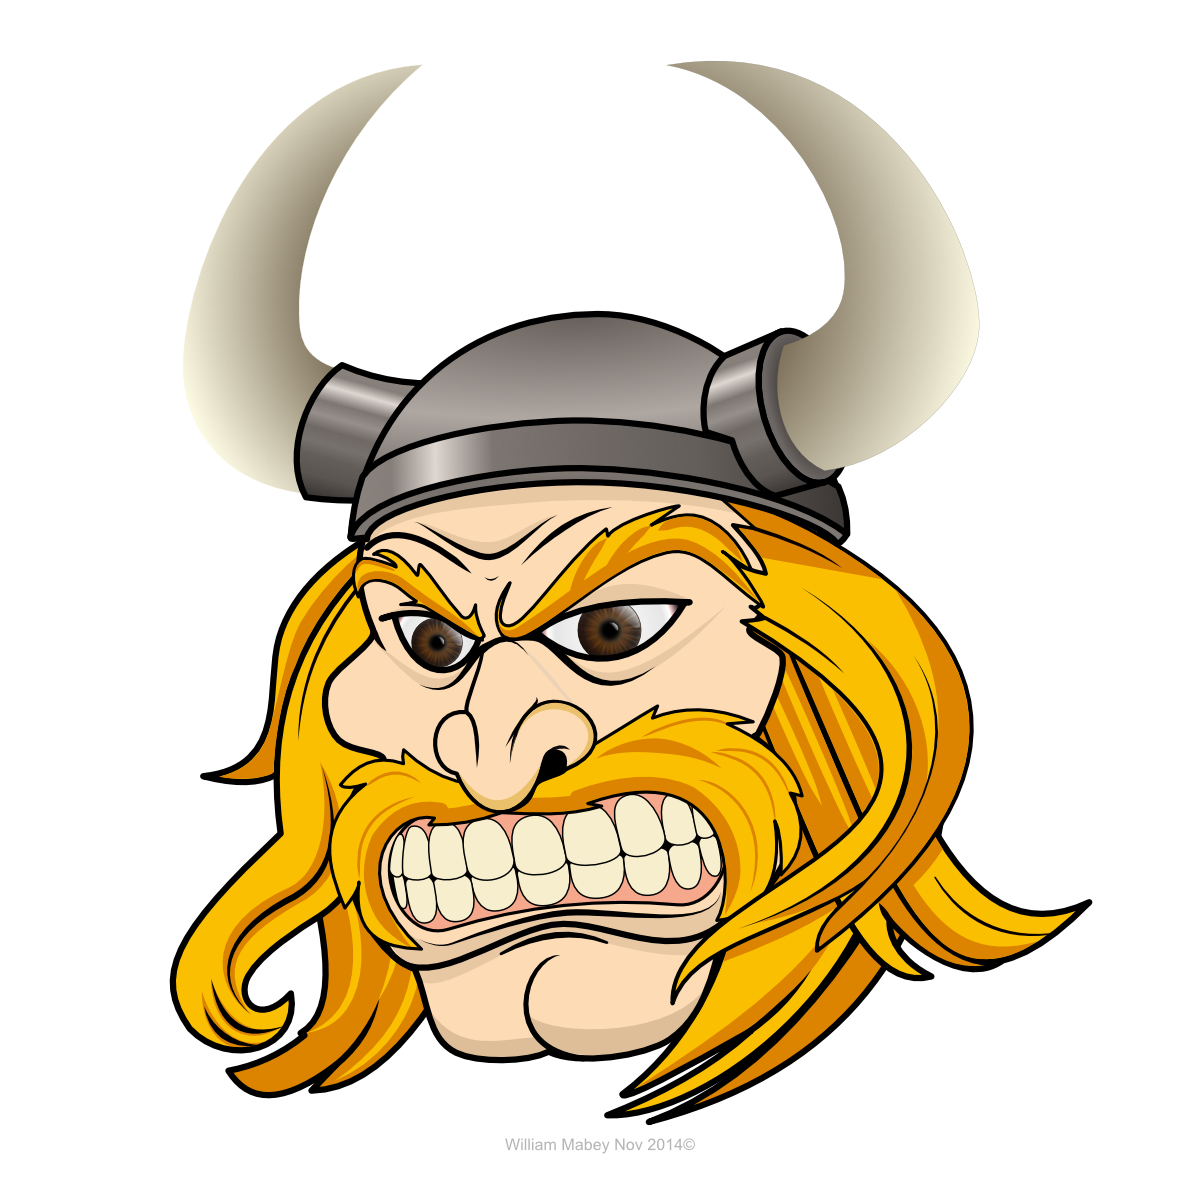
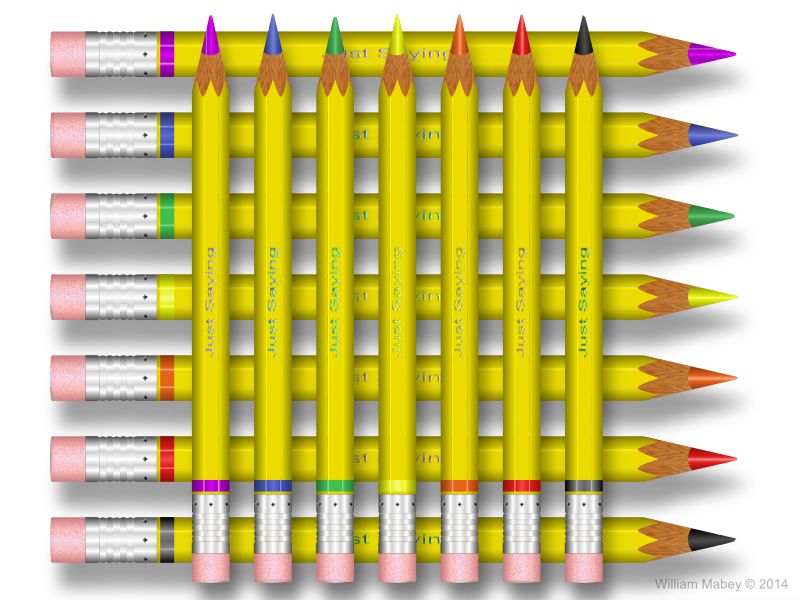
Viking I make a very small income on my drawings to buy toys... Image is not to be used for commercial use, Image is to be seen on affinity.serif.com only Thank for understanding. ©2014 William Mabey. Images may not be copied, printed or otherwise disseminated without express written permission of William Mabey.
- 1 reply
-
- 2
-
-
- william-mabey
- share
- (and 2 more)
-

affinity designer Nest Thermostat product illustration
ronniemcbride posted a topic in Share your work
Tonight I decided to see if I could render an entire product in AD using basic illustration techniques. The following image was complete created with AD the only thing I did not create was the logo. which I could have but it was late and I ran out of steam. It is simple but elegant product. The more I tinker in AD the easier it gets. You can pretty much illustrate anything in this application you just need to focus on understanding lights, shadows and how light falls off a given material to get it right. I used a image from google as reference to create this. *tip: create palette from document is your best friend when matching colors of an existing product. -
If you have already seen Tracy, this is another robot - Tester
-
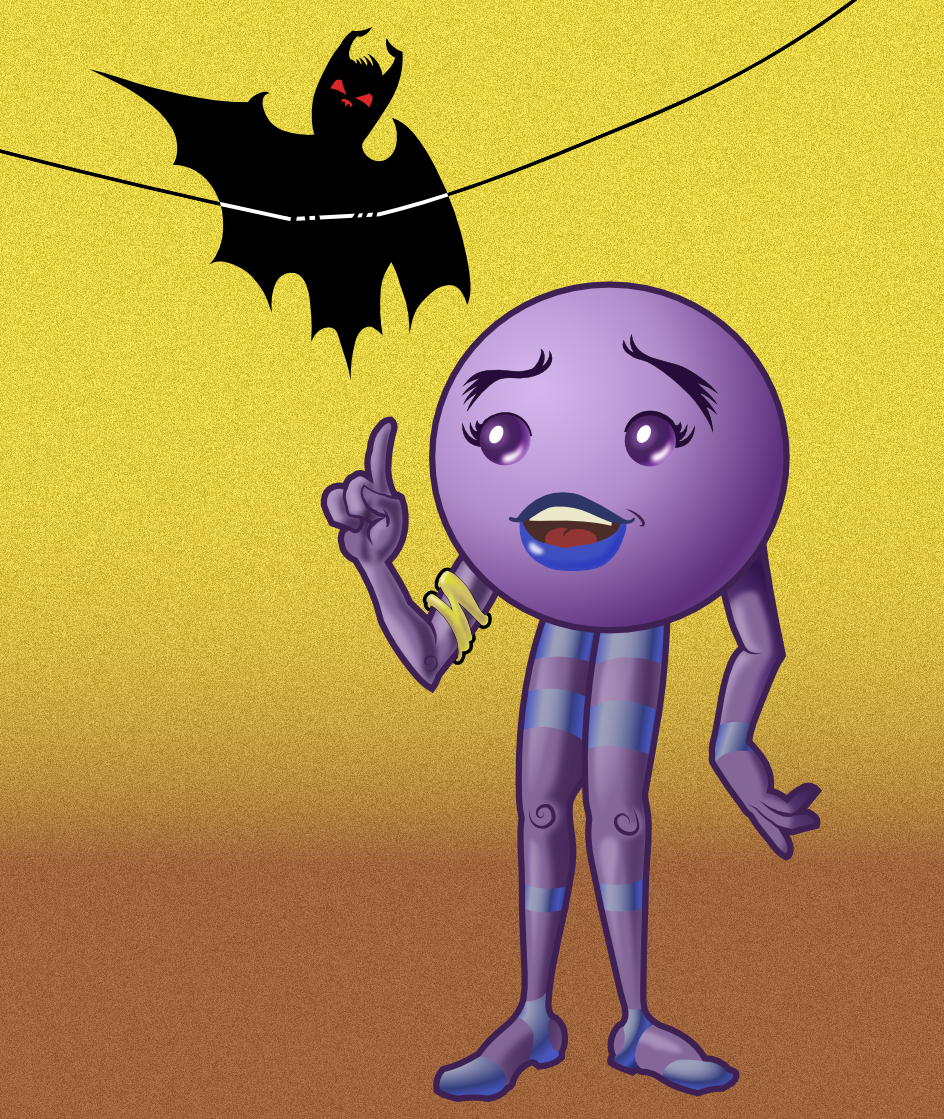
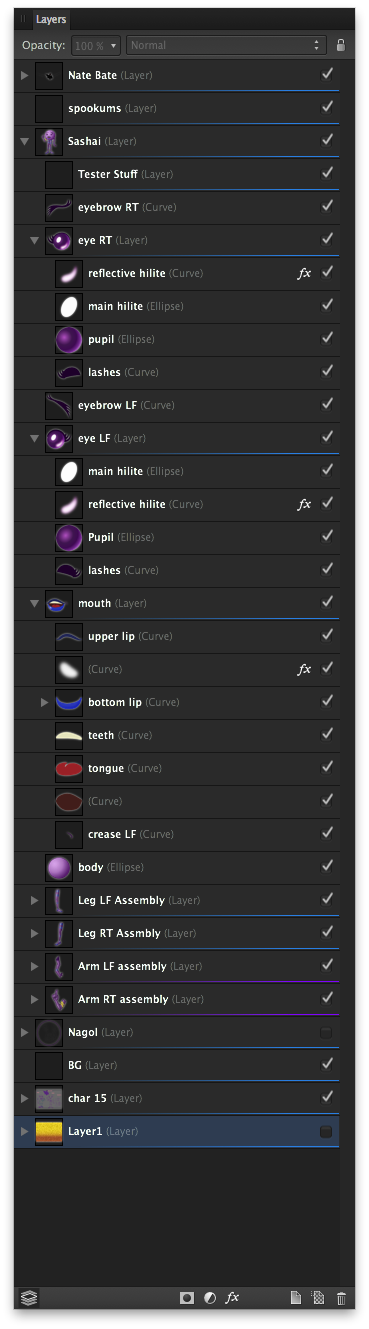
Hi all! Thought I'd share a work in progress. This is one character sheet for a possible webcomic, Glorious Junk. The purple character is Sashai and the bat is still looking for a good name (suggestions welcomed!). Basically this was a test to get a good feel for using Affinity Designer. As far as testing goes, I'd call it a major win. The best thing that I finally got was that Layers are storage for curves and objects. The Layer_org.png is a screen cap of Sashai's layer structure. I made extensive use of the masking abilities that curve objects offer: the legs, arms and head all use them. All shading (except for the gold yellow arm band) is from closed filled curves with gaussian blur FX and I used the Transparency Tool a lot (way cool tool, btw). I'm not too happy with the shading on the arm with the gold band, but that's why this is a WIP. :) For the interior curves (the detail on the hands and the spirals for the knees and elbow were done by just making a curve and then selecting the curve with the Node tool and adjusting the pressure profile. It took a bit of playing around with to get a good handle on how best to use it, but once learned -- it's a really wonderful feature to add some life to curves. When the pressure sensitivity of tablets are working better (in the next beta for AD if what I've read is correct), then it should be just awesome to use in order to really fine-tune line thickness. The Move and Node tools are better than any other equivalent tool in other vector apps. Only minor gripe, is that when a node is smooth the indicator changes from a square (for corner node) to a circle. The fill color for the indicator is the color for the layer (right click on the layer's name and in the contextual menu is where layer colors can be selected). In some instances when there's a lot of nodes, the I clicked on the "wing" of the node and accidentally created a new node when I thought I was clicking on a node. If the node "wings" (the actual name escapes me at the moment) indicators could be filled with a lighter tint of the layer color it would be easier to see which is which. I like how when clicking on the handles, when the handle indicator turns red, it's aligned with the opposite handle and if I let go of the cursor then, the node is now a smooth one, if I continue moving it remains a corner node. Absolutely brilliant usability feature that took no time at all to appreciate and take advantage of! One thing that has stopped me from doing a lot of art in vector apps was the struggle between what I wanted to do and what the interface allowed me to do. In Affinity Designer it's like the interface makes it easier and quicker to do the art I want to do, in the way I want to do it. Sure there's this and that thing I wish AD could do, but for a first release version, it's the most stable (have yet to crash on me!) and easy to figure out app I've had the pleasure to use. To go all Spinal Tap, I'd give this app 6 out of 5 stars!
- 12 replies
-
- 3
-
-
- cartoon
- character design
- (and 1 more)
-
I really Love Affinity....
-
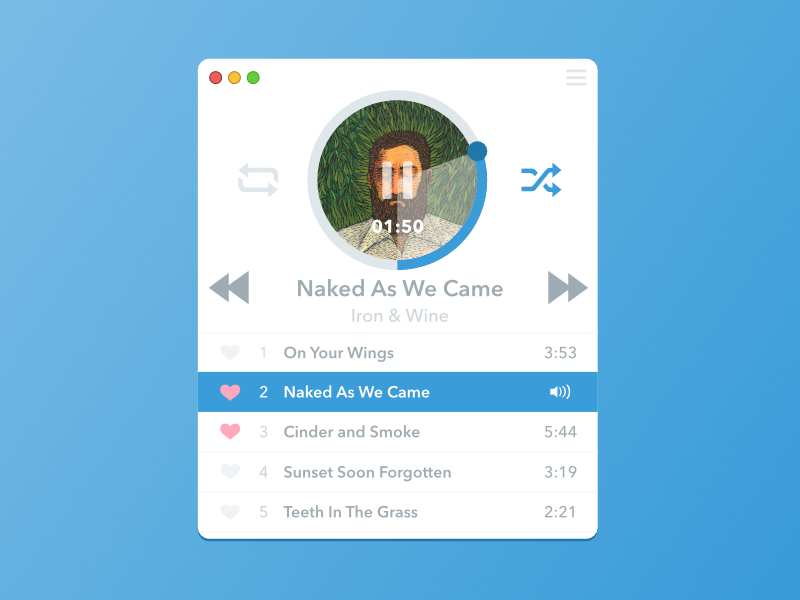
So, I was browsing the Iphone App Store and came across this beautiful Dieter Rams inspired app called WTHR By David EIgena. I wanted see if I could recreate one of the screen entirely with Affinity Designer. Part of the reason I am doing this, is to see how I can utilize Affinity in different situations and workflows. Of course I don't have time to design an entire app for in a few hours but I can recreate the look for study purposes.Doing this sort of thing shows me where Affinity Designer is strongest. Working in different workflows also gives me a better understanding of how this application can replace other tools in my arsenal. After completing this exercise, the only thing I would wish is the ability to add multiple artboards in one file. Everything was created with Affinity with the exception of the IPhone Image which you can download here: http://www.teehanlax.com/tools/iphone/ Credit to Andrew Vega for supplying the iphone link resource in his Affinity training video
- 4 replies
-
- 4
-
-
- skeuomorphism
- design
- (and 3 more)
-
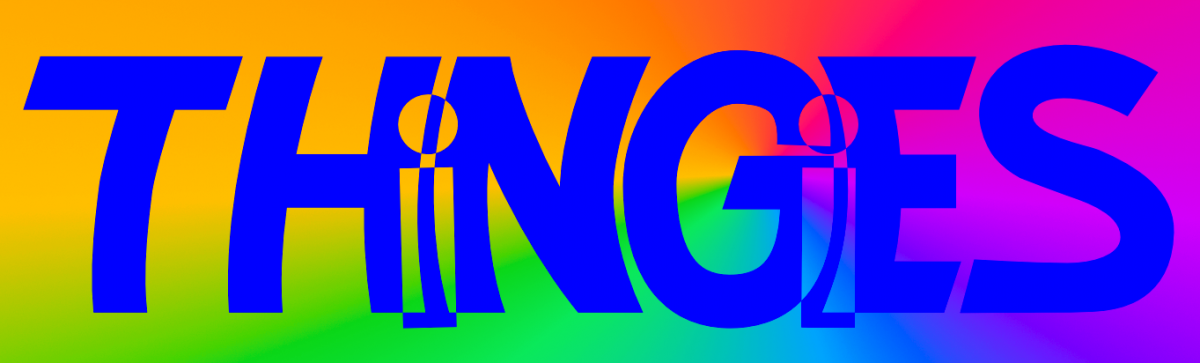
A very quick hand-trace of my original logo sketch for my upcoming comic Thingies: First I placed the hand-lettered concept sketch into its own layer. Then, I just made simple pen lines (with a stroke of 30 pt/px) and made each individual stroke the curve I wanted. Next, expanded strokes and added shapes together to form completed letters and then with the "i" letters I did an combine on each one and the letters they overlap. Finally I made the whole word a combined shaped. Added a conical gradient to a layer underneath it all to make sure the combine/compound shape was the way I wanted it. Pretty happy with it. BTW, Thingies is about sentient salamanders and I really kept their biology in mind when I made them into "funny animals". Depending on how Affinity Publisher works, I may want to use it to letter my comic rather than ComicLife (which is a fine app, but somewhat limiting in how it can fill shapes with bitmaps and such.
-
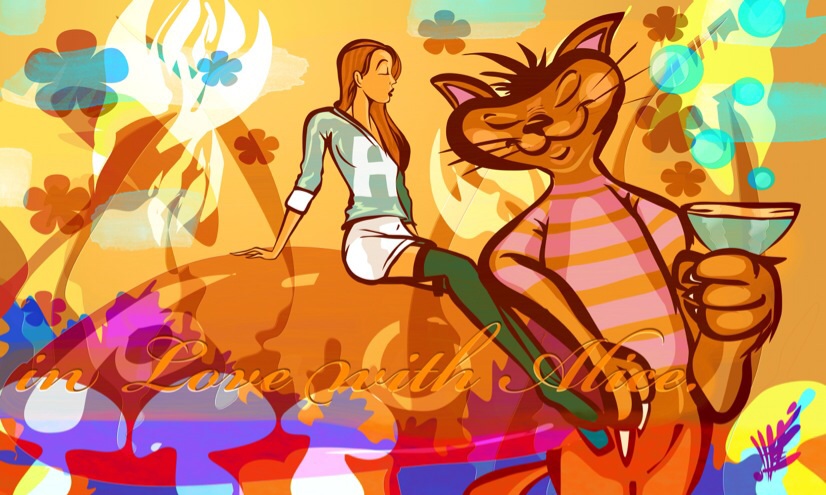
 Relaxed drawing of a classic topic. Wanted to get the outlines right so it took some time. Used 2 different textured brushes for overlays and clouds. Half of them with a 50% Gaussian Blur. Always thought that cat in the story is great - so it got a Martini ;)
-
So, my buddy who is a big time comic book geek was going off about how there is going to be a Superman Vs Batman Movie. Anyway, every time we chat about comics I always confuse which superheros is in Marvels universe and which superheroes are from the D.C. universe. Anyway, Today was his Birthday so I decided to make him some original art. He is a big Batman fan so I thought this would be fitting. My process is still the same. sketch on paper. shoot it, import it, trace it, and color it.
-

affinity designer Faceoff - testing Designer for concept art
el_diablo posted a topic in Share your work
Please forgive the awful design. I just wanted to test out some Designer brushes, both vector and raster, with no planing whatsoever. It started from just a few strokes, and evolved to this. Next one will be better, I promise :). Other than inabiliy to change the brush size when locale not US (no easily accessable brackets in HR layout), I really like Designer for concept art so far.
-
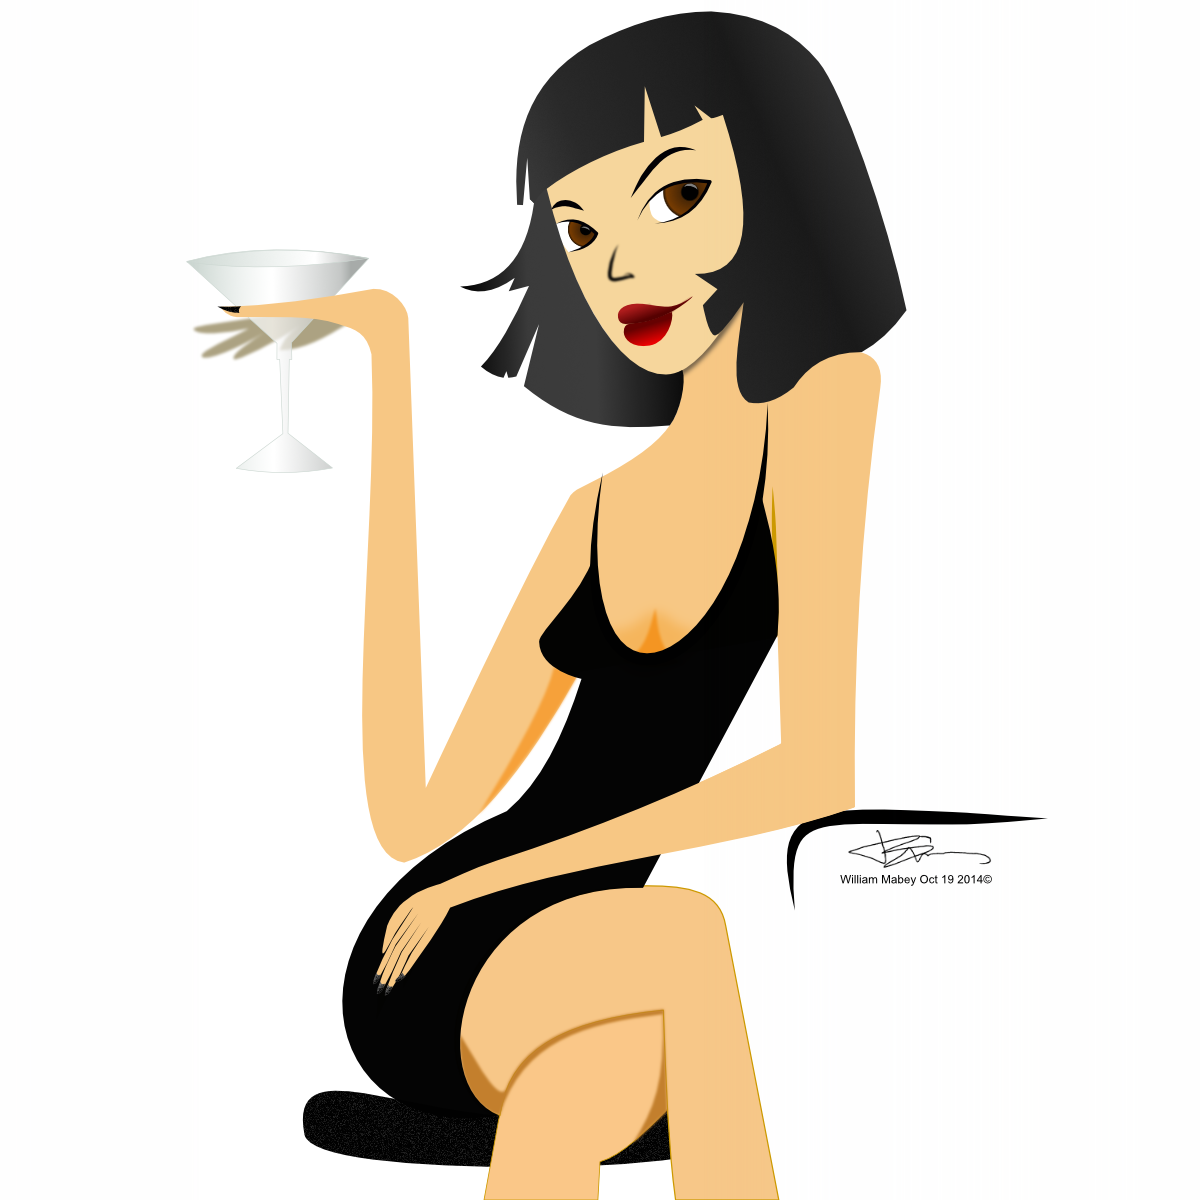
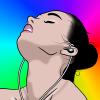
Today I have checked out as many tutorials as I could find and I thought it would be time to start my first project. I am featuring this as a work-in-progress because I need some support. This is not an original work. I used a photograph from Stefan Grosjean as reference (not sure if this is allowed, copyright-wise?) because it looked extremely simple to edit. The women looks as if she is really enjoying some music - only the earphones are missing, which I will add digitally. ;) My next work will be based on a drawing or photograph by me, but first I want to finish this for practice. As you can see, my first difficulty is how to remove some of the background color. I used two large circles to color the woman. For the parts where the colors are correctly in place (e.g. lips) I created a filled area along the black lines. But this will be a problem if I decide to make the lines thinner. It will create a space between the line and the filled area. In this case, it won't be a problem because some of the lines are actually too thin. But I would like to know what the correct method of editing is for future projects. I have attached the actual file for you to better understand what I mean because I am still lacking the necessary vocabulary. The file needs a lot of polish, some lines didn't work out as smooth, but I noticed how the vectors got better (with less points) the further I got. It's actually a lot of fun! The layers are a mess and lack groups. Sorry for that. Secondly, I noticed when scaling the vectors, the line thickness doesn't scale along. Is there a way to make the line thickness scale with the rest of the picture? Say if in the future, I create a web graphic and decide to print it as a poster, how do i correctly change the image size? Thanks a ton for your support! Eargasm.afdesign
-
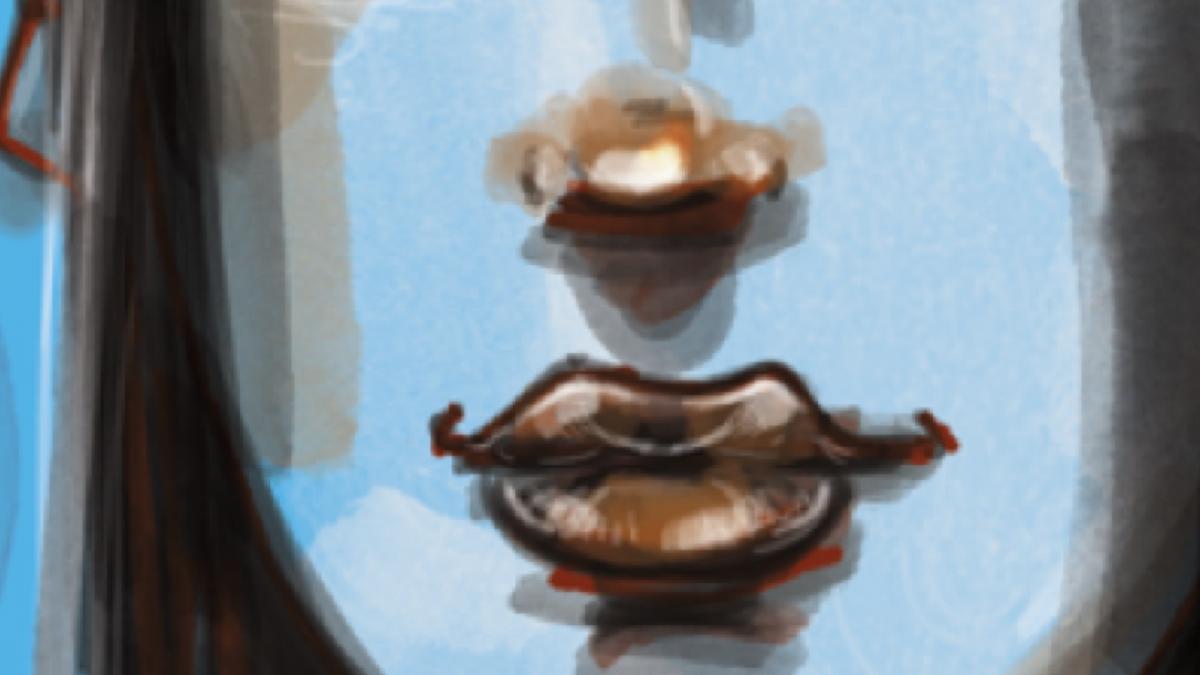
The japanese Kitsune is one of my fav. subjects. Often taking a female shape to contact the mortals- sometimes good, sometimes evil. Always near a foxshrine. I really love the textured brushes. They are a bit slow, but that will give you an authentic watercolor feeling. Just love it. One drawing without overlay and zoom to show the details.
- 6 replies
-
- 1
-
-
- textured brushes
- overlay
- (and 2 more)
-
Really love the precision of AD. Had lots of fun with this. The star is a new character for a vinyl sticker. Fascinated by the infinite zoom - everything is so crisp. Used the layer fx alot. Great to have the possibility to give different fx to different elements on ONE layer in such an intuitive way.
-
- 2
-
-
- drawing with pentool
- character design
- (and 4 more)
-
My apologies in advance if this feature is already part of Affinity Designer. Is there a way to create templates in Affinity? For example, is it possible to preset the background size and resolution settings and then save the settings for future use? For example, a website setting for 1070px by 800px at 72dpi and then be able to save it as "website-1070" for future use? And thanks again for all the help I have received from this forum. - - - WiLd