Smee Again
-
Posts
461 -
Joined
-
Last visited
Everything posted by Smee Again
-

Layer opacity vs. fill
Smee Again replied to mso1977's topic in Feedback for Affinity Photo V1 on Desktop
Look at Jpwday's example. There is a difference. Look at my examples, all the same, no difference. Watch the attached videos, BIG DIFFERENCE should exist. -
Layer opacity vs. fill
Smee Again replied to mso1977's topic in Feedback for Affinity Photo V1 on Desktop
It is just opacity . . . it isn't fill. Someone added an extraneous word to confuse others I guess. It doesn't affect fill. -
Layer opacity vs. fill
Smee Again replied to mso1977's topic in Feedback for Affinity Photo V1 on Desktop
Excellent. I was about to post my reply when you posted this. It isn't going to make me angry if they don't add the ability, but it sure would make me happy to see it. -
Layer opacity vs. fill
Smee Again replied to mso1977's topic in Feedback for Affinity Photo V1 on Desktop
Better yet, four images, all using "Vivid Light" blend mode: Image 1 - 20% opacity Image 2 - 20% fill opacity Image 3 - 50% opacity Image 4 - 50% fill opacity Do you see any difference between "opacity" and "fill opacity"?
-
Layer opacity vs. fill
Smee Again replied to mso1977's topic in Feedback for Affinity Photo V1 on Desktop
Pretty sure you are missing the point. "Fill" and "Opacity" are different animals that's why it's confusing when the name of the check box is "Fill opacity". That is strictly the opacity. Take a look at this video I posted earlier. It will show you the difference when you are dealing with just one the "special blend modes". You can't achieve this with Affinity Photo at this time: -
Layer opacity vs. fill
Smee Again replied to mso1977's topic in Feedback for Affinity Photo V1 on Desktop
Not available to the unwashed masses who do not use apple products. This layer FX is not available in windows. Evan if it were, not really sure if this is the same thing. You are working on vectors, we are talking about PIXEL images like photographs.
-
capture04.mp4 I use the program for mapping a lot. That means that I have to place text on path in order to align with streets correctly. Last time I commented on this, I was having trouble with the program allowing me to add the text on the path because the cursor would never place the tilde "~" next to the arrow so that I could attach the text to the path. Solved that problem by angling the path, adding the text then adapting the path to the part of the map where it belongs. Slow, but worked. Sometimes the text does not align to the beginning of the path, so while still in text editing mode, I grab the green triangle and slide it to the left end of the path. Problem fixed. Not anymore with version 1.7.2. Now, if you grab the green triangle to drag it to the beginning of the path, the program pulls the orange triangle which controls the break where the text goes below the path right up against the green triangle forcing all of the text after the first letter to the bottom of the path . . . upside down. If I try to move the orange triangle to the right to correct the problem, even though I pull the orange triangle, only the green one moves. This means that I now have to delete the text and path (undo doesn't work for some reason while doing this) and start over. Here is a video of what I'm talking about: I'm beginning to think that where the cursor shows it is clicking is not where it is actually clicking --- you'll notice at the beginning of the video where the click happens vs where the points actually show up.
-
Same here, always the brush painting on the mask with one exception: Large areas (such as a cloth backdrop or similar) will get the flood filled selection for the sake of time. What I've started doing of late is applying the gradient mask, but before I invert the mask for the gradient mask, I adjust it while paying attention to the area where it is going to be used. For instance a coat. I'll fiddle with the color in the gradient mask and blend modes until that one item looks correct. Then I invert the mask and paint in the item I wish to apply that gradient to. Love your work, and I've actually learned by looking at your results where you've had the original and finished shots side by side. Thanks!
-
A simple way to do something very close is by using "Gradient map" with "soft light", "overlay", or other blend modes. I start with the skin, usually with the hue about 35-40 and vary the saturation and lightness (all my colors are set in HSL mode) until the skin colors look about right. Then I click <CTRL> + I to invert the mask of the gradient mask. Next I act like a 6 year old kid and color it in by painting with white where I want the skin color to be. Remember the color on the right is the lightest color and the left is the darkest. You can also make the hair line perfect by doing the same thing for the hair color then making the very lightest color equal to the lightest skin color. Then you just paint over the hair and try to "stay inside the lines. Works great. Alternatively, you can select the area you wish to color, then use the flood fill tool filled with white. Been learning more and more on my own. Never been able to get any help on any of the internet forums with questions about this. Thought I'd share my experience.
-
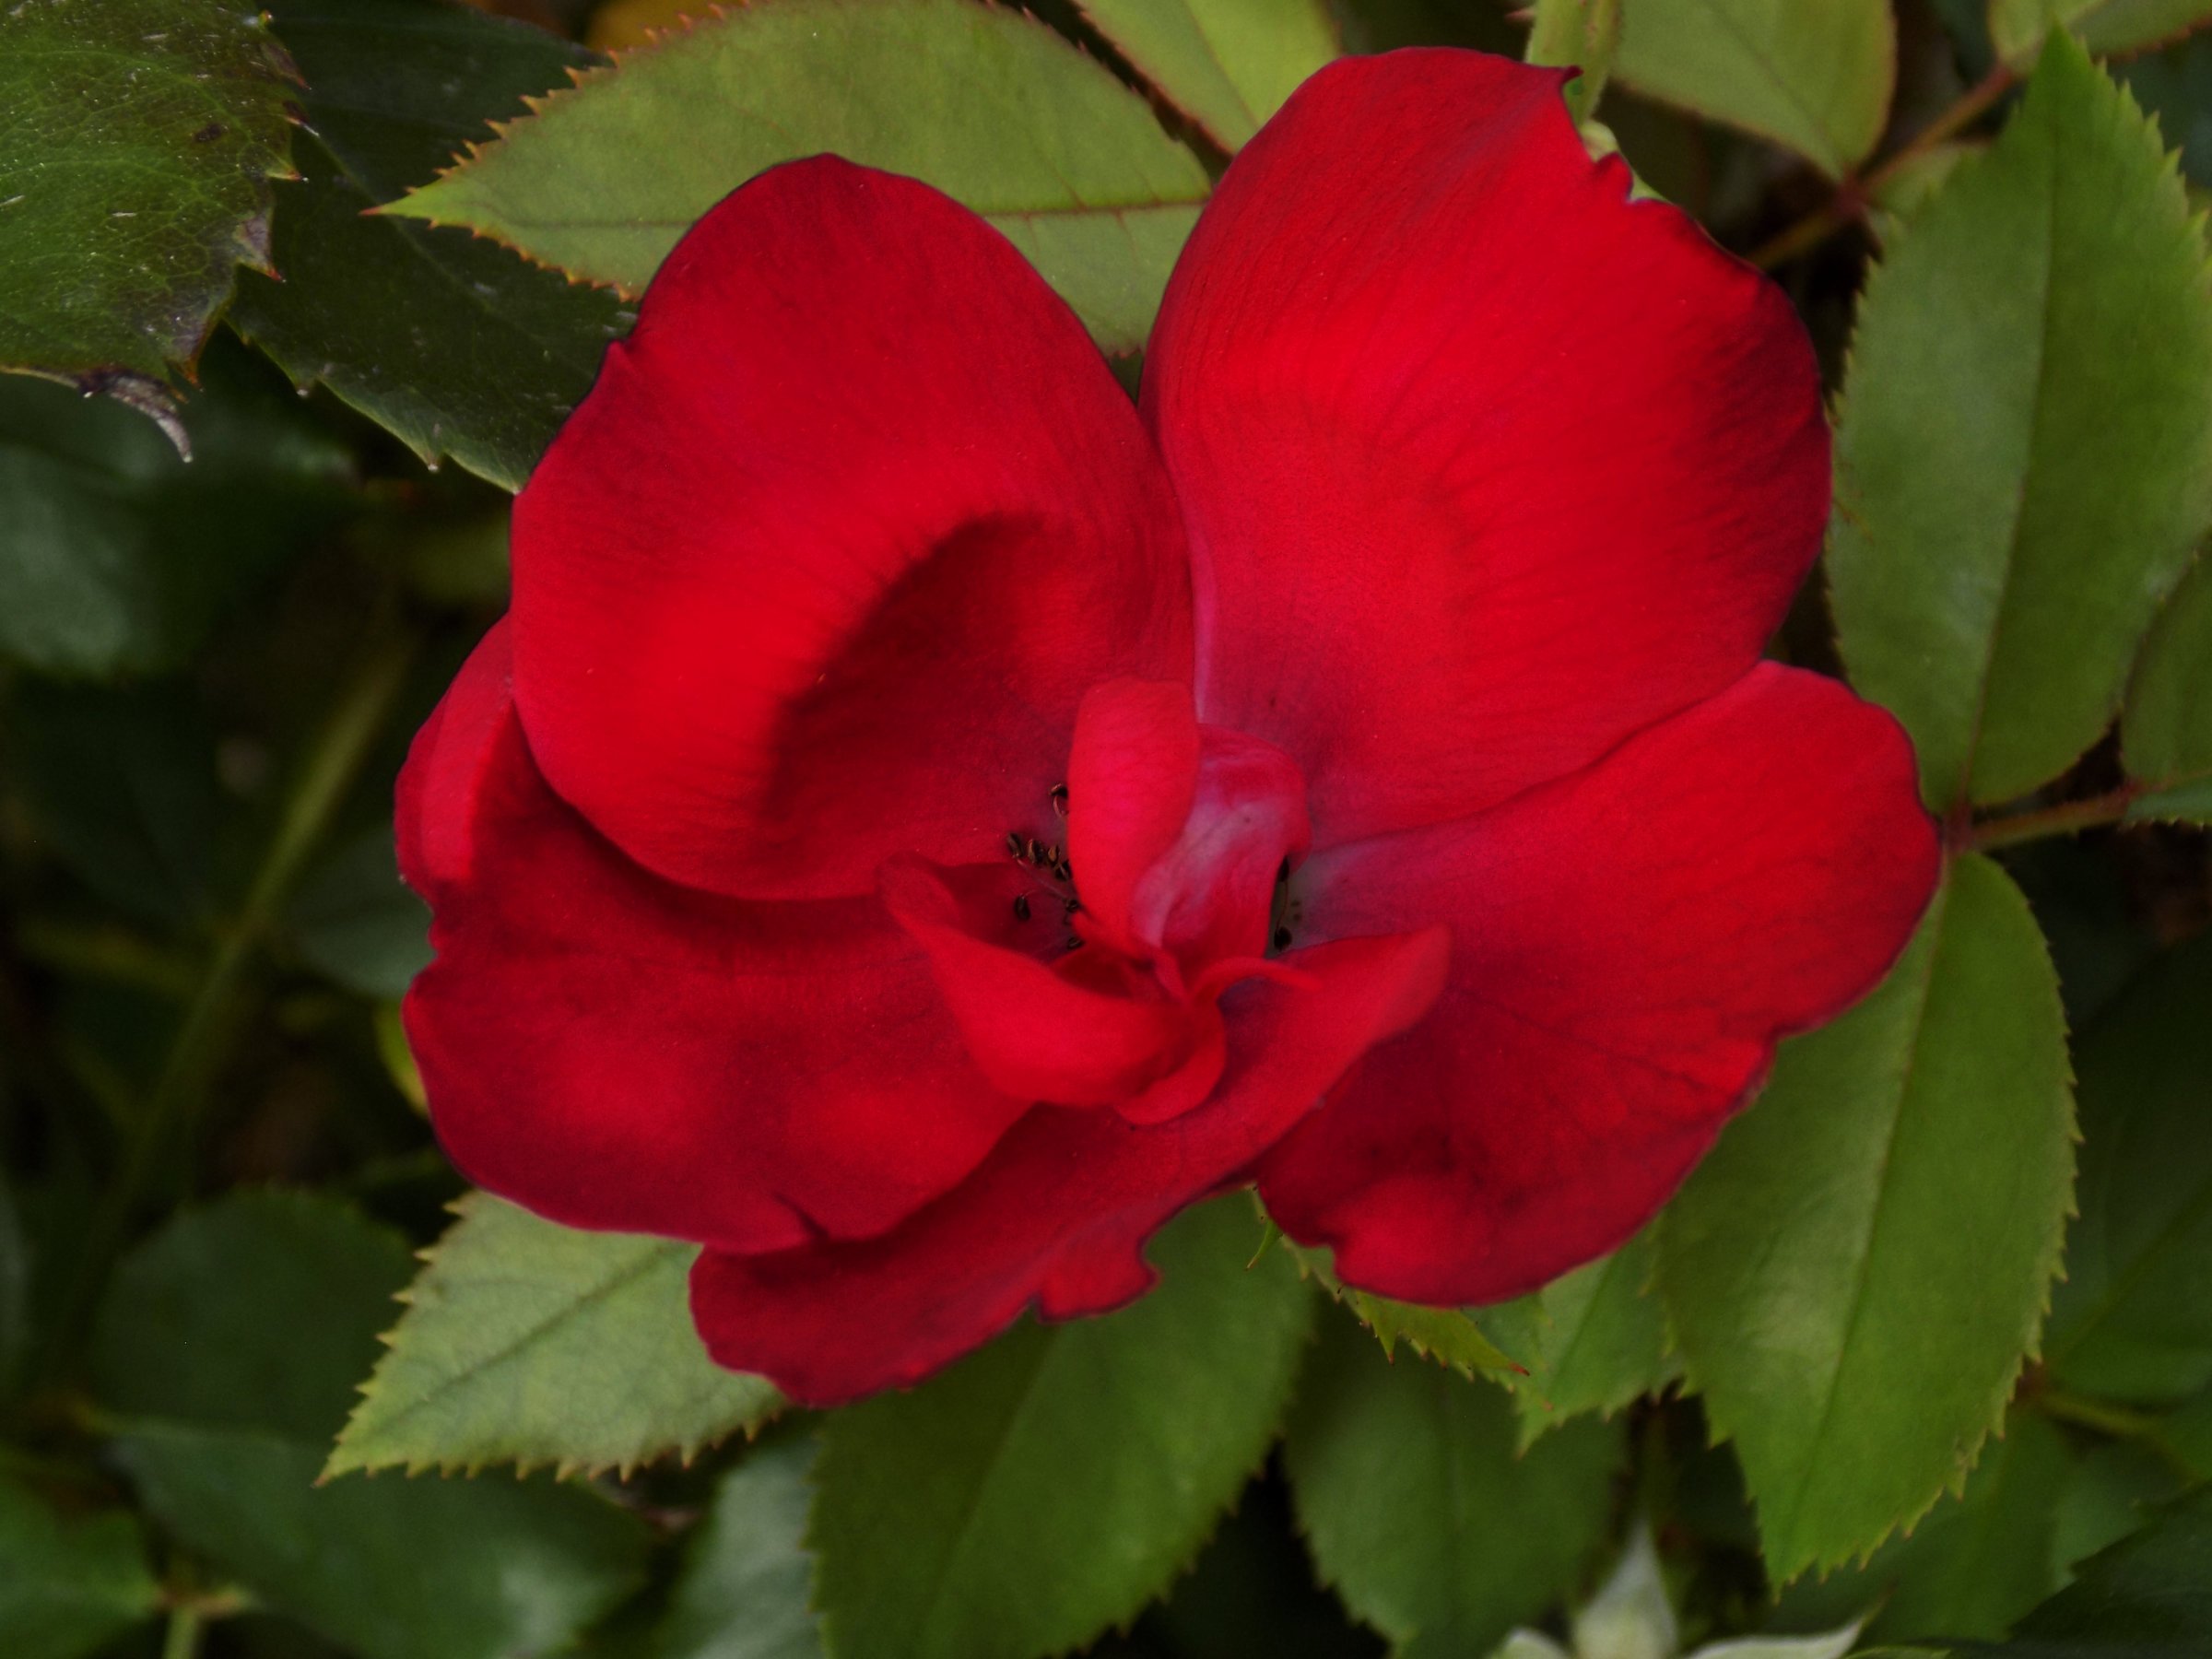
One more rose with a bit of dodge and burn for shape / dimension.
-
"Content removed by author"
- 2 replies
-
- 1
-

-
- walk cycle
- traveller
- (and 4 more)
-
Thank you!
-
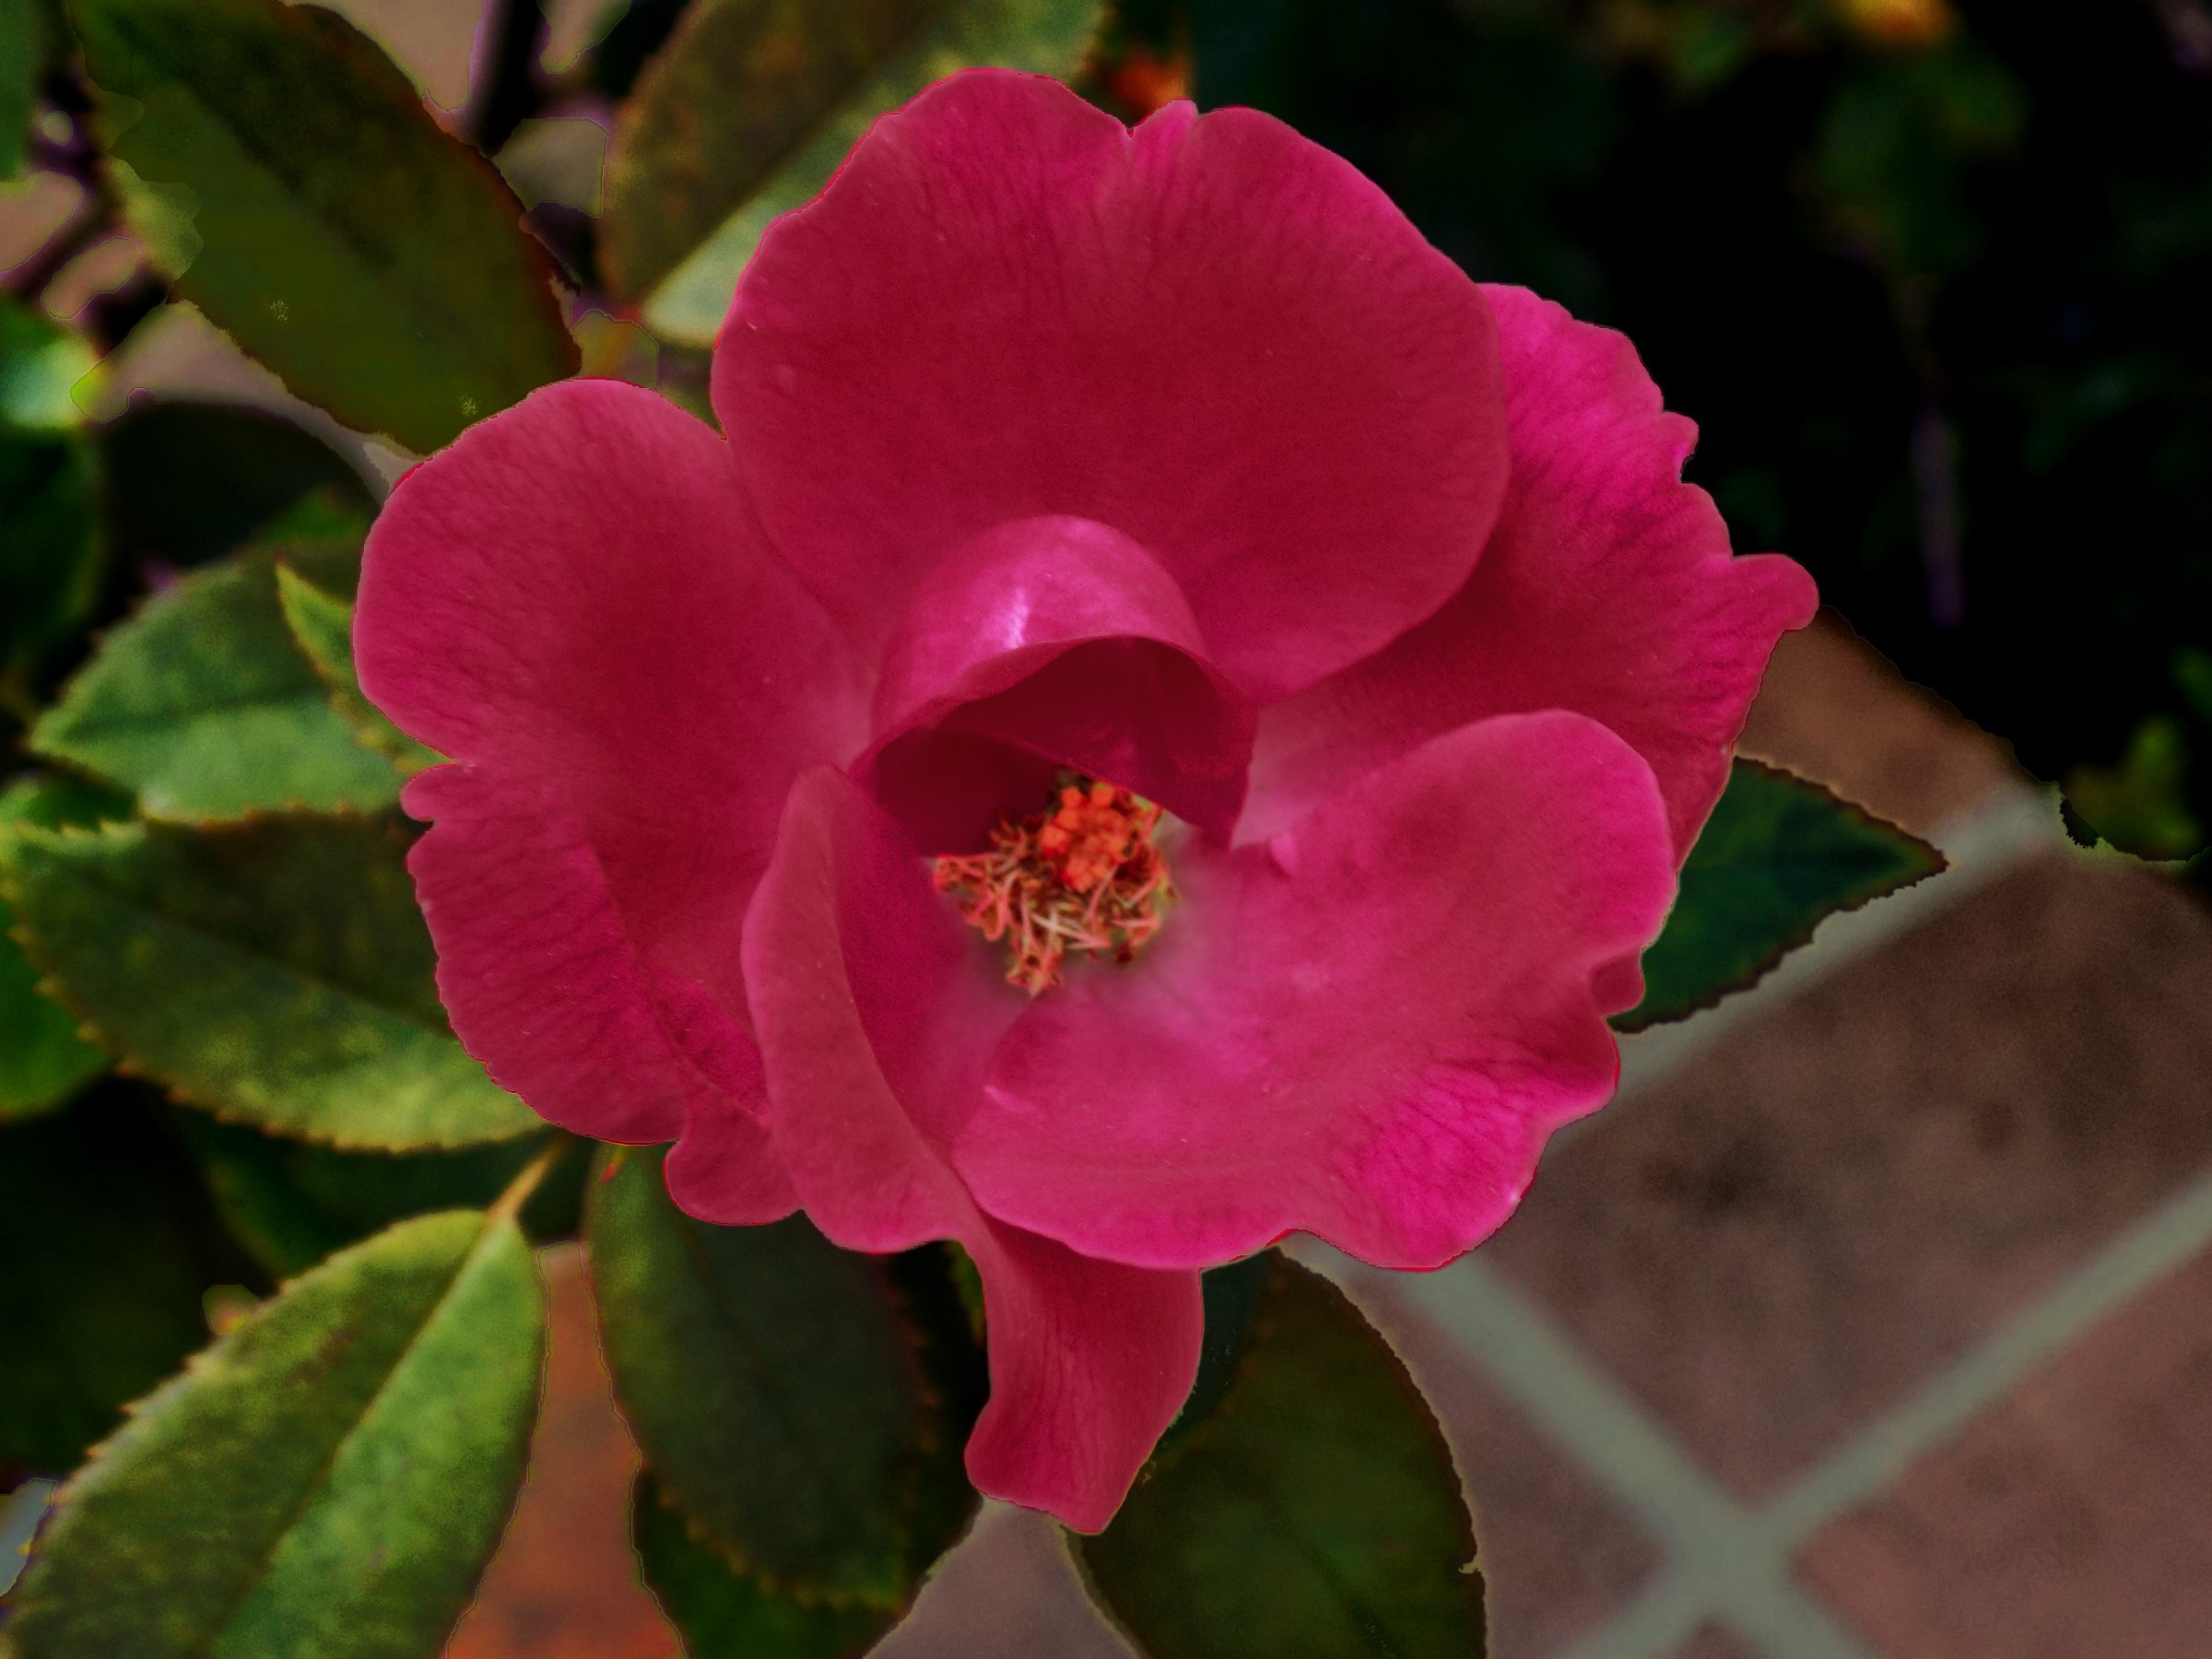
Again, layers, selections, masking, and color. A sand rose.
-
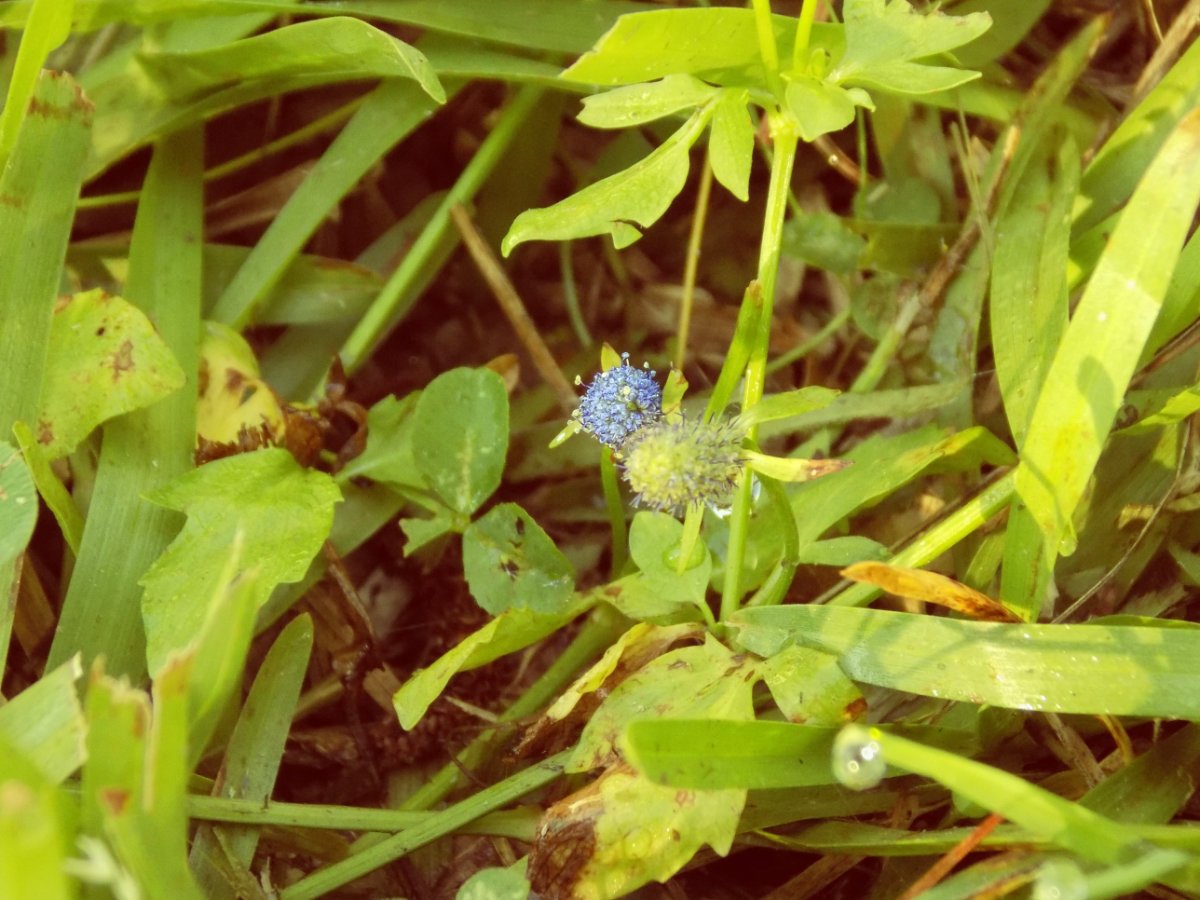
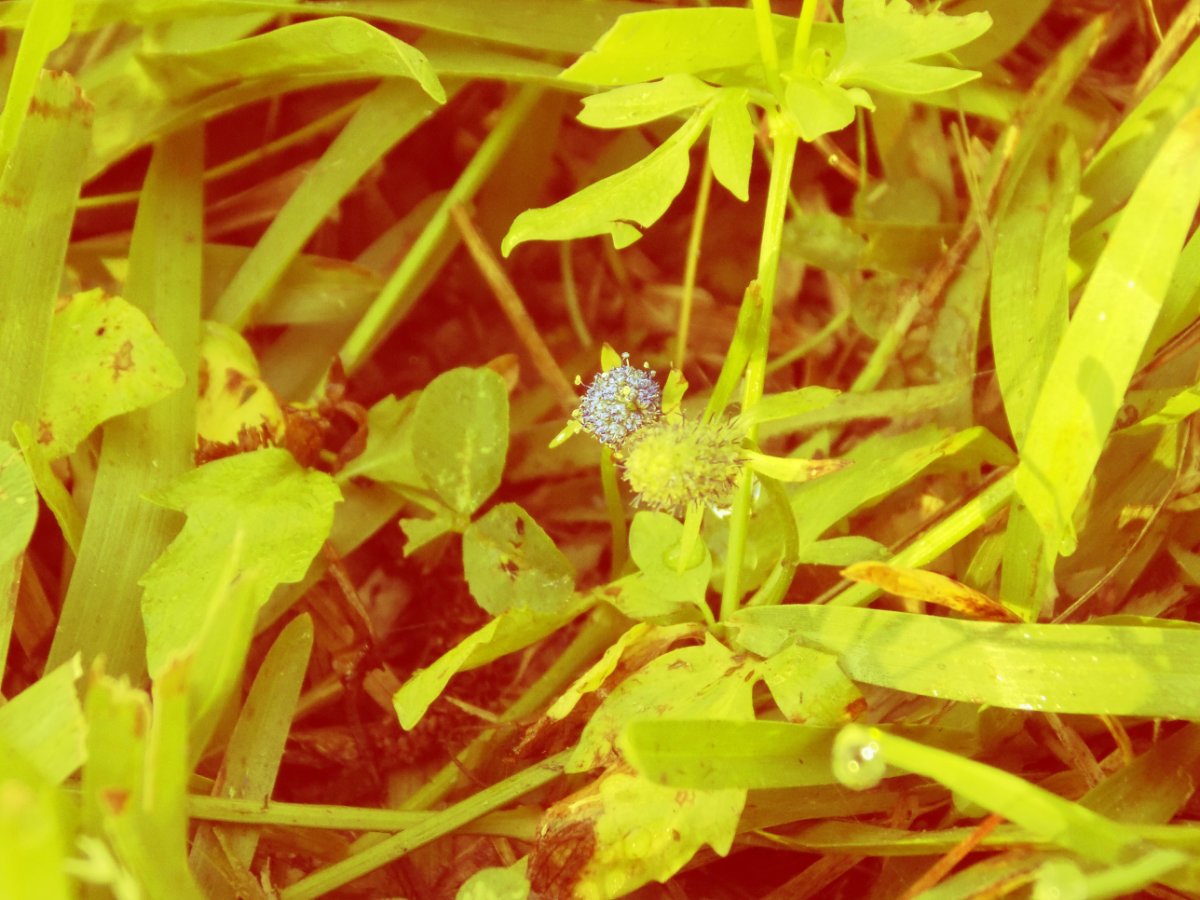
Learning a bit about channels, layers, etc. Still working on selections and cleaning them up. Need a bit more patience but getting there with the images. As a country boy, I'm used to seeing cicada exoskeletons on trees, benches, or wherever they decide to exit them. Cicadas live for years underground then burrow to the surface and burst out of his exoskeleton and flies away. What's funny is when I see how some of my city friend react the first time they see one. I'm pretty sure they think they see something like this:
-
multi Product mockup with Affinity and Blender
Smee Again replied to robert.sarudy's topic in Share your work
Probably do better to export from blender as png. -
affinity designer Yellow Winged Darter Dragonfly, play along (AD)
Smee Again replied to VectorVonDoom's topic in Share your work
Way beyond my ability, and very impressive! Nice work!!! -
Thanks.
-
I used to dabble in the maps for gaming (mostly for rFactor mods for our clan) and there is a plugin for doing that. Not sure if it will work with a 64 bit program. I'll have to take a look when I get home.
-
Layer opacity vs. fill
Smee Again replied to mso1977's topic in Feedback for Affinity Photo V1 on Desktop
One more example . . . because fill and opacity behave differently with the special blend modes (like linear light, used in this example) this is a great example for portrait photographers as to why a "fill" option would be a nice addition. This video was released this morning. This option is especially beneficial when using a solid color adjustment layer with the soft light, hard light, dissolve, vivid light, linear light, pin light, and hard mix blend modes. -
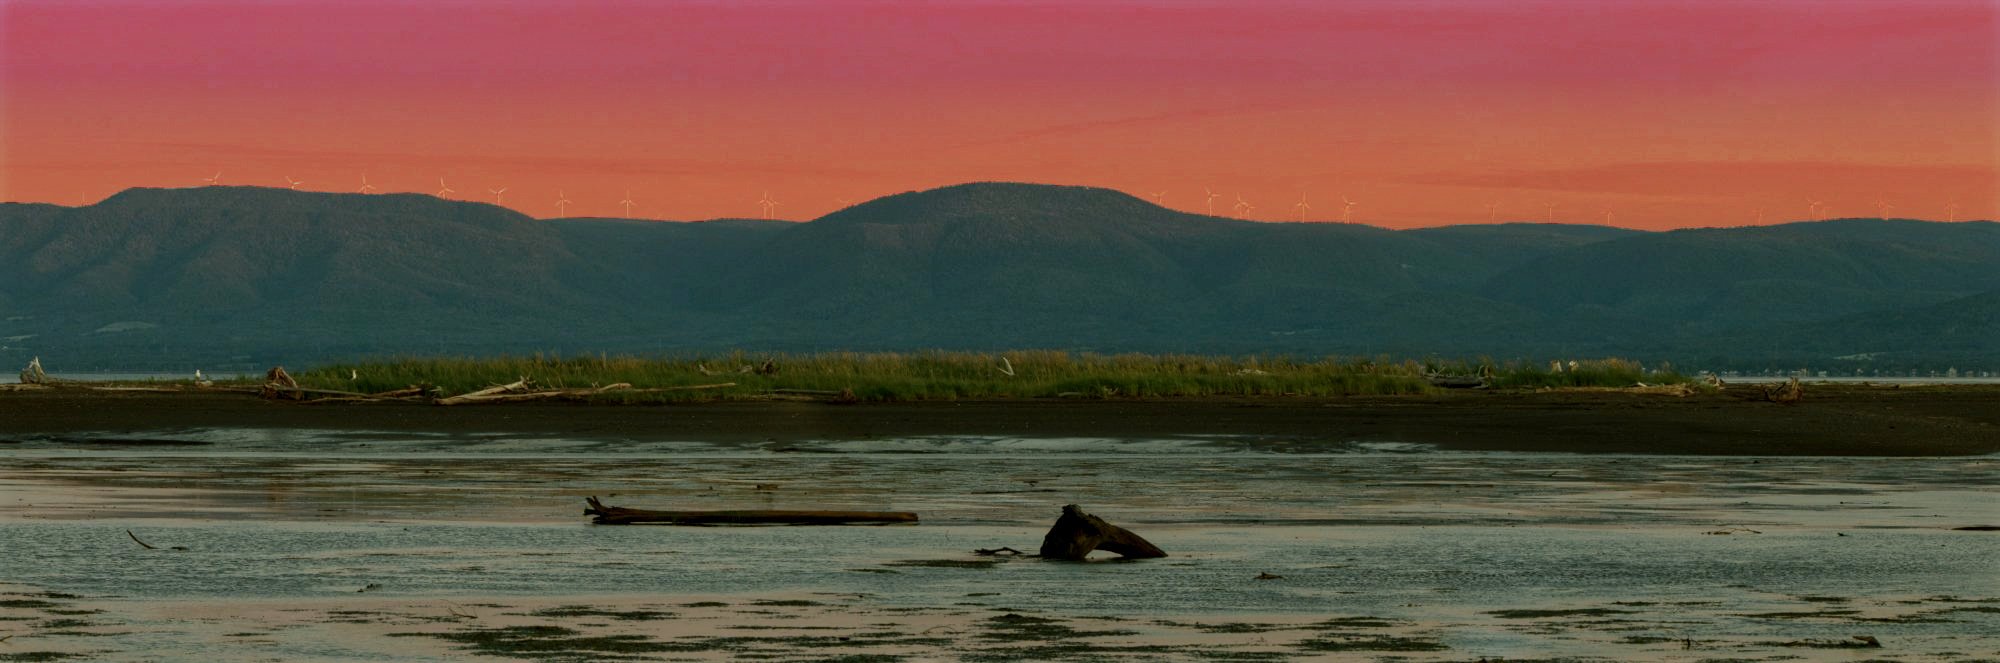
I saw that after my post. It was just weird to see little poles showing up as I was working on the image. I thought something was amiss on my end.
-
Nice, but you lost the windfarm on the top of the mountain. Now that I'm home and no one looking over my shoulder, I had a few minutes to work with some gradient mapping, masking etc. I'll post the image here and this is a link to the afphoto file that might give you a few ideas. Hope it helps.
-
Big improvement. To apply HSL to only the sky, use the HSL layer's mask. Click on the HSL layer, then treat it like a layer mask. For your image's sky, you can probably get a pretty good selection with the selection brush. Fill the selection with a white to black gradient (white on top, black on bottom). Then deselect the area, and hit <CTR:> + I (I for Invert). Now double click on the HSL layer and adjust your colors as you wish. You also may want to experiment with the blend modes for the HSL layer as it can really make a difference. Remember that you can adjust the transparency of that HSL layer as weil. Quick try ... Yeah, color choices are poor, but just to show that you can boost only what you want by using the masking ability of the adjustment layers.
-
Layer opacity vs. fill
Smee Again replied to mso1977's topic in Feedback for Affinity Photo V1 on Desktop
Wouldn't the fill option here work the same as with fill on the paint brush --- as in similar coding to achieve the effect? Really unclear as to why this was not an option in photo. While it's true, opacity can help, there are occasions where when considering fill vs opacity --- fill is the only acceptable solution as there are differences in behavior. Piximperfect (2017) explains some of the difference here: Better info beginning at about 1:30 in on the following video: -
Very nice! Thanks.
- 9 replies
-
- 1
-

-
- affinity publisher
- affinity photo
- (and 7 more)
-
affinity photo Removing freckles from a photo
Smee Again replied to GarryP's topic in Share your work
Nice results! So, did you do it with "Blemish Remover" or with "Frequency separation"?- 3 replies
-
- 1
-

-
- de-freckle
- experiment
- (and 1 more)