MartinL
-
Posts
37 -
Joined
-
Last visited
-
Hi all. When are we gonna get a lens profile for the Canon RF 200-800mm for Affinity Photo?
-
 Old Bruce reacted to a post in a topic:
Shadows and highlights
Old Bruce reacted to a post in a topic:
Shadows and highlights
-
 MartinL reacted to a post in a topic:
Shadows and highlights
MartinL reacted to a post in a topic:
Shadows and highlights
-
Omg, thx. That's why.
-
It only increases the highlights.

-
MartinL reacted to a post in a topic:
Shadows and highlights
-
MartinL reacted to a post in a topic:
Shadows and highlights
-
Can it be used directly on a pixel layer (the photo in this case)?
-
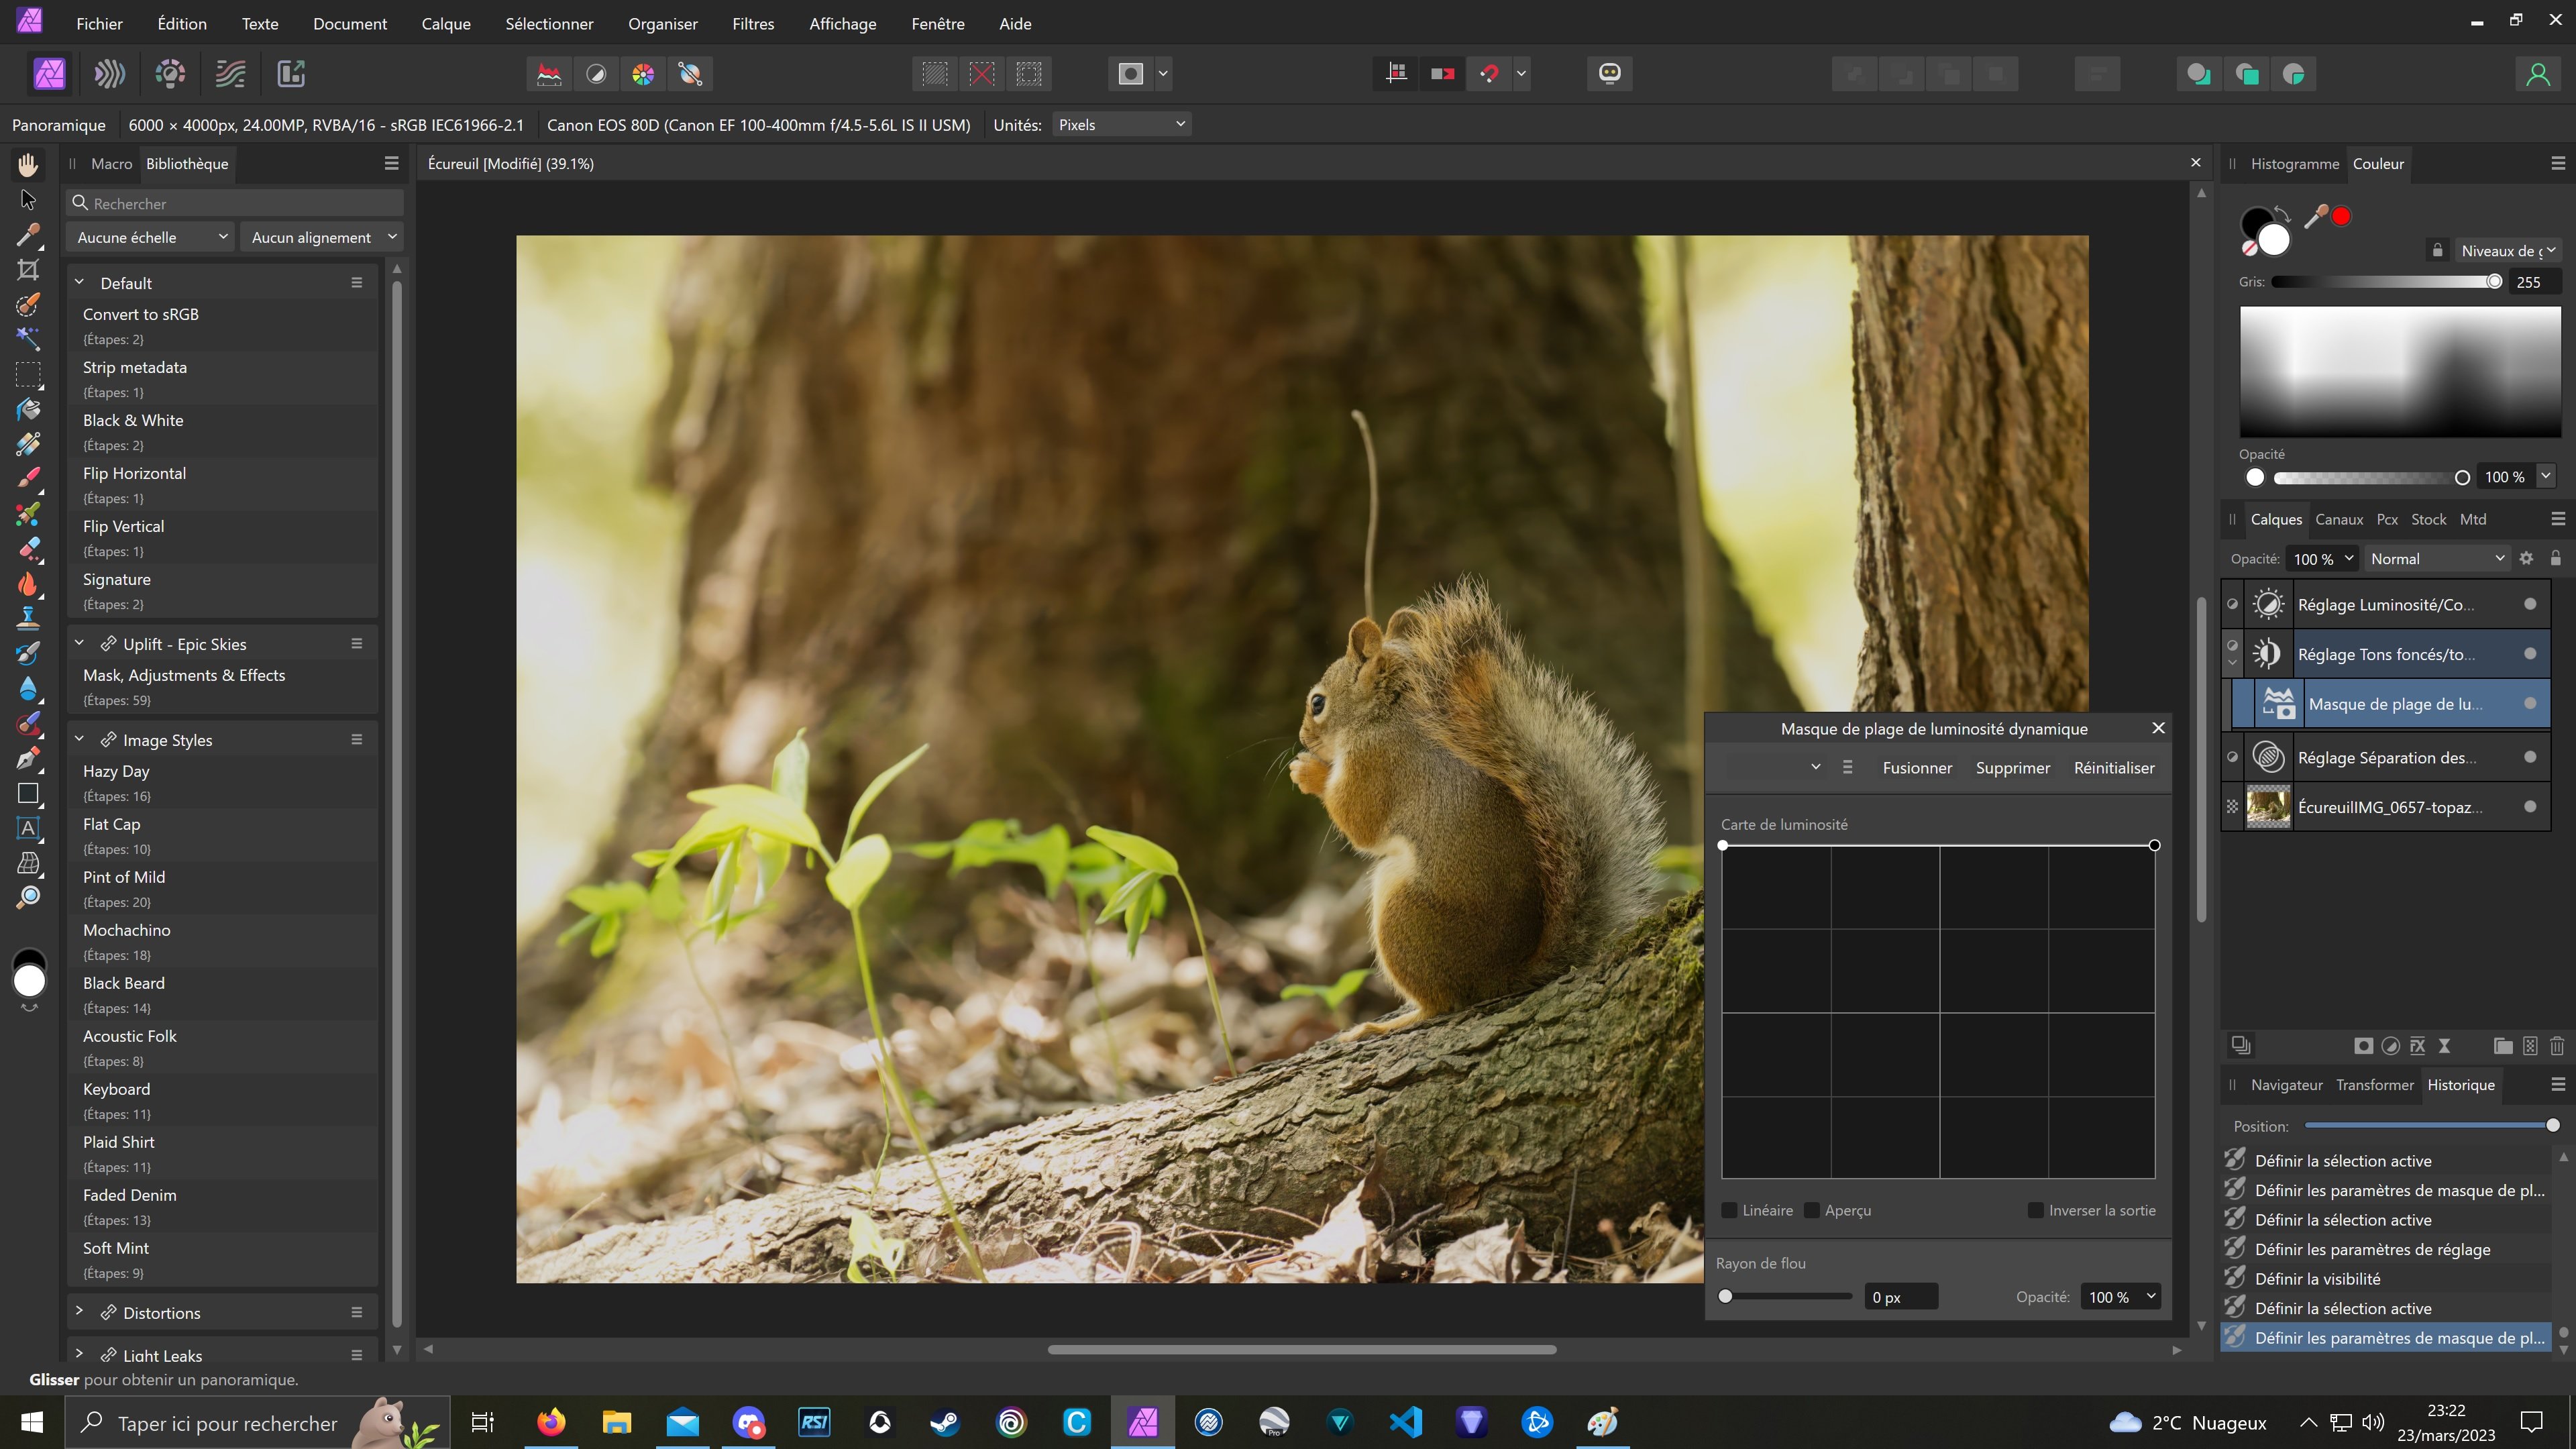
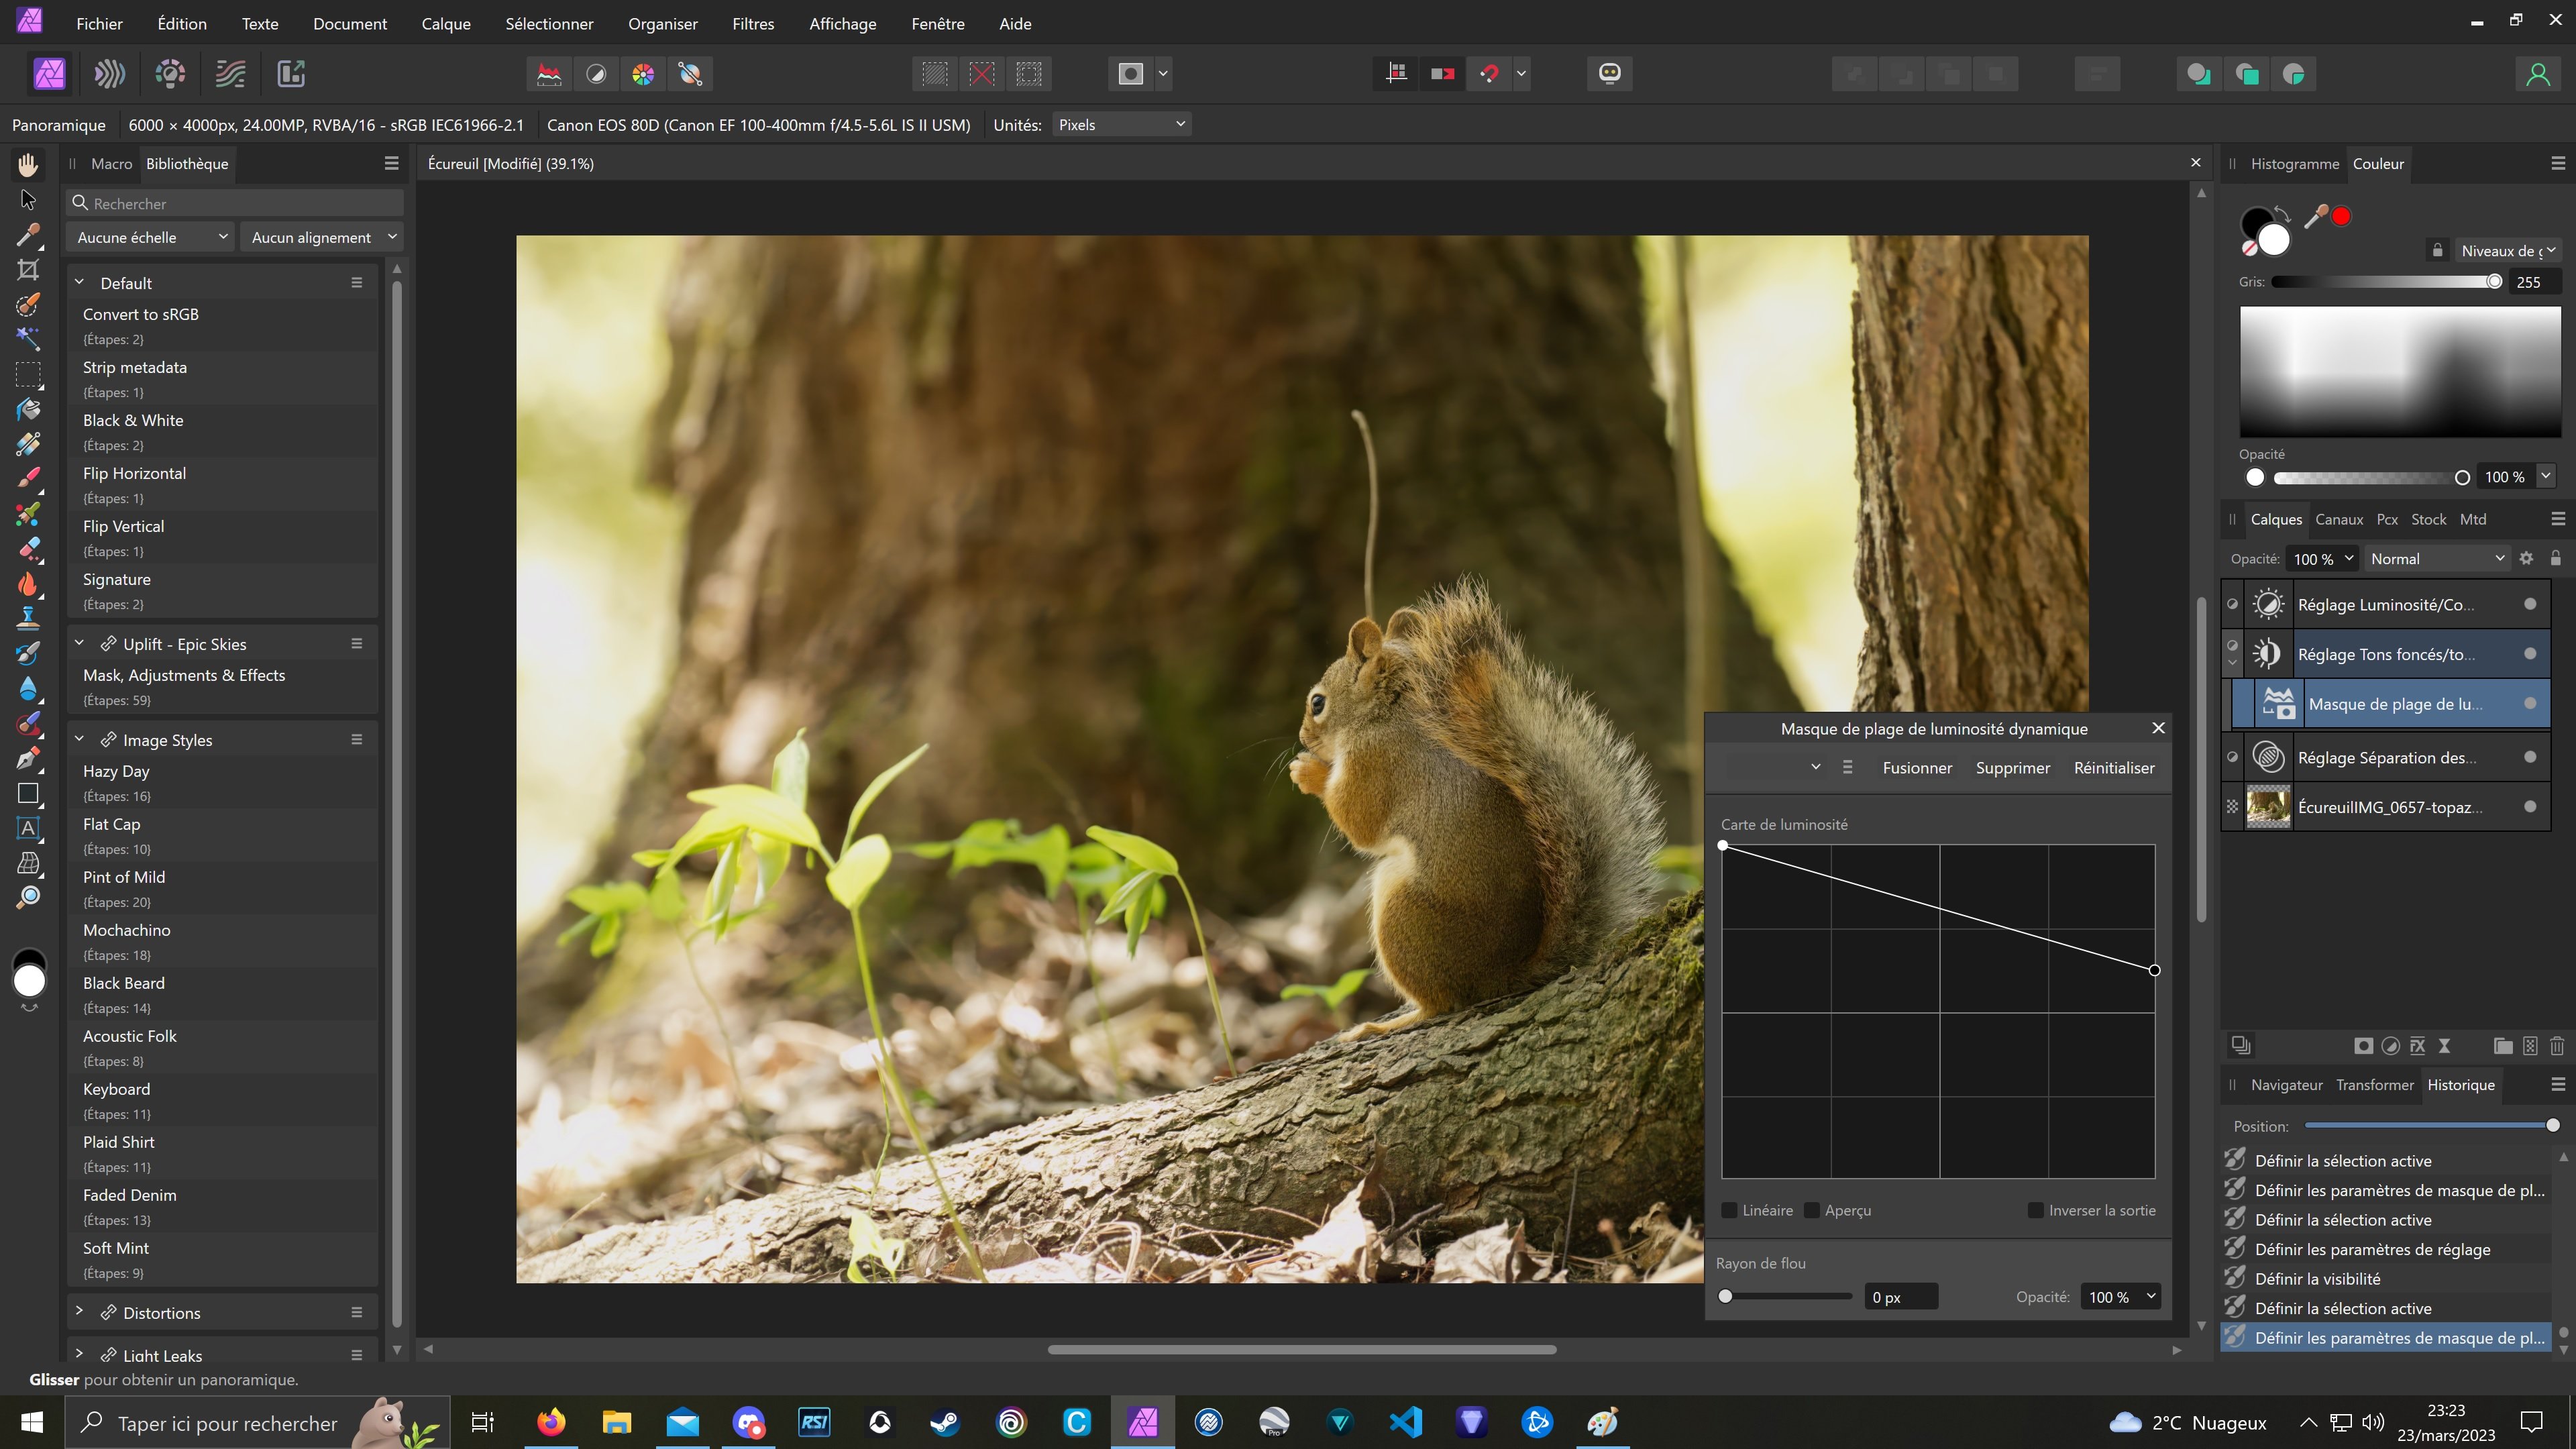
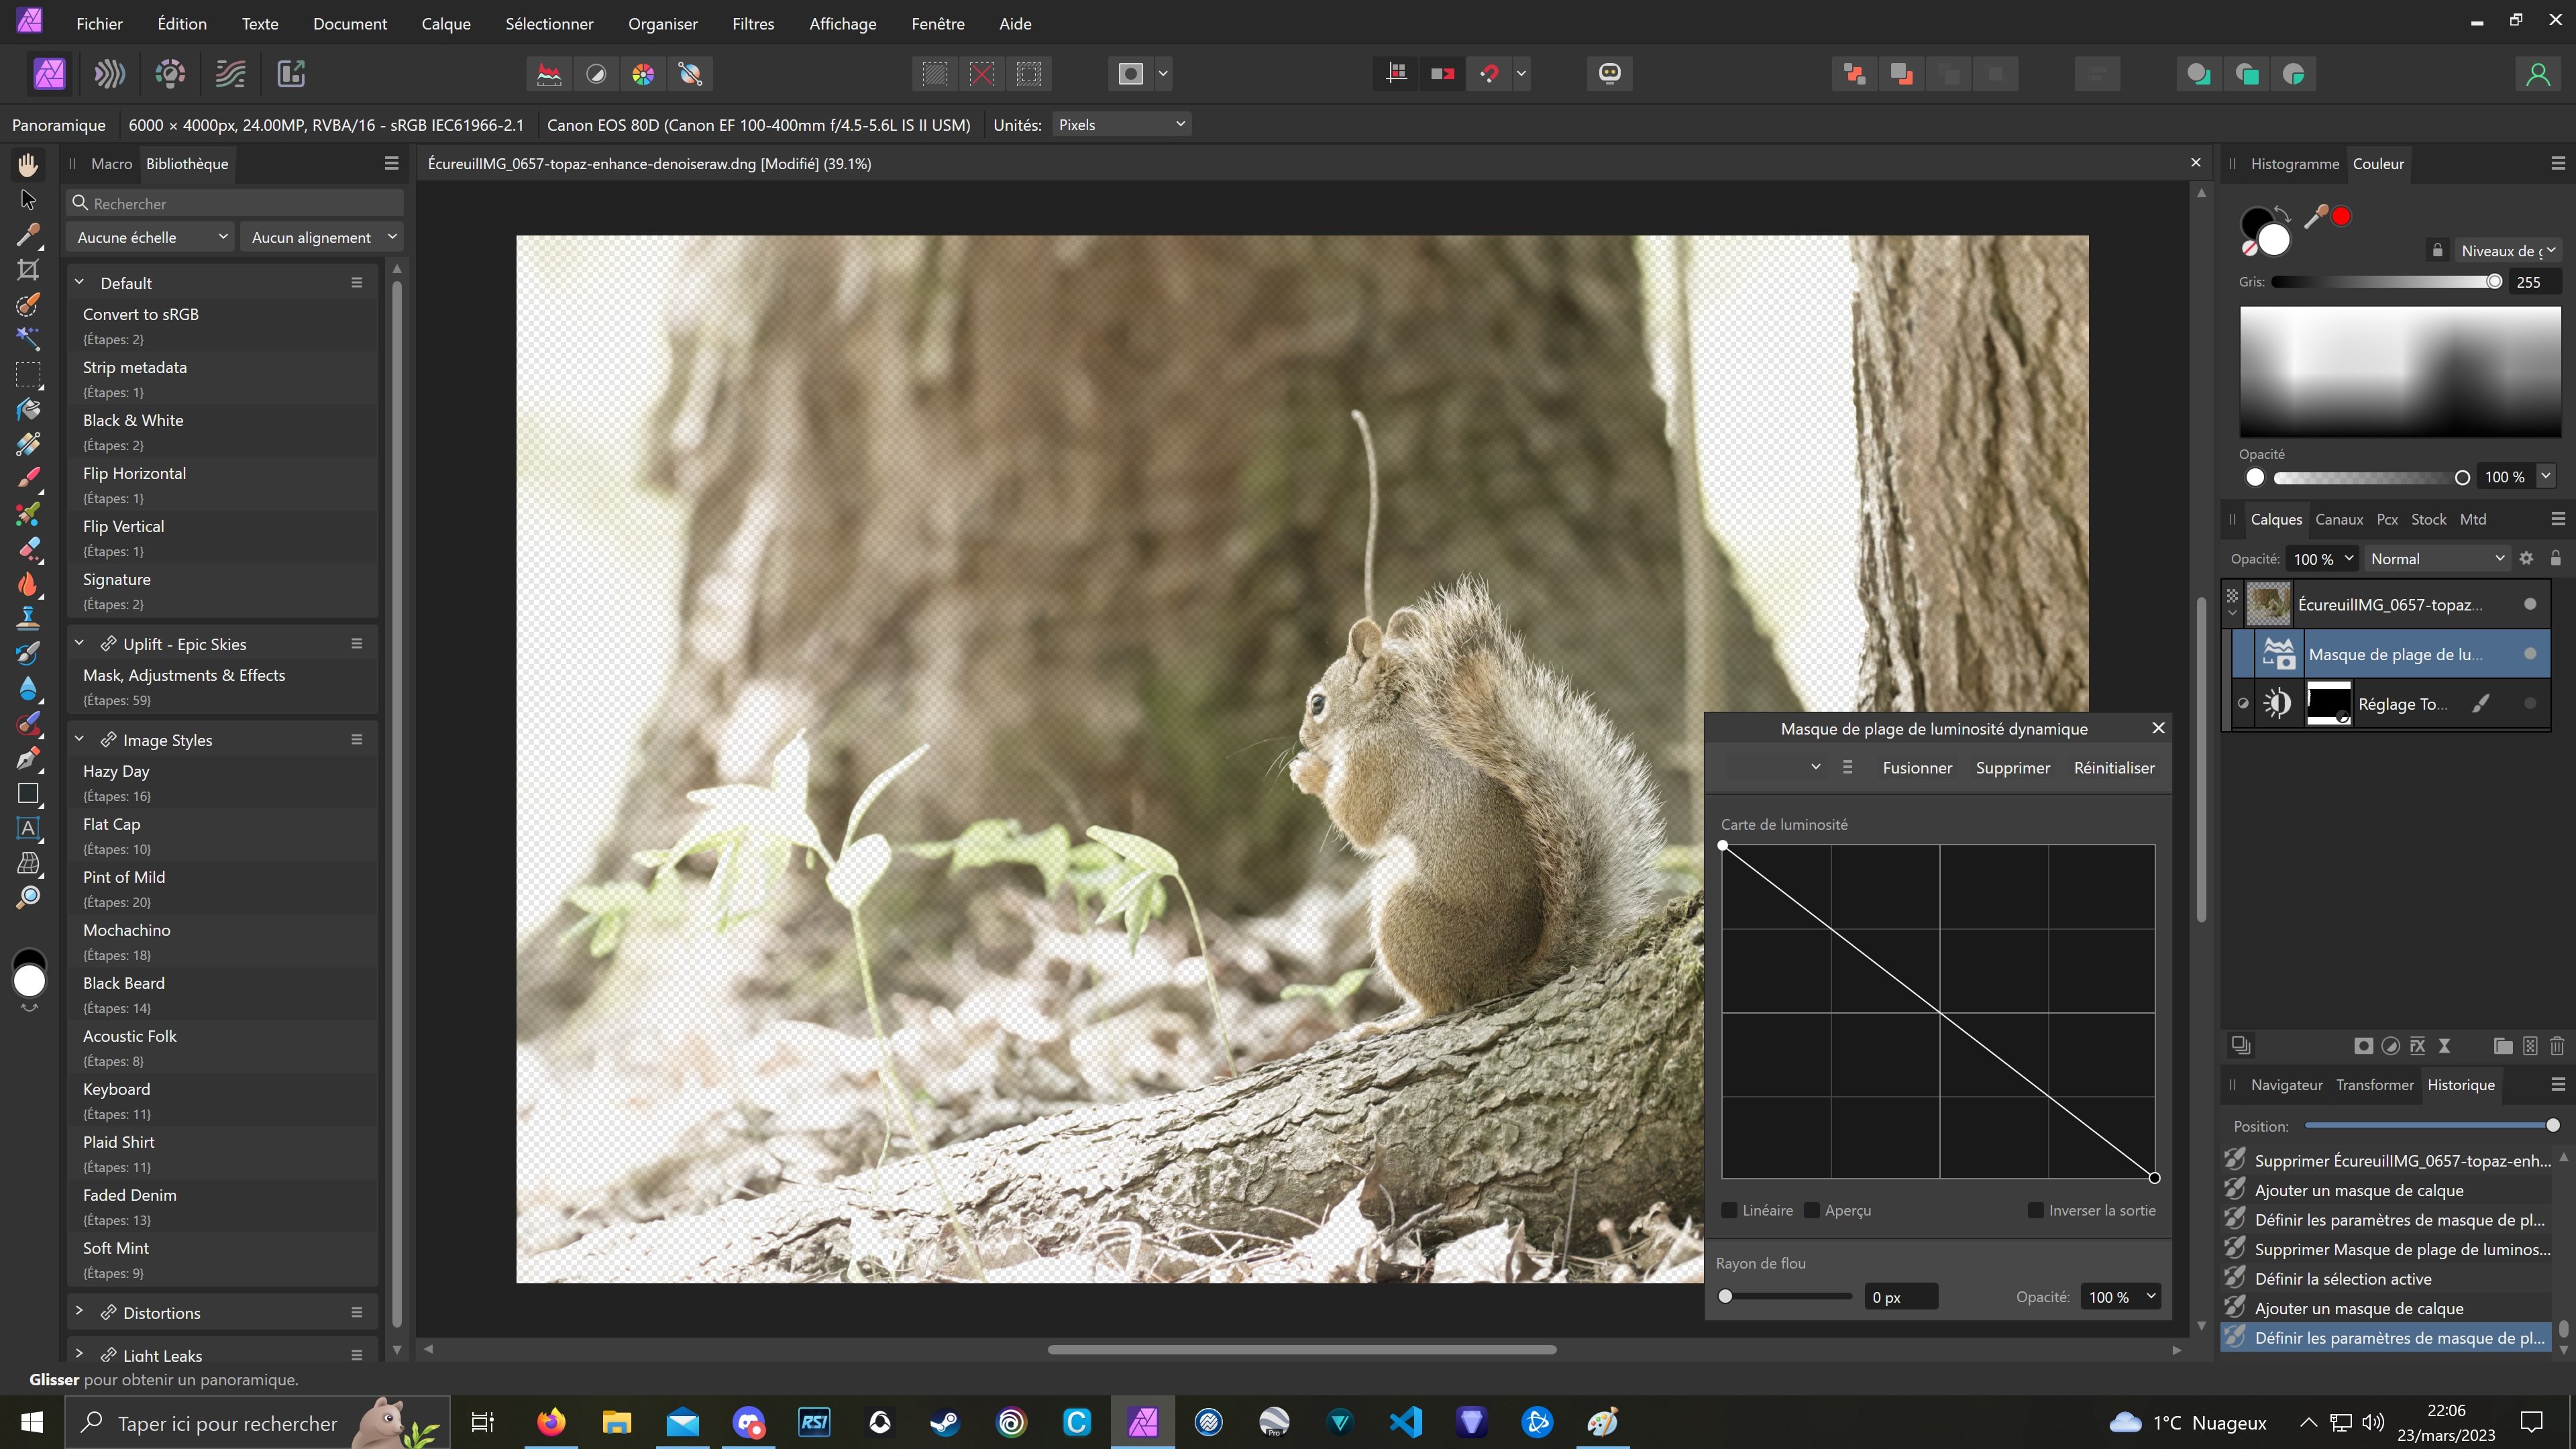
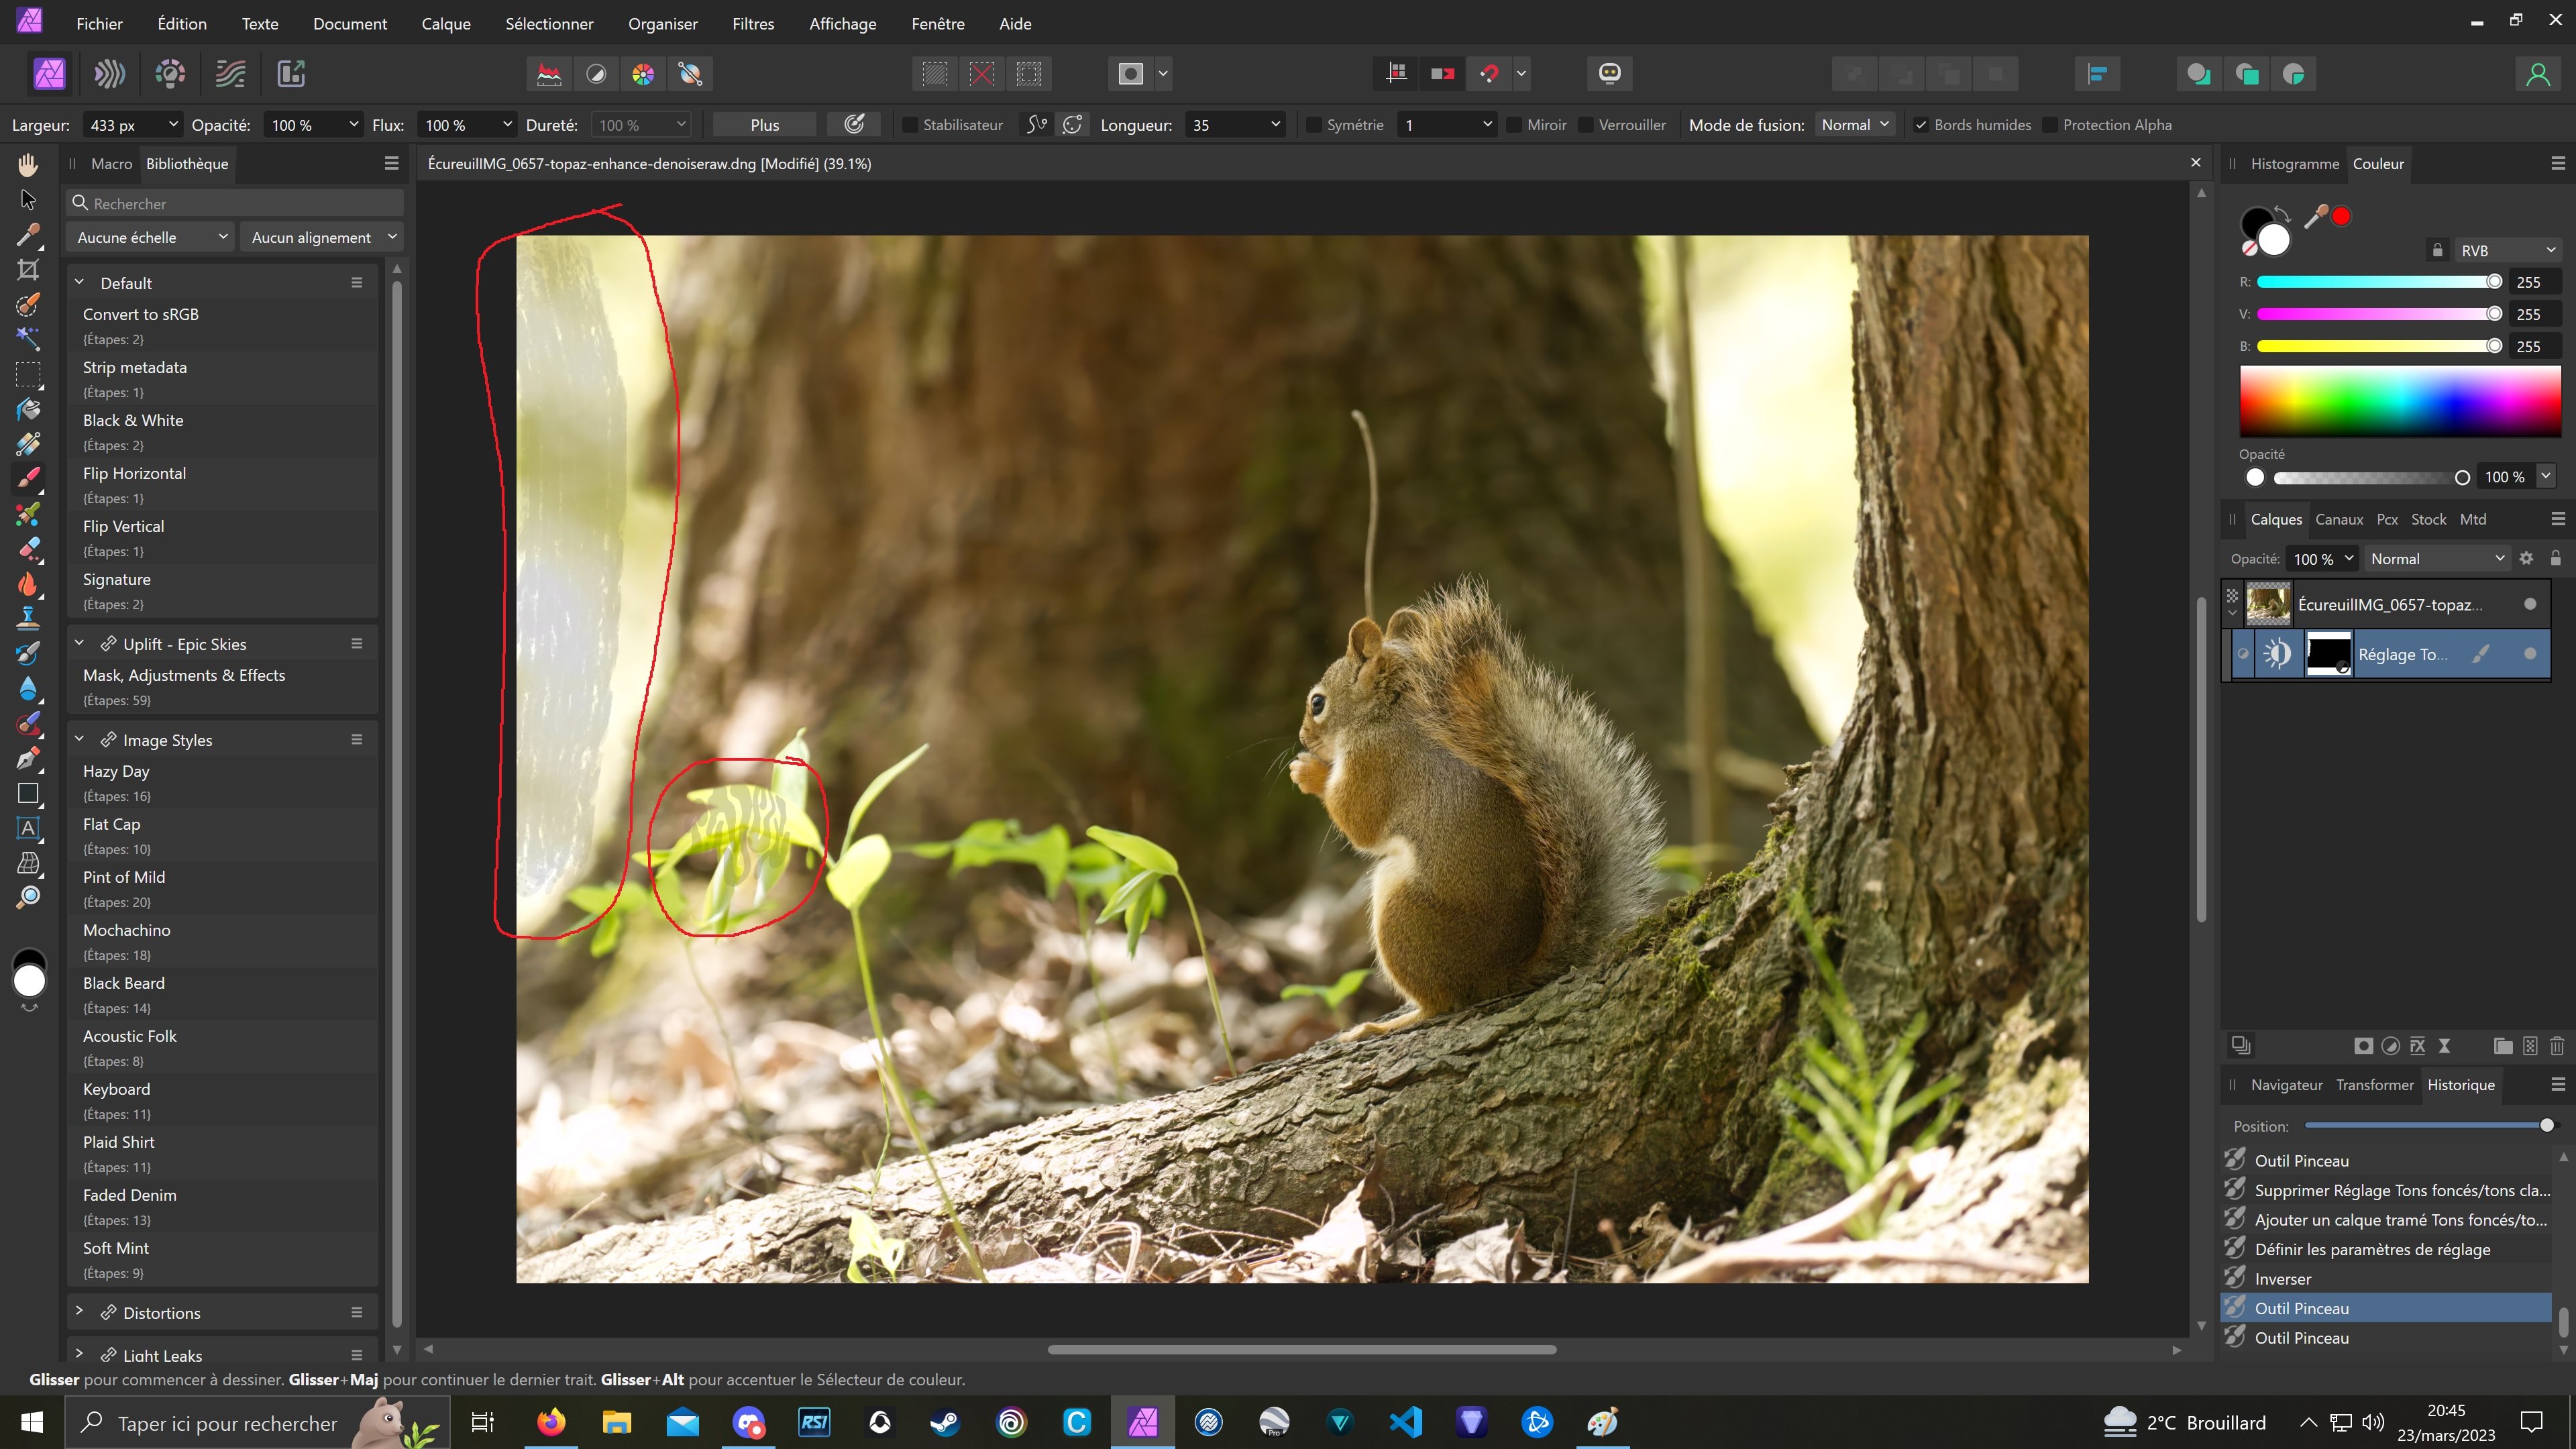
Hi. This is an old photo I took. I'm reediting it from scratch. I'm trying to lower the highlights. I decreased the shadows by 24% and the highlights by 25% and then I inverted the effect. Now I'm trying to paint in only the parts I want the effect to be applied. I may be misunderstanding something or I have a problem with my paint brush. The red circle on the left is with a hardness of 20% (Flux in my version) and the circle on the right (was showing just by moving the brush) is with 100%. Do you guys have the same effect or is it just me? Or maybe I'm misunderstanding something. I'm not an expert. Thank you.
-
Except I can't since there's a bug.
-
What tool do you use when merging two photos and you want to show some elements of one photo into the other? The paint brush right (shortcut b)?
-
I want to completely unselect a brush (those on the right of the screen) not select a new one. Even with ctrl+left-click, the brush is unselected but I can still paint that brush. ☹️
-
MartinL reacted to a post in a topic:
Paint brush bug
-
Hi. I get this annoying bug when using the paint brush. I made a macro for my logo and in this photo, the brush (for my logo) is not selected (the last one) but still being applied. Also, any way to unselect a brush when we're done? Because when I reselect the paint brush and want to include or remove elements when joining two photos, it applies the logo/brush instead. Also, when cropping a photo and then applying my logo, the logo is somehow cropped too. I found out I can ctrl+left click to unselect a brush but the bug still persist. Edited (message).
-
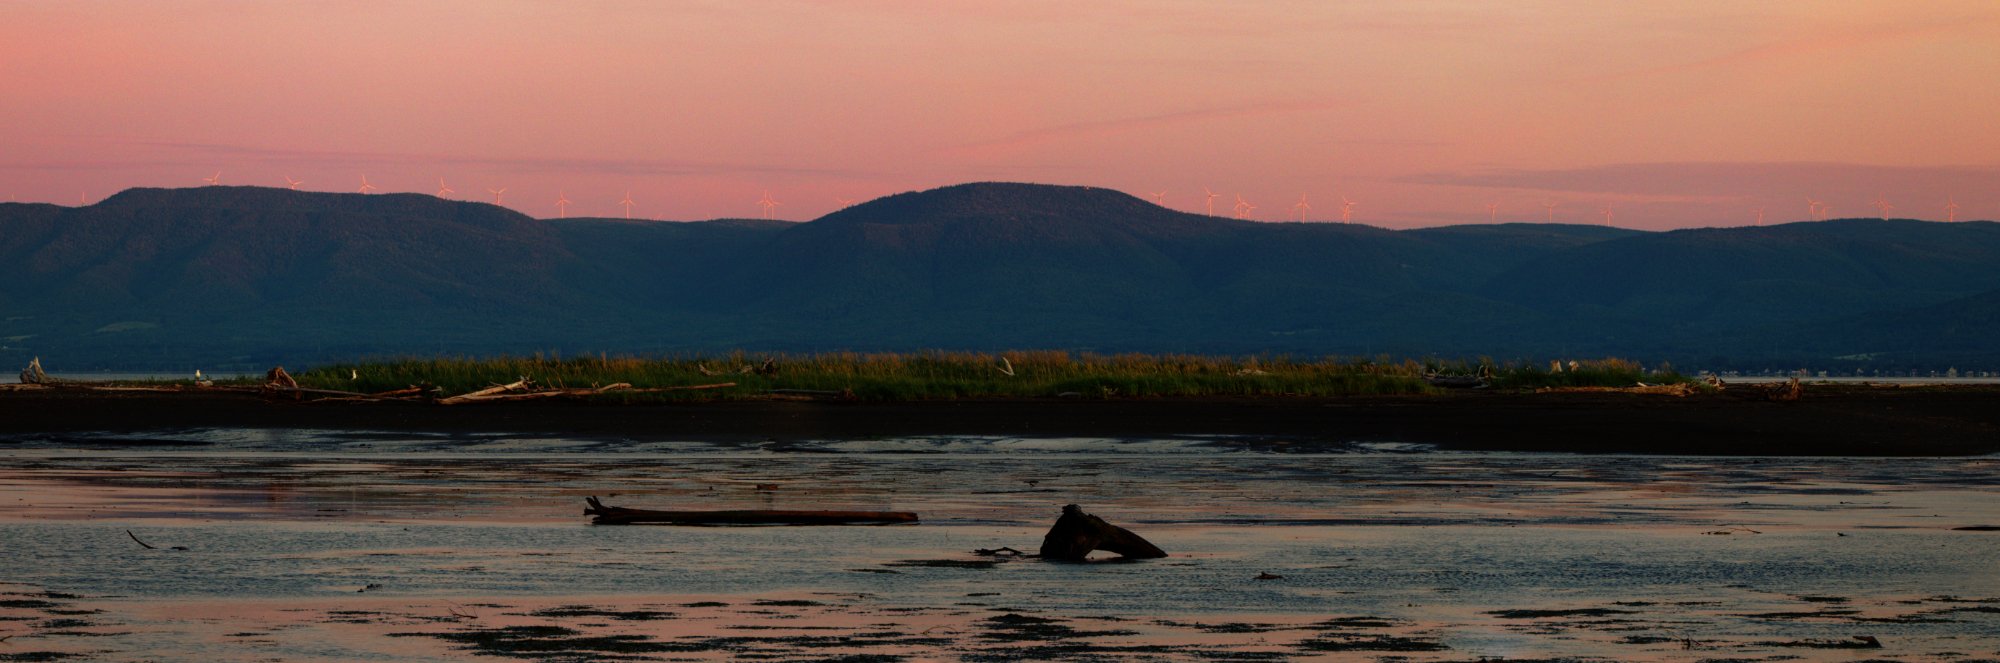
I cloned out the windfarm.
-
Smee Again reacted to a post in a topic:
Landscape
-
@Smee Again Here how it looks like now. I didn't try the gradient tool for the HSL adjustment yet.
-
Smee Again reacted to a post in a topic:
Landscape
-
Ok... I tried redoing the entire project. Not sure what else I can do. This time, I removed the windmills, the houses, the birds and a log. Removed the haze. Added a clarity live filter. I increased the exposure for the mountain using a graduated tool (from the botom of the mountain to the sky). Added white balance. Lens correction filter. Added vibrance layer. Added luminosity/Contraste layer. I tried ading a HSL layer with no success (I couldn't increase the color of the sky without affecting the rest of the photo). There is still noise in the photo and I can't remove it.
-
John Rostron reacted to a post in a topic:
New photo
-
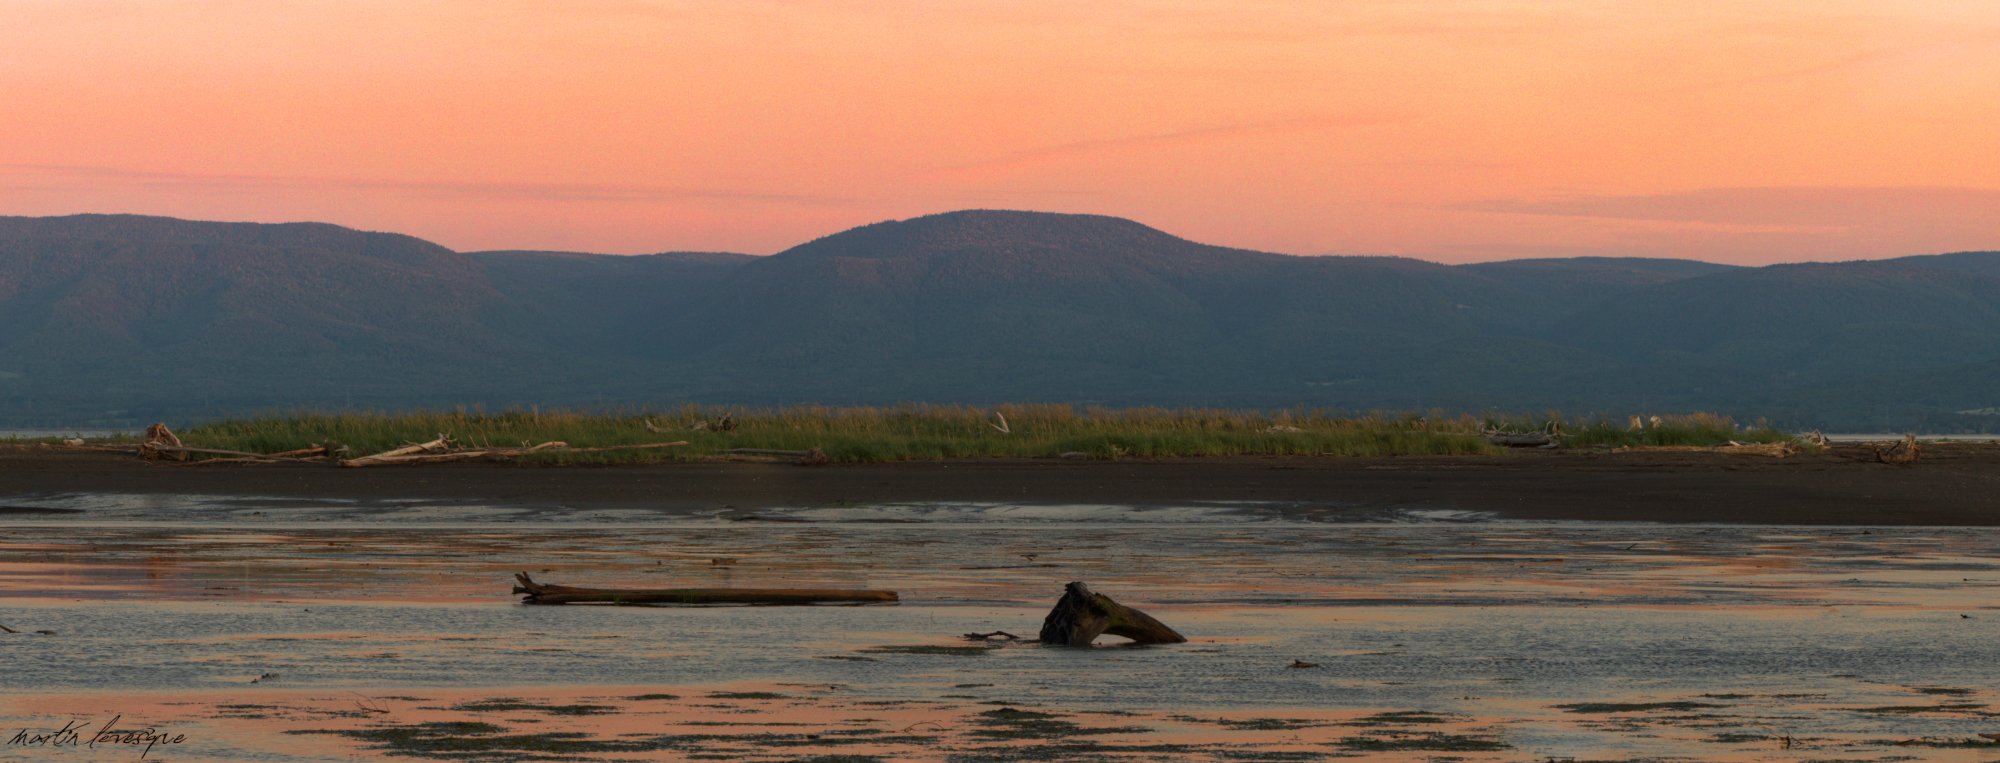
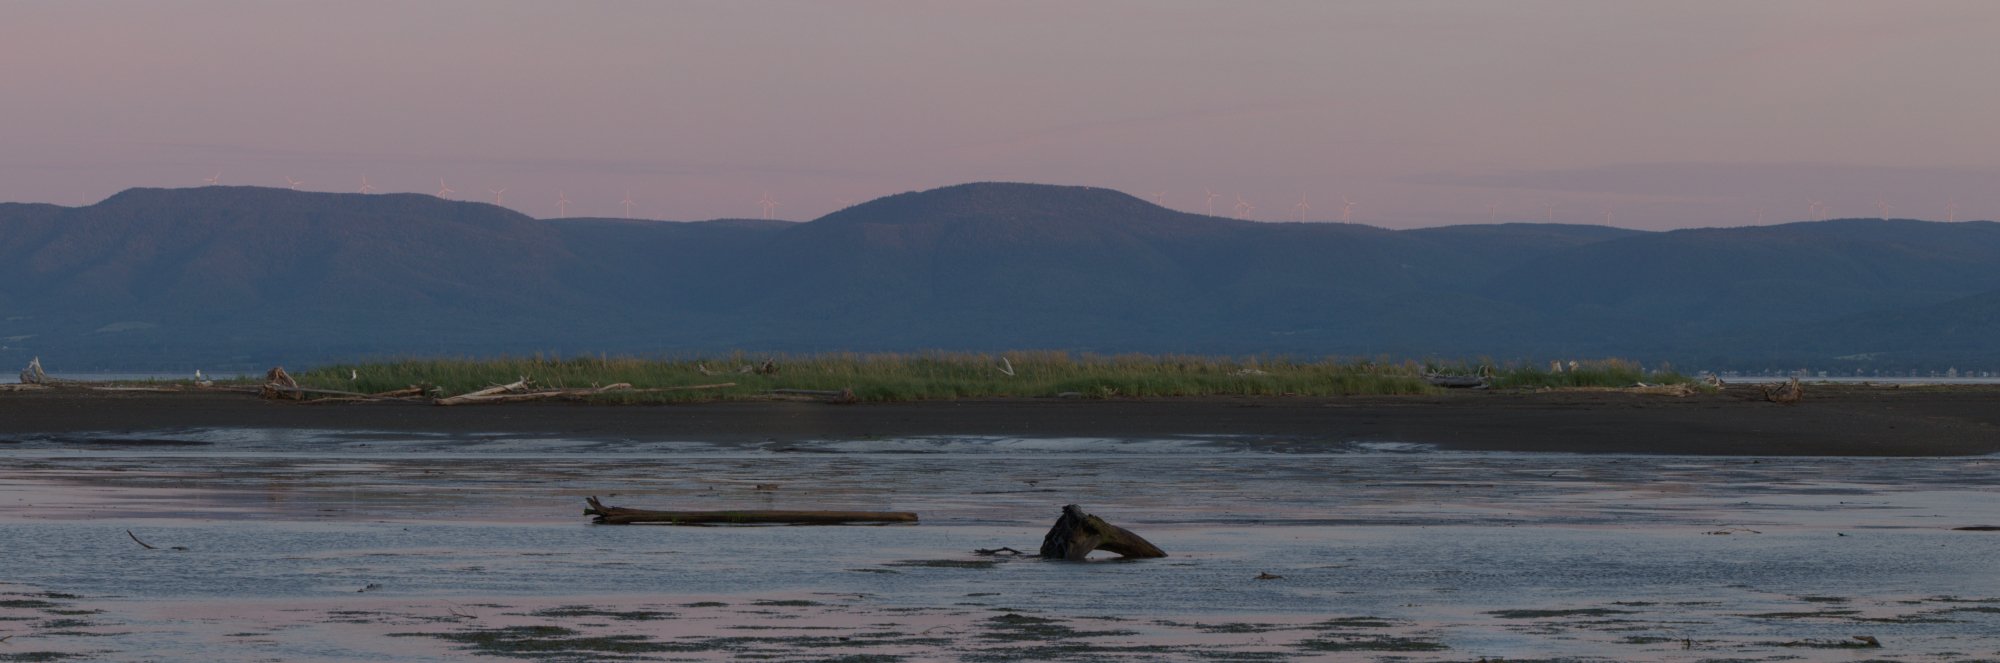
Ok, I have to admit the composition is not the best. But I still want to keep this photo and edit it. It's not the best sky for that spot during that week. The best one appeared while I was fishing so I couldn't go there to photograph it. The sky had more clouds, was darker with deep reds in them (for sunset). This photo was taken in the morning. The first photo is the original. For the second one, I created a copy to remove the haze and added some local saturation. Added a curve layer, a lens profile layer (it made the image warmer), a HSL layer (+15% redand +20% yellow), vibrance layer (+13% vibrance and +9% saturation), luminosity/contrast layer (+3% luminosity and +7% contrast) and a vignette live filter. For some reason, noise started showing up. Any idea what I did wrong?
-
Ended up with this version.
-
Smee Again reacted to a post in a topic:
New photo
-
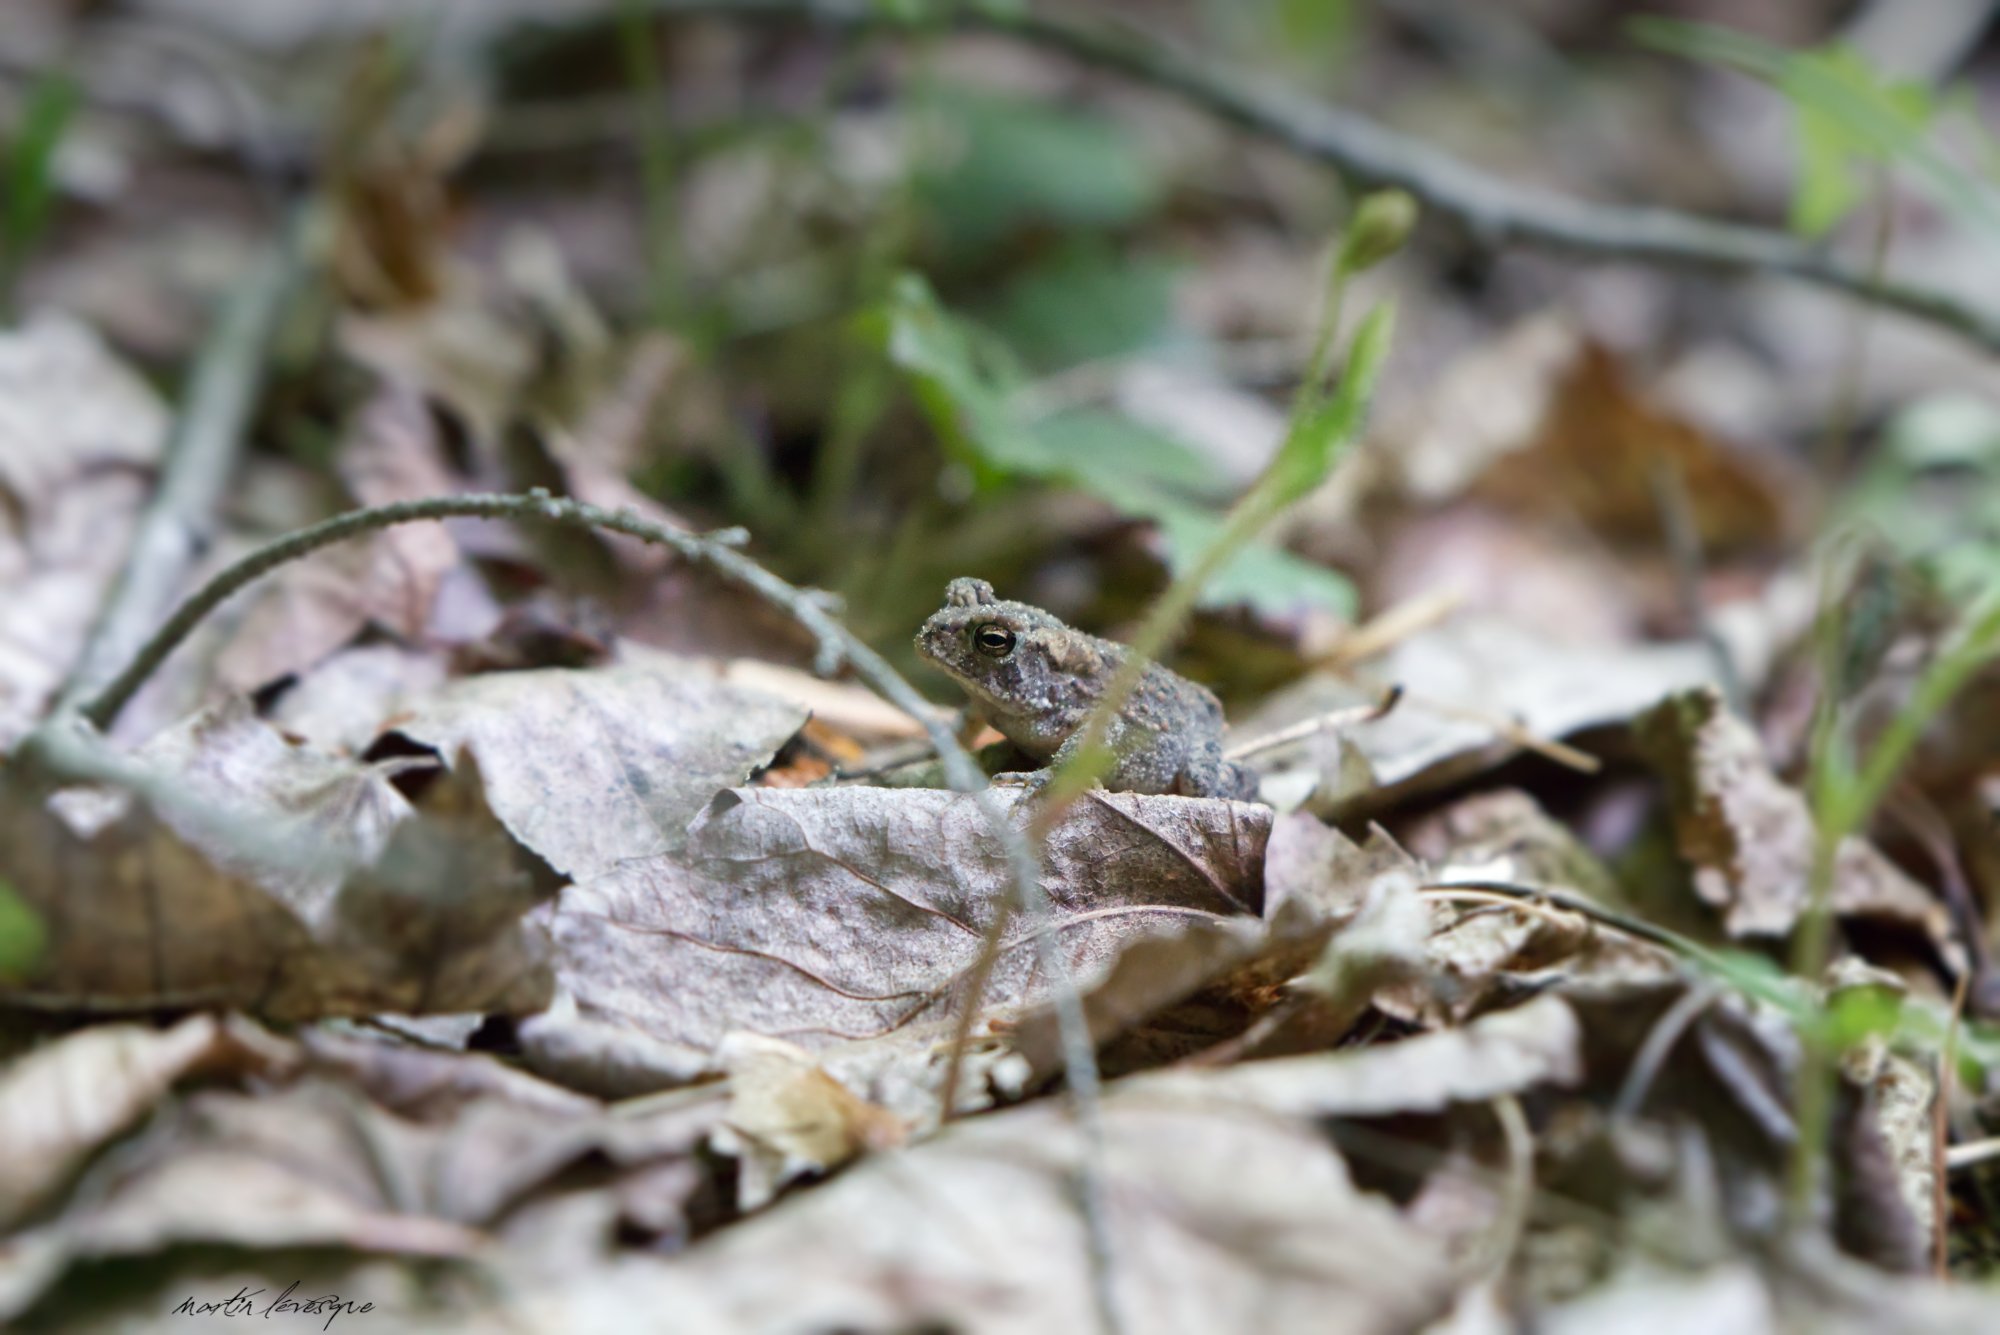
Hi everyone. I haven't been very active photographically wise but I'll try to change that. I went in the woods a few days ago and I wanted to try my new Tamron 70-200mm G2 lens. So I found this small toad (I love landscape and wildlife photography) and tried to photograph it (I used my 70-200mm Tamron lens). It's not the best photo of a toad but I'm still satified with it. Let me know what you think because I still like getting advices from better photographers. Here's what I did on this photo. I played with the basic settings in the develop persona (exposure, noise reduction, clarity, etc). Because some elements were in focus and disturbing the eye away from the toad, I used a dept of field blur tool and I made sure to put the center of the tool on the eye of the toad. I changed the exposure of the background with the help of a gradiant tool. Added signature.