
unni
-
Posts
155 -
Joined
-
Last visited
Posts posted by unni
-
-
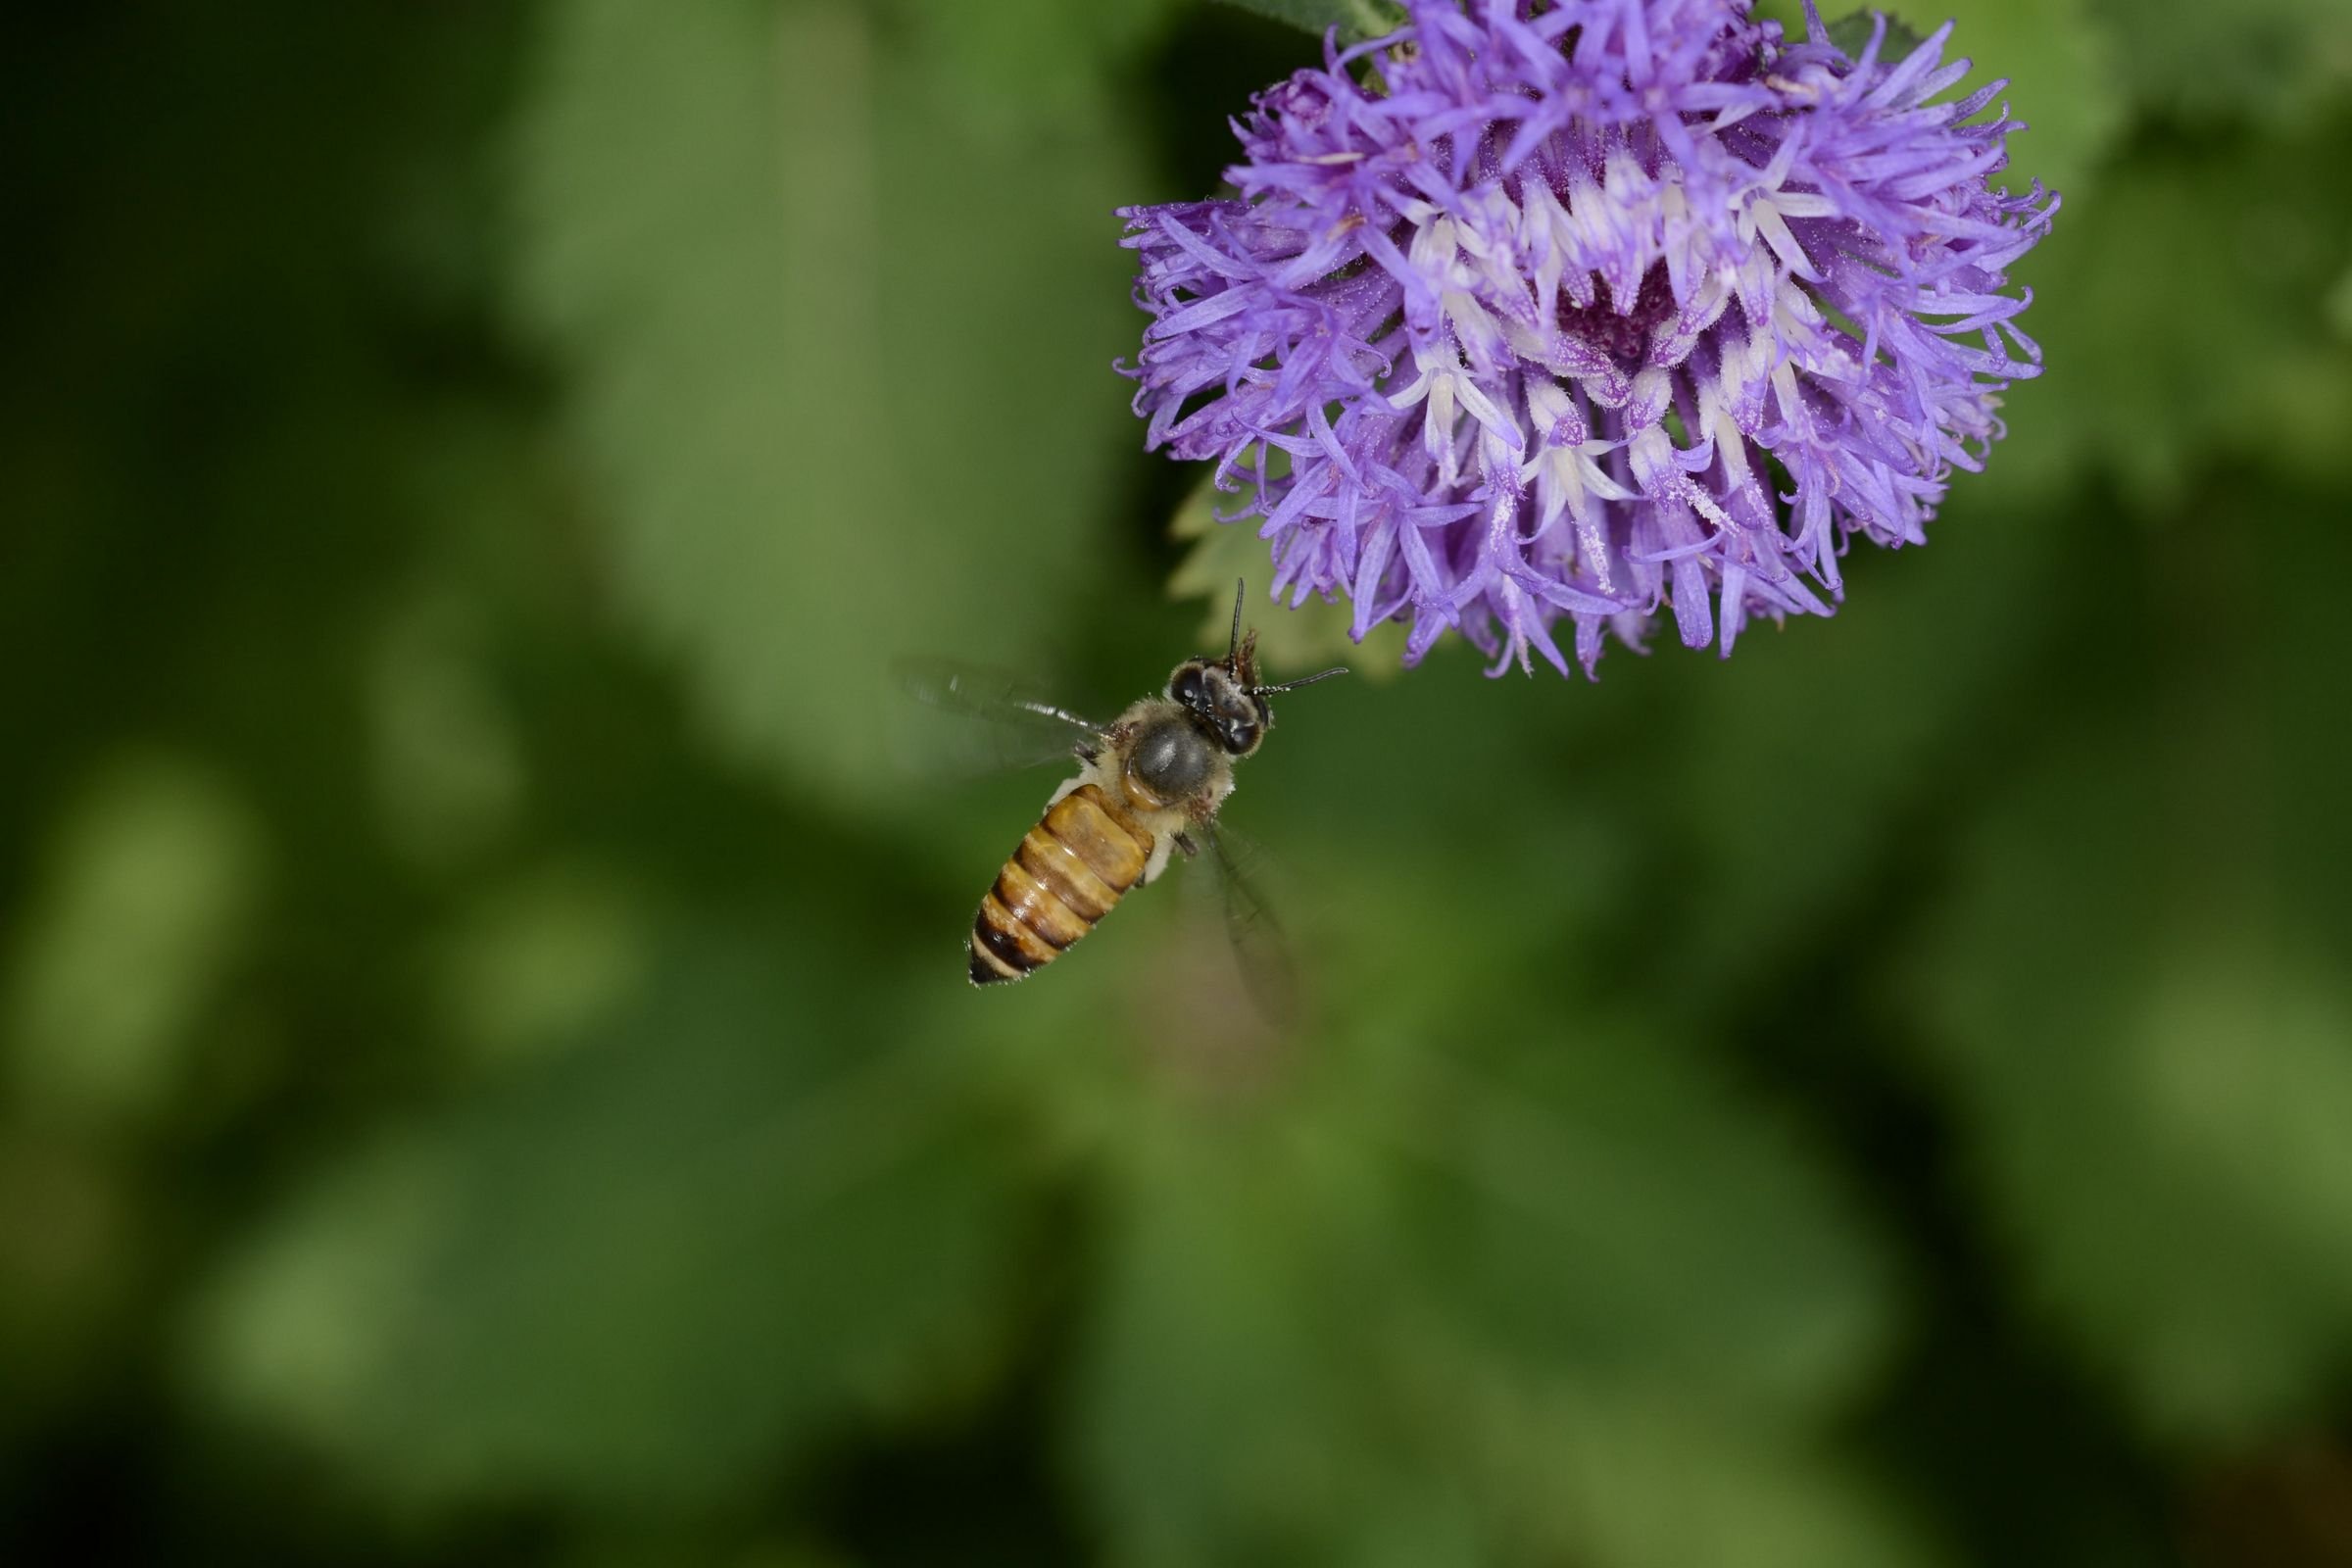
Camera: D3100 Nikon
Lens: Tamron 90mm macro
iso 100, f8, 1/125sec, Godox TT600 handheld external flash and X1T-N wireless remote on camera, 1/32 flash power.
Camera Handheld. (Left hand flash and right hand camera with left hand fingers supporting camera lens barrel farthest end.)
Processing:
No settings modified in develop persona. After opening in photo persona, made color adjustments in LAB color space.
Back in RGB space, made multiple curves adjustment targeting flower outer petals, inner white petals, greens and bee body.
luminosity masks were used for the targeted adjustments. Flattened the layers, took it to LAB, used unsharp mask on lightness channel.
Brought back to RGB color space, exported image to jpeg.Image below processed in AP. The second image is without any processing.

- IndieGuy, Mithferion and jetstorm
-
 3
3
-
@αℓƒяє∂ @John Rostron : Thanks for the feedback on the afmacro extension. Browsed through the flag waving - interesting application !
-
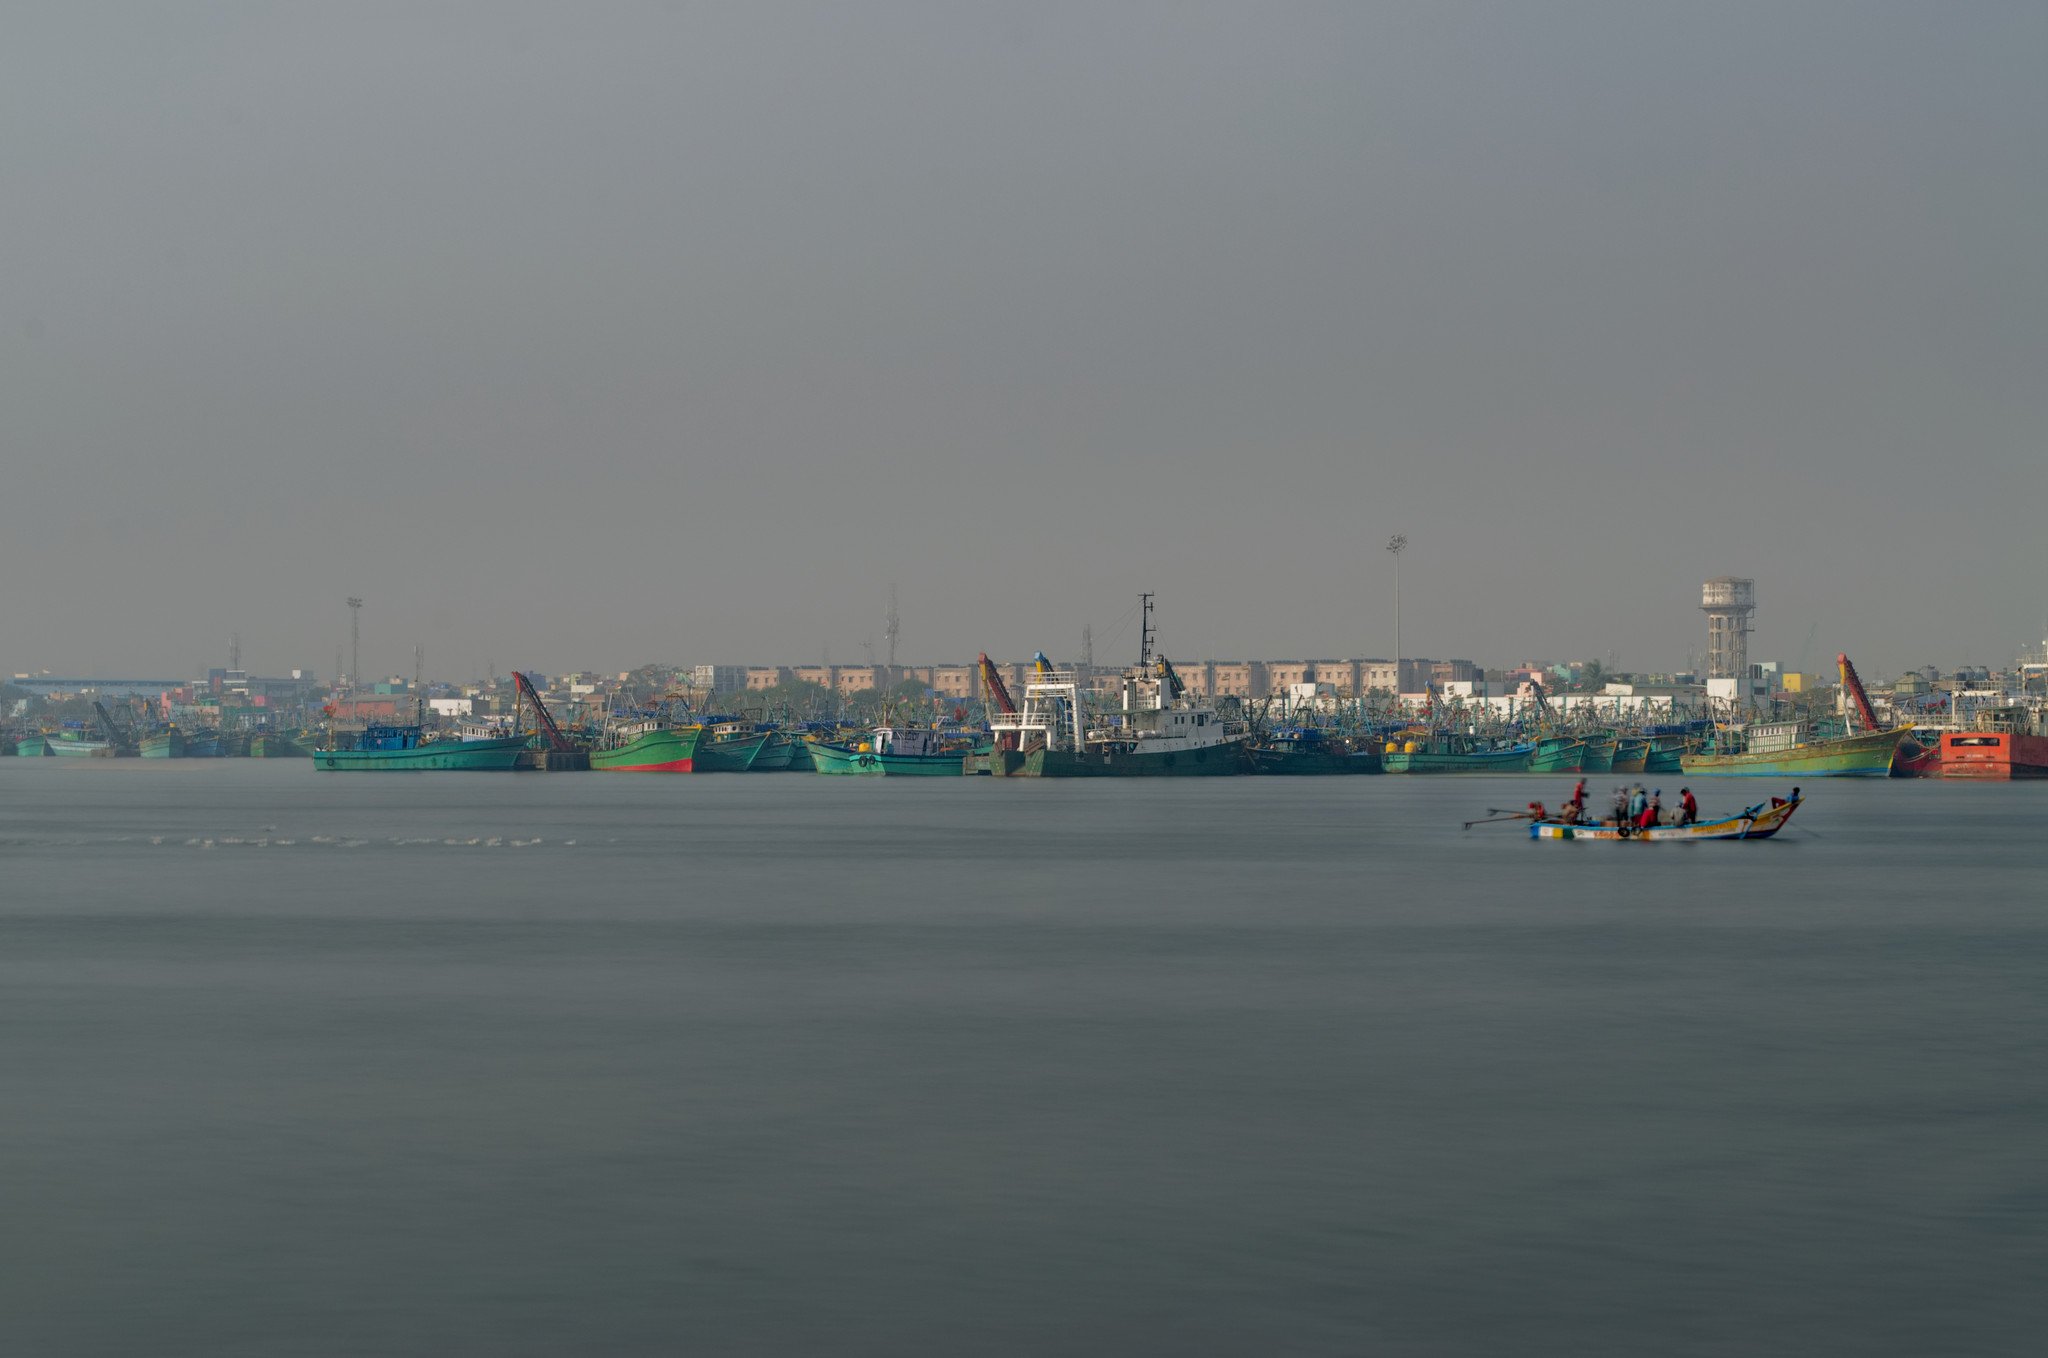
This is in chennai city coast (India). These fishermen take enormous risks when they go out into the sea. When I saw their boats and trawlers, it was looking heavily used up and I think they customize the operational tools or other mechanisms related to their activity. I think the main share of the catch do not go to them . It will be going to the intermediate traders and other levels in the business chain. When they go out on rough sea days, they do not know whether they will be back. They earn on a daily basis, so no sail, no money. In july, there was a flood in Kerala state (India) which was happening after a 100 years. Around 35 dams were opened and overflowing ! State machinery and military was supporting the rescue but their modern boats could not go into all the flooded lanes of the city due to its design. During this time, similar fishermen from the neighboring towns and other districts took their boats and went all out for the rescue operations. It was just a spontaneous urge to save lives due to the confidence they have in working on rough waters.Their boats were powerful and could move through shallow waters. Operating round the clock, these guys saved several hundreds of lives. In the end, after a week or so, they returned to their homes. Many of their boats were unusable at the end of this operation and they refused to accept a single penny from the people they saved or from the government. What they said was that the honour given to them by the society was of highest value and they are satisfied by that. If you google on "kerala flood", similar news can be seen with details.
- IndieGuy and John Rostron
-
2
-
6 hours ago, John Rostron said:
A nice bit of post-processing.
As a matter of interest, why did you feel the need to smooth the water suface? Did the extended exposure time affect the clarity of moving objects. I am thinking of the boat in the middle-right. It does not look as clear to me.
John
Hello john, The shot was at iso 100/f11/8sec/55mm/9am. So it was with ND1000. In the fishing harbour, by this time most of the vessels would return and the fish will be at the counters and auction houses. You can note the many boats lying still at the far end after offloading the day's catch. Activity on the harbour then shifts to working inside the boat for maintenance, etc. So I felt like making the water slow down and avoid the ripples, just to give the feel of lesser activity. Infact, the shot was not seriously composed, the thought of slowing down came in as a casual thought . The small boat was stationed there and I think they were doing something with the net. First I thought of removing the boat but then decided to leave it because without it, the shot would look too flat.
6 hours ago, firstdefence said:I think an ND would have been fine on a lake but not a harbour, especially if the water wasn't still, everything on it would not be still.
If you have the option to take this again try a polarising filter.
I like how the image is mainly muted and practically monotone with a band of colour created by the ships.
I had the polariser but the light was too high for its ND property ( 1 stop, may be). I am yet to check the pol + ND combination though it is one of the mix that will be required for specific seascapes towards early/late twilight hours.
- Alfred and John Rostron
-
2
-
1 hour ago, carl123 said:
Thanks for showing the original picture
What sort of camera was this taken with?
its with nikon d7000 and kit lens. i have used nd filter also. nd64 or nd1000, i dont remember. ND was used to get the water surface smooth.
-
Fishing harbour with haze removal,sharpening,clarity and some curves applied.
Original unprocessed
-
Hello superblue,
Nice work, I have seen a comet only once ,sometime in the 1970s,as a child ! AP does not have explicit tools to process astrophotography frames or extract frames from .AVI video files. However there are stacking and alignment tools which may be utilised. You can also use various layer blend modes for darkframe subtraction etc. AP's power peaks in the last post processing stage of the astrophotography workflow. I have used Registax and some other dedicated astro softwares some years back. It's in V6 now. If you do some experiments with the workflow that is used, it is possible that some of it can be offloaded to AP.
-
Thanks @John Rostron
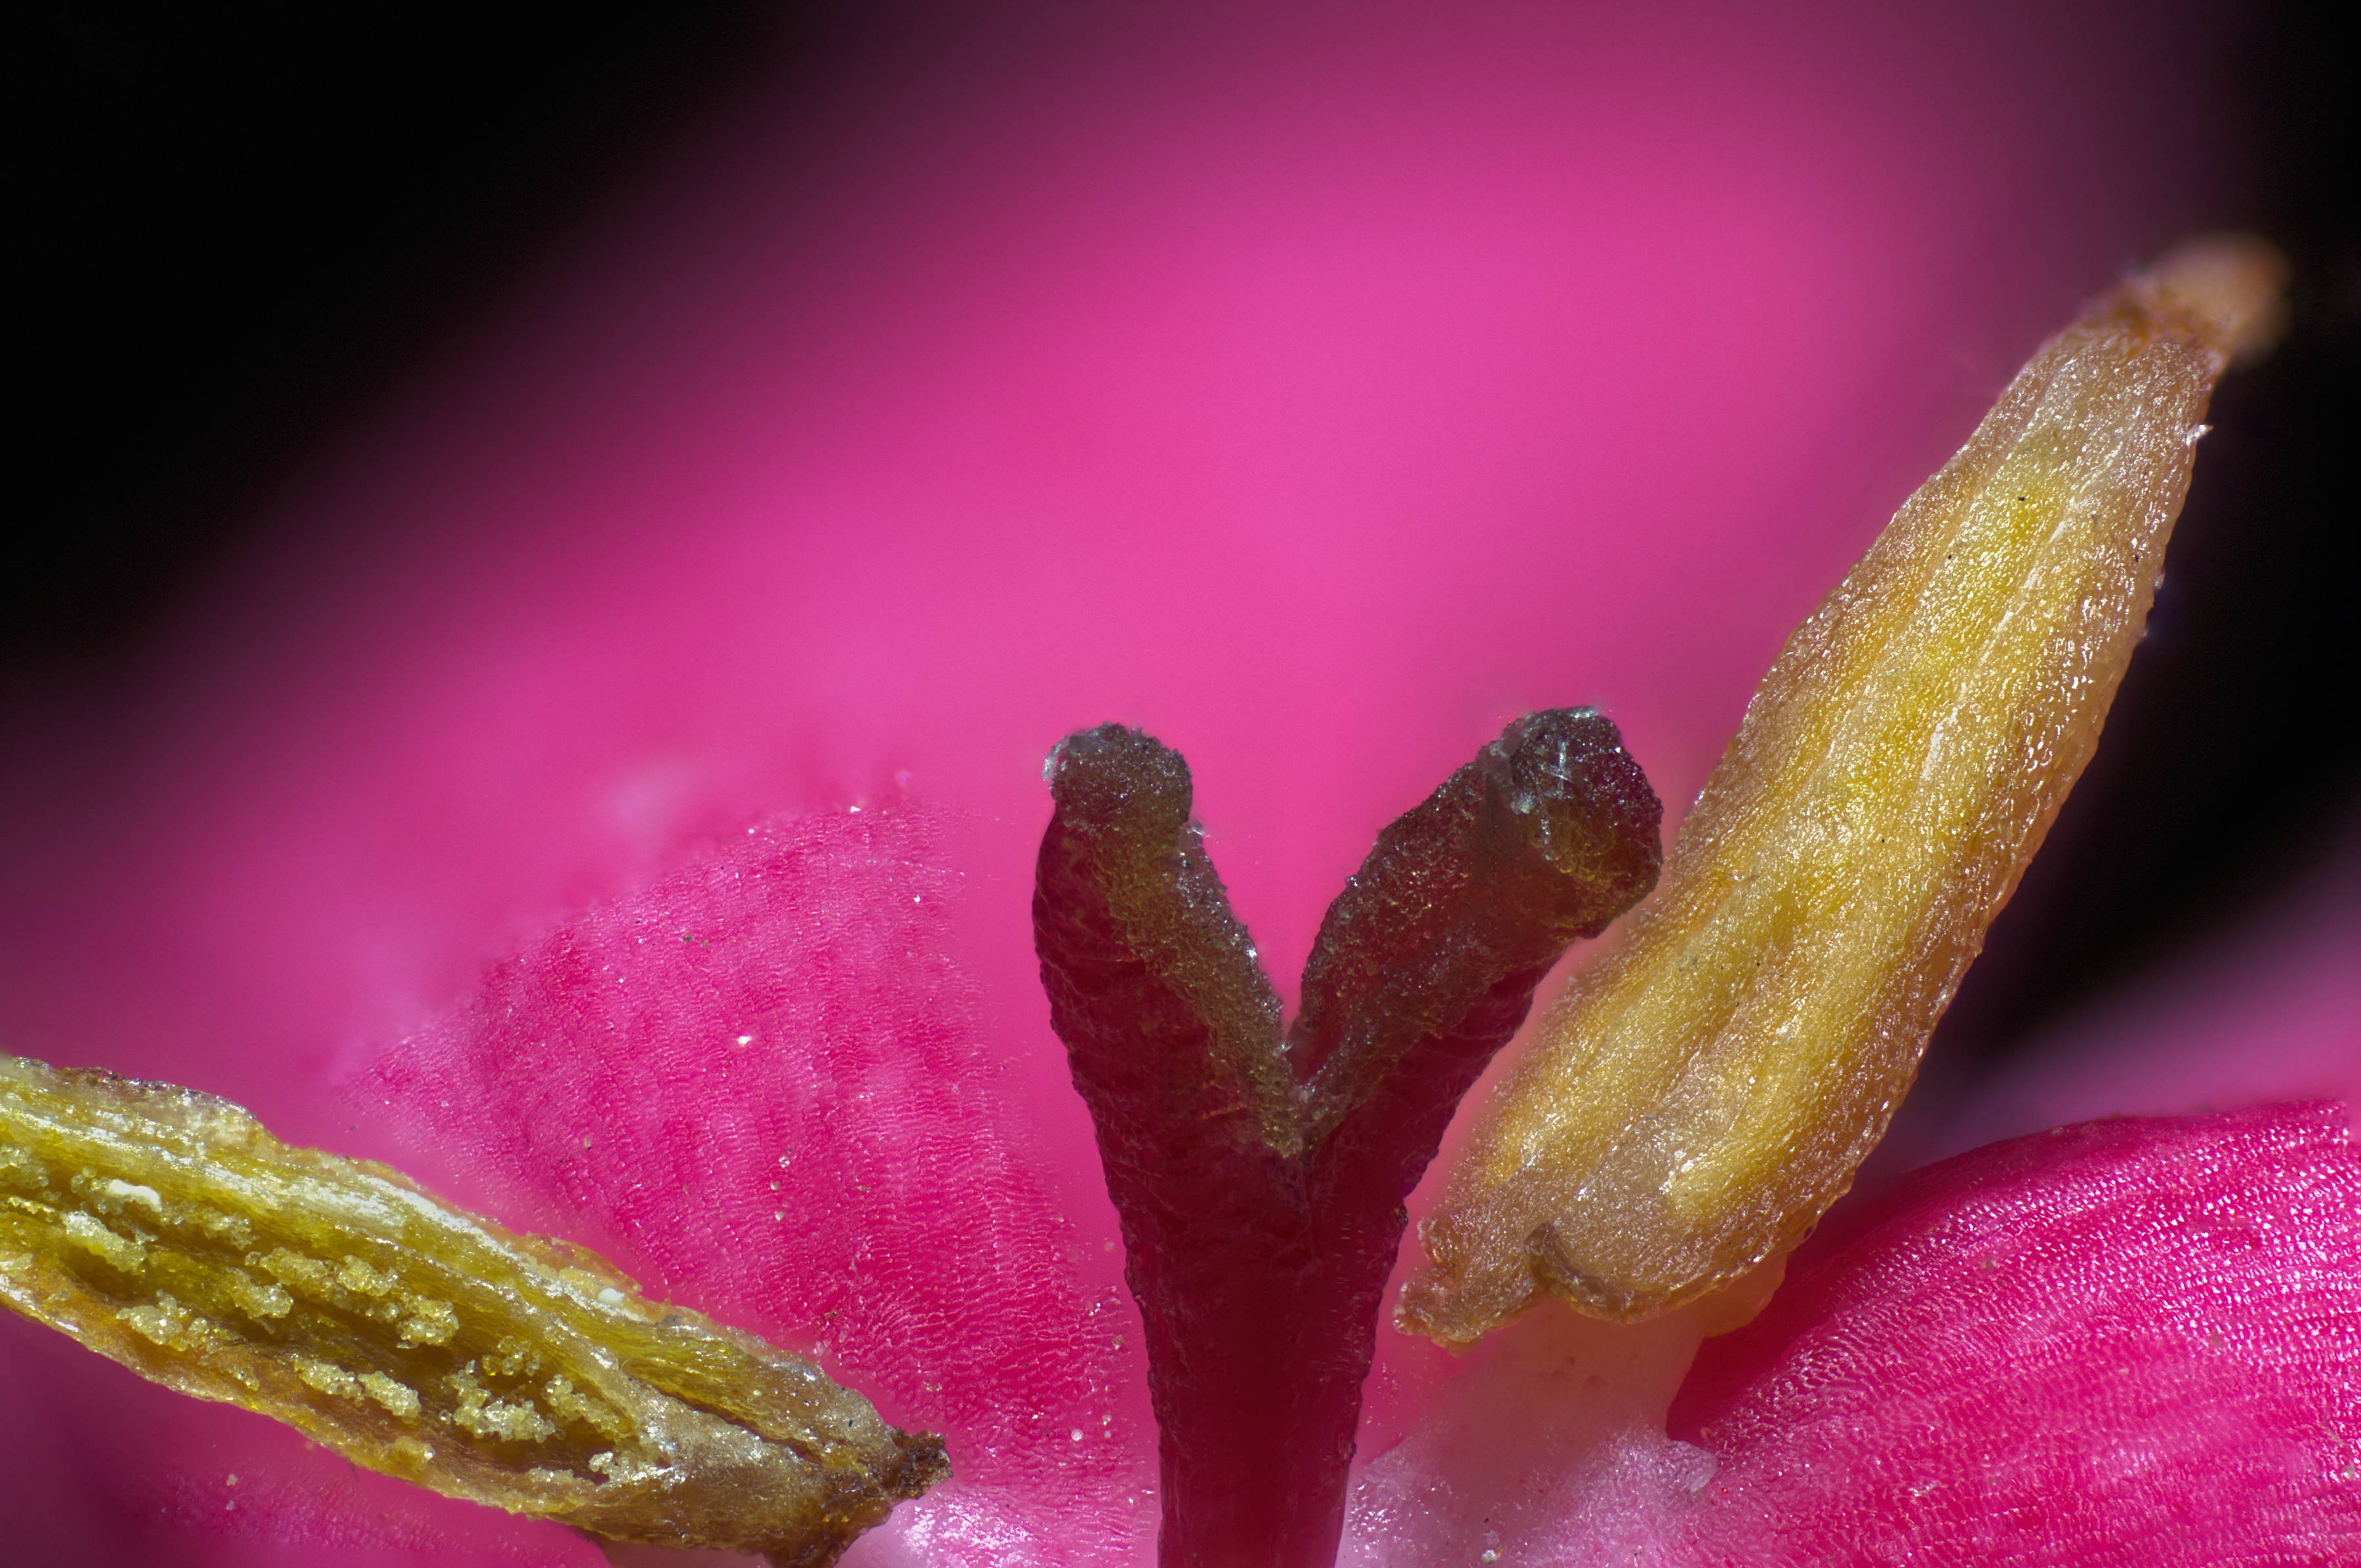
The image below is from 200 frames and taken with 10X objective, processed in AP. Its a very small bee. I am reprocessing the raw files from repository with AP. I have only a few. This work needs around half a day including processing. I have to freshly charge the flash and camera batteries, etc. So eventually ends up with lesser of this category ! I think this was taken at less than 5 micron movement per step. SO half division in my setup.
- MEB, John Rostron, stokerg and 4 others
-
7
-
Thanks John. Yes, Flame of woods is one of the flower's many names.
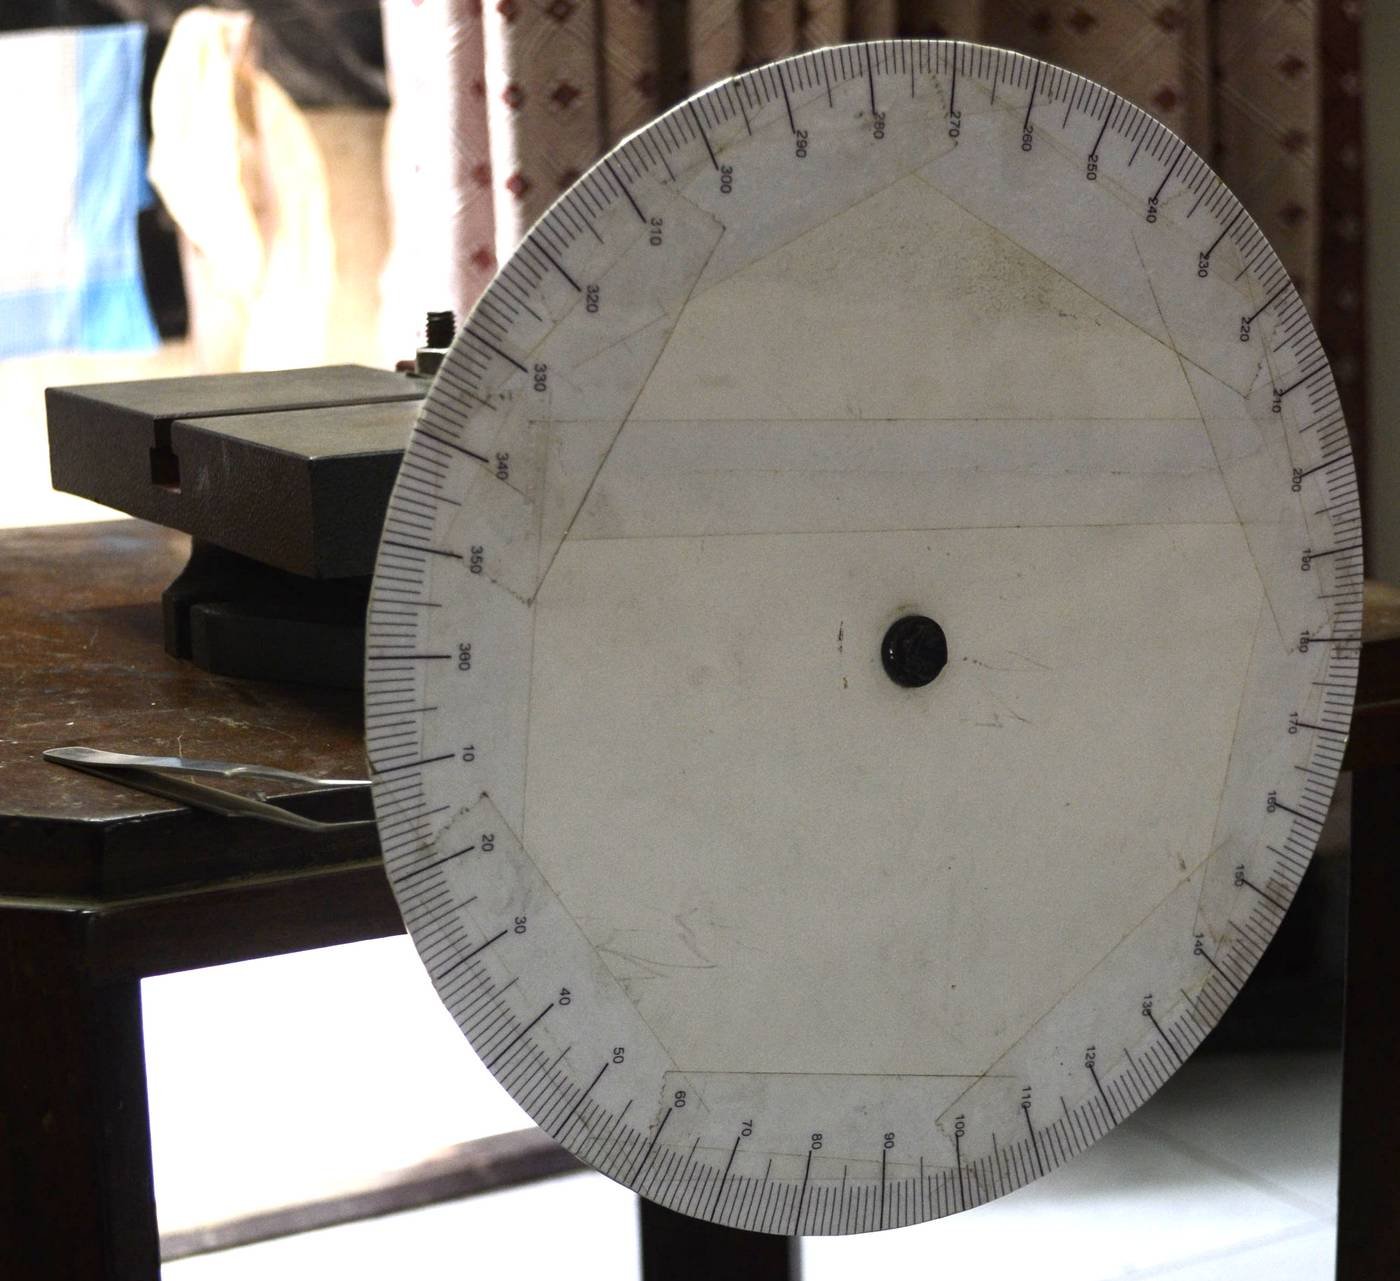
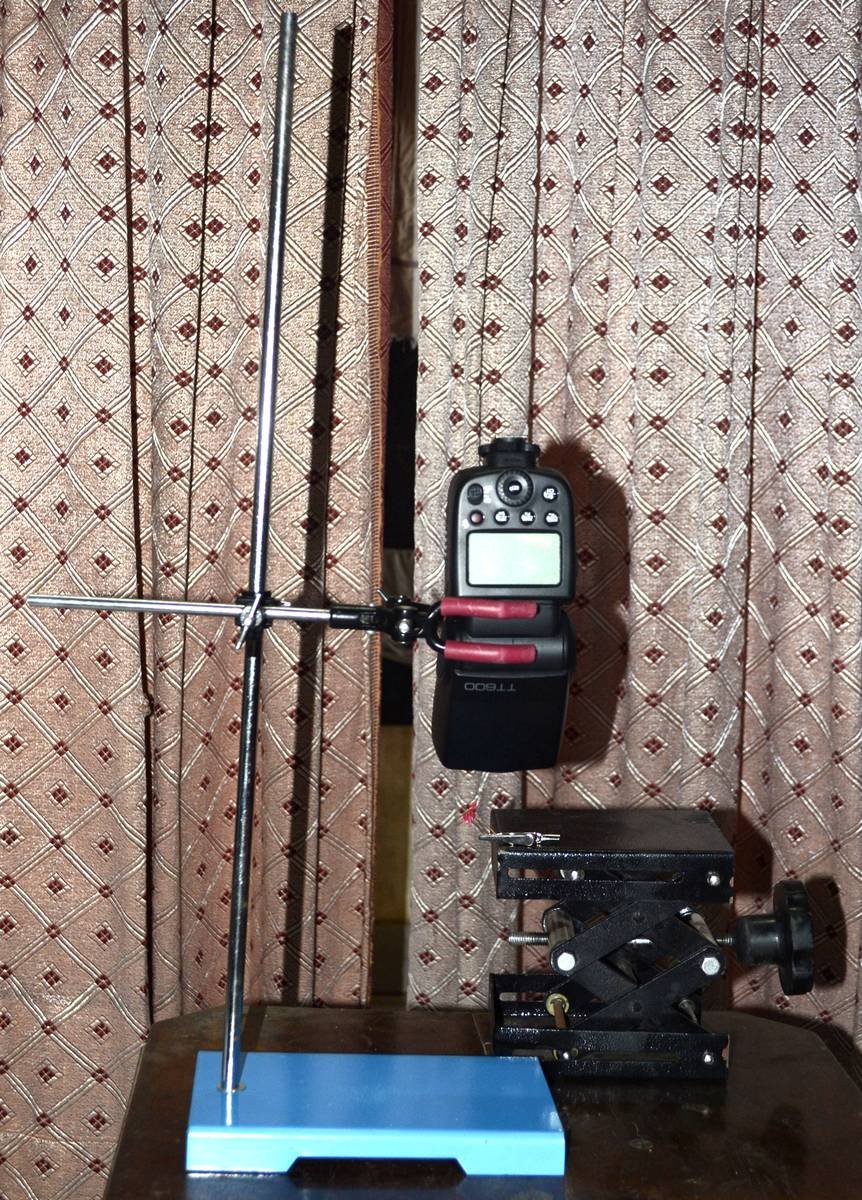
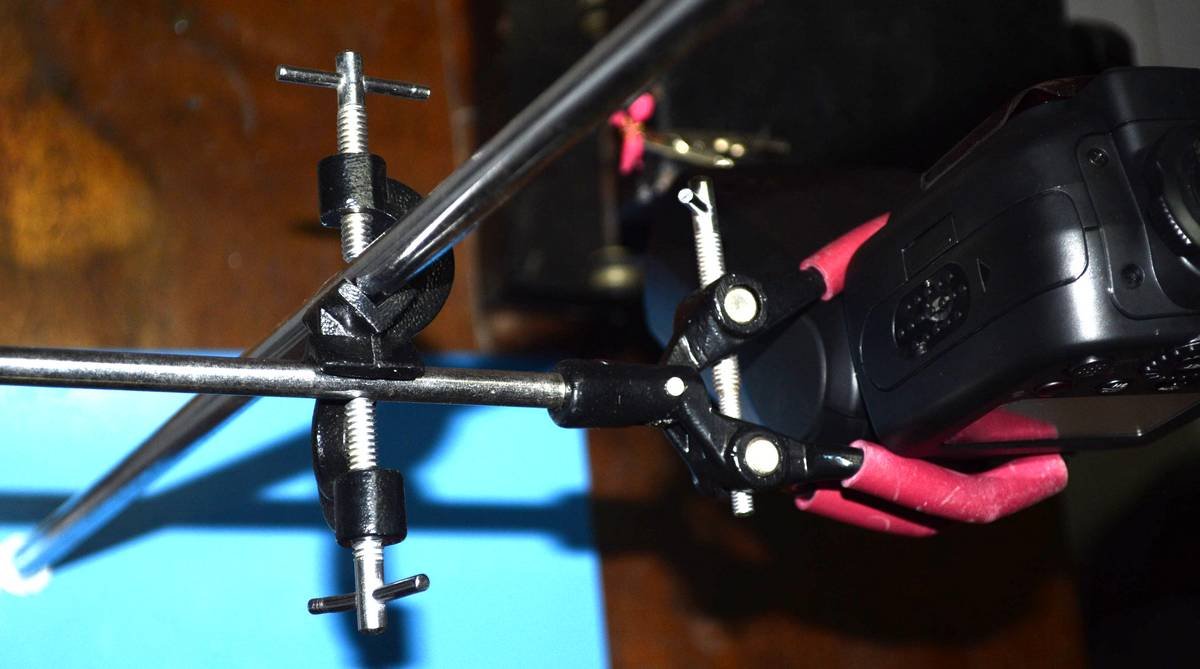
I am enclosing some of the pictures. Quickly made a mock partial setup sothat I can share some data with you.
The milling machine vice is available in machine shops. Heavy due to its 8" square size. 12 Kilograms.
The dial, I made from kitchen utencil aluminium plate (10 inch dia). In India, aluminium disc type plates are used to cover vessels. Its available
in various sizes. I think I used Inkscape to make the print out of the dial which has 360 divisions. Made different sections of it
in two or three A4 papers and joined it. The bent forceps is my dial pointer ! I just keep it on the table as shown and rotate the disc
by counting the divisions. For the pitch of the vice, 1 division gives me 8.66 microns movement. The blue base stand is a school burette
stand. The accessories also are parts of the stand. I keep the flash on it. The specimen is kept on the small scissor bench vice.
I use Godox X1N remote on the camera which will trigger the flash. Earlier, I used a cable. If using cable, you may have to cut all the wires
in the cable except the center terminal wire , ground and shield. The camera will then not see the flash. This is required because there is no lens.
So flash will not trigger if the remainng TTL connections are connected to the flash. A cable release is used to triggercamera. Flash kept at 1/128. It may
go up to 1/32or so if you use too many diffusers. Setting up and dismantling is the most time consuming and strenuous part. Clicking-turning-clicking is easy !
A similar setup can be made with other type vices also but this has a solid V groove which prevents wooble, cross axial movement etc. The larger the diameter
of disc, the easier it is to move through divisions. In some shots with 10X objective, I have gone by half steps which means 4.33 microns per step.
My objective is a metallurgical long working distance objective. You can also use biological ones designed for 0.17 coverslips though I have not tried.
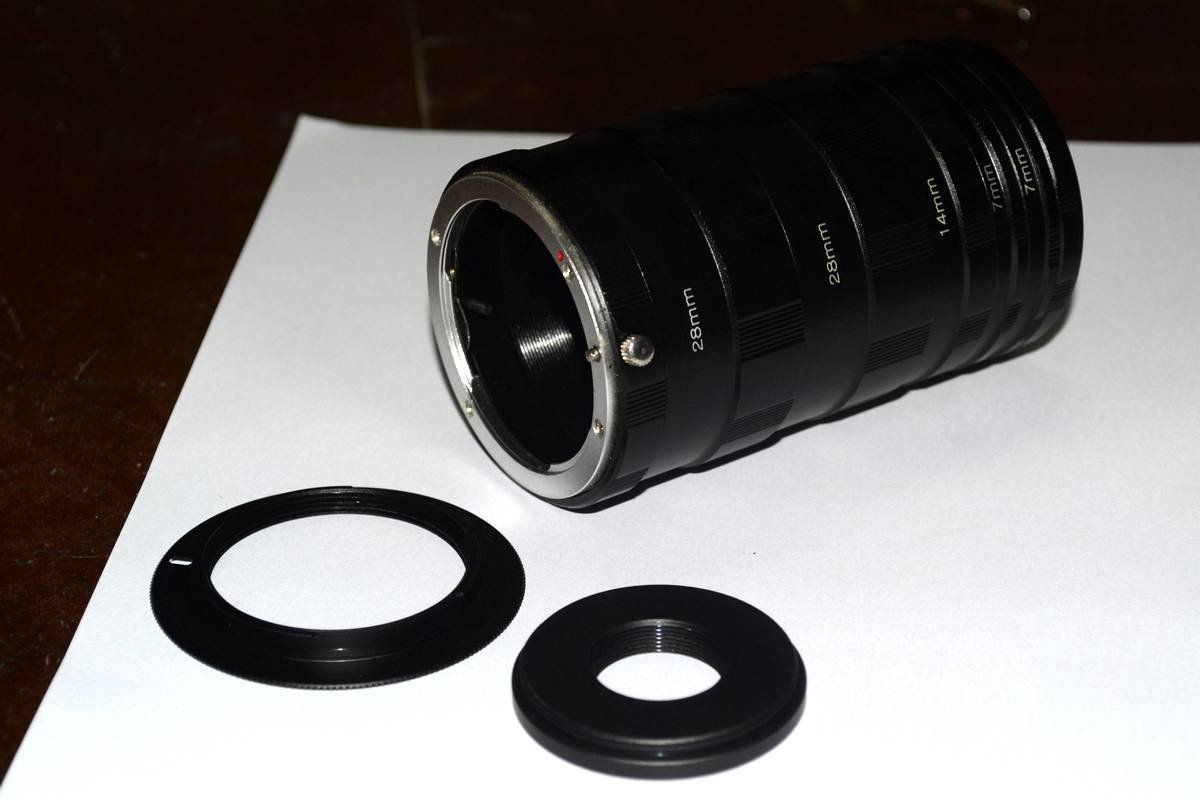
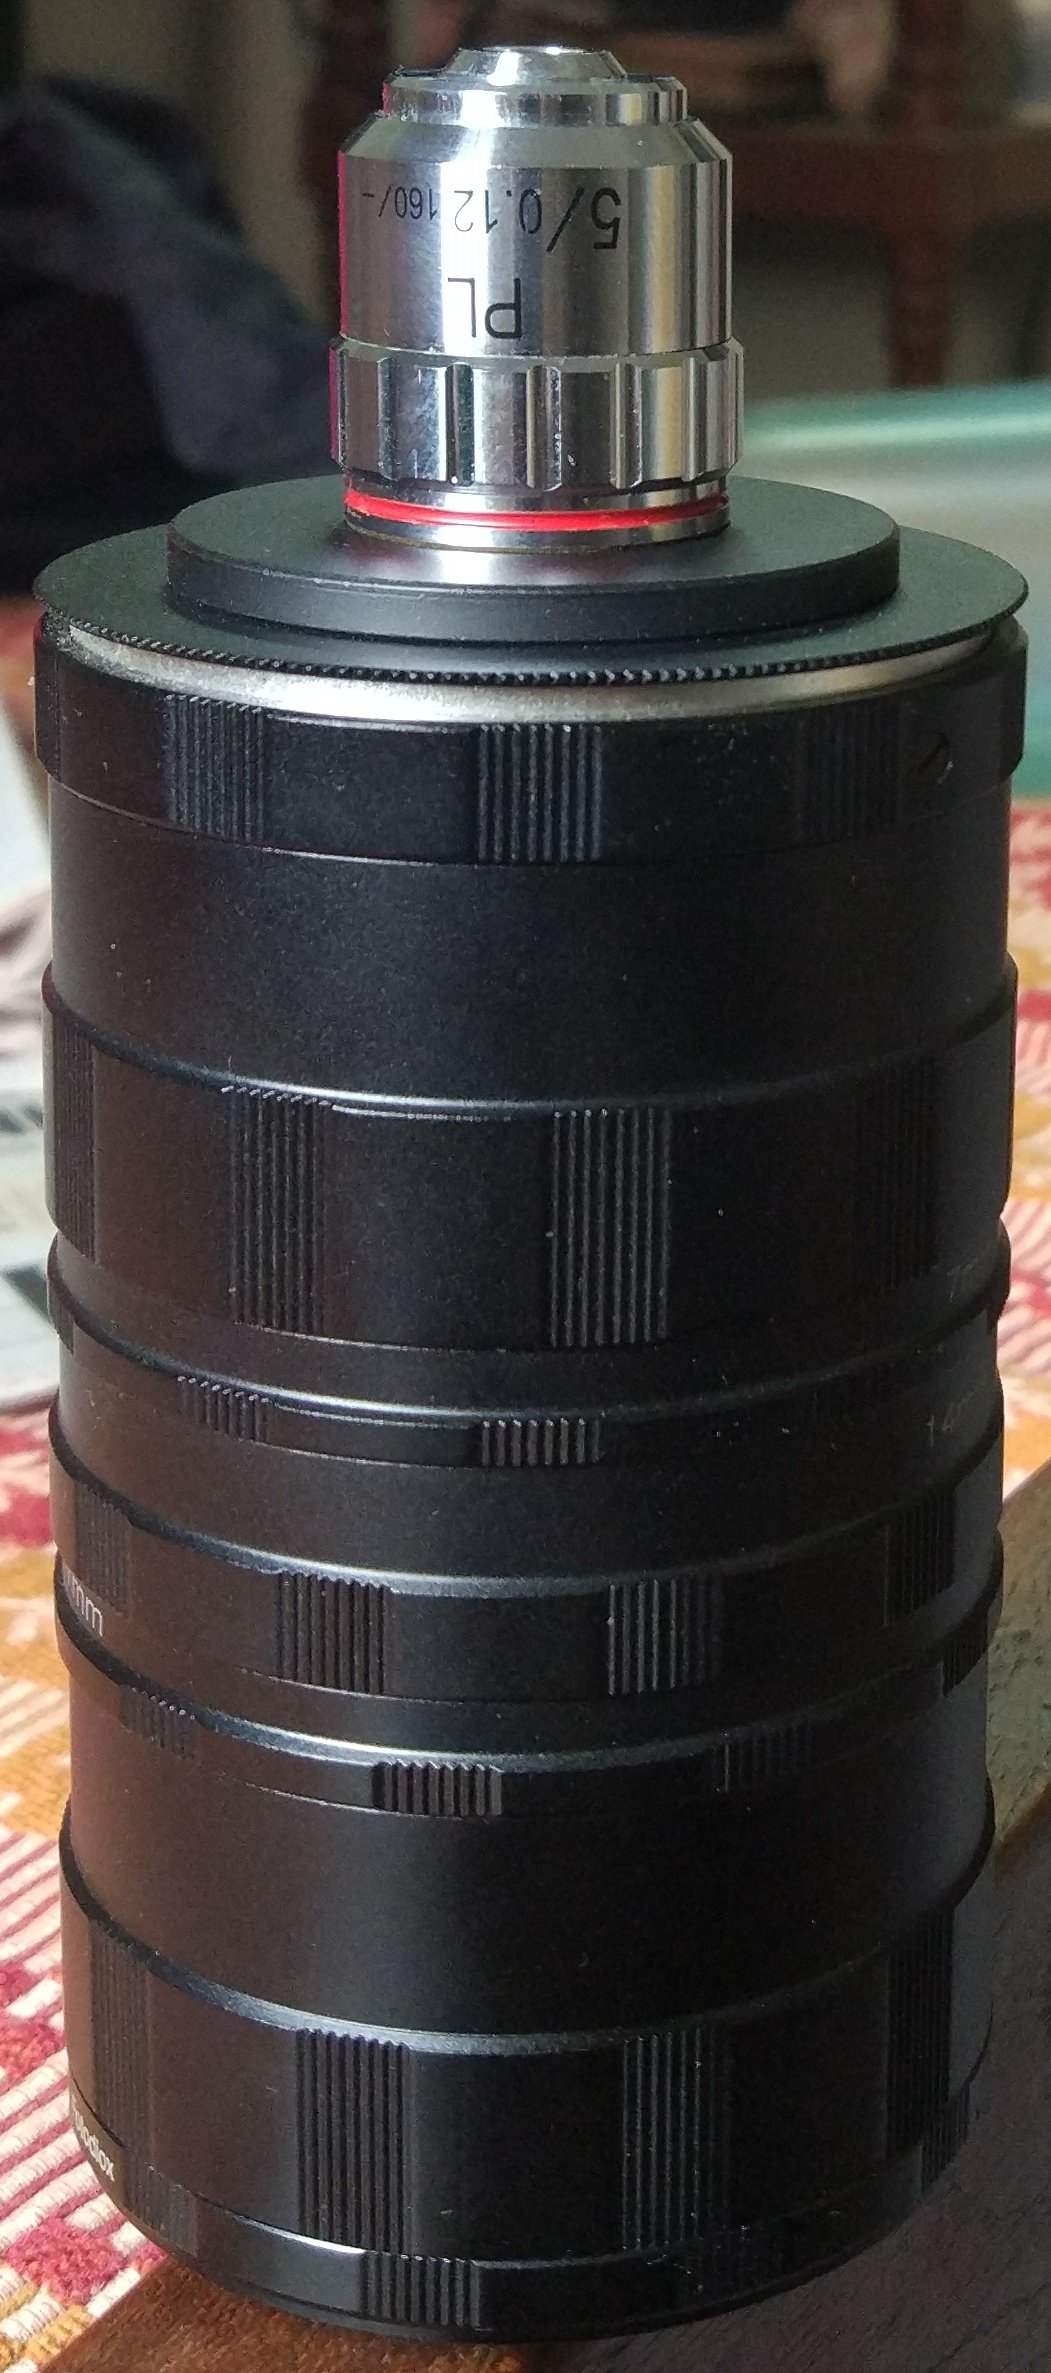
Elsewhere I have read that it does not make any distance. I use Fotidox extension tubes. Bought two sets, mix and matched to get the correct distance
to objective flange from camera flange. Camera flange to sensor distance is available in net. The objective 160 means distance 150mm from objective flange to sensor.
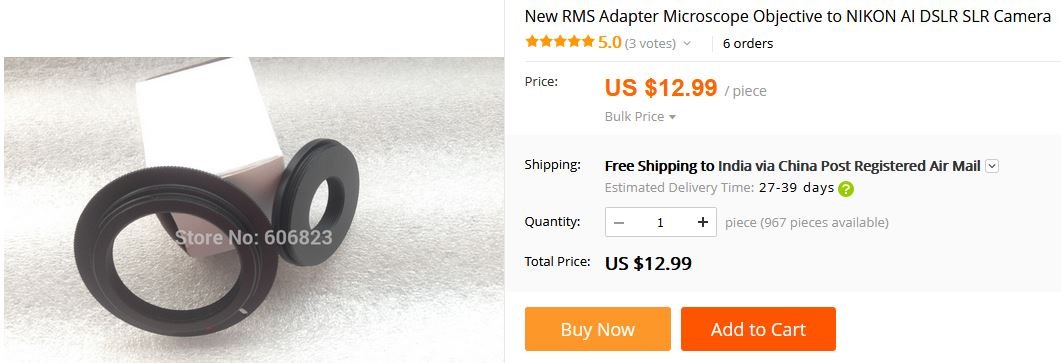
In the picture, I have aligned the extension ring markings sothat its easy to understand. The RMS adaptor is available in aliexpress.Objectives are also available.
I have used Plan achromat. Semi Plan type, I have not tried. Plan APO types are very expensive.
Here is one link http://www.photomacrography.net/forum/viewtopic.php?t=12147I did not go for infinity objectives because of complications related to tube lens.
Hope this helps if you plan to make a simple setup with finite objectives. @John Rostron
-
-
I am enclosing the pic of objective and extender rings. The dof is around 25 or so microns. So the more number of frames. I have used a homebrew setup with milling machine table. It's very heavy, 8" square size. Movement is manual by turning the handle. Next time I set it up, shall take a snap and attach. AP seems to process one image after another,in sequence. So it may never get stuck based on number of images except taking more time. I have not attempted trying small batches and then stacking the output of each stack . This way editing will be efficient for each group but I have not come across such edit requirements till now.i think hairs, crisscross objects etc will require such edits.
-
Camera: Nikon D3100
Lens: 5X microscope objective
Number of frames: 223
Time taken by computer to process focus merge in AP : 1 hr 20 mts
Length of the yellow anther: 3mm
The vertical member is the pistil.
Rose color are of the petals.
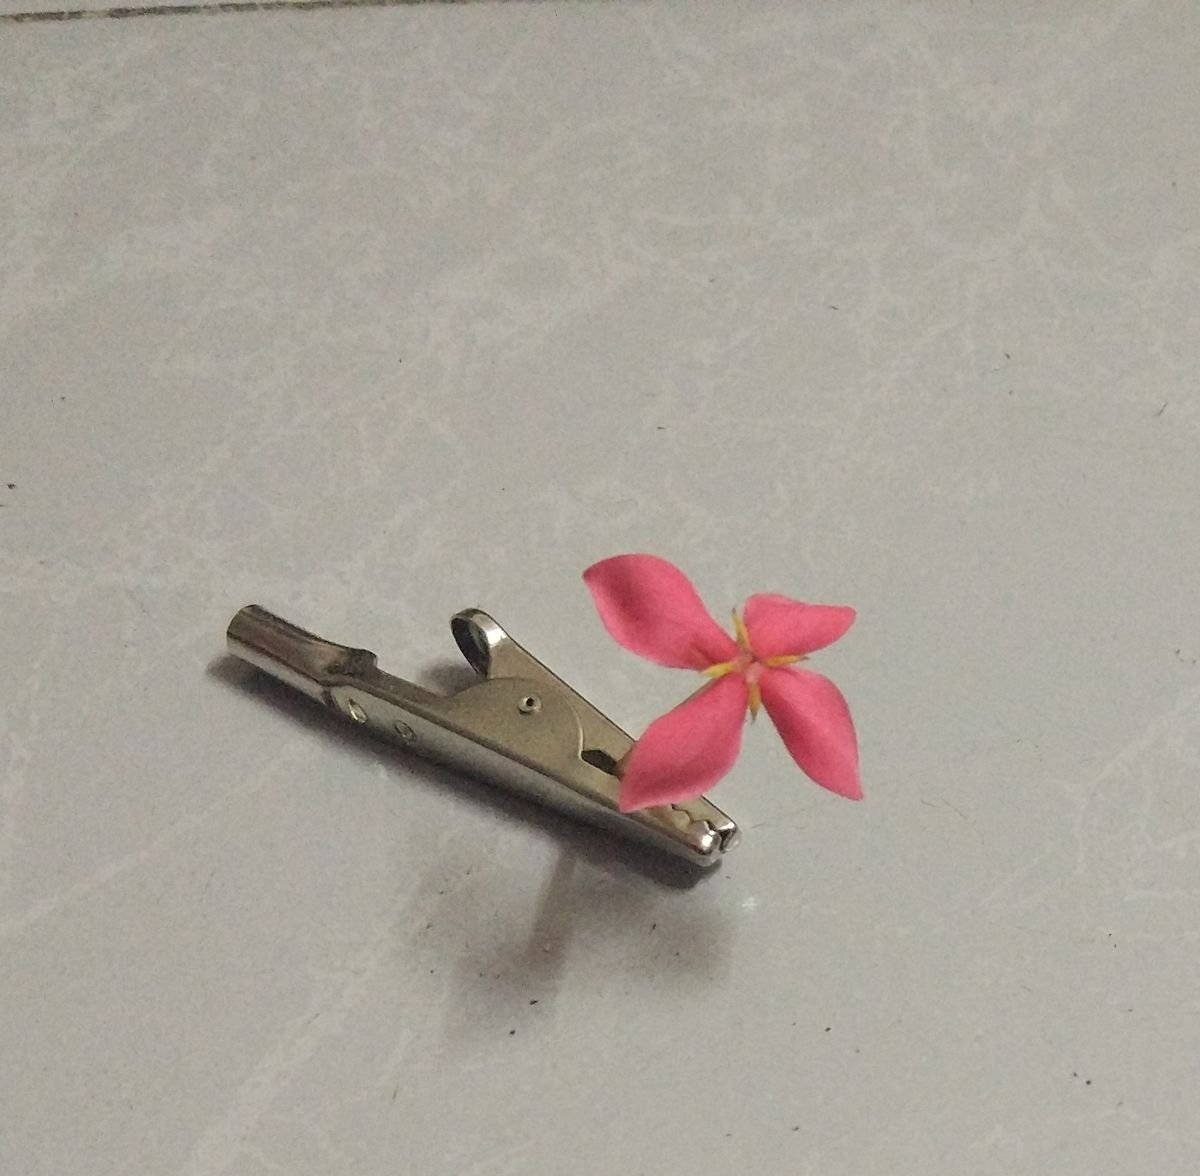
Name of flower: Ixora coccineaA picture of the full flower is also shown to get relative feel of the magnification.
-
Try :
1. In AP, when you want to finally save in jpeg, go to left top FILE>EXPORT to open EXPORT SETTINGS box.
2.First select JPEG. Then in Resample, select Bilinear. Quality 100%.Then click the More box.
3.In ICC Profile, scroll down to bottom and selece SRGB.
4.Now close the box once and then click Export.Now you will have a big jpeg file.
Go to http://luci.criosweb.ro/riot/?ref=RIOTuse the RIOT utility to resize the created jpeg file to desired size and quality. If you keep quality
to 70 or above, there wont be any significant visual difference. I think facebook allows upto 2048 longer side
and a max of 400K per file. If you go above about 400K or 2048 longer side, FB will again cut the file.I have noted softness issue in AP JPEG output when quality is kept below 100%.
-
-
@Wosven I have not used ID and QXP, so cant comment on that. In Gimp, I tested in an old portable version because I have not installed Gimp in the last few years. The present release is 2.10 and seems to have many good features but adjustment layers are expected only in version 3. When I did the test as per my first post in this thread, Gimp does the maths differently from AP and PS. In subtract and add, it does a straight arithmetic. When you subtract selection from itself, it goes full black. Add makes the result brighter and results above 255 are clipped to 255. Intersect of a selection with itself does nothing. I dont know whether the current version works differently because the portable version is about 7 years old !
My use of selections and alpha channels are limited to editing an image. I think alpha channels are used for printing application also or something related to that. I am trying to understand how greyscale image can be manipulated using selections, apply image, layer blend modes,etc. How selections can be made based on saturation, luminosity , color and then modified. How greyscale layer data can be moved around using the channel tab options between masks/pixel layers/individual channels/alpha channels etc. All these possibilities will help making a wide range of masks to suit different purposes. Mask is one most important part in editing and it is greyscale. So everything related to greyscale and masks have to be understood to the best possible extent. To get a clean understanding, the arithmetic or algorithm is the best but software companies may not publish them. To a large extent, we can work back by experiments and get a good insight or browse through various published papers and opensource repositories.
-
-
@>|< : This newly acquired knowledge will help me better understand operations between luminosity masks because there are
situations where a darker mask is subtracted from a dark mask, etc. This clarification is a big step forward. -
As I understand, Marching ants are shown for pixels that have 50% or more of luminosity value which means 128 to 255 or 0.5 to1.0.
But the calculations are done on the actual luminosity value of the pixel. Assuming a layer with all pixels having value less than 128,
no marching ant will be seen when we CNTRL+SHIFT+Left click but if you look at the pixel selection icon in channels, you can see
pixels are selected. If you then click and create a mask, this selection will come into the mask even though marching ants was never
shown. In PS , GIMP also, marching ants work the same way and PS gives a warning display when there are no pixels more than 50%
in the selection. -
@>|< : What you have posted earlier explains the results observed. Reproduced below between the two horizontal lines, again:
As I understand, A is the luminosity of pixel of one layer and B that of corresponding pixel of the other layer.
For this special case, A=B because operations are done on the selection with itself.-----------------------------------------------------------------------------------------------
A and B are in the floating point range 0 to 1
A add B: max(A, B)
A subtract B: min(A, (1 - B))
A intersect B: min(A, B)
------------------------------------------------------------------------------------------------ -
-
10 minutes ago, John Rostron said:
That is because Alfred chooses to be different and make life difficult for us ordinary mortals who use standard glyphs.
John
found it !! - ALT+224 in the numeric pad (windows 7)
-
1 minute ago, walt.farrell said:
The first letter of his user name is a Greek alpha, so you must be able to type that character in order to mention him using @ in the forums.
What is the key sequence please ?!
-
2 minutes ago, R C-R said:
Please keep in mind that in Affinity these are boolean operations so no matter what or how you select anything using them, the result will just be a selection -- it has no color, greyness, lightness, etc. of its own. It just defines a pixel area.
I understand this aspect but I was not able to figure out the formula of each operation. So had to do a sort of regressive experiment using gradients and solid patches to see what is happening and attempt to derive the relationship between the input and output pixels in all the three cases od add/sub/int. The fact that it is also different in PS,Gimp and AP still confused me because I expected all to be same like many other functions and tools.
-
1 hour ago, αℓƒяє∂ said:
Are you referring to opacity, greyscale values, or something else? If the value 255 represents 100% opacity, please be aware that ‘marching ants’ will not be displayed around regions whose opacity is less than 50%.
please see post 53 in this thread. I am unable to get your name popped up after writing the @ symbol in the post. The letters look different.


Shadows / Highlights Filter does not work
in [ARCHIVE] Photo beta on Windows threads
Posted
I checked by having two gradient layers with the top one in difference mode. While changing the filter settings,
effect is less for the highlights slider. It can be seen from the mild vertical grey area on the left side of the second image.
In the gradient, full white is on the left side.