-
Posts
1,001 -
Joined
-
Last visited
Profile Information
-
Gender
Male
-
Location
Belgium
-
Interests
Photography - Gardening - Cycling
Recent Profile Visitors
7,576 profile views
-
 Affinity_Pro reacted to a post in a topic:
Select All Layers
-

Help with editing issues
HVDB Photography replied to thepiranha's topic in Affinity on Desktop Questions (macOS and Windows)
-
 Callum reacted to a post in a topic:
Affinity Photo layers lost
-

Affinity Photo layers lost
HVDB Photography replied to Patrick M's topic in Affinity on Desktop Questions (macOS and Windows)
Go to Menu : Window > Layers to reactivate -
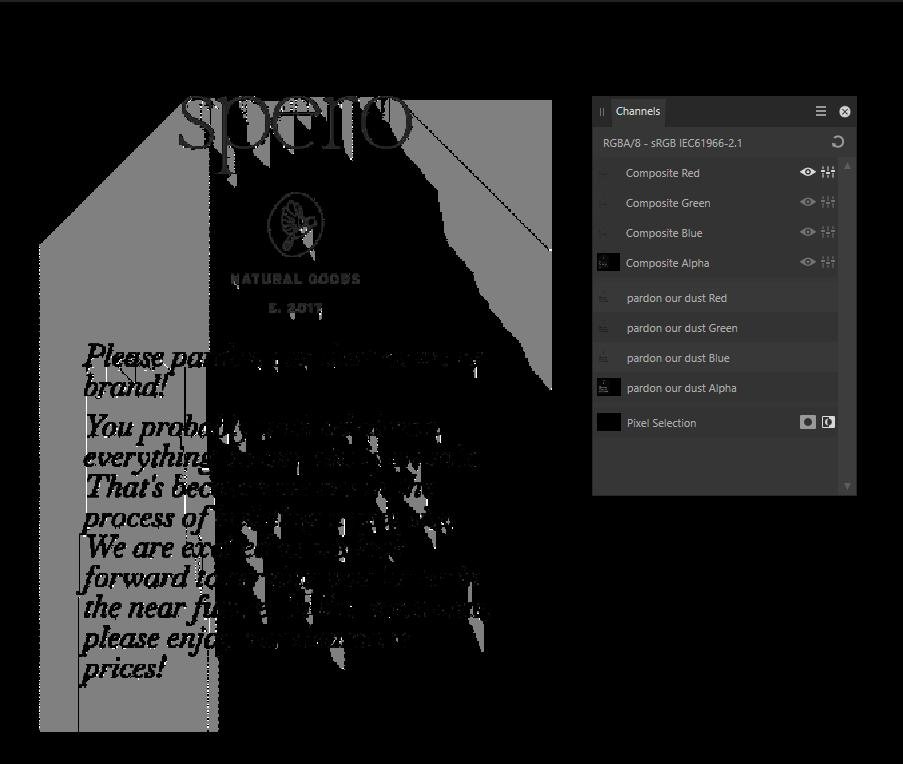
@Torstein There's a way to use Affinity Photo more efficiently. My .afphoto file (see attachment) is half the size of yours ! That's because I'm only using one layer to apply all the adjustments. First I made a selection (selection brush) of the parts that needed to be blurred. Then I did save that selection as a spare channel and renamed it "blur" (see the channels panel). If you right click on the spare channel and choose "Load to pixel selection" you can reuse it at any time. I also saved that selection in a file (see attachment). Via menu: "Select > Invert Pixel Selection" you can switch back an forward to manipulate the opposite part of the image. Now with the selection active add an adjustment layer and make changes. These changes will only be applied to that selection. Hope this was helpful. Vintermåker_adjusted.afphoto Vintermåker_adjusted.afselection
-
 firstdefence reacted to a post in a topic:
Remove Shadow from this Mountain ?
-
 firstdefence reacted to a post in a topic:
Photo editing from my Pentax RAW files
-
 HVDB Photography reacted to a post in a topic:
Photo 2.3: Rasterised text immune to filters?
-
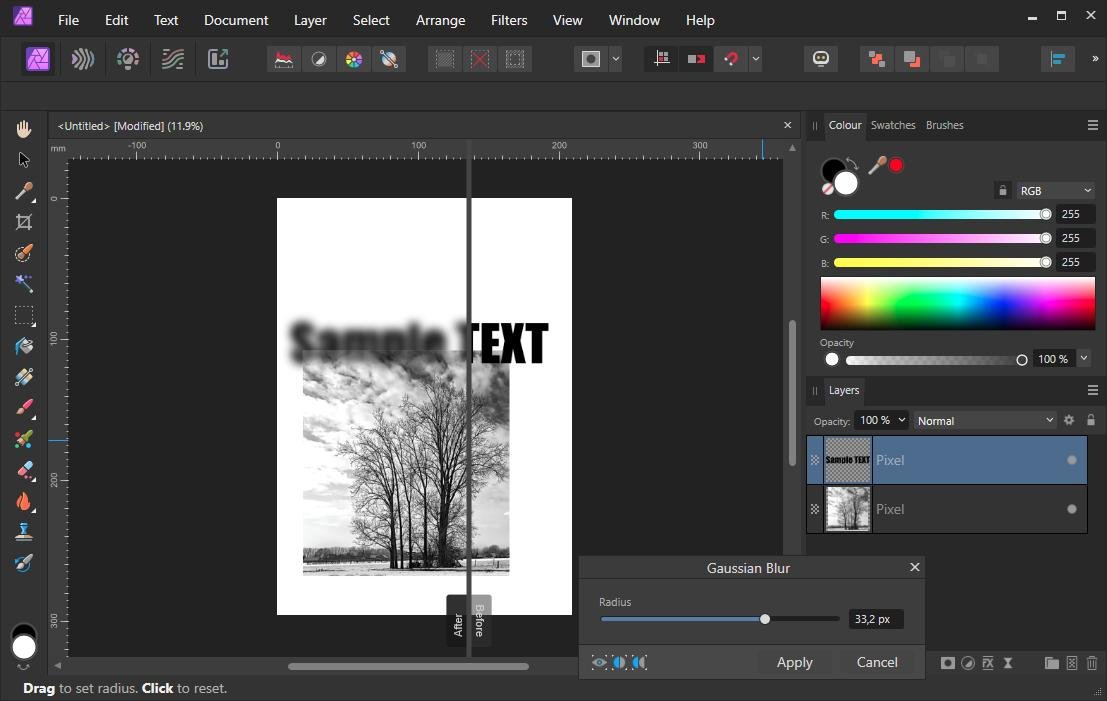
As already mentioned, the TEXT pixel layer must be selected (= thumbnail click => blue background). Otherwise, the Filters\Blur options are not clickable (grayed out). Another possible cause is that if a pixel selection is active (e.g. on the other layer) and "menu: View\Show Pixel Selection" was not checked, you will not see any change because the text is not within that hidden selection.
-
The color cast in your shot is caused by the color temperature of the light source that illuminates your scene at the time you take the photo, whether or not in conjunction with an incorrect color balance setting in the camera!! So, whether you import the photo into Exposure X7 or Affinity Photo or into any other photo editing program, the color cast will inevitably be visible. Calibration should be repeated at regular intervals (preferably monthly) and under the same conditions. I use "Datacolor Spyder Pro" for this, but there are other brands that confirm the same result.

