BiffBrown
-
Posts
82 -
Joined
-
Last visited
Recent Profile Visitors
2,556 profile views


-
 BiffBrown reacted to a post in a topic:
Smoothing edges?
BiffBrown reacted to a post in a topic:
Smoothing edges?
-
BiffBrown reacted to a post in a topic:
Smoothing edges?
-
 BiffBrown reacted to a post in a topic:
Tone curve in Affinity Photo 2.2 Develop Persona
BiffBrown reacted to a post in a topic:
Tone curve in Affinity Photo 2.2 Develop Persona
-
BiffBrown reacted to a post in a topic:
Processing Color Negatives using Affinity Photo
-
BiffBrown reacted to a post in a topic:
AffDes & Af Photo:Deckled edge frame
-
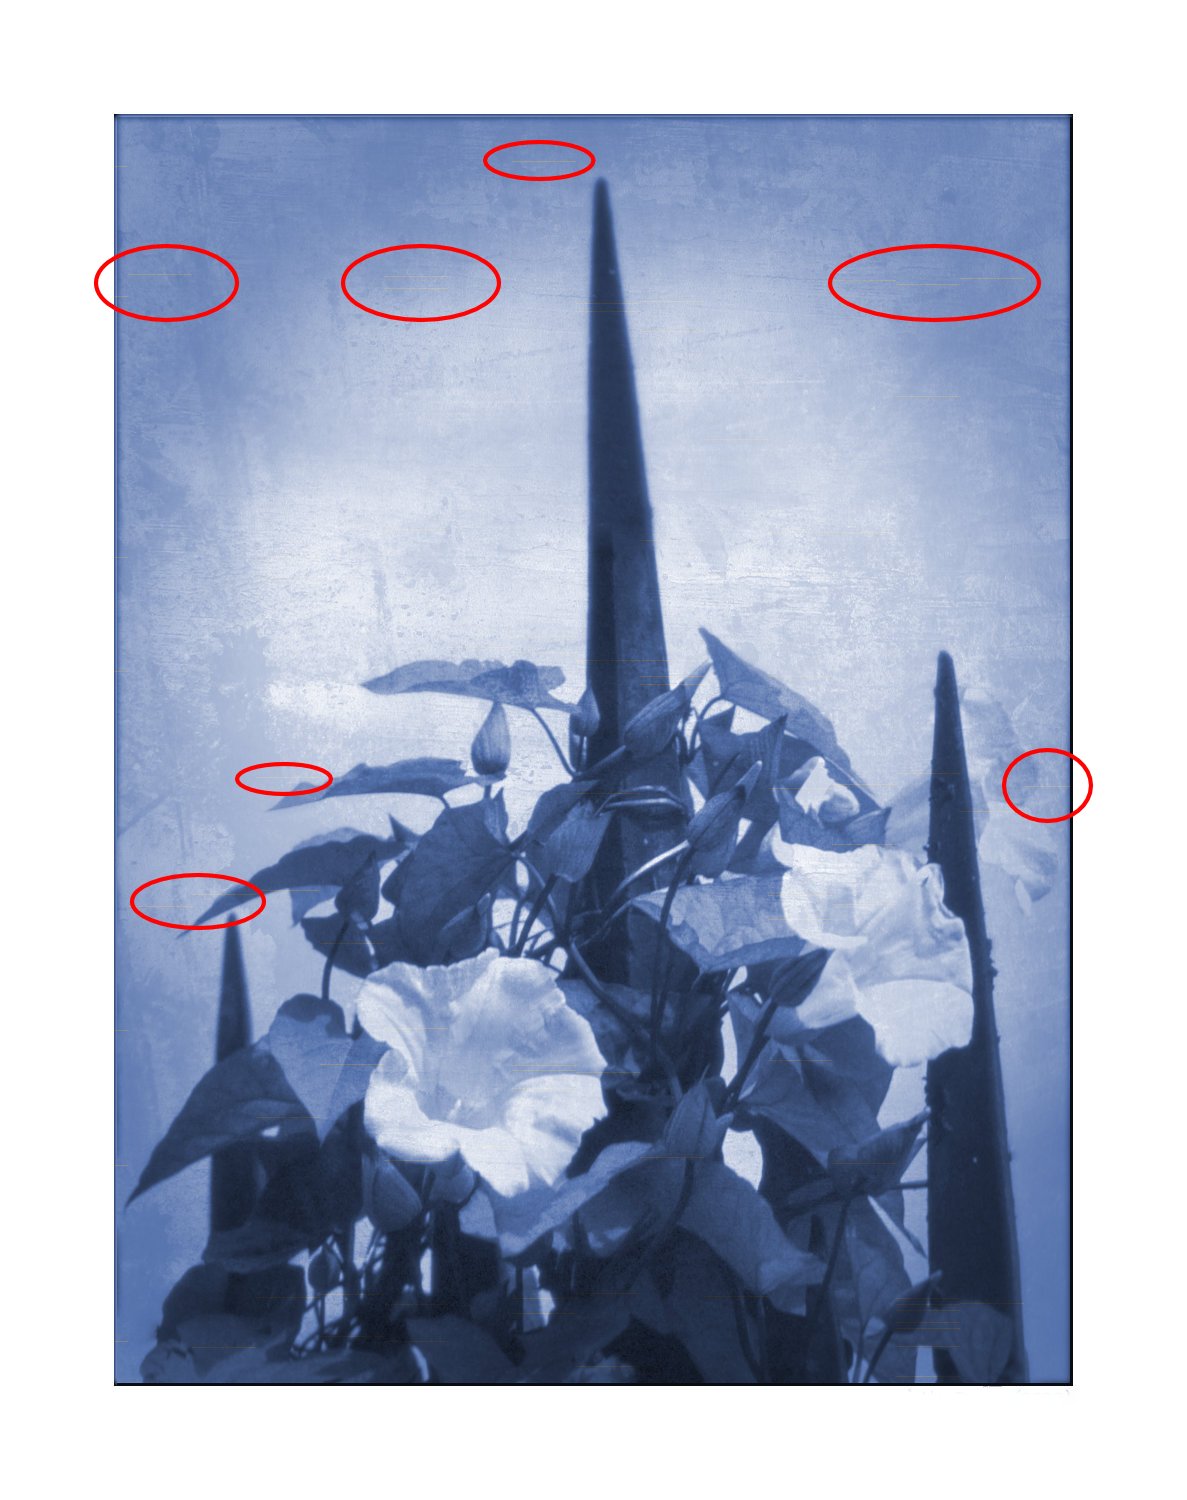
I did try editing your macro as you suggested - the results are useful: the Grain Intensity should be lowered. The other problem I'm finding, in both colour and monochrome grain, is being able to vary the grain size (intensity doesn't quite do it). Although grain intensity can vary with tone, the grain size will also vary - darker tones can have larger grain then in the lighter tones; midtones can show a higher grain intensity.
-
Just the kind of thing I've been looking for. One question, however: for Colour Film - due to the processing, won't the grain be composed of dye particles and therefore not monochrome? Cheers, Alex
-

Fujifilm X-H2 raw (.raf)
BiffBrown replied to ericeric's topic in Feedback for Affinity Photo V1 on Desktop
I think part of the problem here is that Fuji RAW Studio shows the "developed" RAW image: i.e. the RAW file with the in-camera settings applied (film simulation, Dynamic range Range, etc.), whereas Affinity Photo doesn't know anything about these settings. This is because Fuji RAW Studio uses the on-board processing of your camera (which has to be connected to your computer) to process the RAW file. If you want the two to match (sort of), put the following settings on your camera: 1. Set FILM SIMULATION to PRO NEG. STD. 2. Set HIGHTLIGHT TONE to -2 3. Set SHADOW TONE to -2 These will reduce the contrast of the JPEG (and processed RAW file). It will also mean that the Live View and live histogram will match the RAW file. It may also be best to set the DYNAMIC RANGE to DR100. I find that with settings DR200 and above, the RAW file is underexposed at least 1 stop. This is the way Fuji cameras seem to work, the idea being to prevent any overexposed highlights. (Source: Rico Pfirstinger in "The Fujifilm X100F: 101 X-Pert Tips", pg.80). Then agin, I'm no expert. Biff -
I've noticed that the Blemish Removal tool in the Develop Persona has changed in V2. In V1, the blemish was circles and a link was made to the area used to "correct" the blemish. This allowed the user to move the link to a more appropriate area if V1 got it "wrong". In V2, no link is shown. It still gets it "wrong" occasionally. This may, of course, be by design. More worryingly, the Blemish Removal is not always carried over when applying the Development. Going back into the Develop persona (assuming the "Embed" option is set), and reapplying the Development seems to work. Persevering, Biff
-
Affinity Photo V2 - just purchased
BiffBrown posted a topic in Desktop Questions (macOS and Windows)
Good Afternoon. I have just purchased Affinity Photo V2 from the Apple App Store (£35.99). This has been confirmed by Apple. I have not been given a License Number. How do I register my application without having to fork out a further £35.99? At the moment I'm having to use V2 in Trial mode. Regards, Biff -
Version 2.0 due soon?
BiffBrown replied to dmstraker's topic in Pre-V2 Archive of Desktop Questions (macOS and Windows)
Maybe a DAM ....... -
BiffBrown reacted to a post in a topic:
Tone curve, through Assistant Manager - RAW
-
BiffBrown reacted to a post in a topic:
Best Way to SELECT Hair And Fur Precisely in Affinity Photo
-
Dan C reacted to a post in a topic:
Artifacts on Export
-
Hi, @Dan C Thanks for the prompt reply. Yes: disabling the Hardware Acceleration has resolved the issue. Many thanks. Biff
-
Firstly, apologies for reporting this on the Windows Bug Report: I was searching for information on the artifacts I've been finding. It is a recent occurrence, I'm getting the same lines appearing on an exported image. They appear to be random: subsequent exports have lines in different places. I may have traced the fault to the Recolour Adjustment layer - remove the Recolour and the export lines do not appear. Details: iMac (Retina 5K, 27-inch, Late 2015), running OS 12.2.1. Using Affinity Photo 1.10.4

-
Black and White Artifacts on Images after Export.
BiffBrown replied to JTM Photography's topic in V1 Bugs found on Windows
Hi. I seem to be getting the same problem: random bars on the exported image: using Photo 1.10.4 on an iMac (Retina 5K, 27-inch, Late 2015) running OS 12.2.1. Biff -
NotMyFault reacted to a post in a topic:
Affinity : Content Aware crop and Fill ???
-
@Ron P. I was looking for some answers on the forum and on Google. Found the video which answered a query others had made, so I posted it. You're welcome.
- 6 replies
-
- 1
-
-
- content aware
- crop tool
- (and 3 more)
-
Have a look at
-
Content Aware
BiffBrown replied to mike21's topic in Pre-V2 Archive of Desktop Questions (macOS and Windows)
Check out this YouTube video. It may help: -
BiffBrown reacted to a post in a topic:
Makros not working
-
BiffBrown reacted to a post in a topic:
About Assets Manager - does adding loads of textures here slow down the Affinity Designer
-
BiffBrown reacted to a post in a topic:
Where is the MANUAL for Affinity Photo?
-
John61 reacted to a post in a topic:
Black and White settings for Orthochromatic films
-
You could have a look at the HaldCLUT colour tables (film emulations - B&W included) for Affinity Photo: it was brought up a few years ago: Cheers, Biff
-
Rich B reacted to a post in a topic:
ICC profiles not loading in 1.8.6
-
What would be useful is a Zone Scale, perhaps incorporated into the Navigator Panel, that could be used to highlight a selected Zone in the image. Pretty much like the one found in Silver Efex, from Nik. Biff
-
SillyWalk reacted to a post in a topic:
Custom ICC Color Profiles in v1.8.6 not working!
-
 superpixel reacted to a post in a topic:
ICC profiles not loading in 1.8.6
superpixel reacted to a post in a topic:
ICC profiles not loading in 1.8.6
-
An Outline of some Strange Behaviour
BiffBrown replied to BiffBrown's topic in V1 Bugs found on macOS
Will do - when time allows. Strangely enough, the problem doesn't occur with the Inner Glow effect. Regards, Biff