mike21
-
Posts
87 -
Joined
-
Last visited
Recent Profile Visitors
1,235 profile views


-
 BiffBrown reacted to a post in a topic:
Tone curve, through Assistant Manager - RAW
BiffBrown reacted to a post in a topic:
Tone curve, through Assistant Manager - RAW
-
I am afraid I have been unable to reproduce this as it only occurs occasionally. I shoot in RAW so these are developed images. The whole of the box where the histogram would normally appear is black, whatever colour or or master is selected - adjustments can still be made as normal but by guesswork, with the effect being checked by using the tick/untick facility in the layers list. Unfortunately, for health reasons I have been unable to take pictures for some weeks, so I have no fresh images to use.
-
Sometimes the histogram does not appear when using levels, although normal adjustments can still be made - is there a way of making the histogram visible on theses occasions.

-
Thank you - I never thought to look at the bottom of the panel, I expected to see the Overlay Brush note change to Add Overlay Brush. Works fine.
-
Does not work - just says brush overlay in the overlays panel, not add brush overlay. I tried clicking again on the brush overlay tool and "painting" with that just continues with the previous adjustment. No way can I get Add Brush Overlay to appear
-
I have a problem in that painting on one area with the overlay paint tool, and then say reducing the exposure in that are, works fine, but I cannot find a way to “close” that action and paint another area to say increase exposure. I normally click on the hand to close an action in the Photo Persona, but it does not seem to work in Develop. How can I use the tool for more than one separate operation, also, is there an overlay paint tool or equivalent in Photo Persona.
-
Thanks. For some reason I had not noticed that.
-
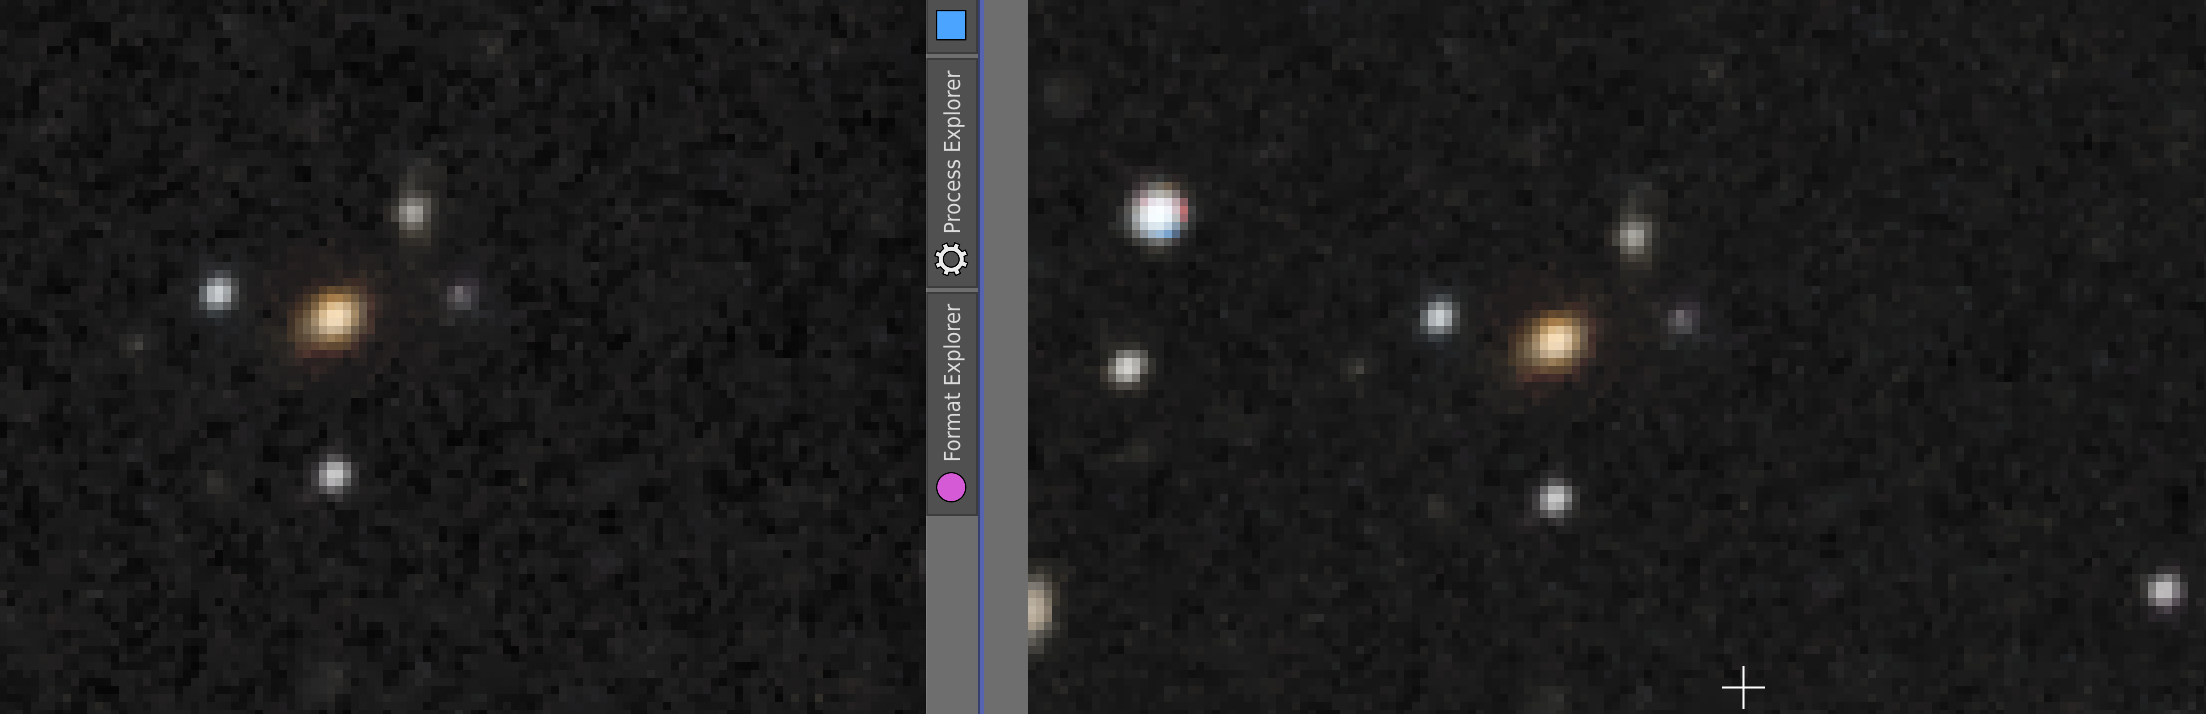
In the Photo persona there is the ability to toggle a single adjustment layer off and back on again on to check the effect of any adjustment made. There is the same facility in the Adobe RAW processing program to toggle a change on and off but I cannot see how to do it in the Affinity Develop program – I can return an adjustment back to its default setting using the circular arrow but not toggle it back on again. The split screen shows a before and after for all of the adjustments compared to the original image but not just a single adjustment – is there a way to toggle just a single change. In the Photo persona I can magnify the image back and forth using the zoom tool or Ctrl +/-, but is there a way to go straight to 100%, again as in Adobe.
-
 uneMule reacted to a post in a topic:
Processing RAW files
uneMule reacted to a post in a topic:
Processing RAW files
-
Processing RAW files
mike21 replied to mike21's topic in Pre-V2 Archive of Affinity on Desktop Questions (macOS and Windows)
Thank you for both replies - very helpful -
A Raw file contains all of the data captured by the sensor, unlike a JPG. Is it necessary to process it as far as possible in the Develop persona or is the same data still there if it is developed straight away and all processing done in the Photo persona, where it can be done in a non-destructive manner.
-
I recently watched a zoom lecture where the photographer had used weak white overlays on landscape images in Photoshop. I have tried to find a way to do it in Affinity but can only find the gradient tool and overlay brush in develop persona. The method involved making a white layer using edit/fill and choosing a style from a long list. How can I reproduce it in Affinity?
-
Thanks - I will try this out
-
In processing a RAW image in Affinity Photo Develop there is the ability to adjust apparent exposure; in the light of this is it worth bracketing exposures – is an exposure “error” of one or two stops adjusted in Affinity as good as one that is “correct” in the first place. Similarly, is it worth taking three images at different exposures of a high contrast subject for merging into HDR, when just one image can be processed with three separate apparently different exposures.
-
Thank you everyone - the post from V-KYR has provided the information. The Photoplus magazine has articles and videos describing certain tasks in either Photoshop, Elements, DP4 or Affinity. It is usually fairly straightforward to "translate" procedures into Affinity but I was stuck with the rubylith overlay in Elements.
-
The method in the article is simple - use HSL saturation to produce a black and white image, use paintbrush tool in black to reveal underlying colour or white to remove overpainting. This works fine in Affinity but the article also showed the "rubylith layer which showed in red the areas missed or overpainted - accessed in Elements using a "\" shortcut. That shortcut has no effect in Affinity whereas the other shortcuts given do.. I seem to remember seeing an Affinity video showing such a facility - it is that which I should like to know.
-
The latest issue of Photoplus has an article showing how to change an image to black and white and then reveal part in its original colour, such as a red pillar box. The article gives the method in Adobe Elements. It is easily transferable to Affinity except for one thing - it refers to activating the rubylith layer to reveal areas missed or overpainted; this name does not appear in Affinity help, how do I activate the Affinity equivalent.