Aammppaa
-
Posts
1,798 -
Joined
Everything posted by Aammppaa
-

Perspective grid/guides - surely?
Aammppaa replied to JP1's topic in Affinity on Desktop Questions (macOS and Windows)
I don't think that the Affinity apps currently create dynamic grids, based off percentages. But that doesn't mean you can't do it yourself very easily. And it only needs doing once for any given grid. For example, I want a grid that always gives me thirds... Draw a square. Power duplicate 2 more to make a row. Power duplicate 2 more rows to make an array. Select all and group. Name "Thirds Grid". Save as an asset (perhaps make a Category called Grids!) Now, any time you want thirds of anything, just drag your thirds grid asset onto the canvas, and snap it to your points of interest. It will take you a few minutes to create a set of common sizes, which you can reuse for ever. -
Gutter in triangular grids
Aammppaa replied to Nicolò's topic in Affinity on Desktop Questions (macOS and Windows)
This was my initial thought, but it is difficult to get this to work, as the Transform center would have to be at the center of the triangle, which is not the center of the triangle's bounding box. As a result you end up with an uneven gutter.- 10 replies
-
- 2
-

-

-
- affinity designer
- grids
- (and 2 more)
-
Gutter in triangular grids
Aammppaa replied to Nicolò's topic in Affinity on Desktop Questions (macOS and Windows)
There is no inbuilt gutter with the triangle grid. So drawing your own is the best work around, and doesn't take long... Use the triangle grid to accurately draw a pair of triangles. Power duplicate to quickly create a row. Power duplicate the row to create an array. Select all. Use the contour tool to reduce the size of each individual triangle to give the desired gutter. Save a copy, or make an asset. Remains editable to resize both the triangles and the gutter. Affinity Triangular Grid with Gutter.afdesign- 10 replies
-
- 1
-
-
- affinity designer
- grids
- (and 2 more)
-
I asked for the same some time ago...
-
Move Up and Down Arrows in Layer styles
Aammppaa replied to evtonic3's topic in V2 Bugs found on macOS
The arrows would certainly be better as you've depicted, and also we should be able to interact with the effects as we do layers in the Layers panel... Drag effects up and down the stack. Control click & Shift click to select multiple effects (useful for turning many effect on or off at once). Alt drag to duplicate an effect. -
This is not the behaviour in V1, and seems most unhelpful... so I'd agree with you that it is a bug.
-
Hi @skippermick If you are having a specific issue with Merging layers, then please post an explanation. It really shouldn't be difficult to do, but is impossible to help you if you just say "This is crap". Which program are you using? What are your layers that you are trying to merge? What command are you using? What is not working? Can you show a screenshot / gif / video or provide a file?
-
What is this grey circle and what is it for?
Aammppaa replied to inkblank's topic in Affinity on iPad Questions
Hmmm... I don't have the iPad app, but decided to look at the help file anyway. Help > User Interface > Visual Interface Reference And there it is. I am usually surprised by how good the Affinity help files are. -
I can't think of an occasion where I would want the current behaviour. I would always want the line + arrow to become translucent as a whole. In the unusual case that I wanted the arrowhead and line to behave as separate objects, I would construct them that way manually. So +1 for a change in the default behaviour.
- 15 replies
-
- 2
-
-
-
- affinity suite
- path
- (and 4 more)
-
There is a way... but it is involved, and requires the use of Photo as well as Designer. I have found that Linked objects (in Photo) are often more versatile than Symbols (in Designer) despite apparently doing the same job! In this case: Symbols can't be used to create Compound groups, but Linked objects can. Method... 1. Use Photo to create a vector shape. This will be our Slicing object. Create a duplicate of the Slicer, and use the Link panel to link the two instances. 2. Save your file, and then Edit in Designer. 3. Create a Compound Shape using your Slicer to Subtract from a Rectangle. 4. Duplicate the Compound Shape, and change the mode of the Slicer to XOR. Result... You will have two shapes, that fit perfectly together. Changes to one, will instantly apply to the other.

-
It is the way Warp Groups work. The Warp area is set to the area of the content at time of creation. Then if you move the content, you get areas that don't warp, or strange inverted warps, etc. If this is useful or interesting to your work, that is great. Personally, I find it a limitation that means I can't easily edit (especially enlarge, or add to) the contents of a warp, without destroying the effect of the warp. I'd like to be able to resize the Warp Group container manually, and also have the option for the Warp Group to auto resize to fit contents.
-
Not something I've come across. Are you able to share an Affinity file that shows the problem? Otherwise will be tricky to diagnose.
-
There is no way currently to over ride this behaviour. However hitting v will toggle to the Move tool, and a second press will return to the previous tool.
-
What's limiting the radius of the corner tool?
Aammppaa replied to Serioja's topic in V2 Bugs found on macOS
First reported soon after v2 release... -
Gradient corrupts and detaches on Contoured Text
Aammppaa replied to Aammppaa's topic in V2 Bugs found on Windows
Converting to curves would almost certainly fix the problem, but that is the problem! I don't want to convert to curves, I want the text to remain editable. This is a bug with text specifically, and contours with gradients. -
Gradient corrupts and detaches on Contoured Text
Aammppaa posted a topic in V2 Bugs found on Windows
1. Make a text object. 2. Give it a gradient fill. 3. Add a contour to the text. Notice how the gradient seems to disappear. 4. Move the text to the left edge of the spread. Notice that the gradient remains, but is a pixilated cut from start to end colour, rather than a smooth transition. Affinity Gradient on Text Contour.afdesign
-
Convert lines to solid shapes?
Aammppaa replied to pomme27's topic in Affinity on Desktop Questions (macOS and Windows)
I think you are looking for Layer > Expand Stroke. https://affinity.help/designer2/English.lproj/pages/CurvesShapes/expandStroke.html -
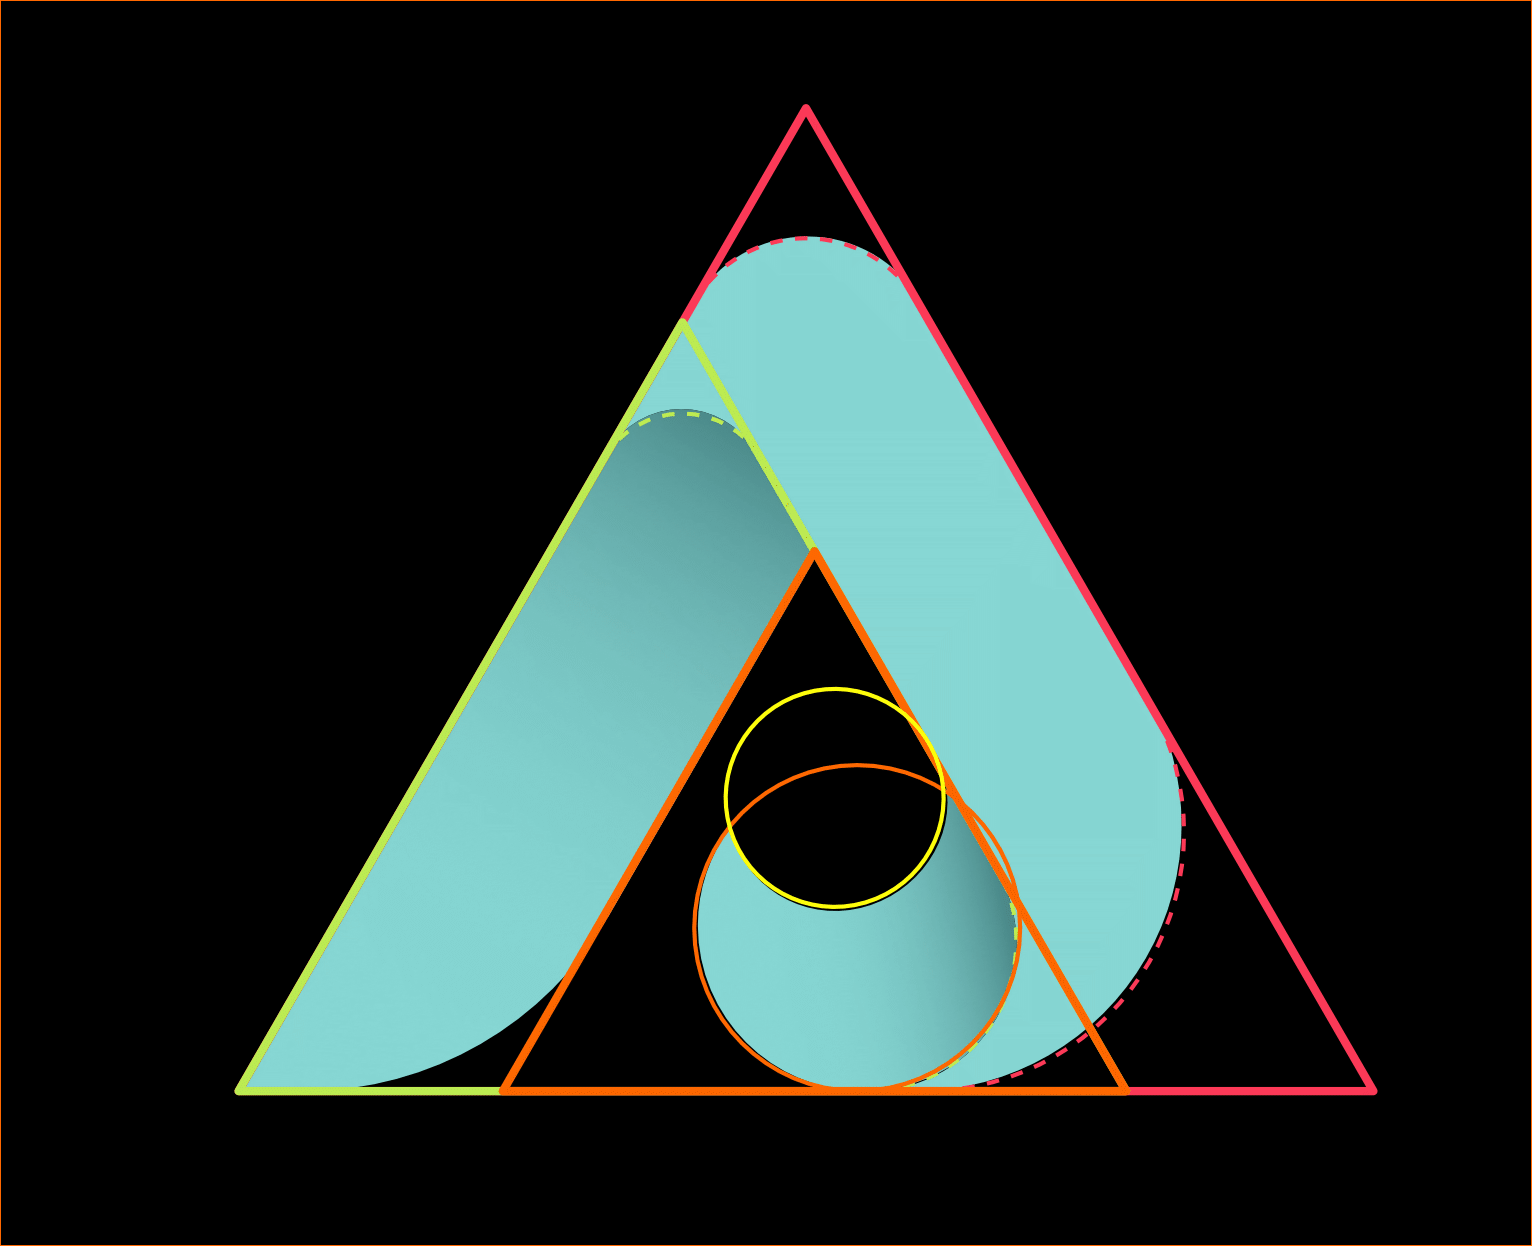
Sounds like you are doing the right things. It is often about figuring out the right shapes to use. I was able to recreate the example image using 3 equilateral triangles, the corner tool, then subtracting one from the other. Finally 2 offset circles, again subtracted. And a couple of gradients to add form. Logo Construction Example.afdesign
-
You are looking for the Contour Tool... https://affinity.help/designer2/English.lproj/pages/Tools/tools_contour.html
-
Could this behaviour be extended to allow us to drag and drop an object from the layers panel into the fill of another object? At present I'd have to add the layer to the assets panel, or save it out to a file, and then drag it to the fill. But why do we need the intermediary step?
-
Guides improvements
Aammppaa replied to Ash's topic in [ARCHIVE] 2.4, 2.3, 2.2 & 2.1 Features and Improvements
Holding Ctrl + drag to copy a guide is a nice time saver. However, the copy guide action is not repeatable with Power Duplicate (Ctrl + j), which inconsistent with Ctrl + drag to copy an object. Can this be added? Would allow easy layout for grids for example. -
This has always been the case, so it is not a new bug in the Betas or even V2. However, I agree that it is inconsistent with all other objects, and quite irritating!
-
Essentially, yes. They are all variants of the same thing... Merge Down Merge Selected Merge Visible Flatten (Merge All) https://affinity.help/photo2/English.lproj/pages/LayerOperations/merge.html
-
Since you are viewing the export on screen (rather than print), you need to ensure that your shapes are pixel aligned. All sizes need to be whole pixels, and X, Y position on whole pixels too. It is not ideal. There have been complaints about the antialiasing of snapped shapes for many years. Turn ON Force Pixel Alignment, and turn off Move by Whole Pixels, can both help. Affinity Snapped Rectangles.afdesign
-
OK. Confirmed. I get the crash too. You had selected Isometric Cube (which crashes), where I used Isometric with Planes (which works). Hopefully the staff will log as a bug.