Our response time is longer than usual currently. We're working to answer users as quickly as possible and thank you for your continued patience.
Search the Community
Showing results for tags 'fix'.
Found 22 results
-
 I prefer to use alignment shortcuts but I found that any alignment shortcut is fixed to "selection bounds" behaviour, and "spread" if you choose only one object. like if I go to alignment menu and change behaviour to "last selected", then use the shortcut, it doesn't see the change. I really think that this shouldn't happen. heres the clip; I'll use the "align to center" shortcut but "last selected" option is enabled: this is an issue for All Affinity products release 2.1.1 happening in windows 11 HW acc ON
-
 A number of users have had the same problem I had with Pixel Persona when seeking to export multiple artboards at once. Each exported image was slightly out of line leaving a small gap on one or two sides of the image that had not been there previously. When zooming in within Pixel Persona, it became clear that the frame of each artboard/slice was slightly out of line with each artboard and could not be repositioned correctly since the frame jumps to the next pixel when it is moved within Pixel Persona. It's as if the artboard's frame had shifted to the nearest pixel. I came across a temporary solution: To align each artboard with one another so they are touching before converting the artboards to slices. However, this is not ideal for every project. Please ensure that the exact artboard area is converted into a slice irrespective of its position on the main document. Thanks! Asa.
- 2 replies
-
- 1
-

-
- pixel persona
- pixel
- (and 7 more)
-
 I was working on 4000*3000 artboard with 300 DPI, at the begining i designing it was fine until i found this issue: Preview was blurry and slow response File took longer when i open and consume lot of ram and cpu (not gpu) when running it Export not working (stuck at "exporting" loading screen") still blurry when i try to copy one by one of the object to new file Notes: I use laptop: 16Gb Ram, Ryzen 7 4000 Series, GTX 1660 with max-q design (6GB) I also use to export on workstation PC: intel core i5 13600KF 5.1 ghz, rtx 3080ti 12Gb, 16 GB ddr5 ram and the result is same as the points above its fine when i create new other file i try to export in affinity photo and the result are blurry as seen in artboard preview i use some live filter from affinity photo *Blurry and object dont chang or move realtime *CPU and RAM usage (up to 10gb) *Result when i export in affinity photo
-
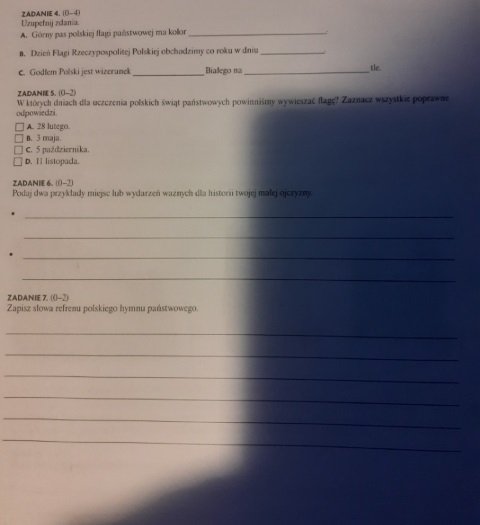
 Hello, is this possible to fix this photos with Affinity Photo to be easier for reading and printing ( especially that ). Main goals: Make background paper white Make text contrast Remove shadow - all background to be close to white or white. I know that sample resolution is very low which complicates this task. Thanks for help
-
i cant get my account linked (hit the button and nothing) same problem when i click on "new pattern layer from selection" mac os 10.11.6 el capitan
-
Hi! Here a list of my most wanted features and fixes for Affinity Designer (also for Photo): Pixel Persona, the ability to have pixel selections snap to the pixel grid and canvas boundaries with all selection (marquee) tools. The software window should stay in its place when I click on items (personas, buttons, etc), it's very frustrating to see the software window that moves when I interact with an element. Copy paste FX, please fix this one. It's very, very frustrating to check every element every time I do an fx copy and paste to correct the pixel values of each effect... Designer Persona, Free Transform (yep...) Saving default settings for Flood Select Tool (and potentially others...) Better PSD export (fonts, fx) Ability to rotate the canvas with the pen with one or two keys from the keyboard. ( Sometimes I wonder if you are using a Wacom input device ) Designer Persona, Knife tool Good luck! And maybe one day I will uninstall Photoshop!
-
 After doing the new update, I can't seem to open a new document with out the program freezing and crashing. Whether hitting 'new doc' on the opening screen or through File/New Doc it just stops working and I can't click on anything else. No error code or anything either. I have to force it to close. Anyone else have this problem or know how to fix it? Thanks
 -
Current issue: For any of us who use Affinity photo in pair with LUT's, it is a headache when we have over 2000 lookup tables to import as a preset. In its current standing propcol files are not an editable file and there is no way to batch import 2000 LUT's. I'm not about to sit here and add 2000's files by hand one by one with the risk of them being lost on a milestone update to the software. There is no reason for us not to have a Batch import at this stage of Affinity Photo's development. Proposed solution: Give us a folder that we can drop our LUT's into that will system link to the adjustments.propcol file. Could be as simple as a python, C++, C#, JS, Java etc filesystem scan that looks for a lut file in the specified folder by looking for the folder. then looking for .cube file types loads the cube file and extracts the preset name that is required for the adjustments.propcol file from the file name and fills the appropriate fields in the propcol file.
-
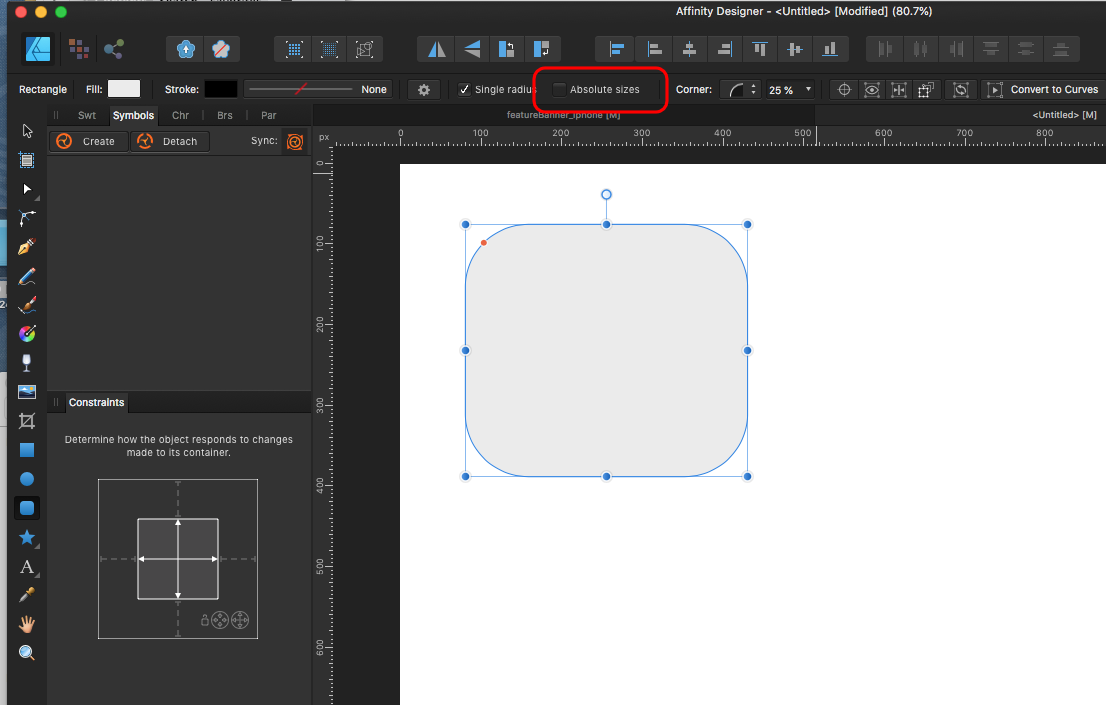
 Can I draw rounded rectangle on ipad and scale it with fixed corner radius? I cannot find even corner radius input box like desktop version. Please help me, thanks.
-
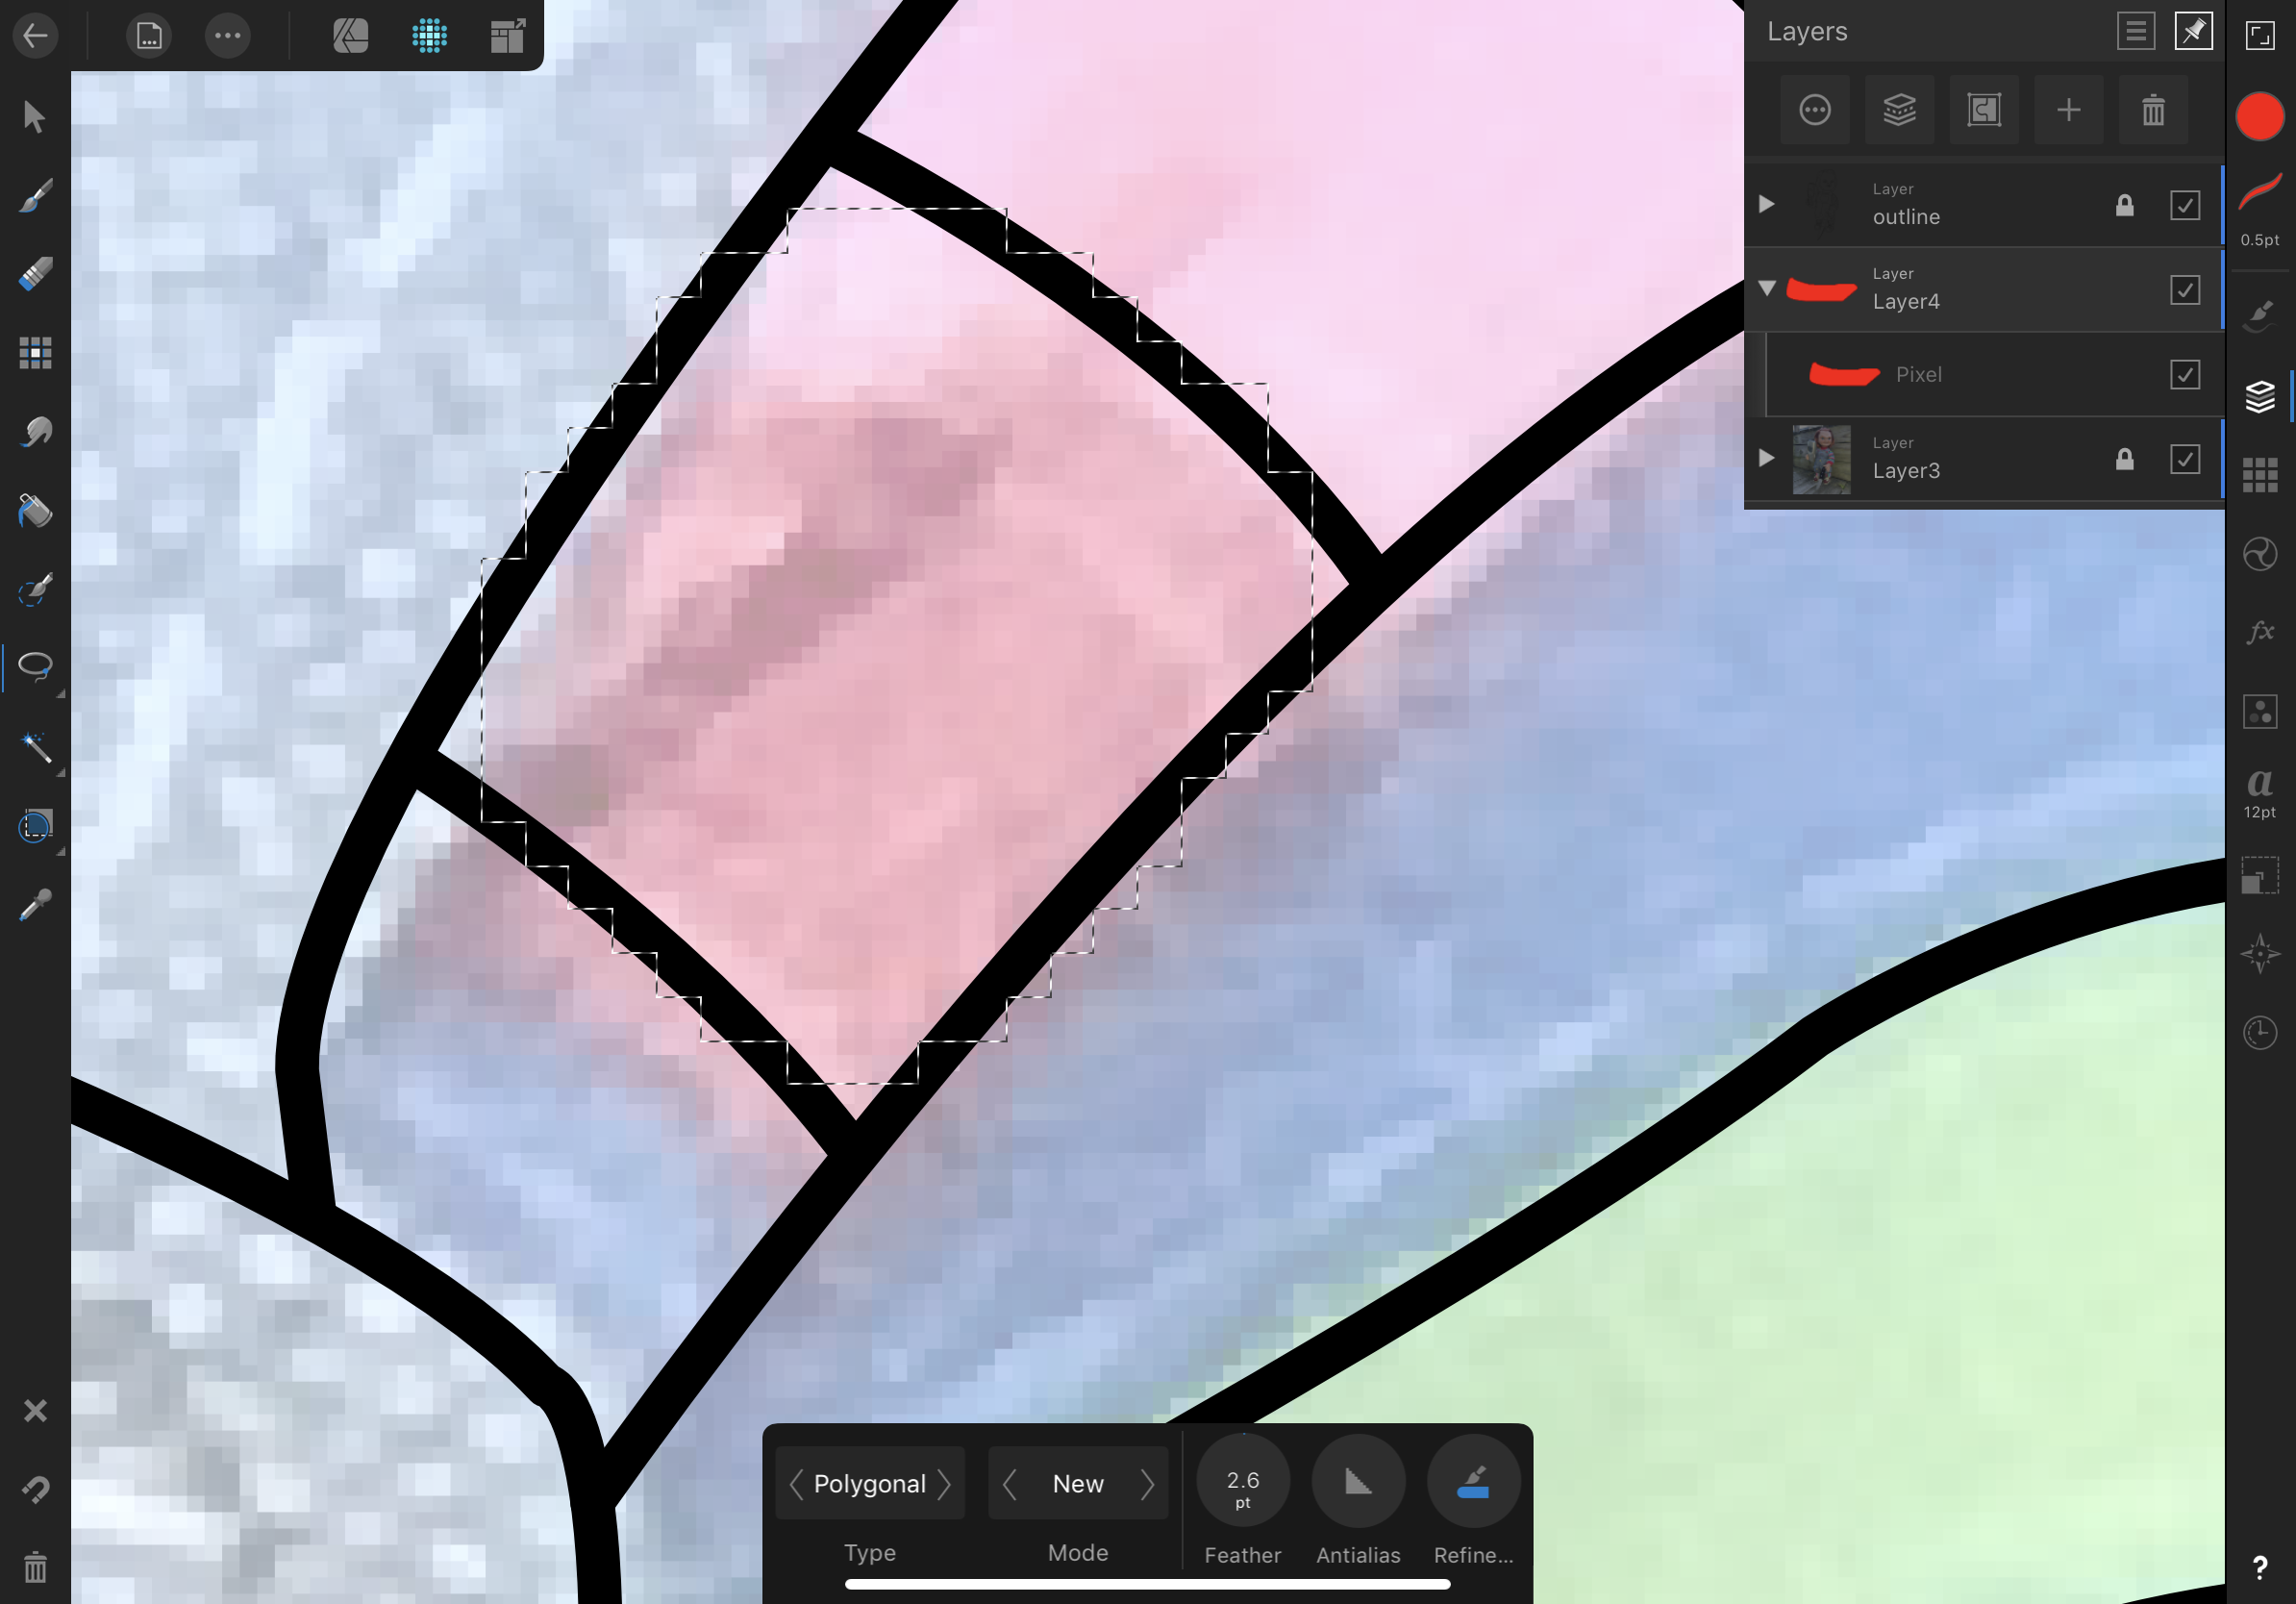
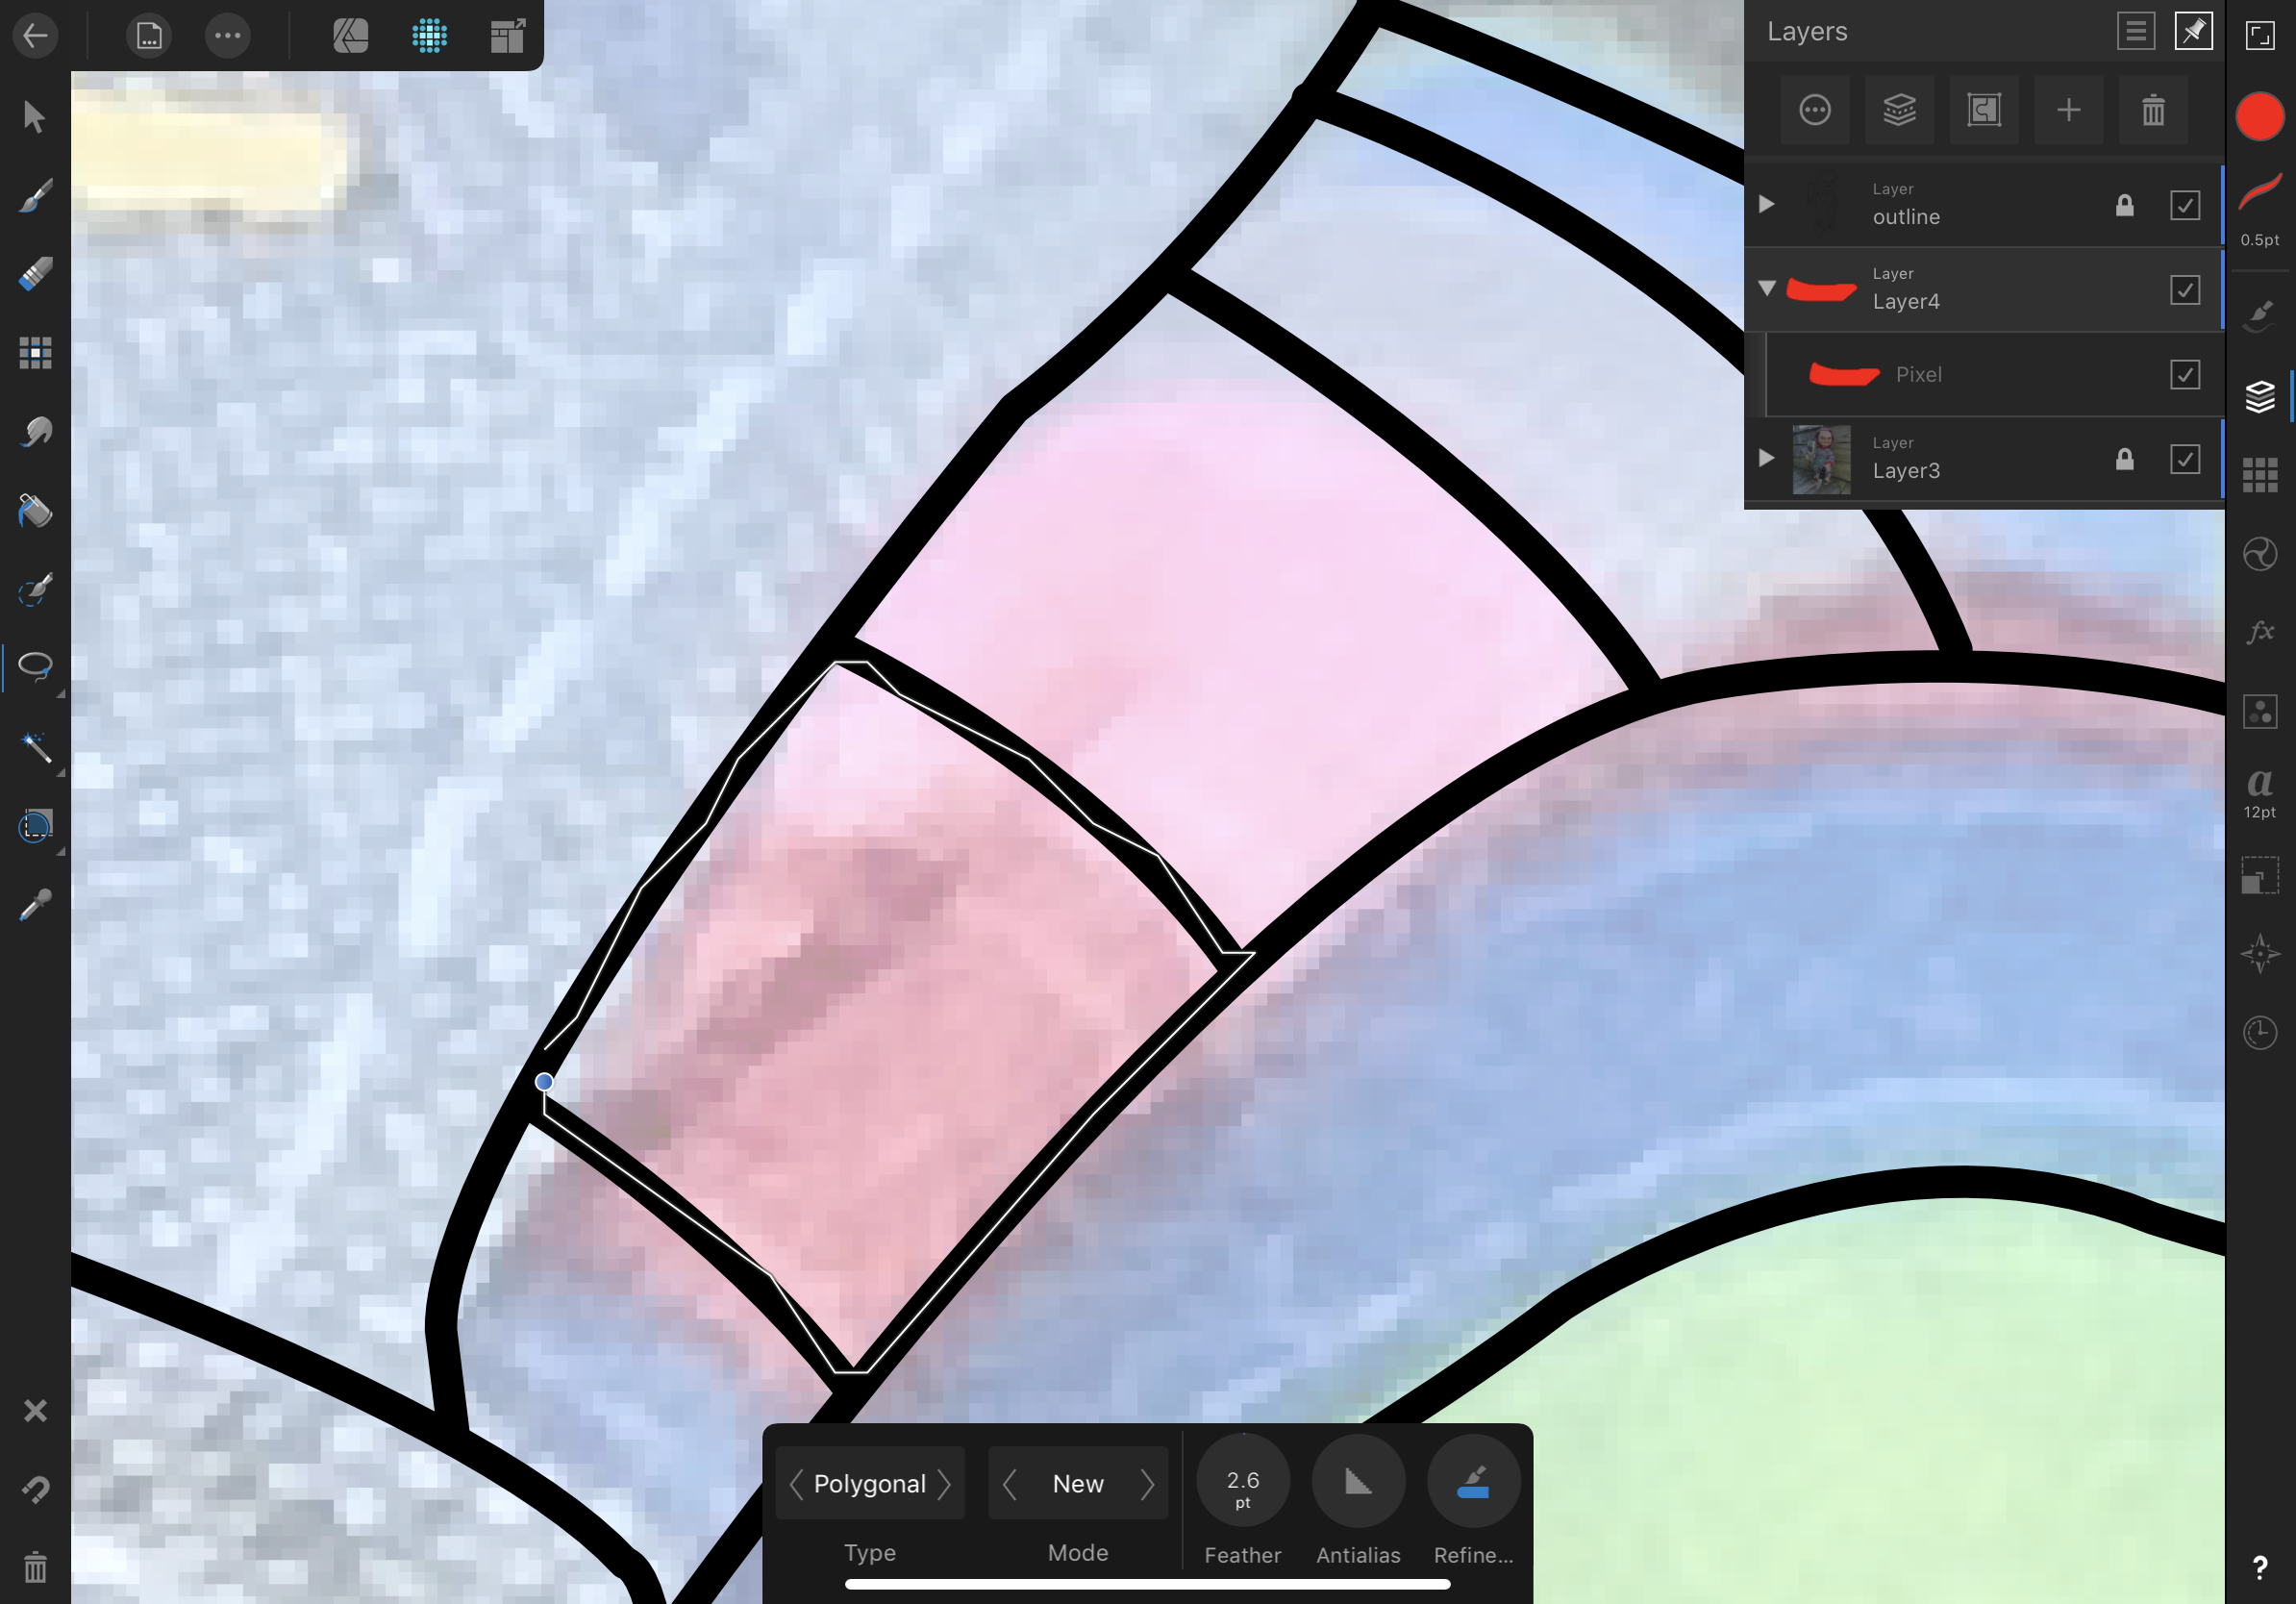
When I try to use the freehand selection tool under the polygonal setting it will not select the area I choose. Below I have attached photos of before and after I connect the tool. I work to make sure the selection is not outside the line I made, after I connect it will go outside The original selection. Is this something that can be fixed…?
-
 Hello Team i've been working on a project to check the new AFPub .270 but noticed: The software crash every time I tried to reorder the pages using the drag and drop method. i Tried to re-order one page at a time made the software crash. i Tried to re-order couple of pages (4 in this case) made the software crash Note: This Manual Re-ordering of pages was 100% working in previous version ! Suggestion: Not only it would be great for this to be fixed but, Dev's should implement a complementary method of Page re-reorder instead of havong only one way to do that, thus putting us in safe land; if one fails, we can use the other method. Blessings !
 -
I'm using Affinity 1.7.0.258 (Beta). When I make 2 curves with pressure and then Expand this stroke, then I join both curves in 1 object with the pathfinder "Add" it make a lot of nodes and I think that is not to well have 500+ nodes in a curve that you can made with probably 3 nodes.. while y'all fix the problem, there any way to reduce the amount of nodes? Here I upload a picture for example: In the image, you can see in the top curve (Already fixed) compared with the bottom curve (No Fixed) and you can tell the difference. I would like have a option for maintain the same aspect reducing the nodes. So, you can make any shape using the pen, pencil or brush and this option will help you to reduce nodes. Another issue is, when you expand a stroke with or without pressure, it distortion the beautiful and smooth corner, look the image like example: In the image, the stoke are the same size, the top one is with pressure and expanded, the second one is the original (No expanded) and the third one is with no pressure and expanded. I would like y'all fix it. Another Issue is, when I duplicate a object using "Ctrl + Drag the object" it make like 4 or 5 more copies of the same object. Another problem is, when want resize any shape using "Ctrl + Shift" for scale in the same place keeping the same ratio, of moment starting scaling like if you release the Ctrl Key but you still holding it, so, you have to release the key and hold press again..
-
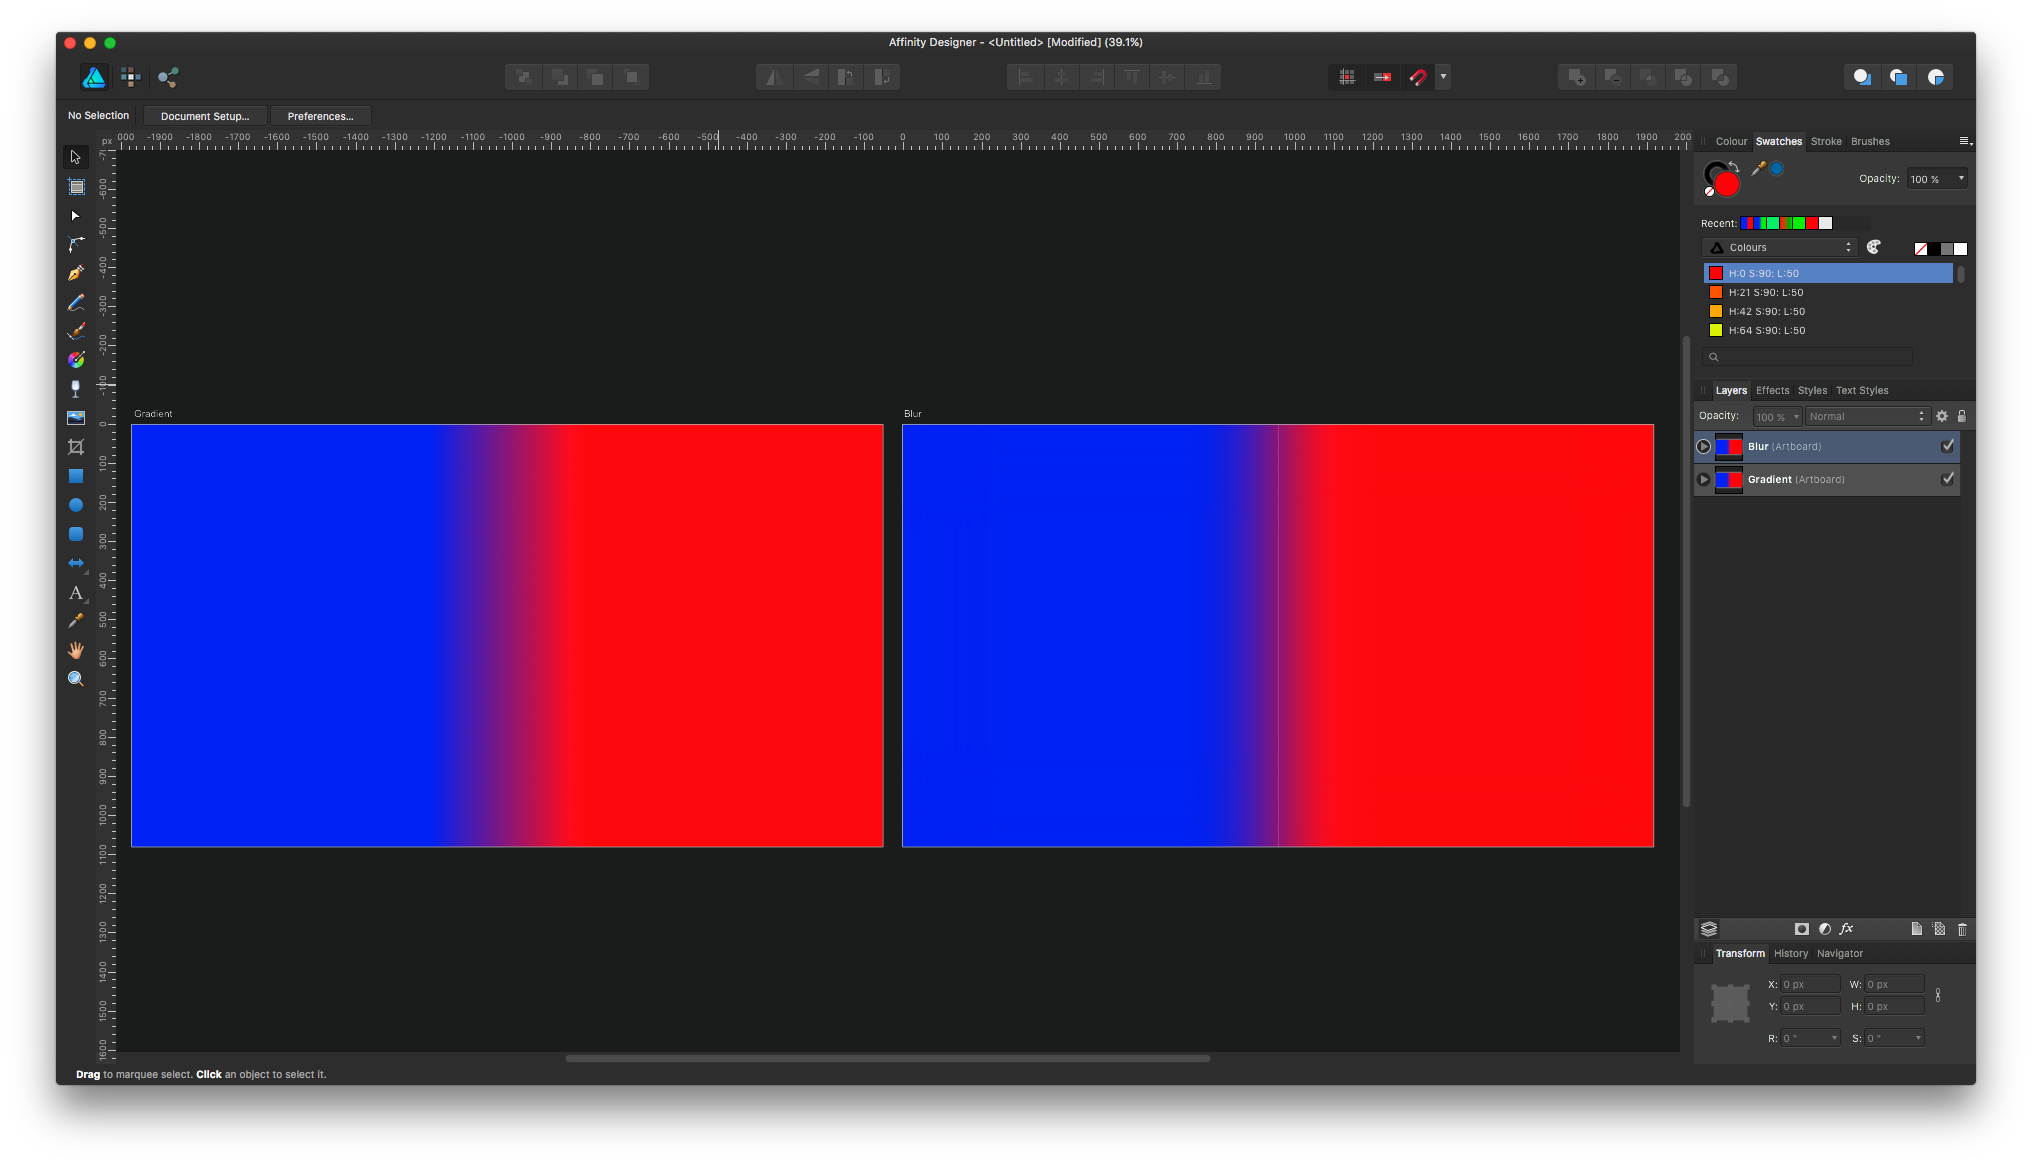
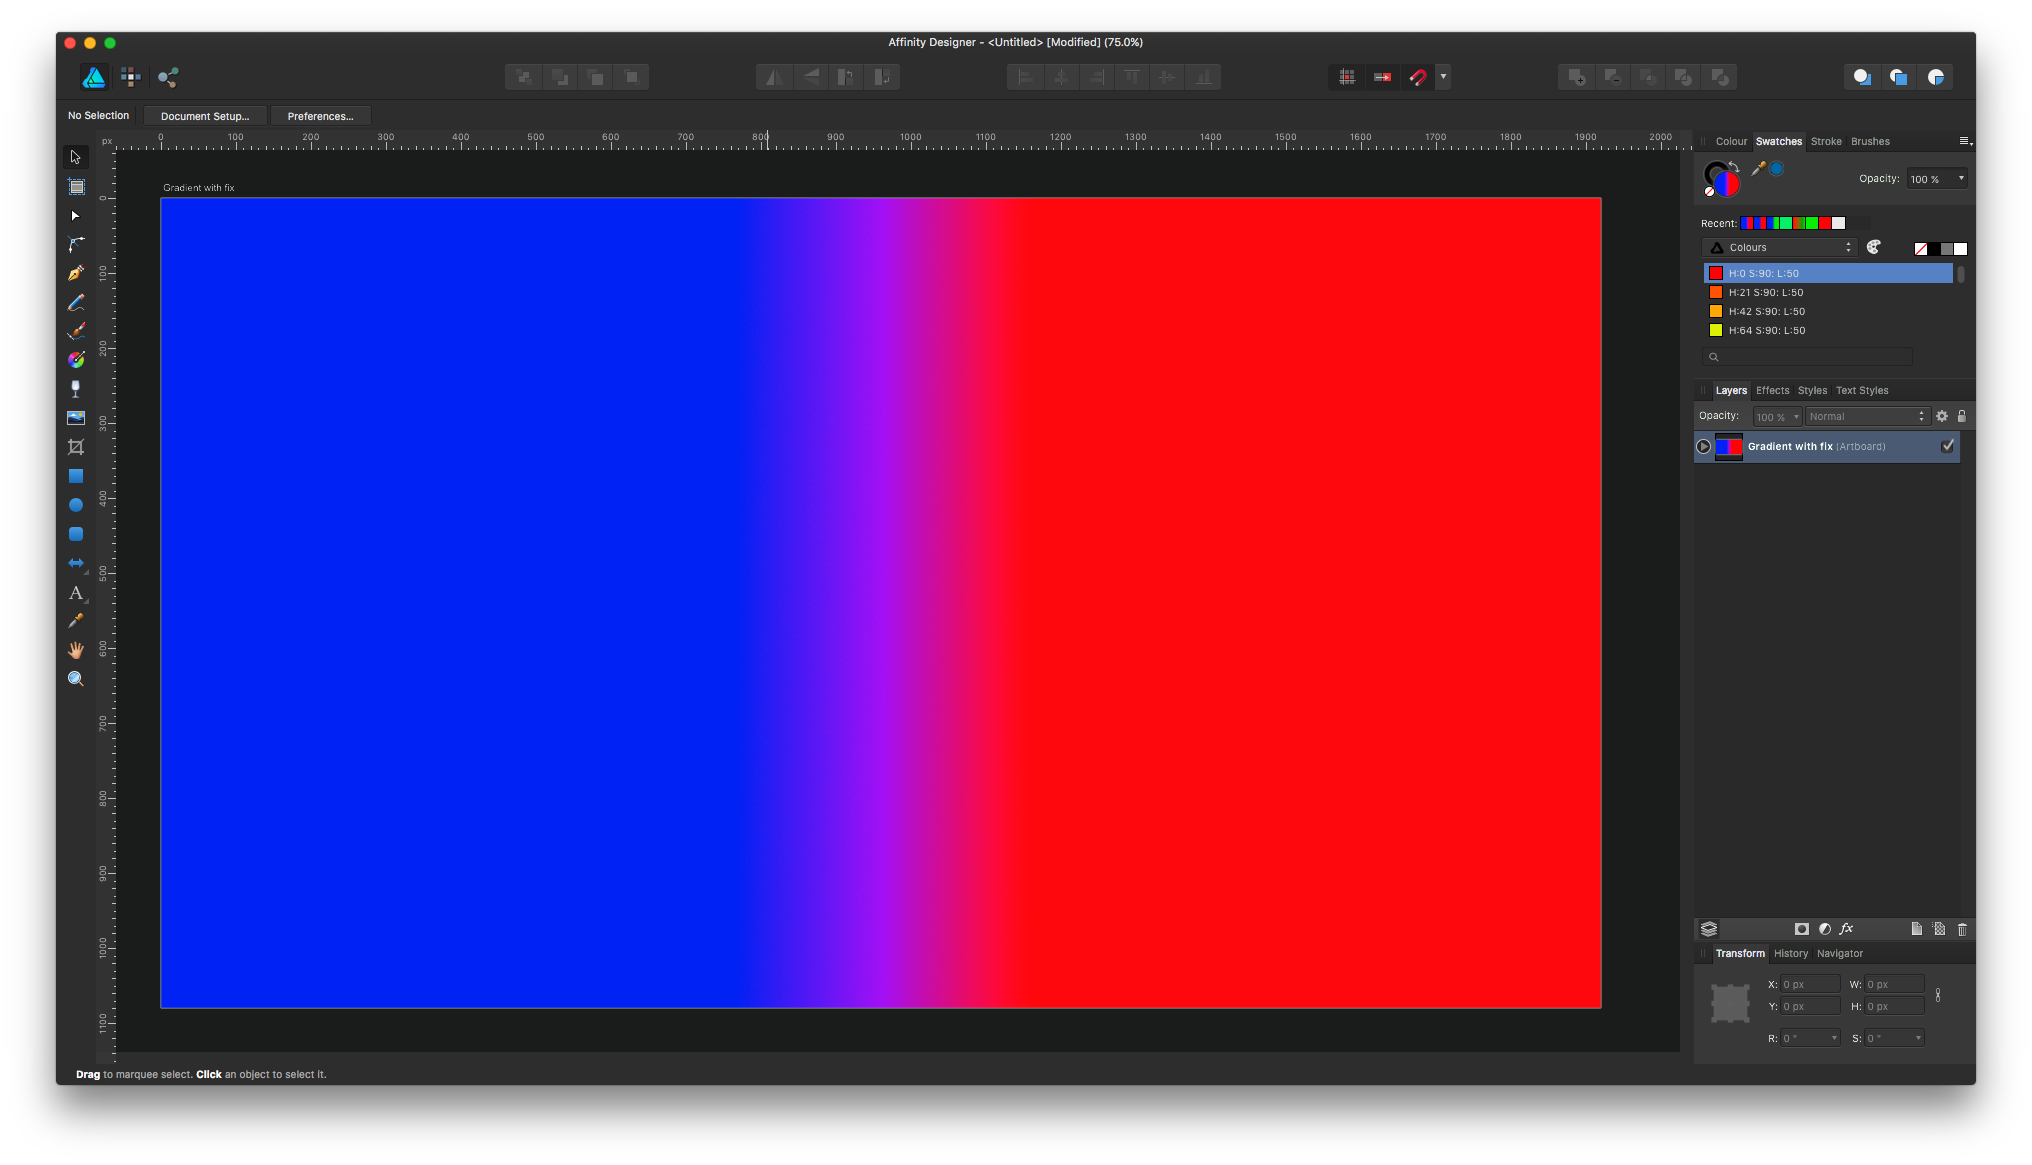
 Problem Gradients have bothered me forever, not only Affinity but every piece of software that has them. Turns out that both gradients and blur are subject to the same problem, which is that they are not performing the color average calculations correctly. The issue is best explained in this video. The gradient is on the left and the blur is on the right. The color between these two is too dark. This happens for every color combination. You can also see the edges of the gradient because it is being calculated linearly. The fix below using gradients is still wrong because it still is victim to the darkness resulting from the bad average calculation. This is also a good example of the linear gradient issue because you can see a definitive purple line down the center. This is my best attempt to fix the linear gradient and make it more logarithmic This calculation issue is also extremely visible in the color chooser The examples above are all using Adobe RGB, not sRGB. Suggested fix Idea 1 Because many documents are now using the wrong calculation, my suggested fix would be to add an option to the gradient tool for what type of calculation to use in order to maintain compatibility with older documents. Idea 2 Take the Photoshop approach and just make it a document setting (and turn it on by default for new documents). Result Fixing this will result in a more accurate and pleasing gradient and blur tool. Fixing this will also fix the linear gradient problem, which causes the center and edges of gradients to be extremely visible since they are not being calculated logarithmically to compensate for how humans perceive brightness/color. Here is a snapshot of the video I linked above showing what the blur and gradient should look like:
- 6 replies
-
- 1
-
-
- calculation
- blur
- (and 3 more)
-
 In the past I (and others reported) had some corrupted files, especially I had for example a crash at program start because of a corrupted AppData-Affinity-Folder, that later turned out to be a corrupt assets.propcol file. I don't have the broken files any longer, but I was thinking about a way of recovering data out of such corrupt files. Is there already a tool or command line switch or other way to try to recover such files? If I think I would manage all my assets and brushes in those files and out of a sudden it get's unusable for the Affinity program, I would go crazy. It would be good to have a tool that could try to read the file and try to recover as much as it could and write a new file with all that could be recovered (keeping and not writing to the corrupt file of course). Maybe rewriting header or stuff like that, or if it can't detect the file from the file itself, that someone can say, hey this was an assets.propcol file for example and then it tries to recreate it.
 -

How to fix a Lazy Eye
matthewdds posted a topic in Affinity on Desktop Questions (macOS and Windows)
Do any of you know how to fix a lazy eye? My right eye is a little more closed than my left eye when professional pictures are taken. This is really frustrating for me and I want to fix it with this application. Just not sure how to do this. Any help would be greatly appreciated. Regards, Matthew -
 Hi, I have a question regarding the working area (Mac version). How can I fix the object / drawing area and stopping it from moving around whilst my finger moves over the mouse? Thx.
 -
The dark UI has one huge flaw where it's hard to tell at times whether something is active or not, such as the snapping tool. Sometimes I've had to click it a few times to see which is darker. Why not have it be something that's NOT gray or black? What about a subtle color to highlight or some other effect to show something is on or off? I should be able to glance at the magnet to know what the state is rather than stare at it or click it twice to check. Saw this suggested by others. The Light UI is nice but that doesn't solve the issue in the current theme.
-
- 2
-
-
- affinity designer
- affinity photo
- (and 3 more)
-
The SVG Export is very overloaded, overcrowded, ...extremly suboptimal. I'll give you an easy sample: Take the Union Jack from the Wikipedia. It has 522 Bytes. That's the code <svg xmlns="http://www.w3.org/2000/svg" viewBox="0 0 60 30" width="1200" height="600"> <clipPath id="t"> <path d="M30,15 h30 v15 z v15 h-30 z h-30 v-15 z v-15 h30 z"/> </clipPath> <path d="M0,0 v30 h60 v-30 z" fill="#00247d"/> <path d="M0,0 L60,30 M60,0 L0,30" stroke="#fff" stroke-width="6"/> <path d="M0,0 L60,30 M60,0 L0,30" clip-path="url(#t)" stroke="#cf142b" stroke-width="4"/> <path d="M30,0 v30 M0,15 h60" stroke="#fff" stroke-width="10"/> <path d="M30,0 v30 M0,15 h60" stroke="#cf142b" stroke-width="6"/> </svg> Open it with Affinity Designer. Export it as SVG. It becomes 1528 Bytes. That nearly 3 times more. And the SVG code is just messy. Another sample: Take the Stars and Stripes from the Wikipedia. It has 899 Bytes This is the code <?xml version="1.0" encoding="UTF-8"?> <svg xmlns="http://www.w3.org/2000/svg" xmlns:xlink="http://www.w3.org/1999/xlink" width="1235" height="650" viewBox="0 0 7410 3900"> <rect width="7410" height="3900" fill="#b22234"/> <path d="M0,450H7410m0,600H0m0,600H7410m0,600H0m0,600H7410m0,600H0" stroke="#fff" stroke-width="300"/> <rect width="2964" height="2100" fill="#3c3b6e"/> <g fill="#fff"> <g id="s18"> <g id="s9"> <g id="s5"> <g id="s4"> <path id="s" d="M247,90 317.534230,307.082039 132.873218,172.917961H361.126782L176.465770,307.082039z"/> <use xlink:href="#s" y="420"/> <use xlink:href="#s" y="840"/> <use xlink:href="#s" y="1260"/> </g> <use xlink:href="#s" y="1680"/> </g> <use xlink:href="#s4" x="247" y="210"/> </g> <use xlink:href="#s9" x="494"/> </g> <use xlink:href="#s18" x="988"/> <use xlink:href="#s9" x="1976"/> <use xlink:href="#s5" x="2470"/> </g> </svg> Open the SVG with Affinity Designer and export it as SVG. It becomes 13.925 Bytes! That 15 times more!! That caught my breath. Let's try something more complex: the flag of Portugal. (13.160 Bytes) And export it... Result: 53.139 Bytes !!! The files get fat and unreadable. That's totally unacceptable. And that were just simple samples.
-
Russell Brown here — no, not the one from Adobe but I *am* the author of Paths to Artistic imaging in Photoshop (ISBN 978-0-987574-60-2 ) Nevertheless, I for one would be delighted to see a viable, professional alternative to Photoshop and will be happy to make suggestions, should they be helpful. I have installed Affinity Photo today and have only had time for a brief look, but I already have some observations and will add more here, as I find them. I have noticed some others already making similar suggestions, however I felt that it would be better if I start my own thread to keep all my ideas in the one place. The main issue I have so far in that raw (NEF) files opened in Develop Persona are doing some strange things. It would be good if the default processing on opening could be switched off permanently as an option and where is the white balance adjustment for Tini? As it is, this module is a bit clunky and could do with some refinement. Ajustments to the sliders are difficult and can't be adjusted finely, as one can with the arrow keys in Photoshop. ACR is quick and intuitive but so far, Develop Persona is not. In the main program, can you add an option to have finer grid squares in the Curve dialog box? In PS, one can Option-click in the dialog to get the extra grid lines, making fine adjustments easier. Double clicking in the workspace in PS is a quick was to open a file. Can this be incorporated into AP? Do you have plans for a Bridge style image viewer to make selecting files easier and quicker? In the Channels palette, could you add the composite image, so that after working on individual channels, I can easily return to the composite image? At the moment, it seems that I have to click on each of the other channels, including Alpha, before I can see the composite image again. Do we have an Info palette and can we add sample points to an image for precise colour adjustment? This is essential and I can't see anything in the Help section about it. While we're on the subject, some diagrams and info are missing from Help. More to come....! Thanks.
-
 Affinity Designer is fantastic. Not because I'm a great drawer or illustrator. I'm printing and prepress professional and in the past week I have had two times where it Illustrator or Indesign could not take an existing PDF and deal with the file right. Designer was able to bring in the PDF and let us alter it to get the vector logo out. I do this regularly but I usually don't get errors importing into Illustrator but I did on this one and Designer saved us. Today a font was not embedded in a PDF that someone created in Corel. We were able to install the font on the Mac, open the PDF in Affinity, adjust a little bit because the person did a poor job designing and resaved - the ad came out perfect! I'm looking forward to the page layout program with how well Designer is working.
- 1 reply
-
- 3
-
-
- illustrator
- fix
- (and 1 more)
-
There should be a eraser tool. Especially for a paid program.