Search the Community
Showing results for tags 'raster'.
-
-
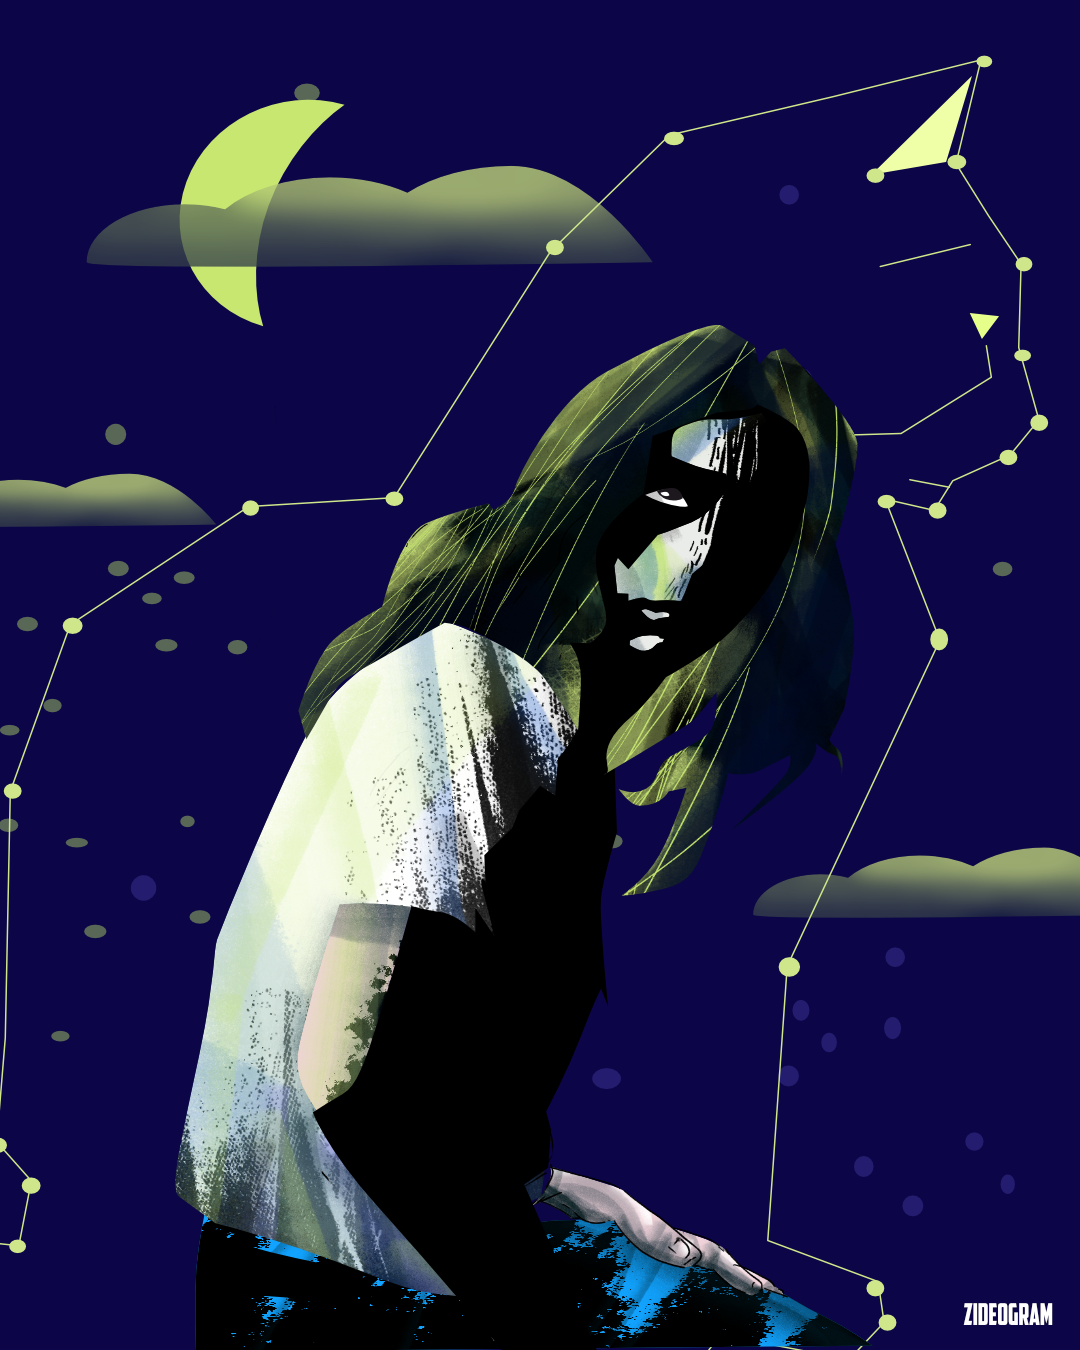
Latest vector/raster digital artwork. By me, an avid DC's music listener. Not commercial, personal work.
-
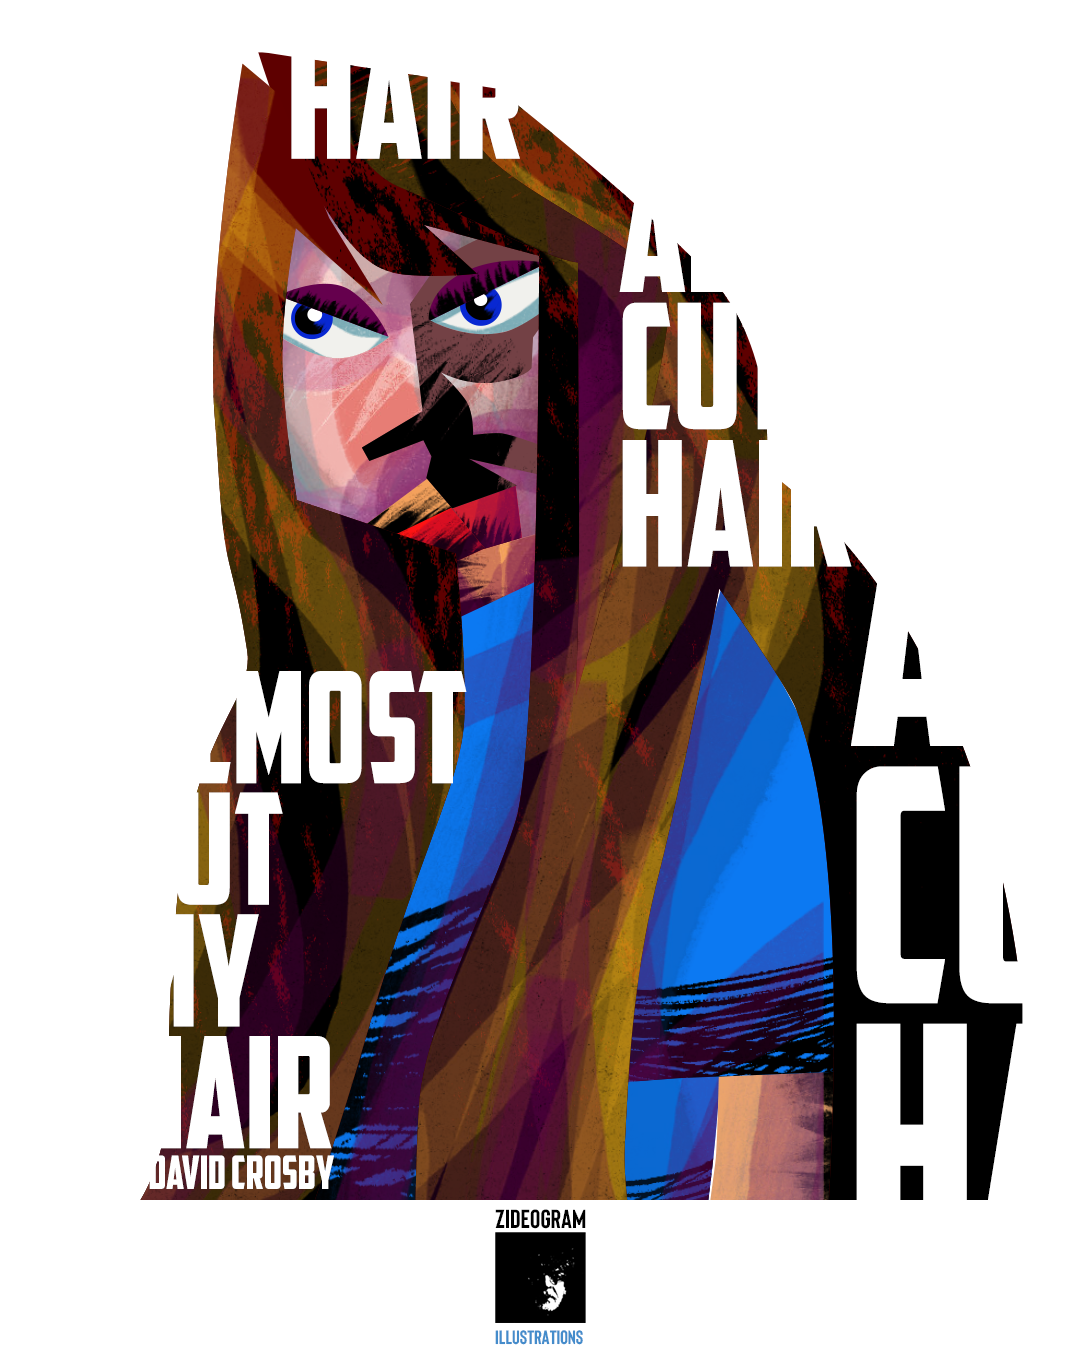
Raster digital brushes artwork. Personal work. Recent one. The title on the cover says "The book that read me". By unknown author.(!)
-
I have an icon in raster format. Icon is stored as .png or .jpg file. Icon is drawn with black or gray color on white background. HOW CAN I CHANGE THE ICON COLOR AND KEEP THE IMAGE QUALITY AS IT IS AND KEEP THE BACKGROUND WHITE AS IT IS ? I have installed Affinity Photo and Affinity Designer so solution can be in both of this software. Please see attached file - I would like to change the icon from dark gray to red - how can I do that ? Thank you !
-
I am wondering whether it is possible to export vector graphics from Affinity Designer with 3D effects as purely vectors. My experiments with this seem to indicate that those 3D effects always get rasterised on export. Is that the case? Whenever I export without rasterising being applied, the resulting file loses all 3d effects.
-
I've recently created several vector only designs in Affinity Designer. When I go to export them as SVG instead of being vector svg files they are svgs that contain raster pngs embedded in them and hence don't scale properly. This is not what I want. 😢 Is there any way to tell affinity designer to export the vector design as only a vector svg not png embedded in svg? Are there features of the software that force the design to export embedded pngs, and if so is there a refence to which ones so they can be avoided and alternate methods employed? I've noticed specifically that outer shadow fx seems to trigger this, i'd really like to know which other features trigger this behavior so that i can make svg vector safe resizable designs. Anyone know a reference to this aspect of Affinity Designer? Many Thanks. ❤️
-
Just discovering affinity and getting used to the program took a hot second as my only digital experience has been a few undergrad digital painting courses with the cintiq but I primarily work on ipad with procreate UNTIL now. Overall I love Affinity so far as a comics creator, the toolsets the platform offers are just better suited to my needs as a sequential artist in general, and is the first legitimate alternative to photoshop I feel that has been offered on the IOS platform. Inking in the platform is miles ahead of procreate in that I can get a nearly analog realistic end result just with the default brush sets alone (which I haven’t even tweaked yet). I do have several things that have come up that are by no means deal breakers but admittedly when going through my workflow proved to be somewhat of an impediment. 1- With tool short cut commands while using a keyboard, the limitations in the pixel persona are quite evident. You have an amazing toolset available and the ability to switch back and forth between ALL available tools with keyboard shortcuts would speed up my workflow significantly. Namely when working in the pixel persona, having the ability to use a shortcut to quickly switch to the selection tool would be amazing. Possibly a solution could be to keep the current shortcuts as they are but simply adding the neglected tools to the list WITHOUT default shortcuts, allowing the user to input commands themselves to whatever suits their needs. -expanding on this some more, additionally adding a keyboard function to alter brush size and opacity would be amazing, or just the option to custom bind a key to it. 2- One thing I noticed while working was that the program struggled keeping up with my speed? (As an FYI I’m on a 2nd gen IpadPro 12.9”) Admittedly I work rather quickly and freehanded so when doing things like hatching- if I make strokes in rapid succession the program tends to seize up slightly and takes a few seconds to register the marks, and typically when it does any indication of pressure sensitivity is gone and I have to erase and slow myself down. Lastly- altering the function of pressing “shift” while actively drawing. I really wish it didn't “lock” the line to either vertical or horizontal and instead treated it as a point of origin while maintaining control over pressure sensitivity and snapping to a straight line. Again, overall I LOVE affinity as a sequential artist and have been informing my professors and colleagues about the program with great enthusiasm- and all of them expressed keen interest when I listed all the functionality options affinity has in comparison to procreate. You guys have truly made the ipad a viable alternative to other mobile creative platforms and I sincerely thank you! Threw a page of inking I did in here where I was basically just experimenting with brush functionality and learning the platform in general!
-
Hi, I want to ask about exporting EPS file. 1) When i export to EPS as "EPS FLATTEN", does it really mean that the file is totally rastered and UN-EDITABLE on any graphic software ? 2) And, i've tried to export as "EPS FLATTEN", and i got this white background attached. How to exclude that white background ? I need to make sure that my EPS file which i would sent to my client is for printing purpose only, as i have policy not to share raw material. Much appreciate if this forum can help me with solution for my situation. Thank you
-
hello designers, after i have done a project i exported it and this is what happend (in picture) it is rasteraize and it is very clear when i export many shapes Can someone tells me what is the correct method to export a logo in affinity designer ? because i iam a new affinity user thanks.
-
So I want to make pixel art and I see the pixel persona being used for that but I don't want it to be raster I'd like to export my pixel art as an SVG (with no raster) so I was wondering if that was possible with something made in pixel persona. If not is there some sort of pixel tool for the normal designer persona? All I saw there was the rectangle tool and that'd be a pain to use for pixel art.
-
Hiya folks! 🖖 I'm sure we're all dealing with the same stresses and frustrations brought on by the COVID-19 chaos (my country has been on full lockdown for a while now). It's important to stay busy to stop the cabin fever from kicking in, so I decided to create a little custom raster/pixel brush pack for Affinity apps - free for all! The brushes are not too complex, mimicking some traditional inking tools we all know and love, such as brush pens and fineliners. Perfect for those 'run-and-gun' illustrations where you just want to get to work and avoid the option-paralysis brought on by having to go through hundreds of custom brushes first. Included in the "Lockdown Liners" brush pack you'll find: 1 x HB Pencil (inspired by the Palomino Blackwing 602 pencil) 1 x Precision Eraser (inspired by the Tombow Mono eraser) 4 x Fineliners in Broad, Medium, Fine, and Ultra Fine (inspired by Pigma Micron technical pens) 1 x Brush Pen (inspired by the Tombow Fudenosuke Hard Tip brush pen) 1 x Gel Pen (inspired by the Sakura Gelly Roll) Fully compatible with Affinity Photo for desktop and iPad, and Designer's Pixel Persona for desktop and iPad. *Best used with a drawing tablet or iPad with Apple Pencil to take full advantage of the pressure sensitivity that the brushes offer. I'll likely make a few tweaks to the pack as I go along, but I'll be sure to update it on Gumroad when I do so that everyone who has already downloaded it can be notified. Hopefully you can create some cool work with the brushes to help pass the time while we're all stuck indoors - if you do, be sure to tag me on Instagram, http://www.instagram.com/christidutoit, I'd love to see what you make! Here's the download link to the brushes on Gumroad: http://www.gum.co/lockdownliners As mentioned, these brushes are totally free to download and use, just type $0 in the price tab and click "I Want This!". Stay safe out there! - Christi. ☠️
- 1 reply
-
- brushes
- affinity photo
-
(and 4 more)
Tagged with:
-
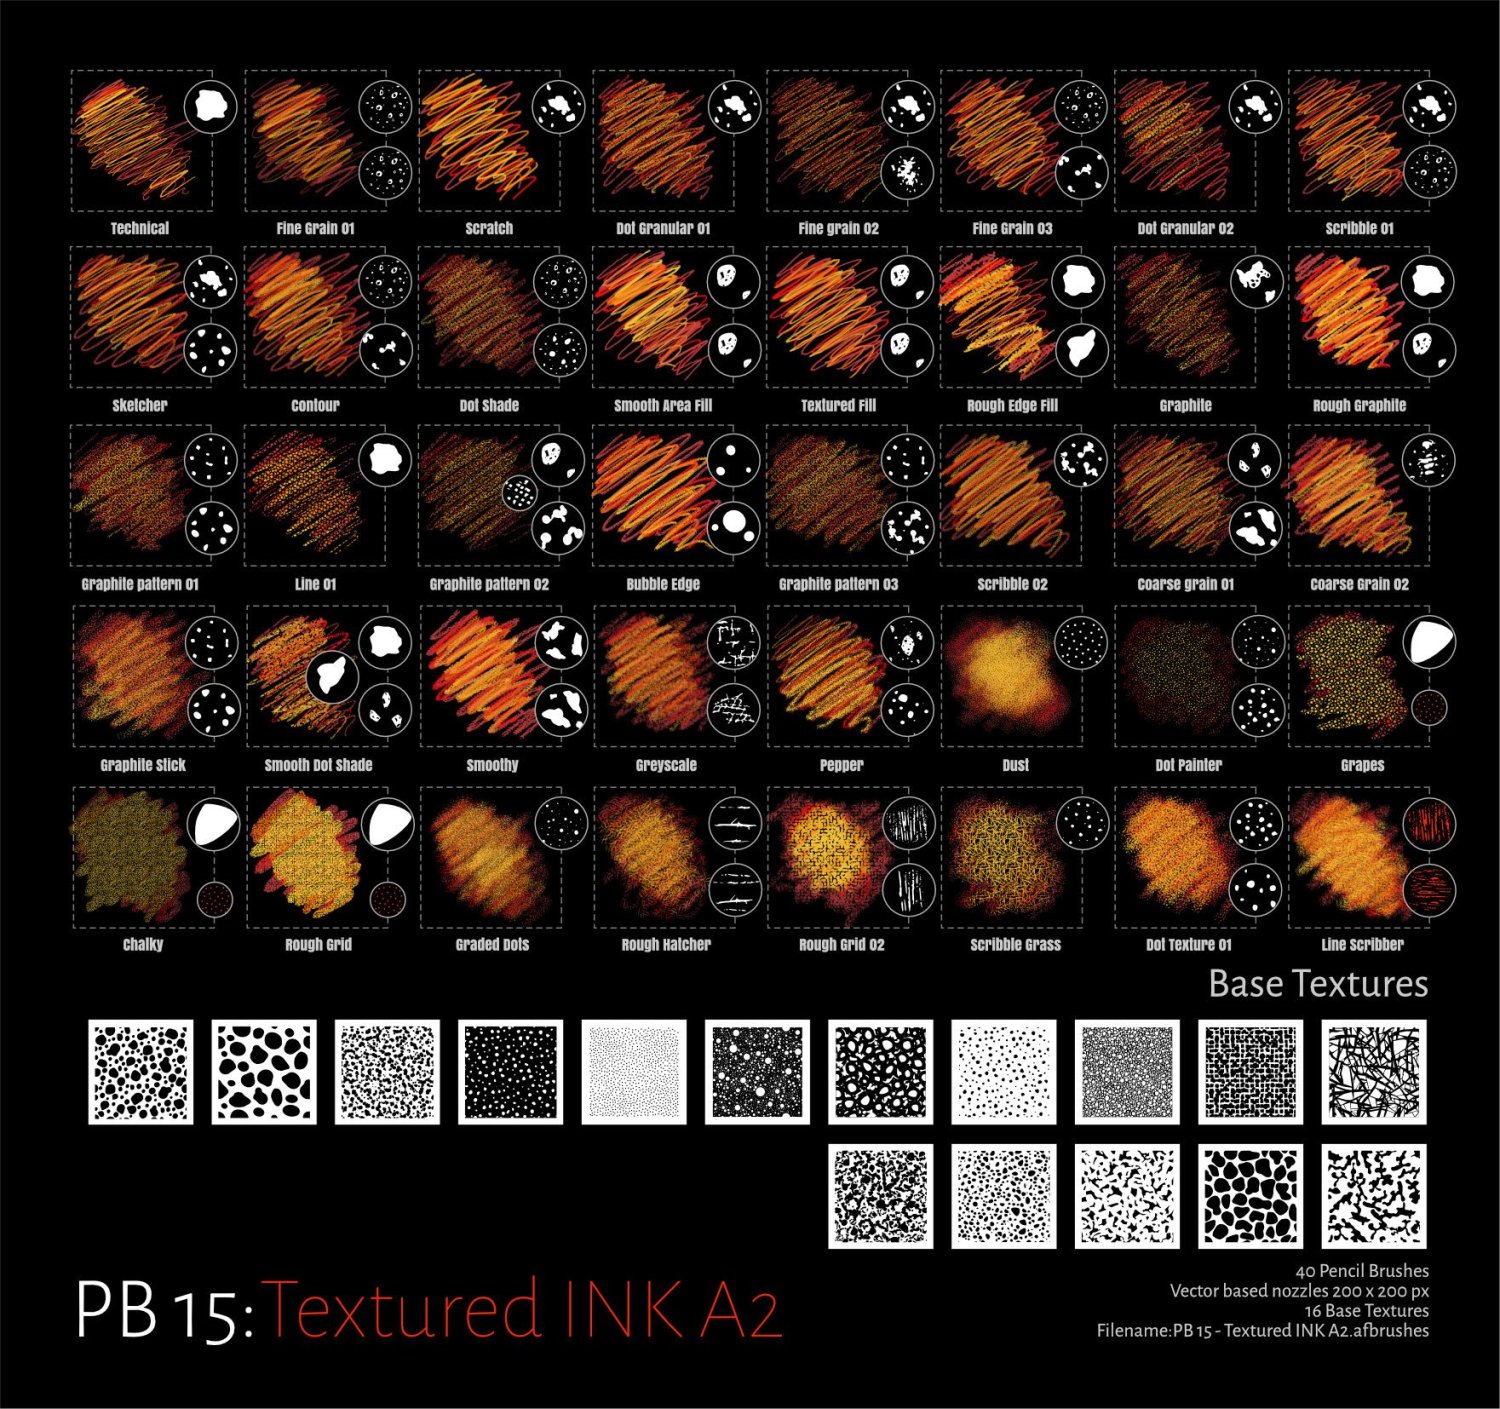
Textured Pencils Added a set of 30 Textured Pencil Raster Brushes to Resources Sample set as displayed Updated for Affinity 2 but retained version 1 brush set Affinity 01Affinity 01: Original Brush set (Sample sheet removed)Affinity 02Affinity 02: Updated version 2 set with adjustment to dynamics to include Distance and Interpolate (Sample sheet as below). Replaced Linear Paint 01 with better nozzles! These Brushes are a bit different from my usual offering. 1. They are small 2. Rely largely on setting the blend mode to Average (something I learnt from Sketchbook Pro!) 3. Resize as you wish 4. Updated to consider Affinity 02 Brush Dynamics 5. Included samples of Base Textures Sample Sheet Enjoy! Affinity 01 Project Brush - Textured Pencil.zip Affinity 02 PB 15 - Textured Pencils A2.zip Ink Sketch Brushes Added a new set to supplement these brushes from the Project Brush 13:Ink Painter Set (which is now complete)..a bit out of sync as I started them quite a while ago! A set of 35 Ink Sketching Raster Brushes to Resources Sample set as displayed 1. These are essentially the same as the Pencil Brushes but with adjustments to the brush dynamics and less texture..There are 2 other sets that supplement these in the InkPainter Project set (Ink & Linear) 2. Similar to brushes produced by Jake Parker for initial Inktober Project 2016 3. If you need textures/Patterns There is a set available Camouflage assets (here) ...which is also out of sync...and maybe in the wrong place! Sample Sheet Affinity 01 inkPainter - Sketching.zip Affinity 02 PB 15 - Textured INK A2.zip
-
Camouflage II Pattern Styles Created a new set of styles using some of the base textures built for the organic pattern Brushes Sets I and II using multi layer symbols to extend the effects 30 independent styles (set with maintain fill aspect ratio/wrap) File size is Larger than usual! ....Exported the .png but a t higher res (400dpi) Sample Sheet as below with .zip file for assets: Camouflage II Pattern Styles.zip
- 29 replies
-
- styles
- camouflage ii
-
(and 1 more)
Tagged with:
-
Started work on Inktober 2019 Challenge.. Day 01 Prompt:Ring Completed in Affinity Designer Original Size 500mm x 500mm 300 dpi Upload size 1771 x 1771 HQ and jpg
-
Affinity Designer for Desktop feature requests: 1. Add a "Recents" or "Recent Files" panel/option to the Welcome Dialog to quickly open a recent project. 2. Add a tracing feature to create an outline or centerline vector image from an original raster image, with option to choose how many colors and nodes to use in creating the vector. I use Corel Draw to do this easily. This is especially useful for converting scanned or photographed hand-drawn text into a vector image. I'd love to have this feature in Designer.
-
Not a bug per-se, but there's a configuration error in Affinity Designer and Photo's raster brush settings while using "Velocity" to control brush size. I noticed this with previous versions and thought it might be addressed in 1.7, but unfortunately it's not. Using velocity to control the brush size is meant to change the brush size depending on the speed at which you draw. Think gel-pen - the quicker you draw, the thinner the line is, and the slower you draw, the thicker the line is. As it stands, in Affinity, it's more of a slow gradual build up in size regardless of the speed at which you draw - sometimes it doesn't really do anything at all to the size. Procreate's 'Gel Pen' brush is a great example of this, and so is ArtStudio Pro's brushes with velocity enabled. Clip Studio Paint also has it, which I used to demo the feature so that you can better understand what I mean. I've uploaded a quick screen recording of this to YouTube to better show what I mean (below). I've boosted the 'velocity' jitter significantly in CSP just to make it obvious, and I've maxed it out in Designer, but it isn't doing much. The velocity feature is super awesome for getting a digital brush to feel and behave 100% like a real ink pen. Would love to see this realised/fixed in a future update.
-
I would like to see some improvements to the brush engine in the affinity programs. I have been using the latest beta, but was disappointed that there seems to be hardly any improvement in this area. The most prominent bug has to do with the custom wet edges setting. Many lovely dynamic brushes have these, but these properties do not work when erasing: so when I want to use the same brush to erase (which is my normal workflow, paint/erase with the same brush) the brush is completely different, soft and blurry. I find this to be very annoying when trying to use AD or APh for drawing and painting. I have to create a workaround with masks or switch to a hard normal eraser, which does not look as nice. A related bug is that when I switch back from eraser to brush, the wet edges setting of the brush does not work, and I get a soft blurry brush. I have to switch back and forth between brushes for the real brush look. I really hope you can improve this, as it is pretty groundwork stuff when using these apps for raster illustration. The brush engine has potential, but this is holding it back. I use an iMac 2011 with 12 GB ram, el Capitan (no Metal) and and iPad Pro 12.9 PS I posted this in the normal suggestions section, but got no response, so I hope someone from Serif can respond here....
-
At my current job we use Corel Draw in our graphic design department. I have switched to Affinity Designer and Photo for my personal work and these are my 5 features I use very often in Corel that I would love to see added. 1. Boundary Tool - Have a print/cut Roland printer and this tool is essential when creating a cut line around multiple objects. 2. Envelope Tool - Use this quite often for text effects. Converting to curves and manipulating from there works alright but Corel leaves the enveloped object still as text and can be still edited. 3. Flood Fill Tool - I'm able to replicate this using boolean operations but involves way more steps and occasionally will end up with odd quirks and unwanted results. 4. Blend Tool - I believe I have seen this is coming on the roadmap so hopefully soon 5. Raster to Vector Tracing - Also seen this is coming. Currently using Inkscape for this feature and then exporting/importing into Designer All this being said Designer is still one of the best applications I have used. How great this application already is has me very excited for future updates and enhancements.
-
Project Brush Set 08 Organics Used as brush set to supplement Camouflage III Project Updated the brush set to version 2 Should work much better now! Changes/improvements as below Version 2.0 1. Removed old versions redundant now.. 2. Made significant changes to the brush dynamics and nozzles. All nozzles are now vector based replacing previous raster versions (as much as possible) 3. There is a significant number of new nozzles for the brushes Which means they are not like original sets.. 4. Made use of the 1.7/1.8.2 brush engine in AD/AP using subBrushes. 5. The old brush set was appearing darker and less intense with 1.7/1.8 update...I have fixed that with this version! 6. Updated the Sample sheets to newer (latest) layout..Sub brushes are displayed in red. 7. Introduced a lot of new base textures 8. Organics Set 01 replaces the original Project Brush 08 set. There are 3 x 30 in the full project Archived the Older Brush set and updated Library information Raster Brushes ProjectBrush 08 - Organics Set 01 V2.zip
-
Hi, I have cropped a photo to size. I have rasterised the layer, but when I'm using inpainting brush, it keeps taking data from outside the canvas, but as far as I know, it shouldn't, as the layer has been rasterised. The inpainting tool behaves as the layer has not been rasterised. Am I doing something wrong? APhoto Beta 1.7.0.188 I attach sample screenshots when I'm trying to inpaint building on the top right.
-
Inktober 2018 So it begins again....All AD this year....hopefully! (except for initial sketching)... Links Day 01 [Prompt:Poisonous] | Day 02 [Tranquil] | Day 03 [Roasted] | Day 04 [Spell] | Day 05 [Chicken] Day 06 [Drooling] | Day 07 [Exhausted] | Day 08 [Star] | Day 09 [Precious] | Day 10 [Flowing] Day 11 [Cruel] | Day 12 [Whale] | Day 13 [Guarded] | Day 14 [Clock] | Day 15 [Weak] Day 16 [Angular] | Day 17 [Swollen] | Day 18 [Bottle] | Day 19 [Scorched] | Day 20 [Breakable] Day 21 [Drain] Day 22 [Expensive] | Day 23 [Muddy] | Day 24 [Chop] | Day 25 [Prickly] Day 26 [Stretch] | Day 27 [Thunder] | Day 28 [Gift] | Day 29 [Double] | Day 30 [Jolt] Day 31 [Slice] (This one is the only vector!) Project Brushes INK Working on a new Inking 'toolkit' consisting of Vector, Raster Brushes and vector assets. Samples as shown below: Vector Brushes A. inkBrush - Vector - Inking B. inkBrush - Vector - Paint C. inkBrush - Vector - Texture D. inkBrush - Vector - Effects E. inkBrush - Vector - Granular F. inkBrush - Vector - Render G. inkBrush - Vector - Linear Raster Brushes A. inkBrush - Raster - Pattern (Geometric) B. inkBrush - Raster - Pattern (Organic) C. inkBrush - Raster - Sketch D. inkBrush - Raster - Draw E. inkBrush - Raster -Paint F. inkBrush - Raster - Bristle G. inkBrush - Raster - Hatch H. inkBrush - Raster - Vegetation 'Stamps' I. inkBrush - Raster - Splatter J. inkBrush - Raster - Grunge K. inkBrush - Raster - Texture L. inkBrush - Raster - Stipple M. inkBrush - Raster - Effects Vector Assets A. vectorAssets - Grunge B. vectorAssets - Texture C. vectorAssets - Geometric Patterns D. vectorAssets - Organic Patterns Tutorials A. Creating Vector Brushes Experiments Vector Brush Experiments Inktober Prompts Day 01 [Prompt:Poisonous] AD only Original Size: AD 400 x 400mm 300dpi (Uploaded Size:1417x1741px/300dpi/hq jpeg)
- 94 replies
-
- inktober 2018
- vector
-
(and 2 more)
Tagged with:
-
Reworked sketch from Inktober 2017 [08:Crooked] Original drawing (Black) jpg created in Sketchbook Pro. Reworking and colouring in AD Size in AD 300 x 150mm 300dpi (Uploaded Size:1772x866px/300dpi/hq jpeg)

