Search the Community
Showing results for tags 'Portrait'.
-
 In this video, I am going to show you a unique technique for sharpening a portrait in Affinity Photo. I think its the best way to sharpen a Portrait in Affinity Photo. I hope you like it. Please Subscribe this channel and share this video on your social networks.
 -
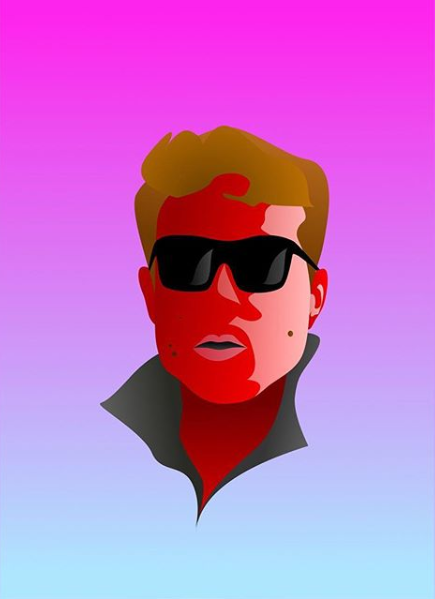
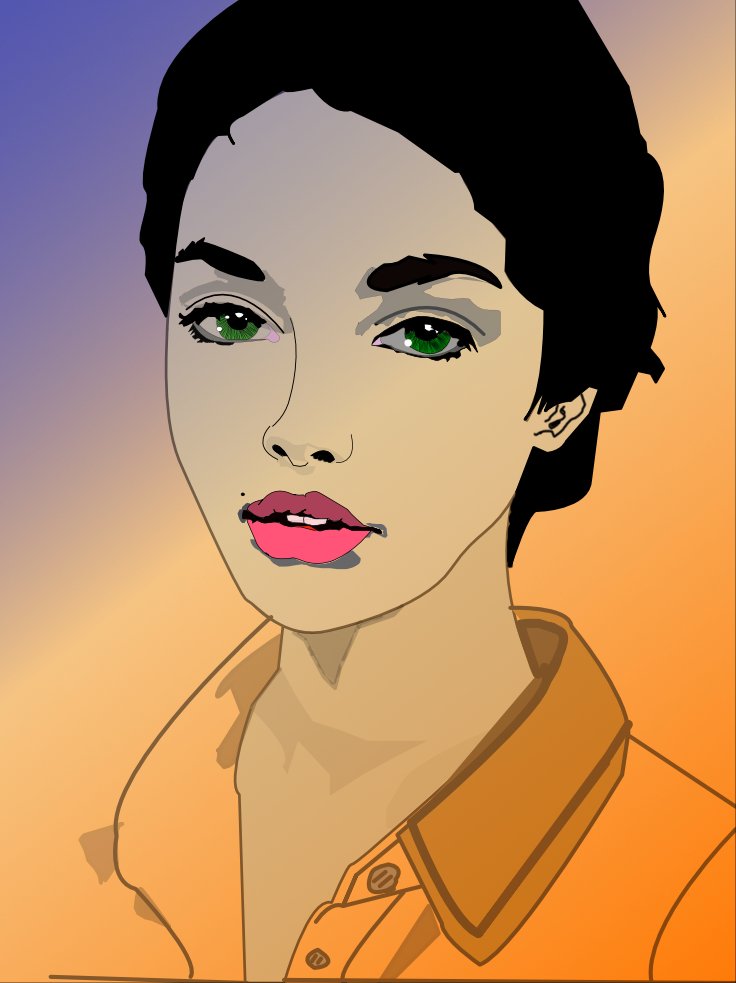
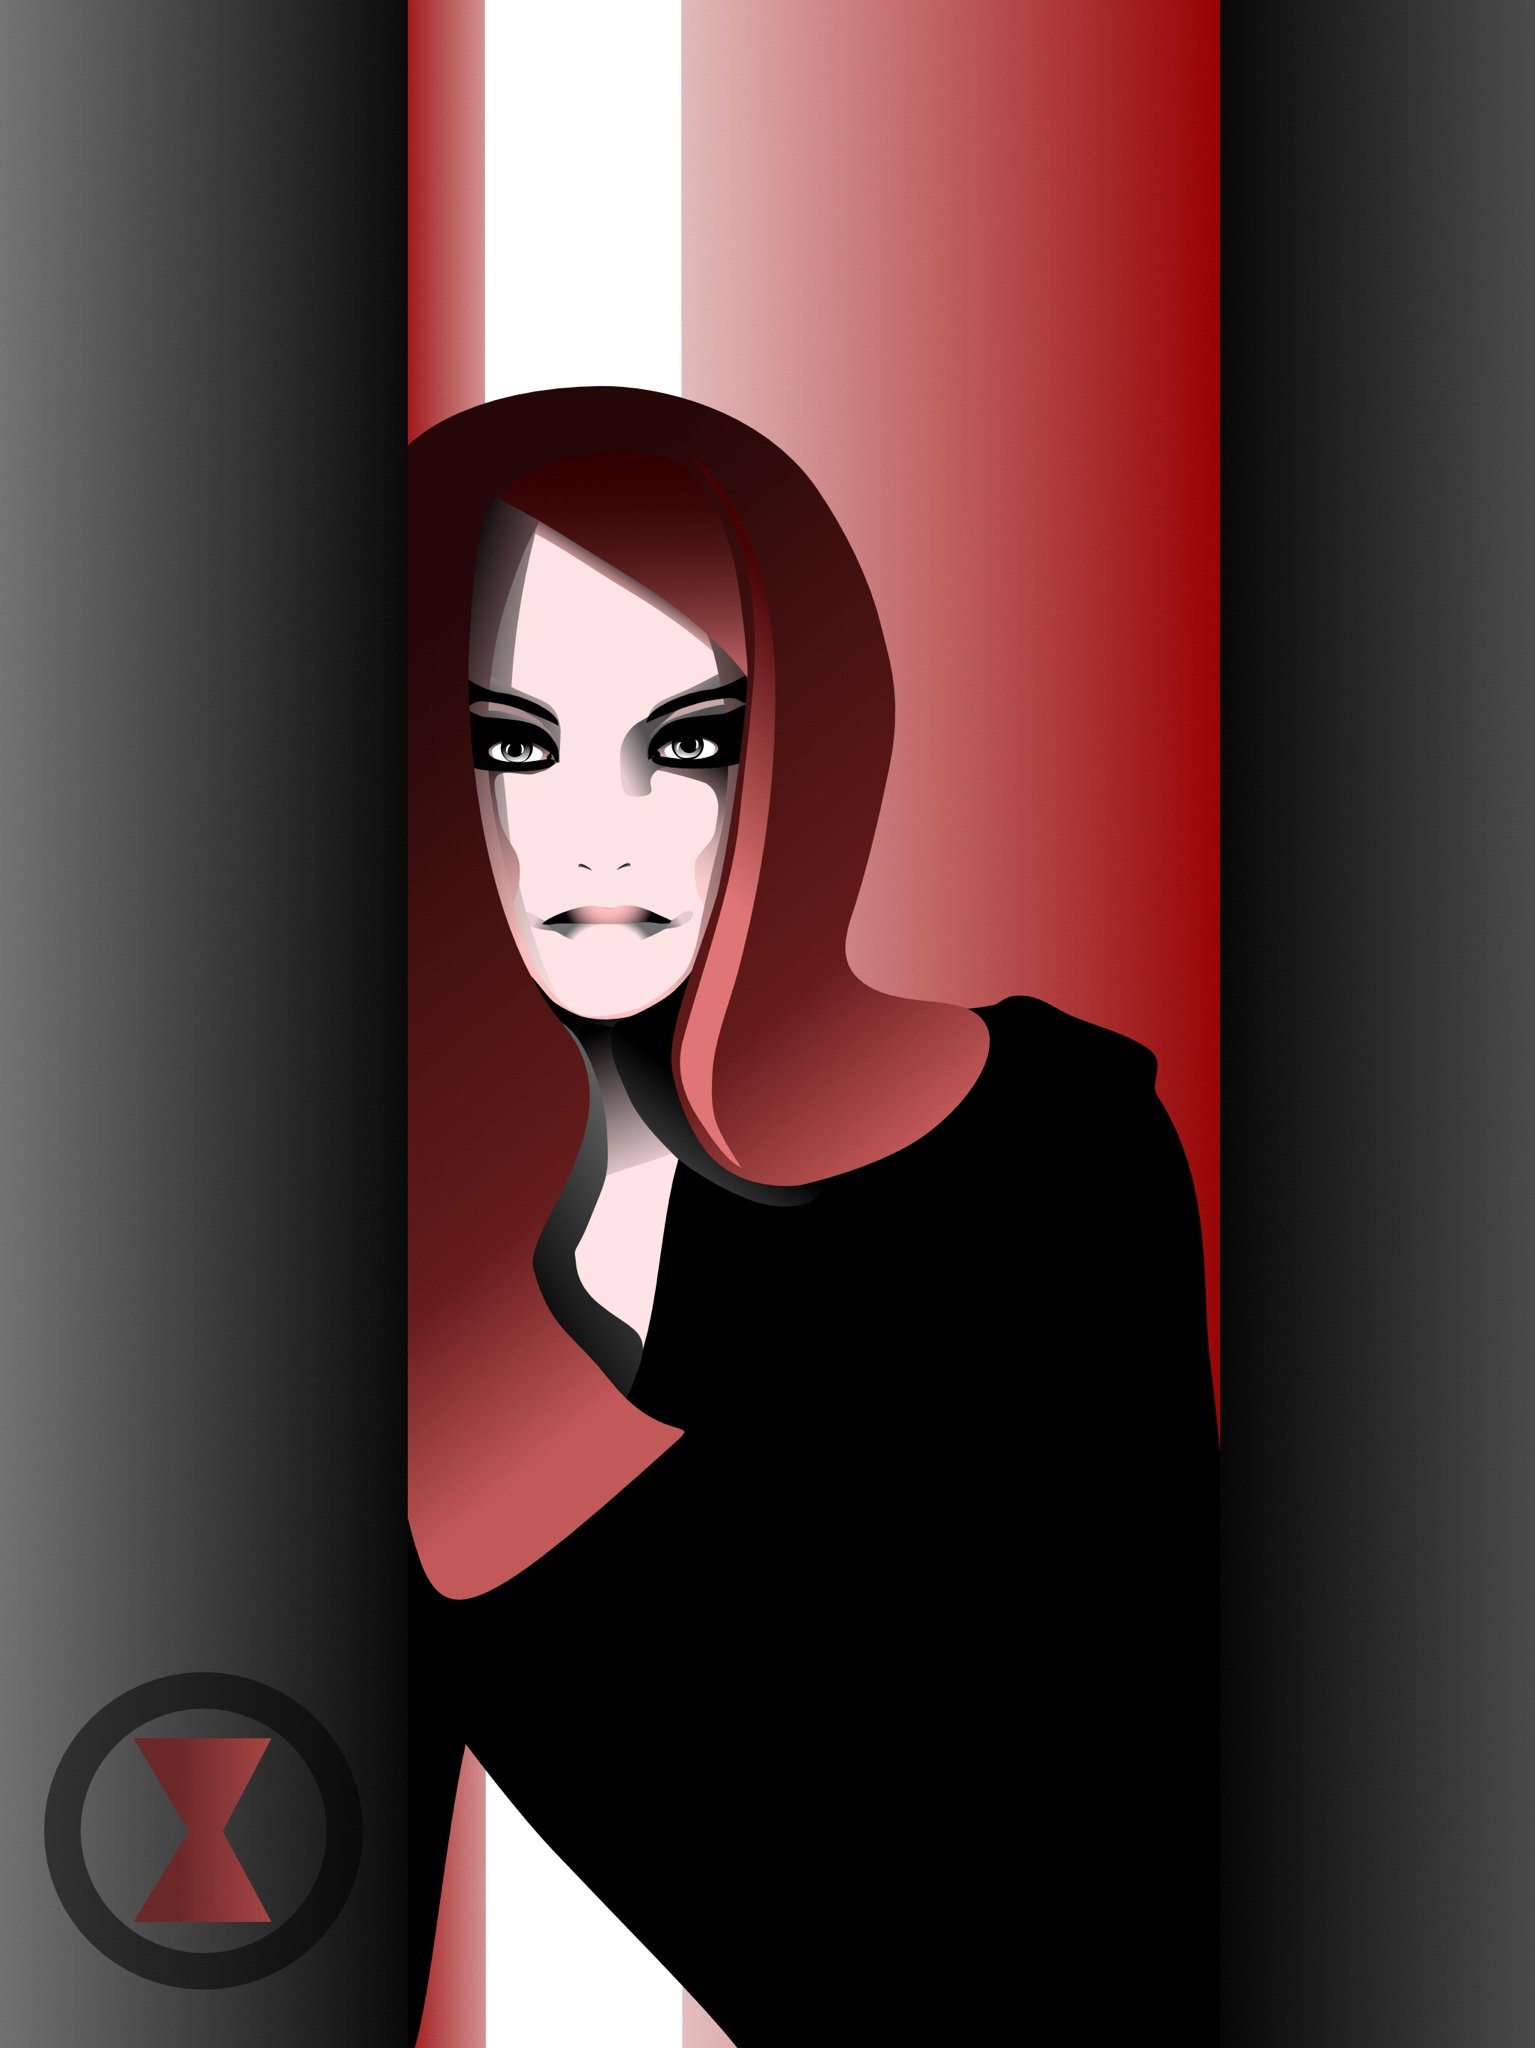
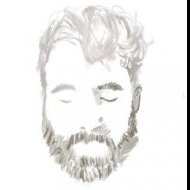 Hi, One of my latest illustration, a self-portrait. Any feedback will be appreciated :). Regards.
- 2 replies
-
- 2
-

-
- ipad
- illustration
- (and 3 more)
-

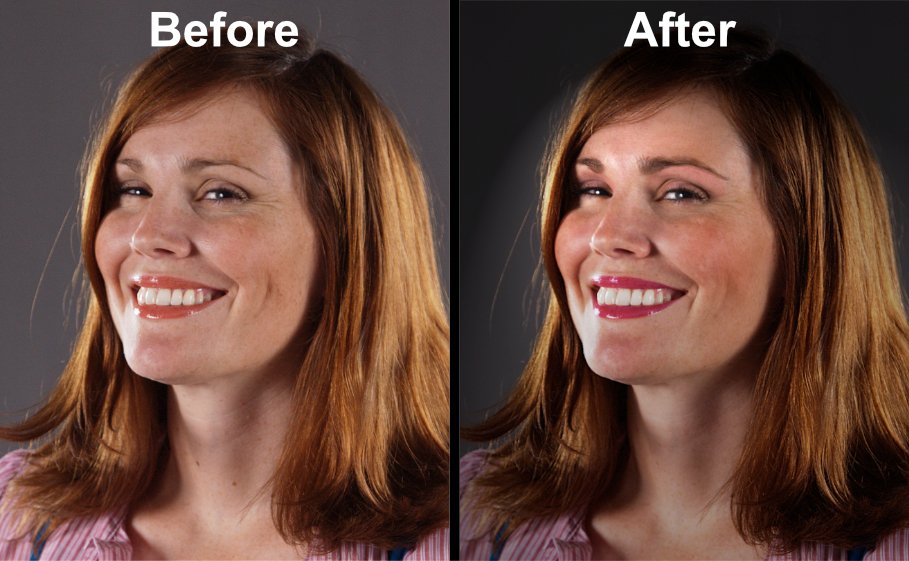
affinity photo Before and After Photo Enhancement Practice
uxdesignerwt posted a topic in Share your work
This is a photo enhancement tutorial that I found on Lynda.com. I learned a lot from it. I am starting to get faster and put things together on how to get certain results.
-
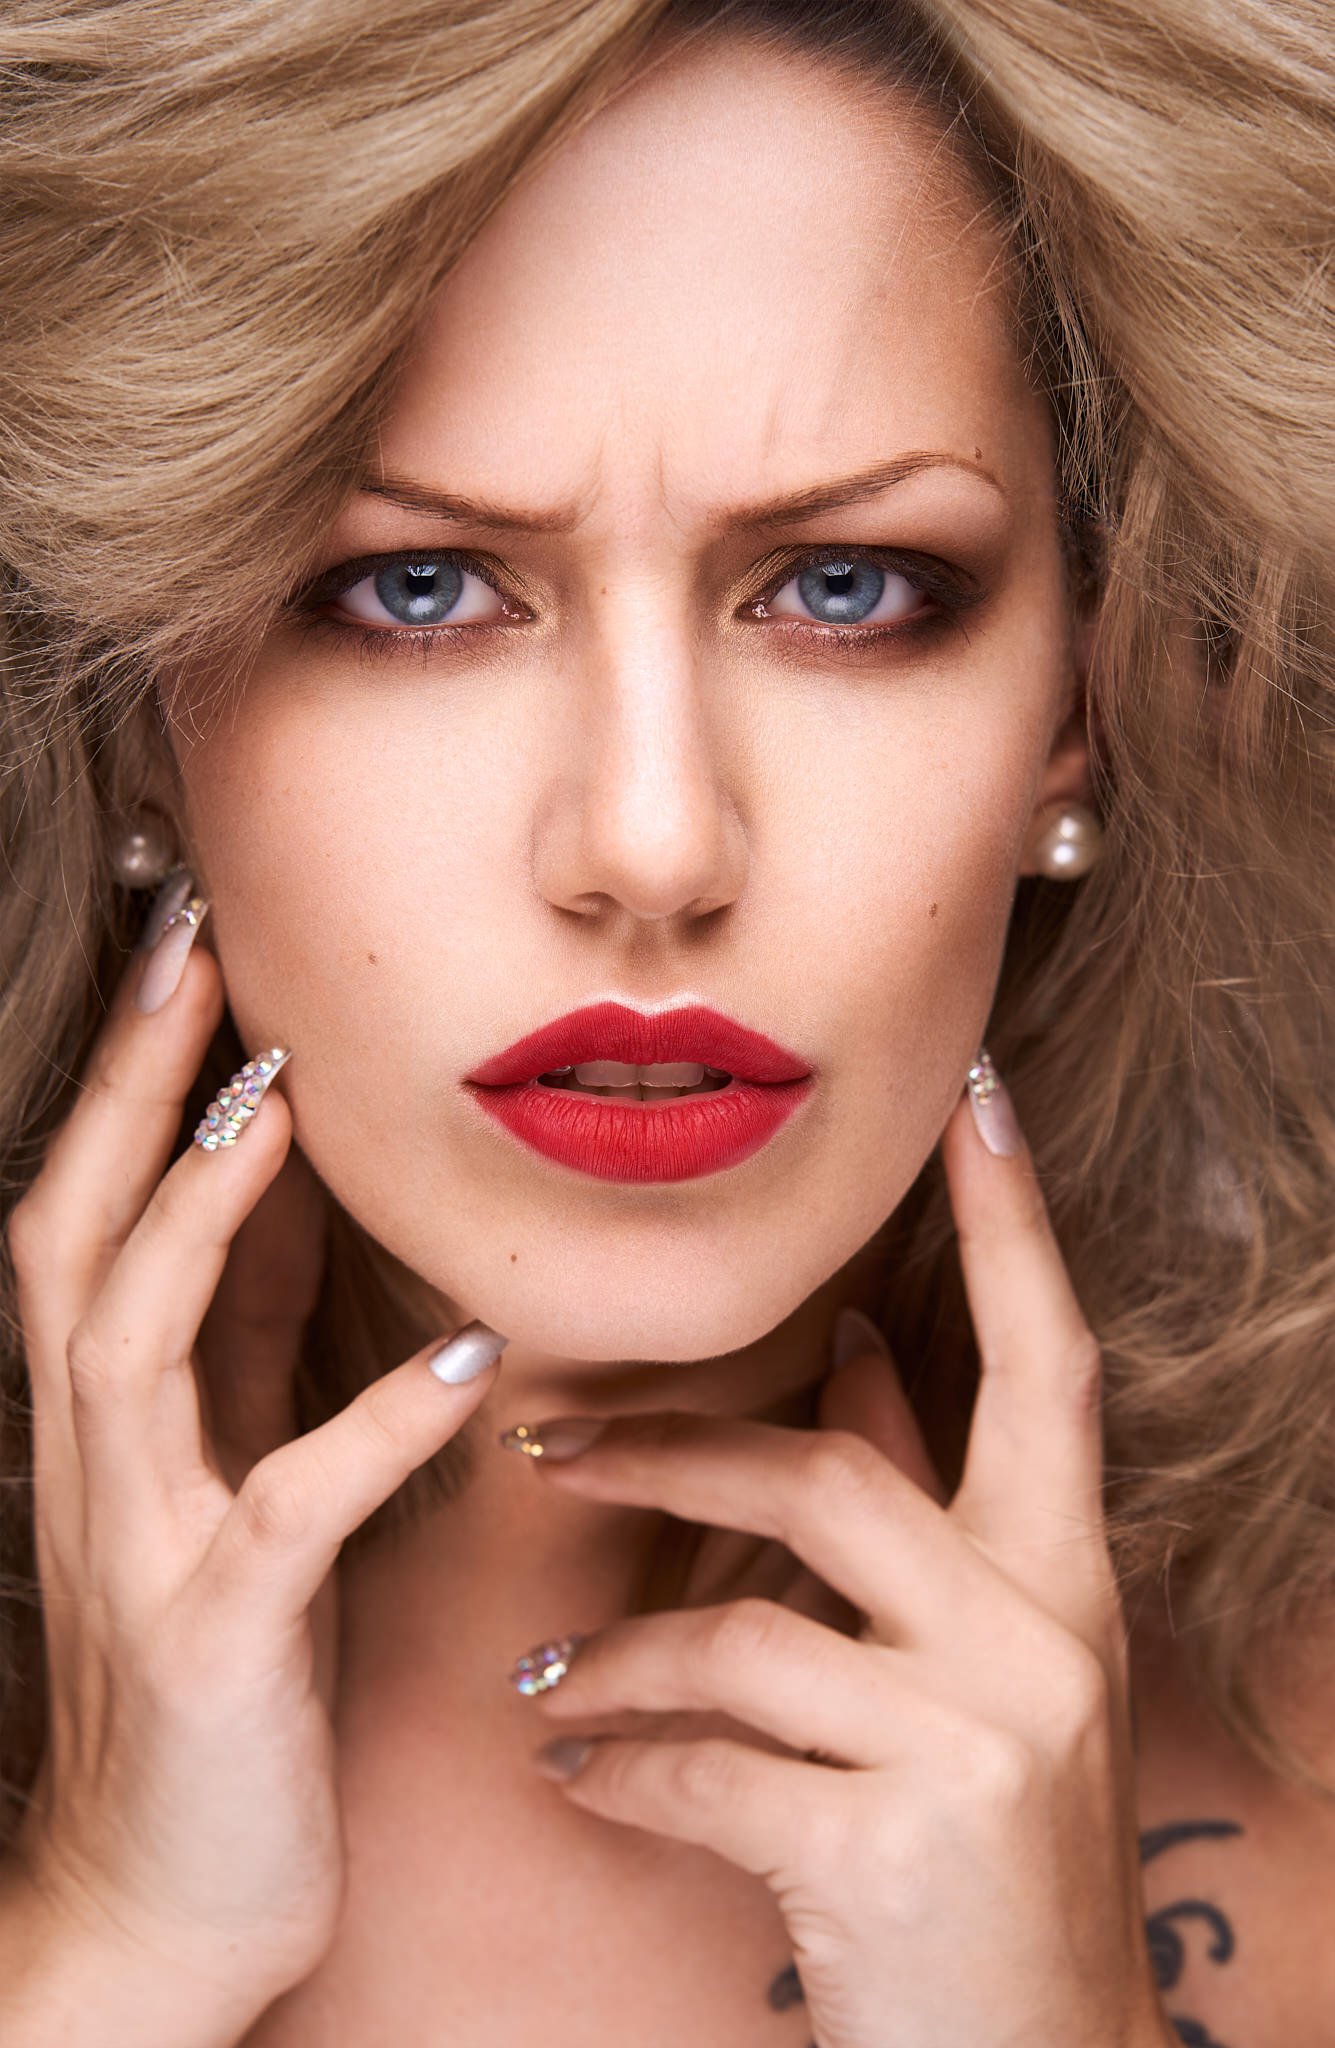
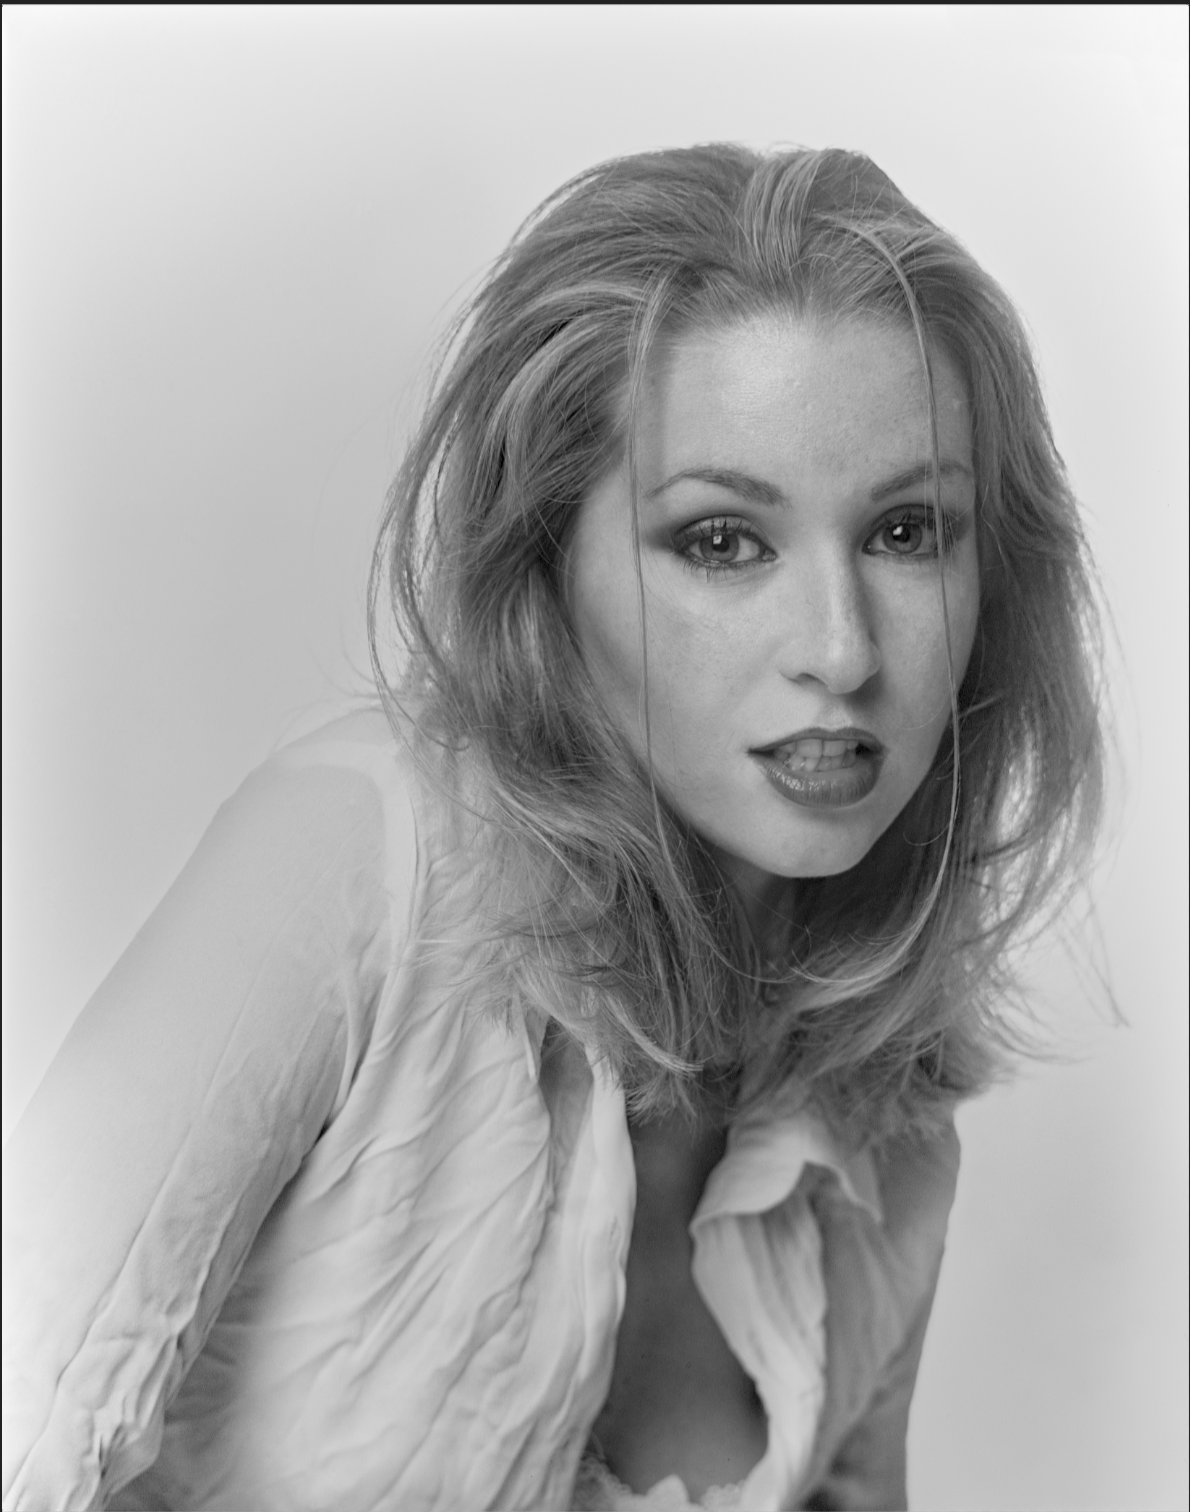
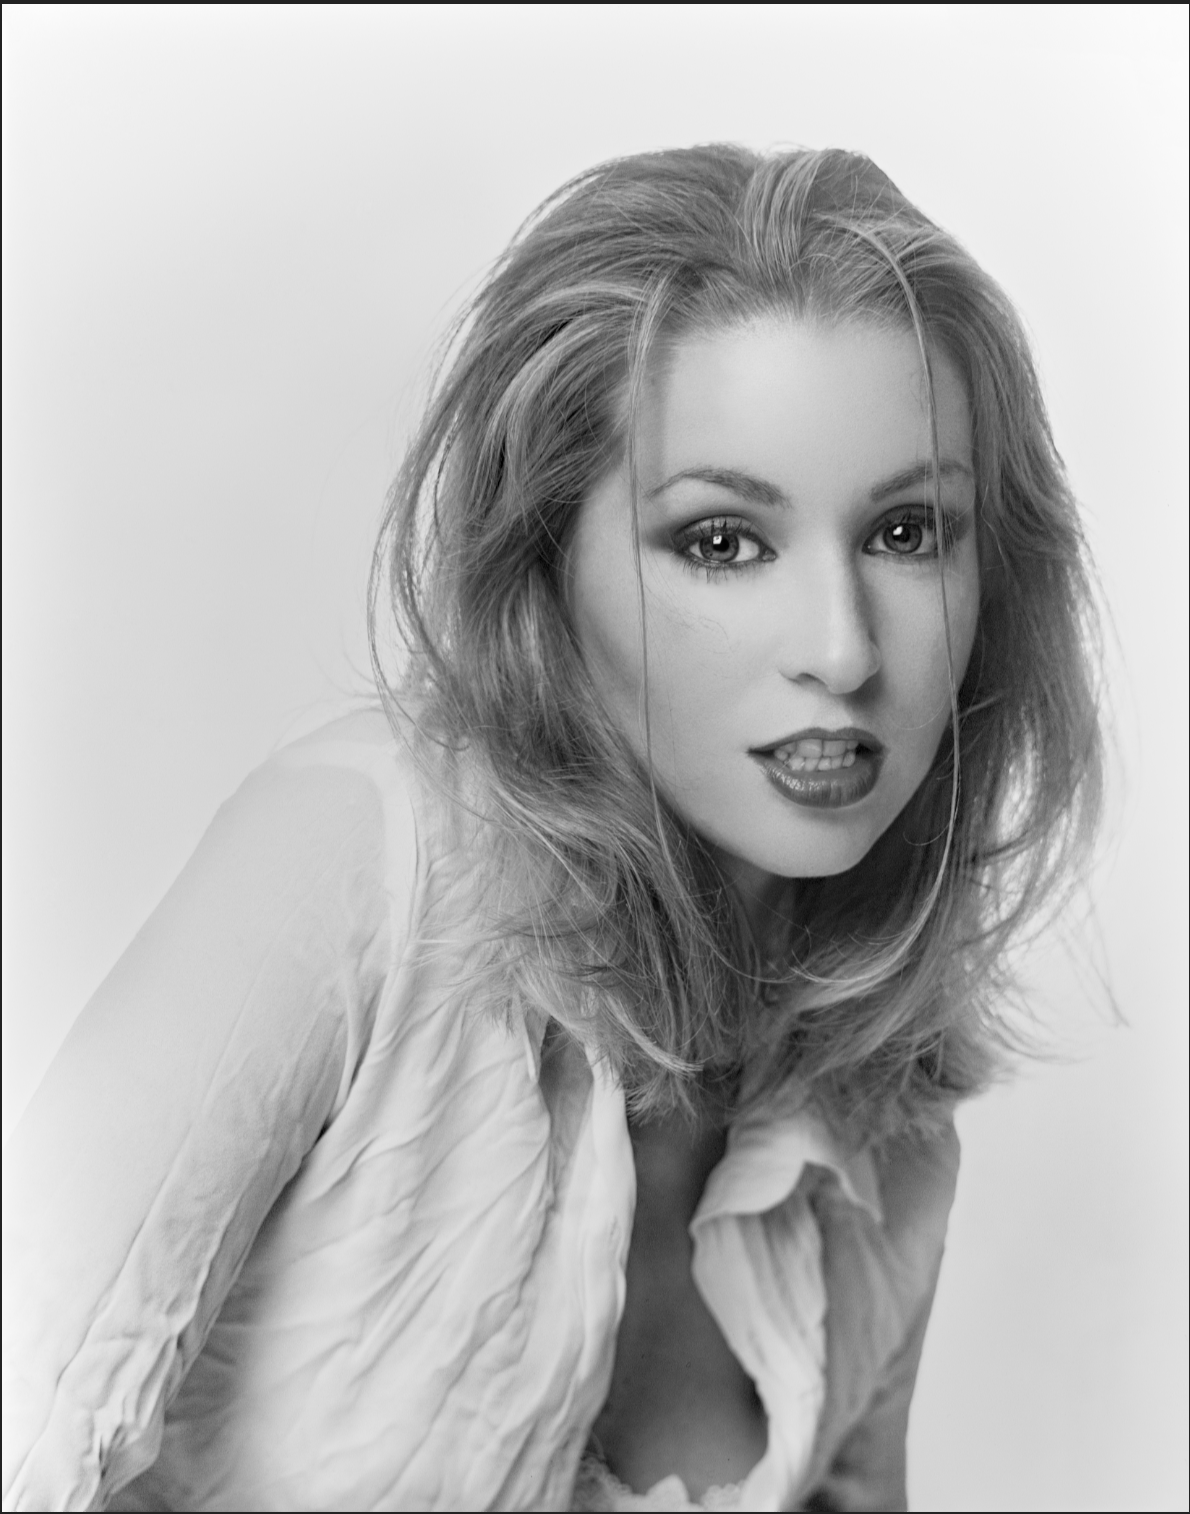
 I was testing my retouching, which i do normally in Photoshop to do in Affinity Photo, how do you like it? Feel free to visit my Instagram: @roman.hammer.portraits to visit more of my stuff.
-
Here is a photo retouching done on affinity photo: What do you guys think?
-
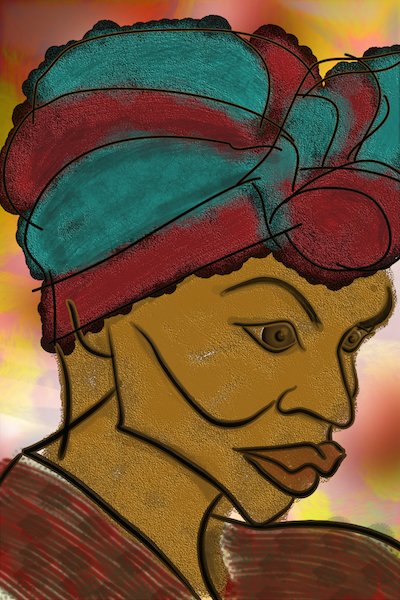
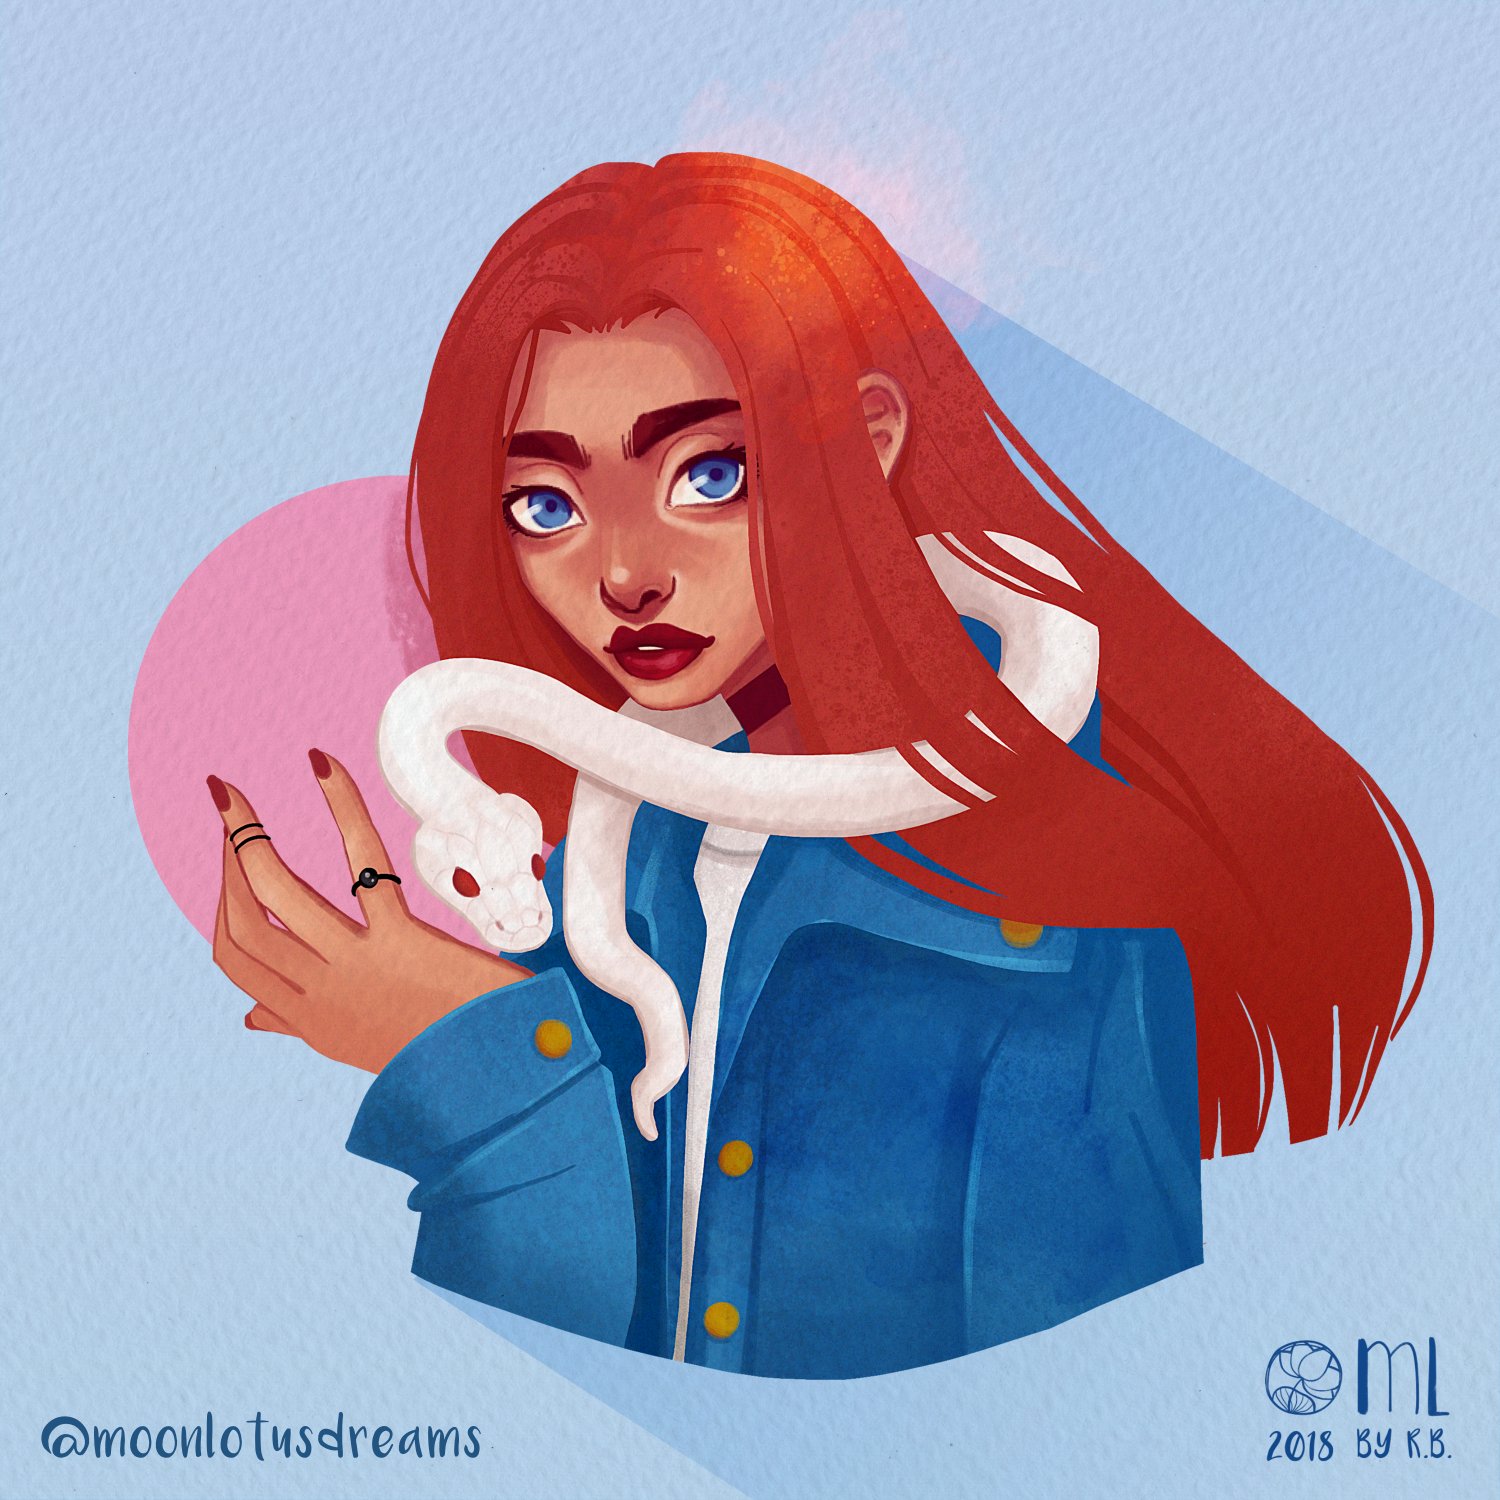
Hello! I am using Affinity Photo since August 2018 but only recently I have started to do more illustrations and digital art with it. I've always been using Photoshop before then and I need to say I find Affinity fantastic! I would like to share some drawings and my latest speedpaint video. Please let me know if you have any feedback or advice to improve Thanks! Speedpaint video here: https://www.youtube.com/watch?v=vKx1FbRYjZg
-
- 3
-
-
- illustration
- digital art
- (and 3 more)
-

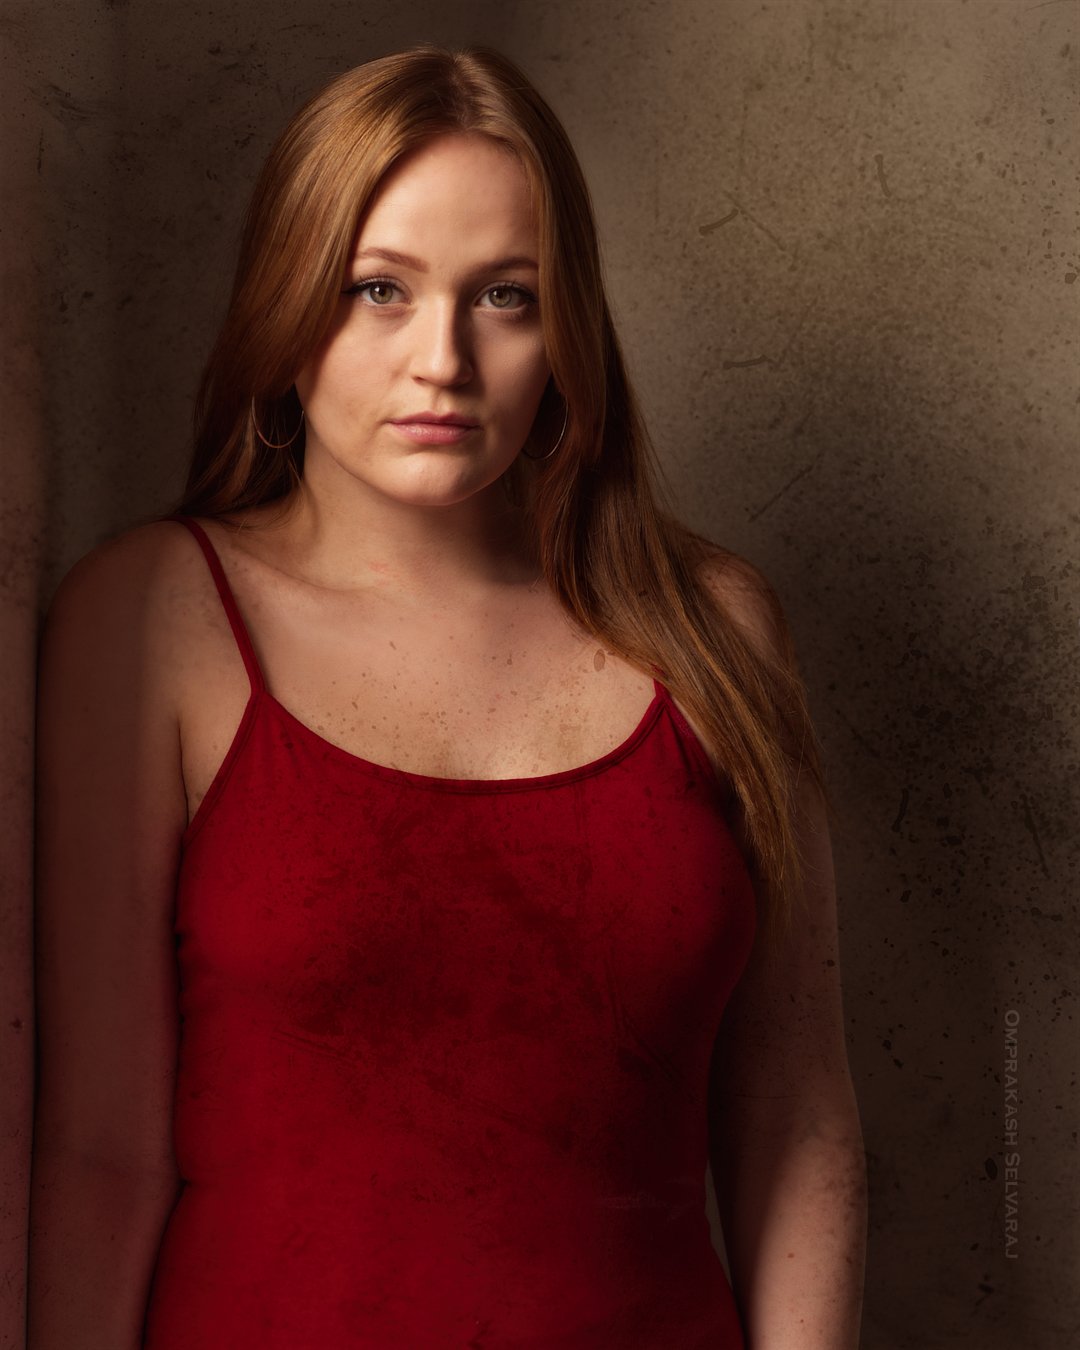
affinity photo My first work with Affinity Photo
Omprakash Selvaraj posted a topic in Share your work
Version 1.7 beta is real power house. Love the realistic brushes and textures it provides.
-

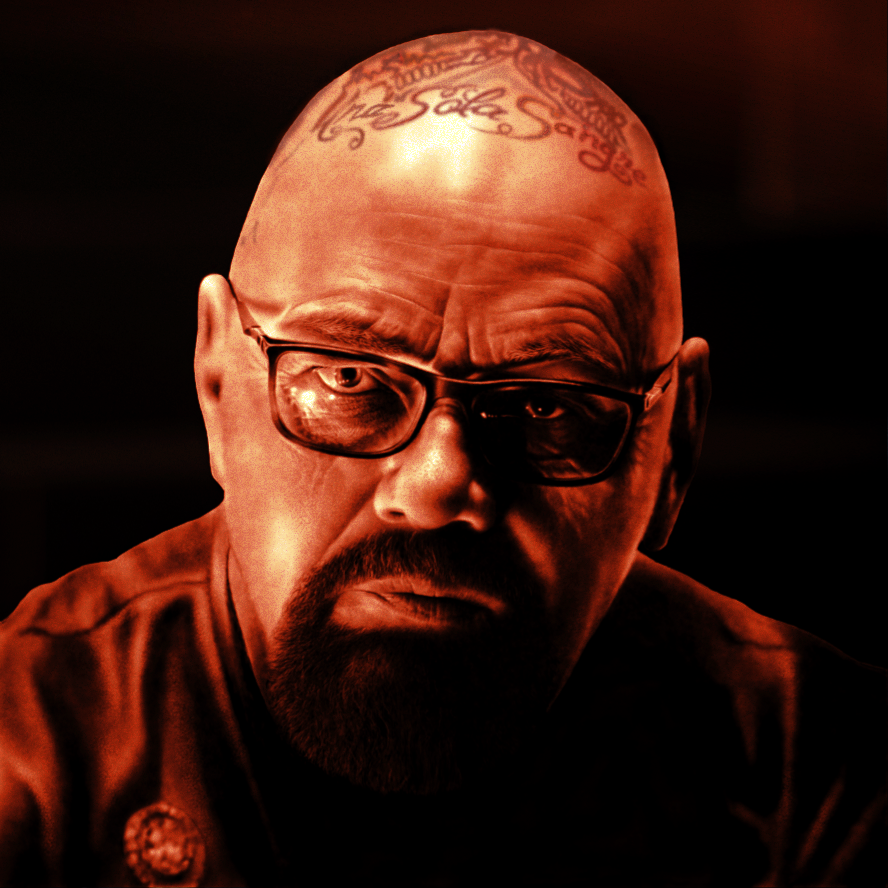
affinity designer Realistic Hybrid portrait - pixel / vector
VectorWhiz posted a topic in Share your work
The face was created from scratch in AP, the tattoos were drawn in AD. Progress of portrait visible at: https://communicats.blogspot.com/2017/08/digital-portrait-of-ns-captain-world.html
- 4 replies
-
- 6
-
-
- hybrid portrait
- pixels & vectors
- (and 1 more)
-
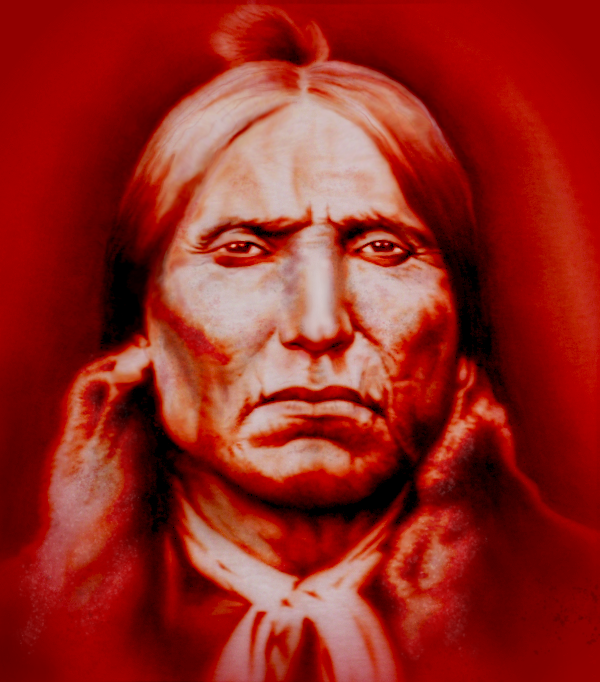
I airbrushed this years ago on T-shirt, but it contained errors due to the printed reference image heating up and deforming in the projector caused by the projector lamp's radiation heat. I corrected the image using the Liquify Persona and added texture with custom made brushes and detail. It is one of the reasons I switched to digital art creation, particularly after digital printing improved dramatically. The image is Quanah Parker, a famous Comanche chief who never lost a battle against the British and American army. He gave up fighting after he realized that wars were going to decimate his people.
-
Pure Vector, no pixels, some coffees https://b-bertuleit.de/butterfly-vector-portrait/
-
Audrey Hepburn: Moon River (Vector) Portrait (Affinity Designer/Photo) https://b-bertuleit.de/audrey-hepburn-portrait/
- 3 replies
-
- 5
-
-
- audrey hepburn
- portrait
- (and 5 more)
-
Vector Graphics/Portraits (Works without pixels), Affinity Designer. https://b-bertuleit.de/vektorzeichnungen/
-
-
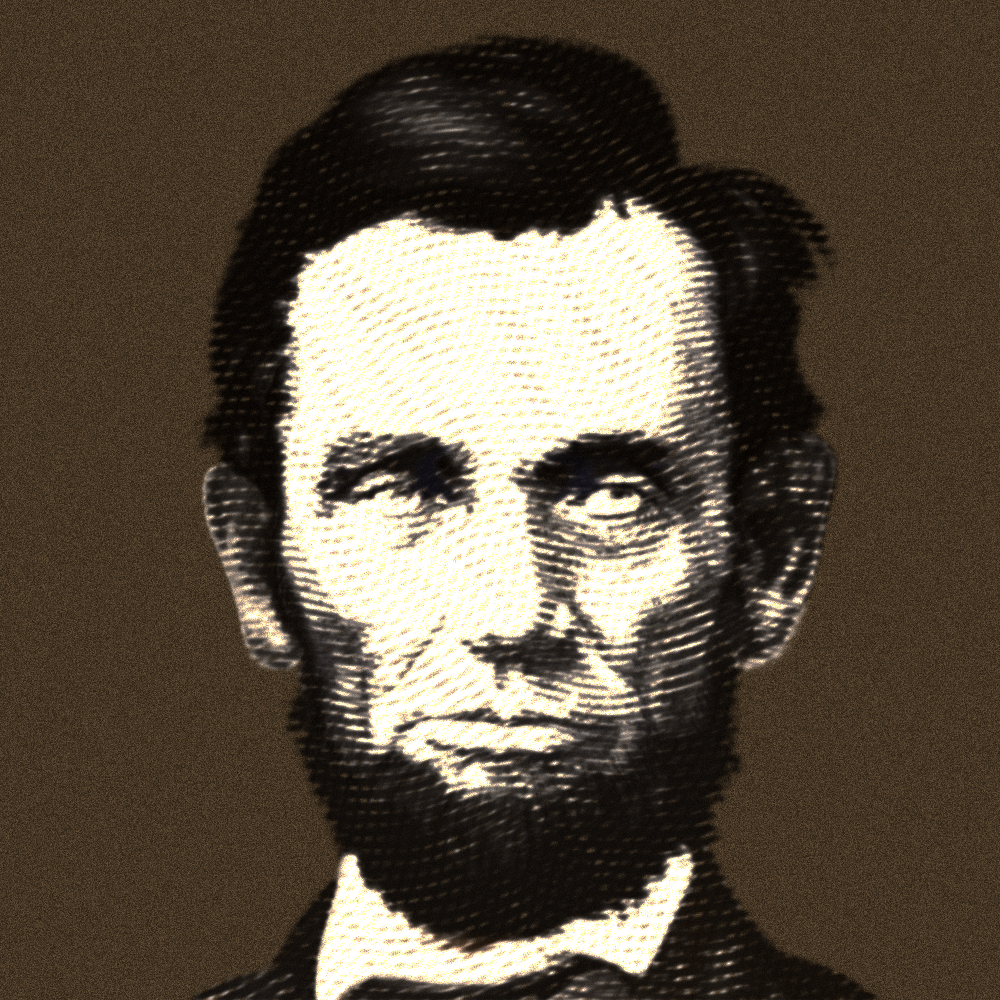
Experimenting with creating vector woodcut portraits, which is a bit of a nuisance. Many things to consider when constructing such drawings. Still a tad confusing at this point. After four trials and errors I arrived at this level of design complexity. I used my vector portrait of Abe Lincoln as the image for this test. I believe the trick is to find the right way to set up the masking strokes after which basically any image can be used to build a woodcut portrait. Working method: Create a sine line Duplicate it until entire page is covered Select all lines and ‘Expand Stroke’ Combine all expanded strokes – after which they will show as a single ‘Curve’ in the Layers panel Duplicate a number times of your choice Rotate each of them to different angles, making sure they cover entire page – you have to enlarge them until they do Import an image Duplicate it to the same number of combined strokes / Curves that you duplicated in step 5 Apply a different ‘Treshold’ level to the original image and duplicates Rasterize all images Drag each image inside a curve so that the Curve serves as a mask Make sure none of the Curves has a fill or stroke width assigned Remarks: The combined strokes shown as Curves will show up over the images. Hit the Magnifier Zoom tool to see the result without the Curves overlaying them Each Curve containing the rasterized image can be manipulated in several ways – opacity, type of filter I attached the Affinity Designer file to study for those interested. Woodcut test AL portrait 3a.afdesign
-
Vector Graphic - Portrait created with Affinity Designer. Guaranteed without pixels http://b-bertuleit.de/vektor-grafik-portrait/
-
Portait of the German writer Thomas Mann, created with afphoto (various brushes). In exile (USA) he fought against the Nazi state, and there he said: Where I am is Germany. Thomas Mann was born in my hometown Lübeck, where there are also many facilities and memories of him (Buddenbrookhaus). http://b-bertuleit.de/portrait-watercolors/
- 7 replies
-
- 9
-
-
- portrait
- watercolors
- (and 1 more)
-
 When I'm editing a sunset photo with people in the foreground I select the sky to enhance colors then I flip my selection to brighten the people & the foreground because that part of the photo is often under exposed. Because I'm editing the two halves of the photo separately, there is often a grey and sometimes neon yellow line that gets created where the two halves of the photo meet (right down the selection line). Is there a best practices way to avoid or fix this issue so it looks less edited? I've noticed even slight enhancements can cause this line. Thanks, I'm new to all things photo editing!
-
A vector portrait created with Affinity Designer. Take a look at this http://b-bertuleit.de/cate-vector-drawing/ Download the original file (Affinity Designer), if you like it. Cate.afdesign
-

affinity photo Sara - Fantasy Portrait in Affinity Photo
VFXTobias posted a topic in Share your work
This is a retouch I did just for kicks. Sara is a friend and professional stylist I've worked with many times. Developed and edited in ProPhoto RGB space from RAW camera source.
-
Weekend fun character painting. Hope someone likes it. Really quite amazed at the versatility of the old classic smudge as a real painting tool.
-
A special portrait with beautiful colors http://b-bertuleit.de/augen-farben/
-
 Hi, I have opened a previous document to edit and wish to change from portrait to landscape but can't deselect the portrait option when I reopen document setup. Any ideas on what the problem could be? Thanks
 -
 Hi everyone, I recently wrote a post on my blog covering my workflow regarding the steps I follow when I'm editing a portrait. I also made available a PDF file with the same checklist I use so you can download it. The post is available both is Portuguese and English. [PT] http://blog.pedrosoares.photo/lista-de-tarefas-edicao-de-retrato/ [EN] http://blog.pedrosoares.photo/portrait-retouching-checklist/?lang=en There are also other articles talking about Affinity and other free resources. Let me know if it was useful. Cheers