Search the Community
Showing results for tags 'Affinity photo'.
-
 This hasn't been fixed since 2017.
 -
Made a new composing with Affinity Photo 1.10.0, no problems or glitches with AP during this work.

-
To those people using zoom to navigate and brush masks 1. Select a color for masking(b or w), paint something .. lets try black. Or x to use default 2. Zoom out to see how it looks and zoom back in 3. Notice how the zoom tool also has a default color b/w (why?....) 4. Go back to brush tool 5. Congrats you just painted white cause zoom, for some reason... has a color.. and somehow applied to brush. 6. Now you dont trust the colors anymore and had to look at the color panels to check if you are in black or white color cause zoom messes things up
-
 I would throw money at Serif to charge me for these kinds of updates for AP on future more powerful iPads. This is sick! Creativity is going to be at an even higher output.
 -
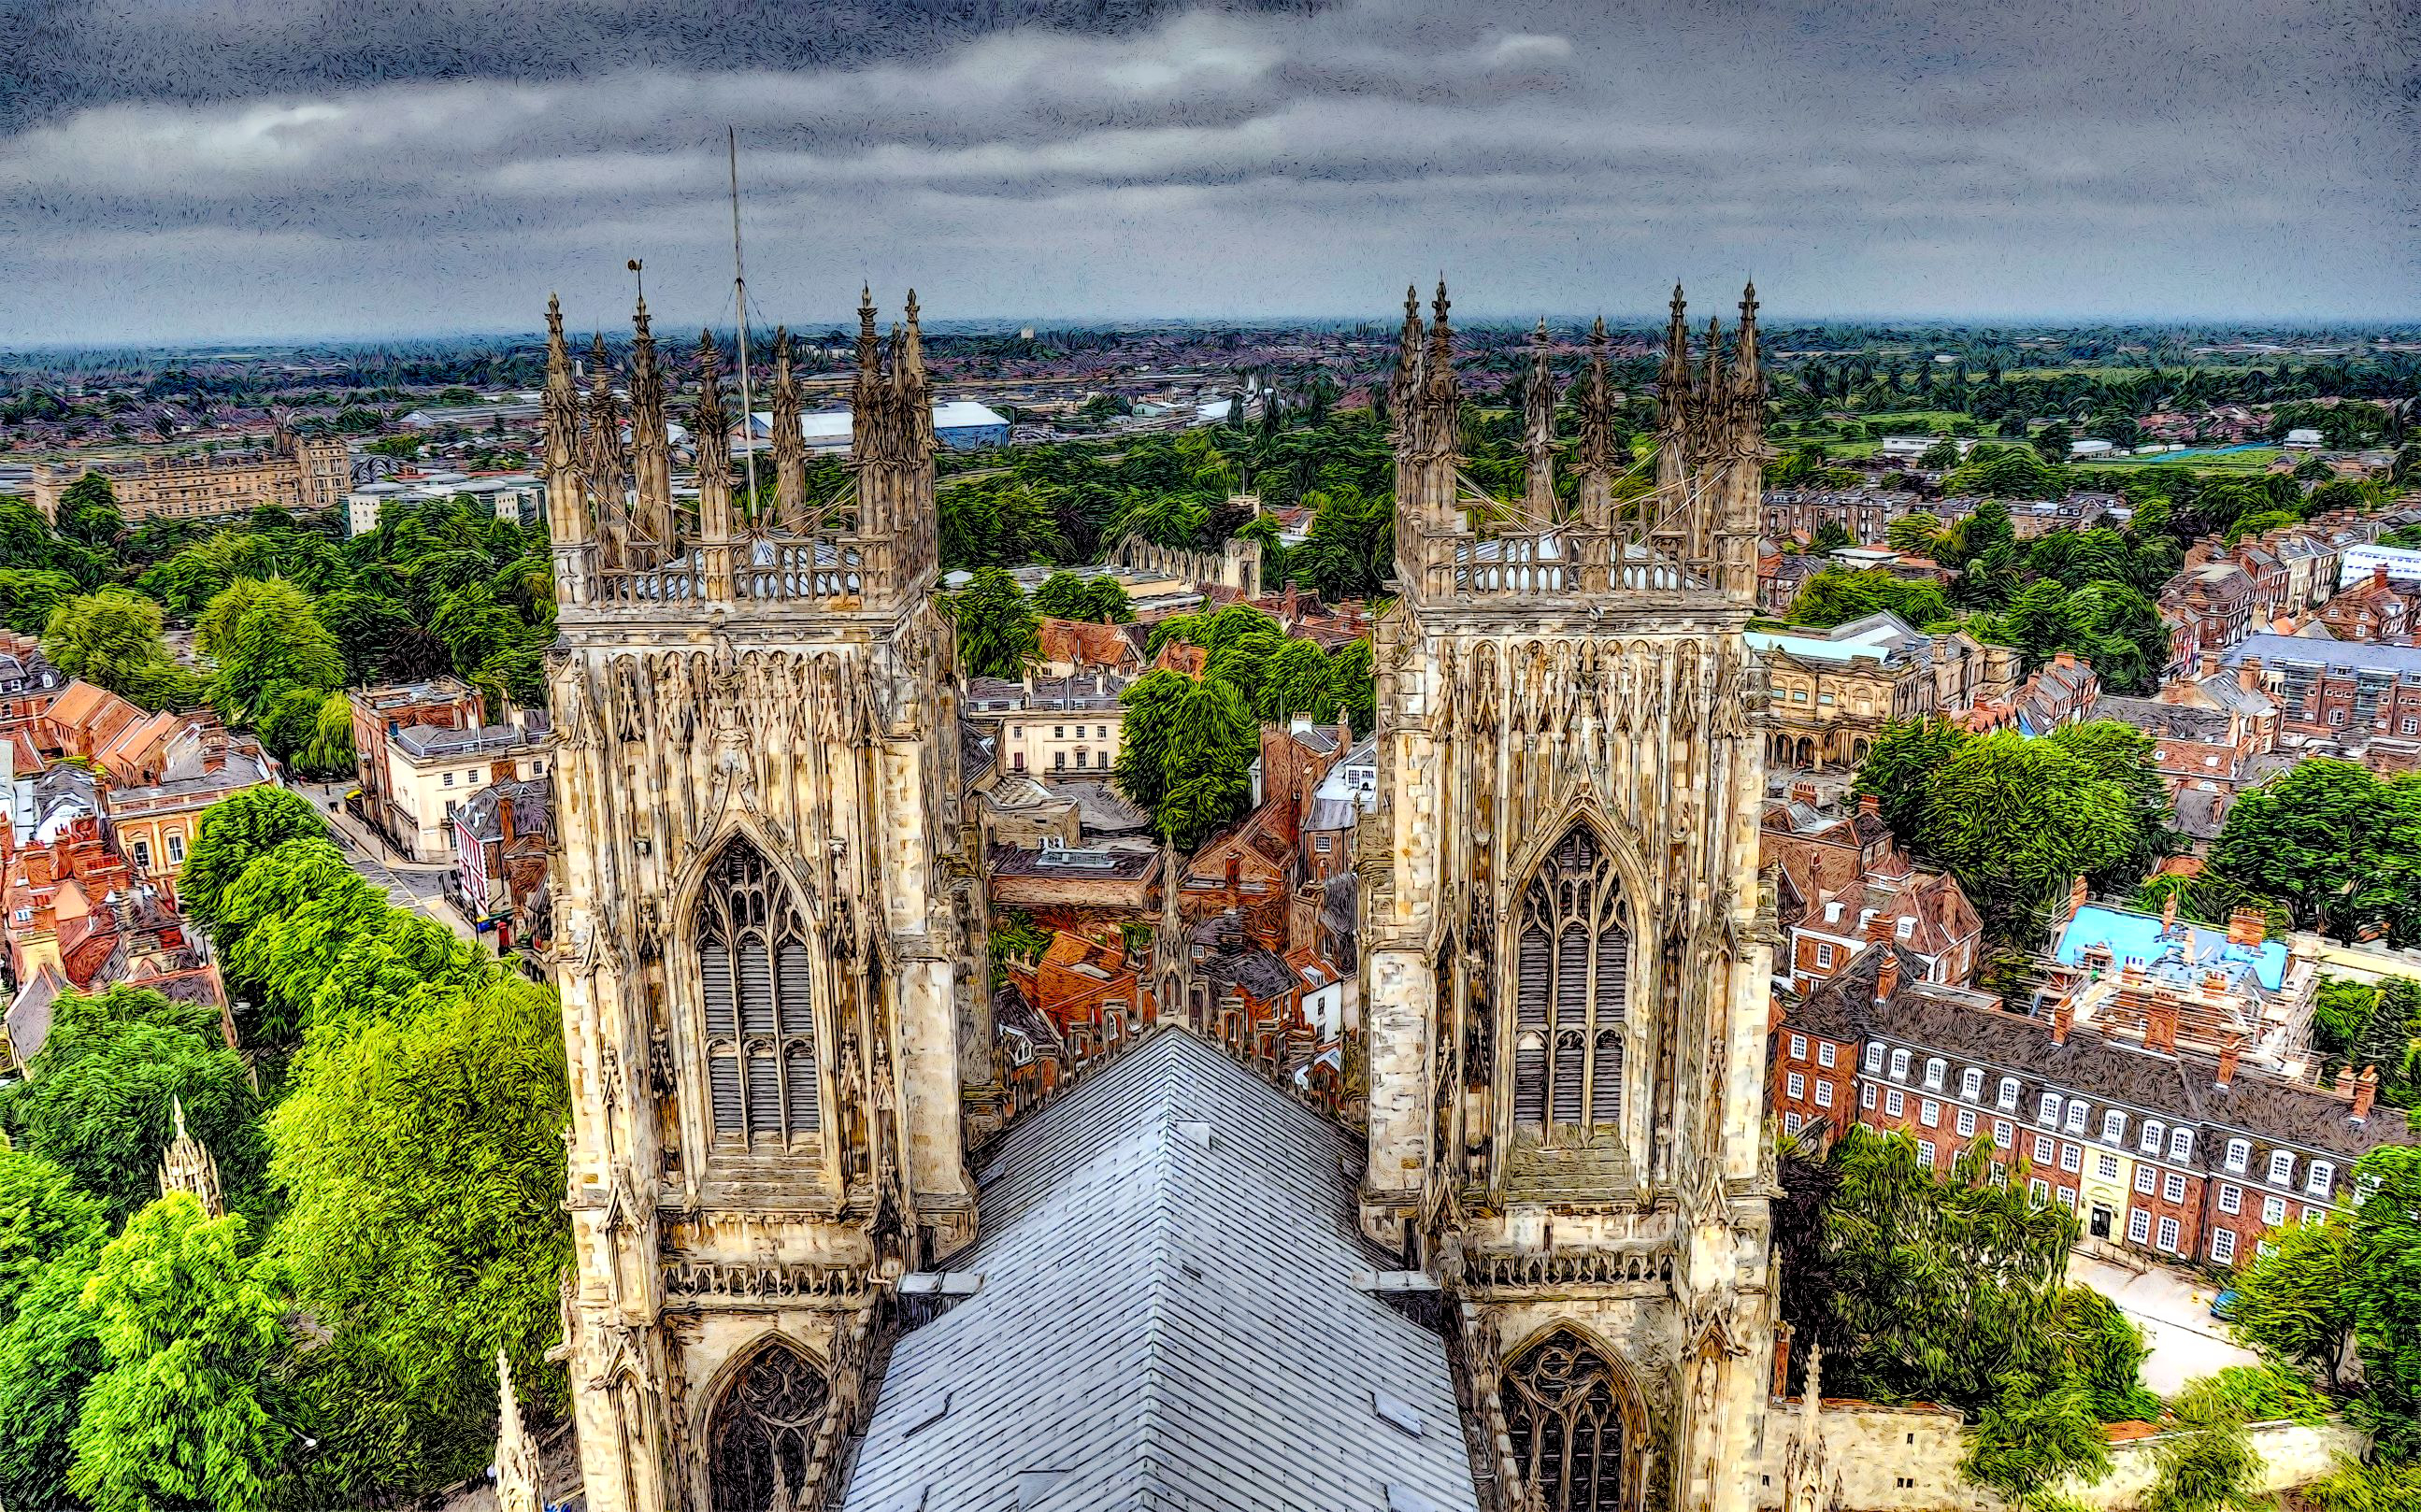
Two here. One engraving stye and one a graphic novel style. Both using the HDR Merge technique.
-
 I work with png files with transparency. Currently, the only way I know to make an image with transparent edges is to select part of a non-transparent image, cut it out, and paste it in a new image. But once it's there, I cannot make more parts of it transparent. Is there a way to use normal drawing tools to edit the alpha channel of an image? (This is not the same as drawing with transparency, as that only affects the SOURCE alpha, not the destination (background) alpha). What I'd like to do is be able to directly change the background's alpha layer and paint "transparency" onto an image. I've tried drawing with only the alpha channel visible, but it didn't work. Any advice is appreciated. Great job on Affinity Photo - I love the updates. - Jeff
 -
 In PS, you select a part of an image and you can just scale it or do whatever. No other steps are involved. Can't seem to figure out how to do such a straight forward operation
 -
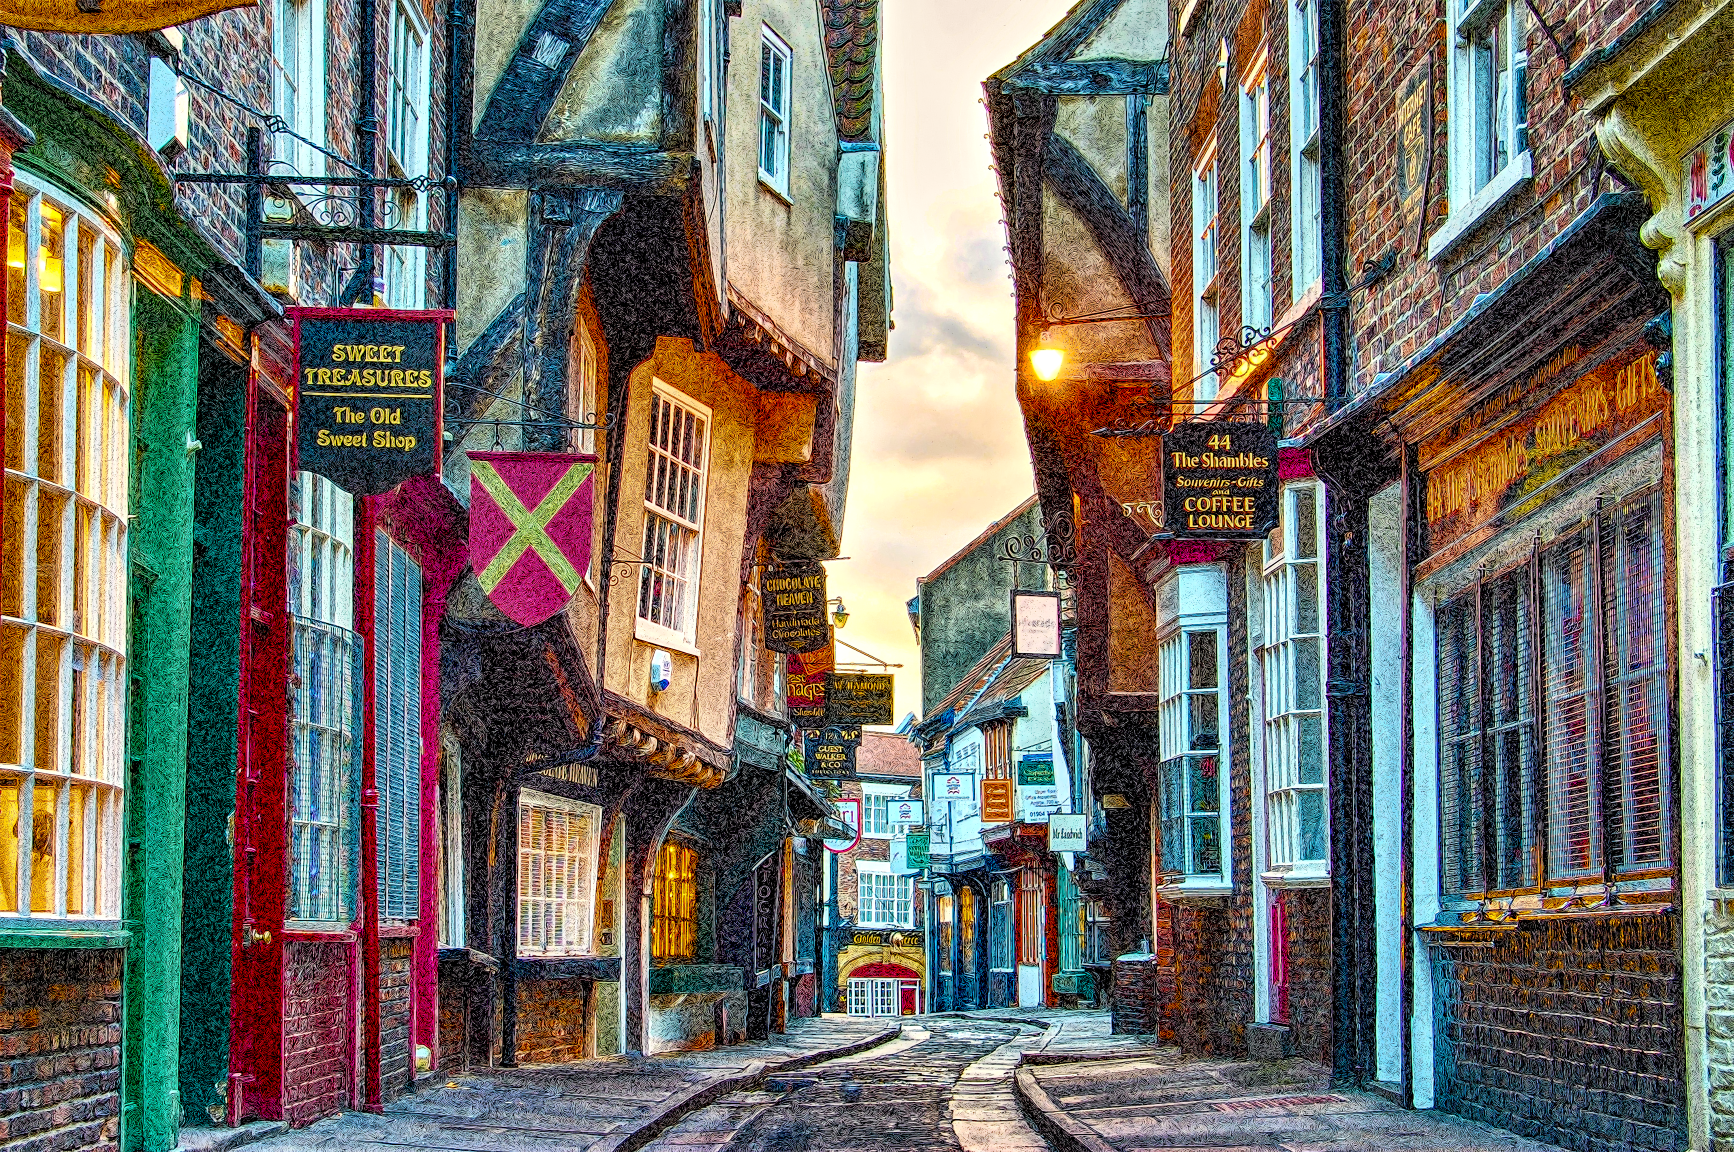
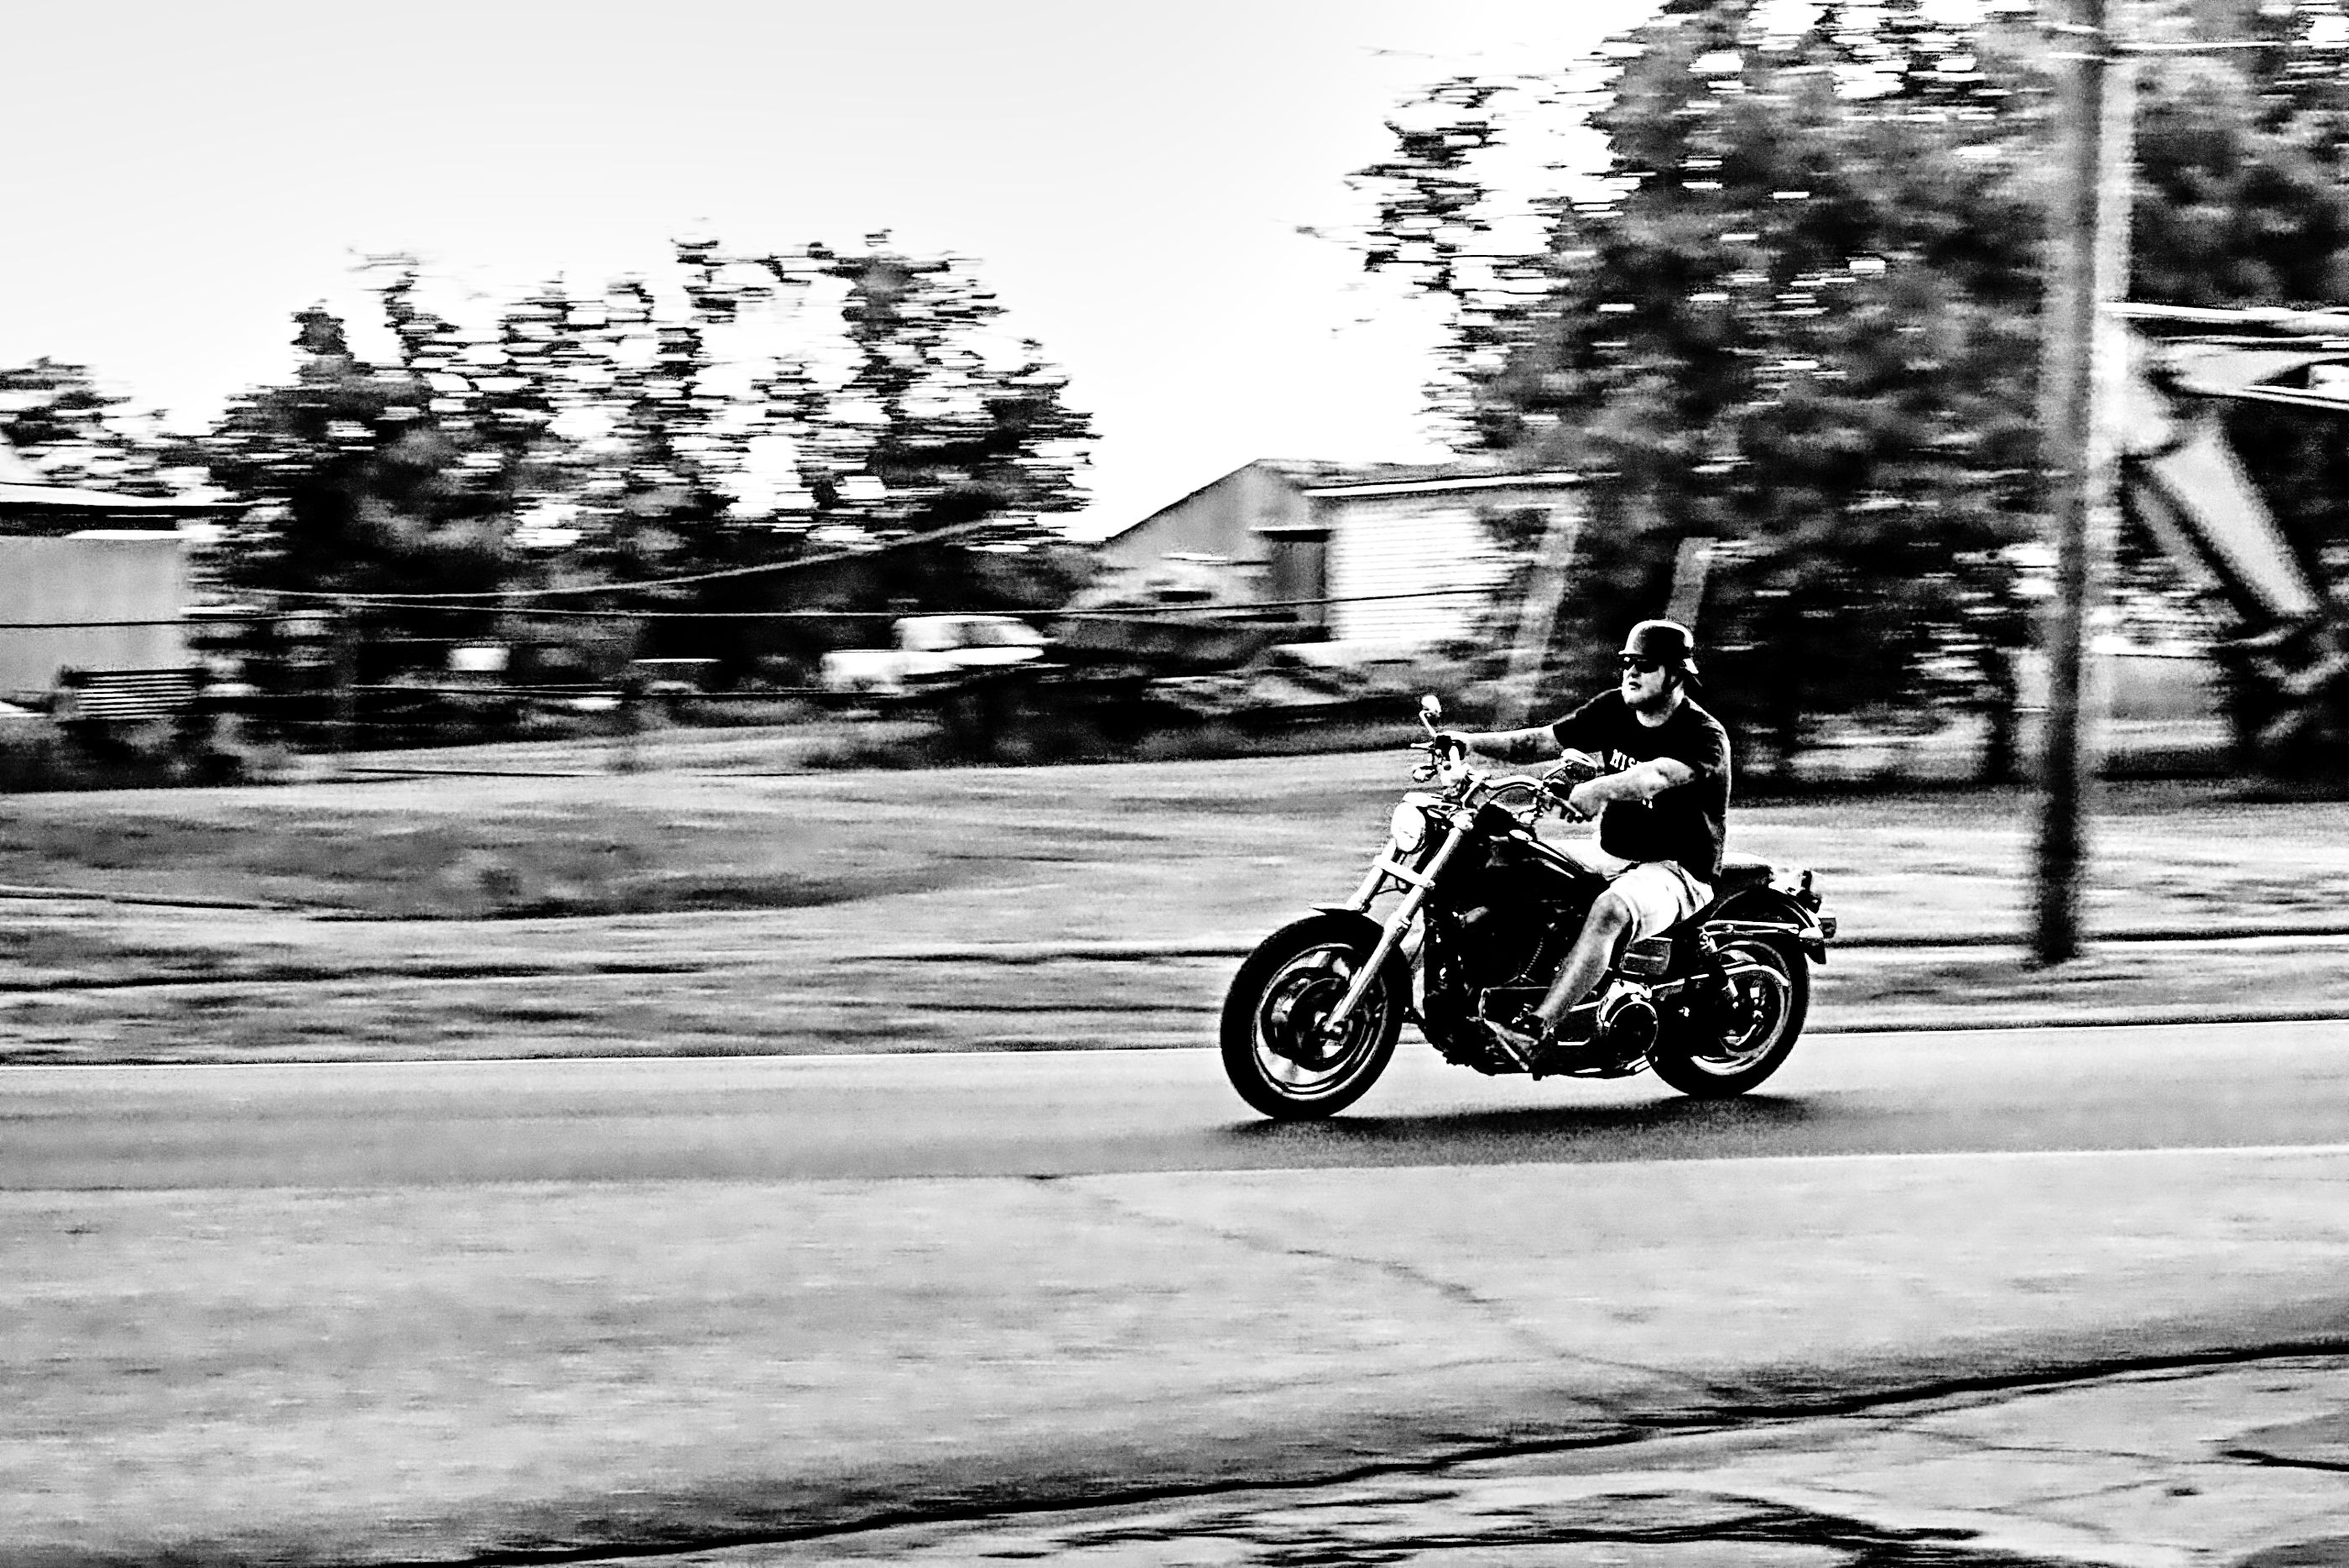
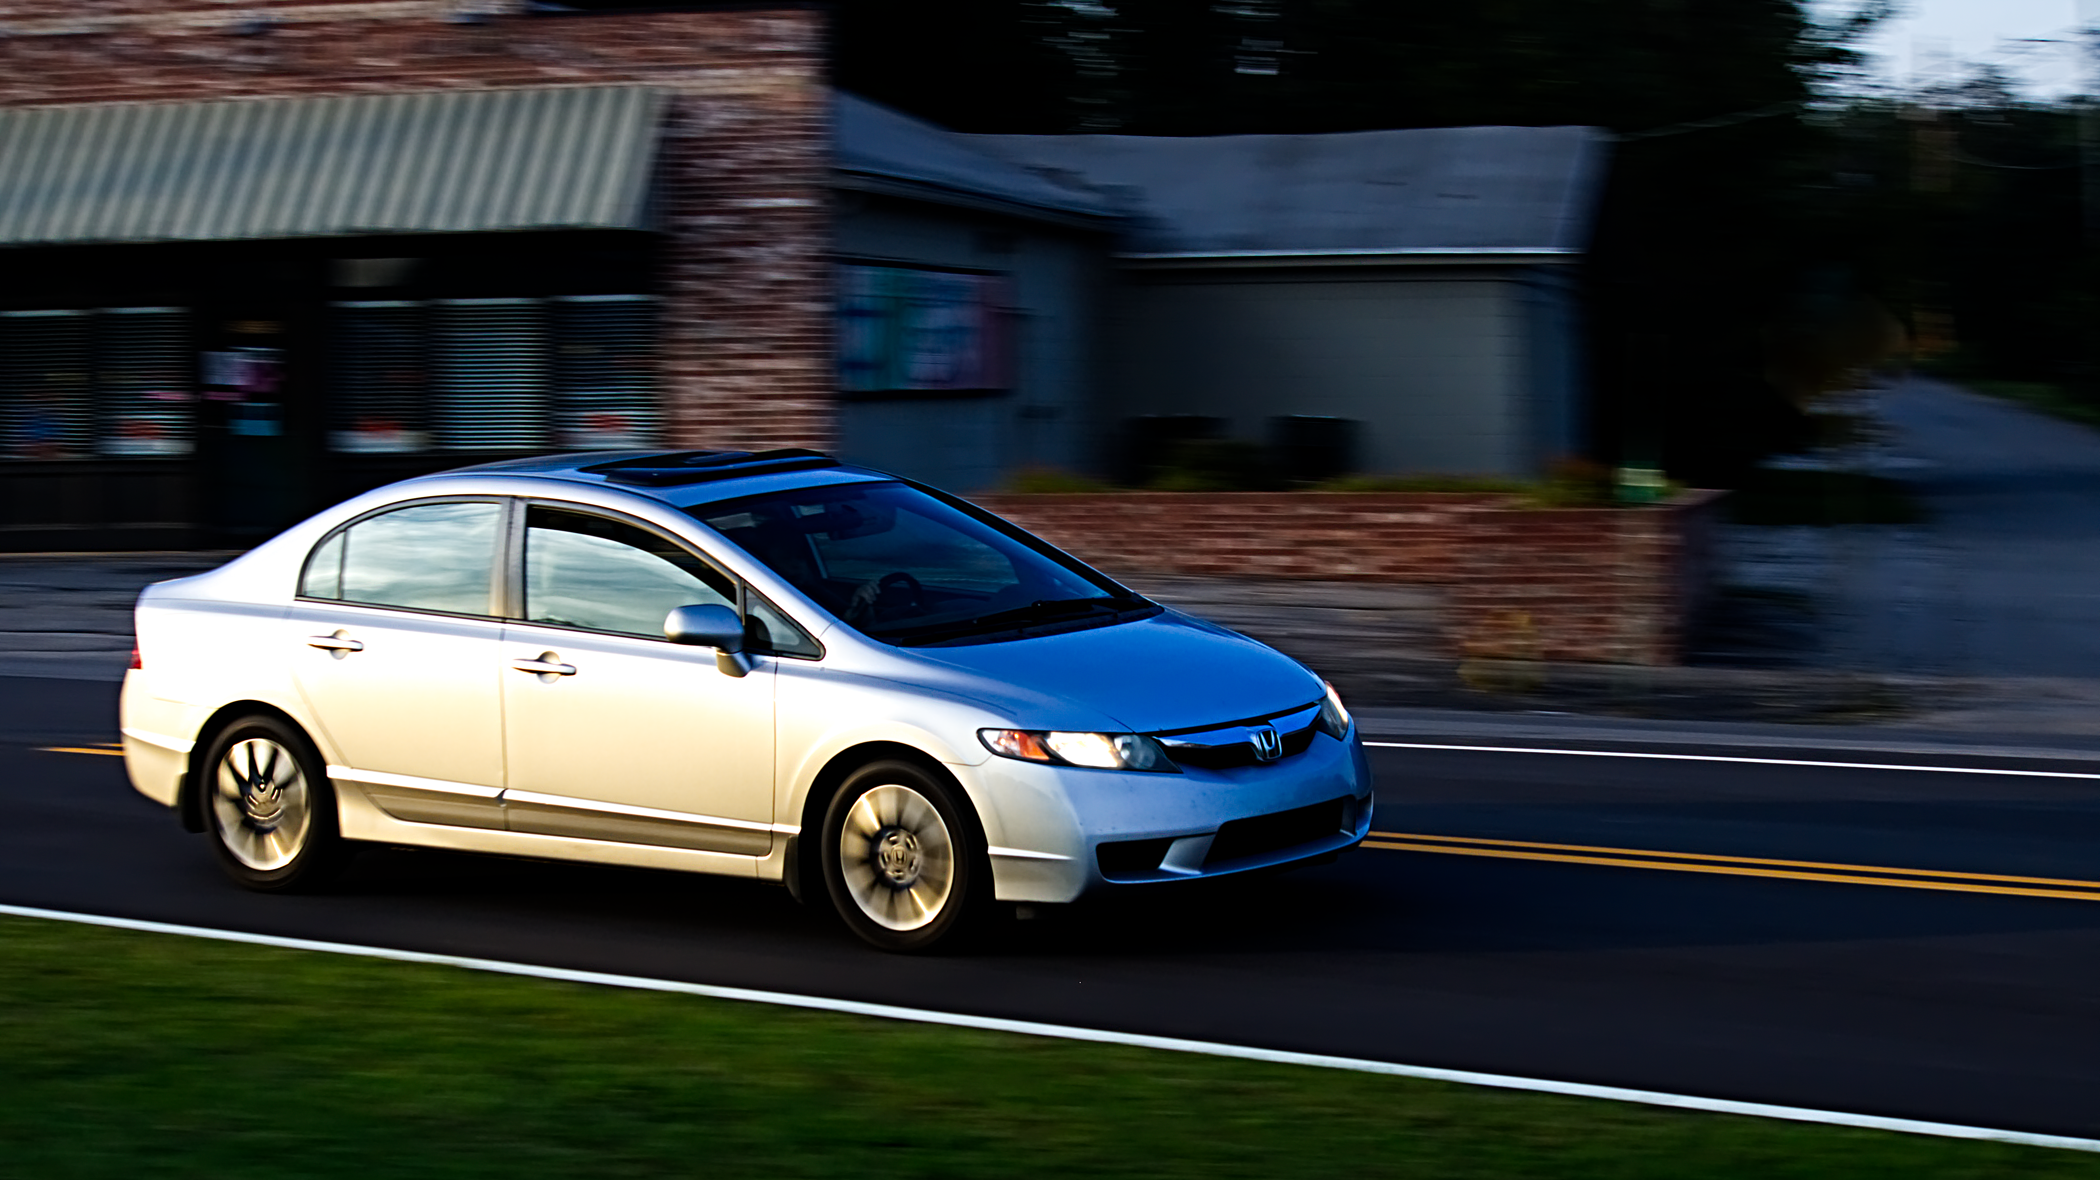
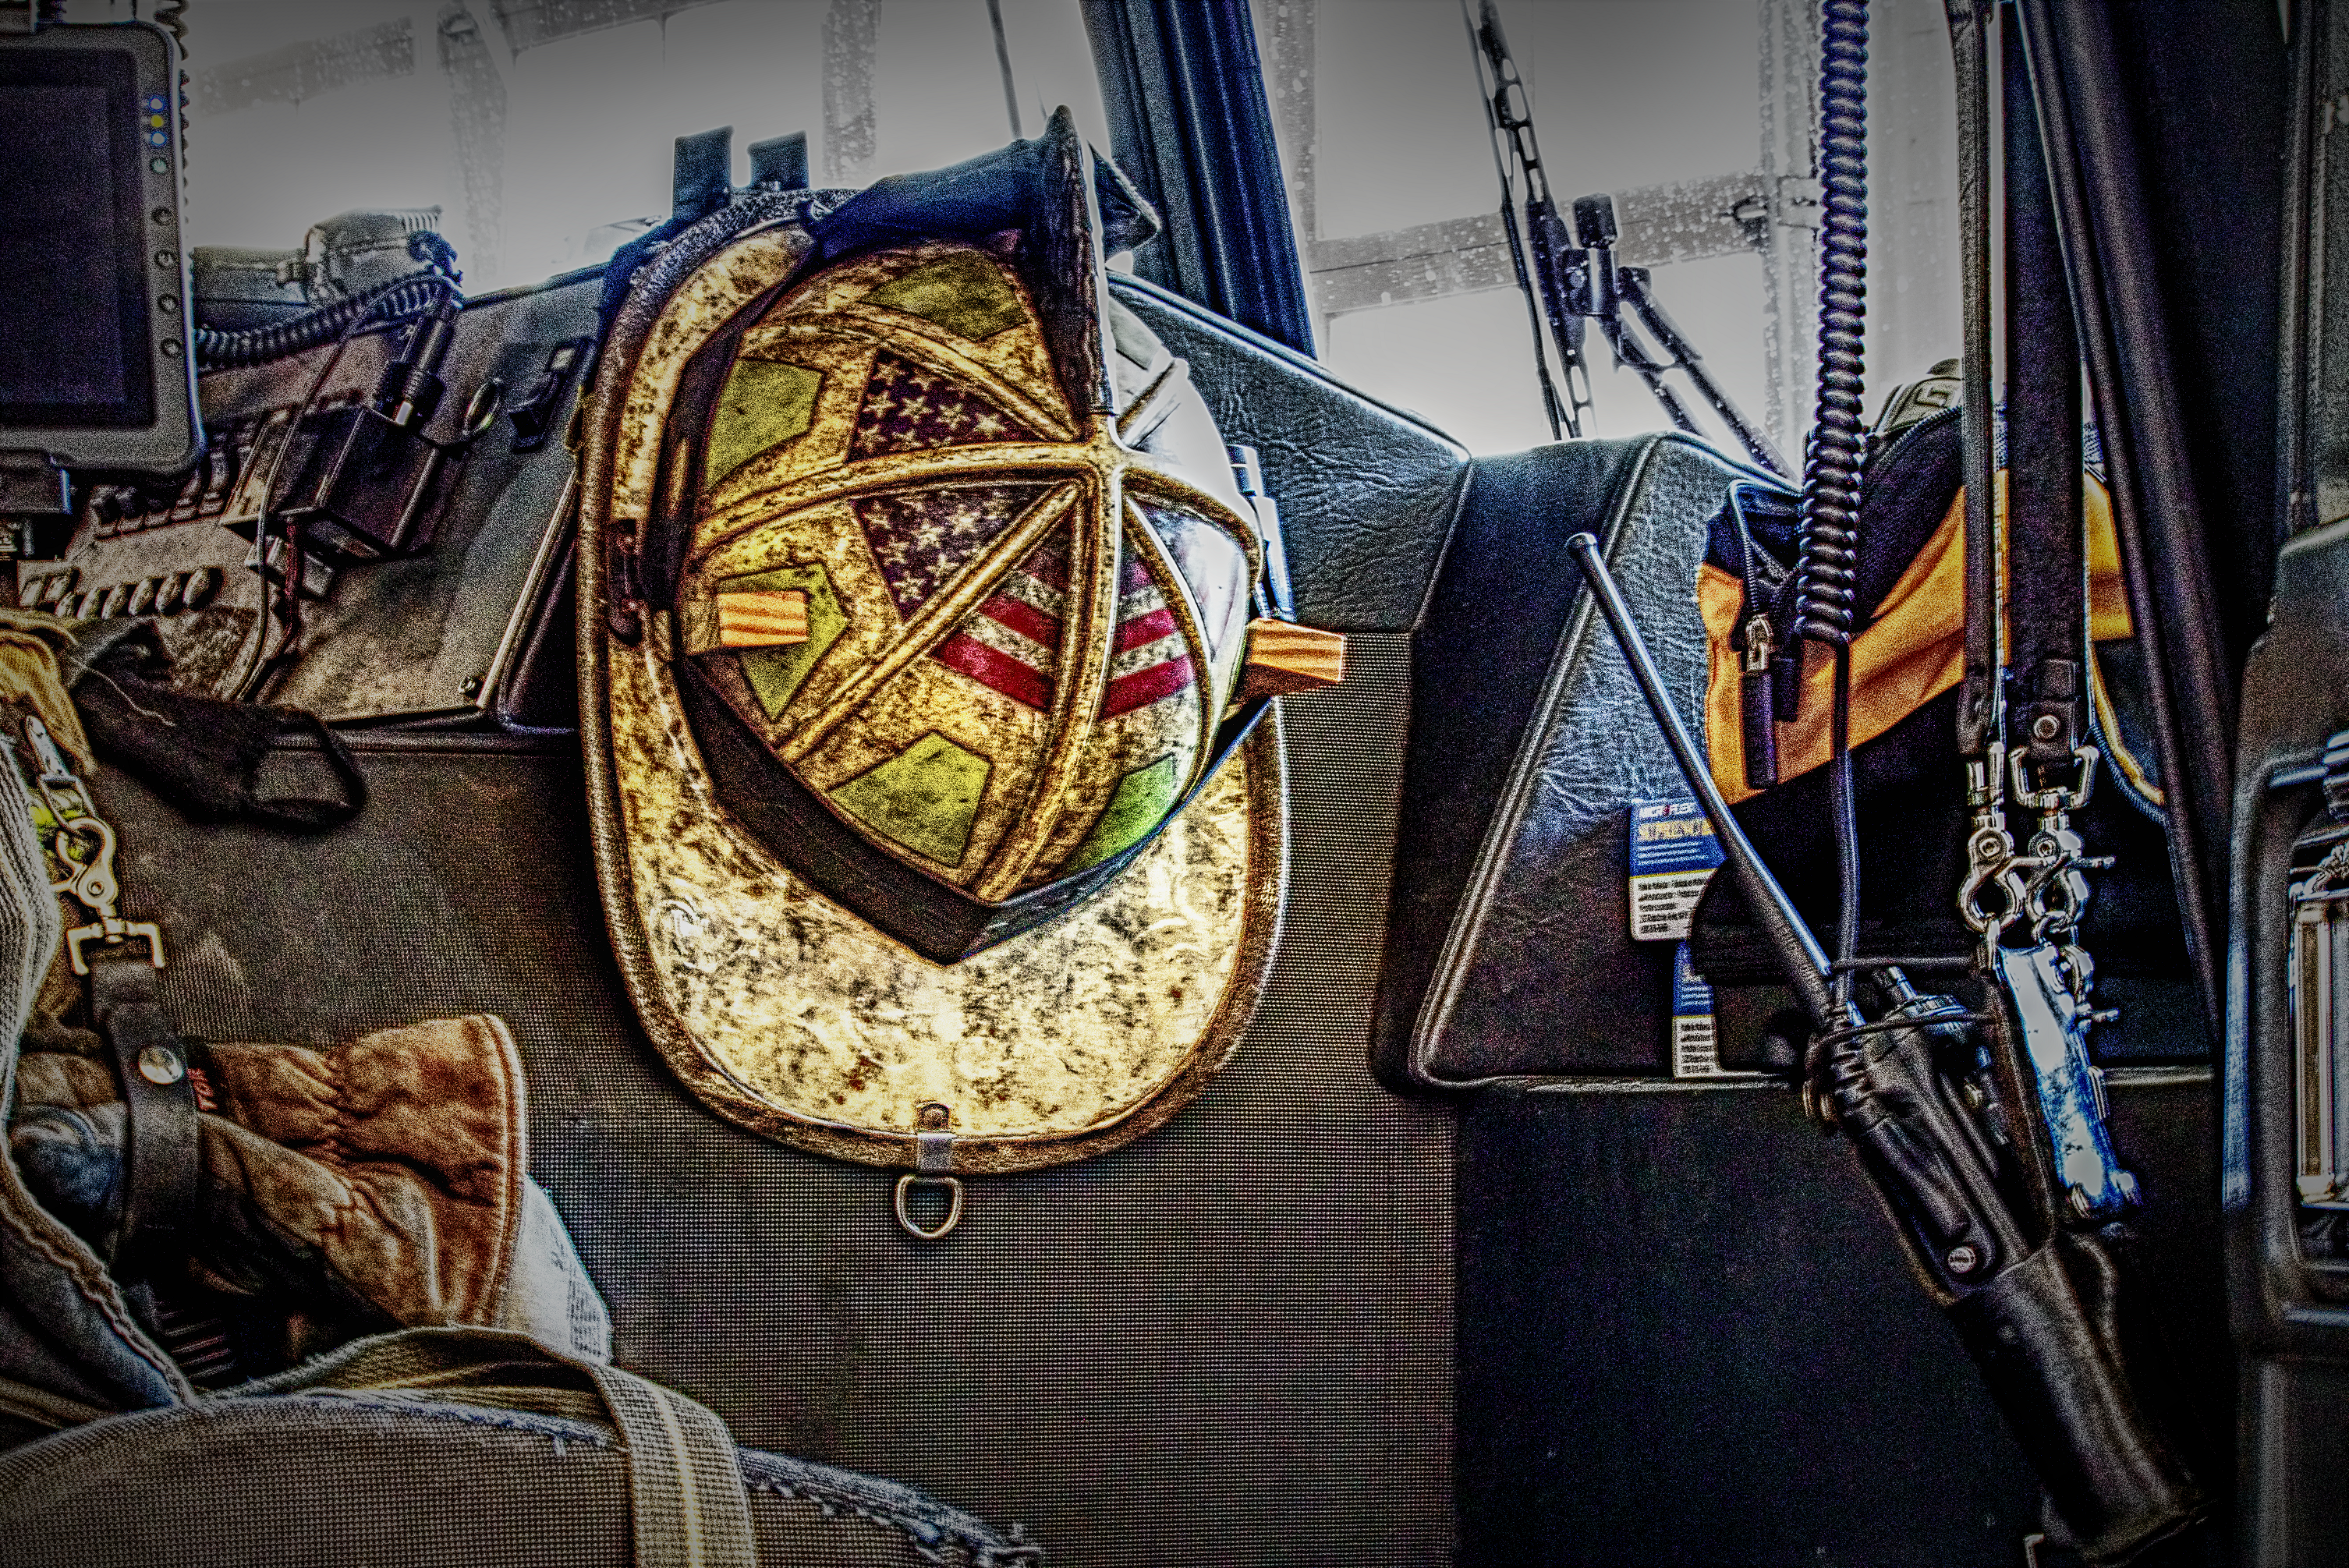
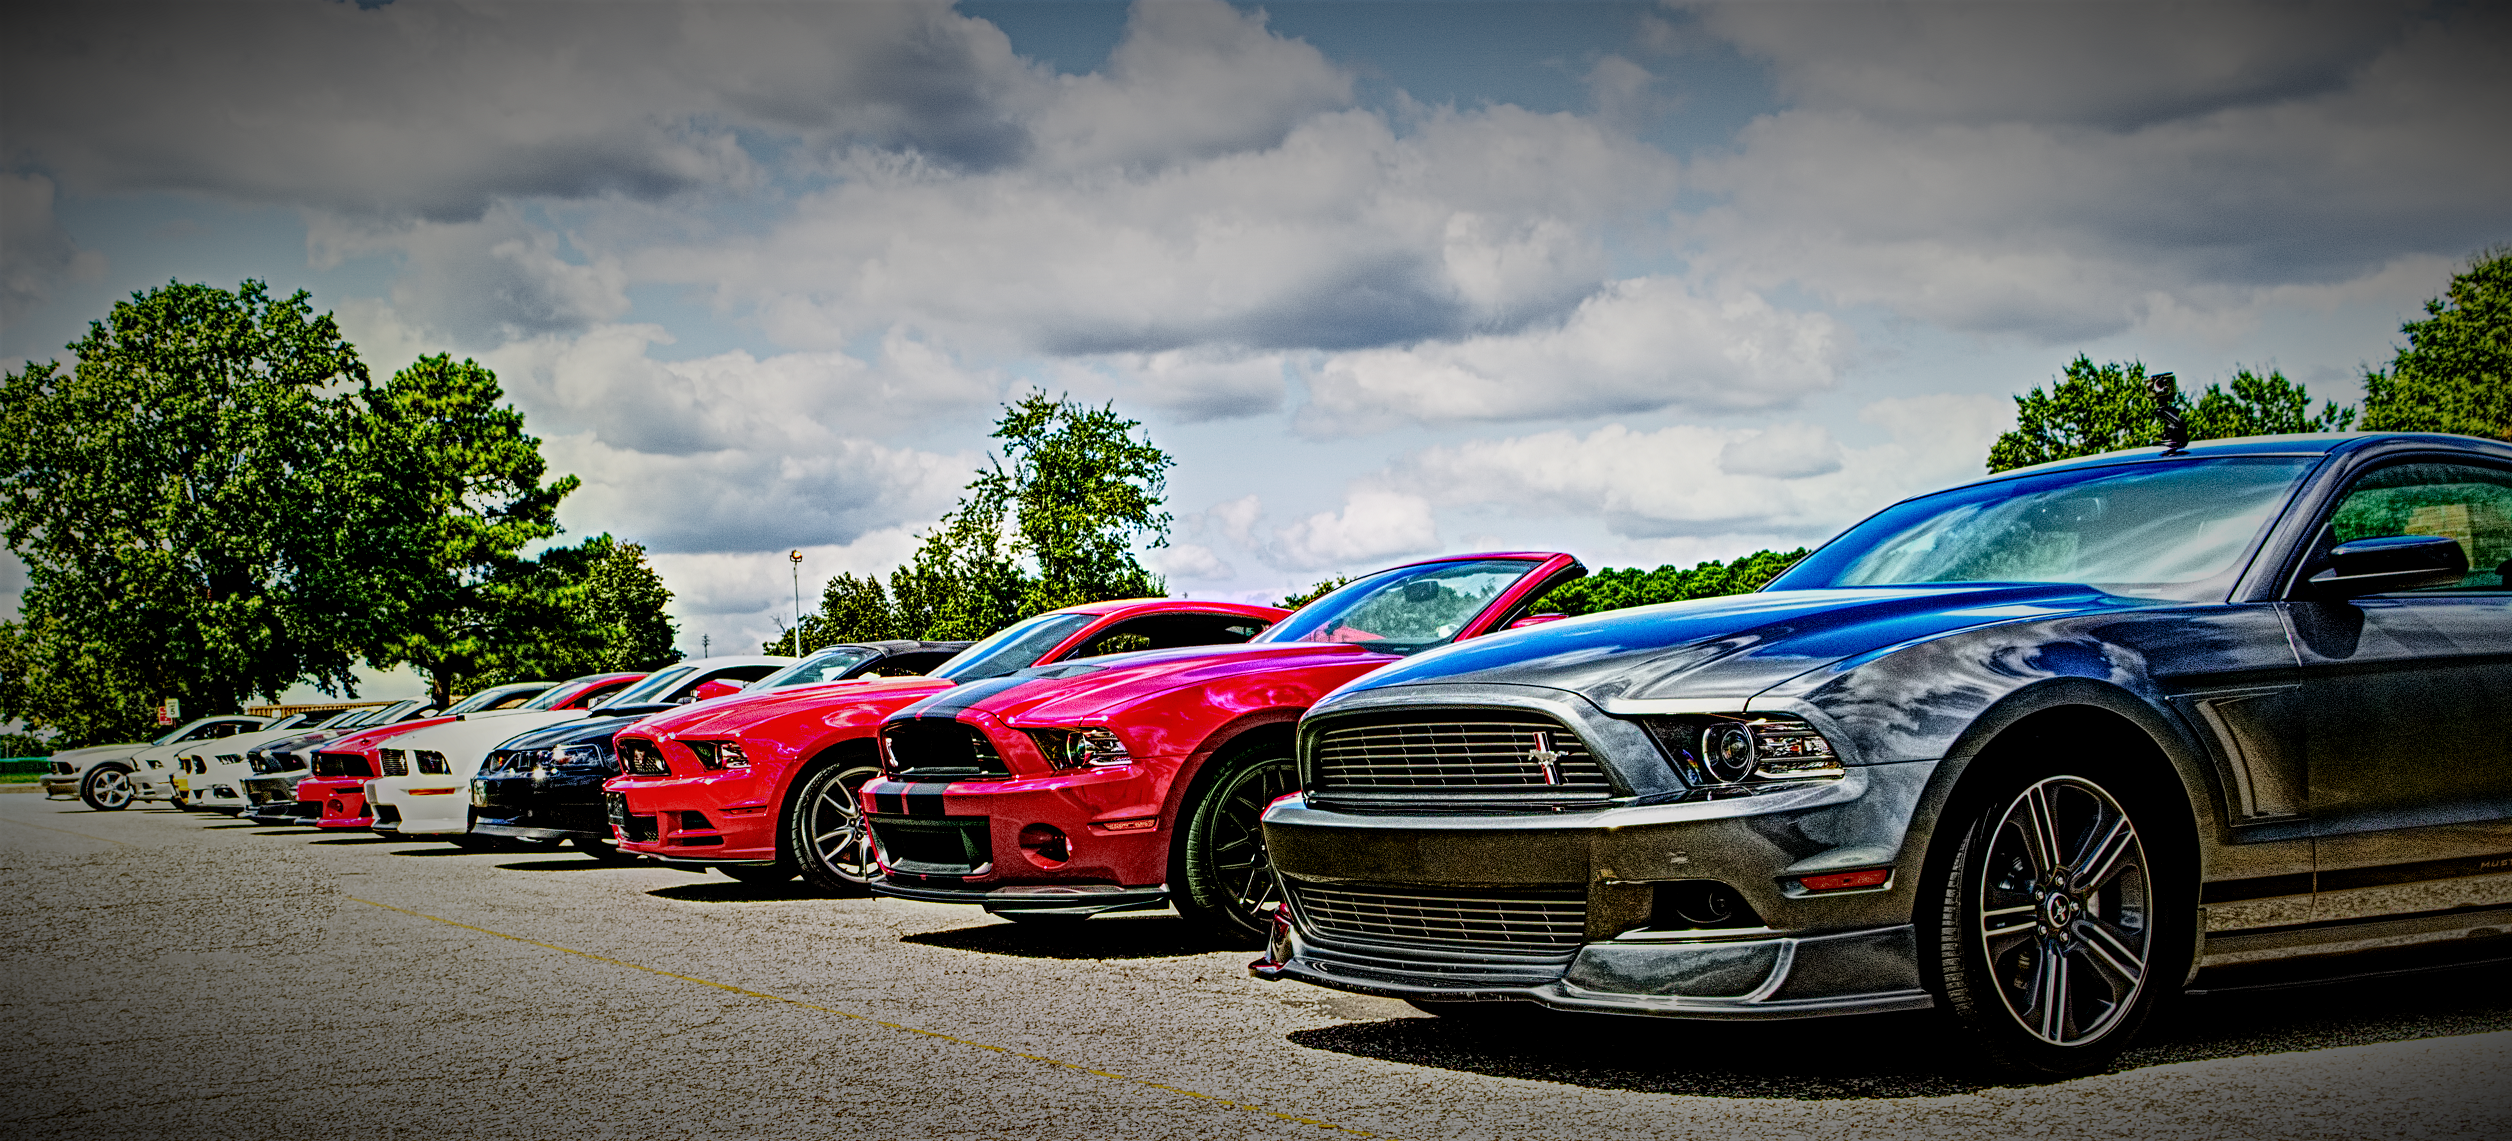
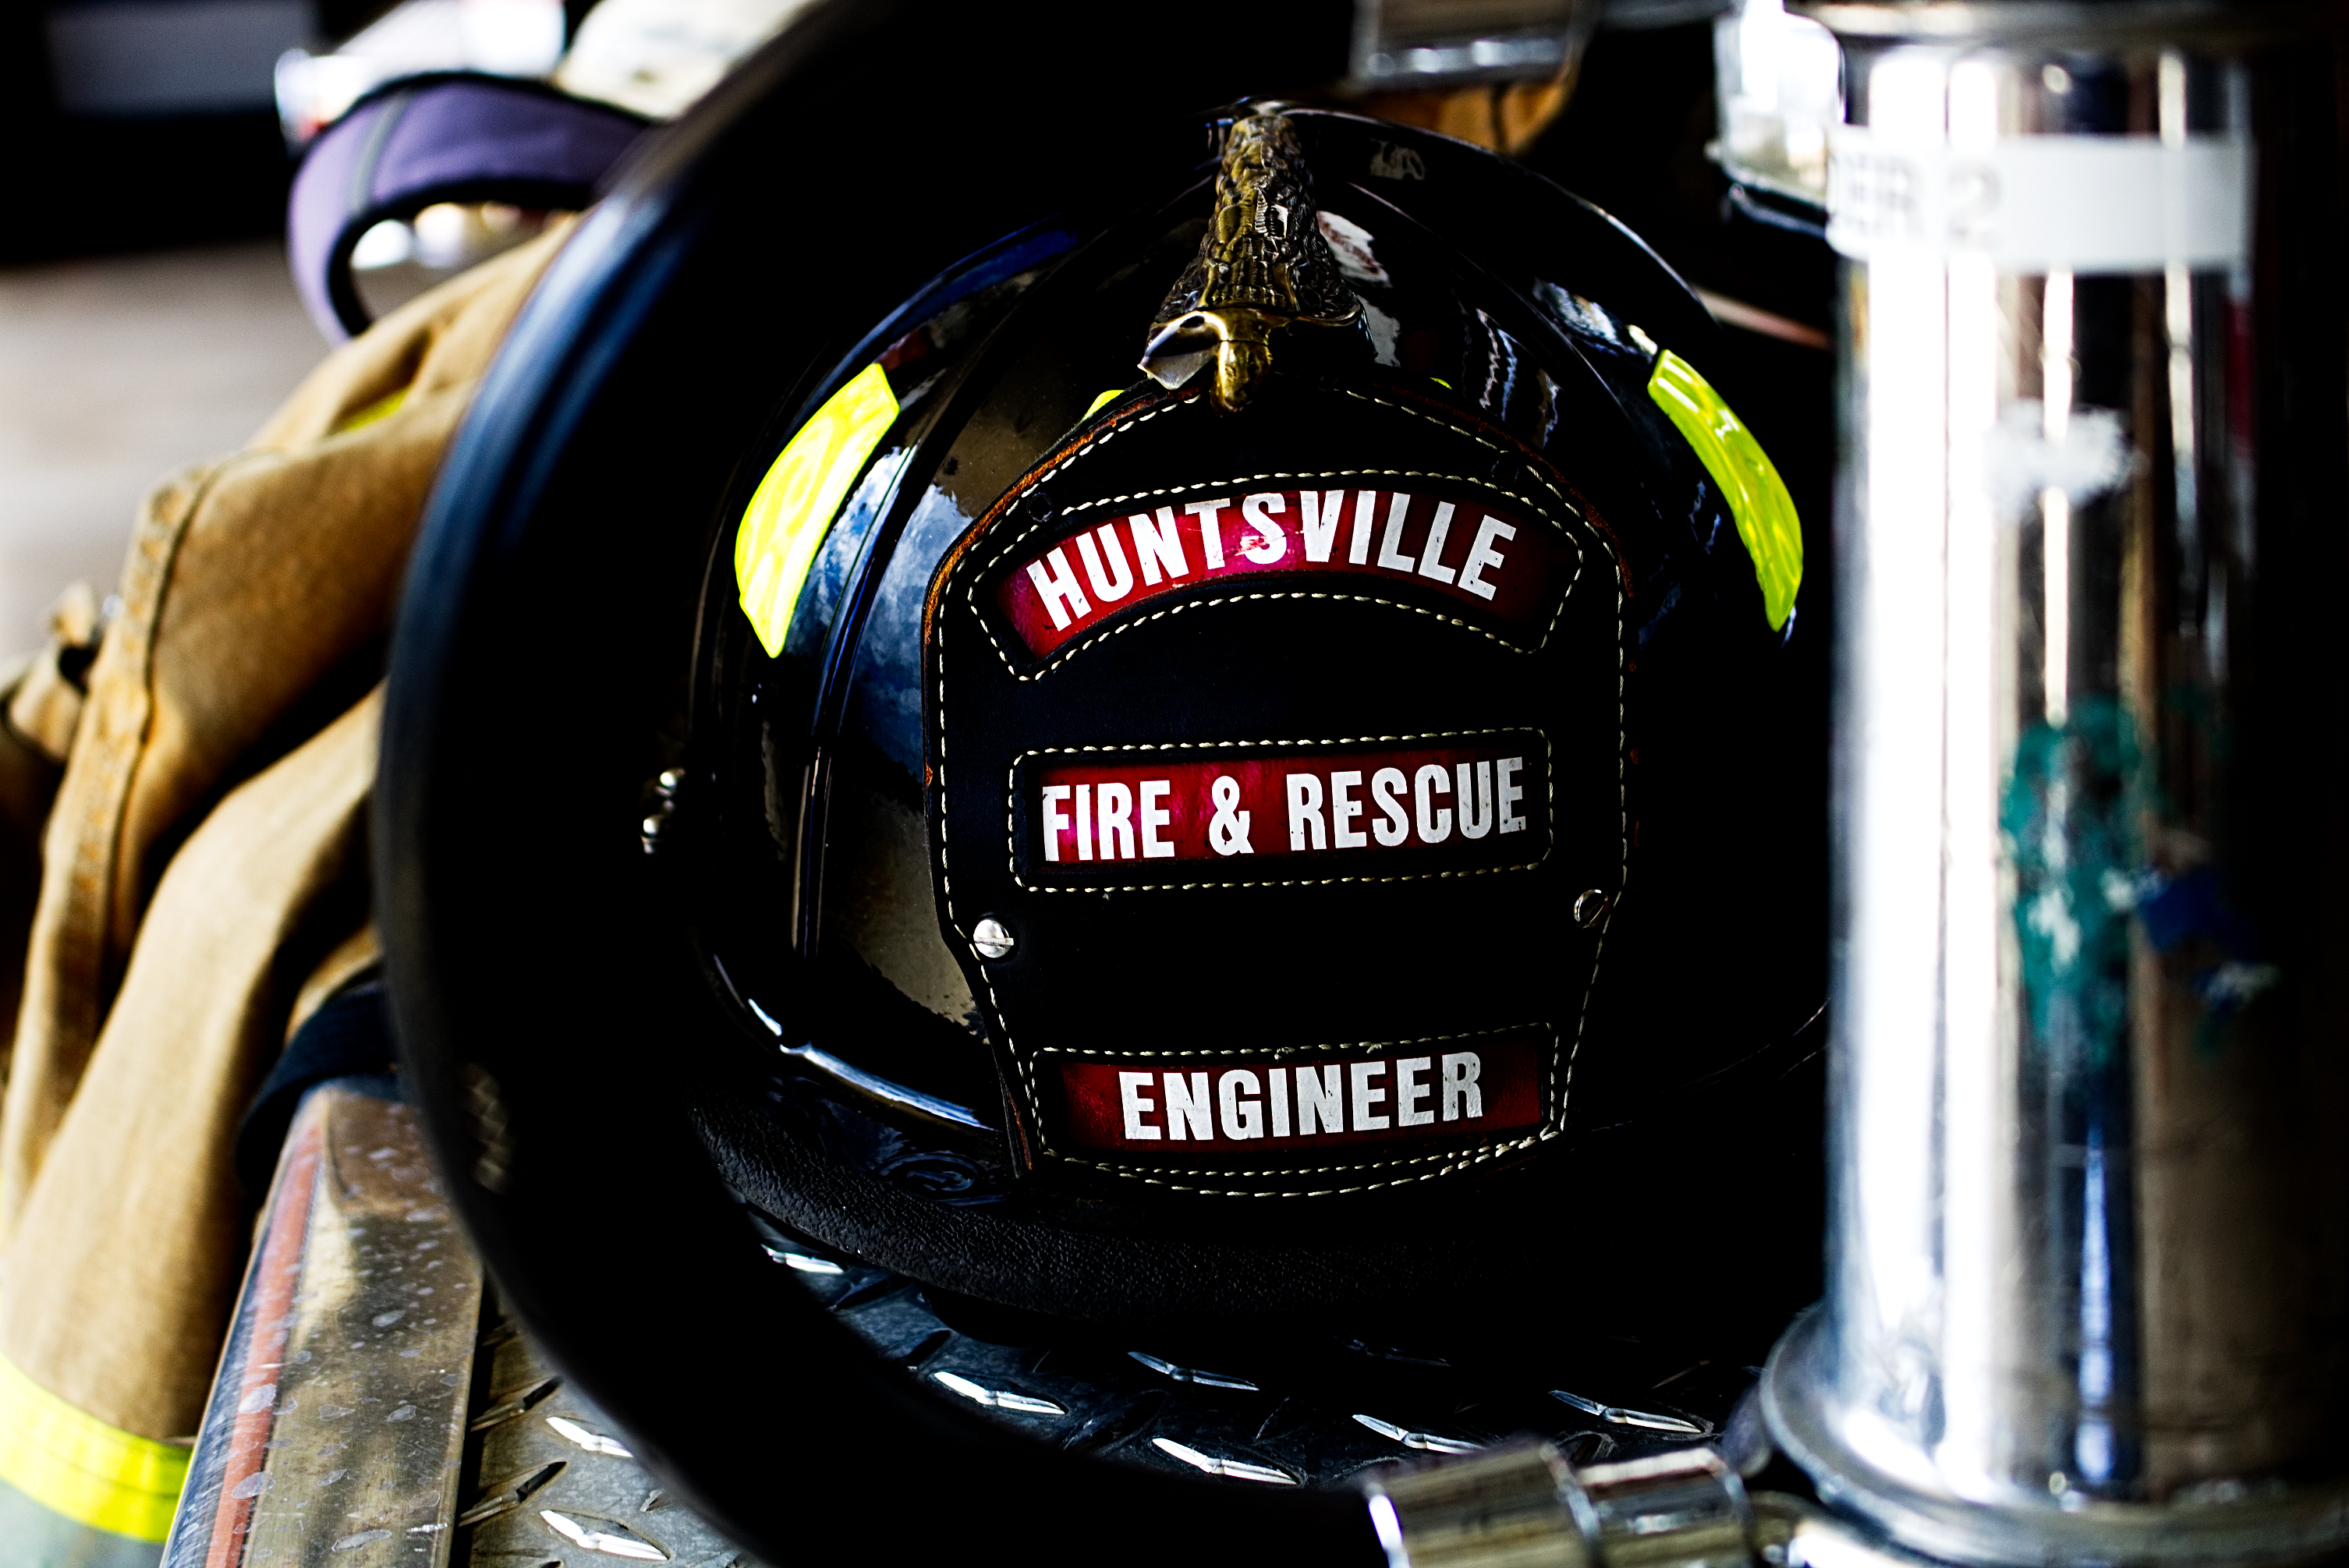
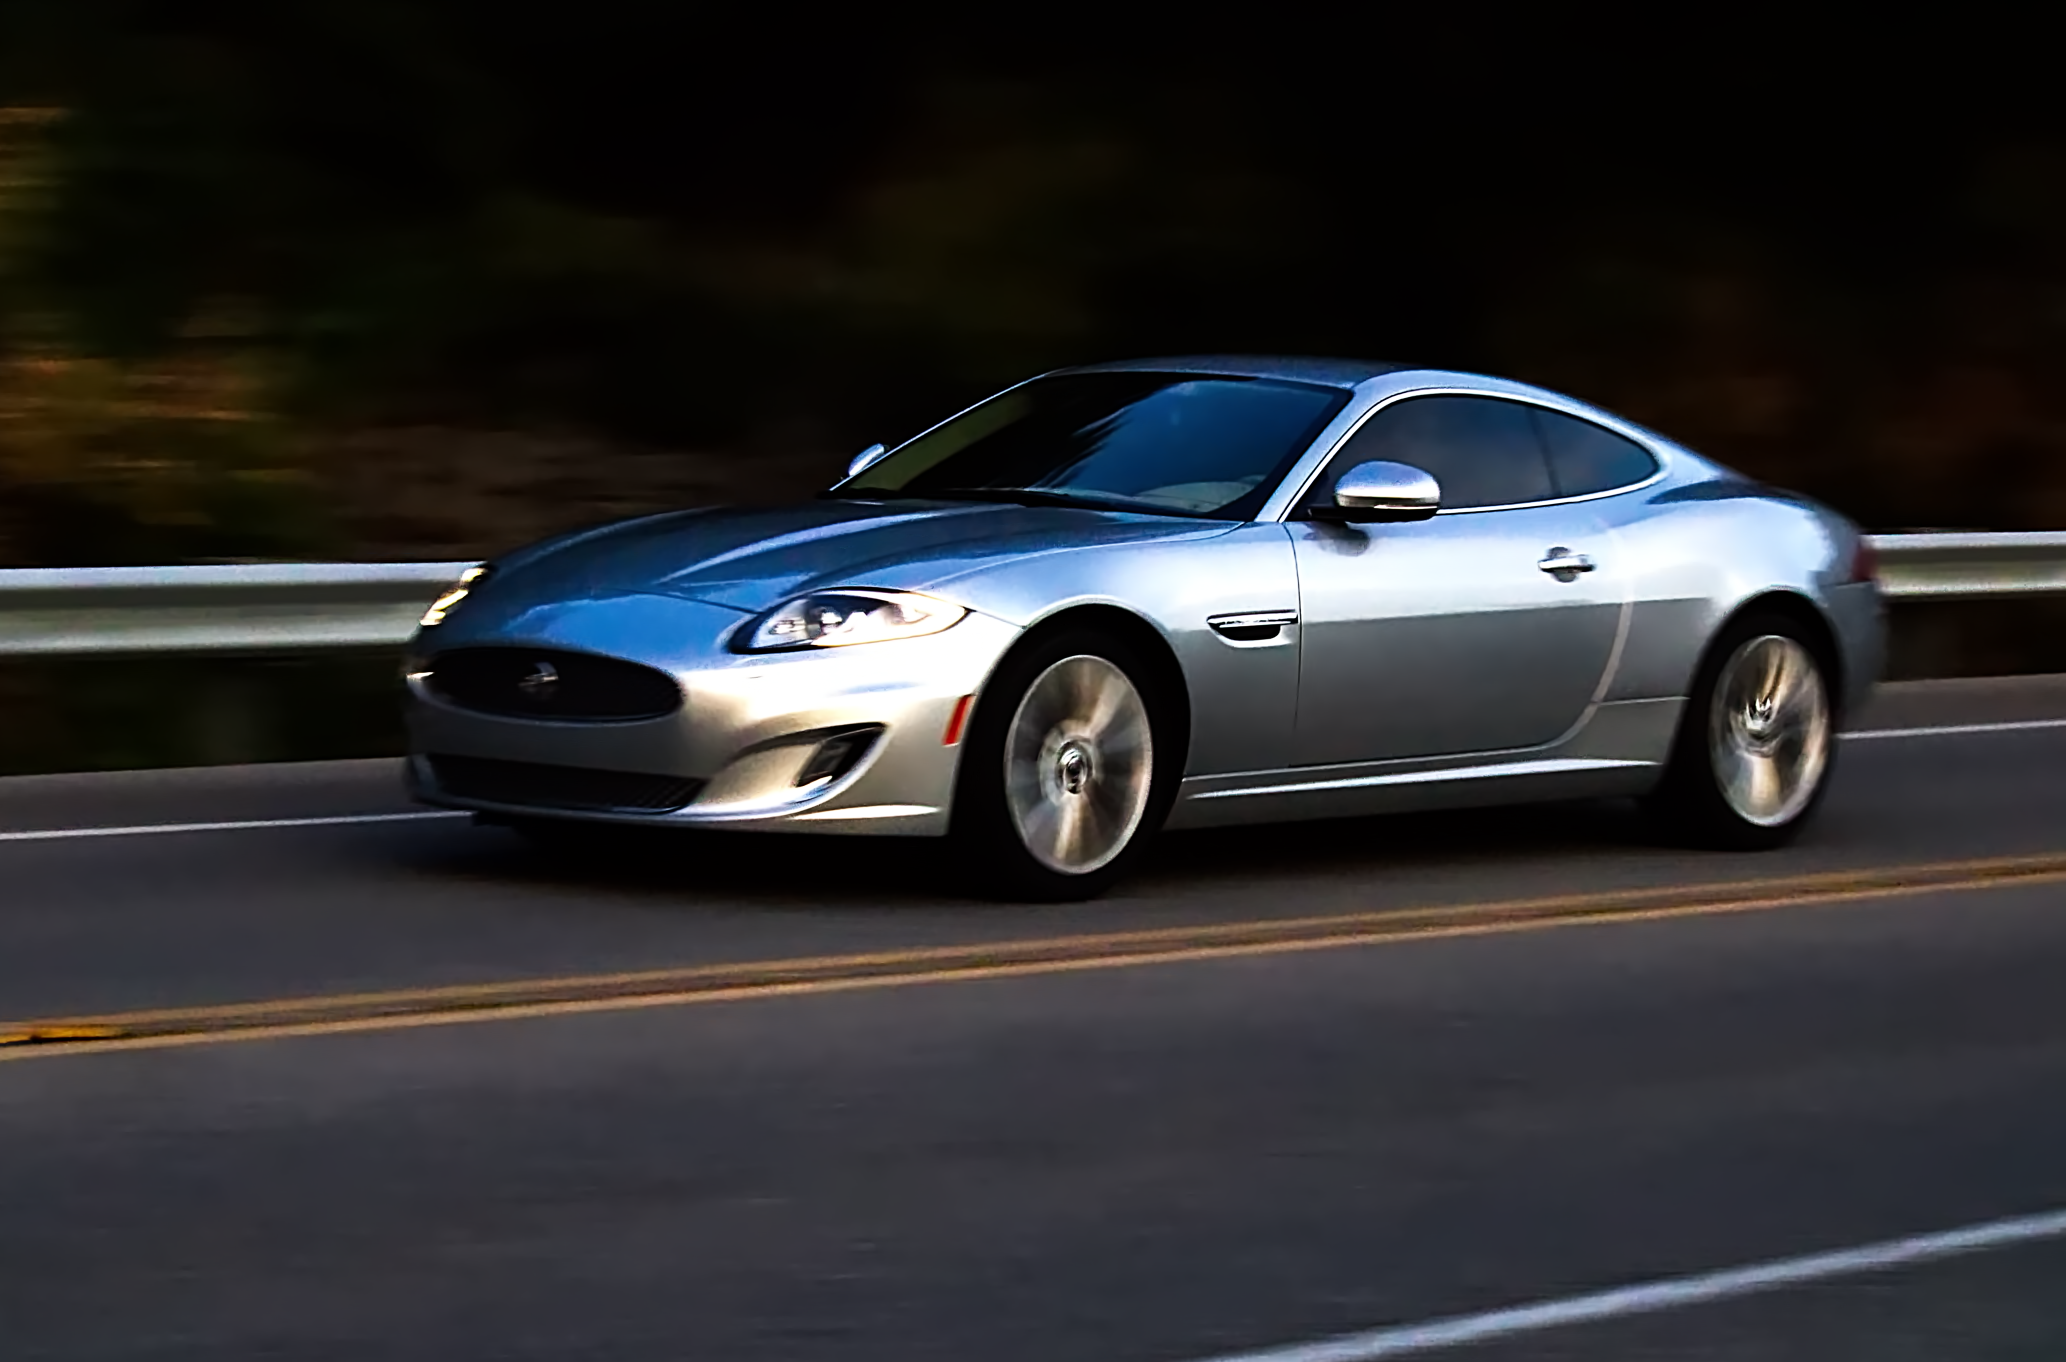
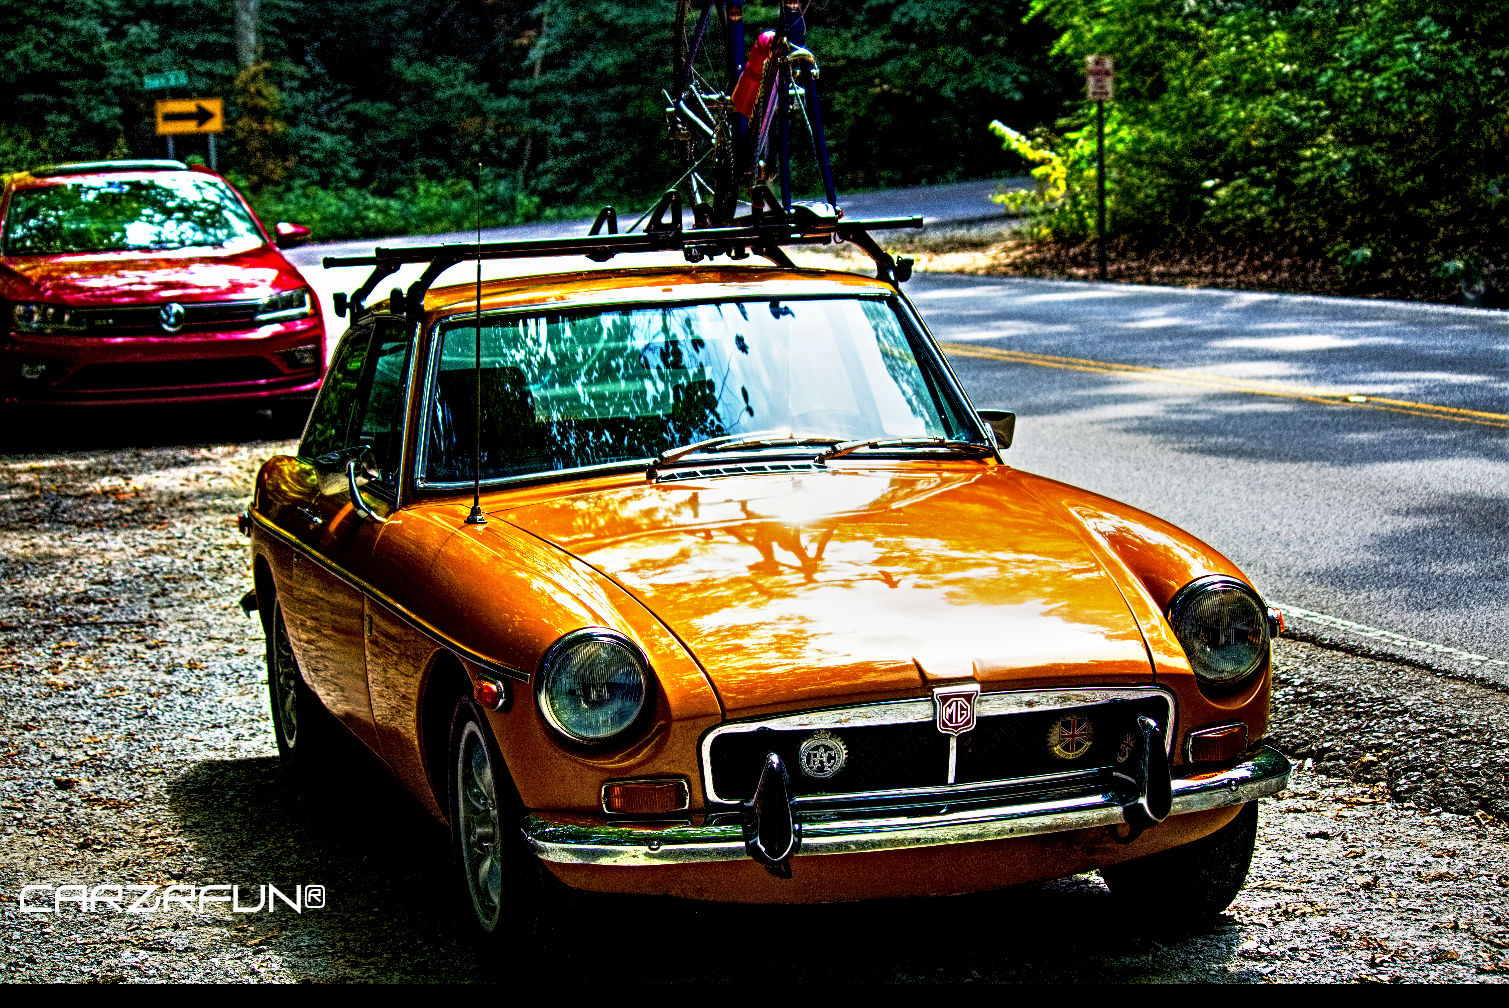
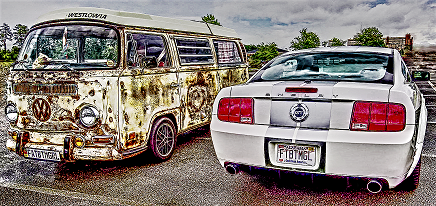
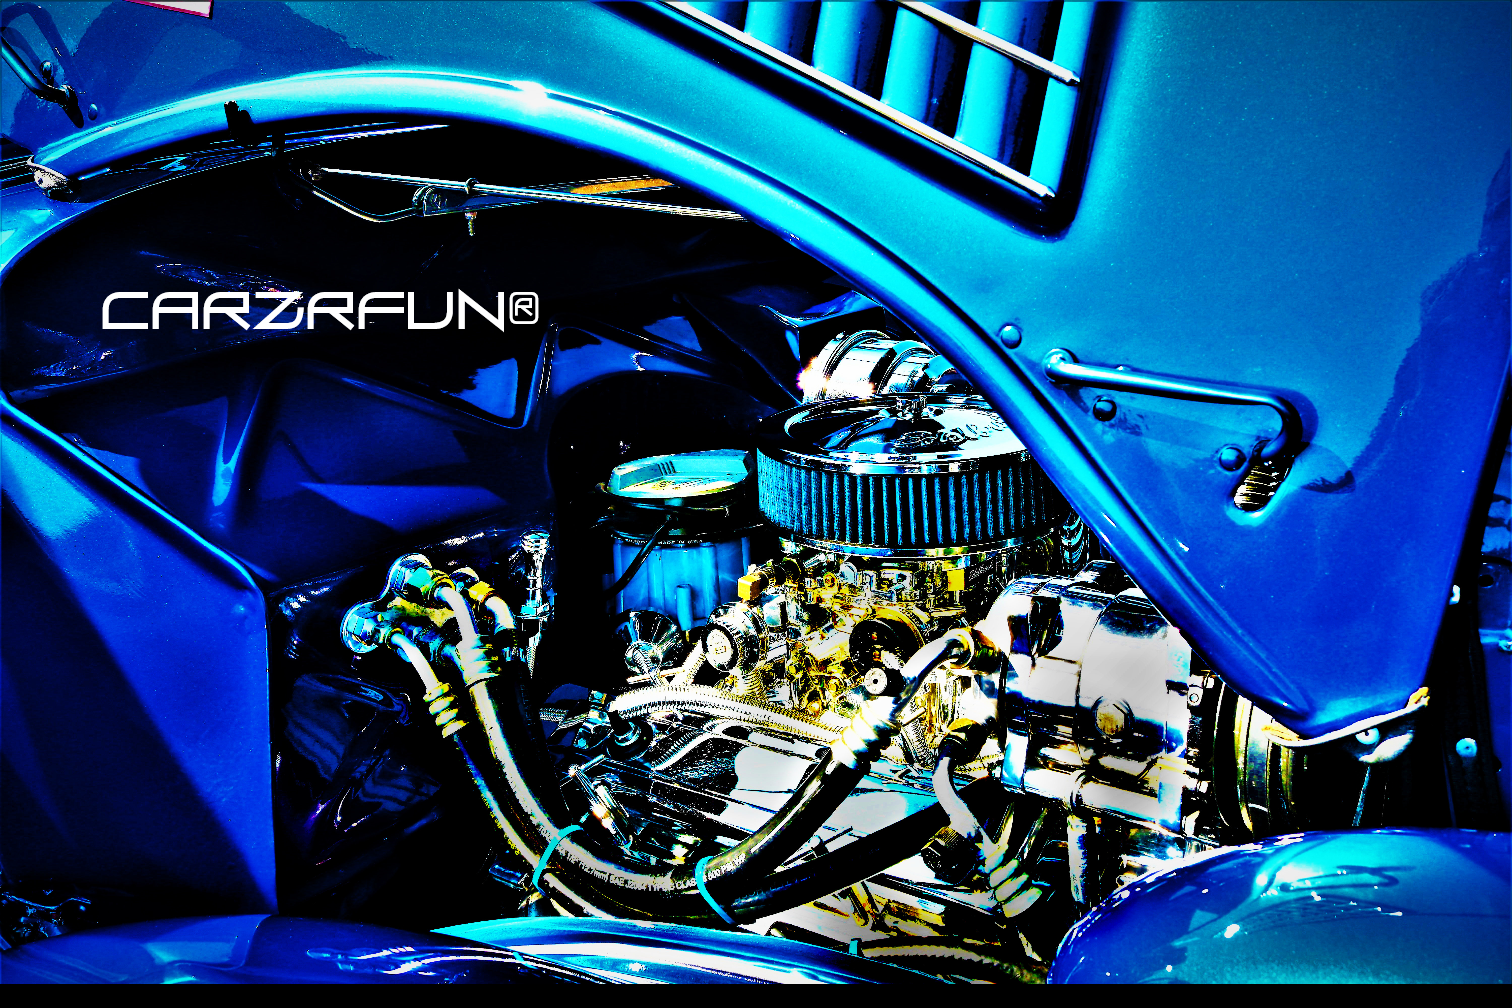
I am new to photography and the entire post editing process all together. There are a lot of flaws I'm sure but I really enjoy working with Affinity Photo and enjoy all of the work I have seen here thus far. Please enjoy and let me know what could be addressed if you care to share:)
-
 Nik Collection 4 was released today (June 2, 2021) and the install procedure has changed. I found the steps at the following URL: https://help-nikcollection4.dxo.com/install_activate I hope this helps someone avoid the frustration getting the Nik Collection 4 installed to Affinity Photo. I was fouled up because I tried to follow the steps for Nik 2.5 and 3.0. However, the new release is installed for Affinity Photo differently. Edit: By the way did a quick test and Nik Viveza worked fine. Peace
 -
 I can't seem to rasterize procedural texture. Is the only solution to merge all visible layers?
 -
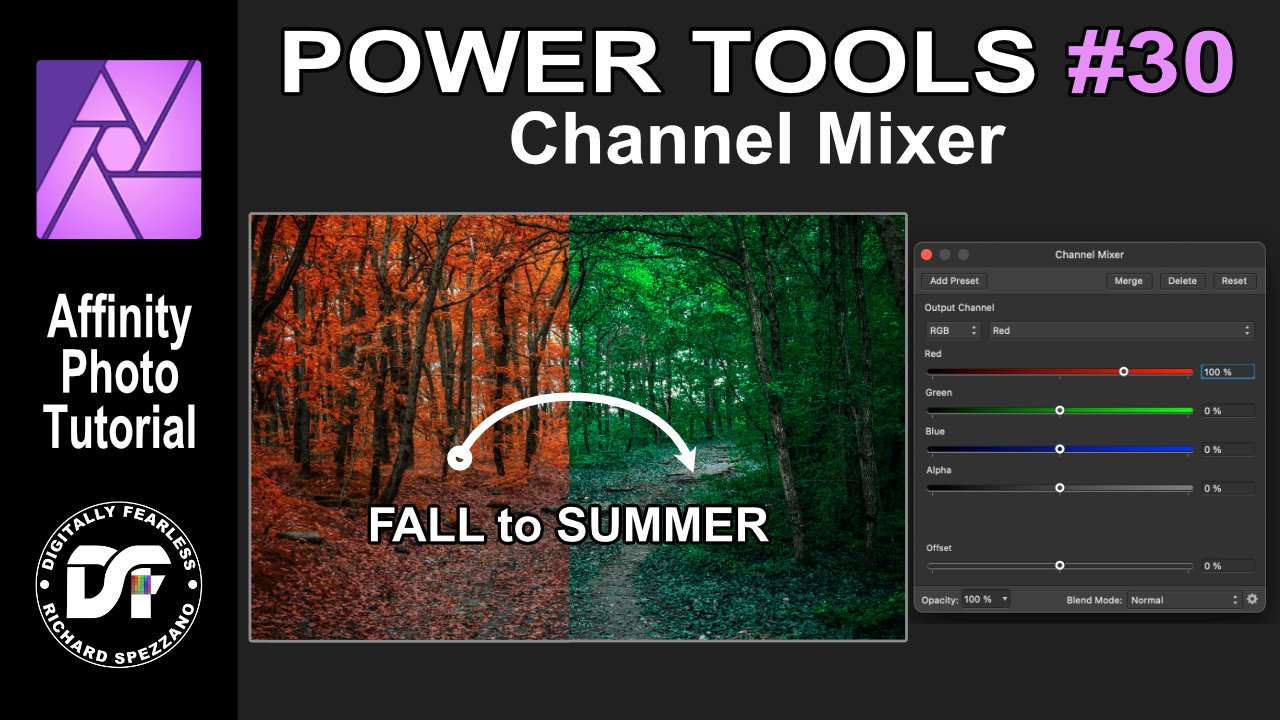
 Turn Fall into Summer. The channel mixer, Affinity Photo Powertools #30. In this Digitally Fearless tutorial I use the channel mixer to change seasons. It’s simple and quick. This is the desktop version. You can also view the iPad version on my channel. https://youtu.be/cuopZtmAtu8
-
Coventry Cathedral engraved illustration
-
 Hi guys, you can check out this video to learn an easy trick to extend/expand your photo's background/backdrop in Affinity Photo because as you know there's no Content-Aware Scale in Affinity Photo, so instead you can try this trick. I hope you enjoy this video, thank you!
-
- 1
-

-
- affinity photo
- tutorials
- (and 7 more)
-
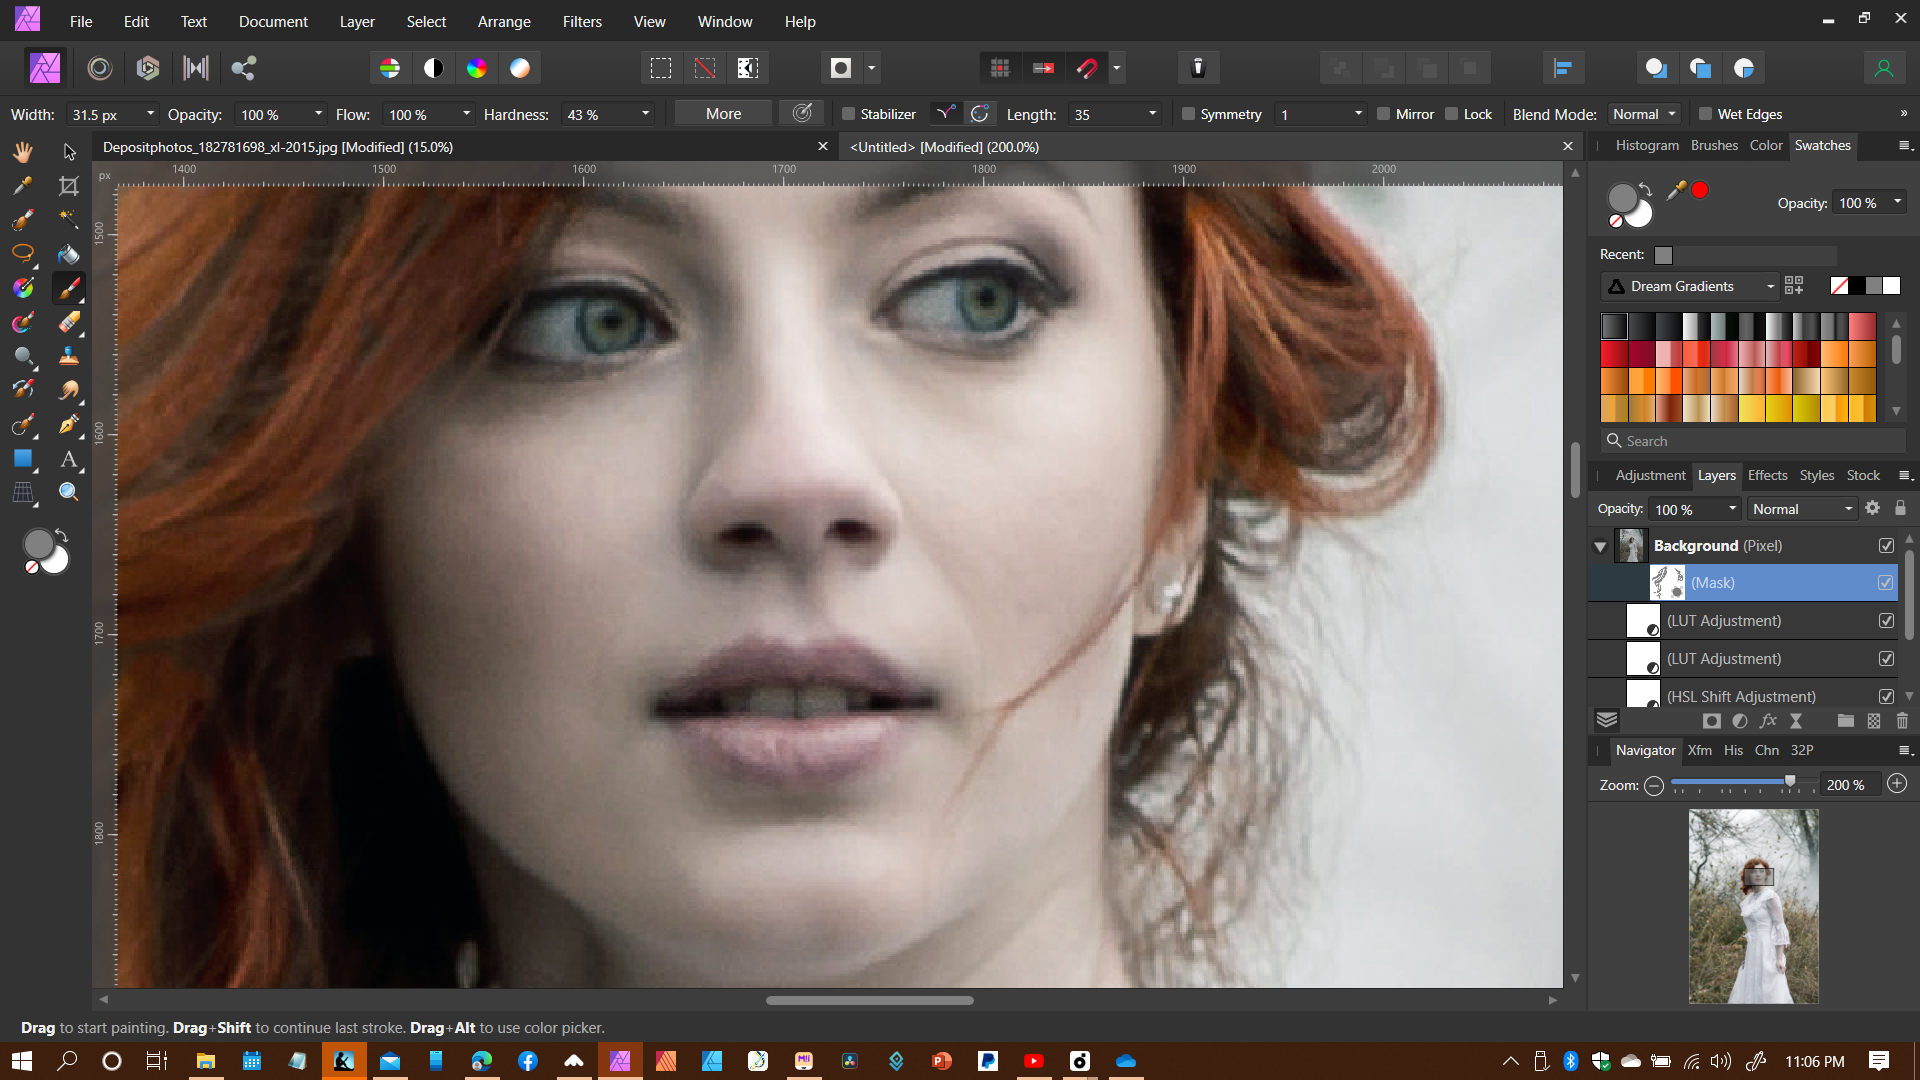
 This keeps happening...to EVERYTHING. This image is 3456x3888. I only have it zoomed 200%. I can't do anything. Everything is doing this. The fist is 4500 x 5400. I was trying to make a profile frame for Facebook. Scale it down and this happens. Even text is pixelating when I zoom. I've also been having another issue: If I "open" a document and then "paste" it into a doc it keeps its resolution. If I file>place, it is a lower res.
-
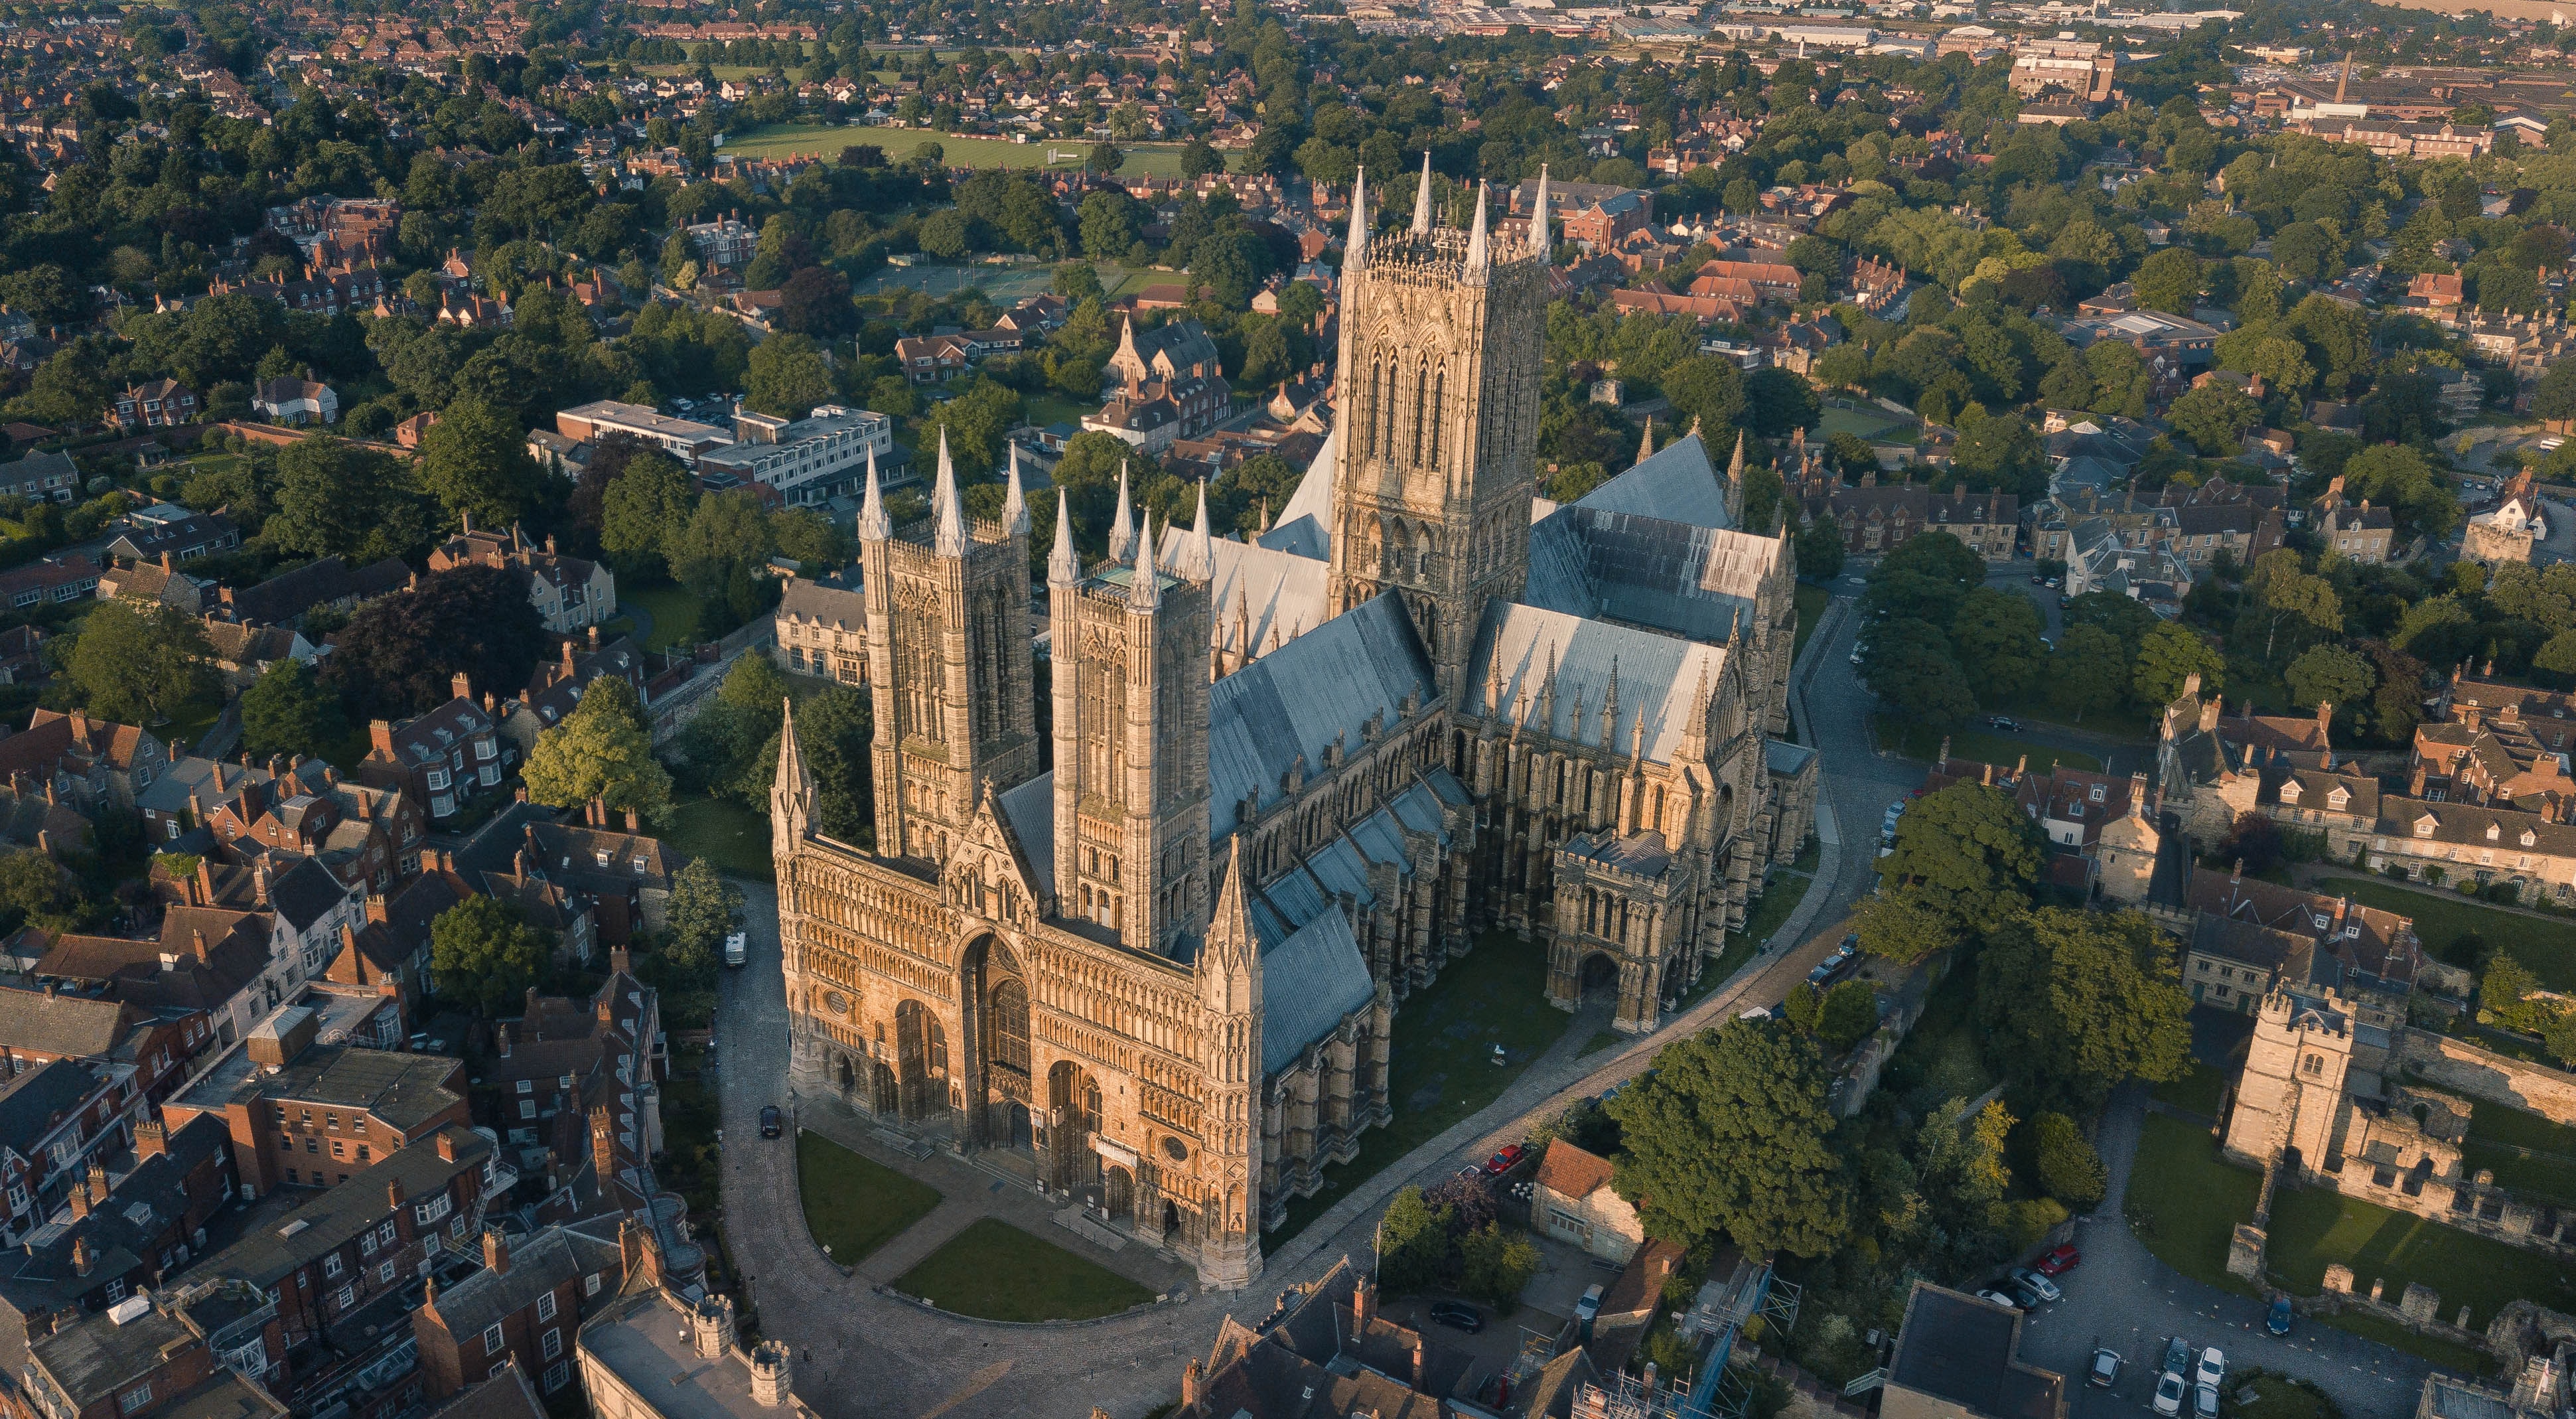
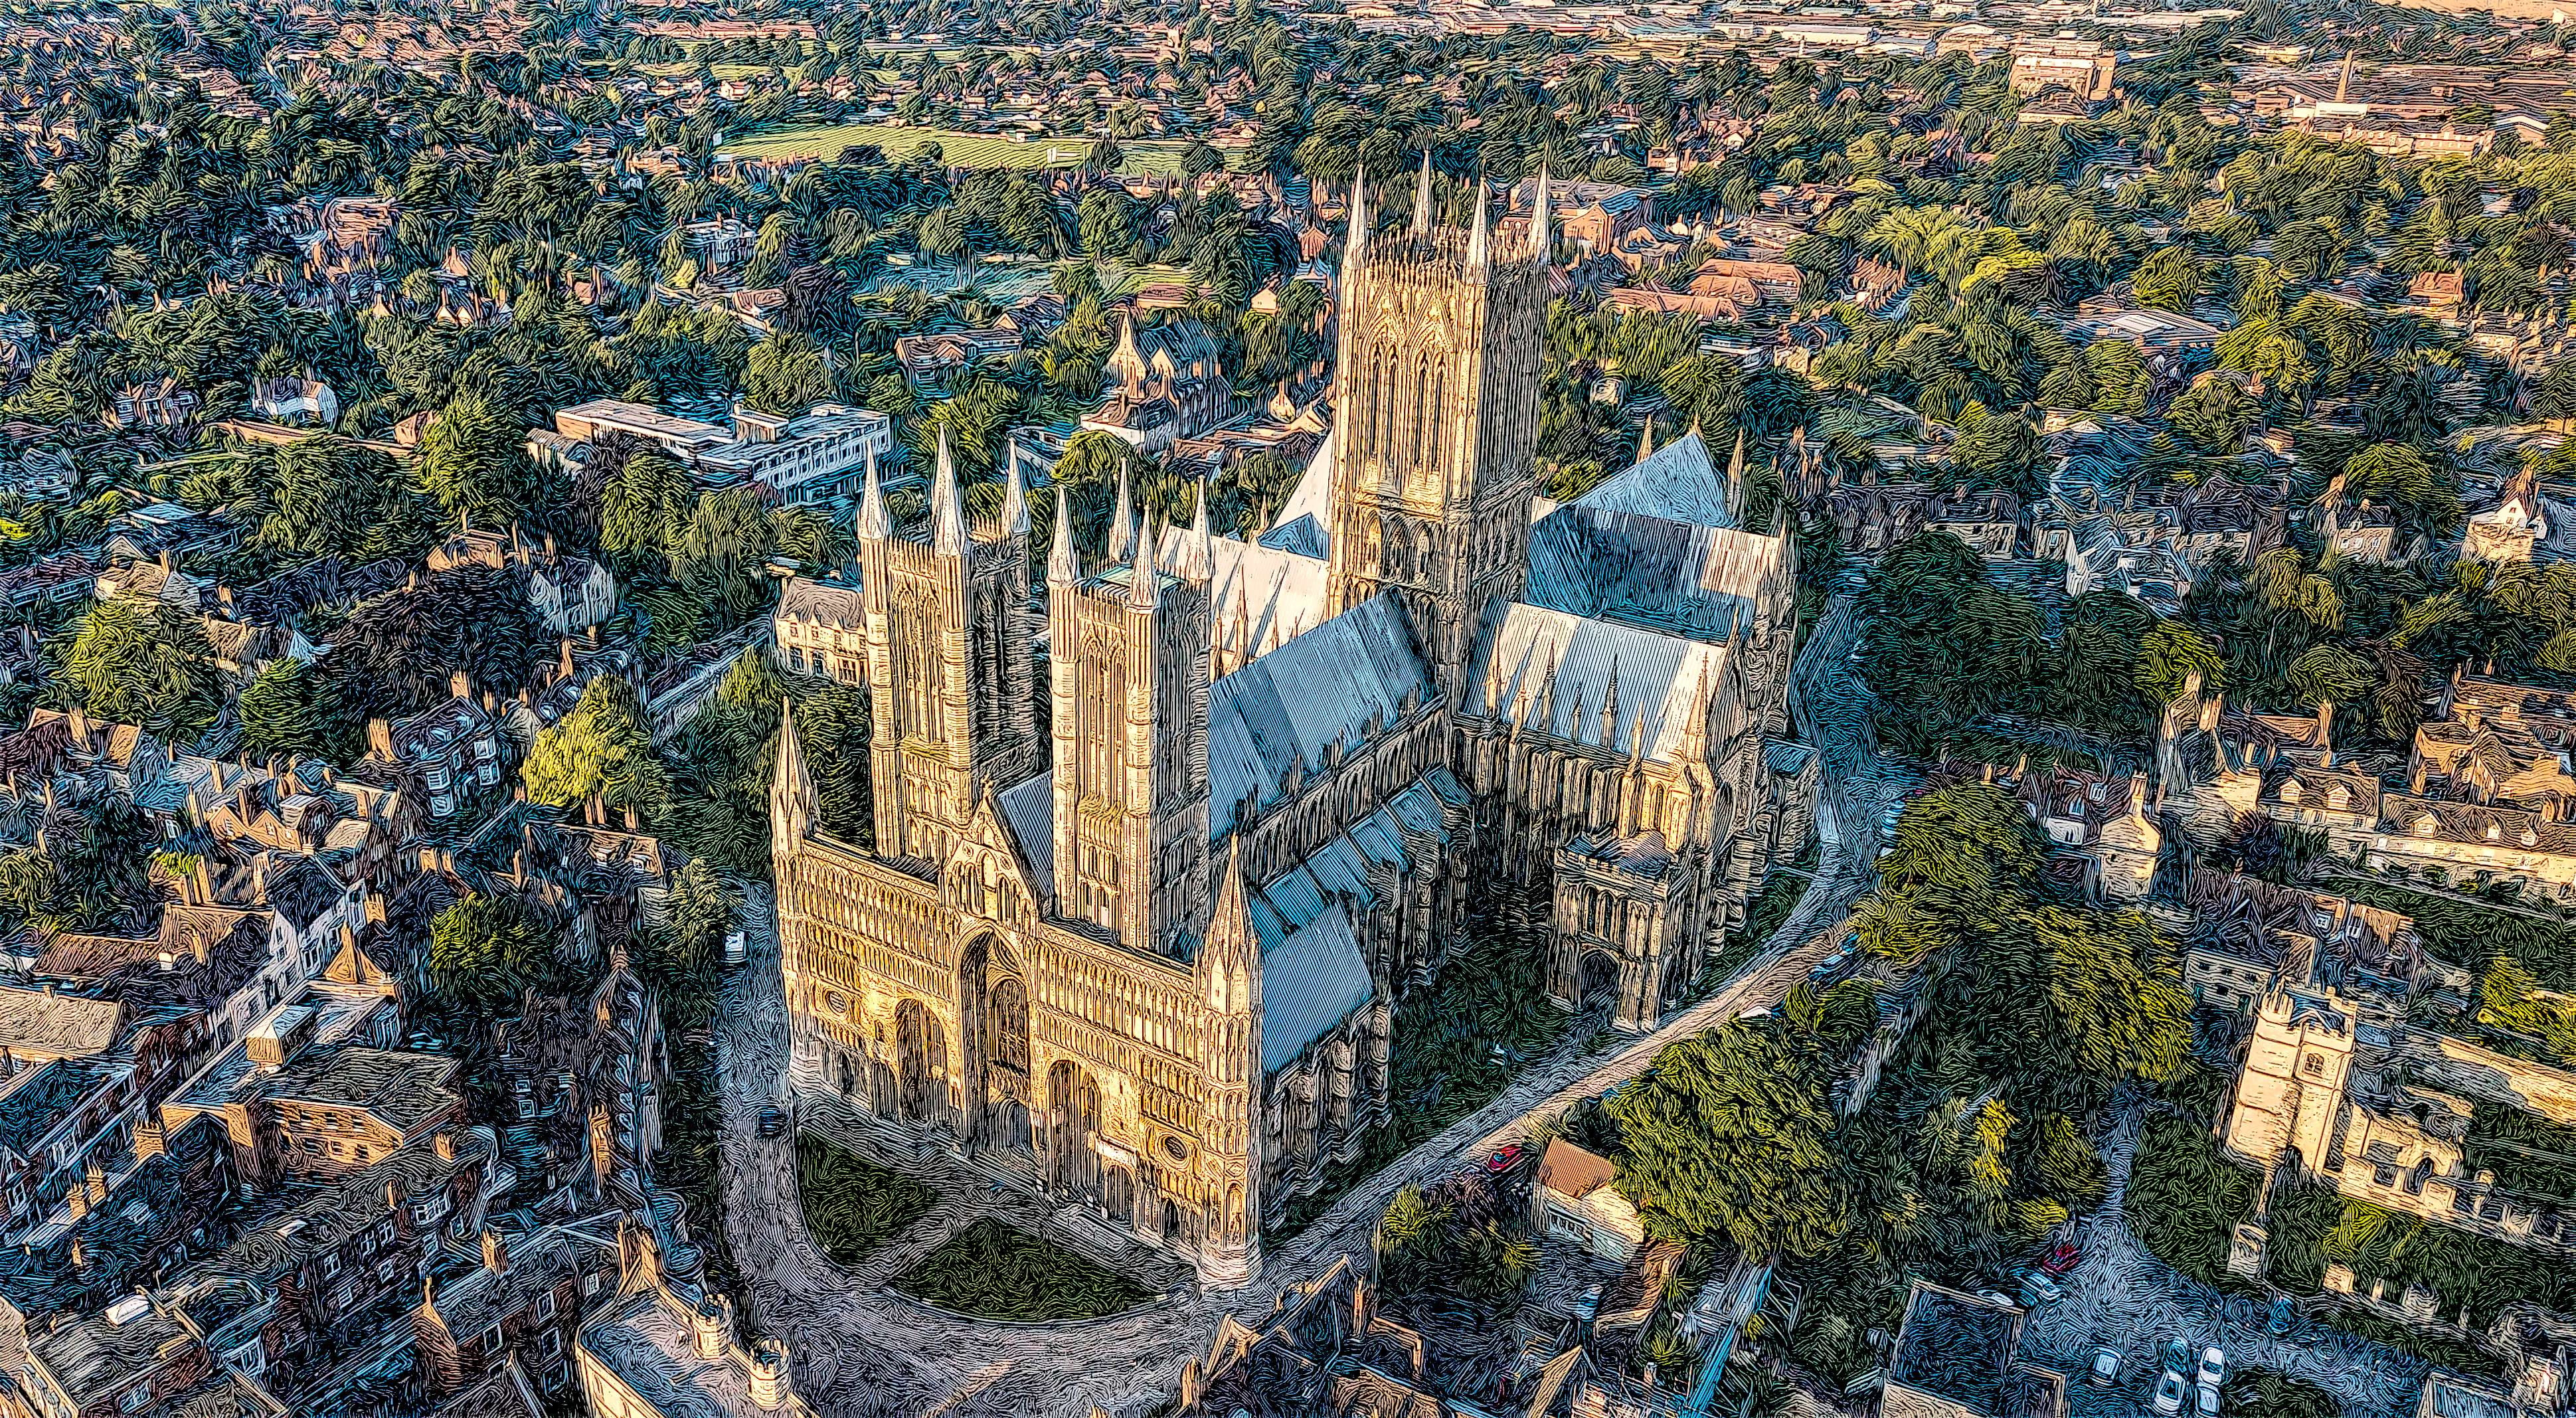
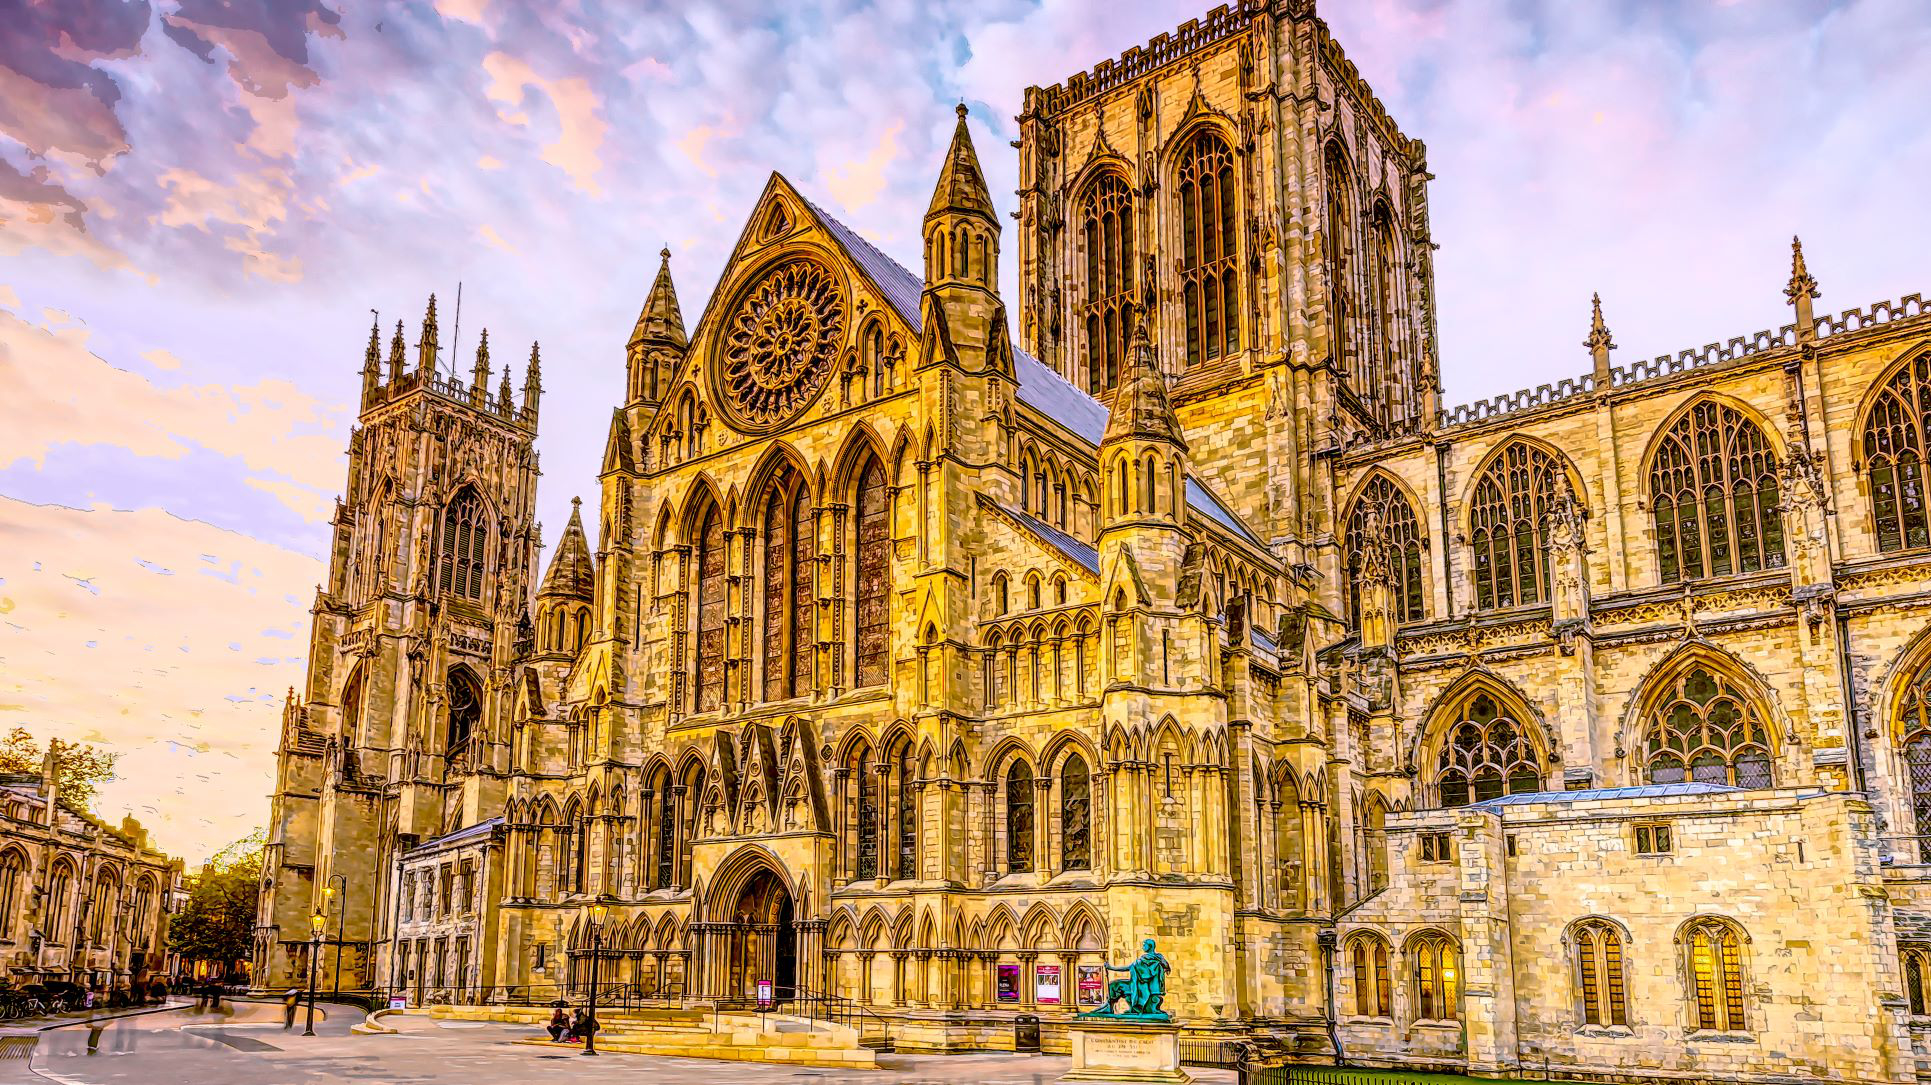
Here is an Unsplash Image of Lincoln Cathedral given the gmic Affinty Hdr treatment. Use the original image ... Then use the G'MIC plugin and save different versions of the image, always beginning with the original image, using ... Color - Autobalance Artistic - Illustration Look Black and White - Engraving, Export each image separately. I recommend using PNG for lossless compression. Then using HDR Merge, import all the separate images including the original and allow Affinity Photo to create the composite image. Use the Tone Map as detailed or dramatic. Then adjust the image in the develop persona tweaking the Black Point +10, then tweak the vibrancy and saturation until you get the colour effect you desire. Then develop the image and save it to a format you prefer. Voilà ... and you will get the illustrated effect as shown.
-
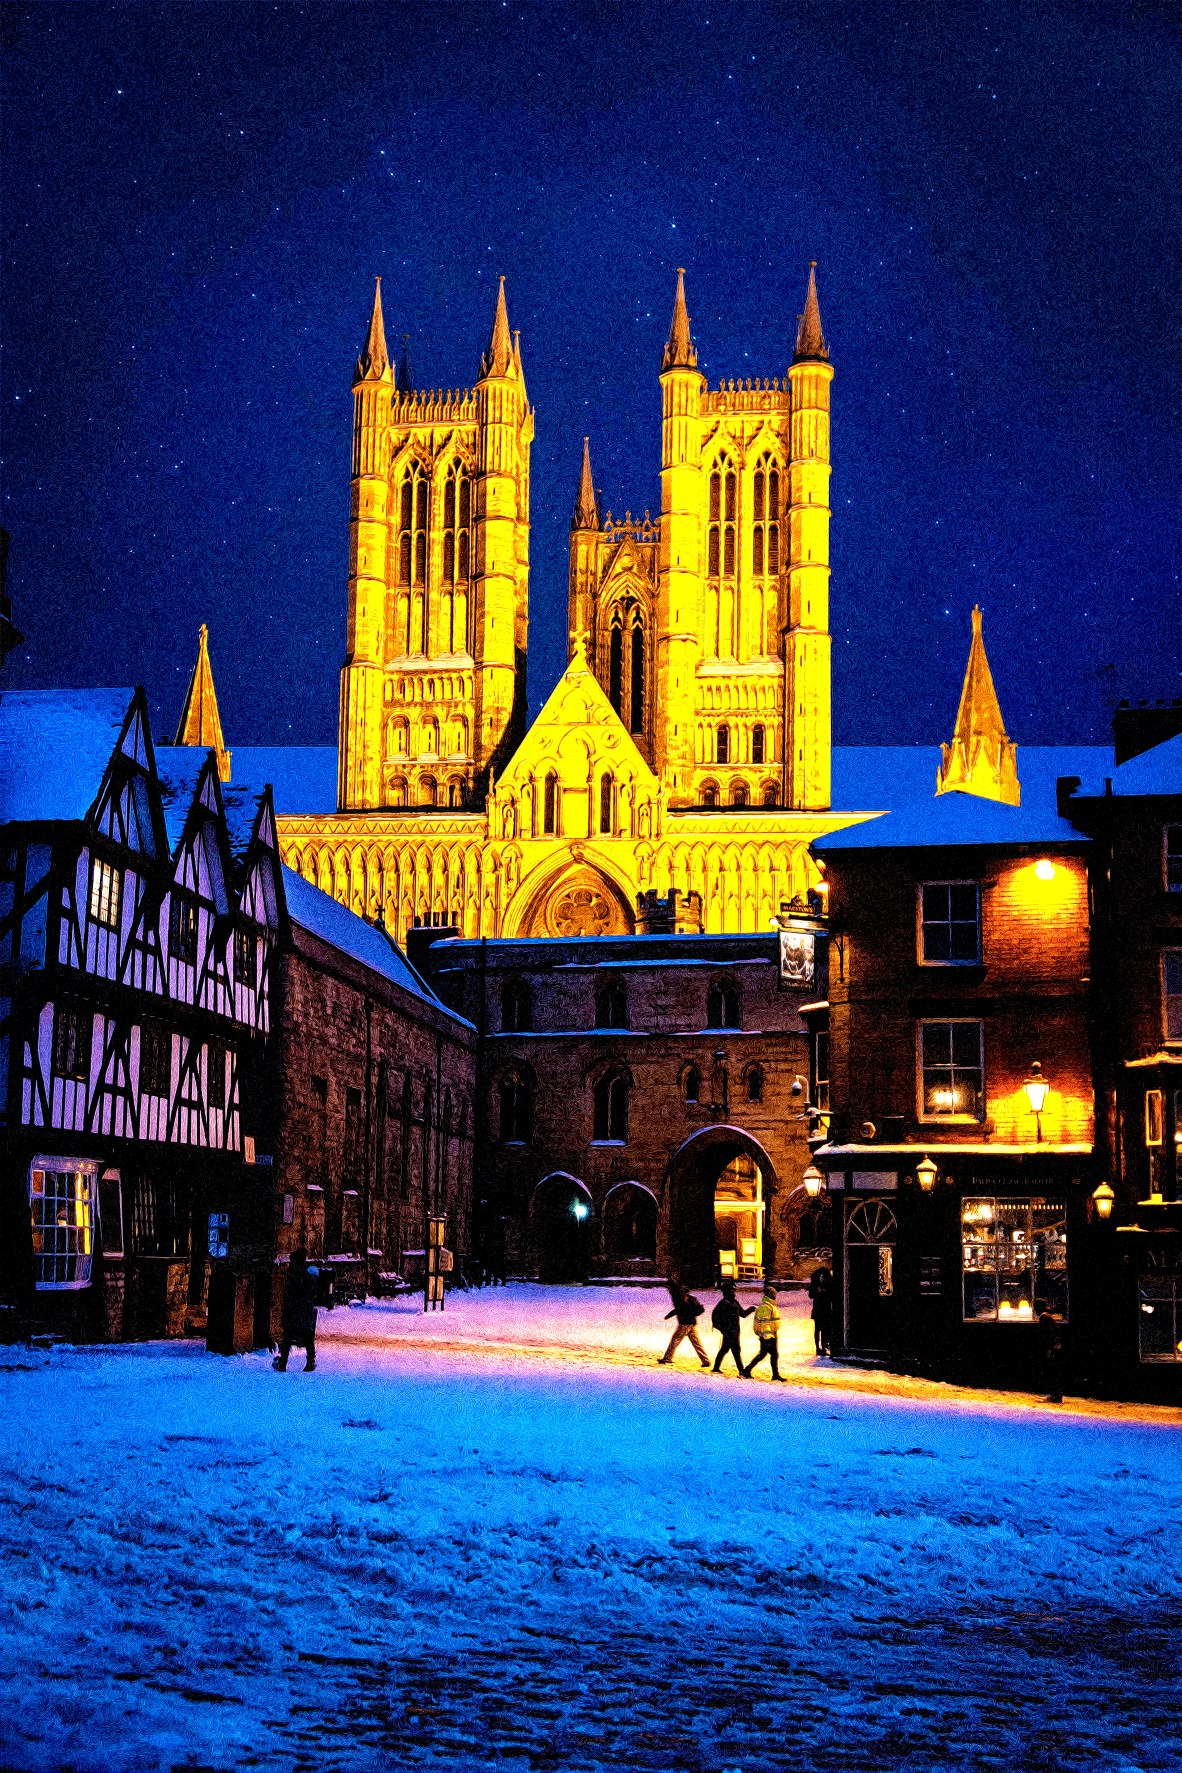
Here is a version of Lincoln Cathedral using the stack function with mean pass-through instead of HDR merge. Contrast and exposure altered in the Develop persona with a little boost of black point and vibrance.
-
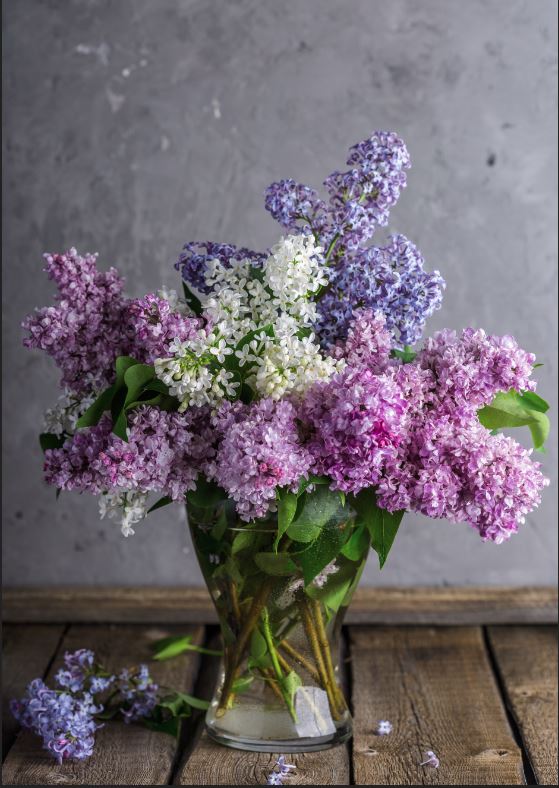
I love to see how much of a painterly look I can get from photos using just Affinity's standard filters. I created this impressionistic oil painting of lilacs in a vase from a stock photo I found in the Pixabay section on Affinity Photo's Stock tab (Thanks to Daria Yakovleva for contributing her photo, which you can see below). There is no brushwork involved in this; it's all filters, layer blend modes and adjustment layers along with a few textures I also found in the stock imagery. Here's the original photo: (Photo by Daria Yakovleva from Pixabay)
-
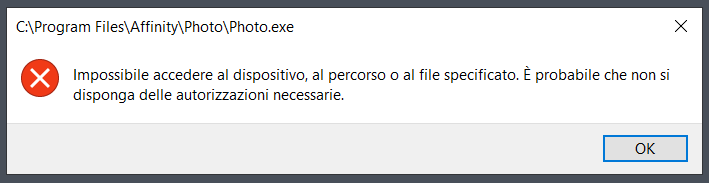
 I found issues starting Affinity Photo on Windows PC. I tried with 1.9.2.1035 and latest 1.10 Customer Beta. I already uninstalled and reinstalled the software several times and now I noticed the C:\Users\myuser\AppData\Roaming\Affinity\Photo disappeared so I can't attach crash reports. Consider I bought Designer too and it works normally. PC is new and fresh installed and Photo is the only application with this kind of errors. My Windows build is 10.0.18363. Thank you in advance for support.
-
 We need to convert logo into different kinds of 2D and 3D embroidery texture look. Like straight stitch, satin stitch and fill stitch. Are there any way this is possible to do in Affinity Designer or Affinity Photo?
 -
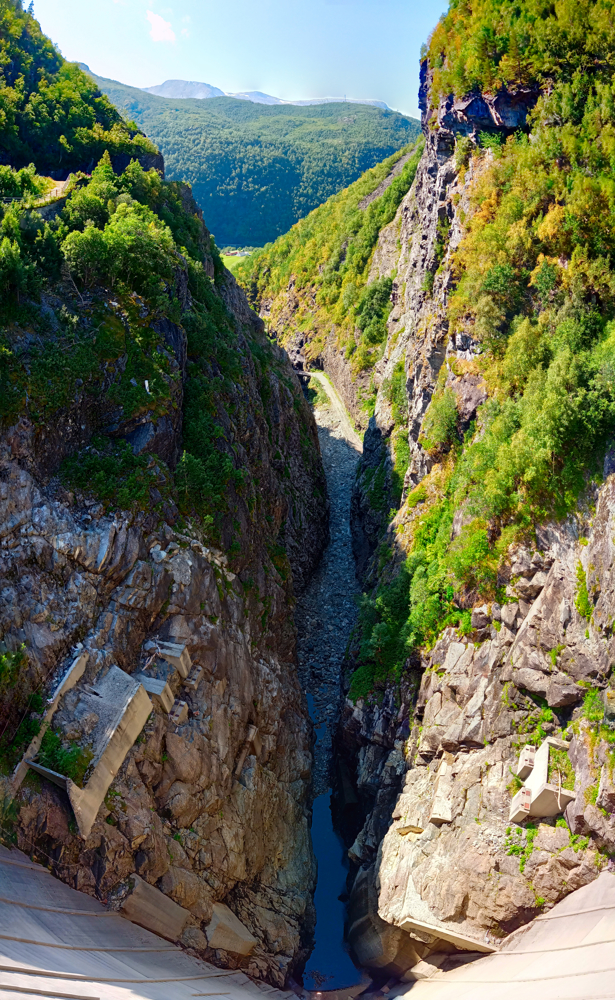
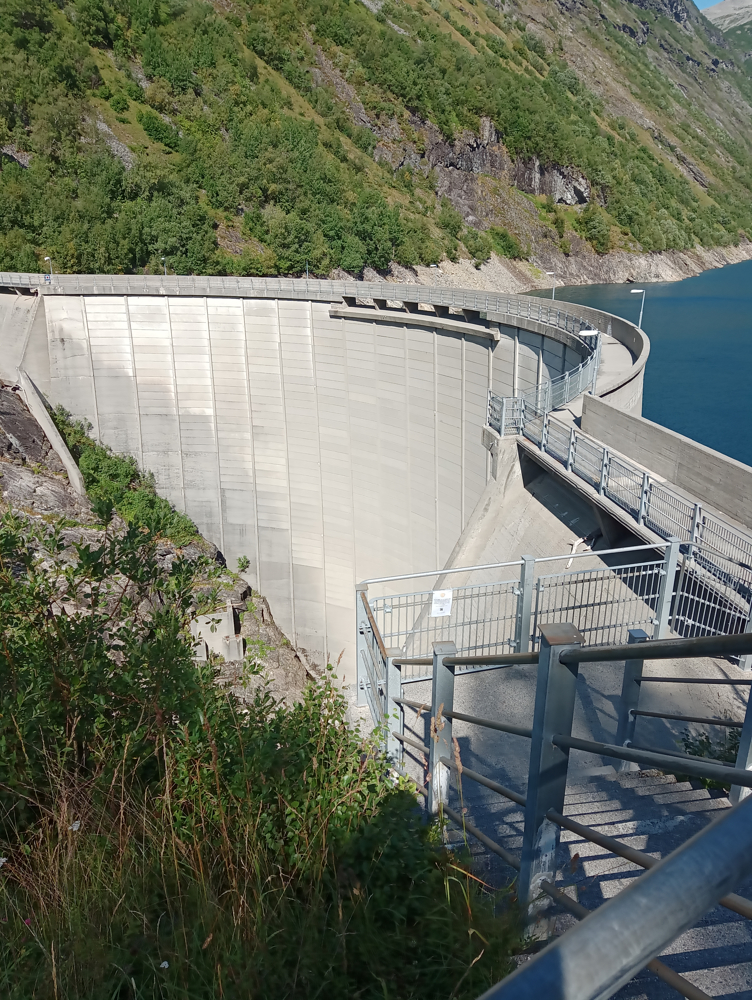
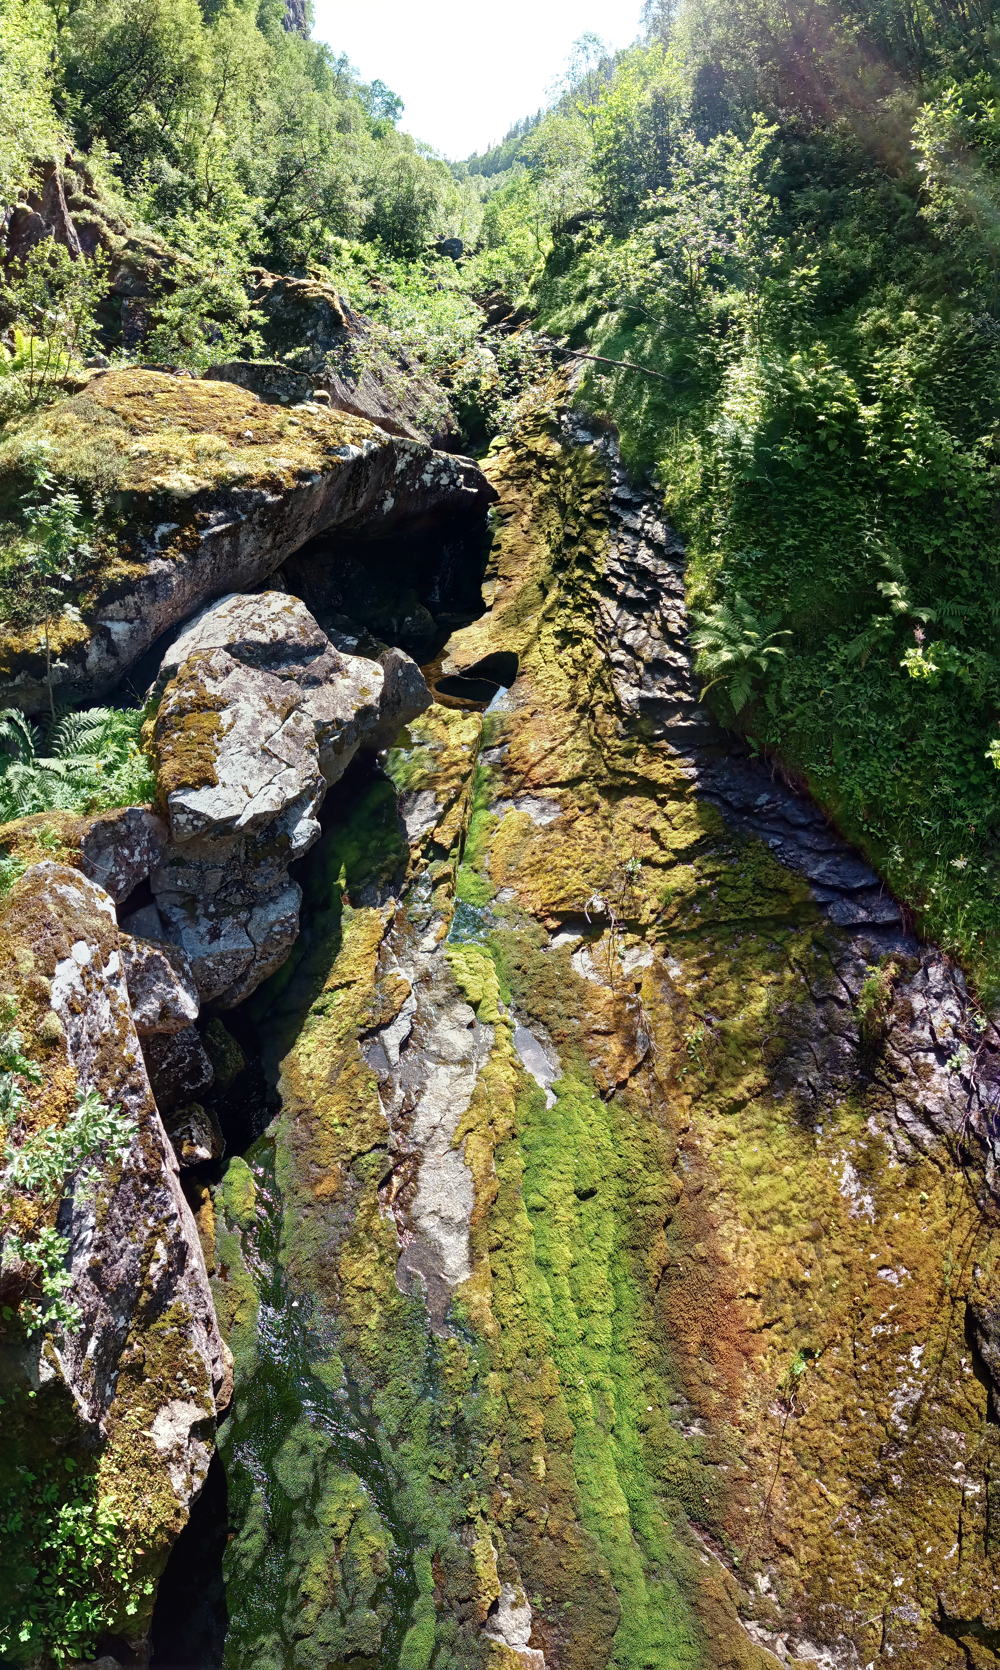
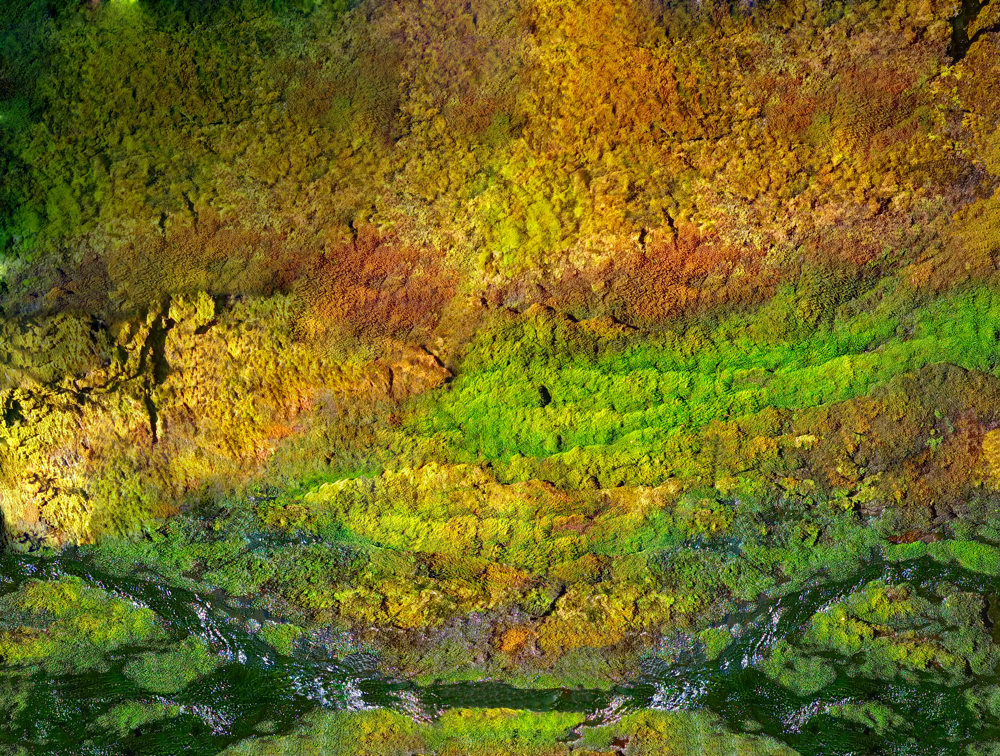
Picture from Sakariasdammen a hydro powerplant in Tafjorden Norway. It is 96 mtr from topp to bottom. Made from 14 and 16 pictures.
-
 What with Halloween coming in short while, here’s a fairly short video showing you how to manipulate text into a bloody mess, while leaving it still editable as text. (Apologies for the numerous pauses where I had a 'brain freeze'.) As shown towards the end of the video, you can use the same sort of technique to create green slime, or blue water (or some other liquid) by simply changing the colour of the text. The result certainly isn’t good enough to use in high-end publications but it should be good enough for simple flyers and such like. Try experimenting with some of the settings I used and see what you can come up with. Note: Make sure you use a high DPI document, otherwise the result isn’t as good. 2021-08-05 13-05-01.mp4
-
Here is my latest illustration created using the HDR Merge and GMIC plugin technique (autobalance, engraving). https://drive.google.com/file/d/1Mrs-4a2fzrAdBsWS2oZVRoEmn3g26GZB/view?usp=sharing You can see the full size version at the link above.
-

affinity photo Comparing Affinity Photo vs Astro Pixel Processor
Didge posted a topic in Share your work
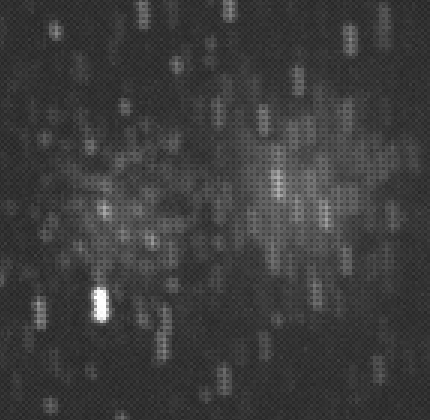
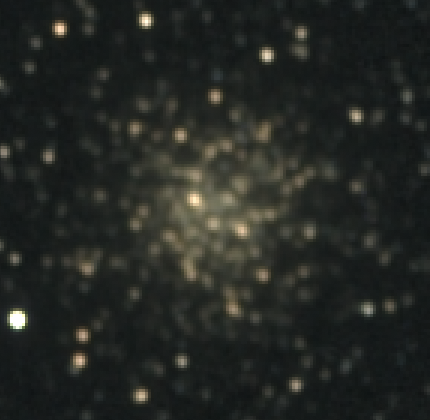
Hi, I've been experimenting with Affinity Photo over the last few days to see how well it performs vs Astro Pixel Processor for aligning astro images and applying levels and curve adjustments. I stacked 95x10s subs of the Globular Cluster NGC-6723, which represents a tiny portion of an original image of the region around Corona Australis (which you can see on my Astrobin page here). Image (a) is an unaligned stack, to show the range of mis-alignment; Image (b) is the same stack aligned and adjusted using APP; Image (c) is the same stack aligned and adjusted using Affinity Photo. The levels and colour balance are slightly different, but the alignment done by Affinity Photo is every bit as good as that done by APP. I find Affinity Photo much easier to use than APP, and much more versatile for other image editing tasks. For me, Affinity Photo replaces both APP and Photoshop, which IMHO makes it excellent value. Gary ===== PS : I have no connection with Serif - I'm just a new user who is really pleased with the product, and the responsiveness of their technical support team.


.png.5f4bb47336f384584a47fb55a457447f.png)