Search the Community
Showing results for tags 'Affinity photo'.
-
https://www.instagram.com/p/CaxEMI1u8yj/
-
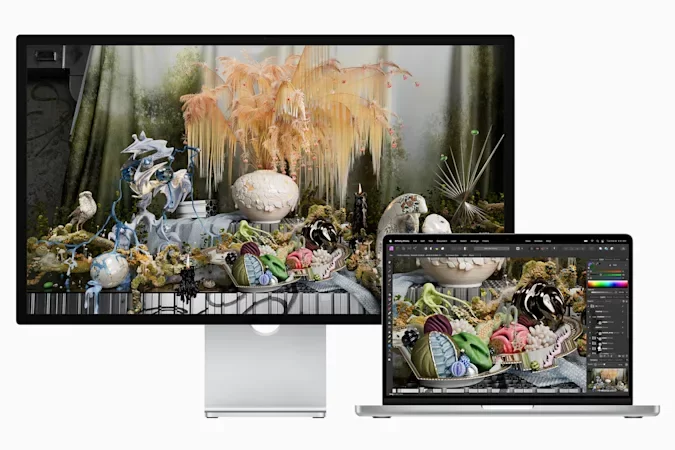
Great to see Affinity Photo on the tonight's Apple presentation....! Well done Team!

- 1 reply
-
- 3
-

-

-
CLIPPING WARNINGS IN PHOTO PERSONA USING PROCEDURAL TEXTURES Develop persona allows you to see clipped areas. I have created three procedural texturas to reveal this areas in photo persona. First procedural texture: Clipping Shadows/Highlights Here is an example where shadows and highlights are clipped. Just like develope persona i used red and blue to show the warnings. Red for highlights and blue for shadows. Second procedural texture: Clipping RGB This procedural texture shows warnings for each channel when a pixel reaches 0 or 255. Each channel has its own warning colour. Single colour per channel. In this example i went too far setting the black level on the green channel. Usually you will only see warnings in red, green or blue but it is also possible to see cyan, magenta or yellow. Lets take for example a yellow warning. If you add red and green you get yellow so a yellow warning refers to the red and green channel. Cyan = Green + Blue Magenta = Red + Blue Third procedural texture: Clipping RGB - Black background Sometimes its hard to see the warnings because they look they are blended whith the image. This procedural makes the image completly black while the warnings remain in colour. It is like when you select the levels adjustment and hold down the alt key but in this case the warnings are visible while editing each channel. If you found this usefull you can download the file at the end or paste this formulas. First procedural texture: Clipping Shadows/Highlights var trigger=floor(0.5+abs(average(R,G,B)-0.5)); trigger*R + (1-trigger)*R var trigger=floor(0.5+abs(average(R,G,B)-0.5)); (1-trigger)*G var trigger=floor(0.5+abs(average(R,G,B)-0.5)); trigger*(1-B) + (1-trigger)*B Second procedural texture: Clipping RGB var rgb=floor(max(R,G,B,1-min(R,G,B))); var red=floor(0.5+abs(R-0.5)); rgb*red + (1-rgb)*R var rgb=floor(max(R,G,B,1-min(R,G,B))); var gre=floor(0.5+abs(G-0.5)); rgb*gre + (1-rgb)*G var rgb=floor(max(R,G,B,1-min(R,G,B))); var blu=floor(0.5+abs(B-0.5)); rgb*blu + (1-rgb)*B Third procedural texture: Clipping RGB - Black background var rgb=floor(max(R,G,B,1-min(R,G,B))); var red=floor(0.5+abs(R-0.5)); rgb*red var rgb=floor(max(R,G,B,1-min(R,G,B))); var gre=floor(0.5+abs(G-0.5)); rgb*gre var rgb=floor(max(R,G,B,1-min(R,G,B))); var blu=floor(0.5+abs(B-0.5)); rgb*blu clipping_warnings.afphoto
-
 I am getting a notification for a software update available for Affinity Photo on my Windows Desktop. I am on a very old hardware windows machine and so do not want to unnecessarily update the app and make it more slow does anyone know or have release notes in what this latest version of Affinity Photo for windows has got in it ?
 -
 Hello, Is there a way to edit or rearrange the Context Tool Bar? I have to click the arrows on the right to get the items I use more often than some of the others that are readily displayed on the tool bar. This example is for text box. All of the text alignment options are hidden unless I click the arrows and I want them to be visible all the time on the Context Tool Bar when I'm in a text box. Thanks, Aurrora
-
 My affity photo doesnt work really. I have a new Mac Air with M1 processor.When i work with affinity photo ( I have bought it in the Appstore)the programm have always breaks and the sign ( rainbowcircle ) is coming and have to wait. What i can do?
 -
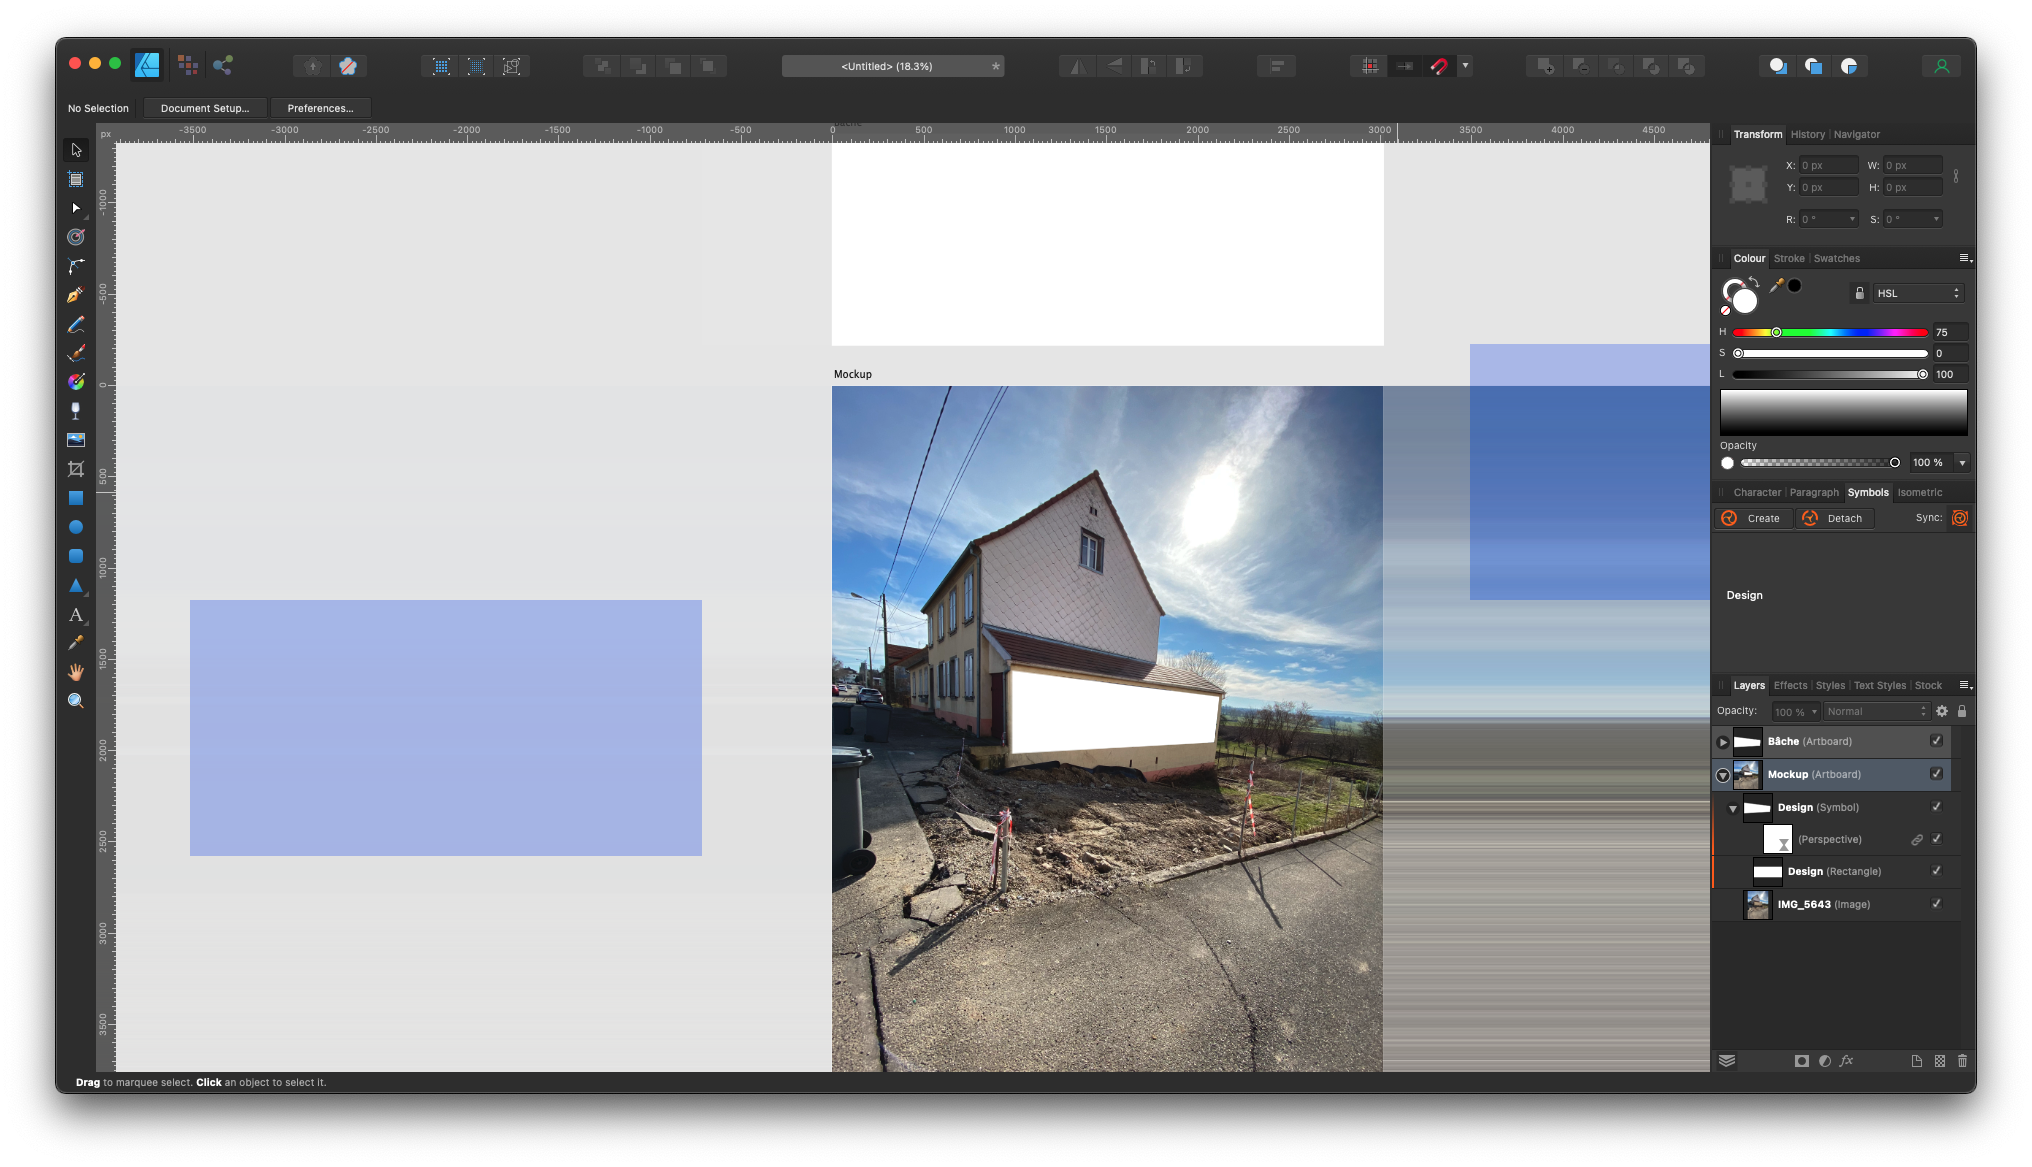
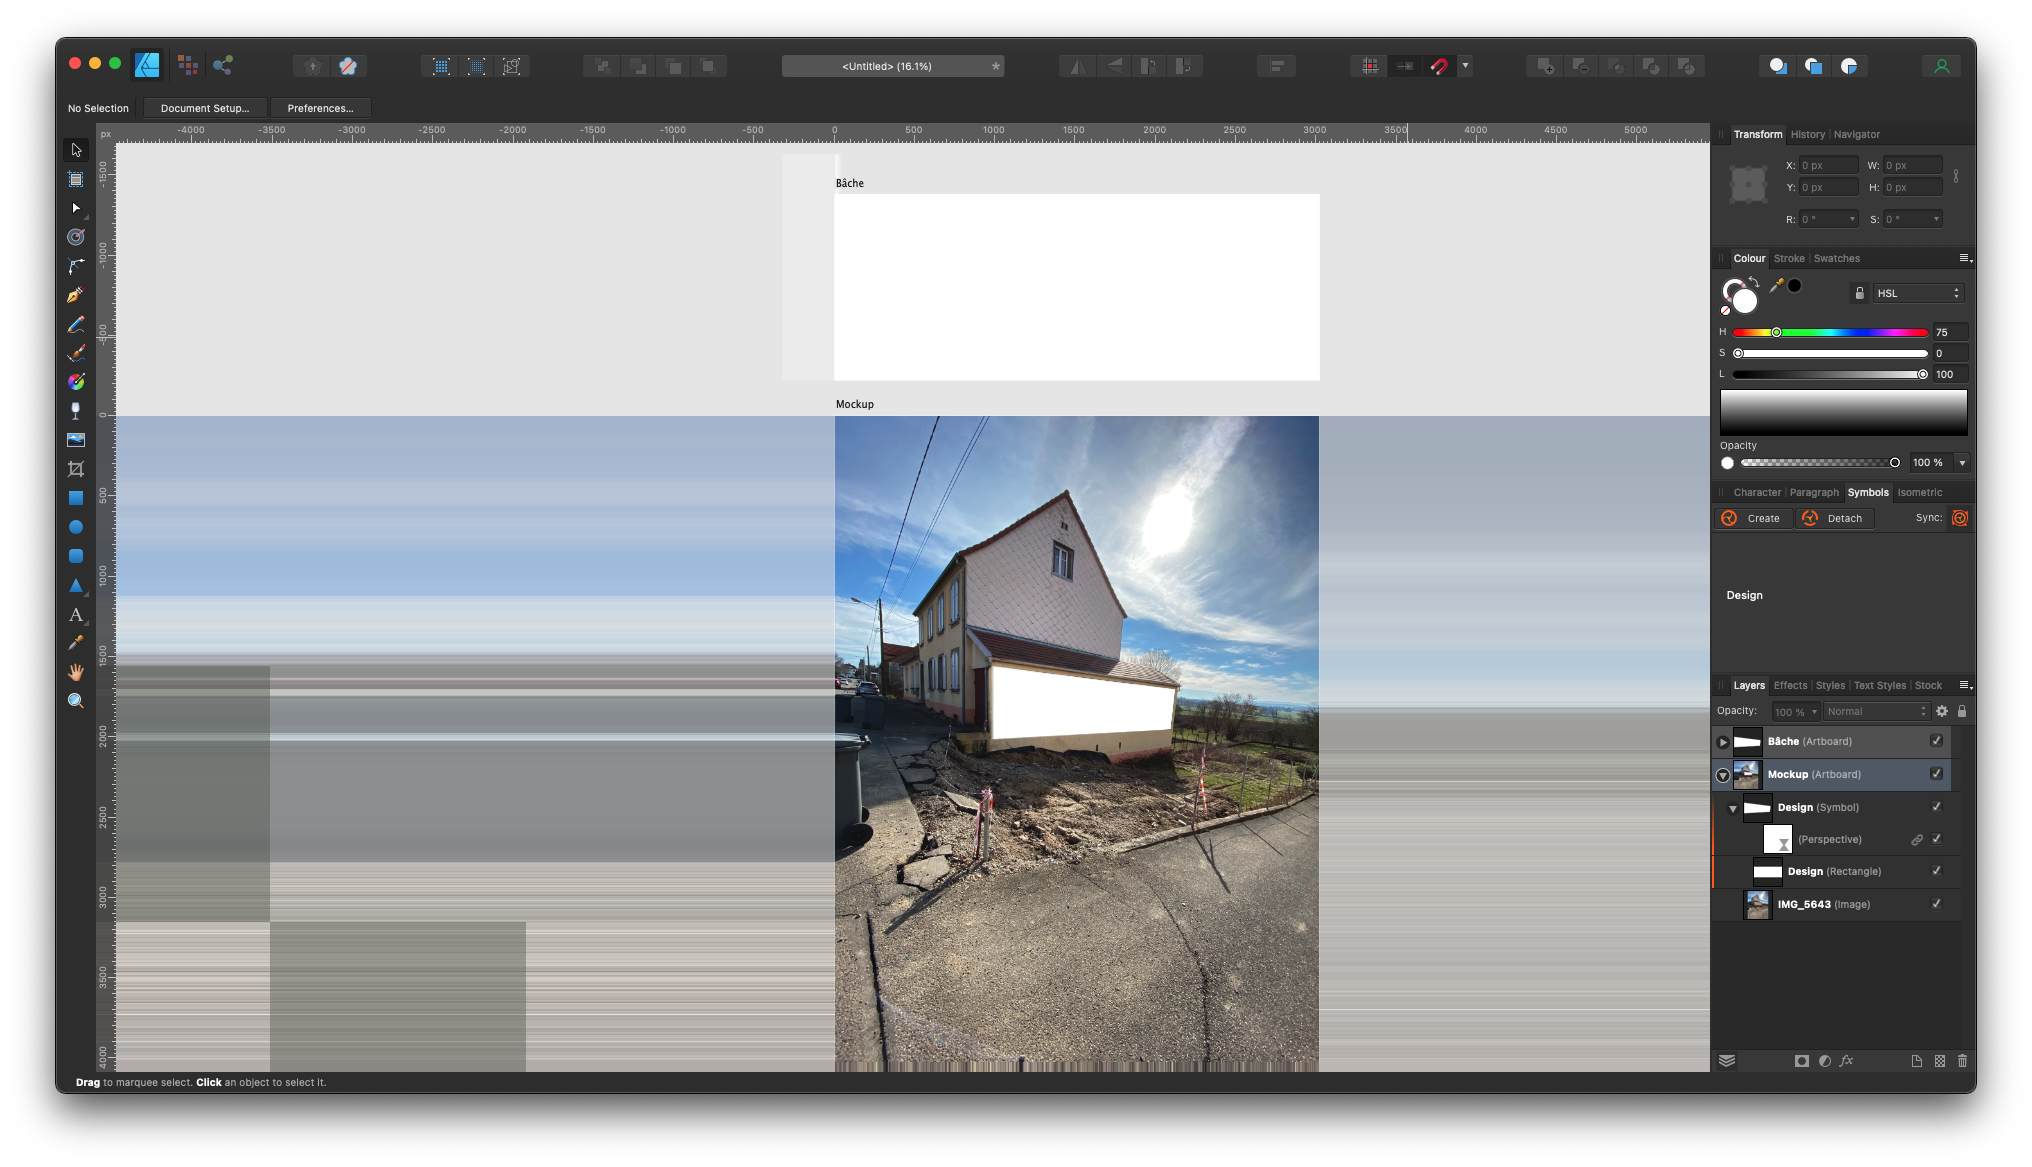
 I encountered a quite annoying UI bug in both Designer and Photo when using Live Perspective filter + artboards. It seems that render glitches appear on the canvas pretty randomly, in addition to a "border stretch" effect of what's displayed on the border of the artboard. The "border stretch" glitch can be somewhat workaround by reducing the size of the artboard content as to add some padding to the artboard. However the other glitches remain. Moreover, the glitches "update" on each canvas resize/zoom as you may see on the different screenshots attached. I am also attaching two files that show the issue. While these are .afdesign files, sending them over to Photos actually leads to the same glitches. These are using artboards, Live Perspective filter and symbols. Versions: - Designer 1.10.4 - Photo 1.10.4 - macOS 12.2.1 FYI, I tried disabling GPU acceleration, changing display rendering from metal to CPU, and any possible combination of both without success. Hope this can get fixed sometime! Mockup.afdesign Mockup.afdesign
- 2 replies
-
- 1
-
-
- affinity designer
- affinity photo
- (and 3 more)
-
 Would be great, after you Alt+click on the mask to see it, to be able to Alt+click again on it to come out (instead of clicking on another layer or pressing Esc)
- 2 replies
-
- 1
-
-
- layer mask
- productivity
- (and 1 more)
-
 As the title says, when I try to create, delete or rename a preset through More ▸ Manage Presets option in the Export dialogue box, it is greyed out and unavailable. This happens in Publisher, Photo and Designer, all versions 1.9.0, on an iMac running 10.14.6. Does anyone have an idea on how to fix this?
-
Hi Guys, Just wanted to ask you guys here, that is such a thing possible in Affinity Photo ? Here is a Photograph where I have annotated something, I want the Annotation part to appear as a Flashing Thing, like Flashing on and off (Like it is visible for a sec and then again disappears like a GIF) is such a thing possible in Affinity Photo ? If not any ideas on how can I do it ? TIA !
-
I can't leave it alone! Another story based picture.
-
 New version 1.2. Attached is the latest user guide for my application Canny Vectors. The guide was written entirely using the Affinity applications – Publisher, Designer and Photo. Constructive criticism is welcome as I would like the next version to be even better. You can install the application via the links here: https://forum.affinity.serif.com/index.php?/topic/143089-free-vector-tools-for-windows-10-users/ Canny-Vectors-User-Guide-1-2.pdf
- 9 replies
-
- 9
-
-
-
- affinity designer
- affinity photo
- (and 1 more)
-
So I have used a Frequency Seperation filter on a Photo to remove and even out Skin irregularities. But I think i have gone a little too overboard with it. Just like with any other adjustments and filters how can you reduce the opacity of Frequency Seperation ? To make the effect look a little natural, meaning less effective ? I do not see that option. Since there are two layers created High Frequency and Low Frequency. Please help !
-
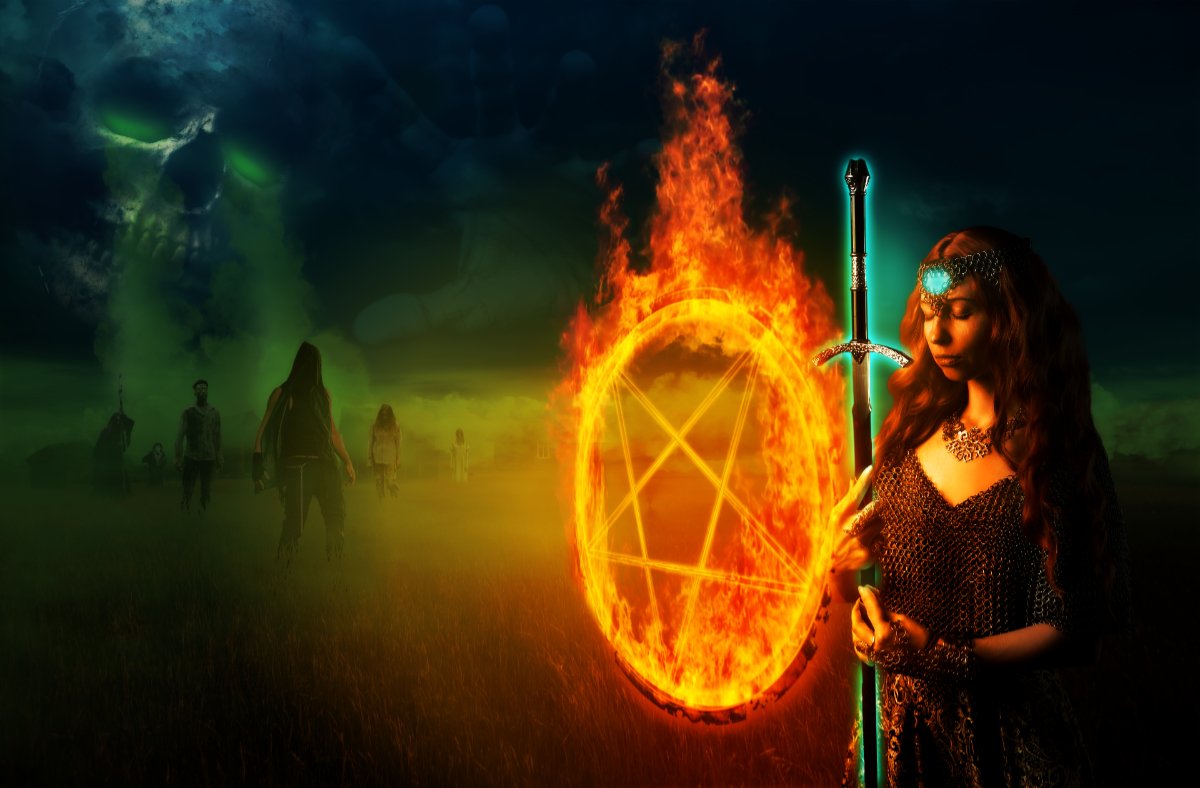
I knew that I wanted a pentangle included in this picture, so apart from all other pictures sourced at unsplash, the pentangle is mine/mine/mine. I was determined not to go trawling through the internet looking for an easy life in choosing other people's graphics - free or otherwise. So, by using shapes - and my tired brain, I was able to manufacture the pentangle to how I wanted it to look. After many crashes when using the Perspective tool (my computer hates it and always freezes and crashes when it's used) I emerged from my deficient computer's sulky, inadequate gloom, and had myself a customised graphic. Time to invest in an actual faster computer I think.
-
This image is a combination of several tools and techniques that were finalized in Affinity Photo on an iPad.
-
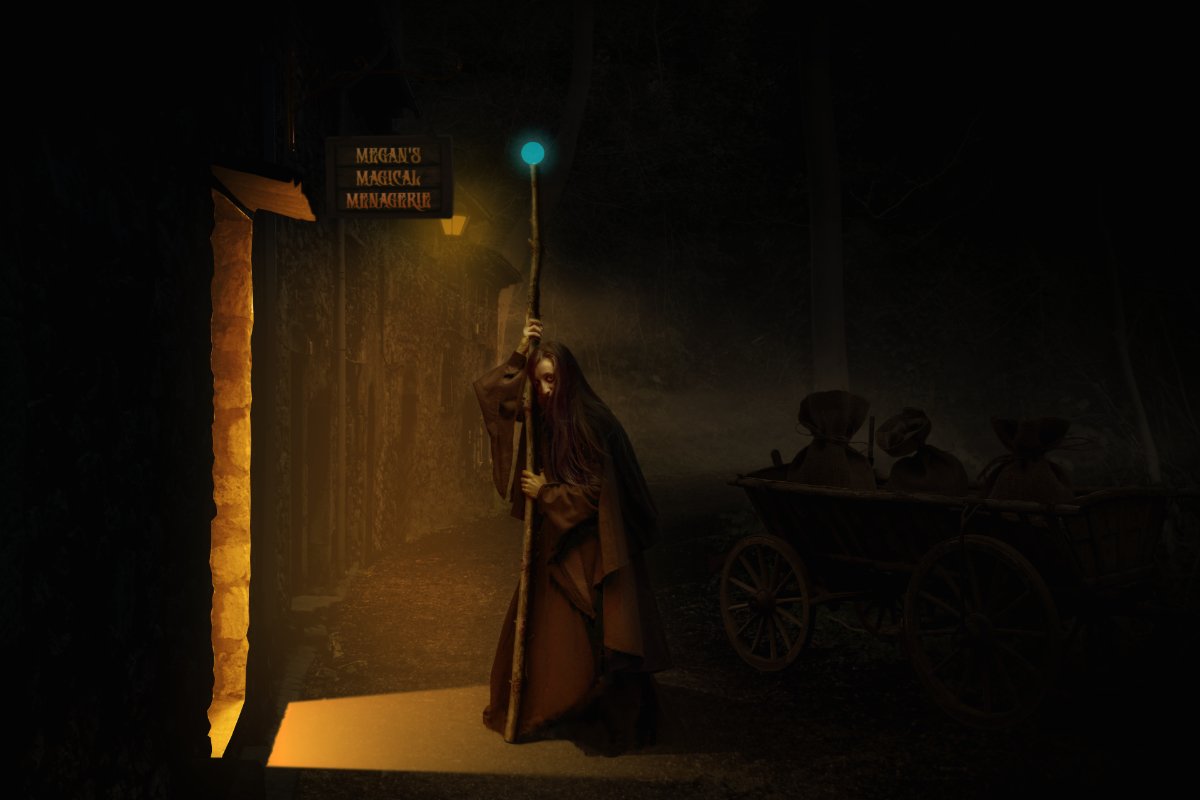
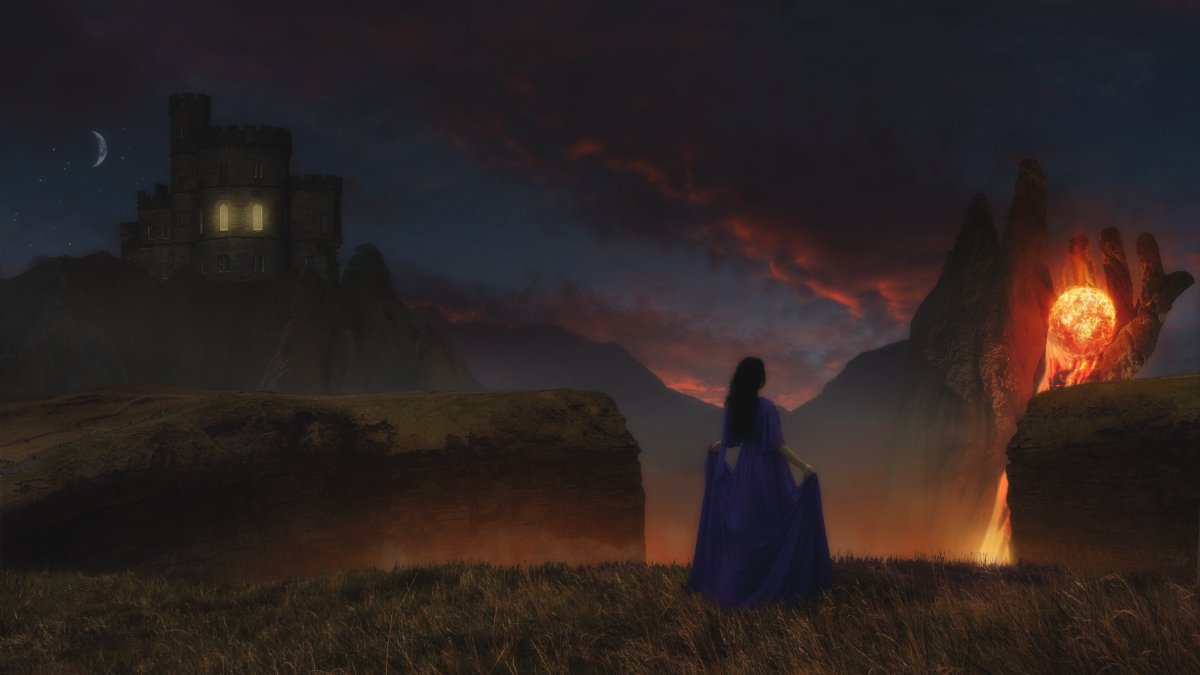
Playing around with medieval fantasy again. This picture actually has a story to go with it and helps explain the visual content.
-
 Hey Everyone, In the latest version of Affinity Photo, is there still no way to create an inverted mask, ala option clicking on the create mask icon? This has never worked in either the Windows or MacOS versions of A-Photo, or maybe I'm missing something? I find it frustrating that I have to always create a layer mask, then invert it after the fact. Thanks!
 -
 Easy use of the turbulence tool. In this easy Affinity Photo tutorial, I use the turbulence tool to create a perm or Afro hairstyle. This Photo Manipulation is number 44 in my Powerful tools of Affinity series and is shown in desktop and iPad. https://youtu.be/mjngeQCl1cg #turbulence #liquify #livefilter #mask #photomanipulation #madeinaffinity #affinityphoto #affinityserif #tutorial #photomanipulation #graphicdesign #affinity #digitallyfearless #affinityguides
-
 Hello! So i'm having this issue where on some images there is this weird edge. It still appears after being exported. Any fix maybe?
-

multi Dream Platform - My newest work with Affinity Software
adam1762 posted a topic in Share your work
Affinity Designer + Affinity Photo. https://www.behance.net/gallery/137814617/Dream-Platform
-
This started out as a peaceful scene in the long grass, but then my imagination interfered and took over. And thanks to Salvador for the soft watch idea.
-
A quick project just for the fun of it. I searched everywhere on the Net, DeviantArt etc. for a convincing beam overlay but no luck. If you know where, please let me know.
-
My project has gone crazy. I recolored an area, so I used a layer like this: - image -- mask -- HSL I saved the project in Publisher and it became a cover. Now I opened it in Publisher or in Photo and I can't create a new mask because it always selects the old, recolored area. I have rasterized the image, but the coloring and selection still appear. I simply can't do anything meaningful in the project because it always selects the small part that I can't delete, the opacity keeps going down but the object doesn't delete. Please help me to use the project again! Since the project contains copyrighted images, I can't post it publicly.
-
 Please see attached images... This is an ongoing problem for me... When I place or copy/paste an image into Affinity Photo, the image resolution is decreased. As you see in the one image (that I opened), the resolution is 3000x2500...when I put the same image into an existing document, it reduces the resolution. Shouldn't the image I place into an existing document retain its high resolution? Help appreciated.
-
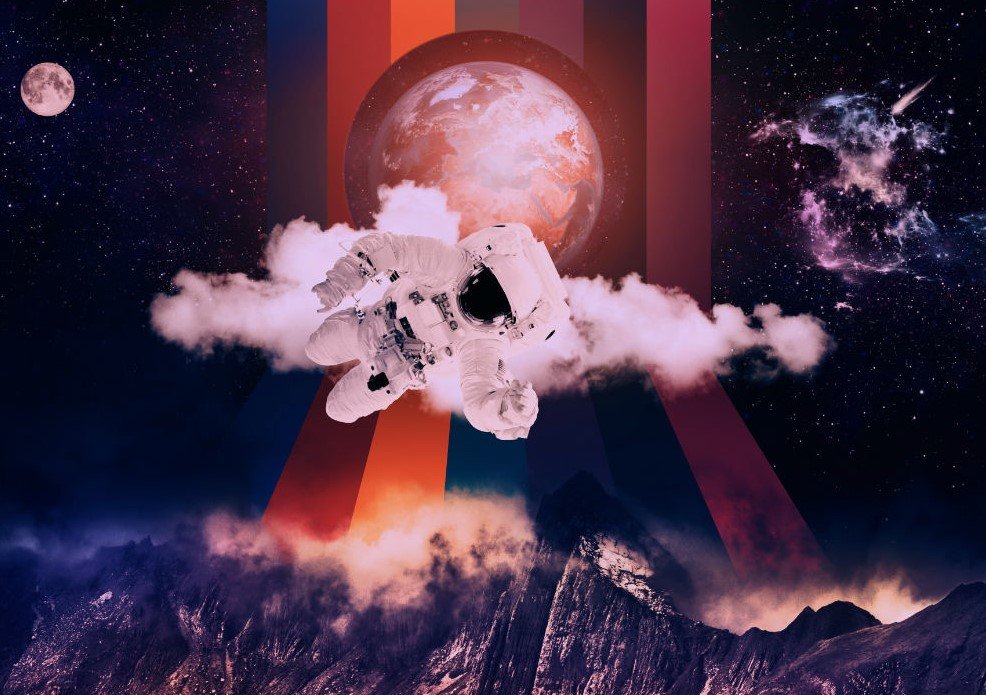
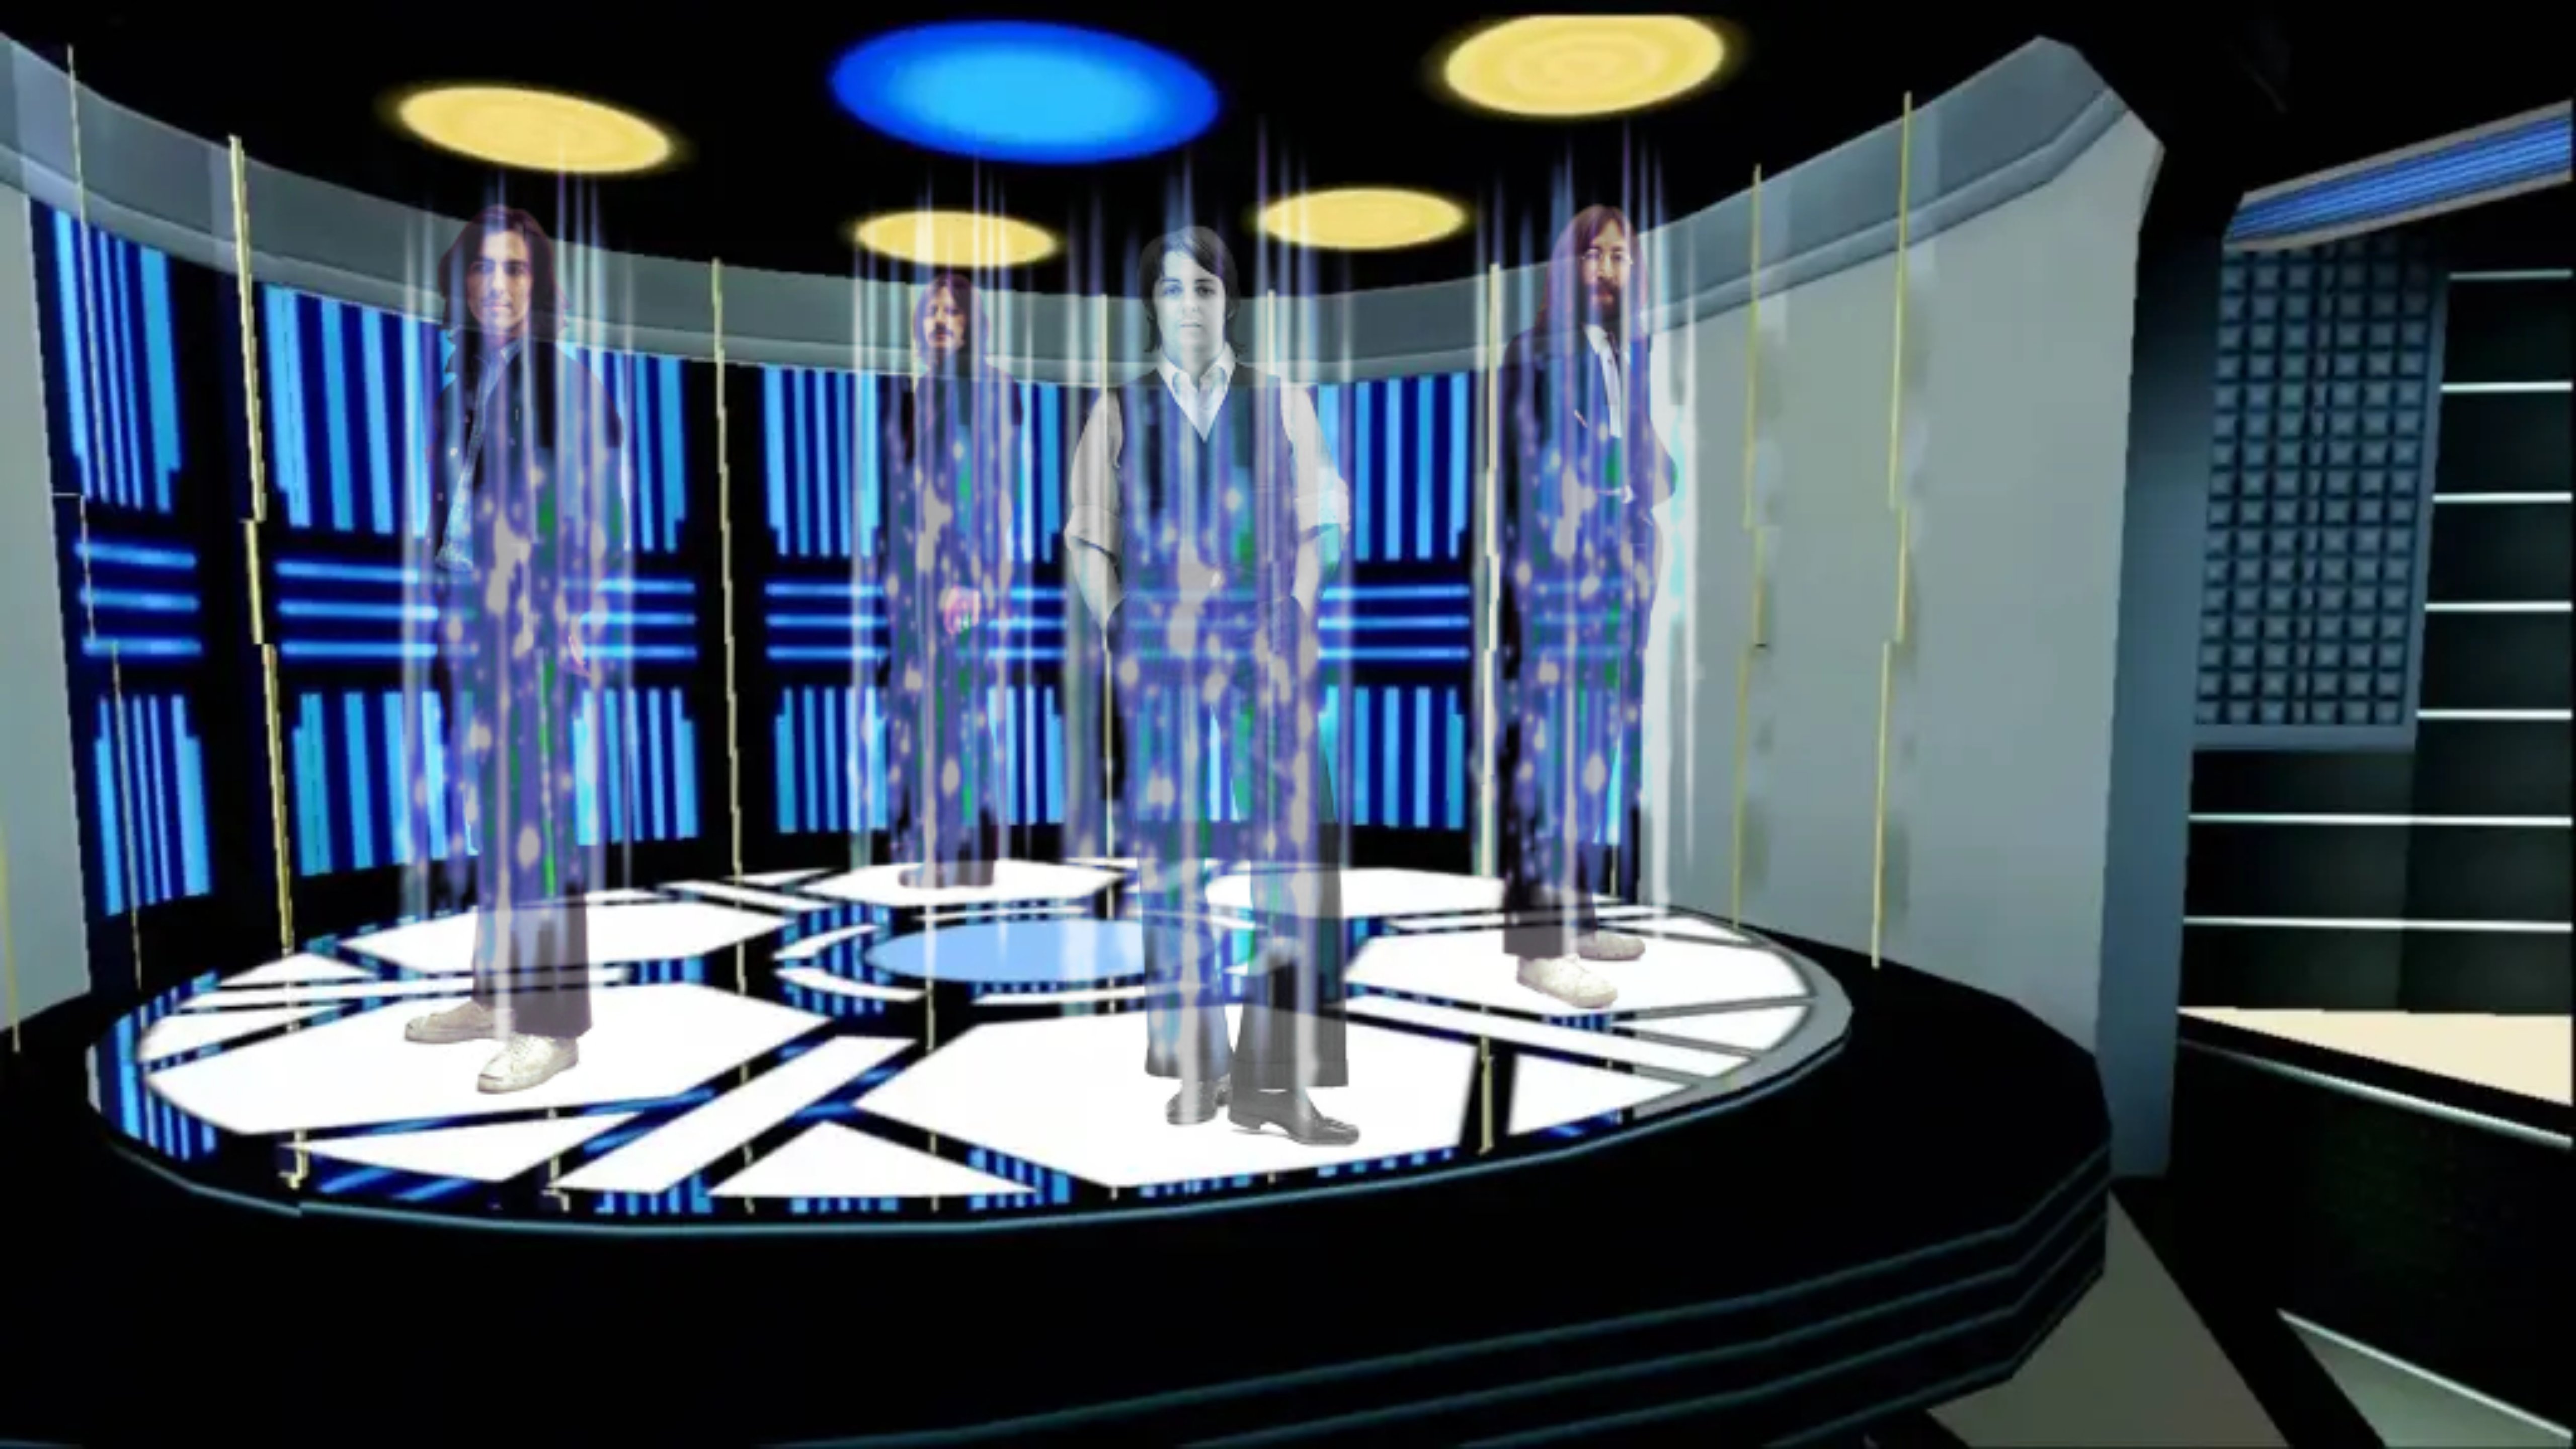
Just a strange little thing I came up with while experimenting with various things.


.png.d5fa063e364e2c4e9c3cd39d7011dd26.png)


.png.58571eaee2eaaa7ac25fc858cd138d8e.png)
.png.83bfe923917662d902b83eb6ec41fe2c.png)