Gnobelix
-
Posts
948 -
Joined
-
Last visited
Everything posted by Gnobelix
-
 Hello @herrpedro, look here, maybe that helps Cheers
 -
Tables Autofit Causes Crash
Gnobelix replied to CarlM's topic in [ARCHIVE] Publisher beta on Windows threads
Same here, without bug report. The same Bug in the customer version. Cheers -
Hello @El Sid, I think so, that's it is a Bug. When the high-pass filter is used normally, the Blend Mode vivid light will also work. Cheers High-Pass.mp4
-
I think Affinity is started from a compressed folder, that could be the problem. The blue double shortcut arrow indicates that the folder is compressed. Maybe it will help if you install Affinity Photo in an uncompressed folder. Cheers

-
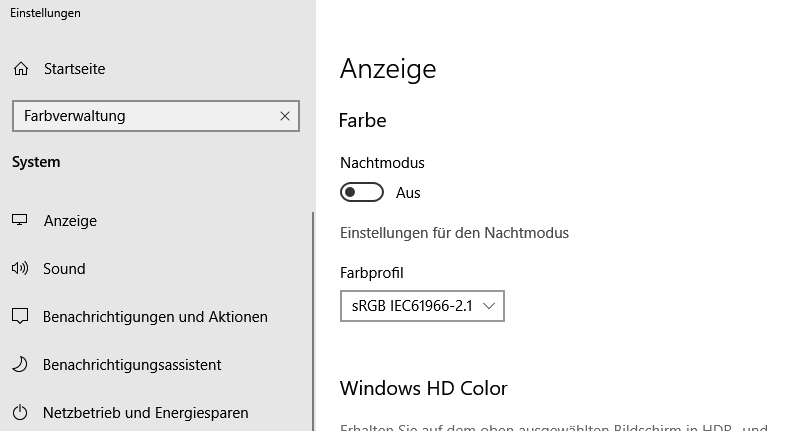
Hello @VMAcommunication, Welcome to this forum. Callum has already given a decisive hint. I'm assuming that you are traveling on a Windows system. With a right click on the desktop and another click on the display setting. Here you can change your color profile. Set the color profile to sRGB IEC 1966-2.1, then the problem should be solved. or Open the ad as described above and type in the search box Color management. Click on color management, then a dialogue box opens, where new color profiles can be added. Cheers
-
Hello @JENERATIONZ, you have hidden the studio, take the hook out. With the shortcut CTRL + SHIFT + H, you can also hide and show the studio. Cheers
-
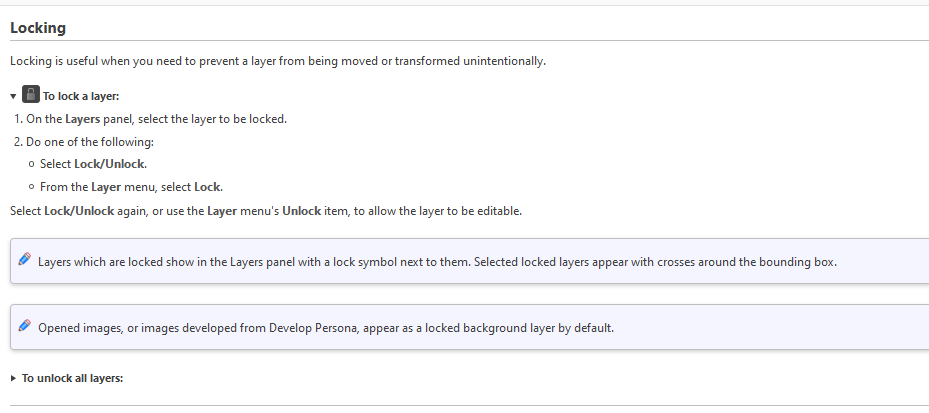
Hello @haakoo, Thanks for the hint, I should have read better. I wonder, what sense does it make when I'm on a protected layer and can erase, paint, clone etc. That is no protection for me. In Photoshop, this is not possible if the layer is protected. Cheers
-
Hello @4EverMaAT, I think it's a bug. See: Help about Layer Protection Cheers
-
I can not reproduce this problem with the blemish removal tool, it works fine here.
-
Hello @EssaEll, Welcome to this forum. In Windows it works similarly. Is the pen tool active, press the CTRL key and hold the button down (the node tool is active). now you can set new points. Cheers
-
Hello @Multi4G, a great tutorial. Cheers
-
Ctrl+Shift+Clicking Thumbnail?
Gnobelix replied to makspyat's topic in [ARCHIVE] Photo beta on Windows threads
Thanks for the information. Cheers -
Ctrl+Shift+Clicking Thumbnail?
Gnobelix replied to makspyat's topic in [ARCHIVE] Photo beta on Windows threads
Sorry. CTRL in Windows should be Command (CMD) on the MAC. With the shortcut CMD + ALT and left a mouseclick on the thumbnail, a selection is created. Please, just try it. Cheers -
I like it Cheers
-
Masks do not work! URGENT - HIGHEST PRIORITY
Gnobelix replied to fotojindra's topic in V1 Bugs found on Windows
Actually logical. The adjustments affect only the lowest level. Hide the top level or move the group upwards. Cheers -
Ctrl+Shift+Clicking Thumbnail?
Gnobelix replied to makspyat's topic in [ARCHIVE] Photo beta on Windows threads
Hello @curtj, The selection of a luminosity selections works very well. Try the following: With the shortcut CTRL + ALT and left a mouseclick on the thumbnail, a selection is created. To further narrow down the selection. Activate the layer with the selection and make a duplicate, wiht the shortcut CTRL + J Activate the new layer and deselect the selection, wiht the shortcut CTRL + D. With the shortcut CTRL + ALT and left mouseclick on the thumbnail, it will a further luminosity selections created, the selection is reduced by ca. 50% . To use the selections for further processing steps, create a spare chanel of the selection. Cheers -
Hello @Tanner4500, Welcome to this forum. It is just a guess, it could be that the " high precision tablet input" is activated., disable the option. File Preferences Tools Cheers
-
Import brushes failet
Gnobelix replied to DigitalVisuals's topic in [ARCHIVE] Designer beta on Windows threads
indeed very strange, I could without any problems brushes in pixel persona, as well as vector brushes importing. Cheers -
Import brushes failet
Gnobelix replied to DigitalVisuals's topic in [ARCHIVE] Designer beta on Windows threads
Hello @studio97, can you describe the error in more detail? Cheers -
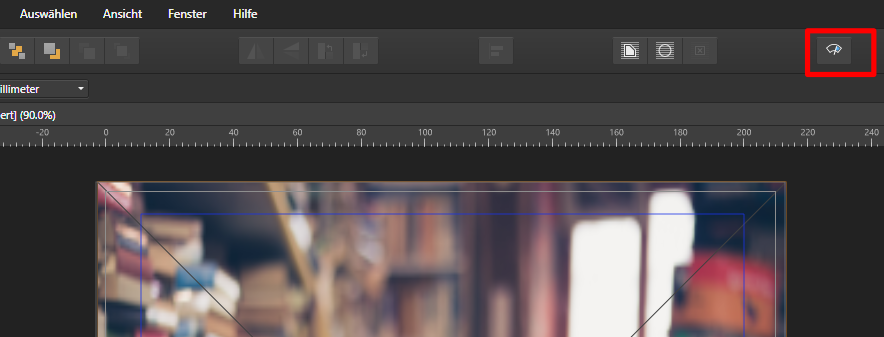
here a little clip, as the file in Publisher is show to me. X.mp4
-
Helle @SamMN, The image is not embedded, but linked. The big X is displayed or not displayed, if select or deselect the preview mode. Maybe it helps with the other problems when the image is rasterized, but I'm not, sure, because I do not have these problems Cheers
-
brushes 2500 pixels are lagging
Gnobelix replied to DigitalVisuals's topic in [ARCHIVE] Photo beta on Windows threads
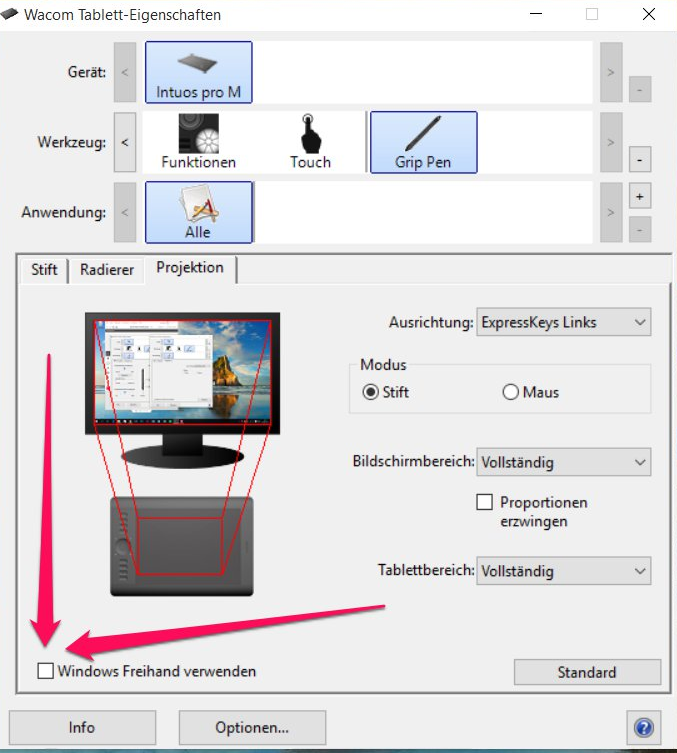
Hello @studio97, did you try in the Wacom driver to disable the Windows Ink function ( in German it es: Windows Freihand verwenden) or deactivate the Ink function in the windowsettings. Maybe it helps. Cheers
-
Hello @manuelele, Welcome to this forum. A macro recording in the development-persona is not provided. Whether it will be integrated in a later version I do not know, but it would be desirable. Cheers
-
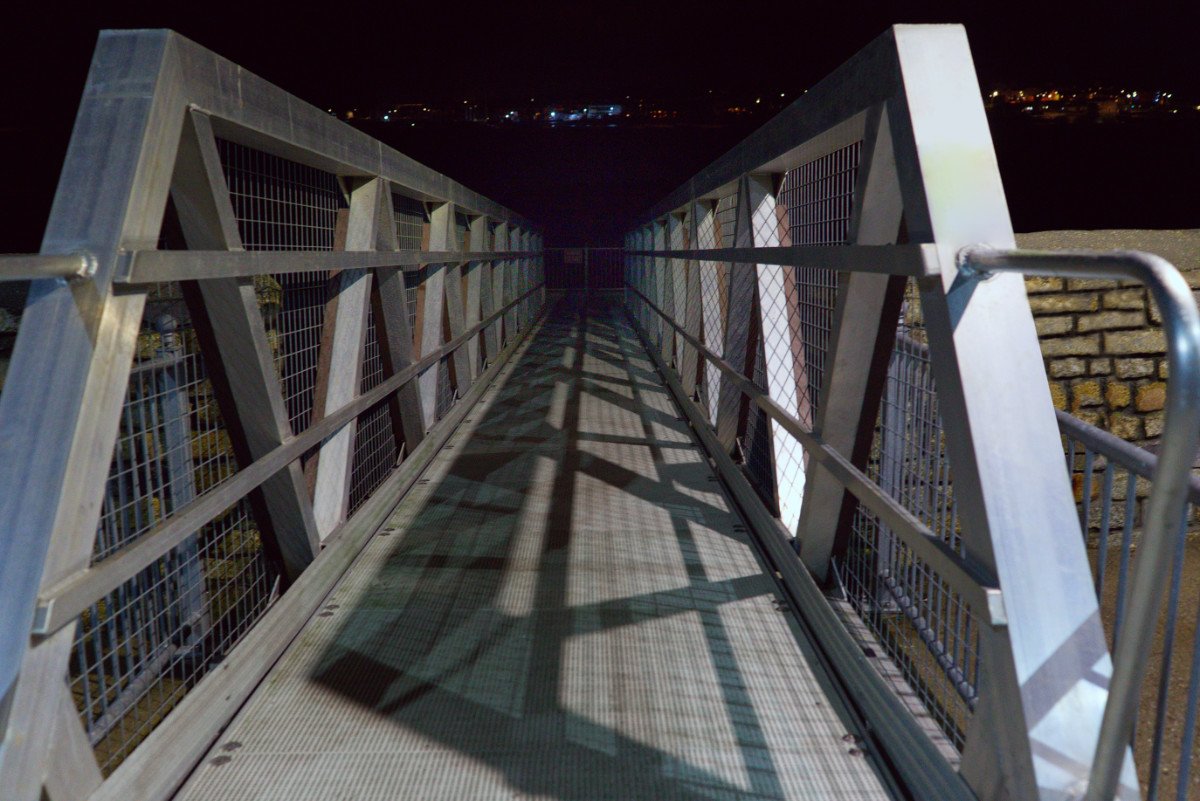
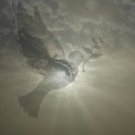
I needed about 15 minutes for this result. I used three tools, Inpainting Tool, Clone Brush and Selections Brush. Cheers
-
Versuche folgendes, öffne wie oben beschrieben die Anzeige, und gebe in dem Suchfeld Farbverwaltung ein. Klicke auf Farbverwaltung, dann öffnet sich ein Dialogfeld, wo neue Farbprofile hinzugefügt werden können.