Search the Community
Showing results for tags 'text'.
-
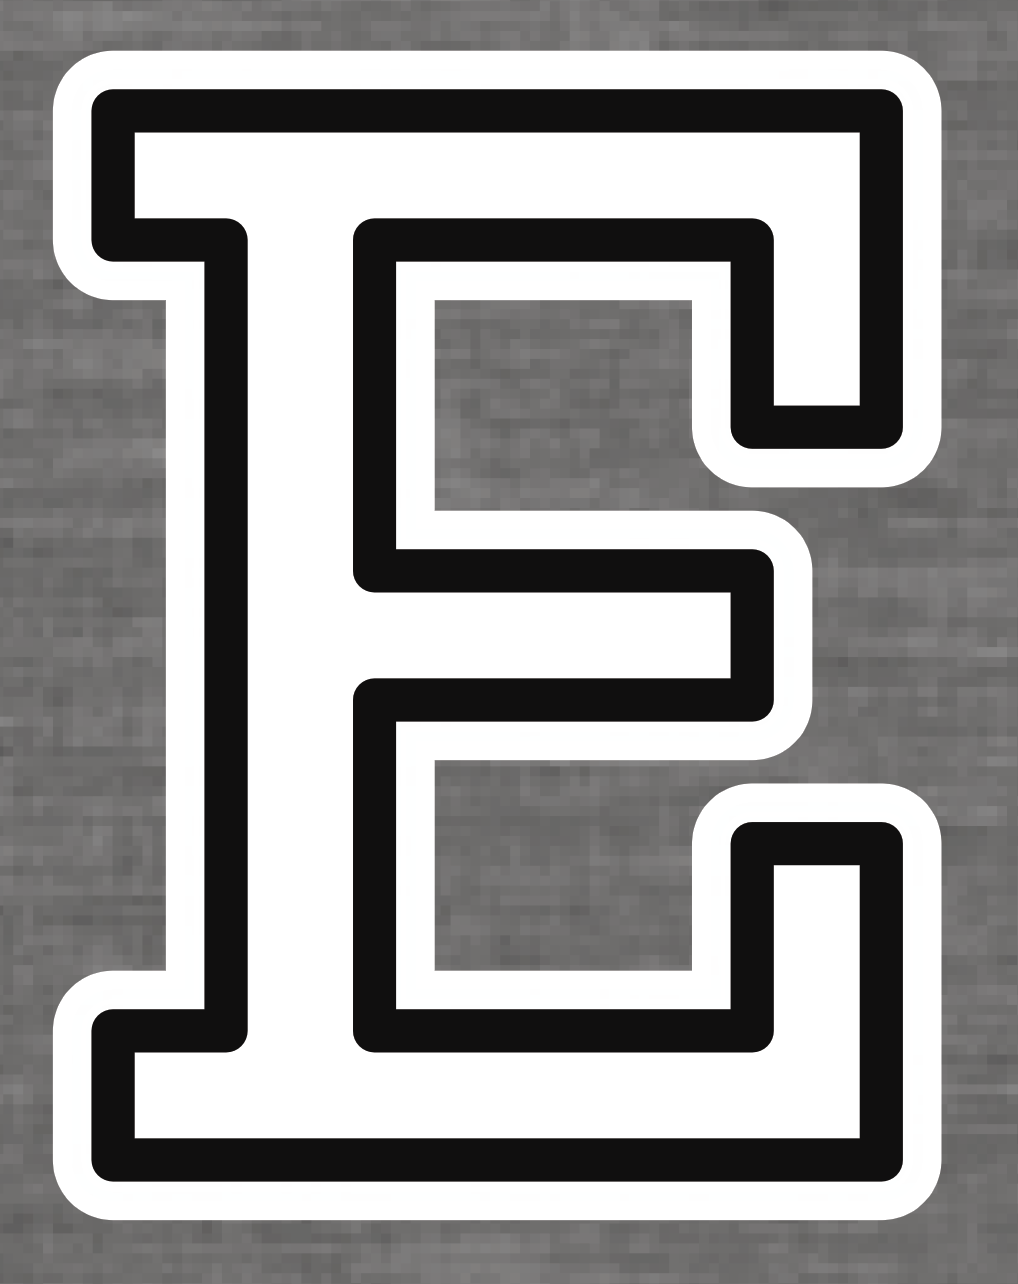
 I’m designing a University Style Logo in Affinity Designer, and am using the font you can see in the photos. I’m using a white fill, black stroke and white fx outline. I’m trying to make it so that the black stroke is essentially 100% transparent, so that the stroke takes the colour of the fabric it is printed on. I’ve scoured the internet for how to do this but found no answers. I’ve tried converting to curves and subtracting the black stroke from the white letter behind and nothing. Any help would be tremendous. Thank you.
-
 I'm new to Affinity Designer and really struggling. Is there a tutorial on editing text in an eps file?
 -
Hi all, I'm going to attach a video that I made of me using CorelDraw. I created a text block with three lines on it. I then selected it and pressed control and K. This breaks the three lines into three individual objects. I then select one of those lines of text and press control and K again. This breaks it into words. That key combination again breaks a word into individual letters. At the end of the video I moved from the Pick Tool to the Shape Tool which are analogous to the Move Tool and Node Tool in Affinity Designer. Using the Shape Tool I can pick a node next to any of the letters within a line of text and move it around in order to fine tune the placing. I do a lot of punk rock style design work and it's really nice to be able to mess with the leading in this way. Is there any chance that Affinity could bring something like this? It would make a huge difference for me and I'm sure the others. Thanks I look forward to people's thoughts. Phil PS sorry for the Renegade Soundwave playing on the video. I forgot that my computer would record that. My wife pointed out that it is indeed a renegade soundwave. ScreenHunter 01.mp4
-
 Good morning, all. I am new to Affinity and also new to creating SVG files. I feel as though I’ve got the SVG file creation part down. Lol. This is what I need help with, and I will try to explain this by example: Lets say that I import a simple two layer SVG file into affinity. By this I mean, a transparent background (as displayed by the white and grey checkers) and a layer on top holding the vector (as displayed by the shape represented in black so that I can see the transparent background behind the shape). Let’s say that the shape is a black rectangle. Inside the rectangle I would like to write text. Then, I would like to make that text transparent so that it appears to have been cut out of the rectangle, so I can see the checkered transparent background where the words used to be, in the shape of the text. How do I do this? If you could describe it to me in simple steps and assume that I’m a total n00b, I would greatly, greatly appreciate it. Thank you so much for reading my post!
 -
 I just purchased Affinity Photo and can't wait to ditch my subscription to Adobe CC2018. However, I mostly work with text and am having trouble finding tutorials to answer my questions. First up: how do I create a stroke around text to make the font fatter? Thanks
 -
Hello: I come with some Ideas for Affinity Designer... When you create a text that said: "Hello World" I would like that you have a option for split this text and when you click this option, it will put "Hello" in one layer and "World" in another layer and the option if you want split by word or by letter. When you are working with curves, I would like that you can select a node and you have the option for rotate this node or scale this or those nodes selected. Have the option for convert a Bitmap to vector. Have a option that you can create your own brushes without save any picture, is like pattern along path. If is possible, compatibility with Illustrator brushes. When you select the Pen Tool, it have the option of Stability, I would like another option for do perfect curves, like in InkScape when you select Spiro. Effects for curves. More transformation option for text like liquify and this transformation option that you can see in Illustrator. More variety of adjustment and filters. At the moment this is the ideas that I have. If I get some more I will let y'all know. Thanks. I love affinity products.
-
 Hi, Loving AD. Couple of q's. 1 - Is there any method to change a text phrase across multiple artboards in AD? There are 100+ pages (boards), and I don't relish the idea of doing this manually. 2 - It would be so nice to have artboards listed in the same way layers are listed in the sidebar and showing only the board you're working on the dashboard. Is that possible? So far, I've only been able to add the boards either on top of each other or dragging side-by-side. The dashboard work area gets so crowded it's confusing and I'm constantly needing to zoom. There must be a better way as the way I'm doing it is cumbersome. Thanks in advance! graf
 -
 It would be a nice addition to be able to resize text and multiple text objects by inputting point size AND have them all reduce or increase size by the transformation panel reference point. It does do this now but I have to input an overall width in the transformation panel. Just would keep things uniform in point size and not get a weird decimal point size. Thanks
 -
 Hi All, is there a way to view only certain text styles when choosing a font? Eg: I'm looking for a sans-serif font and would rather not have to go through every font to find what I want. I can see 'All, Recent, Used & Favorites' selections up the top but not an option for style type? Am I missing it? Thanks for the help.
 -
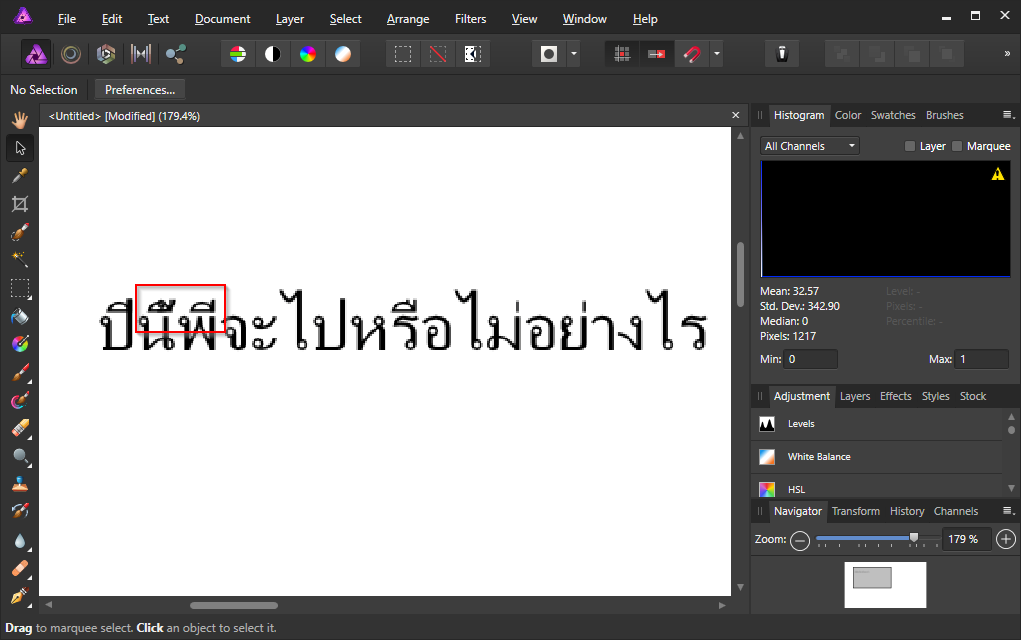
 For instance, the below text:- (literally:- are you going this year, brother ?) is not rendered properly in both Designer and Photo. The area that I highlighted contains tone mark which is supposed to be a bit higher than the upper-level characters, However, they are placed at the same level, and clash with each other. This suggested that the OpenType GPOS table is not applied.
-
Hey guys, Right now, if I select a word inside a text field and I wanna use the color picker to color only that specific word, it's not possible, as the whole text field changes the color I choose with the picker. It would be great to have the possibility of changing the color of only a portion of text with the color picker. Thanks
-
 Hello, I don't understand why the leading changes between the different lines in this Text Frame (attached image). Between the first and the second line, the text "ran outside" the bounds of the Frame, and created two lines automatically. Between the second and third line, I hit the return key, creating the third line manually. If I highlight all of the text, the leading is the same (12.4pt in this case). Why is the space between the second and third line different than the space between the first and second line? Thank you!
-
 The Secret to Sexy Curves is a 19 minute video about how to use the pen tool in Affinity Designer. I share the secrets to a perfect sexy curve and together we cover everything you need to know to successfully use the pen tool to create your own sexy curves. This is a great video for both beginners and intermediate users. You’ll learn how to join lines, add and delete nodes, determine the perfect placement for a node, and how to use and adjust the control handles. I’ll show you the shortcuts to moving in and around your artwork, and we’ll even set your mouse up to zoom in and out as you work with the pen tool. In no time at all you’ll be an expert user of the move, node, pen, and view tools. Join me in exploring the versatility of using the pen tool for all types of drawings: perspective, graphic designs, illustrations, fantasy, manga, cartoons, silhouettes, and literally anything you can trace with the pen tool. Using the pen tool is considered a core skill in creating digital media. Take your time, practice, and you’ll find it becomes easier every day. I’ve had a great time creating this video for you. If you like it - if you learned something - please show a bit of appreciation by subscribing to my channel. It really does make a difference. Feel free to leave comments, suggestions for future videos, and don’t be shy; go ahead and share your art with us. :-) Thanks for watching, & Happy Creating. Jen Timelapse segment begins at 15:00 Final summary & and complete illustration starts at 17:30
-
- 6
-

-
- affinity designer tutorial
- pen tool
- (and 8 more)
-
Hi! I started using Affinity Photo on my iPad and I'm loving it, but i'm having a little problem. I'm not able to export the file to psd, with the editable layerm so I can change the texts in my Photoshop (even by selecting the preset PSD - Preserve editability,) is there any way to do this? Thank you very much for the help.
-
 Here is a tutorial for how to do a simple drop shadow using affinity designer....figured I would share drop shadow working file.afdesign
 -
 I have group 2 text layers. When I want to select it, I can't. The selection goes to the nearest text in the clicking area. Am I doing something wrong?
 -
So I made a new tutorial this week....based on a simple text I saw going through the airport...the pallet I used is below and attached Custom text pallete for tut.afpalette Custom_text_working_file.afdesign
-
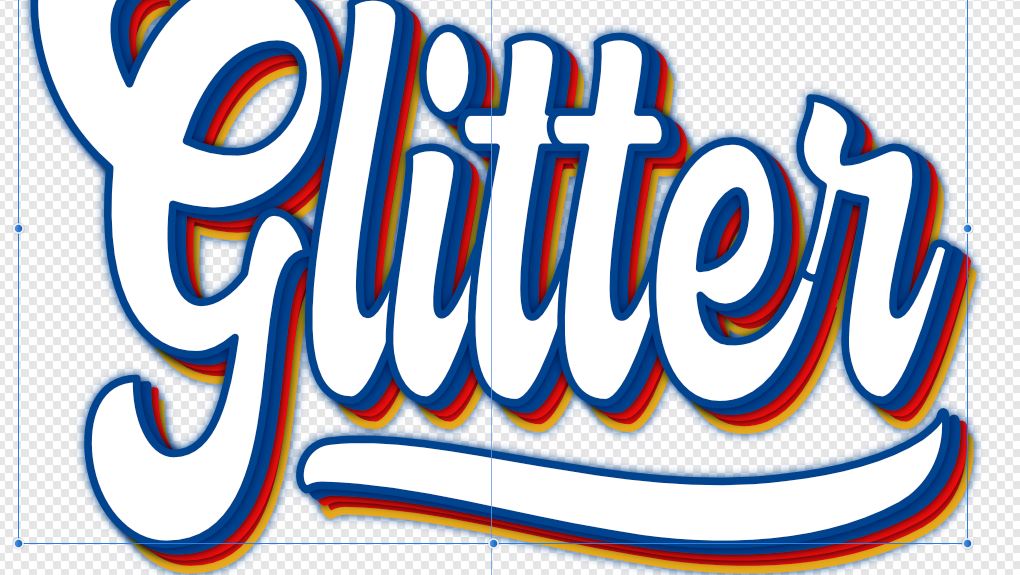
 How can i make this text effect in Designer? I've had some suggestions from an Illustrator user but I don't know how to replicate what they've done. I've tried the Effects-Outer Shadow but can't get this crisp edge or the layers to "blend". "Glitter test" shows what I was able to do so far just using the Effects-Outer Shadow... help!
-
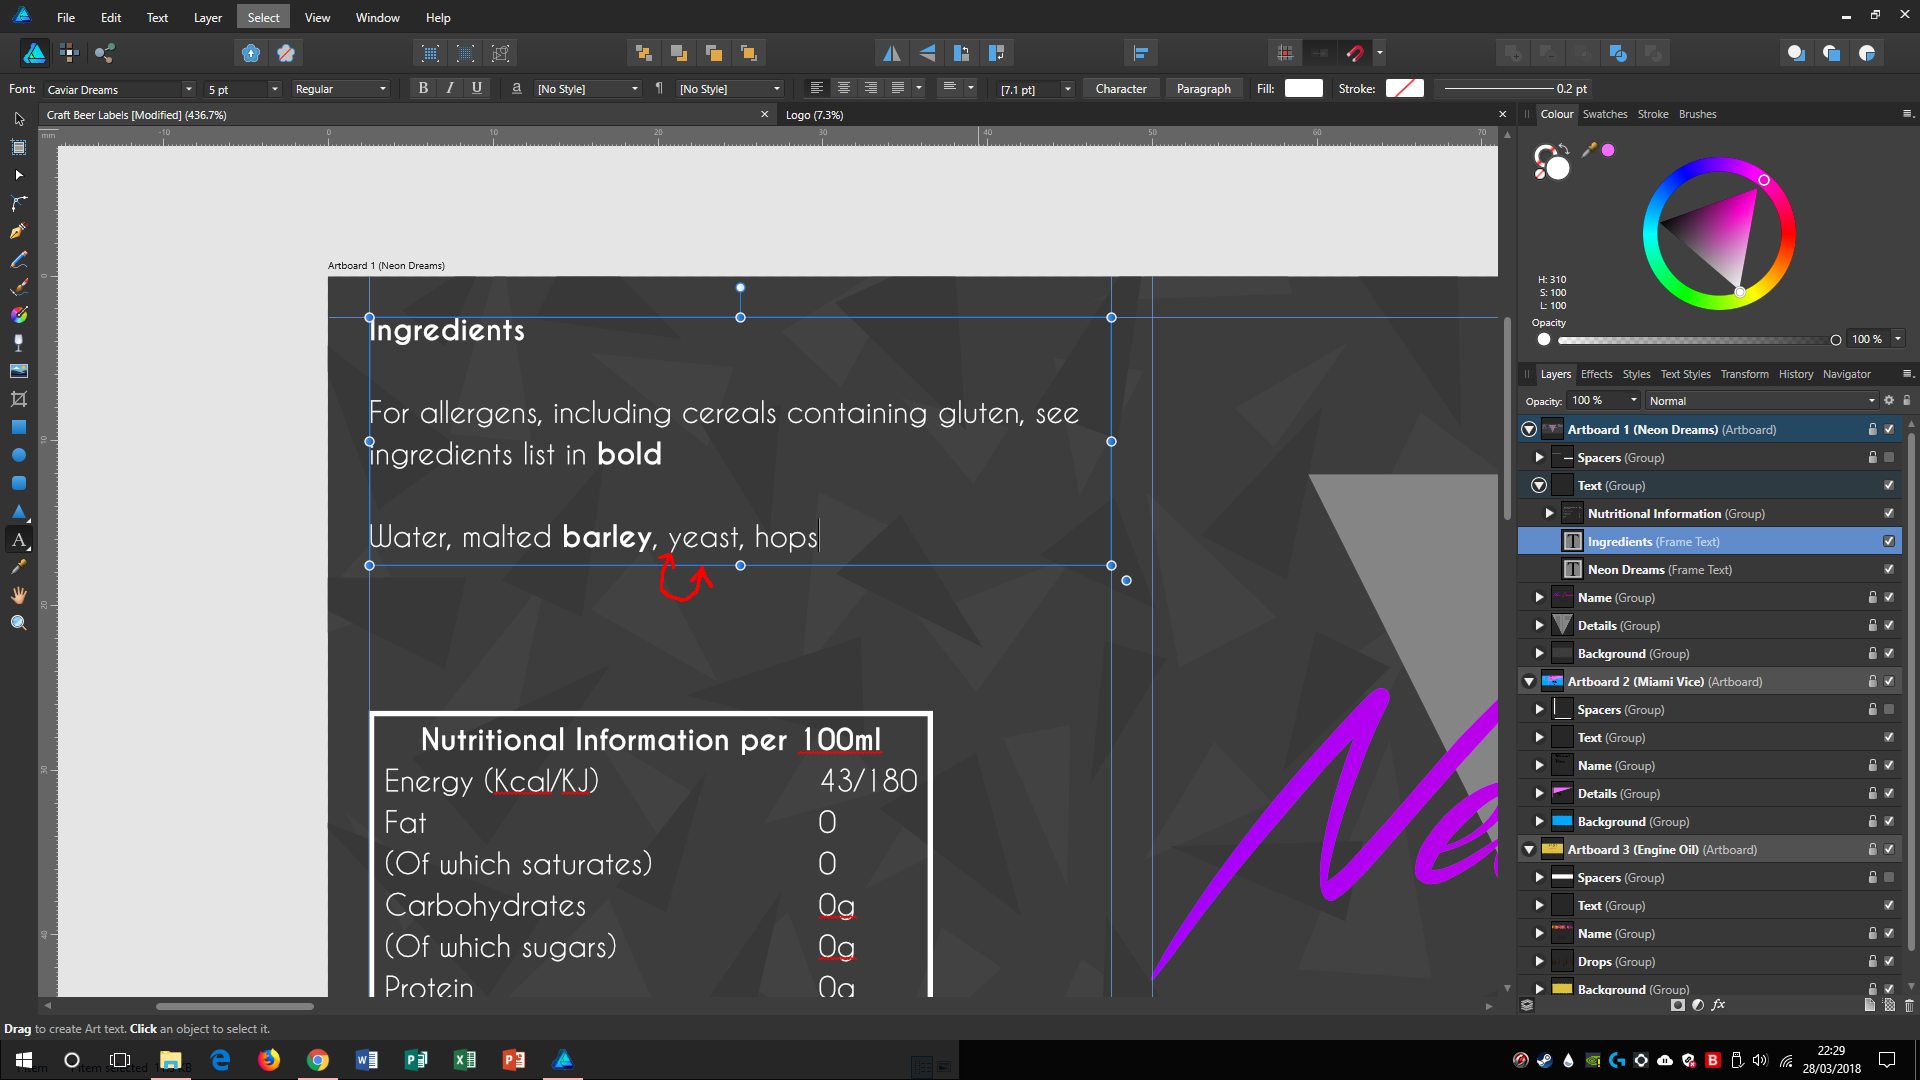
.thumb.jpg.ec3ac405965a6040f598665741c04a59.jpg) The screenshot speaks for itself really, I know this is a thing in Photoshop but is there any way to snap the bottom line of the Frame Text to the bottom part of some text? I'd need this to space everything out just right. Thanks
The screenshot speaks for itself really, I know this is a thing in Photoshop but is there any way to snap the bottom line of the Frame Text to the bottom part of some text? I'd need this to space everything out just right. Thanks
-
 I type out text using the Artistic Text or Text Frame tools, then double (or triple) click and proceed to highlight the text that I want to make adjustments to. The only problem is, I can't see what I've selected because the text doesn't become highlighted! I could still make edits, but it takes alot more time if I am moving quickly and don't put my cursor where I think it should be. Any help? Affinity Designer 1.6.1, Mac 10.13.3
-
 I would like to design glass and gel text like the attached example, which was made with a plugin, that doesn't work in Affinity Photo. I can make the 3D and the shaddow, but not the glass or gel effect. How?
-
 Hi guys, I am trying to get the text into a path, for example a circle. I can see how to to put the ON a path, but I can't figur our how to put it INSIDE it (in the most non-sexual way possible ) I attached a screenshot of what I'm trying to achieve, made with Fireworks. Thank you kindly
-
 Hi can anyone help me heres my problem. Cant get text to follow path no matter what. Any shape or curve no matter the method I use the artistic text cursor doent change to squiggly line. Green highlight lines pop up but text still goes straight across. Tried everything = "To create text on a path selecting a shape, change to the Artistic Text Tool and mouse-over the path. The cursor should change to a "T" with a wave line below. Click and start typing. Alternatively you can select a shape go to menu Layer ▸ Convert to Text Path and start typing. Additionally you can also use a shape as a text frame. To do it select the shape, change to the Frame Text Tool, click inside the shape and start typing (or go to menu Layer ▸ Convert to Text Frame). To convert text to curves, select it with the Move Tool and click on Convert to Curves button on the context toolbar" None of these work. I have follow instructions to the letter, watch several different methods and videos. There is no convert text to curve option in layer menu no matter what I have selected. This is basic stuff why is this so difficult to make work? Is this a bug? Corrupted version? I have affinity on desktop and on laptop both are having these issues. Update fix? Please help.
-
Hey guys, When viewing the distance between objects, on dark backgrounds the distance text is barely visible. I literally can't read it at all. I posted a screenshot. Thanks
-
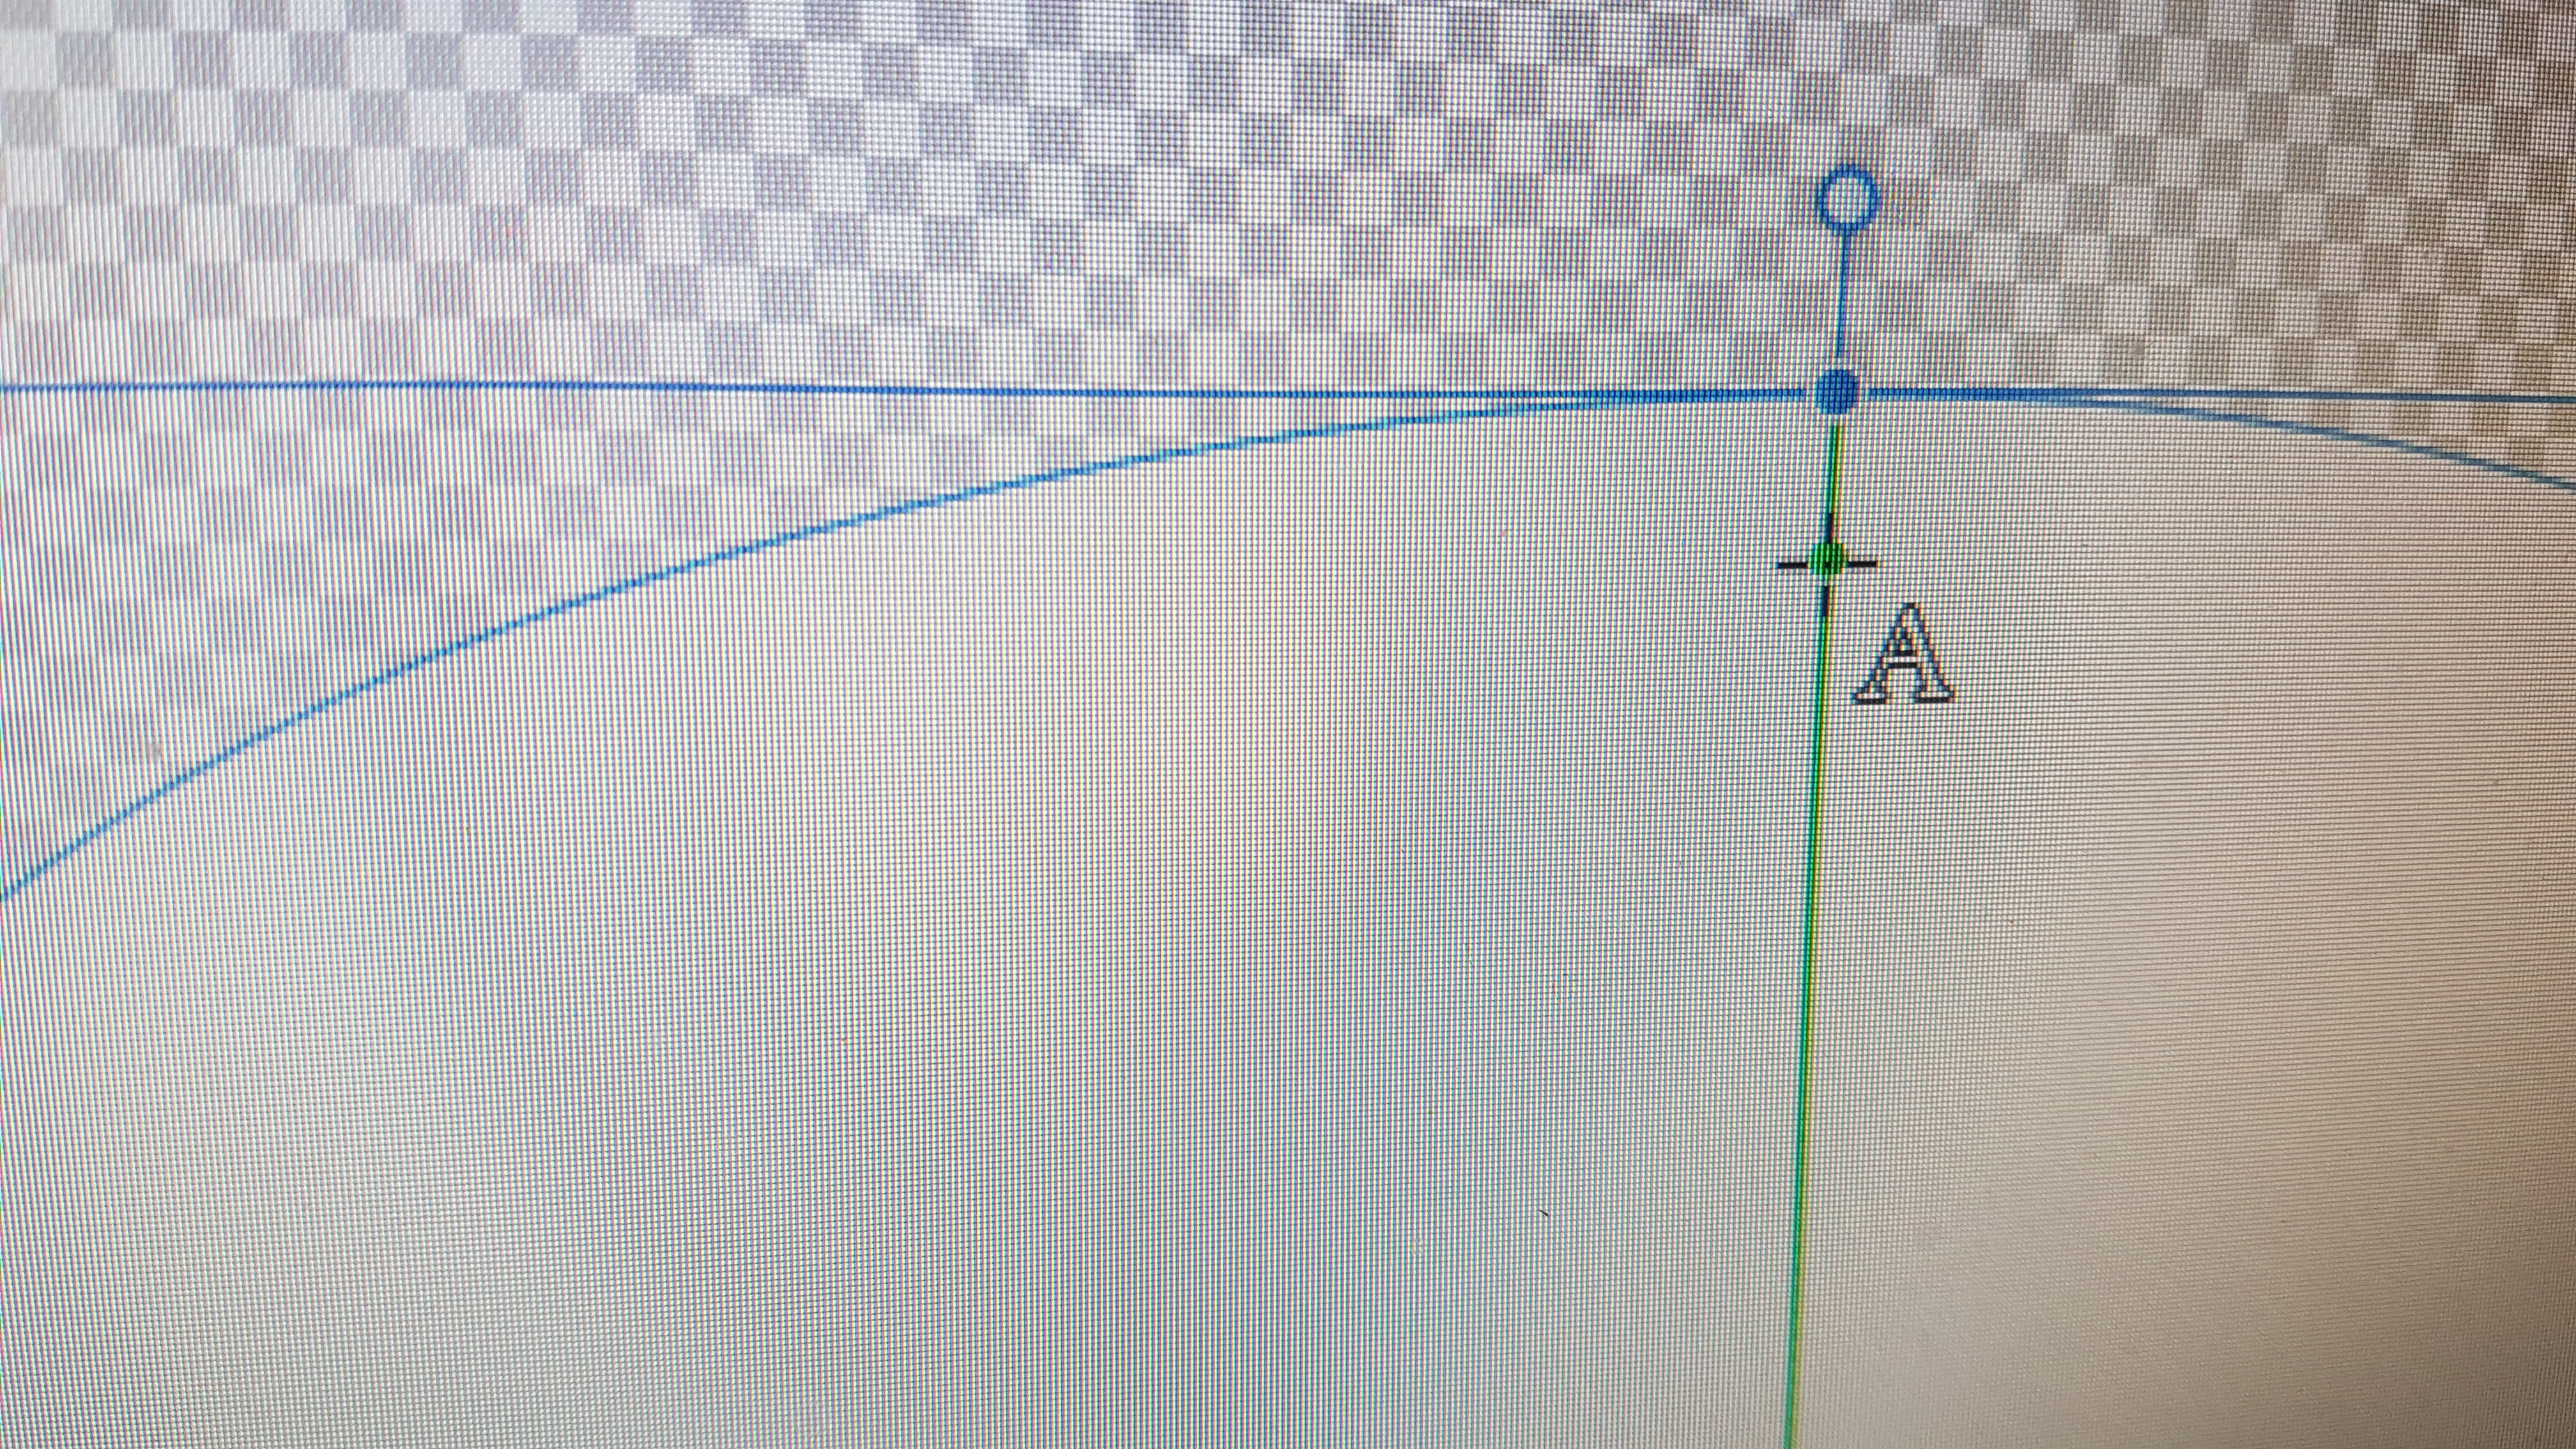
 Hi, maybe you all experts now hos to do this, and there might be a built in help with this issues. I am on a Ipad Pro 10.5" latest IOS. I use this software everyday when I create my infographs. BUT... When I have created a text and desided a fontsize before i starts writing, It all goes fine, but when I the try to change the size of the text with the "mark border" that appear when i selct it. I then try tograb the corners to resize text, its inpossible, the only thing thats happens is that you move the total text, or junps into annediting mode. I need som help here, I create graphics and then text, I need to be able afterwards to change an manipulate the size and alignment. regards Petr