Search the Community
Showing results for tags 'print'.
-
 Hi! I've been trying to prepare one of my clients business card design for printing using cold foil to give certain elements a metallic effect. To do this I need spot colours for the elements that I want to give the metallic effect to (might have to add overprint as well). Spot colours seem to only apply to color fills and not to outlines so these need to be expanded first. The logo, however, is made up of advanced brushes which apparently cannot be expanded. Simply recreating the logo isn't an option either because it's one of those dry brush effects. Is there any way to get these designs ready for cold foil printing when expanding isn't an option? Any help or advice would be really appreciated as I'm nearing the deadline.
 -
It would be useful to be able to place an image anywhere on a page when printing, as, e.g., when printing greeting cards on A5 paper, folded to A6. This is available in Photoshop.
-
 Hi gang, I'm a very happy user of Affinity Designer and Photo on Mac and Designer on Windows. I have recently started using these products exclusively for document preparation for printing. I have no problems setting the export features, but am wondering why we cannot see the bleed line from inside the Designer persona ? It is present in Illustrator and helps locating color boxes, photo placement to ensure proper cuts at the printers. Is this a deliberate omission or is there a setting that is hidden that I have not found ? Another thing is the dissapearance of items when half on the artboard and half off. Could you not perhaps provide a subdued silhouette of the whole item instead of not showing it at all, sometimes the items are only very slightly on the artboard and you loose sight of them. Just my $0.02 here, but definitely the bleed cut line is a MUST in the designer persona. Christian Gatineau, Quebec CANADA
 -
To affinity programs . thanks for all the work so far, just a couple of "buggers" I seem to keep running into: One: the ruler, click and drag in the corner to re-locate the 0-0 point to desired position. & click x2 in corner to re-set to corner. Two; printing, with more than one art board, the program wants to print Only One OR both/all on One page. Change to Option of print each art board as one page.

-
 Hi, I'm fairly new to using Affinity Designer after switching over from Adobe Illustrator. I am basically working on a document which has vector/JPEG objects inserted. It is intended for print, but I would also require a digital version for web purposes. When I export the document as a PDF for print at 300dpi, it seems fine; the JPEG images look sharp as well as the vectors (just as everything looks when working on the document at 100% scale). But when I export the same document as a PDF for web at 72dpi, all of my vectors are nice and sharp, the document is the right size, but my JPEG images become extremely pixelated. I've attached a snippet from an exported web PDF. Document information: Type: Print Page Preset: A3 300DPI Any ideas as to why this might be happening?
-
 Hello, it could be nice to be able to select on what we want to align, like align to object (which is the default now), align to artboard and align to key object where we could select an object or group to align to. Also it could be nice to be able to select in print dialog which artboard to print. Another thing that I find very useful is the ability to change colors in a more massive way. So if you have a group of objects selected and the object have different tints of red, to be able to select blue and automatically change to the blue tints, or if there are many different colors to have a list of those colors and be able to change them individually by selecting them in that list, without the need to try and spot the actual objects on the group (which may be a lot if it is a complex design). That's all, thanks for your hard work and for getting affinity suite in windows :)
 -
 I am new to Affinity Designer, but have discovered that working with artboards makes my life much easier when preparing variations on a piece of design work for multiple platforms. In order to share designs with colleagues, I am printing multiple artboards as an A3 spread. This looks great, but I have to hand-write the artboard labels on to make it clear which design is for which platform/purpose. Is there a way of displaying the name of each artboard on the print out? Checking 'Include Page information' in the print options only seems to print the name of the whole document. Thanks for any pointers.
 -
 Hello. first of all, sorry for my bad english. I'm from Germany. I'm testing the Beta from the affinity Designer. I started a new document in 4x6 Inches, and as i wanted to print it on a paper with the same size, it didn't worked. It always changed the printing size of the paper in A4 Format. Hope you can fix this. If this is not the right place for Posts like this, please tell me where i can tell my Problems with the Beta. Thanks so far. Regards, Manuel
 -
 I'm trying to print using Affinity Photo to an Epson P800 printer. The printer software has installed ICC Profiles for different types of Epson and other papers. But when setting up a print job I can't seem to find any way to select one of those profiles before I hit 'Print'. I just get the standard Mac dialog box without any option to, for example, state that 'Affinity Photo Controls Colour' or to select an ICC Profile for the paper I'm using. Also I'd love to know how 'Soft Proofing' is supposed to work with Affinity Photo. I'd like to be able to preview a 'Soft Proof' with the correct profile and do some before/after comparison. Can someone help? Thanks!
 -
 I've searched the forum unsuccessfully for an answer to this question: Can AD export a file that I can send to my printer, the same way I can with Illustrator? In Illustrator I have a preset which includes crop marks and printer's marks. I can't find these options in AD. It's really important for me to know whether the series of A3 posters with bleed that I need to begin creating asap should be done in Illustrator rather than AD. If I can't export the finished product with accurate colour and in a format that my printer can work with, I'll have to stick with Illustrator for this project. Here's a screenshot of an A3 poster created in Illustrator, exported as a pdf in the way I need it to be:
-
 Hi, First of all I'd like to thank you for the really great software. I am currently using Affinity Designer for UI projects / icons and it improved my skills undoubtly. I could write an essay about how you made my designer life better (and I am sure that many others said it before) so I will go straight to the point: 1. Expand stroke I am making some vector graphic and I am using pressure panel to make the stroke look more handwritten and after that I was using expand stroke command and it goes pretty well with simple curves, but with more complex ones it gives me wrongly converted objects is there any solution for this? Maybe, am I doing something wrong? 2. Flatten transparency Are there some tools for print preparation as flatten transparency tool which would make me sure that in print everything would look good? Every advice would be helpful :)
 -
new photo printers Canon (Canon Pro-1000) is added plug Canon Printing Studio PRO - it makes it easier to print from the PS. Is there a chance to work on Affinity Photo? I can send this plugin This is a big help to the printing process
-
 Hey, i closed my Adobe Account and bought Affinity Photo & Designer and we are happy that haved done. But i need a Information from the Forum for my new Work: I create a Folder for our Business and i've load the Setting Copy as a PDF and open it in Designer. This is the Link to the PDF File http://www.flyeralarm.com/sheets/de/pm_of_5mm_mass.pdf So what must I do at next Step. How can i build this Layout in Desinger? Can anyone help me and tell me where I found a Tutorial or a Link to it about this Solution? Thanks for your help Peter
 -
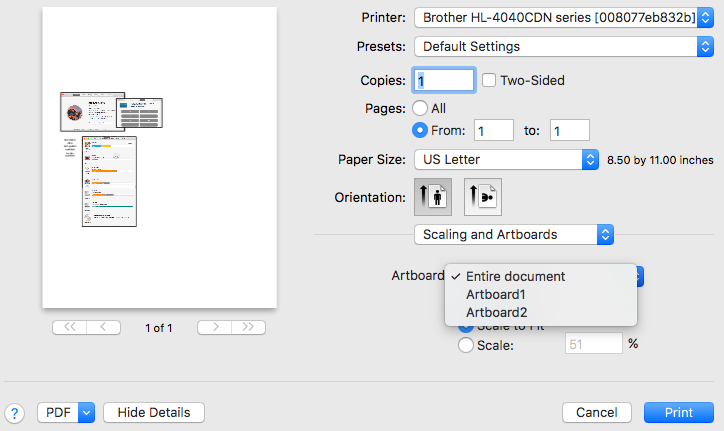
 I have a document with 5 artboards. I want to select 2 - the front and back of a flyer - and print them back to back. On the Scaling and Artboards dropdown on the print dialog, I can see the individual artboards but not how to select 2 at once. When there were only 3 artboards in the file, I got around this by selecting Entire Document and setting the page range to print pages 1 - 2 but if I try that now, there is a whole lot of extra white space showing on the pages. The document prints only the top snippet of each page, and this is positioned right at the bottom of the page. Do I have to export the artboards to pdf first? Any other ideas how to do this from AD please?
 -
 I'm just getting started with Affinity Photo, so these are basic questions regarding printing. How do I print a photo with a specific margin? My example is I want a 4"x6" print with quarter inch margins. I've set up a Document with margins, and I can see the blue margin lines but these seem to have no effect on printing. Resizing the canvas causes the document to resize, so it always fills. I expect that I'm missing something very basic. I have seen the tutorial on adding a margin to the image, I was hoping to be able to specify an absolute size for the margin. Thanks!
 -
 Hi there, I am combining several photos in one document, nevertheless after going for a print, what I see is not what I get. (NO, I am not talking about colour management). Basically some Layers don't become printed even though they are visible on the screen and also visible when exporting to JPG. I have used maskers but as mentioned I am not seeing any blocked areas. Any hints? Thanks in advance for your help AMPI
 -
 I print by using Loxley, how do I configure, and and output jpegs for this?
 -
 Hi, I'm quite new to digital photography and am trying to understand profiles. I've read coranda's post https://forum.affinity.serif.com/index.php?/topic/11293-ap-printing-with-icc-printer-profiles/?p=48255 and generally can follow that. However it still doesn't solve my problem. My aim is that I'm trying to create a jpg with a profile built in which I have downloaded from a printing company. It's not an icc file but has the extension icm Following the company's instructions, I downloaded the icm profile and copied it to Macintosh HD/Library/color sync/profiles where it now sits with various others like Black & White.icc, etc. Following coranda's print instructions... "In the print dialogue, at the bottom, there should be a button that says "Show Details". Click that. There you will see a drop down list that probably has "Affinity Photo" selected. Click on that list and choose "Colour Matching" and make sure that "ColorSync" is enabled." This did produce a drop-down list and the Fuji icm was there. So I guess if I had that printer sitting here beside me it would work. However I want to generate a file that I can email to the printer for them to print, so it's not quite the solution. Following the soft proof instructions, I added a soft proof adjustment layer, but the Fuji profile was not listed - it has many profiles of papers and devices listed, but not the Fuji one or any of those in the path mentioned above. If it did I guess I could export the image as normal with the profile built in. If I do a file/export to generate the jpg, I had expected to find some way to pick up the profile as in the case of printing. However I don't see any way to do that. Can anyone please explain how to get this profiled file? Thanks Stuart
 -
 I'm creating some signage today and would like to make these in Designer, however I cant figure out how to make my cutter guides/shapes and fold lines as a spot colour, so the printer can see its not CYMK for production. Generally I make these in illustrator and mark the layer **Do Not Print** for the printers attention. So my question is can spot colour be done in Designer at the moment?
 -
 Hi, first of all congratulations for your great work! I have been testing your new trial and a doubt crossed my mind. I wanted to print business cards... how can i duplicate my card on a A3 sheet to use the bleed and the crop marks? Or do i have to do all the work manually?
 -
 Hi, ich hoffe mal das ihr mir hier helfen könnt. Ich nutze Affinity Designer und Photo. Da ich selbstständig im Werbebereich bin, benötige ich Druckfähige Dateien für Online Druckereien und unseren Roland Solvent Drucker. Aber egal was ich mache alle Dateien die ich exportiere werden entweder nicht gelesen oder von den Farben her gar nicht richtig angezeigt. Was mache ich falsch? Das kann doch nicht so schwer sein. Bei Corel oder Photoshop mache ich das ja genauso.# Hi, I really hope that you can help me here . I use Affinity Designer and Photo . Since I am self-employed in advertising , I need printable files for online printing companies and our Roland solvent printers . But no matter what I do , all files that are either not read or does not appear from the colors properly ago I export . What am I doing wrong? That can not be so hard . With Corel or Photoshop I'm doing the same yes . #
-
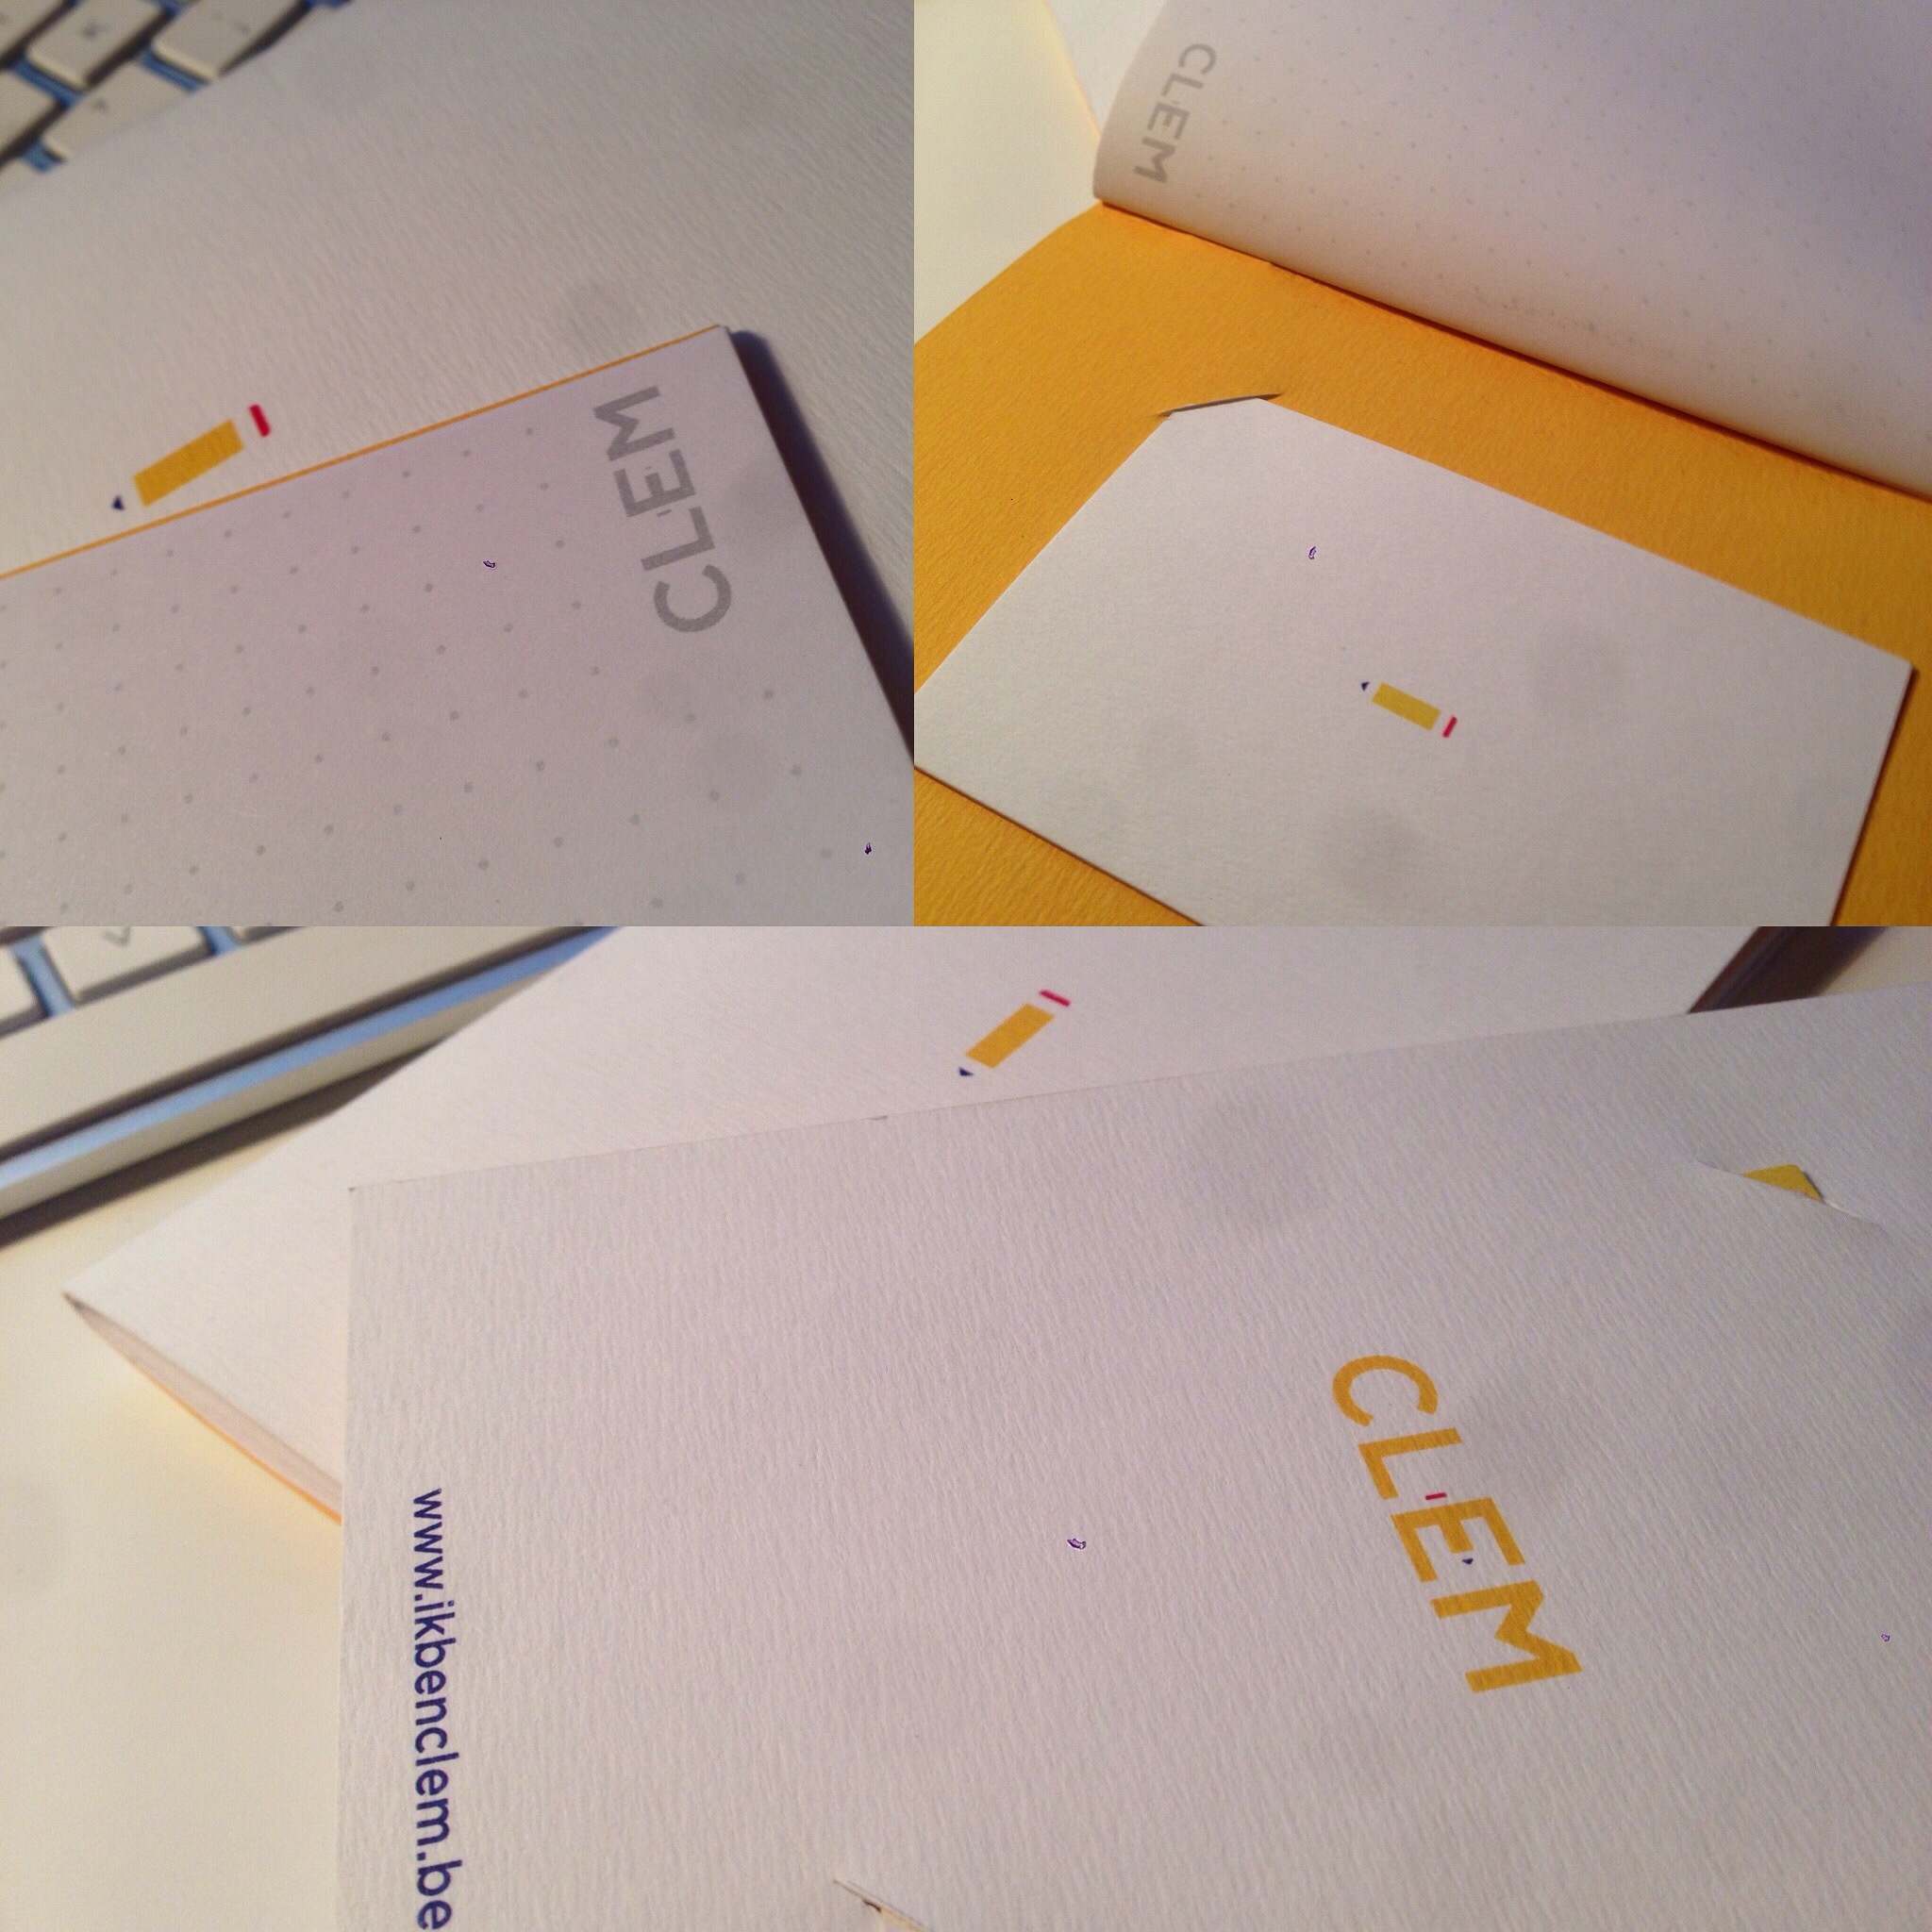
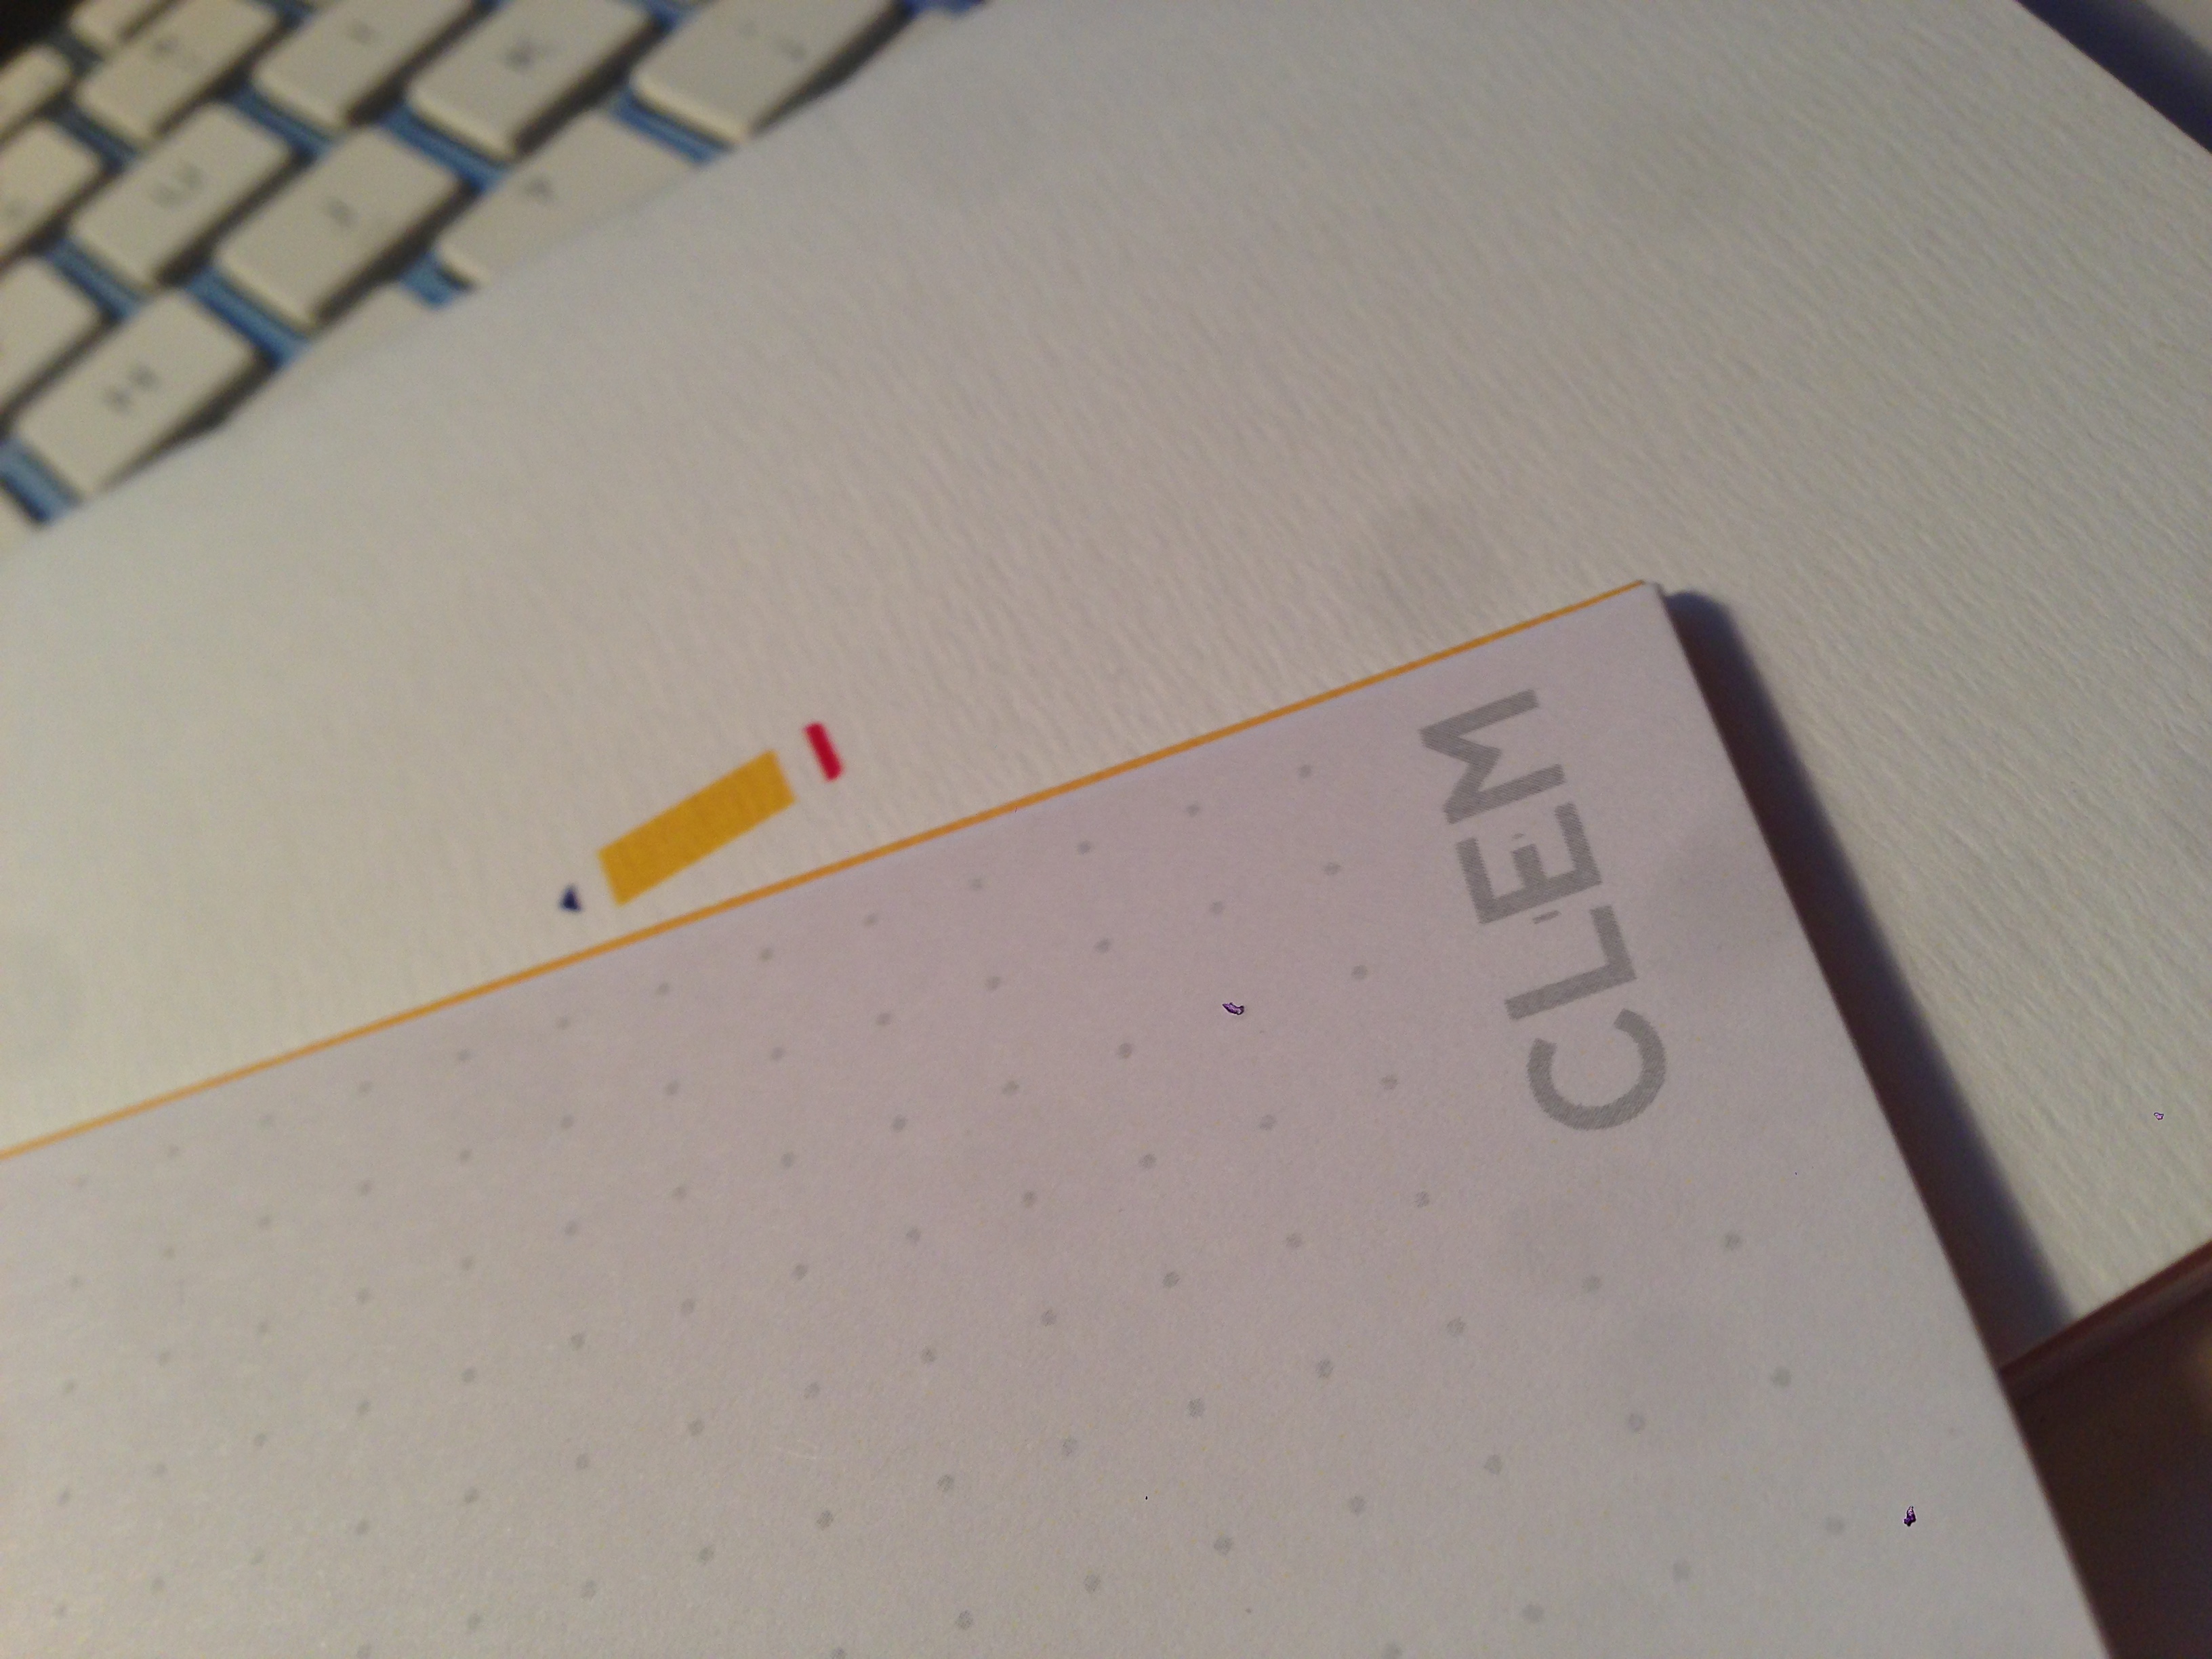
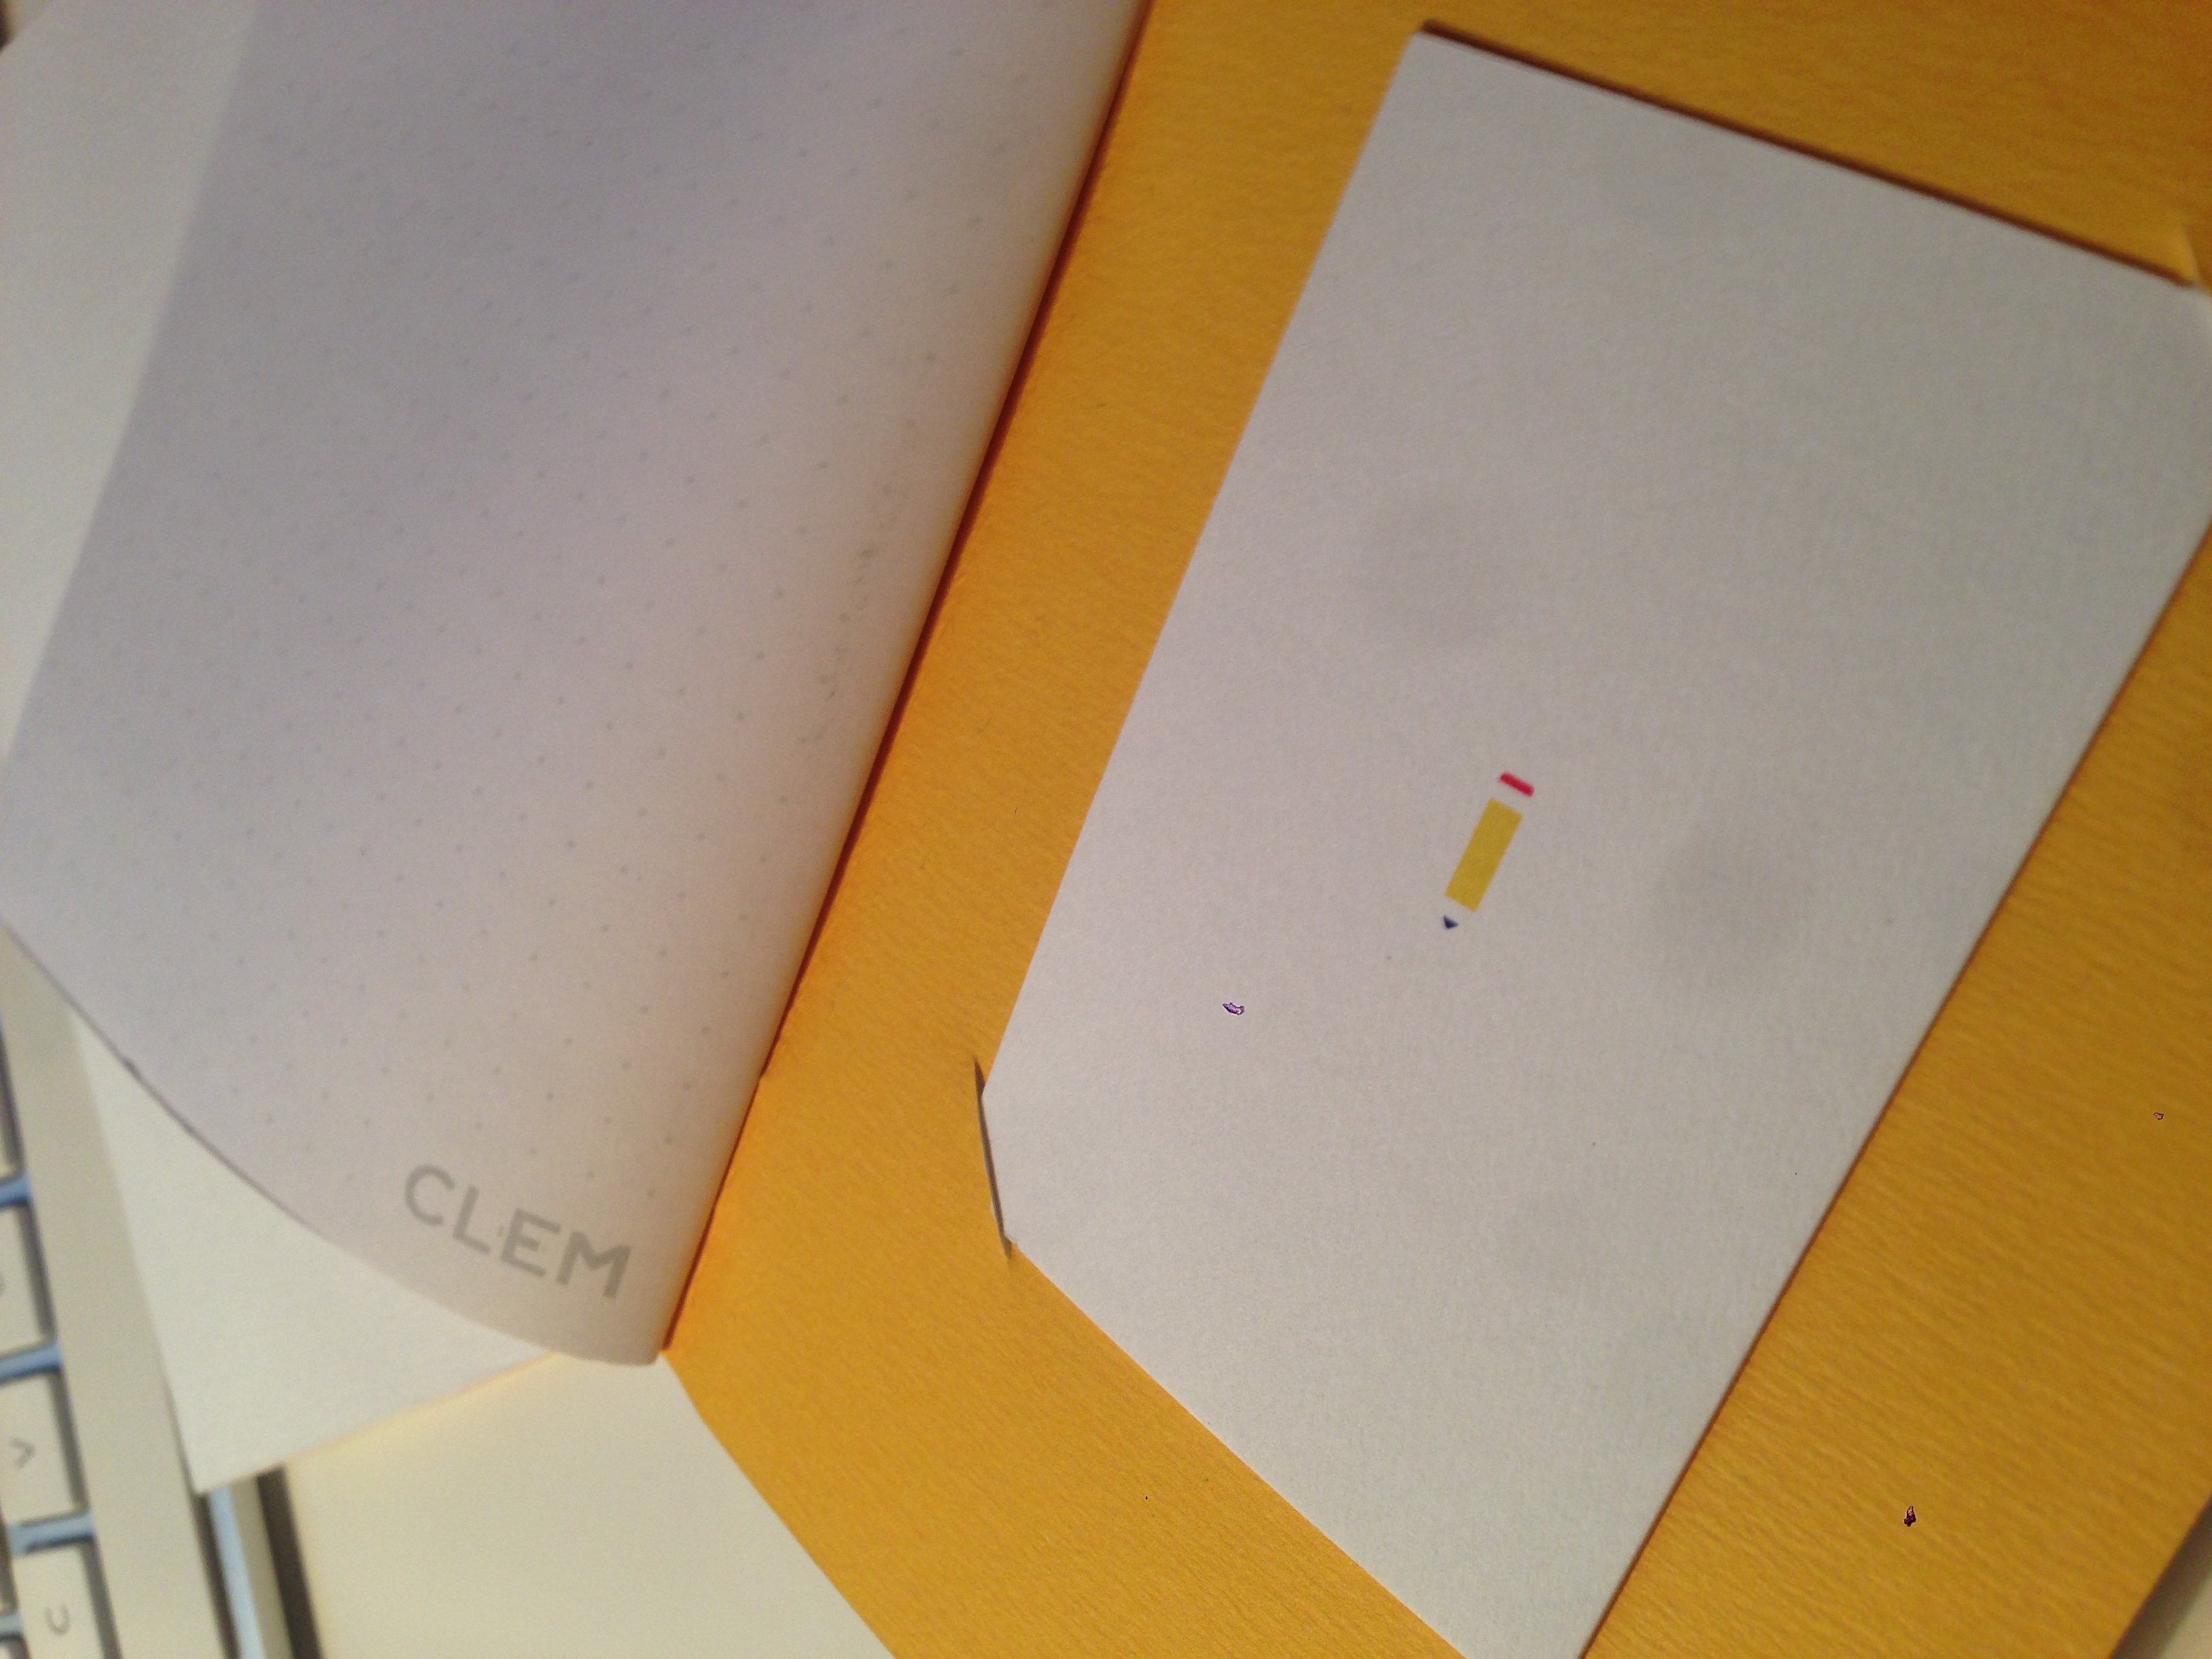
Hello everybody. I share you my last project. i work in one printing house, and all of my notepads are full ! and you know, how cost one moleskine ! So I got the cheaper idea : create and print for myself at lowest prize ! I choose 10x15mm. Pantone 012, 032, 072U. For the paper i take 320 Rives textured for the cover and inside 150 Offset paper ! i also have the idea to create hole for my business cards ( i lose them every time !) on the last pages ! I use Affinity Designer to create it ! i use the last beta for the Pantone support. I wanted to have best CMYK reproduction, because my Digital press can make a conversion (better dan if AD make the conversion). Thanks for watching ! and thank for sharing your opinion ! Clém
-
 Hello, how to print a document with crop marks (affinity designer? thanks, Frédéric example :
 -
 Hi folks, hello Serif-Team, I need to export my work as PDF/X (3), many advertising agencies, printing companies or clients ask for it. Will Affinity Designer support this important format/settings? If so, when? ;)
 -
 Hey, today I tried to open a print ready PDF document. If I open the same document in Preview, in Acrobat or even Safari it loads as it is with all stuff for printing. If I open the same document in AD, it opens just the area inside the cutting lines. Is there a way to open it as it is or where I'm doing wrong? Thanks in advance, hp