Search the Community
Showing results for tags 'mask'.
-
 How can i use the undo brush non destructively ? Is it somehow possible with masks? What i want is a layer/masklayer i can blend in and out only with the changes of the undo brush.
 -
 Hello, Where am I going wrong, please? I want to cut out the policeman’s cap. 1 I crop the image so I can see just the cap. 2 I cut out using the pen tool 3 I click mask 4 I Cmd-C and Cmd-V into a new Affinity Photo file. See RBhBwyuhb6K3E2Y1AnDVaIsa9z4hkk The issue I have is that this takes over the cropped elements of the file. Help appreciated! Will
 -
 In Acrobat, it's shown correctly. mask_test x4.pdf mask_test.ai
 -
I am running 1.9.1.979 on Windows 10. I am unable to paint black on any mask, adjustments or pixels; painting white is fine on a mask or an inverted mask. Painting black has no effect. mask_problem.afphoto
-
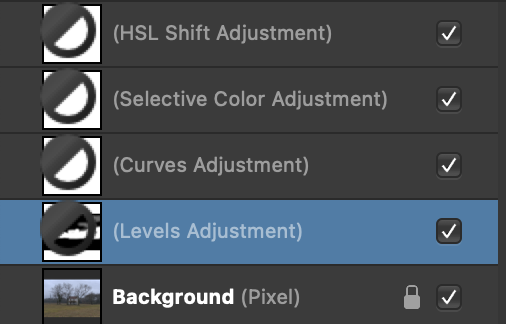
When the monochromatic iconography selection is ON the adjustment layer mask have a black/white circle overlay on them rather than being totally white or black (inverted). This circular icon blocks the users ability to see the strokes made by painting with the black or white (when inverted) brush. When the monochromatic iconography is OFF it shows the mask fully and any adjustments made by painting with the black or white (when inverted) brush is clearly shown. Attached is a screen shot of the Layers panel with the monochromatic iconography in the ON position. The highlighted Levels Adjustment layer shows an inverted mask with the center section painted in white. Everything is displayed perfectly when the monochromatic iconography is OFF. I'm using a MacPro laptop, Big Sur OS, Affinity Photo version 1.9.1

-
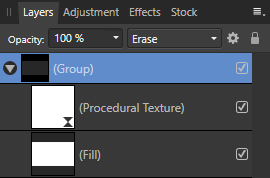
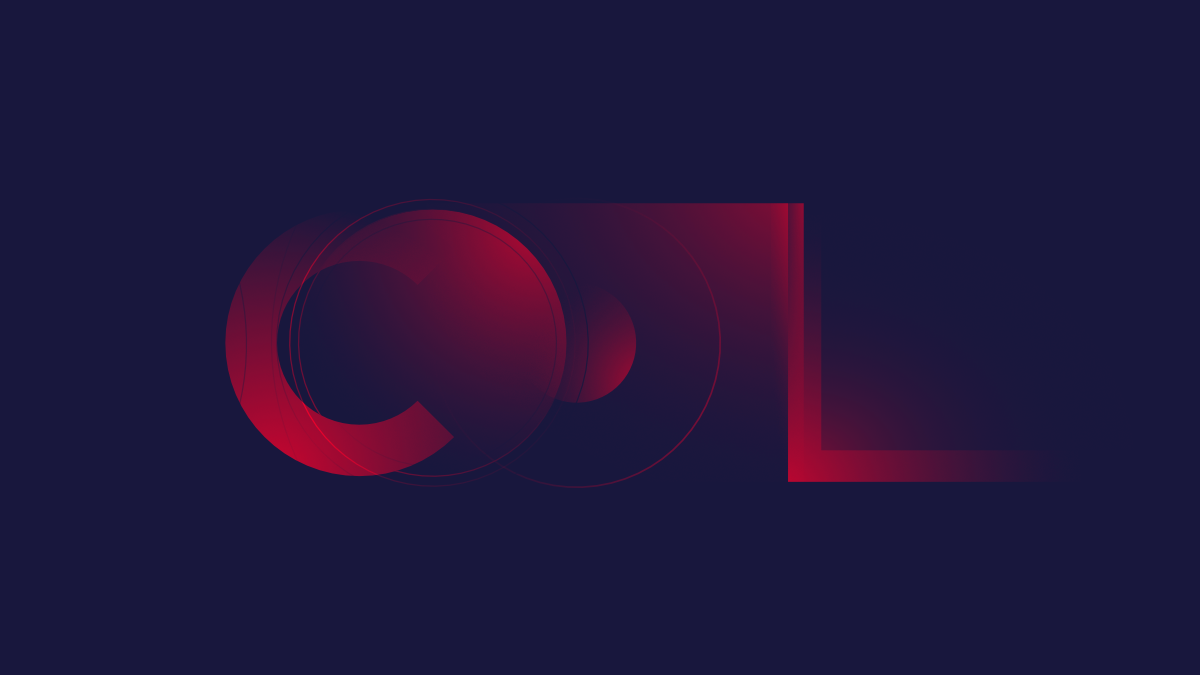
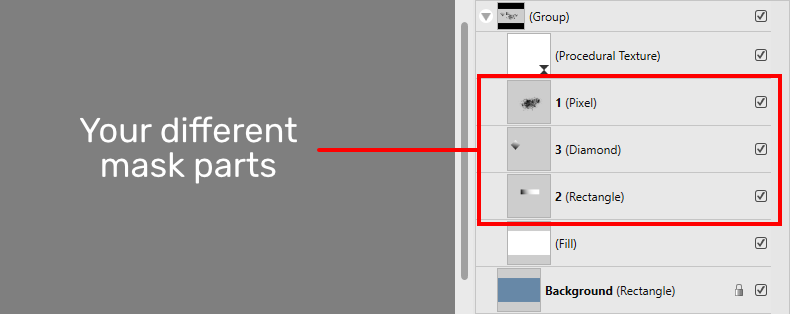
 This is a completely non-destructive mask, which is a group of many layers. You can use many raster and vector layers/objects in one mask. And of course, you can edit them! Nondestructive_Mask.afphoto Nondestructive_Mask_Test.afphoto Nondestructive_Mask.afassets How to use Place your mask parts between the Procedural Texture and the Fill Layer. If necessary, change the background transparency, changing the Fill Layer color. To apply this mask-group only to a specific layer, nest it. To apply a mask-group to multiple layers, select mask-group and desired layers below, and group them. Then change blending mode for this new group, from Passthrough to Normal. How it works This is a group with the "Erase" blending mode. This group has two main layers, the Procedural Texture and the Fill Layer. The Procedural Texture turns rgb and grey pixels into alpha. Formula: 1-rgbtoi(R,G,B)-a=Alpha Many thanks to @NotMyFault Fill layer is required to control the background transparency. In conclusion This non-destructive composite mask allows you to fine-tune individual parts of the mask, achieving the desired result. Affinity interactivity allows you to see the result of your operations in real time, unlike some other programs. Opportunities Nondestructive editing and moving Multiple individual mask parts Vector and raster Color and greyscale Applying adjustments Created using a mask consisting of many parts
-
 Hey guys, im new to affinity photo and graphic design in general. So ive made a pentool curve, the i "masked to below" to an image below. Then i want to create a hole in that mask so more parts of the image i masked is shown. Is that possible? also if it is, how do i do it on texts? Thanks
 -
When I create a mask, it opens its layer tree automatically in 1.9. in 1.8, it wasn't so. Steps to reproduce: Quick Mask > click Layer Mask button of the Layer Panel.
-
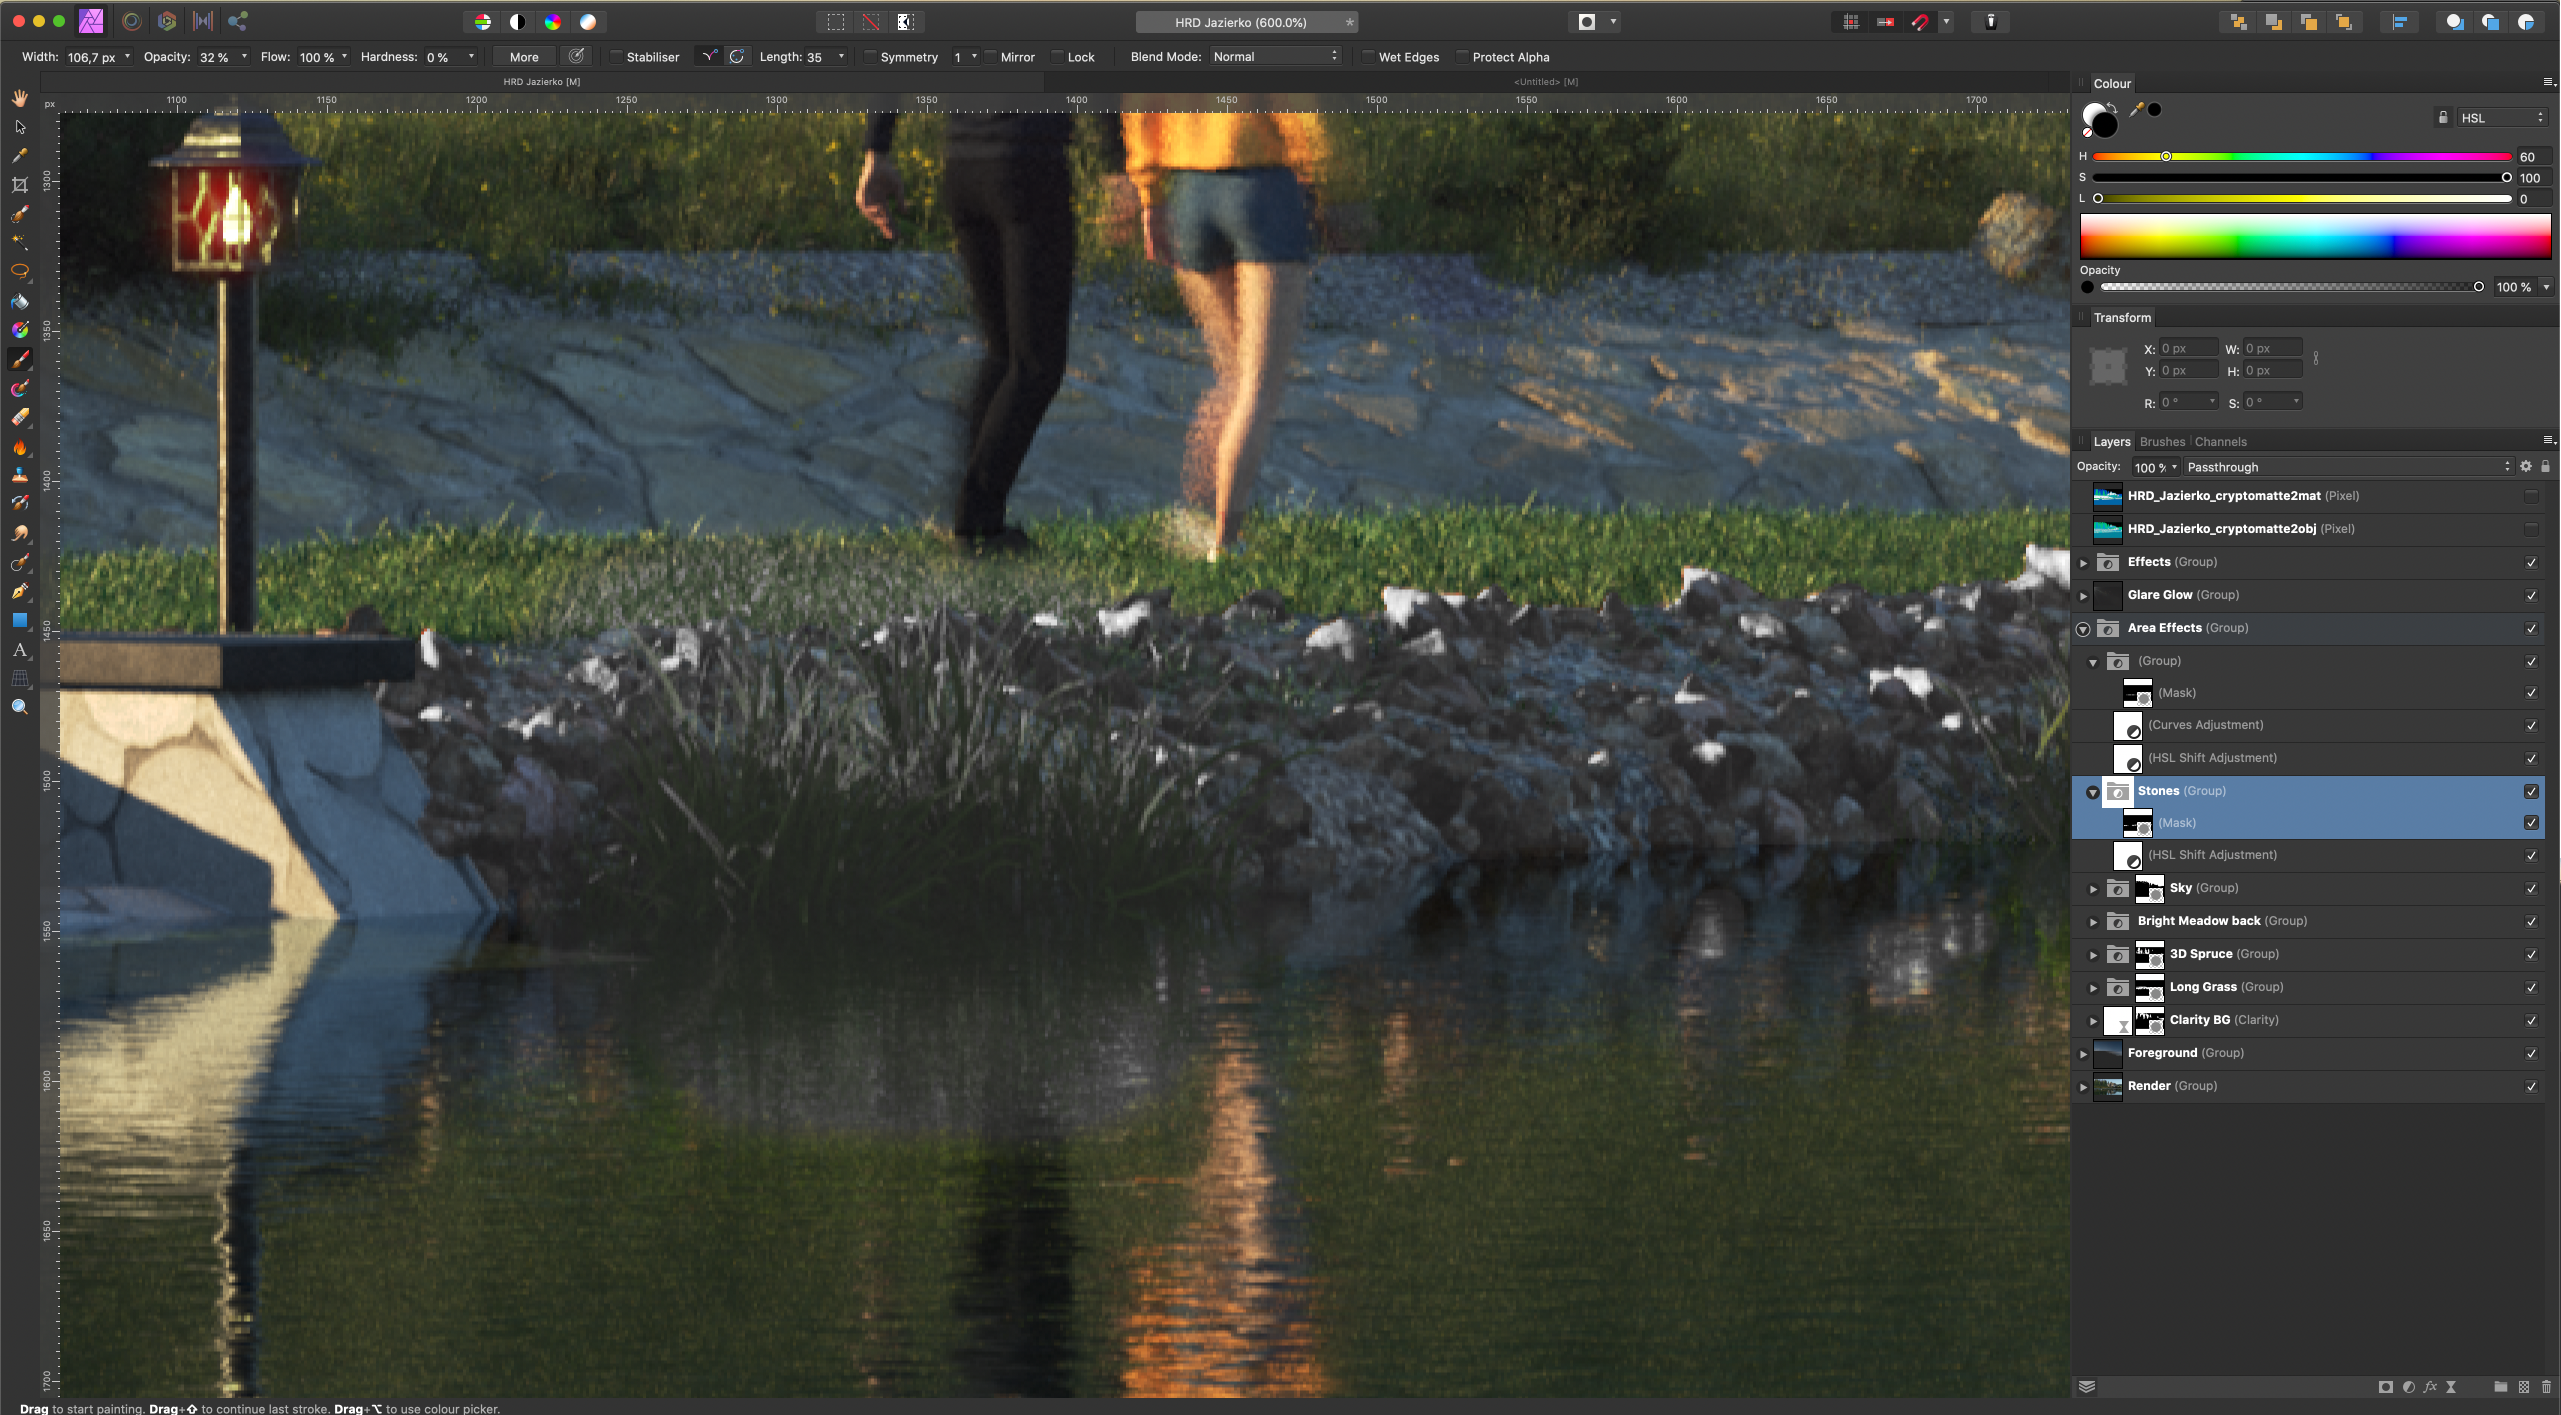
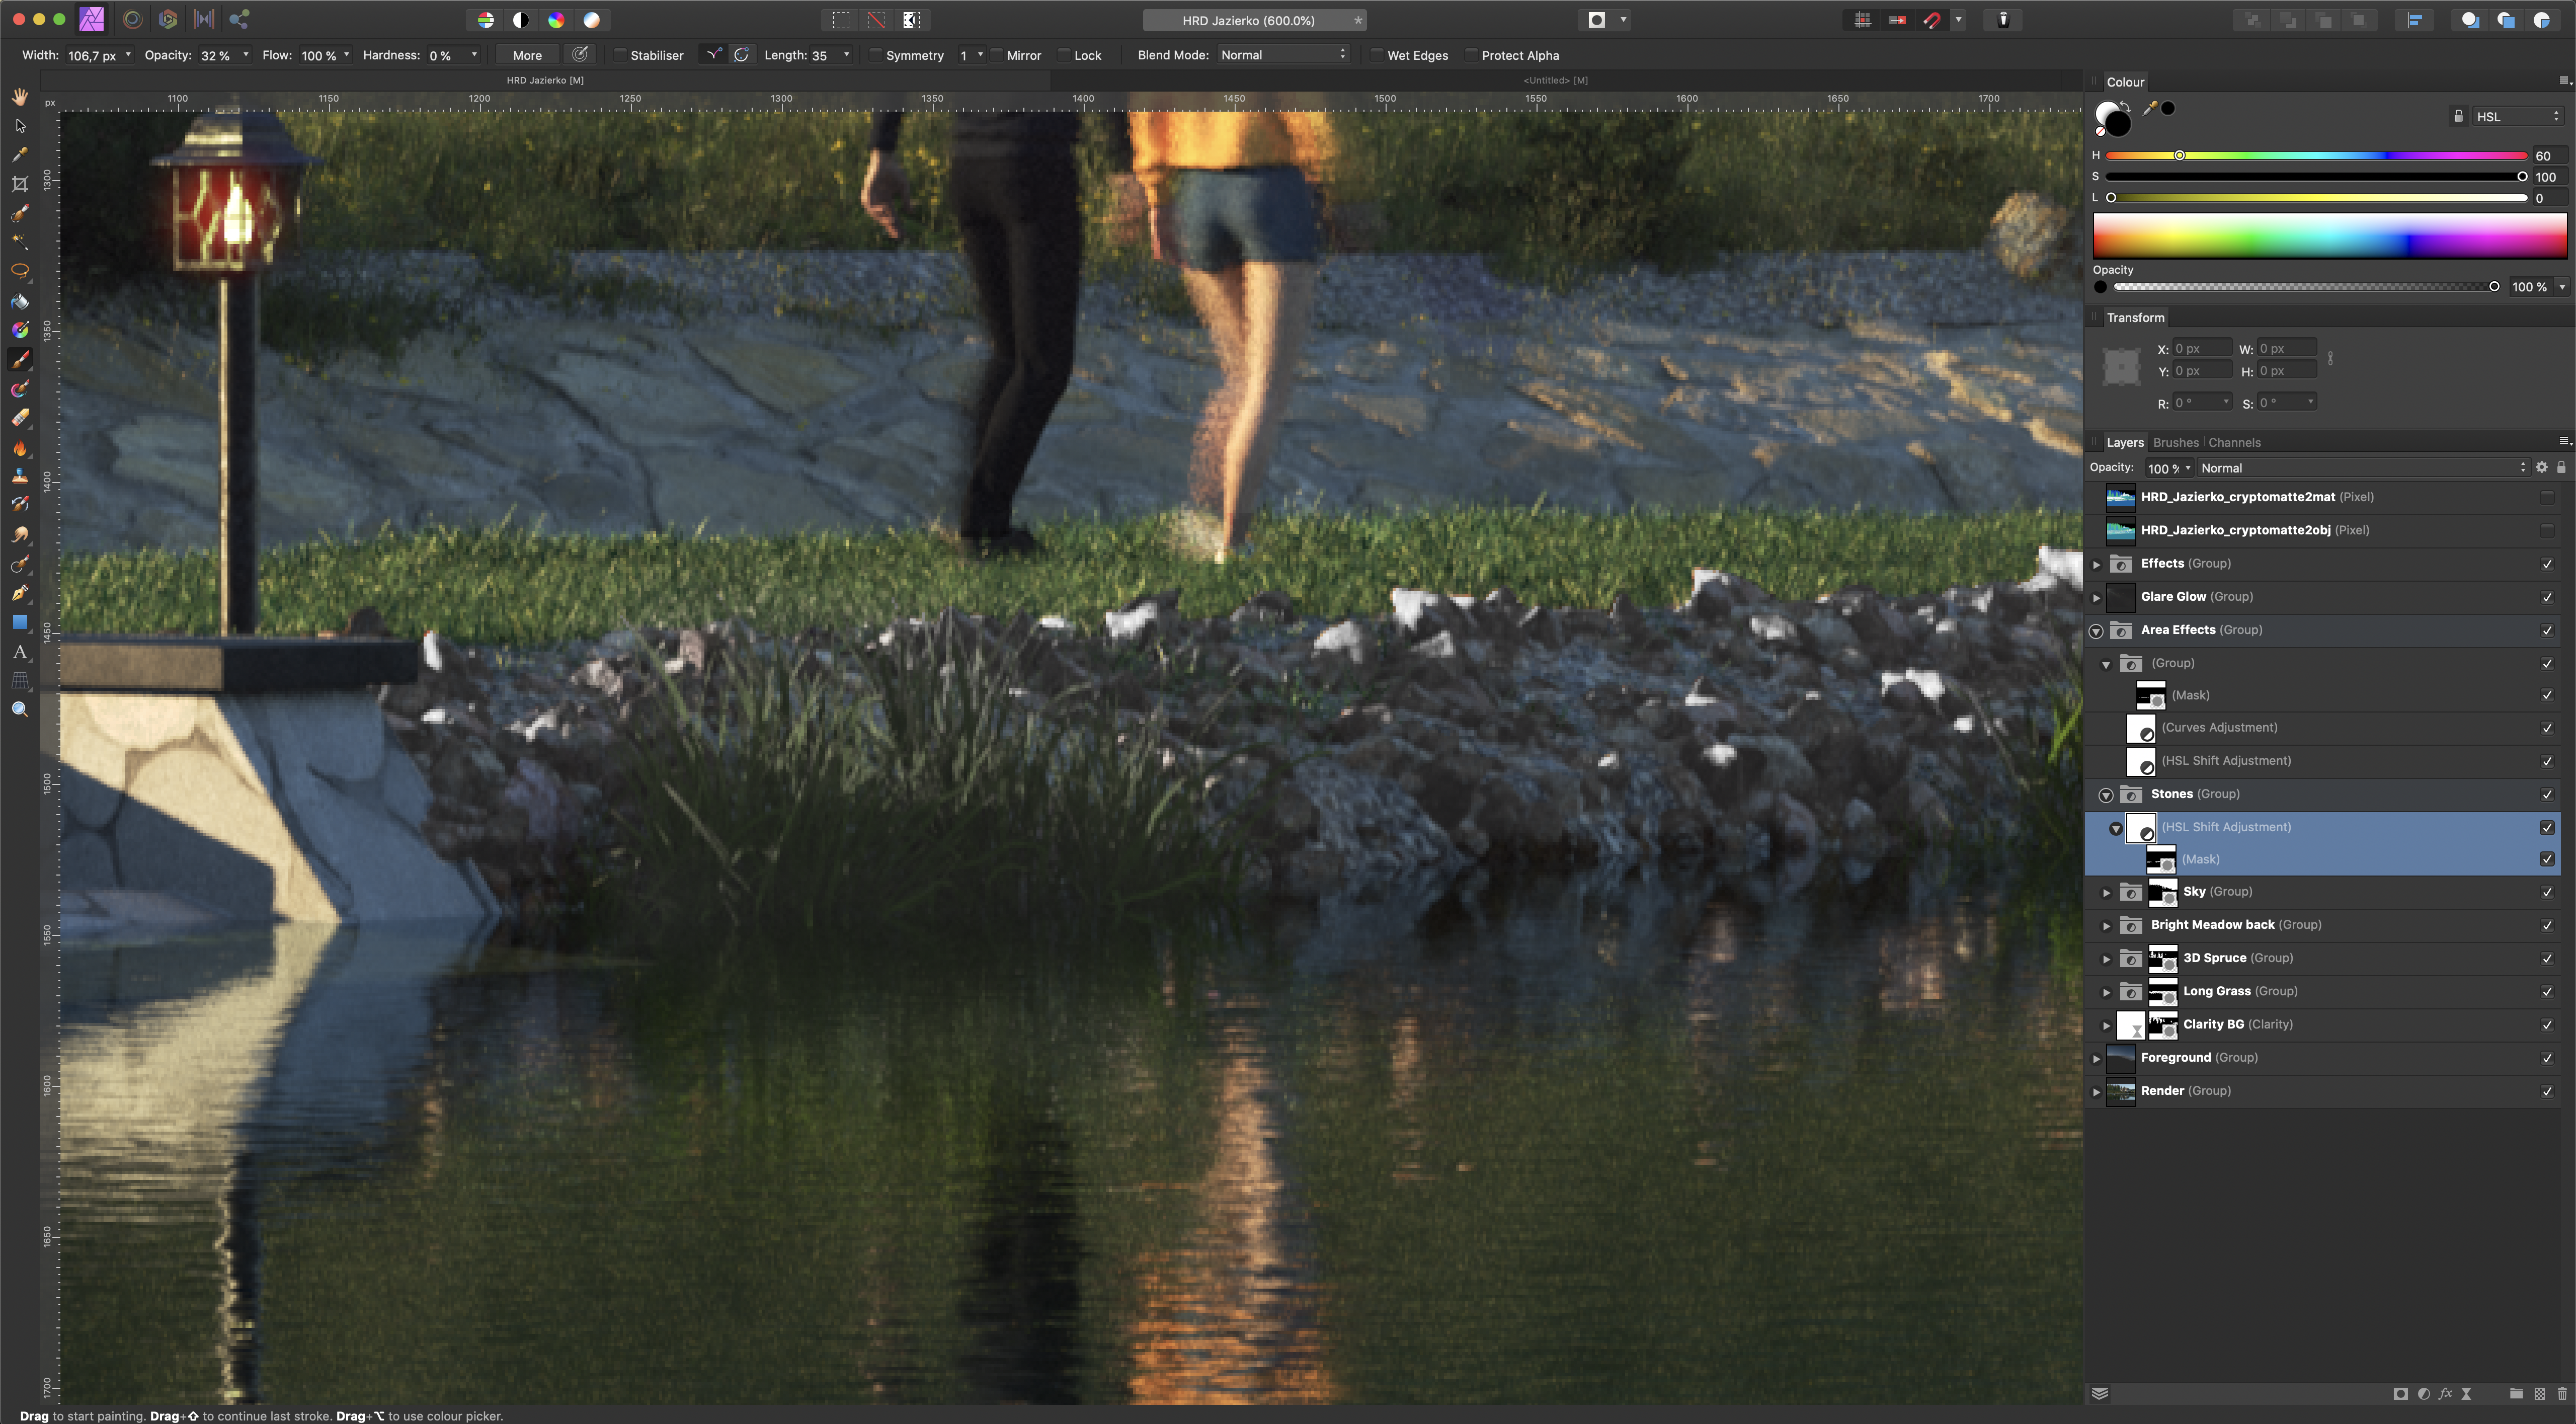
 I tried the mask layer linking that @carl123 demonstrated. The linking of masks worked fine for me. I then tried editing the linked-from-mask, and the linked-to-mask, both masks reflected edits of either. But while the actual layers updated, the thumbnails were updated going one way but not the other. See circle on unsharp-mask mask but not on levels mask. (macOS 11.2)
-
 So I've been trying to work with masks and the "Hold ALT" colour picker... it's BAD. When I hold down ALT with the intention to pick a value FROM THE MASK to apply it somewhere else in it, the tool simply decides to pick the GLOBAL value of the document instead, which makes working with masks a complete pain as I want to pick the value from the actual mask to control the ALPHA value for that mask alone. Switching to the Isolated view of the mask makes NO difference at all, it still picks the value of the Parent Layer. The only exception to this problem is if you select the Colour Picker tool MANUALLY, which is slow enough to break my flow. Why doesn't the "HOLD ALT" method use this behaviour as when you select the Colour Picker Tool manually? If holding ALT supposed to be just a quick shortcut to switch between the brush and the picker, why doesn't it work the same as the properties you assign to it in the first place? Is there a workaround to this?
 -
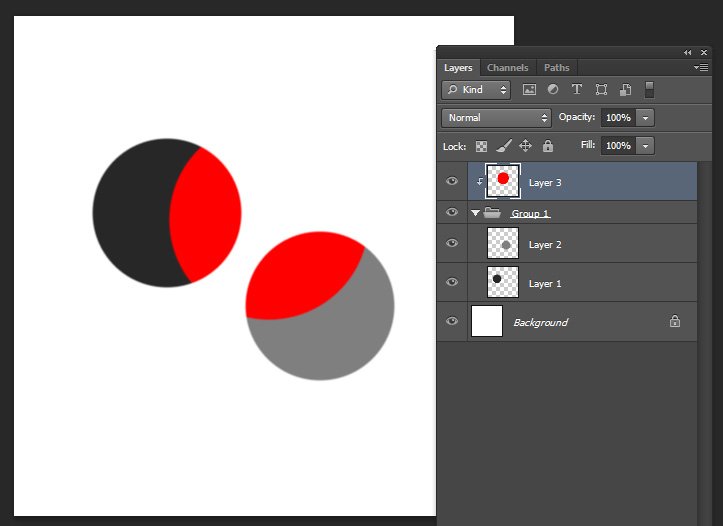
Hey there! So as far as I can tell this still isn't possible in Affinity Photo. I want to be able to clip a layer to a group. See attached image. Has this been added and I just missed it? Basically every psd I've made uses this feature, so as well as not being able to import my psds because of this, I can't really use affinity photo since this technique is a huge part of my workflow. Any word on the possibility of adding this? Would love to make the switch from photoshop! Thanks for listening! - Neil
-
 You might want to use a pixel layer as mask layer, but still be able to edit this layer and see the impact of your edits live. This is easily possible: Start with at least a background layer and a second pixel layer intended for masking add the live procedural text filter with this formula A=R, R=1, G=1, B=1 (or download preset "grey to alpha" below) Clip this live filter to the pixel layer to be used for masking Clip "pixel mask layer to be used for marking" to the background layer where you want to use it. The procedural text filter will become invisible in the layer stack, but still working. Modify the "pixel mask" layer with any pixel tool you like: brush, dodge and burn, sharpen, any adjustment or any filter At least give a "heart" or "thanks" to my post. Bonus material: If you have a mask you want to transform into a pixel layer, you can simply use the procedural text filter "alpha to gray" (see attached file). Video Tutorial: The recording did not capture the live procedural text filter. please use the settings from the picture below: Have fun alpha to gray.aftoolpresets grey to alpha.aftoolpresets
 -

Change size of circle with zoom
dad2five posted a topic in Feedback for Affinity Photo V1 on Desktop
I would like it if when I'm zooming with the circle selecting a mask, that the circle itself would stay the same size relative to the screen but change relative to the zoom. I would also like it if the was a button to switch between add and subtract but you just push and then mouse click and drag to subtract. Add would just be mouse click and drag. -
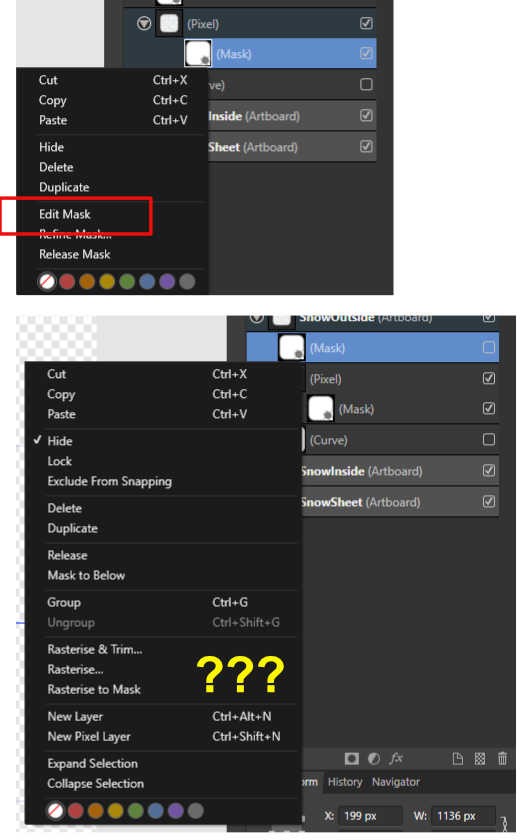
 Hello, having some difficulty with masks in affinity designer. Is it possible to convert a mask to a pixel layer? Rasterise does nothing. How can you edit a mask when it's above another layer and not attached to one? Is it possible to invert a mask? using invert from the menu does nothing. Is it possible to view channels in affinity designer? I've searched for these questions but only find answers for affinity photo so any help would be much appreciated.
-
 Hi, I want to make an object (green square) with a transparent hole inside of it. How do you do this? I can't seem to find the option for this So basically a square, with a circle inside of it, but you cannot see the fill of the circle as well as the fill of the square. So a square with a hole inside. In my attachment the circle is black, however I want it gone. Black hole that should be transparent.afdesign If I try to make the circle a mask of the layer, I get a round circle...? How do I inverse this? Removing the circle not the green square? Masked square that gives a round green circle.afdesign
 -
https://www.bodobe.de/fee-2/
-
 This is weird: One of the most common tasks for me in Affinity Designer (IPad pro) is to use the Vector Crop tool to remove unwanted parts of an image, and at first this only crops to the shape of a square or rectangle so you wouldn’t use it to crop a complex shape.... BUT it creates a mask in your layers tab so you should be able to then manipulate that mask’s nodes/curves just like any other vector right? kind of. Yes. If you know the secret. At first you won’t be able to edit the points or lines in the Vector Crop mask. But I discovered that if you select the Corner Tool, and then round any corner of the mask (And then un-round it again because you likely weren’t wanting to round the corner), suddenly the mask’s points become editable like any other vector shape. I do this dozens of times per session. Why?! Why should I be conducting this random and oblique method just to edit my vector crop mask? Haha. Please fix this! -Noydis
 -
Hi, when using a mask layer applied to a member layer of a live stack group, the mask behaves strange: observed: If the mask value is 255, the pixel is inlcuded and shown. If the mask value is bewteen 0 to 254, the pixel is not shown. Expected: Values between 0 and 254 should lead to an pixel with accoring alpha. You can try at your own by adjusting the slider of the levels adjustment. You can see that it only affects which pixels are shown (when reaching alpha 255). I might be wrong with my expectation live_stack_and_mask.afphoto
-
Hi, when i try to move the mask from the red rectangle to the group, the AP beta crashes immediately. live_stack_and_mask.afphoto
-
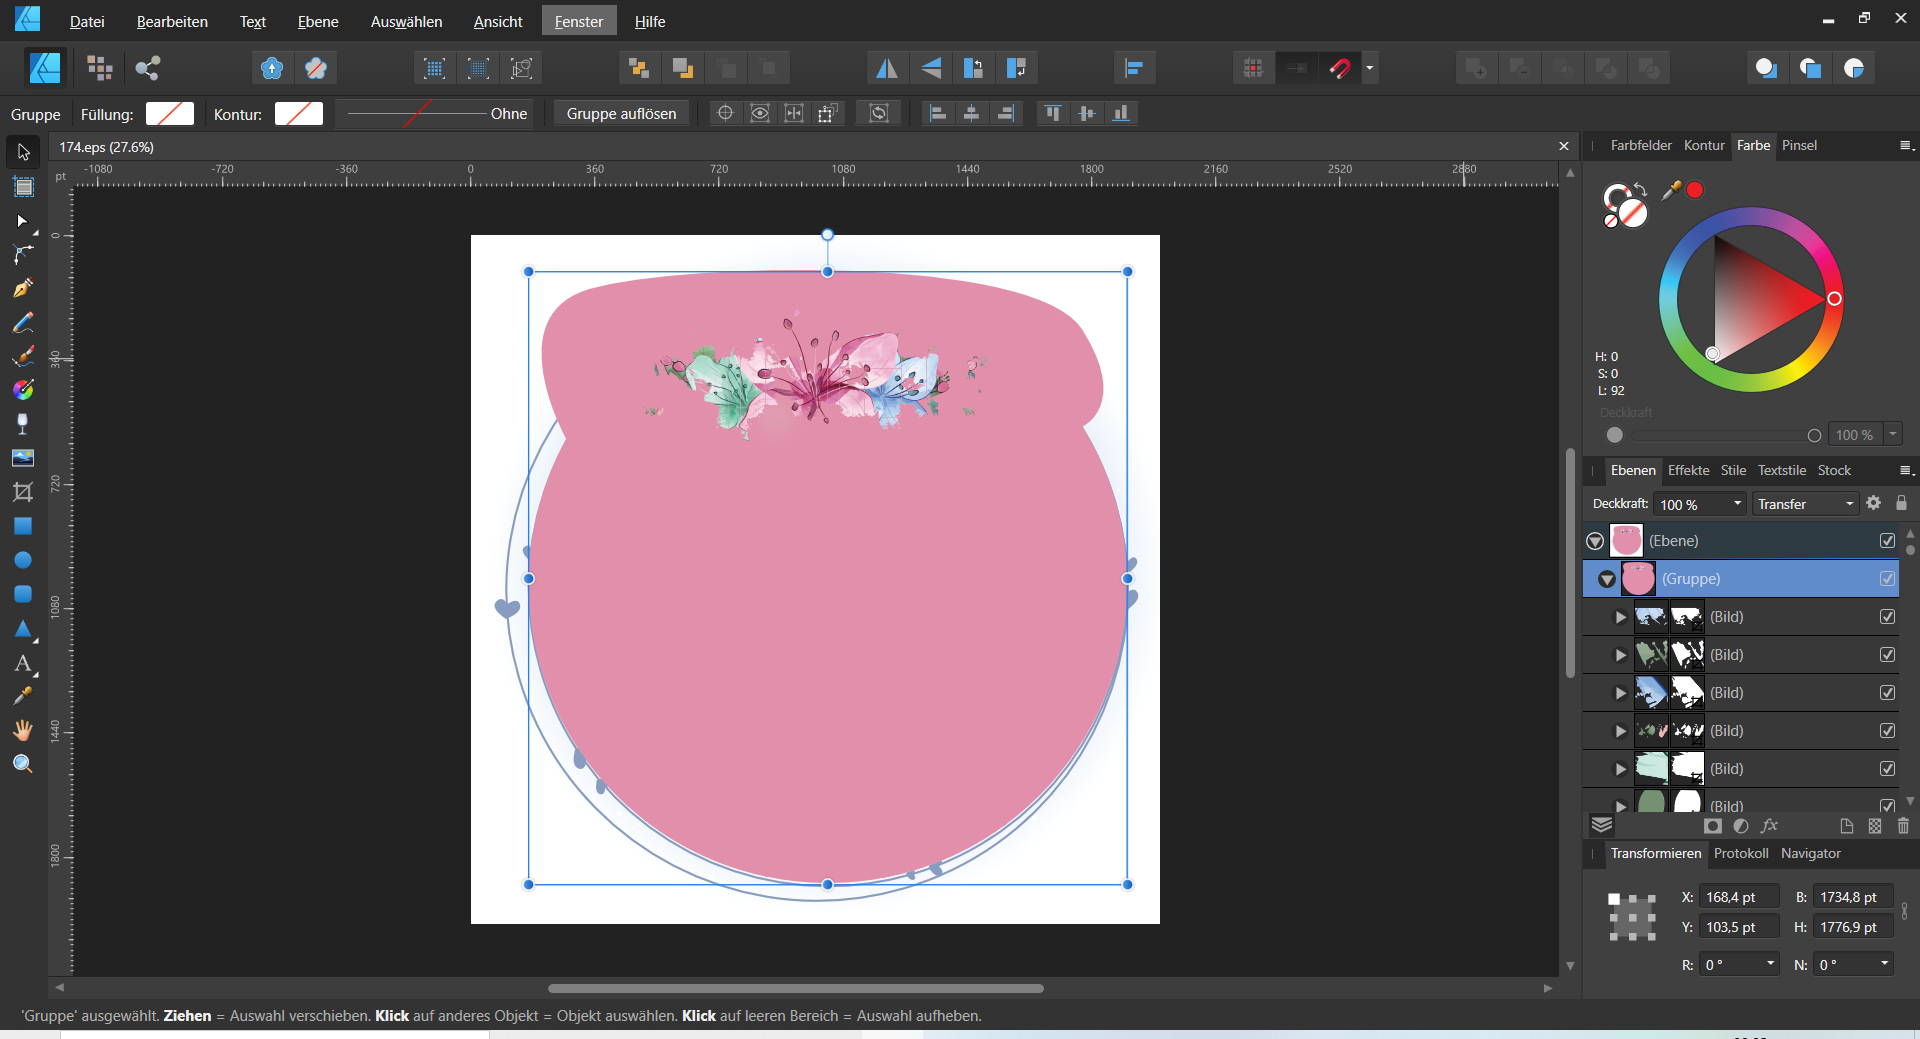
 Hi, y'all... I just purchased a vector image for my project. It looks like this (see pic bellow) if I open it on Affinity Designer. How can I edit the pic? I just need to make it smaller or bigger, and modify it for my project. I am very thankful for any hints.
-
 Painted Face in Minutes! Affinity Photo beginner tutorial on how to give a face a painted look in just minutes. The tutorial uses black and white photos and a black background to manipulate the photo. https://youtu.be/lhoqEDRjELQ
-
- 1
-

-
- photo manipulation
- affinity photo
- (and 8 more)
-
 This is driving me nuts and I'm sure there's a simple answer. I use clipping masks a lot when laying out content. In Illustrator, once I've placed the mask, I can easily resize/reposition the masked image without affecting the size or position of the mask itself. In Affinity Publisher, however, once I mask an image, I can reposition/resize the mask to my heart's content, but I can not for the life of me find a way to reposition or resize the image within the mask without releasing the mask altogether. Is this possible? If so, how?
- 4 replies
-
- 1
-
-
- clipping mask
- mask
- (and 2 more)
-
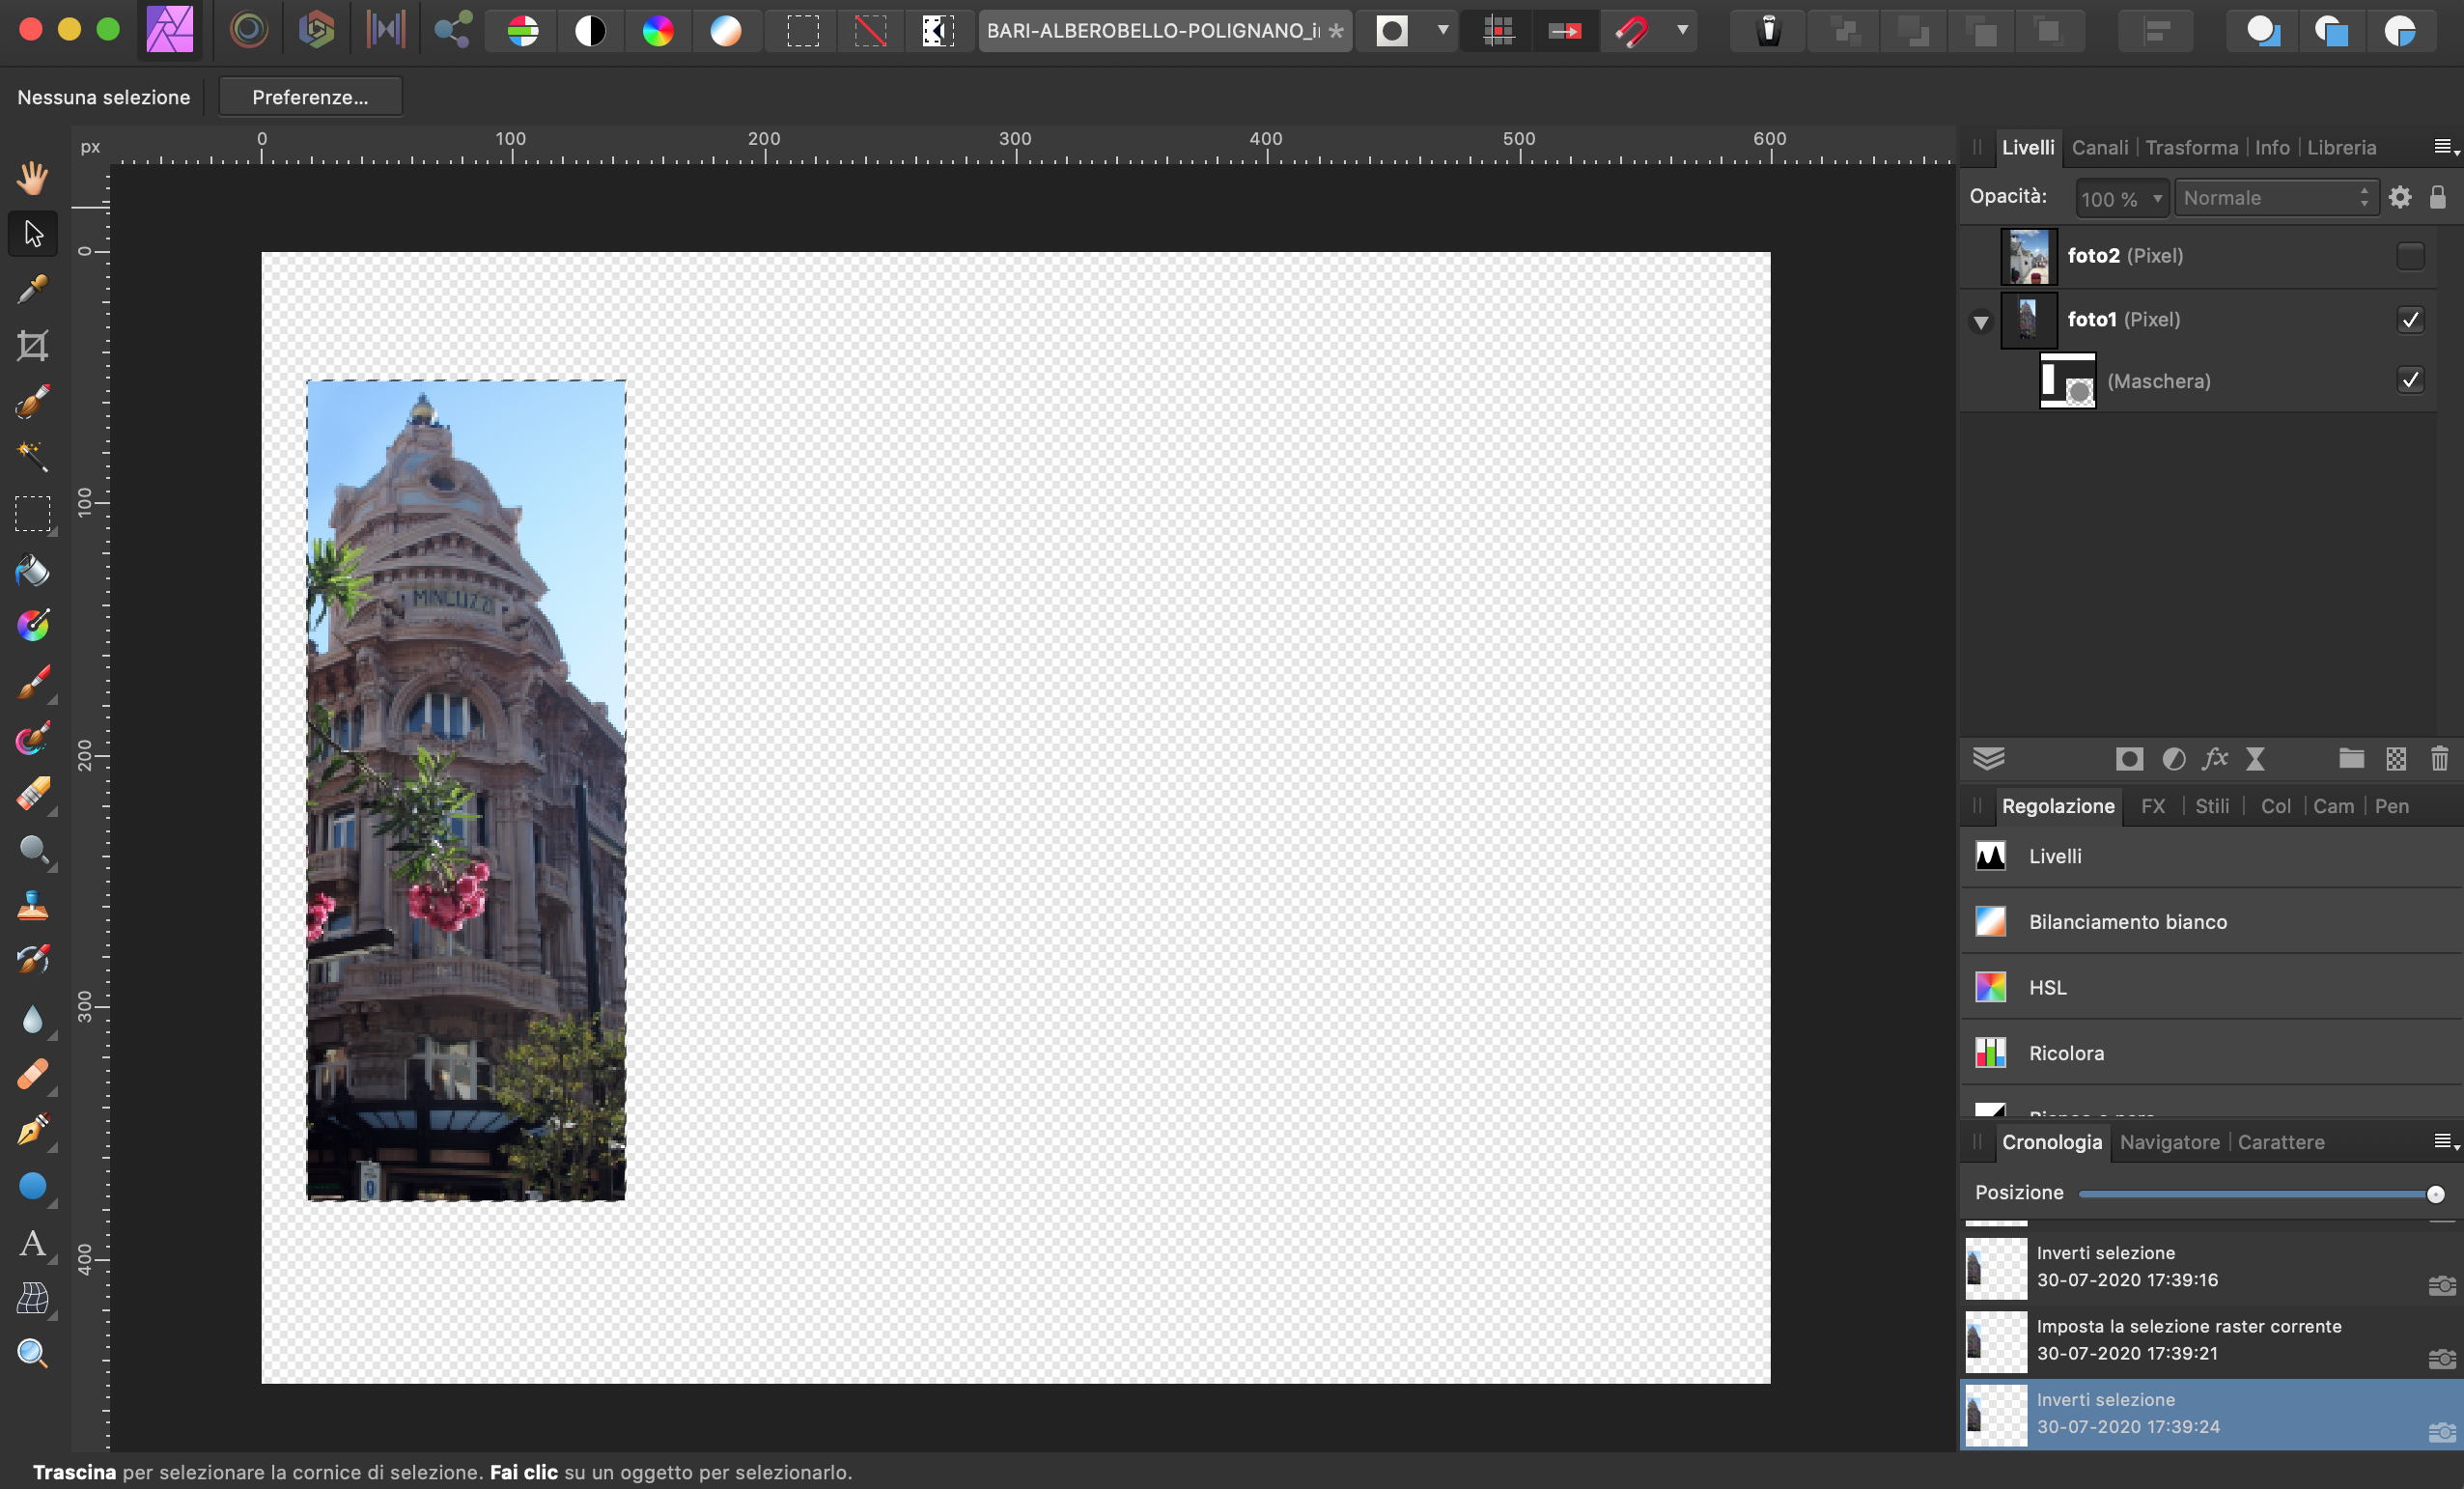
 Hi. How can I "connect" (and "disconnect") a mask to his layer, to modify the layer (rotate, enlarge, etc.) into its mask without rotating, enlarging, etc. the mask ??? Is there a symbol or something that shows the layer "connected" or "disconnected" to its mask ? In few words: if "connected", each modification affects either the layer and the mask...if "not connected" it will affect the layer and not the mask. I hope that is clear... I'm sure it's easy and on my watch, but it's driving me crazy Thank you!
-
Hello, why does masked adjustment layer yields different result depending on whether mask is applied directly (correct result) or on the group that adjustment is nested inside. Could it be because I work in 32 bit mode?
-
 I feel like I'm being a bit stupid, but I just can't figure it out. I'm using a curve adjustment layer, with a grey scale image as a mask. As you can expect, a mask is just a normal pixel image, meaning I can manipulate it how I want, use a brush, whatever. What I'm trying to do is to increase contrast of the mask image, by using an adjustment like curves or levels. But I just can't figure out how to use adjustments on a mask! It always creates a new, separate adjustment layer, not manipulating the existing mask. What am I missing?