Search the Community
Showing results for tags 'macro'.
-
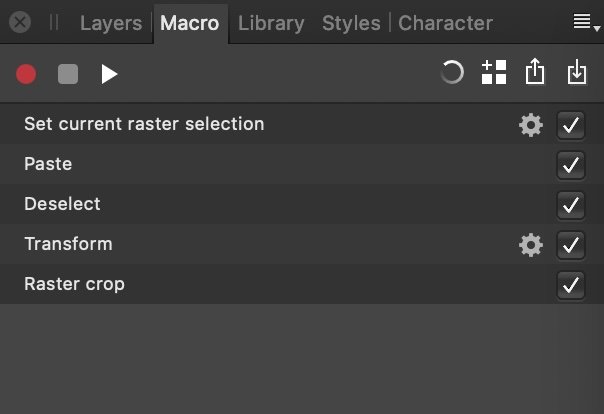
I have a macro to duplicate, arrange and group a label on an A4 sheet and wanted to save one more click but apparently the program doesn't want to select the first layer from the top. 1. Affinity Photo 1.10.1.1142 2. Can I reproduce it? Yes. 3. Yes but I'll upload the files. Open "Label.afphoto" and "A4.afphoto" Go to "Label" and click on "Group" then press Ctrl+C Go to "A4" and press Ctrl+V Click on Macro Once it finishes, hide the newly created group with the little tick box from the layers panel. Repeat Ctrl+V, hide on the 5th repetition, the program will select the 2nd layer, on the 6th repetition it will select the 3rd and so on. A4.afphoto Label.afphoto Macros.afmacros
-
 Some suggestions for Export features in coming updates. Apologies if they have been suggested already. Addition of Export all artboards option in Designer. Addition of option to edit resolution and save options of export when using slices in Designer Macros in Designer
 -
The way for resizing and sharpening on the batch job need to be improved. It's the most common task. Resizing image with macro end up strange aspect ratio when all source images do not have the same aspect ratio. But using the resize option on the Batch Job window make sharping with macro useless because macros are applied before resizing. So I think the option for improvement will be: - add an order option to the macros to see if they should be applied before or after resizing. - add the sharpen filer option directly on the Batch Job window. - improve macro functionality to keep resizing the same aspect ratio for all images that have different aspect ratio.
-
It would be nice if Affinity Photo gets a Macro Editor. Up to now ist is very uncomfortable to start a new recording of a macro when you want to change only one command line in an macro: Fowling function would be useful: Delete commands, add commands by start a recording at a marked position, move commands, copy and paste commands from other macros. By the way it would be nice to save the history as macro. Regards Erhard
-
Photo merge taken from 34 photos. I used a little help form the book previously purchased at Affinity shop. What do You all think. Maybe something to change ?

-
 I see that this one has been around for a while (4+ years) but it would be helpful to be able to rename spare channels as part of a macro. Renaming is possible in other actions (creating a curve layer for example) - why not this one?
 -
 Greetings... New to Affinty...of PS user. My Affinity 1.85 will not allow me to install a macro. I find the macro after navigating to View/Studio/Macro...and clicking on the "down arrow" (Import)...I am taken to my "Downloads" page and then I have to physically type in *.afmacros so that it will display in the Windows 10 "Open" window. When I click on the "Color Grading.afmacros" file, I am taken back to the Affinity program with a "Macro" box that is empty. What am I missing??
 -
 Hi, Just bought/installed Affinity Photo for its possibility to use "Inpainting Brush" as a macro and batch but I cannot get it to work on Mac Mini M1. I have 3000 photos series (timelapse with light changing and clouds moving on the background) but unfortunately with some dust clearly visible ,,, fortunately not moving. I can register the Inpainting brush actions in a macro. The actions themselves seem to do what I want on my reference photo. The problem is when I re-use the macro manually or in batch, it is like nothing happen (while the macro is executed according to the history) even when I try to re-apply the macro on the reference photo I built the macro on! What am I missing? Thanks for your support Screen_Recording_2021-01-19_at_21_48_35.mov
 -
 I have a requirement from my client, who is in the publishing business to create dynamic images as follows. With Aff Photo, is it possible to meet this requirement? Requirement - parameter driven image generation. Parameters: Author name, category, Translator name, Article title, custom image With the exception of the custom image the rest of the parametric data is text (though it will be in Tamil, which AP is very bad at supporting). The image itself is a JPG file name Is it possible to write a AP macro to generate the composite image with standard placement of the text on the parametric image and create a new output image? This will cut down tedious work and improve productivity.
 -
 Is there a macro available to apply a colored border before the final export? The way it will work: 1. Insert a Fill layer with maximum 2048 pixel in the longest direction while maintaining the original aspect ratio. 2. Make the image or pixel layer maximum 2000 pixel in the longest direction while maintaining the aspect ratio. 3. Apply border on the pixel layer via fx > outline. Thanks 😊
 -
 I am trying to get my old Photoshop efficiency in Affinity Photo, and things are going well. But since there's no functionality for Applescript or Javascript automation, the Macro feature becomes super important. Sadly, it just doesn't record what I need to record. I need to set a selection, copy it, paste that copied bitmap, move it over and then crop...but "copy" is not something the Macro can do. Is there any help for me? For Mac users, you can get around a lot of these limitations with Keyboard Maestro. For example I can get around the limitation of not being able to record Export by setting the filename I need in the clipboard via an Applescript then using UI scripting to export, then paste the filename then hit return. But I don't think I can get around not being able to copy parts of an image. ^_^;; Does anyone have any advice for me?
-
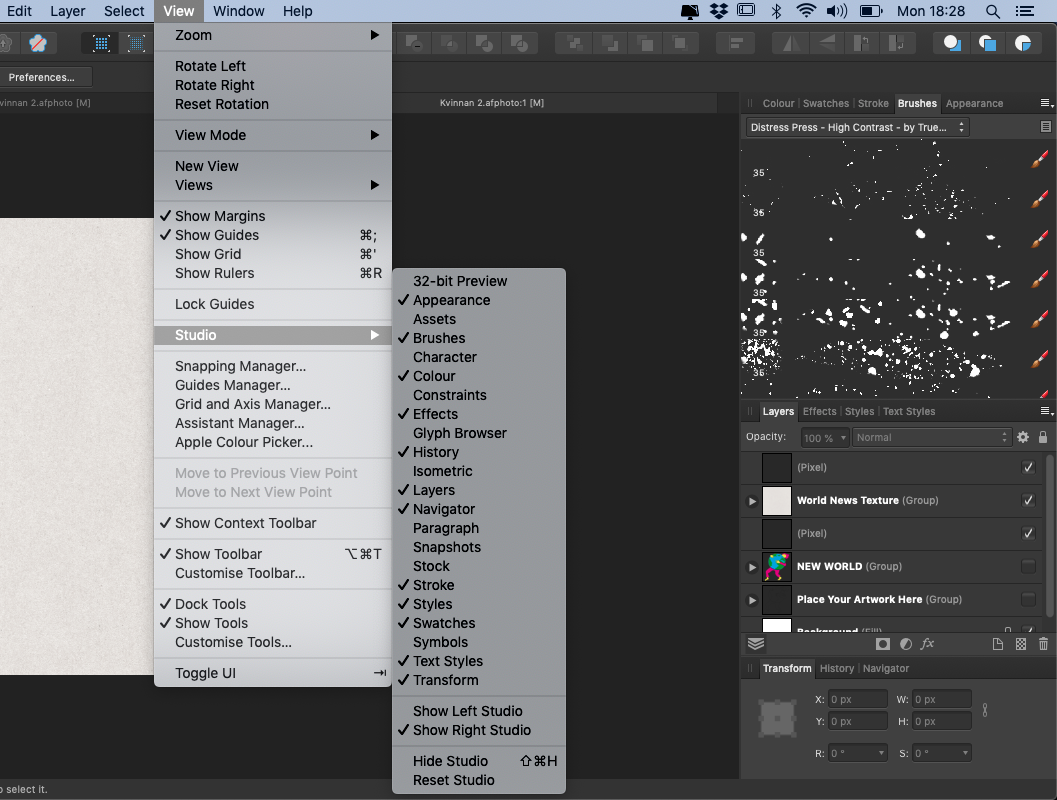
 Hello! I'm trying to install a macro for Affinity designer. But I can't fint "Library" under VIEW > STUDIO. Where is it? (I recently updated to 1.8.6) Thanks!
-
 I have 469 large .psd images for which I want to make low resolution .jpg files. I have tried twice and each time some of the images end up being squeezed or stretched. The original images vary in size and aspect ratio. Some are portrait, some are landscape. What I have tried to do is set a macro to so that the width of any height of any image is reduced to 240 pixels with the Height and Width locked. This only seems to work properly on images having the same H:W ratio as the one open when I record the macro. Is there any solution to this in Affinity? I am fairly certain I did this numerous times in Photoshop before I switched to Affinity. I am running Affinity 1.8.6 on Mac OS 11.0.1. Thanks
 -
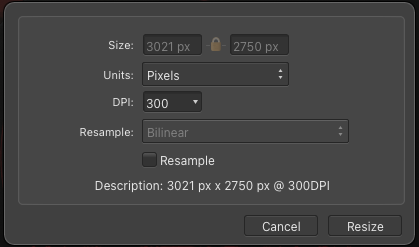
 I had a few images around 60 or something.... with different resolutions 150dpis or 300dpis and with different aspect ratios. I opened them all, and recoded macro in first image with "unchecking Resample" and changed DPI to 72. Added this macro to Library. Library view... Now i wanted to run this macro on all documents by just switching tabs ... Command + ~ and click on macro. But this is not working it is also scaling the later images matching to the first image. Is this a bug or what? or I should use some different method..
-
I used to record using Macro. But after I updated to Affinity photo 1.8.4 am not seeing Macro window. But my macro view is enabled. Attached screenshot
-
 Hi folks have loved using Affinity Photo design for the last few years and will never be going back to Photoshop. I am having issues however with getting the Library Macros to work, ie Light Leaks , neon fade and all that fun stuff. They all import however when clicking they do not apply or bring up any menu Can someone help?
 -
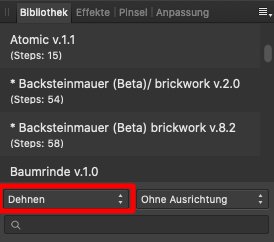
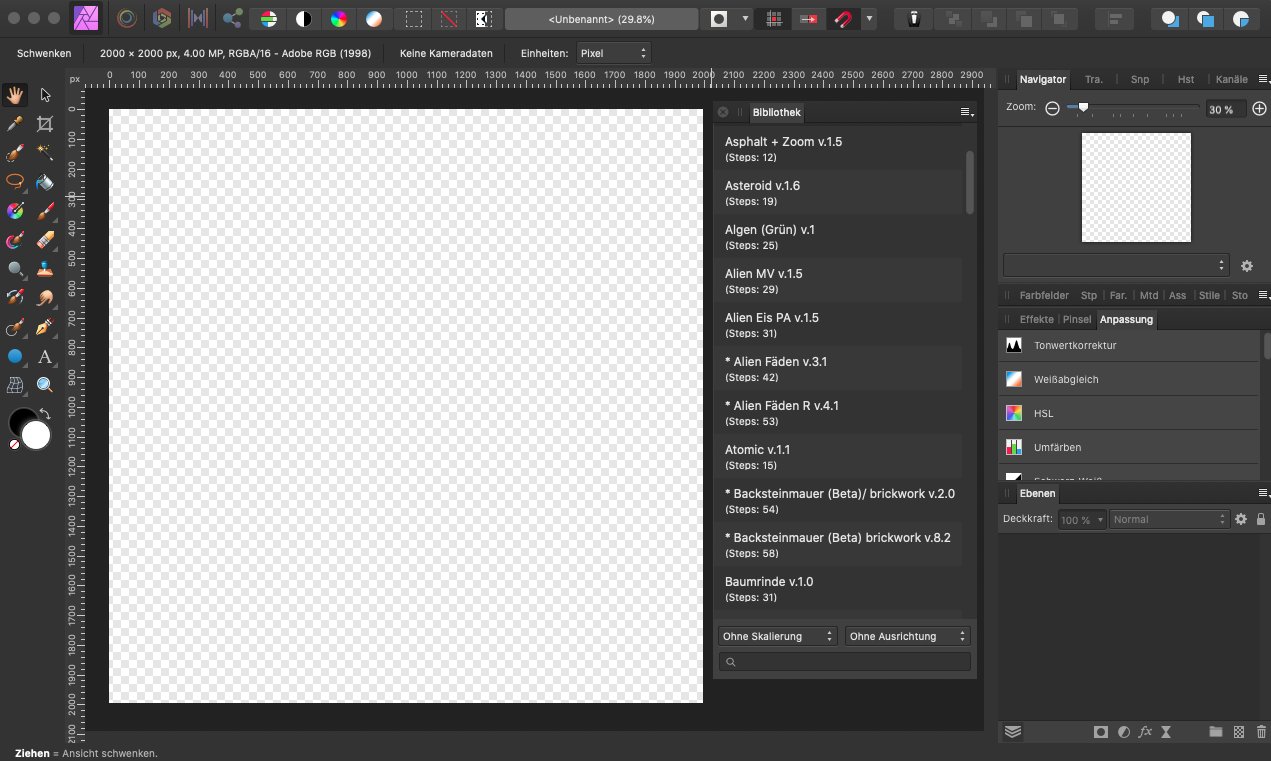
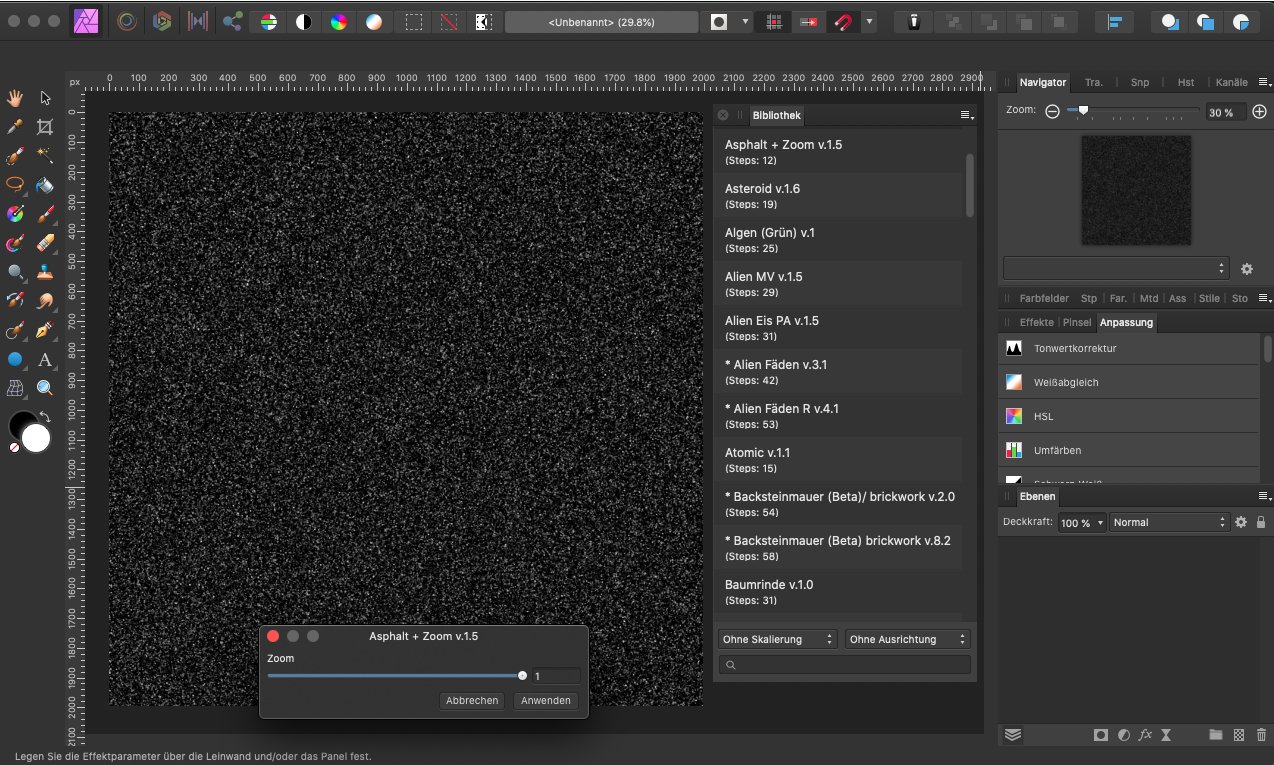
Hallo, ich stelle euch ca. 68 Textur Macros für Affinity Photo zu verfügung. (Cave) Achtung: Die Macros worden auf einen alten Mac erstellt ob diese unter Windows oder einen iPad laufen kann ich euch nicht sagen. Die Macros sind nicht geeignet für eine Pixelauswahl!, verwendet immer ein leeres Dokument (neues). Bei einigen Macros muss in der Bibliothek - unteres linkes Feld (Dehnen) Eingestell werden. Zum Beispiel bei: Macro Backsteinmauer v.2.0 und v.8.2 sowie Candy 1.0 und Draht 1.0 / Tranc v.1.9 Verwendet die Macro nicht direkt in euren Bildwerken (Composings) da sonst ein Ebenen Chaos entstehen könnte oder schlimmer Ebenen verloren gehen könnten. Erstellt lieber ein neues Dokument und Copier dann die Textur in euren Bildwerk (Composing). Anwenden der Macros: 1. Ihr braucht nur ein leeres Dokument zu erstellen Beispiel 2000 Px X 2000 Px 148/300 DPI (PPI) 8 Bit RGB oder 16 Bit. 2. Bibliothek aufrufen und das endsprechende Macro starten. Aus Zeitlichen gründen, konnte ich leider nicht die Macros ins Englische übersetzen. Viel Spass. Download:Texturen Makro by WIngendahl jr 2020.afmacros Beispiel Ansicht der Macros: Google translate: Hi, I provide about 68 texture macros for Affinity Photo. (Cave) Warning: The macros were created on a Mac, I can't tell you whether they run under Windows or an iPad. The macros are not suitable for pixel selection !, always use an empty document (new one). For some macros, the lower left field (stretch) must be set in the library. For example: Macro brick wall v.2.0 and v.8.2 as well as Candy 1.0 and wire 1.0 / Tranc v.1.9 Do not use the macro directly in your images (composings) as otherwise a level chaos could arise or worse levels could be lost. Rather create a new document and then copy the texture into your image (composing). Applying the macros: 1. You only need to create an empty document. Example 2000 Px X 2000 Px 148/300 DPI (PPI) 8 bit RGB or 16 bit. 2. Call up the library and start the corresponding macro. Due to time constraints, I was unfortunately unable to translate the macros into English. Have fun. Download:Texturen Makro by WIngendahl jr 2020.afmacros
- 2 replies
-
- 1
-

-
- macro
- affinity photo
- (and 1 more)
-
 Hey! So I am going through over 500 product photos for our electronics company and I would like to automate creating slices. Basically for each product photo I am trying to export 7 standard slices with different aspect ratios and crops, so slices is definitely the tool for that. But it seems like a prime application for a macro or other preset thing where I can create all of these slices automatically with the export preset and aspect ratios that I want. I would still have to frame each photo and fine tune it, but having the slices all ready for me would be awesome. The macro tool seems to only work in the Photo persona. I timed myself a few times and doing the math, if I can automate this I will save me 20 hours of work! Best, Jared
 -
 Hi, would love to be able to record percentage changes in macros. For example change canvas size: 200% x 200% and record this as a percentage in a macro. (I know that you can update the canvas by 200%. This is simply a request to Affinity that the percentage is recored in a macro and not (for example) the resulting px result). Thanks
 -
Focus stack from 180 jpg shots, all post done with Affinity Photo
-
Some time ago I produced a macro to Wrap an Image around a Bottle or Mug. This involved some complex trigonometrical operations on the image. I present here an alternative approach for a macro to perform the same action. Here is my original image: o It is easily possible to produce an equation that contracts the image width-wise to emulate the reduction in perceived width as the image is wrapped. Such an equation has the form: x=w/2+(w/2-x)*pi/2 and has the result of: The contraction is uniform across the reduced width. The expression pi/2 is the appropriate scaling for a bottle diameter that accepts the image around its half-circumference. What I was aiming for was a function that would scale the edges so that they appeared contracted, whilst applying zero scaling to the centre of the image. After much trial and error, I came up with this: x=w/2-(w/2-x)*(1+1.571*(1-sqrt(1-(1-2*x/w)^2))) Edit: Note that this has a minus sign after the first w/2. The original had a plus sign. The value 1.571 is just half pi. The resulting image is: This is a single result. I have further refined by including a scaling parameter, a, which accentuates the compression at the edges. w/2+(w/2-x)*(1+(1.571/a)*(1-sqrt(1-(1-2*x/w)^2))) Here it is with the a parameter around half. Note that in these images, the central squares remain square. Edit: Like my previous version it has a parameter (in this case b) which affects the viewpoint, above or below. If you want to use this then you need to enlarge the canvas vertically beforehand to give room for the curvature. You may wish to use Document > Clip Canvas at the end in this case. Edit: various members had pointed out that the final image was flipped horizontally. This has now been fixed. I have also added Layer > Unlock and Layer > Rasterize at the start of the macro. I have not added a clip canvas at the end. Do you think that this is desirable? Here is the macro: WrapAroundV2.afmacro John
-
 Hi, I use macros in batch processing. One job will change the canvas to design a border. I change the canvas in Wide and High absolut by +150px. But the calculation is now fix in the new size and works only with pictures that have the same size. I found no solution to do that in relation to the canvas size.
 -
 When using a macro in Photo Persona - Publisher sets back the active tool to hand-tool(H). For me it's a bug, because without any reason the program does something without any value for me. To the contrary! Now I have to select my desired tool again - in my case "select"-tool(v) to continue using macro... and then it happens again. For me it does not make sense at all.
 -
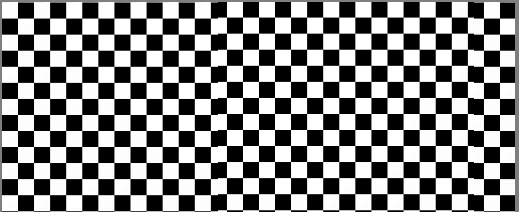
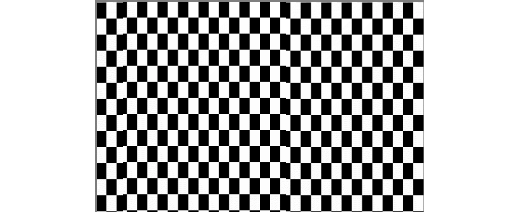
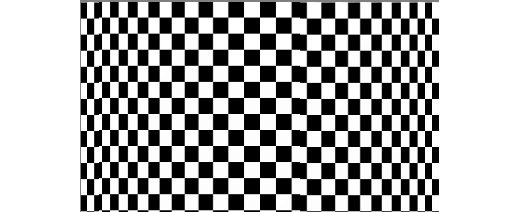
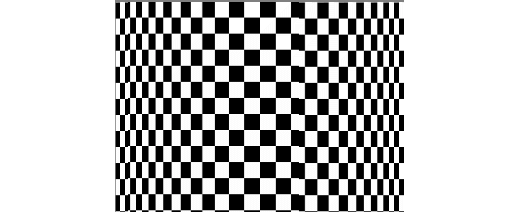
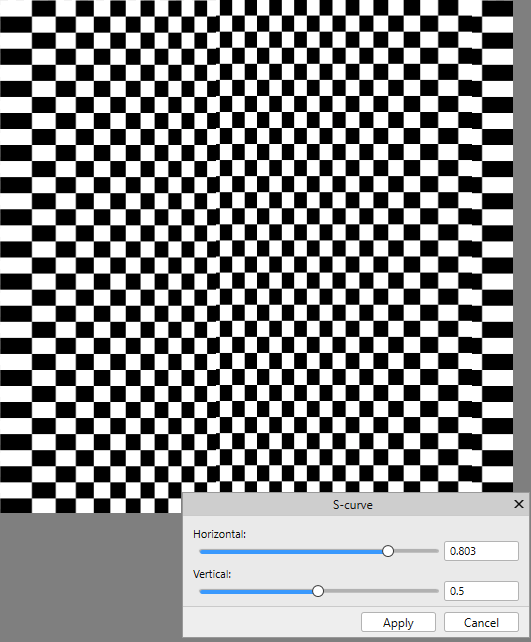
In a recent posting, @MaximusNZhad been creating panoramas, but had found that the upper and lower parts of the image were compressed with respect to the more central parts. He posted a message in my thread on Wrapping a label round a bottle since this also involved such stretching and squeezing. I posed a temporary solution to his/her problem, but I present here a more general solution. This is based on the S-curve, familiar to those using the Curves tool. The default shape for the curve is a straight line between the origin and the (w, h) position at the top right. The parameters of the macro will distort this linear relationship. I will elaborate on the mathematical aspects in a later posing in this thread. Consider a simple grid: By varying a parameter a, the image can be distorted horizontally. Values of a larger than 0.5 will stretch the left and right whilst compressing the centre; values less than half will stretch the centre whilst stretching the left and right. See the image below: By varying a parameter b, the image can be distorted vertically. Values of b larger than 0.5 will stretch the top and bottom whilst compressing the centre; values less than half will stretch the centre whilst stretching the top and bottom. See the image below: Here is the macro as a single macro and as a library: S-curve.afmacro S-curve.afmacros John
-
 "Caros amigos ... Solicito suporte para um problema com este software extraordinário. Como gravo uma macro com texto? Gravar uma macro com edição de texto para aplicar na parte inferior das minhas fotos e depois poder se aplicar a várias fotos com processamento em lote. Obrigado por sua gentileza" "Dear friends ... I request support for a problem with this extraordinary software. How do I record a macro with text? Record a macro with text editing to apply to the bottom of my photos and then be able to apply to multiple photos with batch processing . Thank you for your kindness"