Search the Community
Showing results for tags 'Affinity photo'.
-
Thanks to the help received from members of the forum I think I have now got to grips with the Logo creation. Stuck some on a few simple 3d models I made in order to test... and they appear to be just what I wanted. Cheers, Raymond.

-
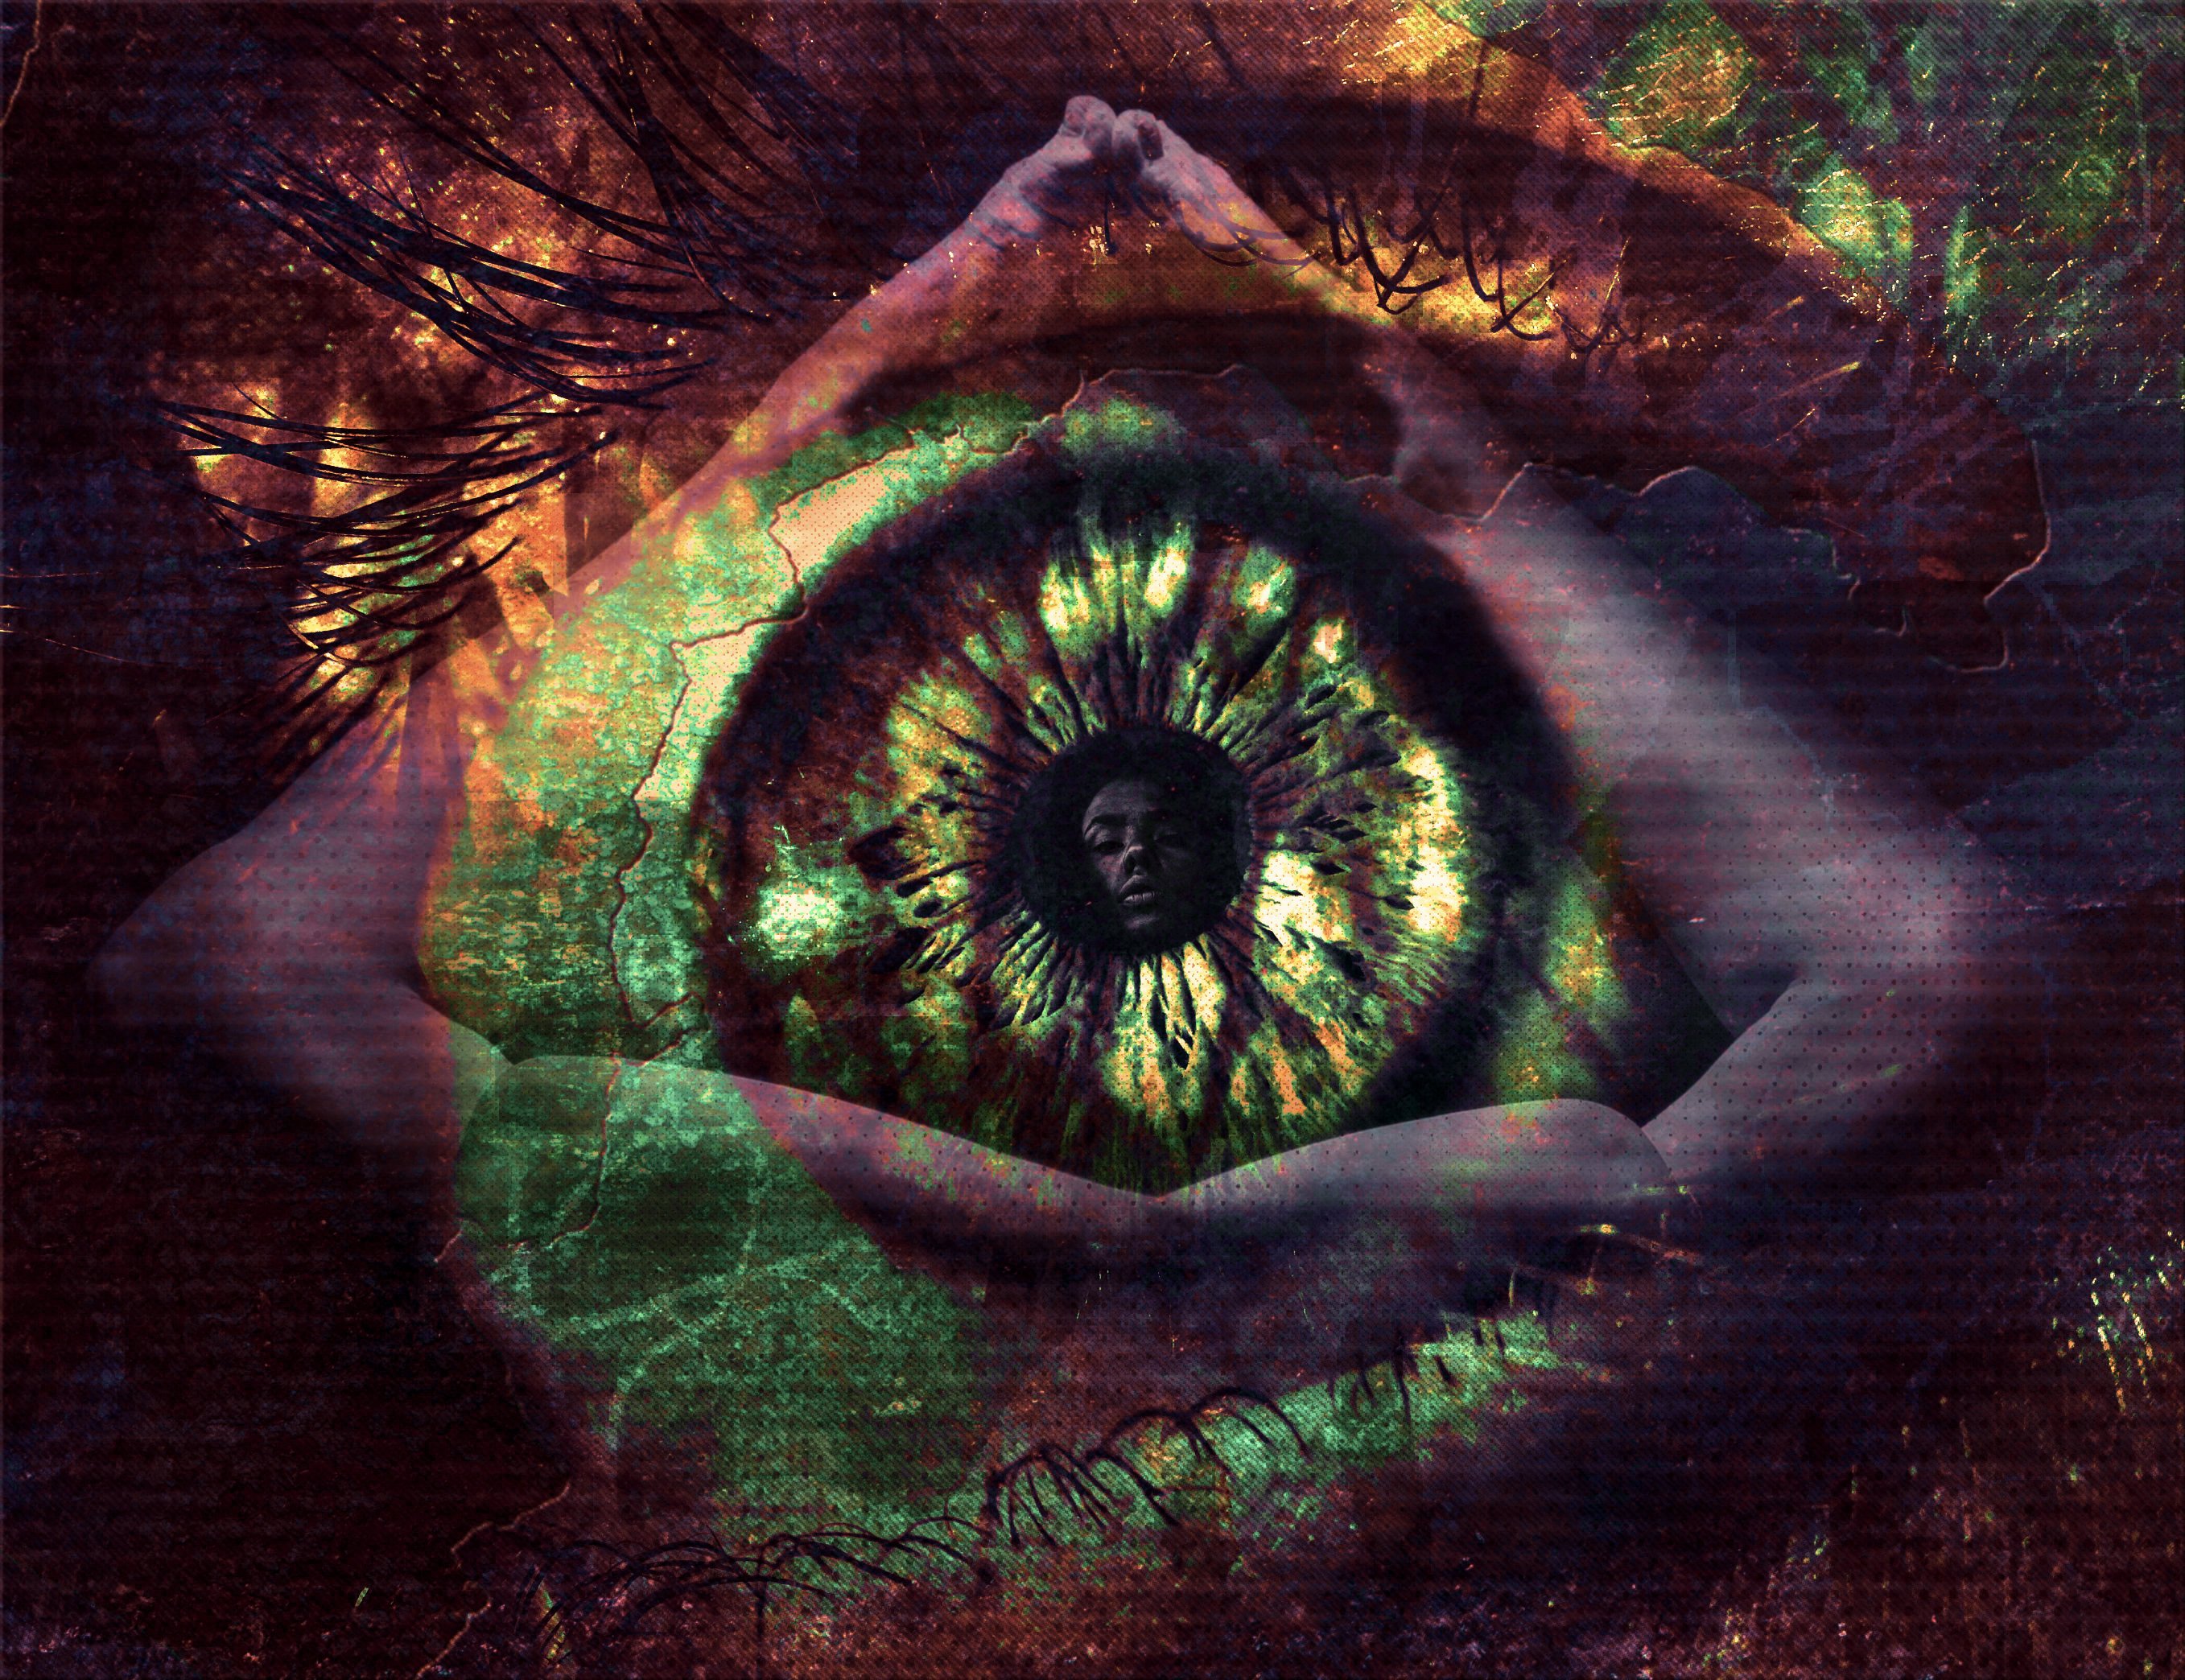
BEAUTY BOUND photo art for your viewing pleasure! Took me ages to complete, oh how I suffer for my art. Don't tell me you like it, it only encourages my bad behavior.
-
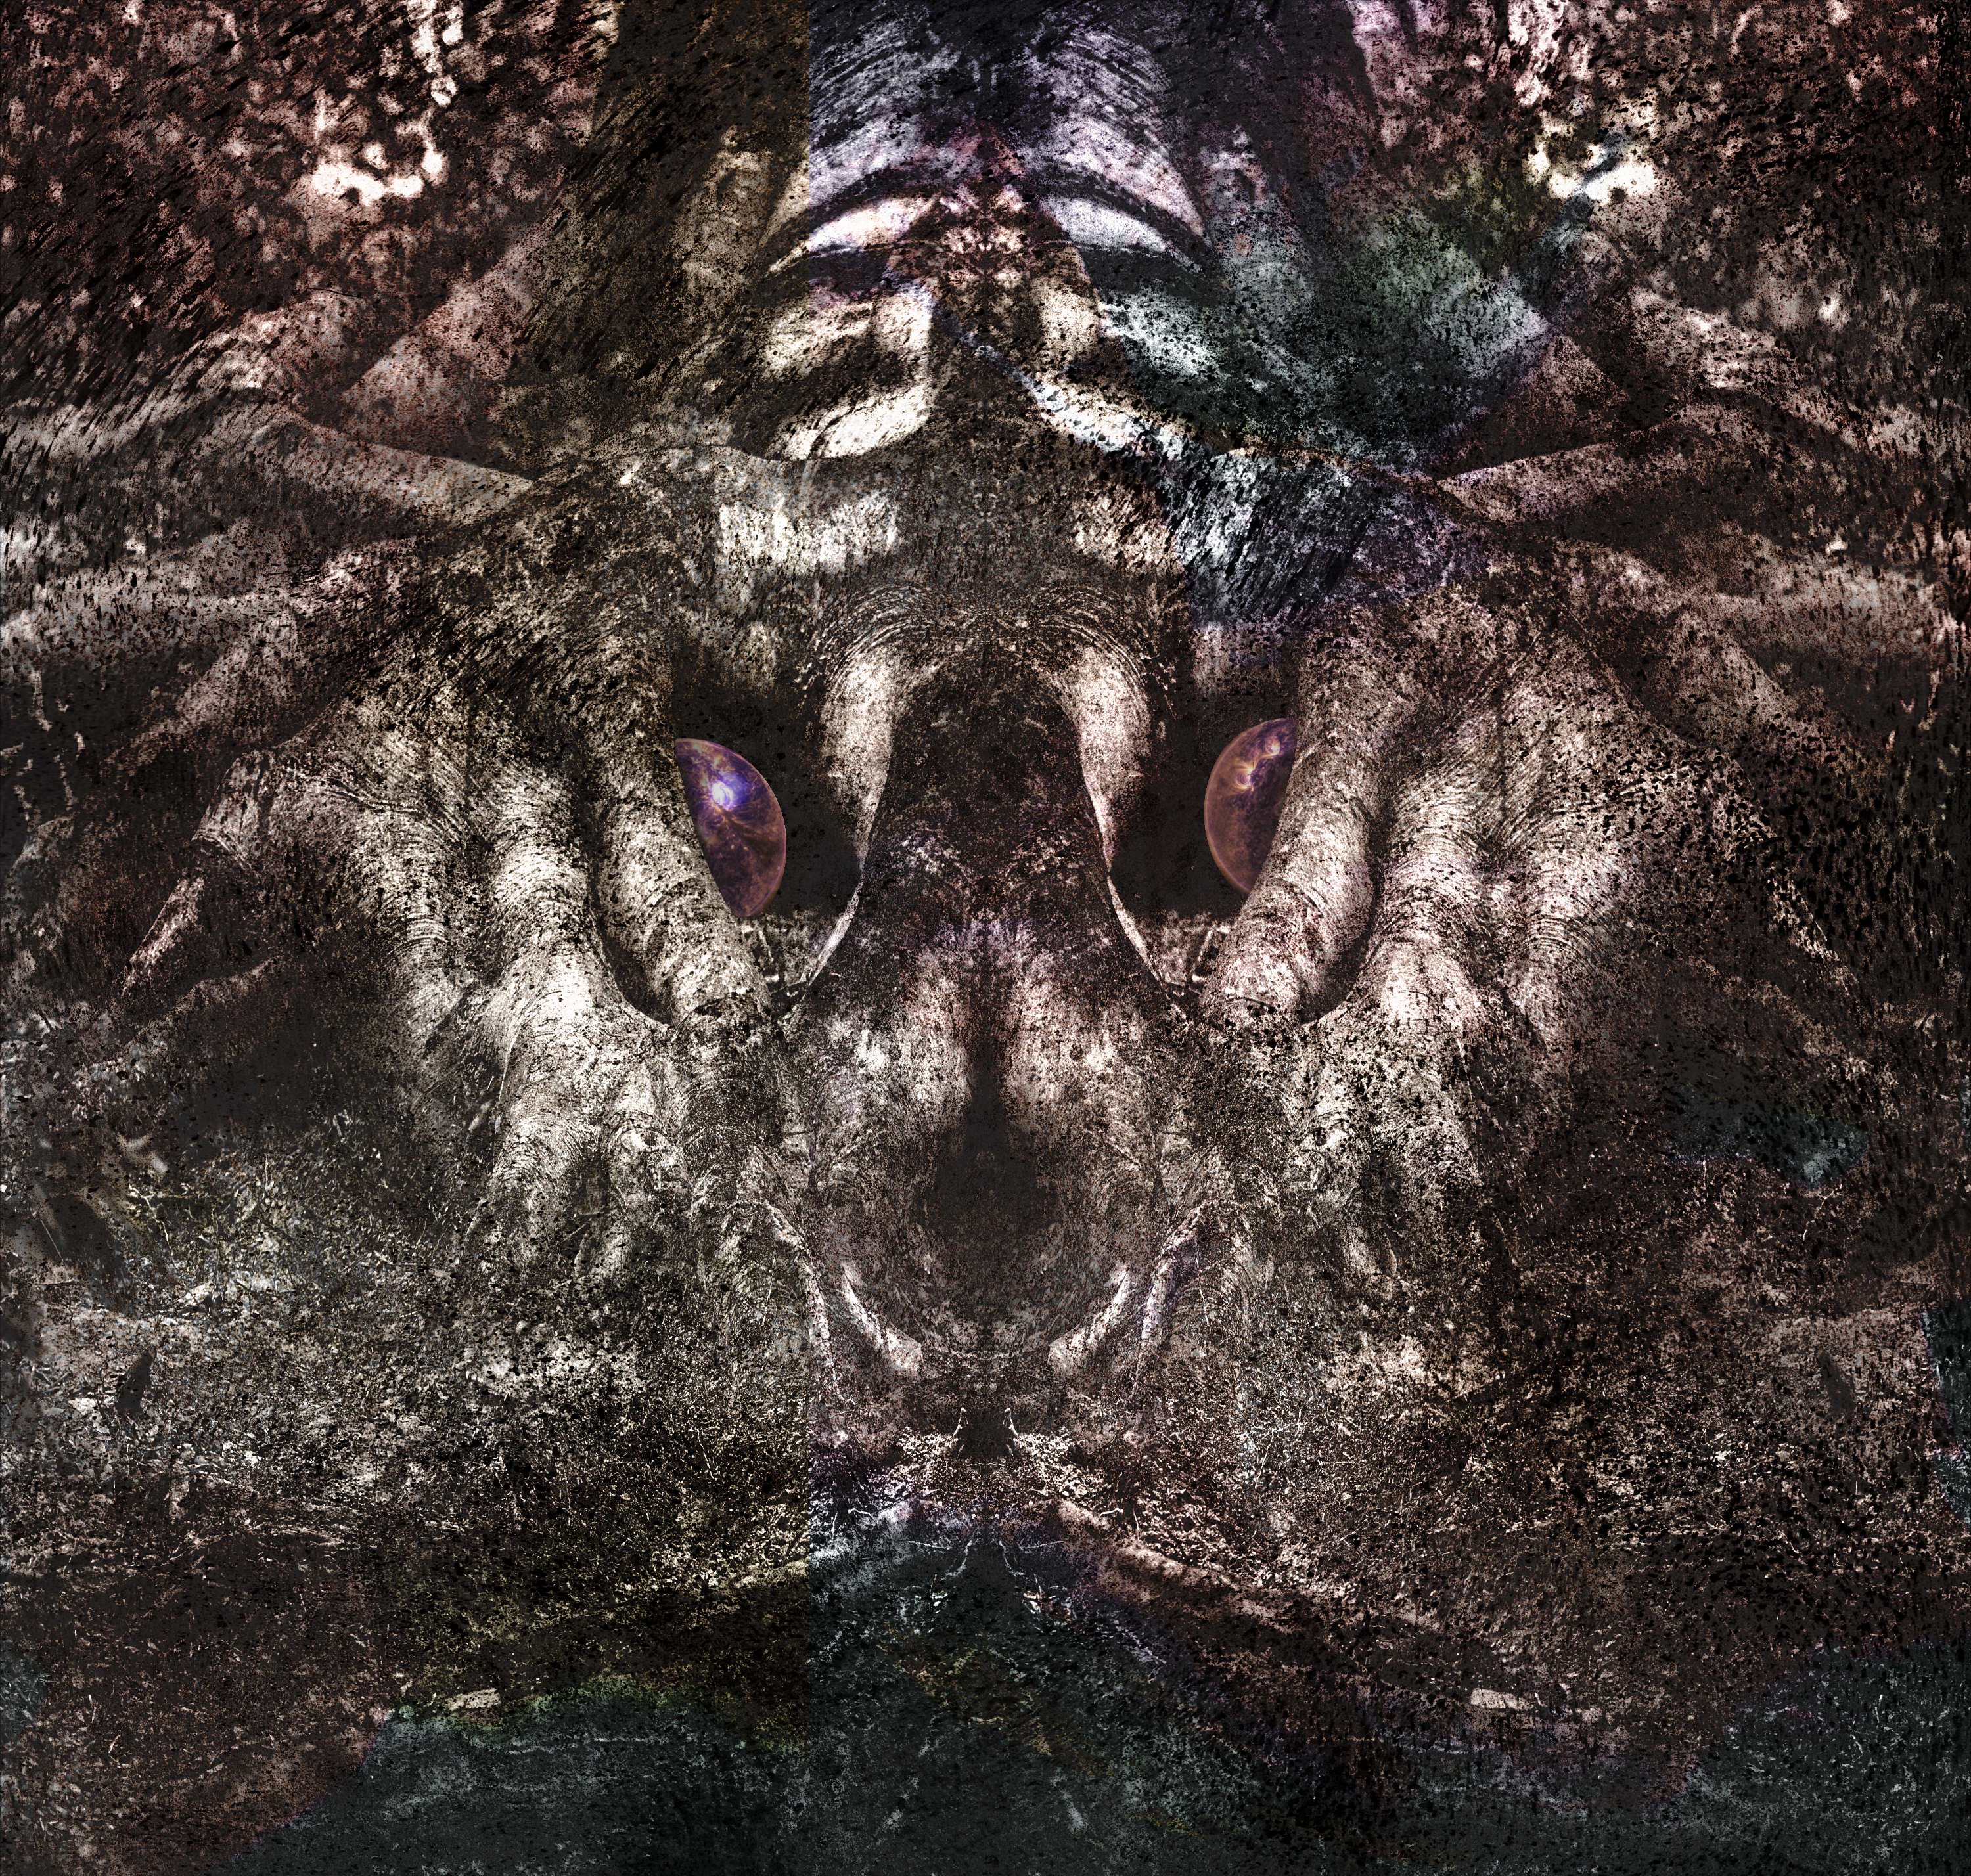
THE TREE MOVES vector/photo art for your viewing pleasure! Took me ages to complete, oh how I suffer for my art. Don't tell me you like it, it only encourages my bad behavior.
-
 Hello, Can anyone tell me why my soft brush is now looking like this (has outline)?
-
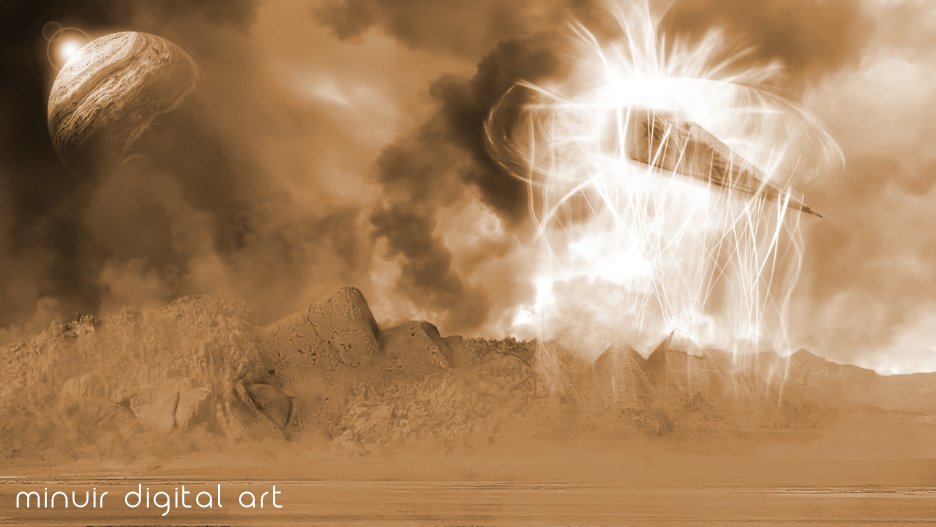
 I thought I should at least see the 7 wonders of the world in life but I know I won't see even my country Korea. So this affinity photo manipulation, I worked with Pyramids that I really wanted to see. "Pyramids of Desert Planet" speed art : https://youtu.be/9tCSjF5sIDw
-
- 4
-

-
- minuir
- digital art
- (and 2 more)
-
 Good afternoon, guys. Does anyone know how to copy the size and location of one layer to another? Since resizing and locating an image so that it is the same as another is very tedious. Please I hope your help. In the attached image I show the example, layer 1 I want to have the size and location of layer 2. Thank you.
-
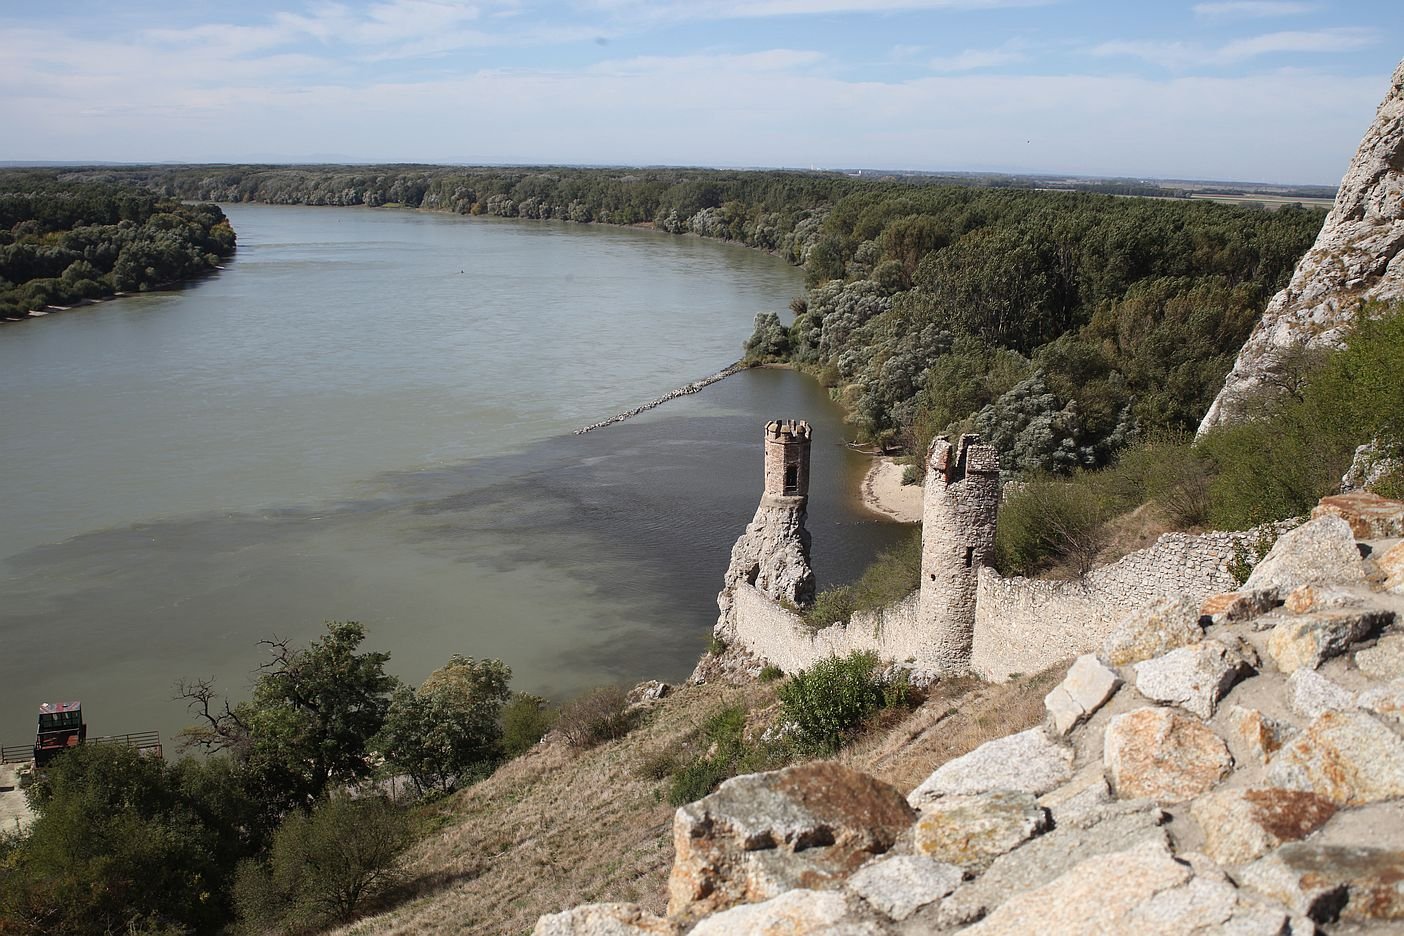
Back in September 2012 I was visiting my home city of Bratislava, Slovakia. I took a bunch of photos with my Canon digital camera, but eventually misplaced the card. Now that I had to move after the fire in my apartment building, I found the card. Here is a scaled-down version of one of the pictures: Today, I have been trying to figure out how to produce a black & white half tone in Affinity Photo. I cropped the above image, rescaled it so the longer dimension would be 11" (so it could be printed to an 8.5x11" sheet of paper, which is the US variation of the A4 size used just about everywhere else) at 1200 DPI. Added a New Live Filter Layer / Colors / Halftone, set Contrast to 100 (which I wish was the default for the halftone filter), Cell Size to 24 (so I get 50 LPI, sine 24 dots per line and 50 lines per inch gives 24*50=1200 dots per inch), and the Screen Angle to 225. Here is the result: I wish I had a screen printer. If I did, I would invert the image and print it in white ink on a black T-shirt. At least in theory, the result would look essentially the same as the halftone above. P.S. The photo is of a lower portion of the ancient Devín Castle which is at the junction of the Danube and Morava rivers at the border of Slovakia and Austria. When I was growing up, an electric fence (the “Iron Curtain”) prevented us from escaping to Austria. I walked by it many times.
-
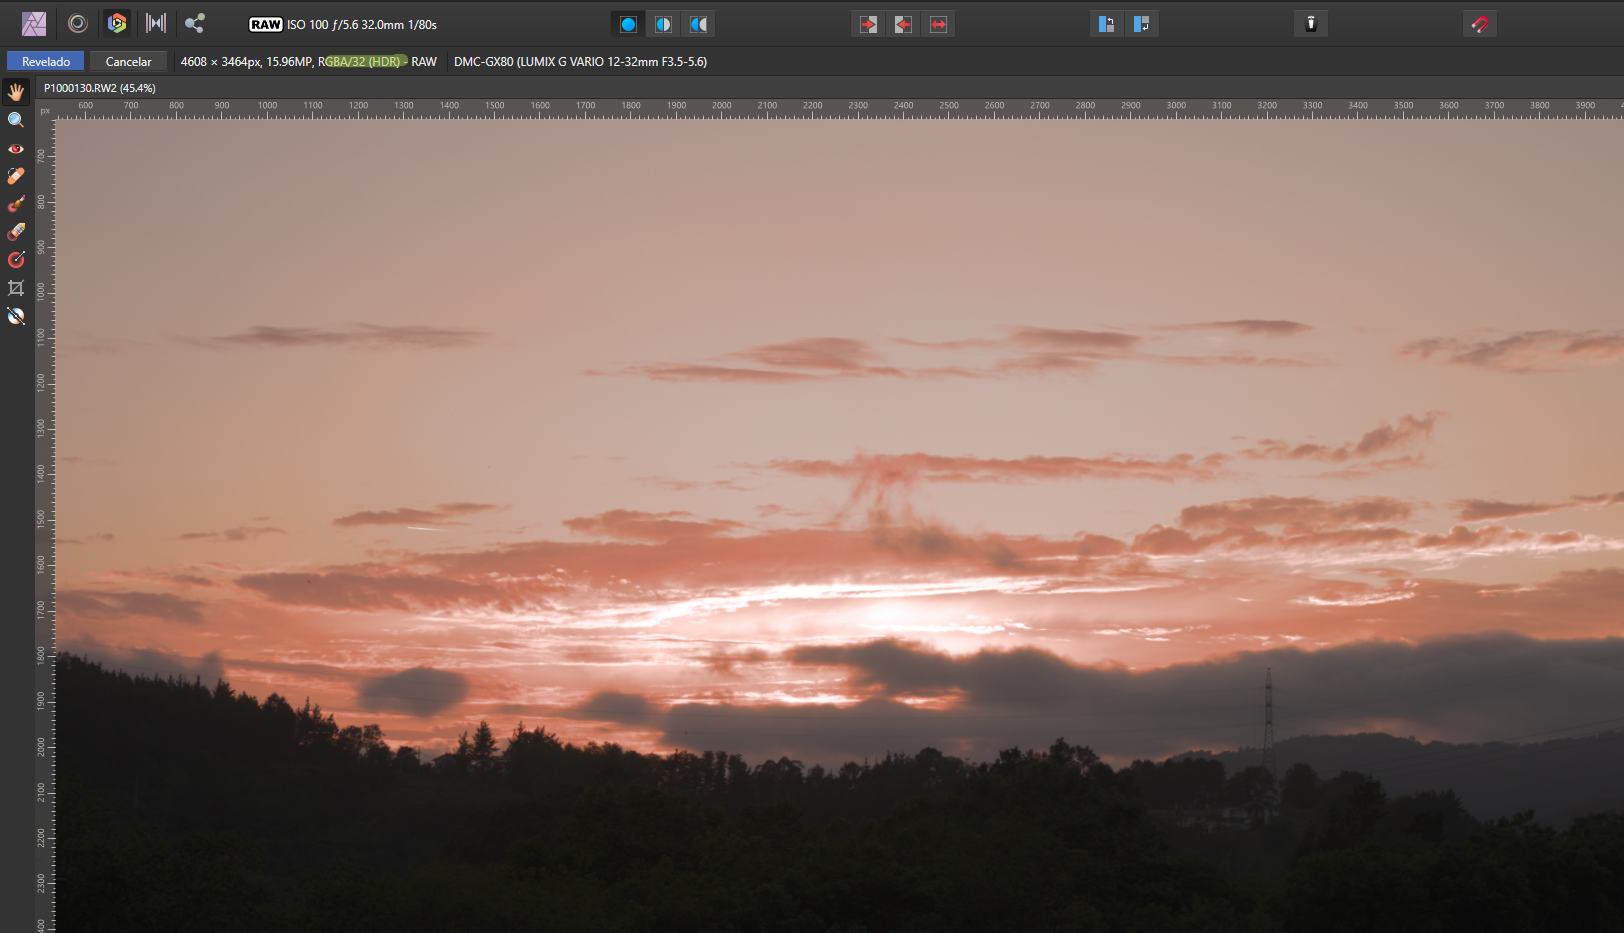
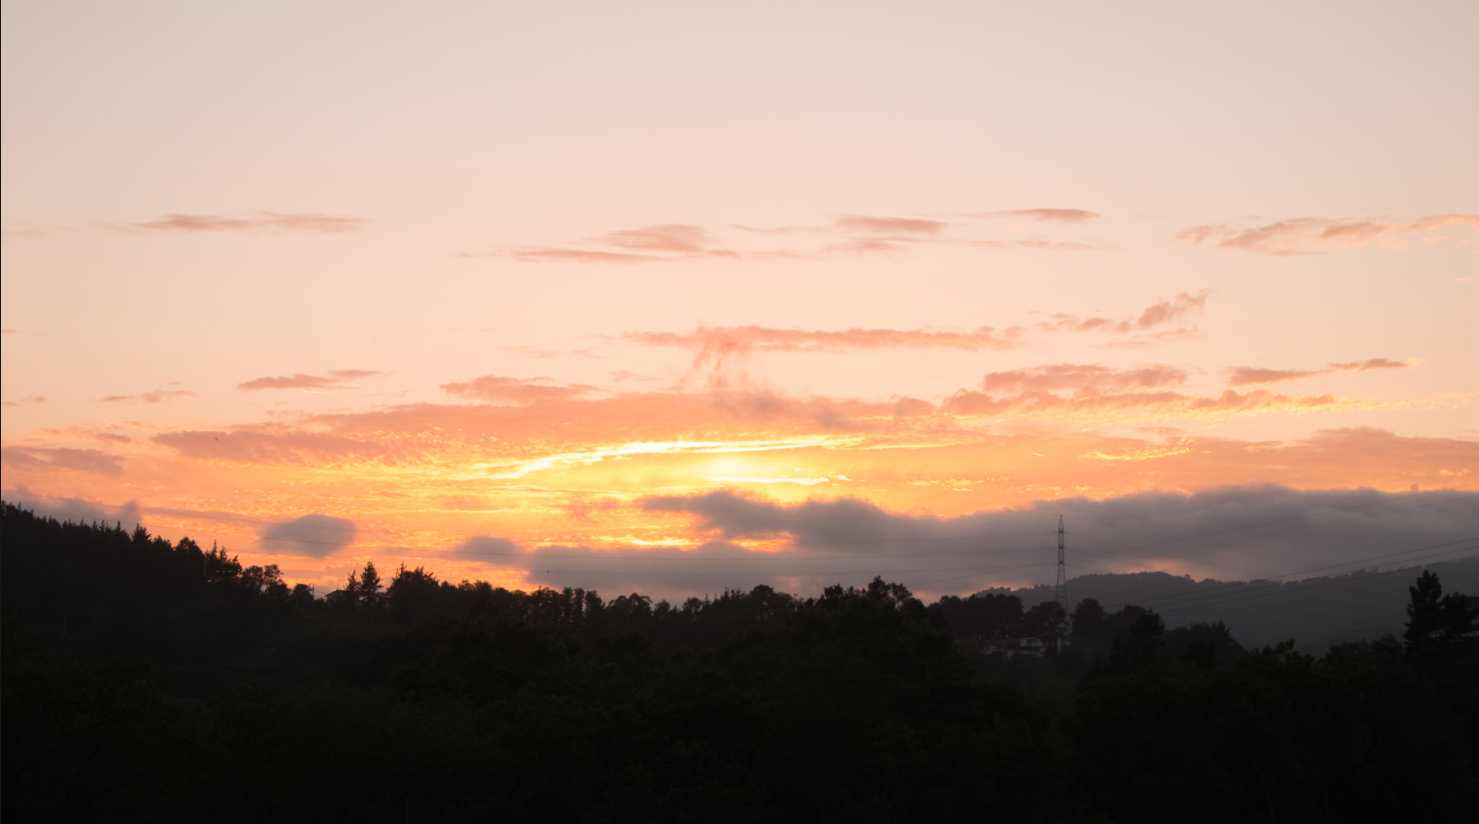
 Hey! I have a problem with RAW files in Affinity Photo on Windows. Every time I open a RAW file the colors are incorrect. I realized that in develop persona the image is treated as a 32 bits HDR image, changing the options of the assistant did not fix anything. I also tried changing the color profile option but I get the same result. This is how it looks in Affinity Photo: And this is in Luminar 4 (correct colors): Thank you for any help!
-
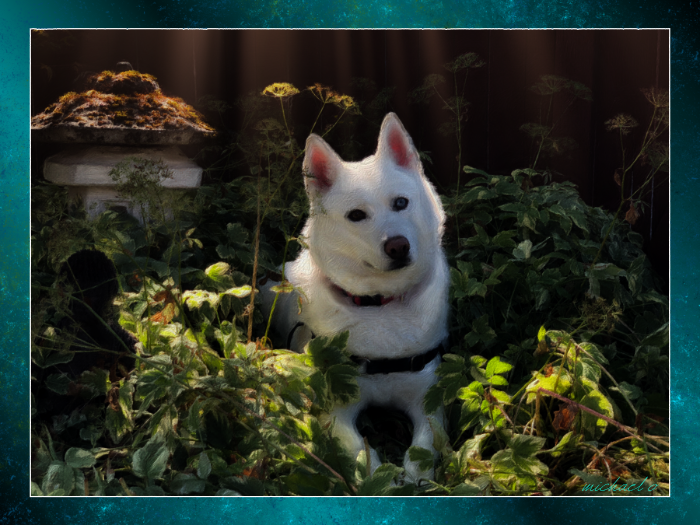
Composing on theme „stones“, all done with AP.
-
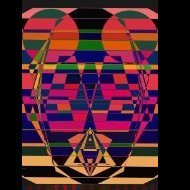
BRAVE RITUAL vector/photo art for your viewing pleasure! Took me ages to complete, oh how I suffer for my art. Don't tell me you like it, it only encourages my bad behavior.
-
SOON... photo art for your viewing pleasure! Took me ages to complete, oh how I suffer for my art. Don't tell me you like it, it only encourages my bad behavior.
-
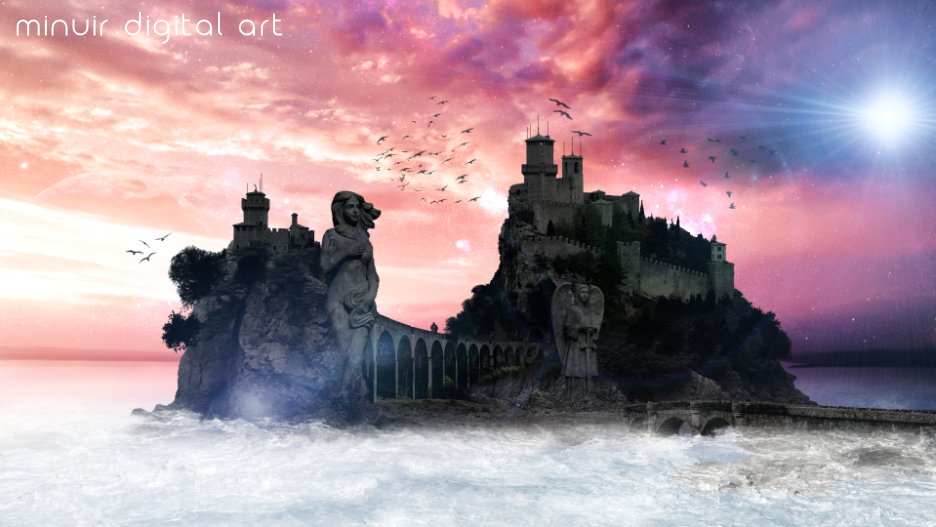
affinity photo Affinity Photo Manipulation - Secret Ocean Castle
minuir posted a topic in Share your work
Sometimes I feel desperate to live alone in a place where no one is around, when I'm depressed or stressed. I often imagined that place. So I made it into photo manipulation with affinity photo. "Secret Ocean Castle" speed art : https://youtu.be/b9lvjaqxznY
-
- 4
-
-
- minuir
- digital art
- (and 2 more)
-
 Ever since I joined this forum I have been breaking every brick and stone to find out the best way to extract the subject from the background in all my photos. And though my learning and ride has been bumpy i feel I have made some headway. But guess what ? all this now looks so old technology and dated after Apple yesterday in its iOS 16 announced a new feature in its Photo APP where AI and Machine Learning just saves you the hassle of this selection drama and gives you the subject extracted in less than few seconds.... And this looks now so very promising. I am really looking forward to use it and find out how are the results.
 -
 These are Affinity SVG parsing/interpretation bugs, since according to the SVG spec, a style attribute prevails ... In Affinity however the above defined SVG rectangle will be always shown in aliceblue instead of beige, since the precedence over the fill attribute never takes place! - This probably affects all Affinity platform versions! See related and for more informations this thread here ...
 -
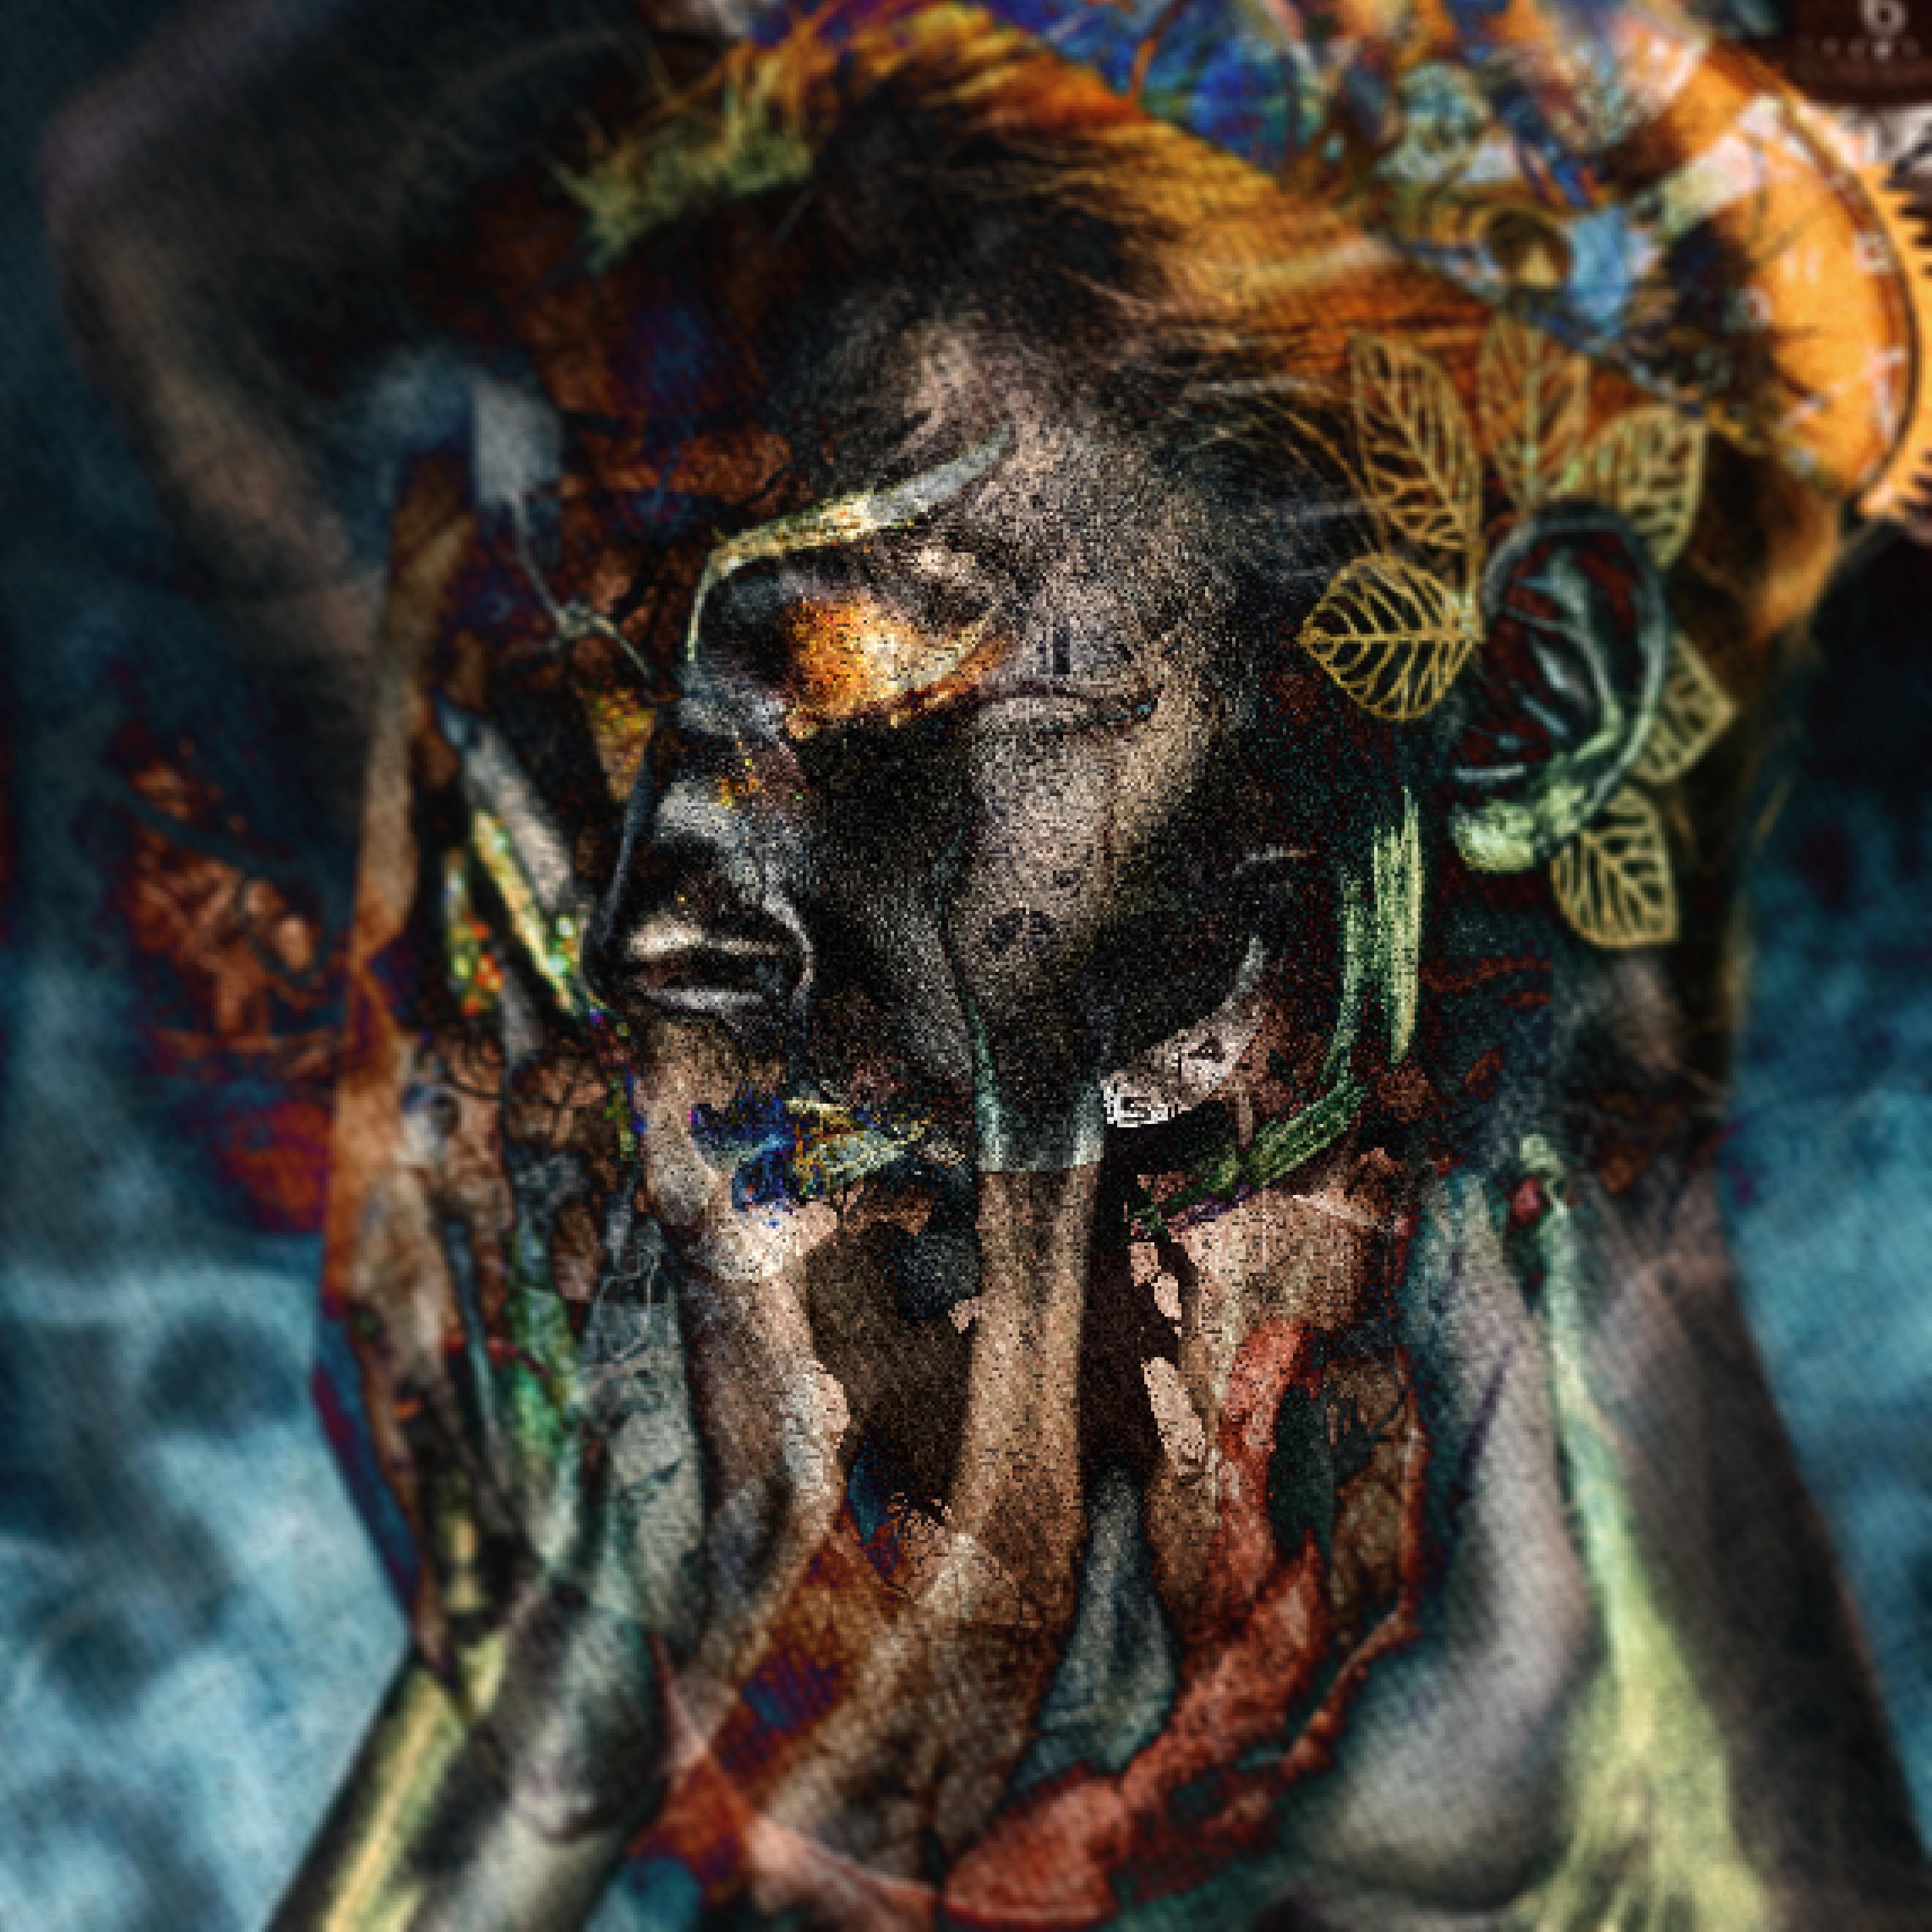
Forest Thing photo art for your viewing pleasure! Took me ages to complete, oh how I suffer for my art. Don't tell me you like it, it only encourages my bad behavior.
-
Hi Guys, just wanted to introduce myself. I have been using 3d modelling and rendering for a few years now and am very enthusiastic about 3d rendering (Archvis) I hav come to a stage where I can only progress further with the addition of post production into my workflow. It was a hard pill to swallow as I have risisted post production for so long now. I think it was because 3D modelling and rendering takes a long time to get any good with lots of practice and learning another program would have hurt my brain;) I was looking for which program to use for post production and Affinity Photo was recommended to me by a few people that I respect. I use Sketchup, Autocad, Twinmotion, Raylectron. I am starting from scratch with post producion for Archvis and am very keen to learn the art of image manipulation, Please forgive me if I ask stupid questions, and please be patient with me. I have added a few images of my work with no post production just so you know what I am into
-
Taken with Sony A7R IV composited in Affinity Photo Action figure used Hot Toys Mandalorian Scout Trooper & Speeder Bike Flickr https://flic.kr/ps/3odGH8
-
This is minuir's first affinity photo artwork. Falling airplanes are always accompanied with terrible disasters. So I hope it will never happen in the world. "Airplane Falling Down" speed art : https://youtu.be/5KhWTDvi9eQ
-
- 1
-
-
- minuir
- digital art
- (and 2 more)
-
I understand that Affinity Photo can use LUTs. While I do not have Affinity Photo (I would have gotten it recently had I not been too busy working on my fonts to notice it was 50% off, but I missed that and now have to wait for the next time they discount it like that), I do use LUTs in my video work. Indeed, not only do I use them, I actively create them. And I go against the grain by making them small. For some reason many people seem to believe that the larger a LUT the better. That may be true occasionally, but there are myriads of color filters that can be fit into the smallest LUT possible (which is eight data lines in case of 3D LUTs), and making them bigger is actually a bad idea. I actually created an OFX plug-in (they are used in video editing) for color grading which makes sure all it does can be fit into such a small LUT. The original plug-in is kind of small (I have learned a lot since creating it), and in 2019 I wrote a library of routines (seen here, though with no documentation yet), to rewrite my plug-in with. But then I got very sick (no, not with Covid), spent most of 2020 in medical care, after which I started working on my fonts, so my OFX plug-in has to wait. But I still use the original plug-in, have created a wide variety of LUTs, all small of course. Just this morning, I have been playing with it, and came up with an interesting (or so I think) LUT I named tehla (which means brick in Slovak) because it sort of strengthens brick like colors in an image, making it warmer, especially in photos and videos of human faces. So I thought I’d share the .cube version of it with anyone here who might want to play with it in their Affinity Photo (I hope .cube is the right format for it). I have never uploaded any LUT here, so I hope I have done it correctly for you to get it from here. If not, I will just copy and paste it in the next message. After all, it is a very small LUT. Tehla.cube
-
 Quick Explanation When I try to export slices created from layers, the output files are not cropped to the document. I can "Rasterize & Trim" each layer to get the desired output, but I'd like a non-destructive way to do it. Any ideas? Detailed Explanation I'm taking photos of a number of products, each of which have 6 photos of the same size. My goal is to keep one AFPhoto file per product with each of the 6 photos as layers, with all edits made non-destructively, and then export each photo with a lower resolution (for web) in bulk to a designated "Processed Photos" folder. Here's my current, problematic workflow: Open up all product photos as layers in one AFPhoto file Perform various edits, including rotating, cropping, etc to each layer Create slices from layers in Export Persona Set up export settings and export each slice to the destination folder The problem is that the output files are not cropped to the document boundary as shown in AFPhoto. I can solve this problem by selecting each layer and choosing "Rasterize & Trim", but this is destructive, which I don't want. Appreciate the help. I'm guessing it's a pretty simple solution, but I'm an amateur at this software.
 -
 how to create embedded layer in affinity photo?
 -
The live filter "Median Blur" creates black corners. AP 1.10.5
-
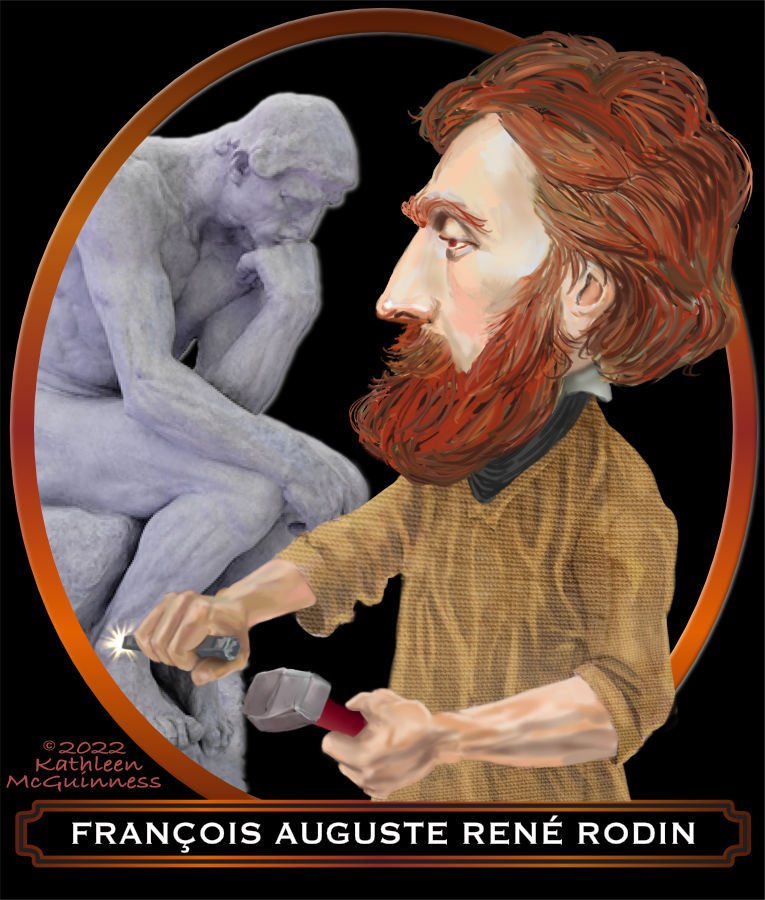
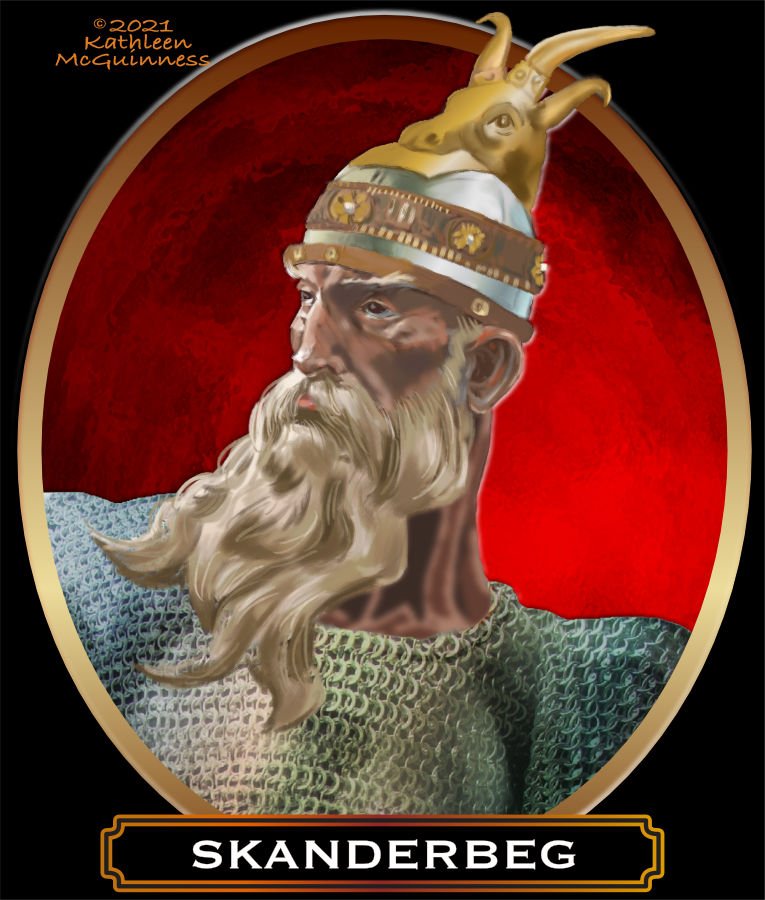
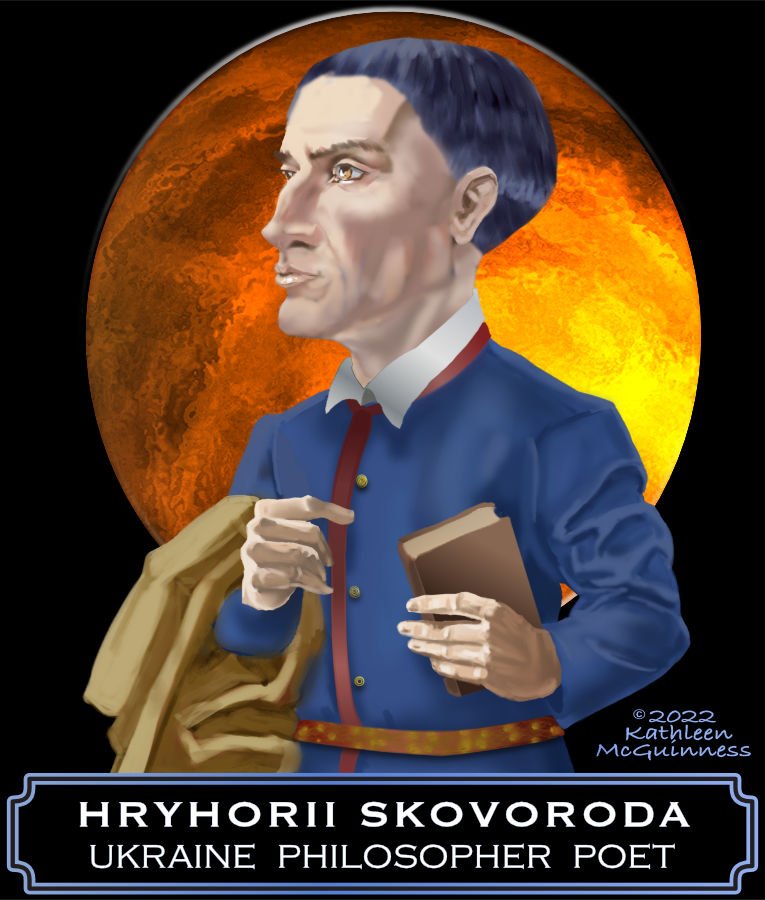
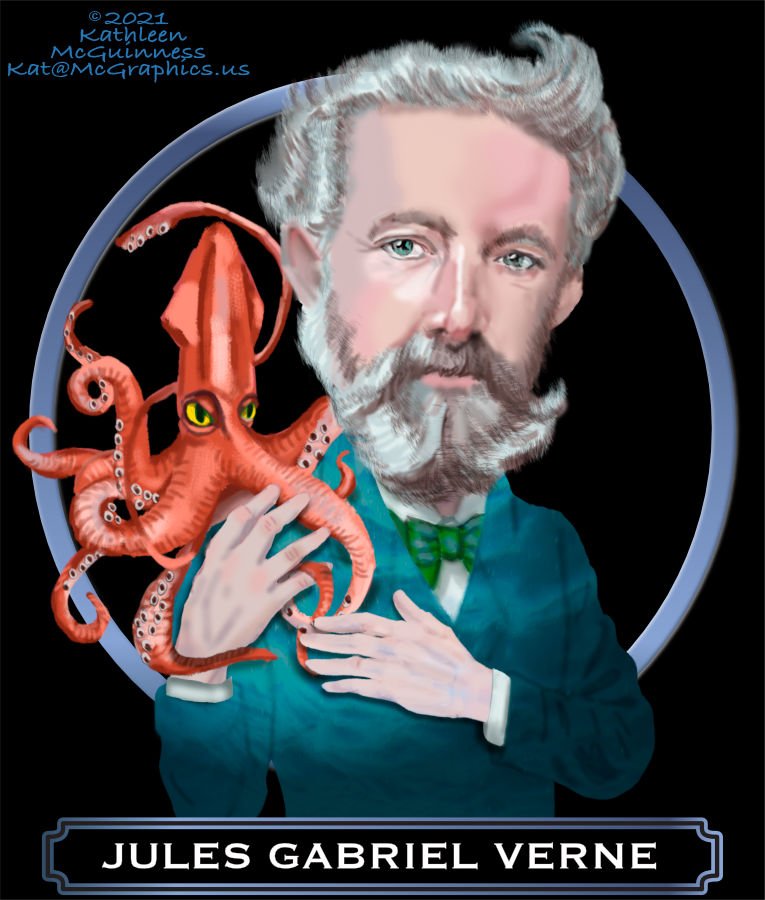
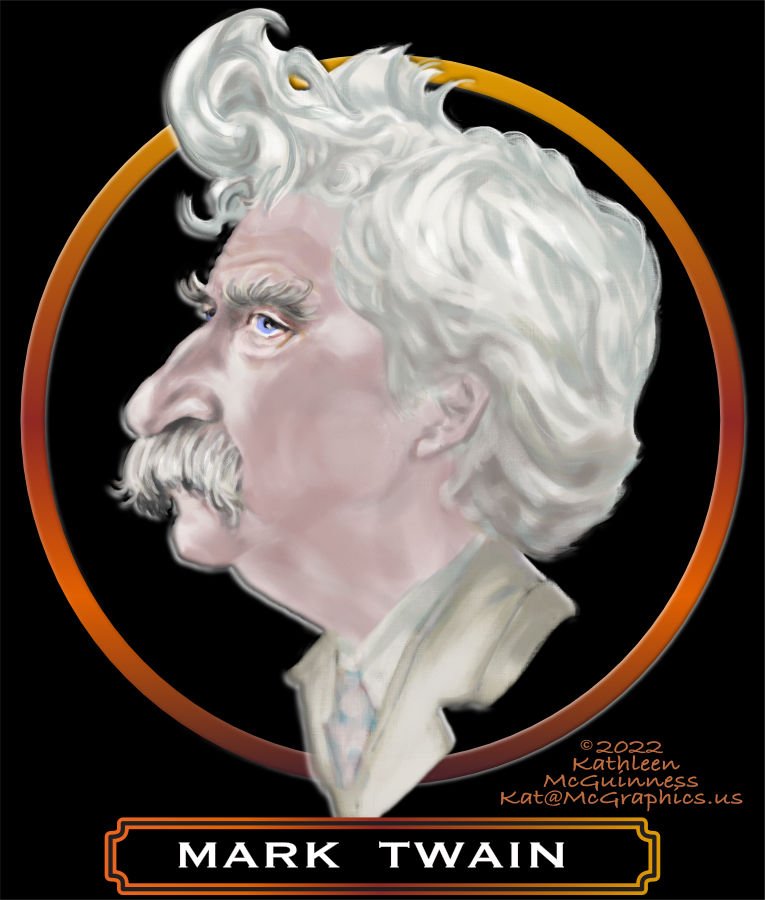
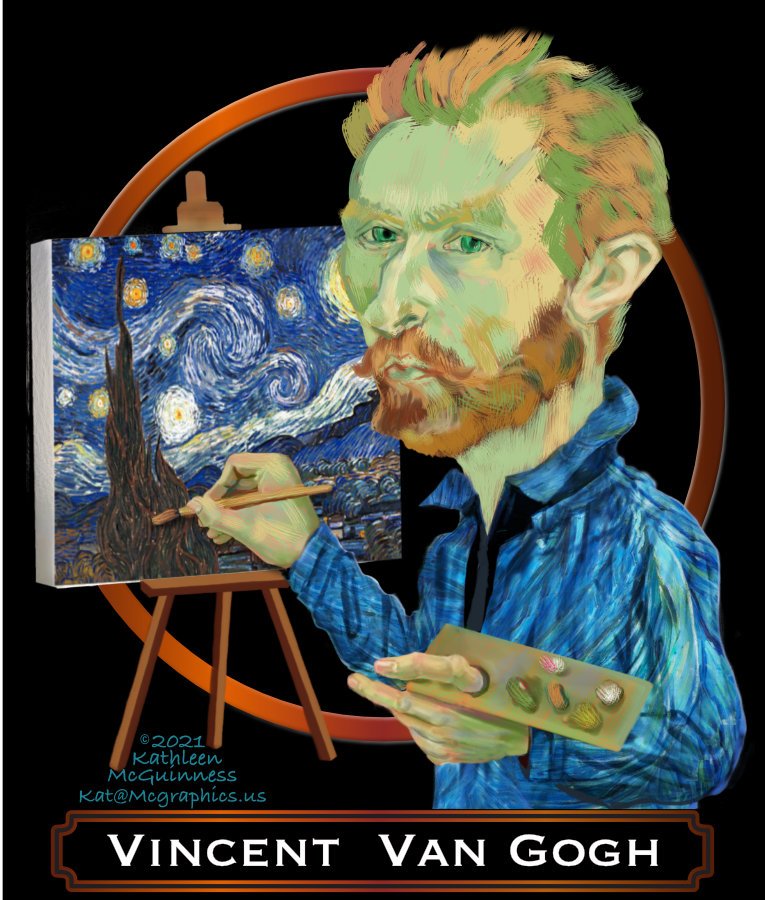
I do hundreds of the history portraits, first in AP then imported into AD where I use half a dozen export sizes. I used the paint mixer brush for Rodin, the rest mostly regular brush. I really wish the paint mixer brush worked better. I do have my wacom table mixer brush set for C & L. But the mixer brush is just not as good as painter or photoshop, which I've mostly given up for Affinity Photo. I do have hope that it will get better in future versions
-
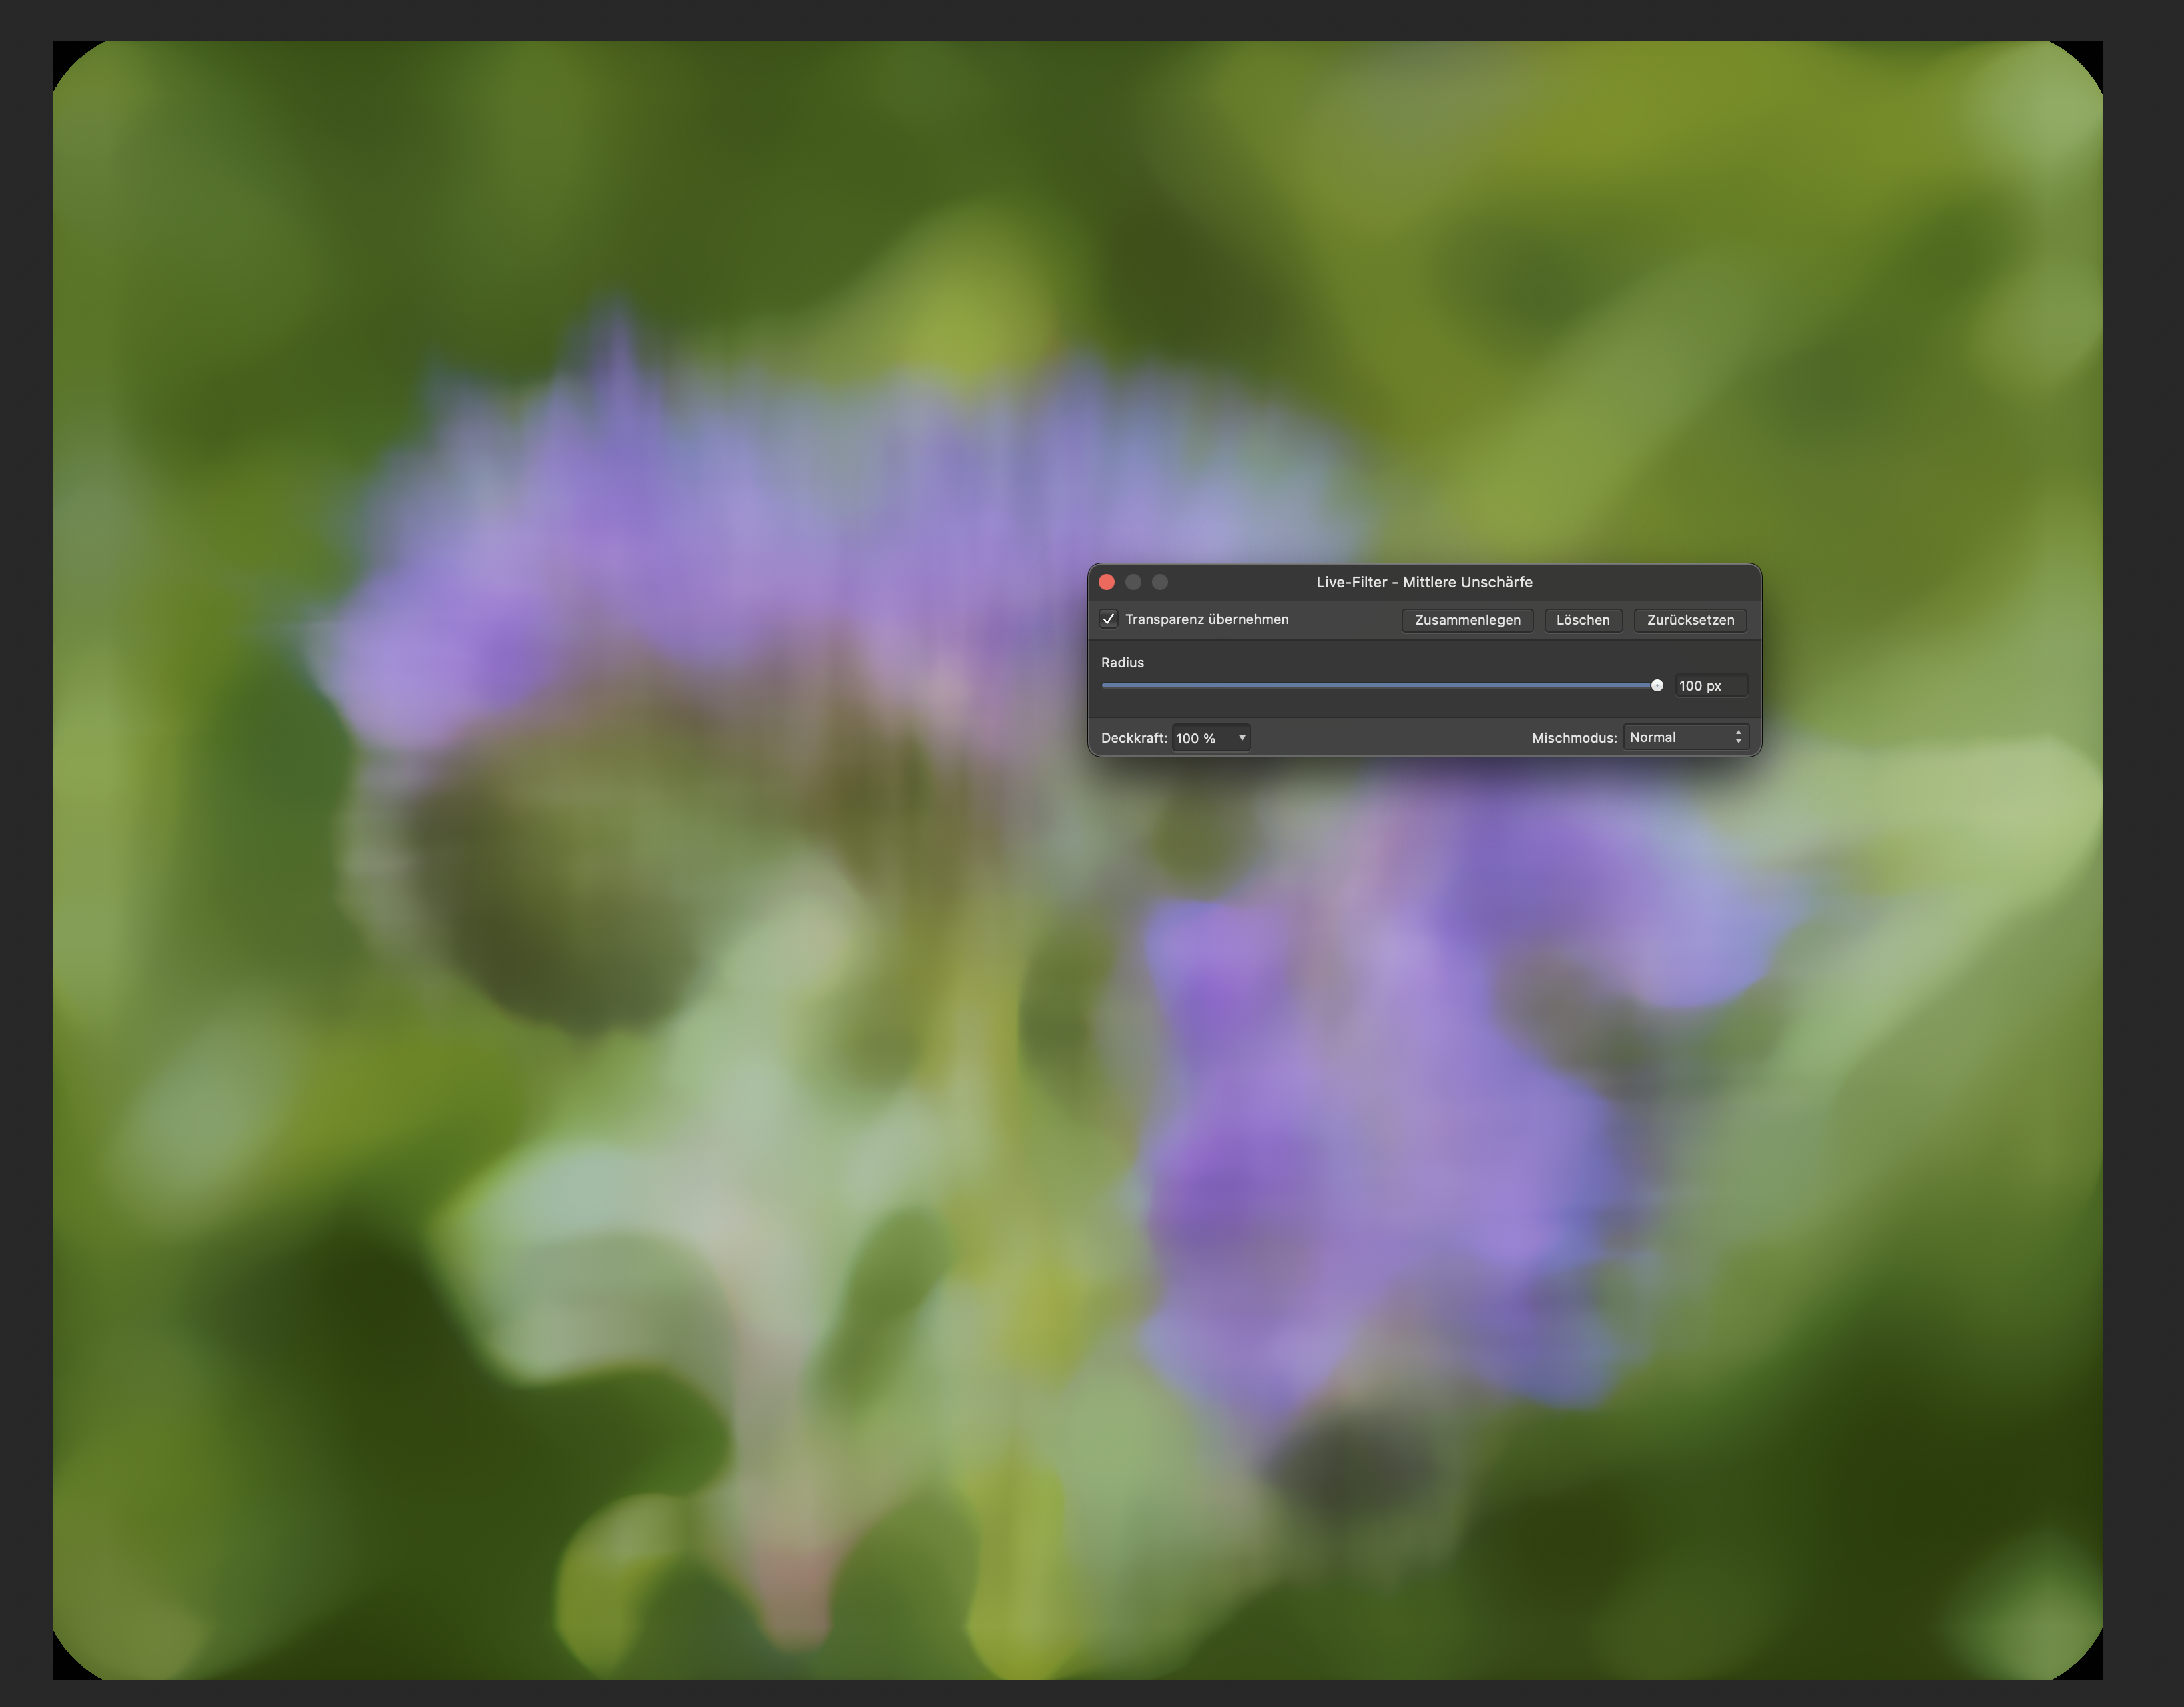
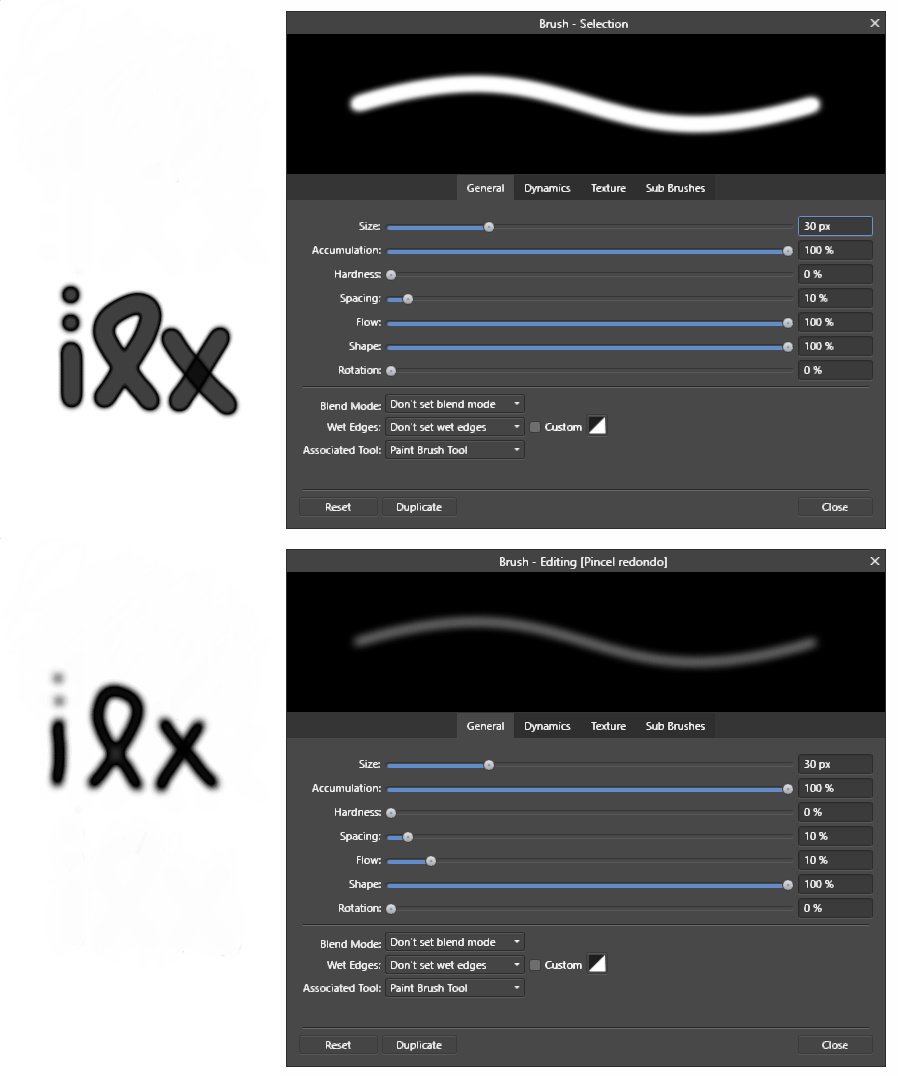
If you pick a thick brush from "Basic" group and paint some shapes you will notice the following issues: 1. Center color is more transparent(gray) and border is more opaque(black). NOTE: If you reduce "flow" parameter to 10%, the center of the brush becomes more opaque, which is very strange. (see uploaded image) 2. "Blend mode" has a lot of interesting options but they don't seem to change anything, in most cases. I've been programming computer games and graphic effects some time ago and had to solve similar problems related to transparency calculations. I hope it helps. Nothing more to say, except that your software is very good, congrats.


.png.3b1ecd1260f649b0b8a03f76551f49cf.png)
12_03_38p.m..png.6ad8316143b0a7716d3575cd2921b819.png)


.jpg.9c2acc263b11b1fecc37b00622a6fbb0.jpg)