Search the Community
Showing results for 'designer' in content posted in Share your work and is tagged 'affinity designer' or 'multi'.
-
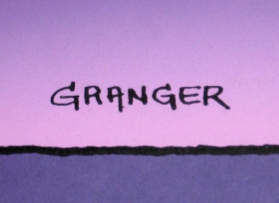
 🇬🇧 A little tribute to the graphic designer Michel GRANGER, French author of several album cover illustrations by Jean-Michel JARRE including the 4th, “Equinoxe”, released in 1978. The character on this cover is called “the Watcher”. He is adorned with the three Serif colors and looks into the future, saying to himself: what will I become?... And what will we become?... 🇫🇷 Petit hommage au graphiste Michel GRANGER, auteur français de plusieurs illustrations de couverture d'albums de Jean-Michel JARRE dont le 4ème, “Equinoxe”, sorti en 1978. Le personnage de cette couverture se nomme “l'Observateur”. Il est bardé des trois couleurs Serif et scrute l'avenir en se disant : que vais-je devenir ?... Et nous, qu'allons-nous devenir ?... 😉
- 1 reply
-
- 13
-

-
- serif labs
- cover lp
- (and 1 more)
-
My first golden mandala drawn in Affinity Designer using symbols. Not easy, but quite rewarding.
- 3 replies
-
- 5
-
-
- affinity designer
- mandala
- (and 1 more)
-
Hi everyone Here’s little something I did a while ago with iPad and affinity designer. I call these „angular girls” and drew around 20 so far (most of them can be considered nsfw so if anyone’s interested please visit @sztukierobie on IG )
- 1 reply
-
- 3
-
-
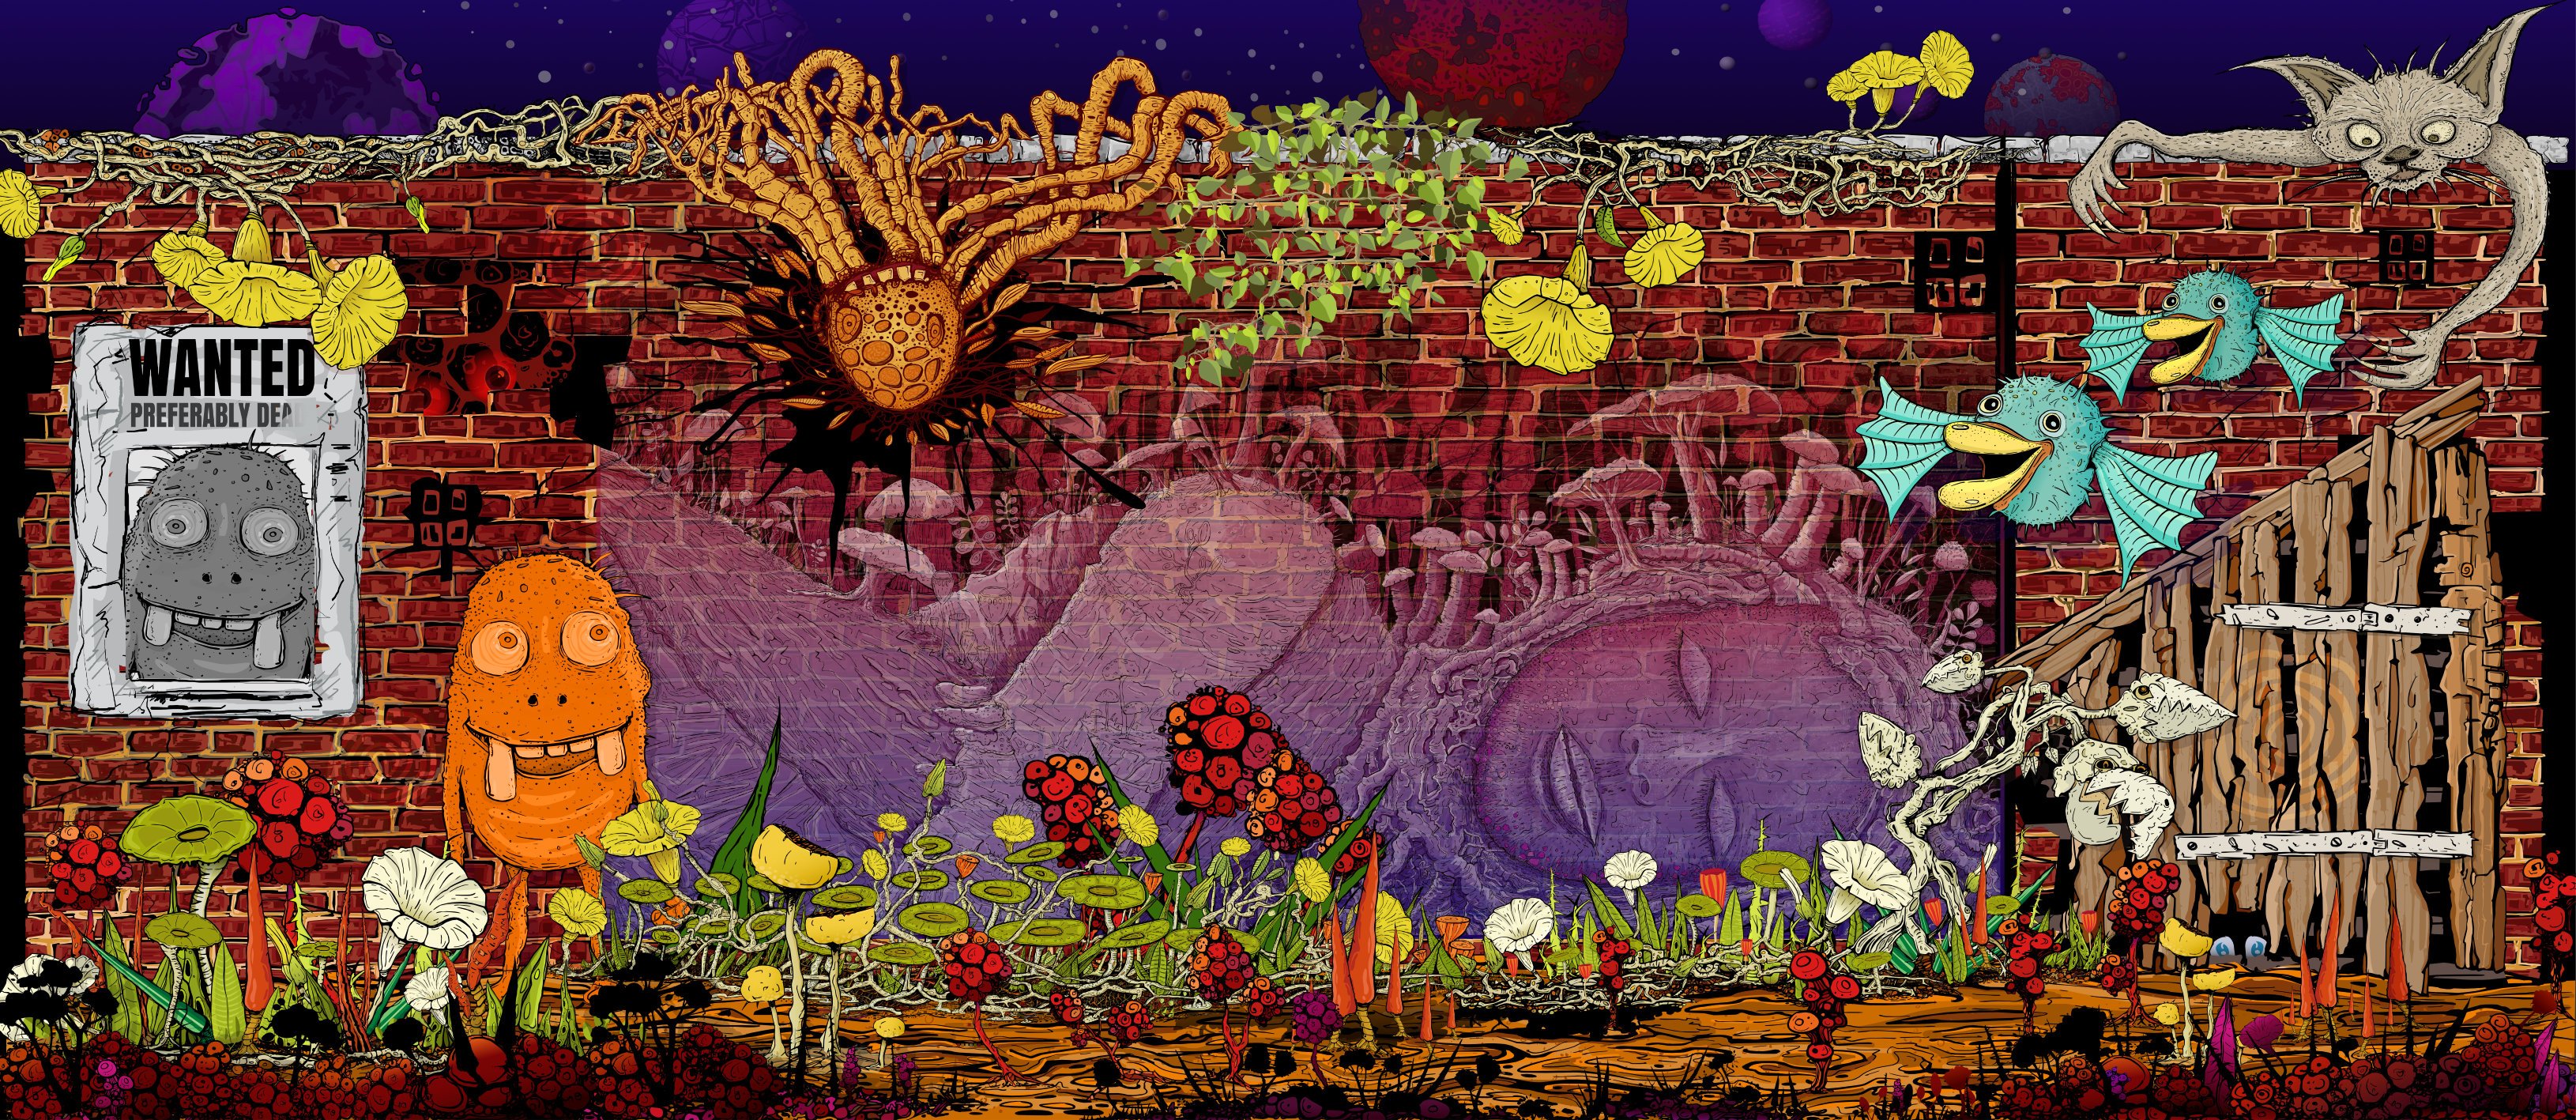
The Wall Affinity Designer | 1840 x 800mm 300dpi | Mixed raster and vector but mostly vector! Used Untamed: 'Planetary Toolkit' of for the Sky
-
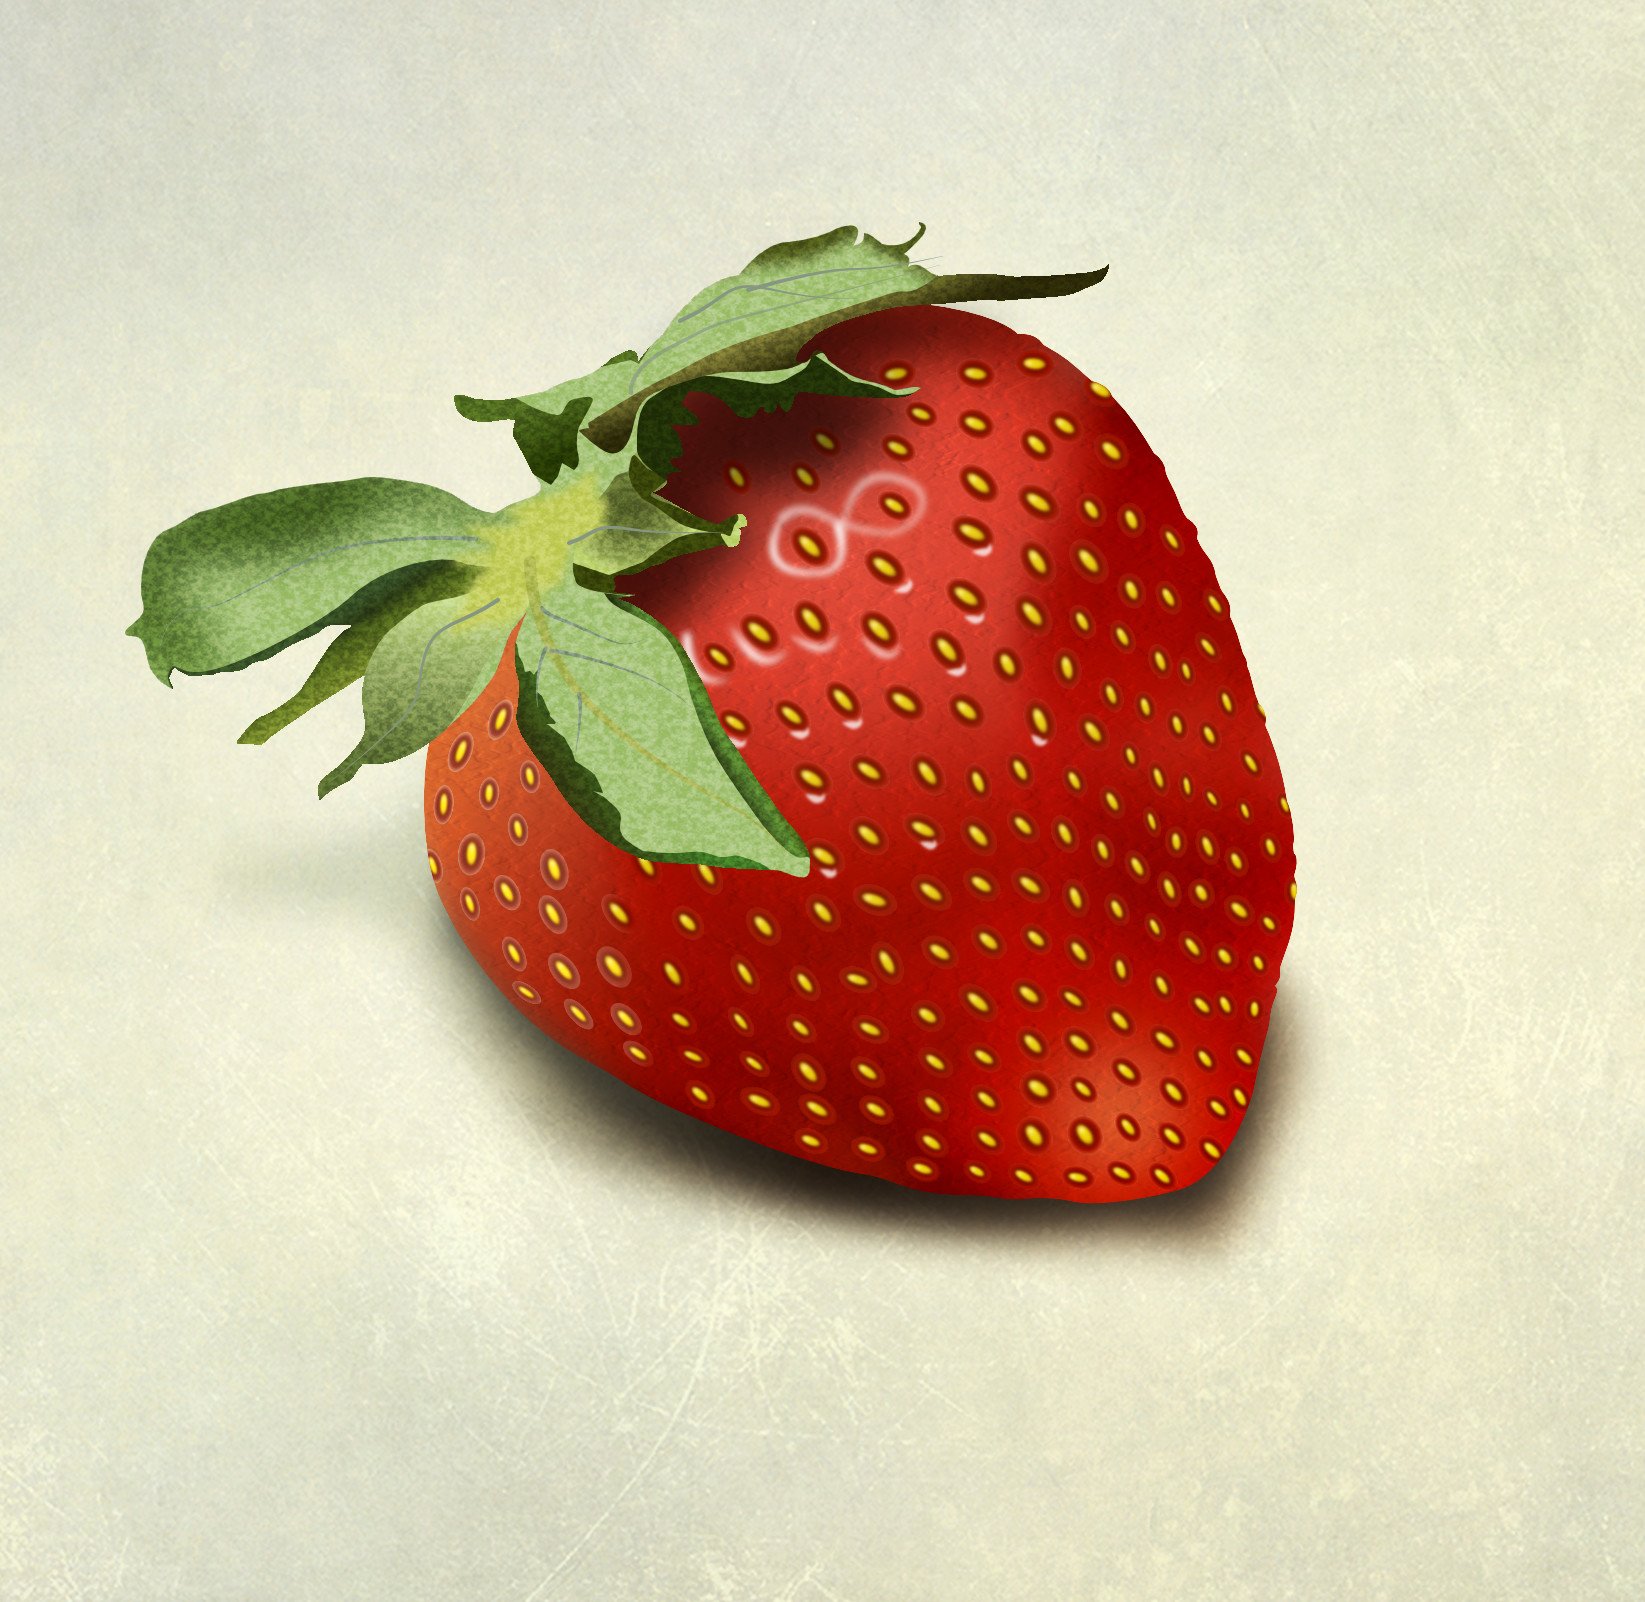
Wanted to see if I could 'approach' photo-realistic results with Affinity Designer.
- 3 replies
-
- 13
-
-
- affinity designer
- pottery
- (and 1 more)
-
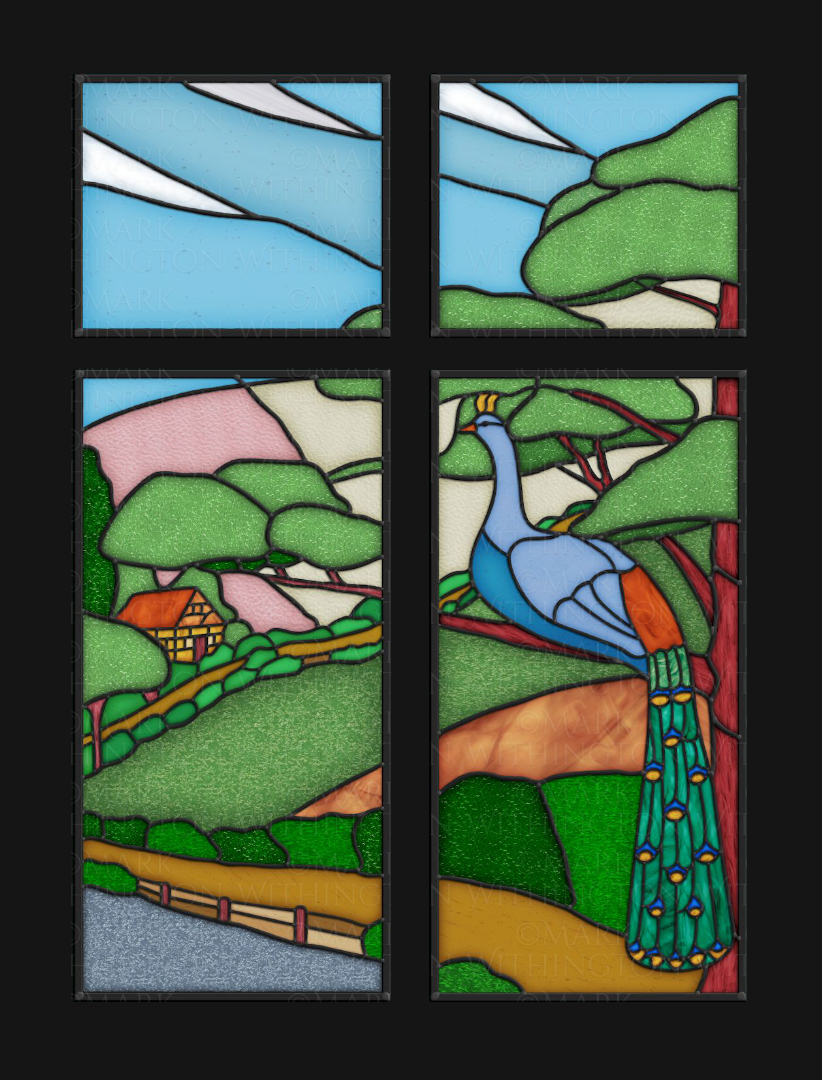
The “real world” original of this image was actually made a very long time ago by my mum’s dad, when he was a young glazier back in the 1930’s, and it was the landing window at the top of the stairs in my grandparent’s home. All I had to go off for this vector reconstruction was one rather faded, out of focus and distorted image in an old family album! Plus my memories of the window, how it felt running fingers over it’s textured glass… All done in Affinity Designer with the aid of the @The Artifex Forge ’Stained Glass’ kit. The house that was my grandparents “forever” home, was part of a new development being built in Barking in the 1930’s and they bought it "Off Plan" while it was still being built. At the time my grandfather was working for the company that was doing the windows for this new housing development and so he decided he would do something a little special for the landing window of what would be their new home! Though the house was sold out of the family, many years ago now after my grandparents passing, and has since been altered and extended, I would like to think and hope that it’s subsequent owners kept and reused this window.
-
So far, I have created 33 comics in Affinity Designer. Who knew making cartoons would be so much fun. Here is one that got a good laugh out of my wife. I hope that you like it too. Maybe you can relate to the skates. That is how I remember it. 🙂
-
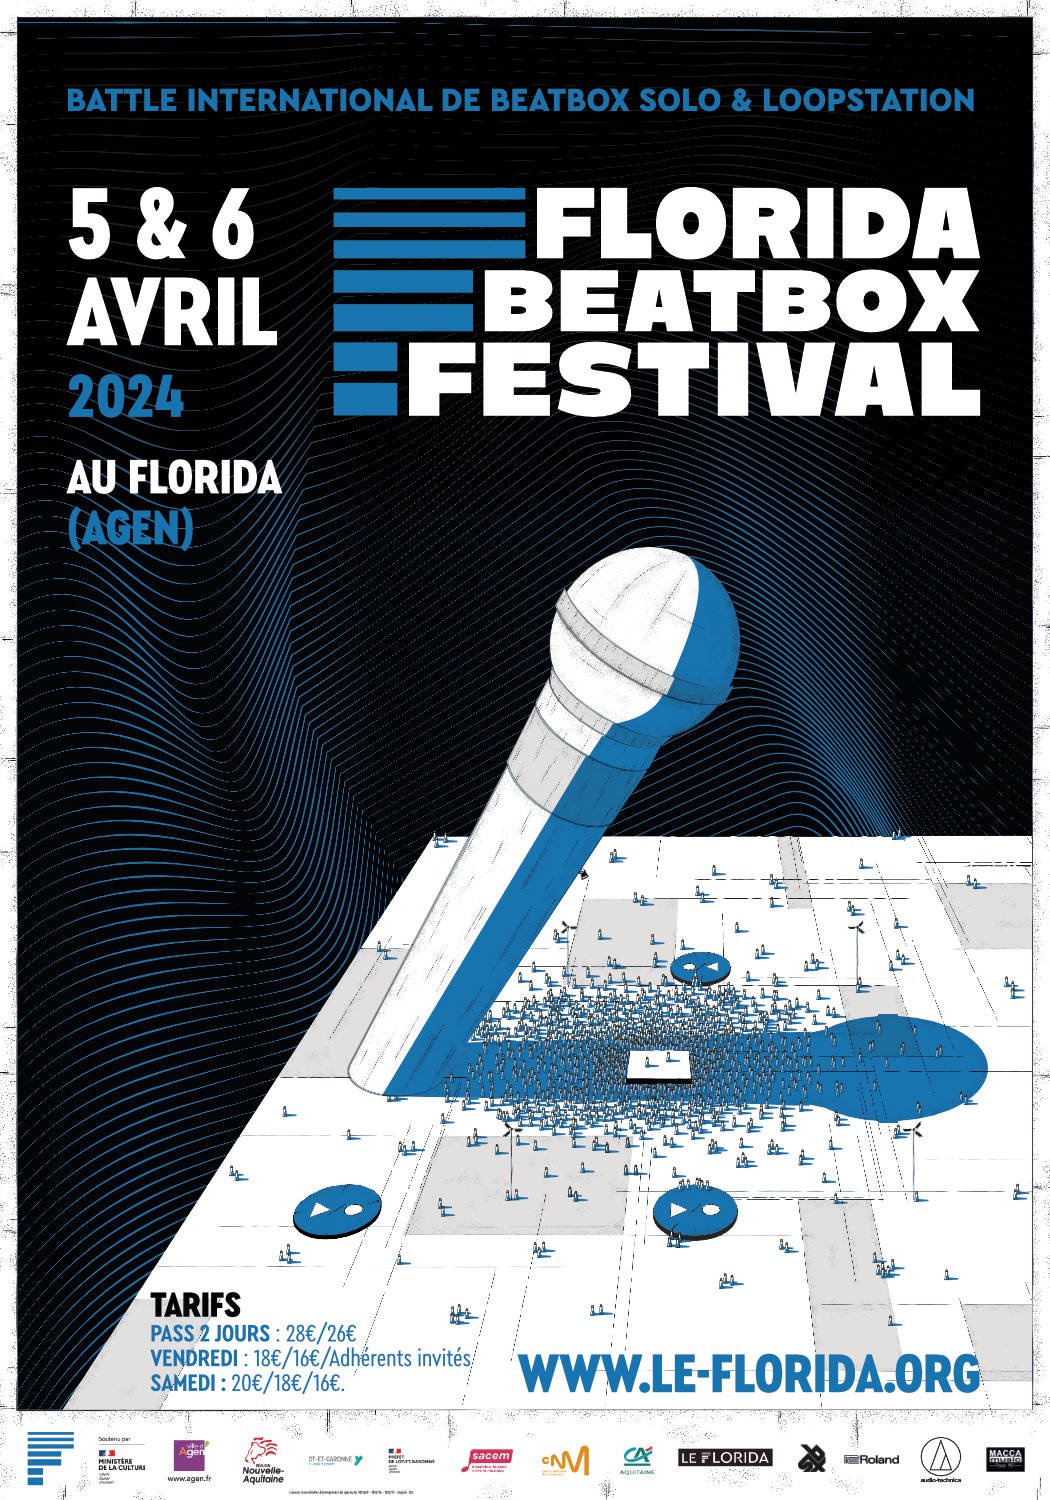
I made this for a french festival using mix of vector & pixels with few time to do it. (Using affinity suite since V1, I will never come back to Adobe suite. Evreything is quicker, easier and fits my needs perfectly : focusing on creativity and not struggling and wasting time to make things work as it should.)
-
 Flyer I designed.
-
I created this geometric line art pattern in Affinity Designer, and then, added effects in Affinity Photo.
-
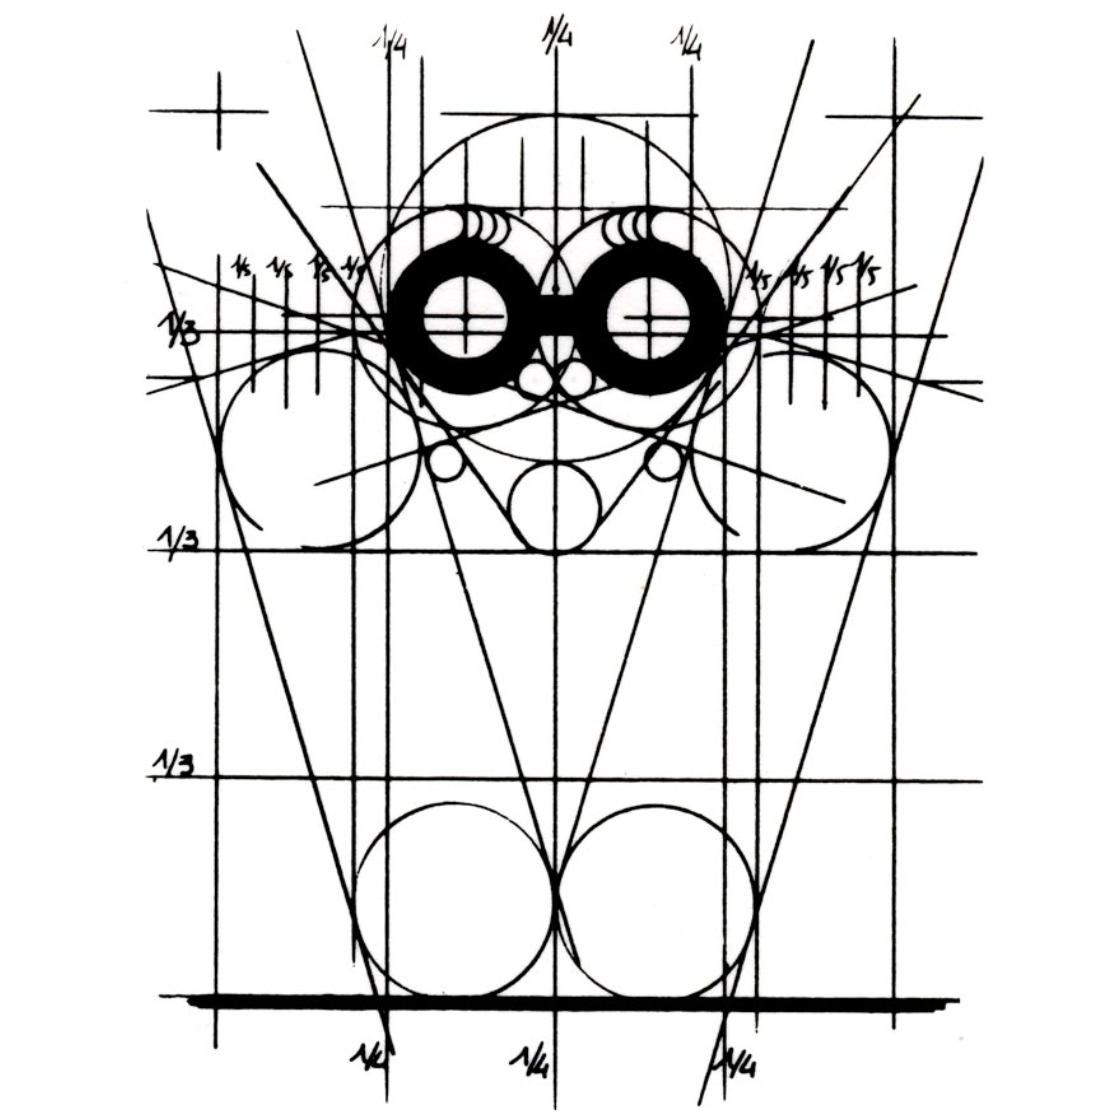
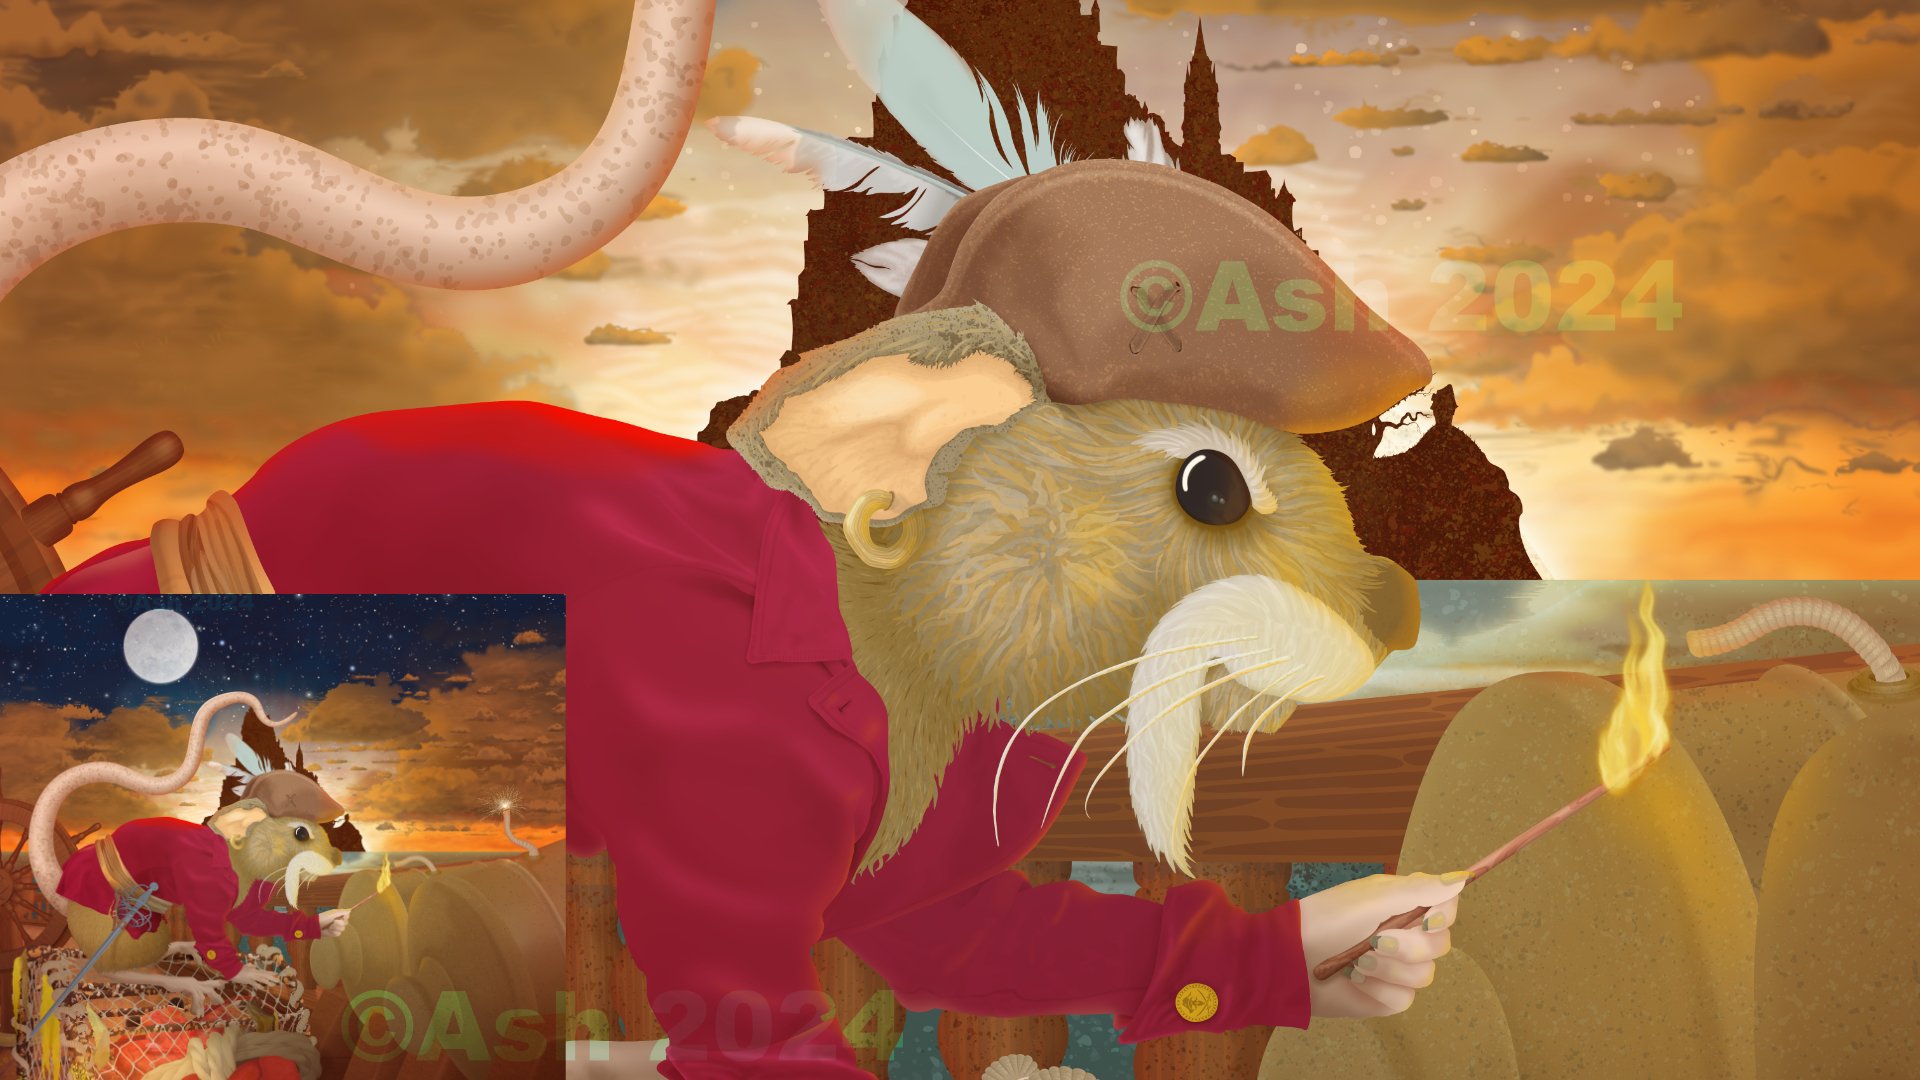
 In a recent discussion, within the forum, about Affinity Designer vs Illustrator, I was asked what I’m able to achieve using AD that I wasn’t able to do using AI. This has nothing to do with what each app is capable of it’s purely the way I’ve gelled with AD. I personally always found AI frustrating and usually ended up exporting my line work to AP and finishing off illustrations in that. I’ve never been a fan of using raster art with its many restrictions. So when I discovered AD and found I was able to do all my illustrating in the one app I was overjoyed. So anyway, now that I’ve bored everyone silly, here’s an example of my AD work with an additional enlarged section. Please excuse the watermarks and lack of the entire image. This is still a work in progress, one page, of about 30, from a book I’m doing. So I don’t want to give everything away and I’m somewhat concerned about all this AI art indexing, or theft as I prefer to call it. This is 100% vector. No brushes or raster elements used.
- 6 replies
-
- 10
-
-
The original artwork is A3 landscape, produced using Affinity Designer. William
-
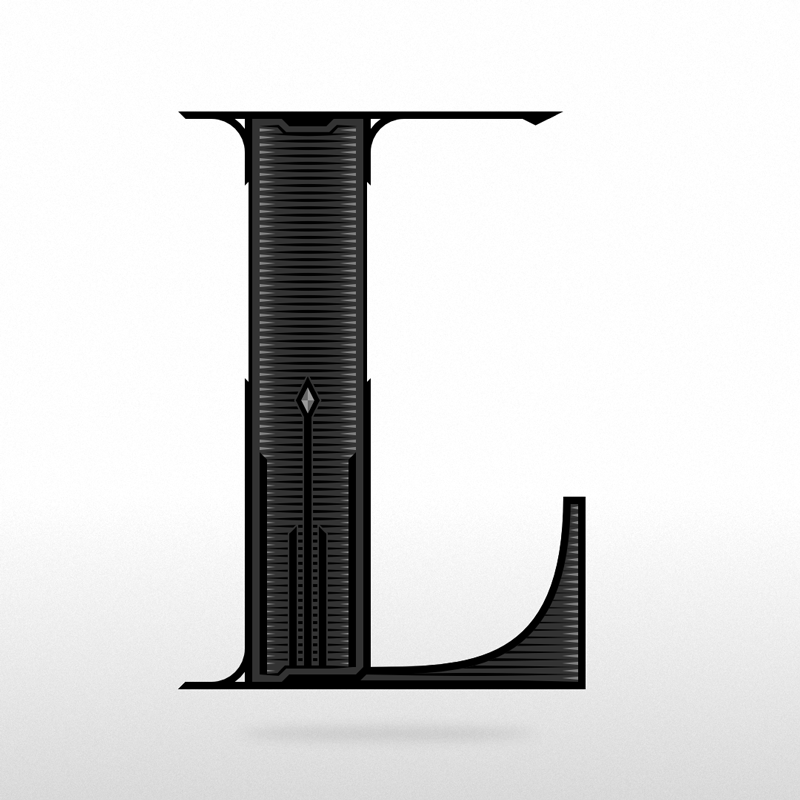
 Hi everybody 🙂 After recently buying all 3 of the Affinity programs, this was the 3rd thing I made with Affinity Designer. The other 2 were a Christmas post and a new years post for Instagram. My first impression of AD is that it has potential, but to me it still has a long way to go if it wants to compete with Adobe Illustrator. But of course, it's very difficult to get to the Adobe level, since they have so much experience and money 😅 I bought the Affinity programs to hopefully get less dependent on Adobe software, because I really don't like the 'subscription only' principle Adobe has adopted. I don't like to pay Adobe 'ransom money' to be able to have access to my own documents. And since using Adobe Creative Cloud I've had several bugs that have never been an issue back when I had Adobe software that I bought. So even Adobe isn't as good (anymore) as it should be for that price. Most of the things I design are T-shirt prints for my webshops and since I'm addicted to designing letters (typography) most of my designs contain custom made text. This 'L' was made for Instagram only. From time to time I design single alphabet letters, to have something more to post on Instagram. I post far less than the algorithm wants, but I don't want to be a slave to the algorithm, so I follow my own rithm 😋 Is anyone else into designing typography? ✌️ Luc
- 13 replies
-
- 8
-
-
- typography
- alphabet letter
- (and 1 more)
-
Here's my latest upload and work in Affinity Designer! Please click the picture below and enjoy 2hrs of finest breaks alongside some vectorizing! Thanks for your precious time!
-
 Hello, I'm an independent and freelance TTRPG creator. One of the projects I'm a part of is an upcoming Werewolf: the Apocalypse 20th Anniversary Ed. Community Content Supplement called Werewolf: the Essentials. I made an illustration of Kinfolk (non-werewolf relatives of werewolves) warding away death spirits from an injured relative. I primarily used the Photo/Pixel persona of Designer so I could have my reference images visible and surrounding the artboard. Linked instead of embedded because the image contains depictions of injury. There's also a lot of WIP shots in the link. https://www.artstation.com/artwork/LRGD1w
 -
 Hey guys! Here's what I do on Photo and/or Designer in combination with my fortnightly radio show WallPlugTuna on bbz.ru. Any feedback is welcome: https://odysee.com/@WallPlugTuna:1/WPT326:4 Thanks for your time!
 -
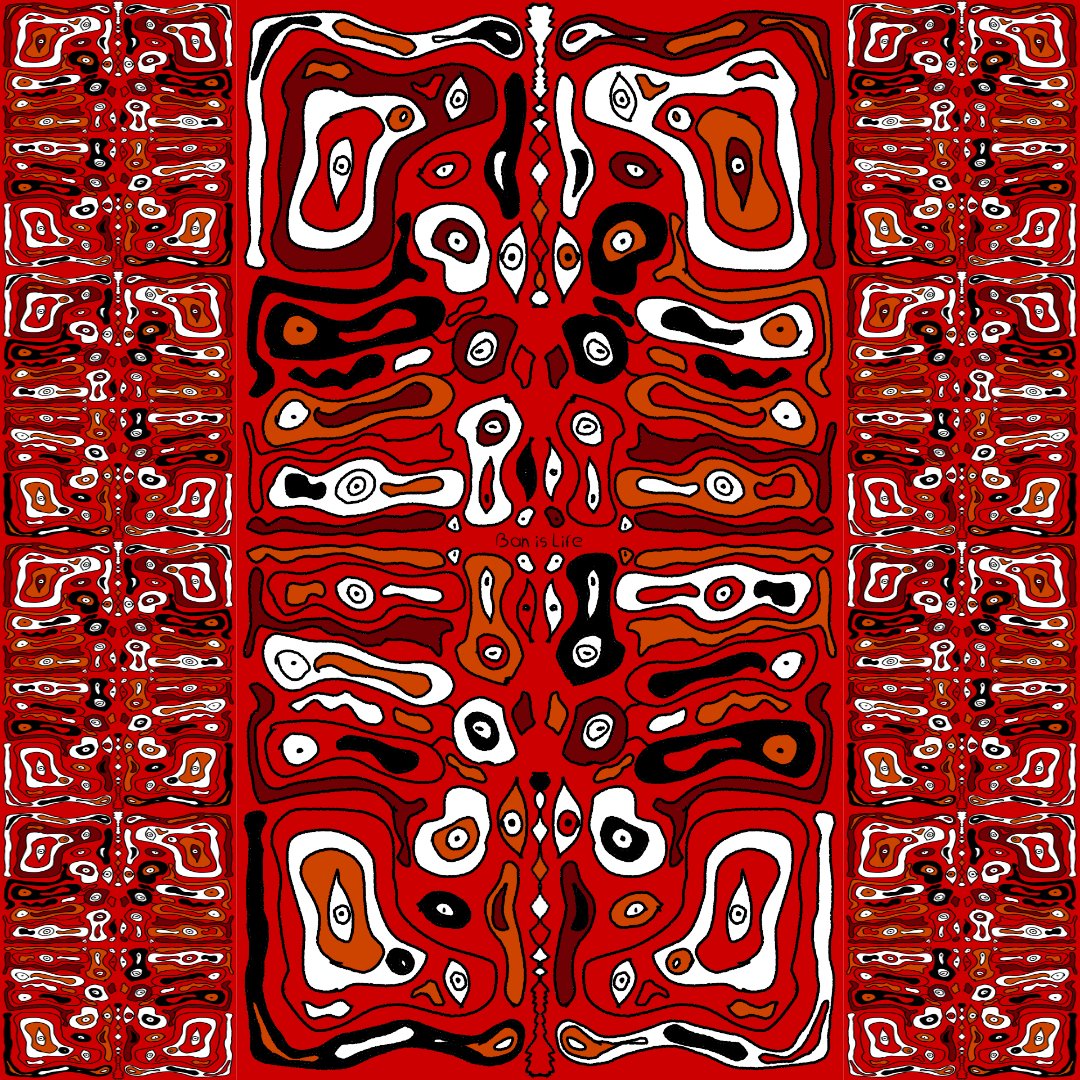
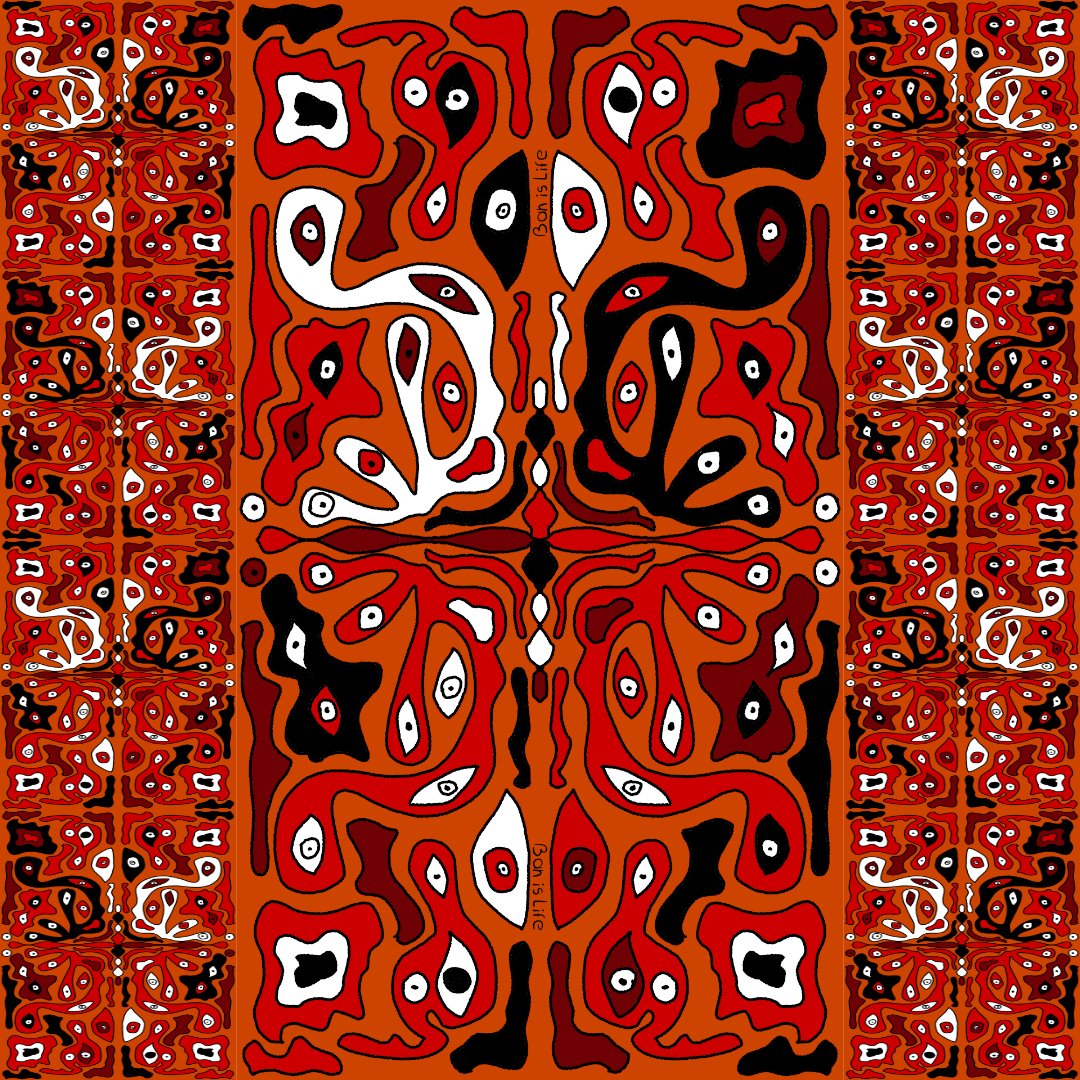
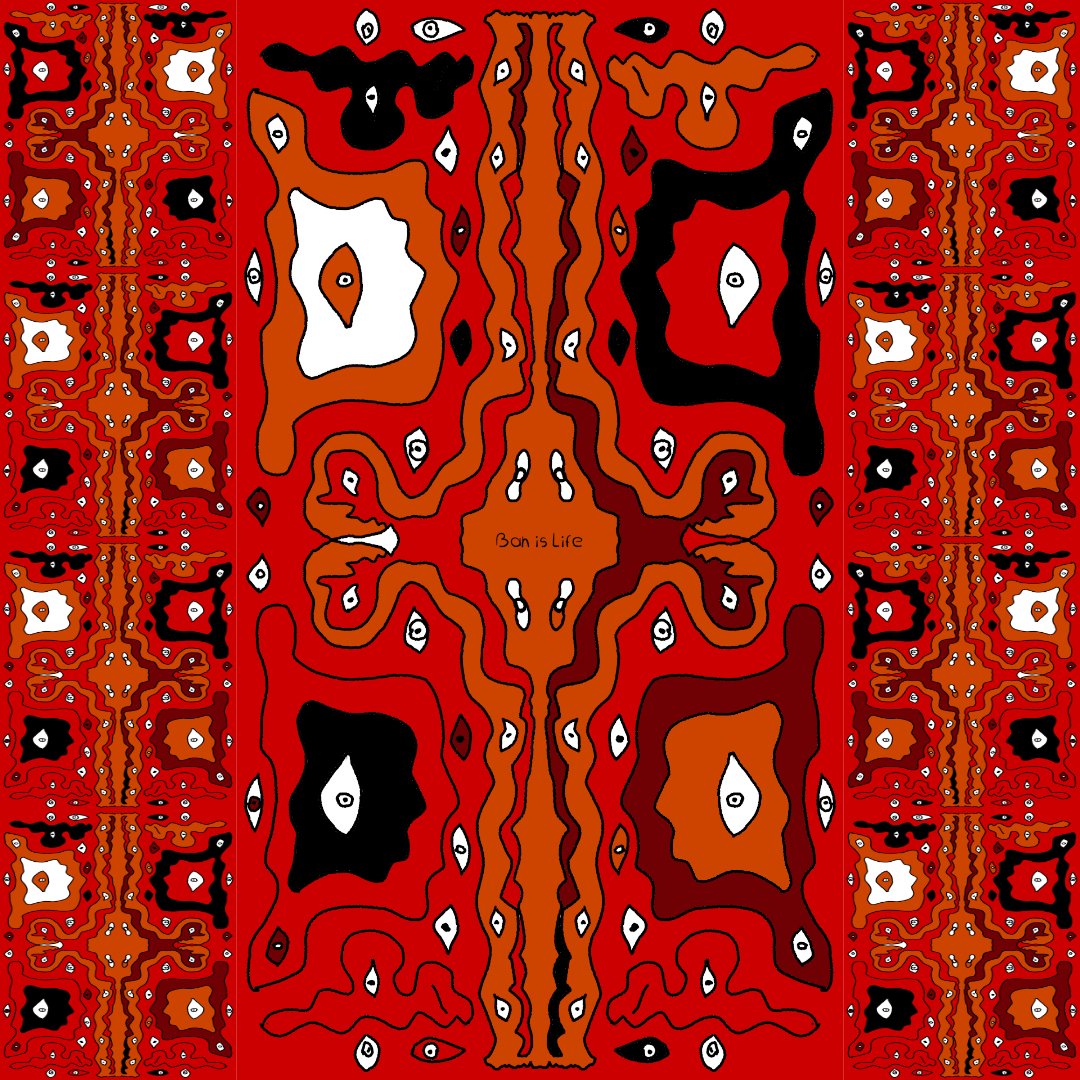
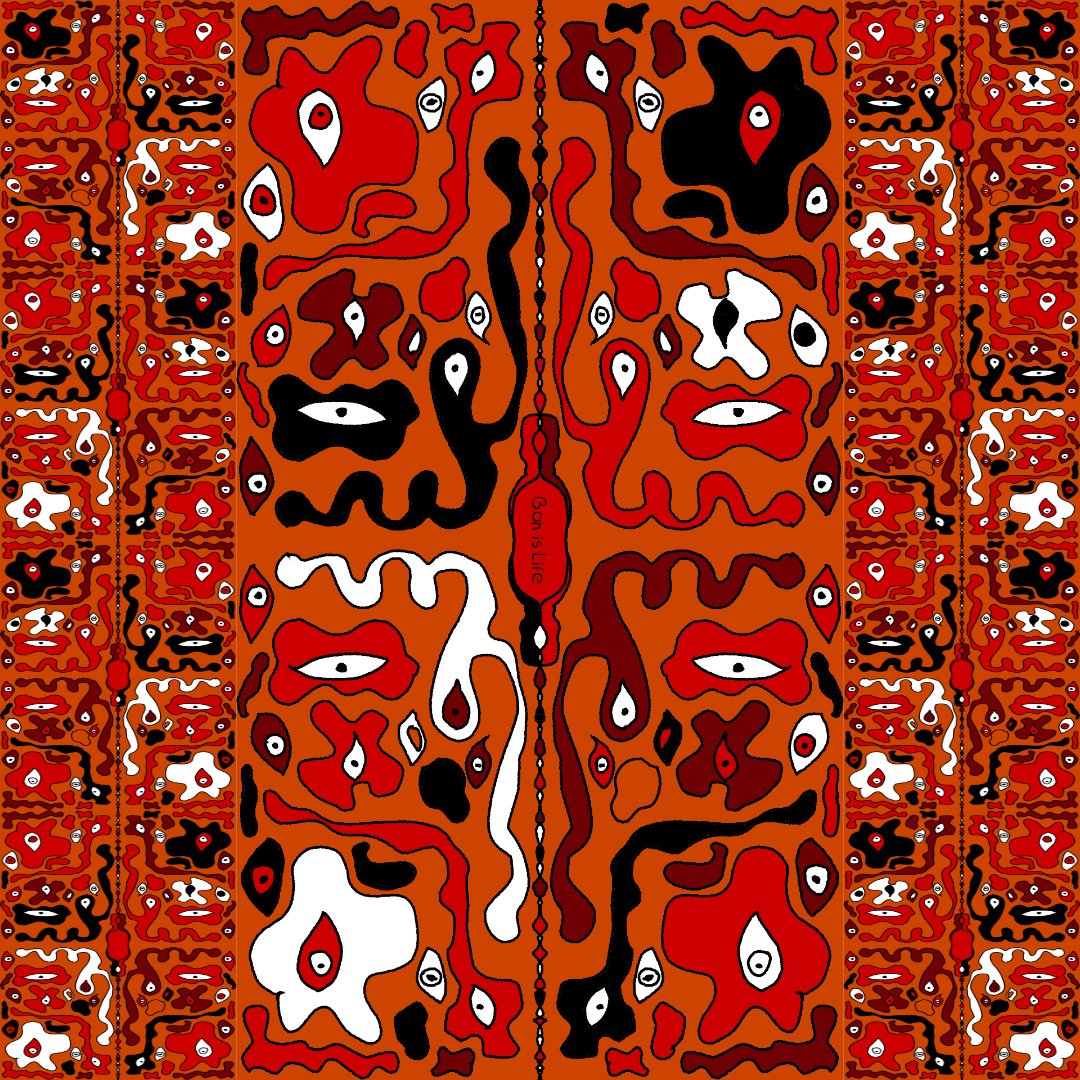
After watching a couple of Ocean documentaries I was deeply intrigued by the endless number of sea creatures that exist. Eventually I got tired watching and got inspired to create this Ocean inspired Deep See art. Enjoy. Tools: Affinity Designer, Affinity Photo, Affinity Publisher Let's connect: https://www.behance.net/bah-is-life https://www.instagram.com/bah_is_life/
- 4 replies
-
- 4
-
-
- affinity publisher
- affinity photo
- (and 2 more)
-
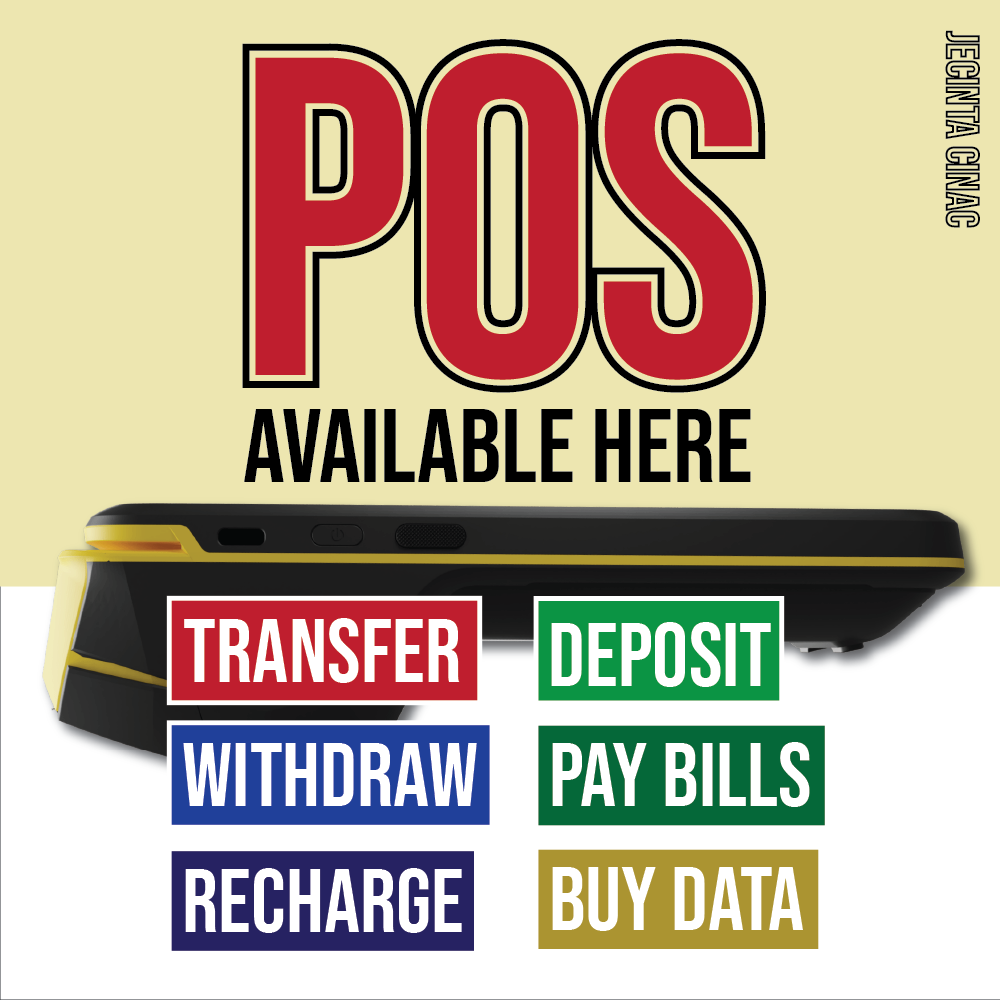
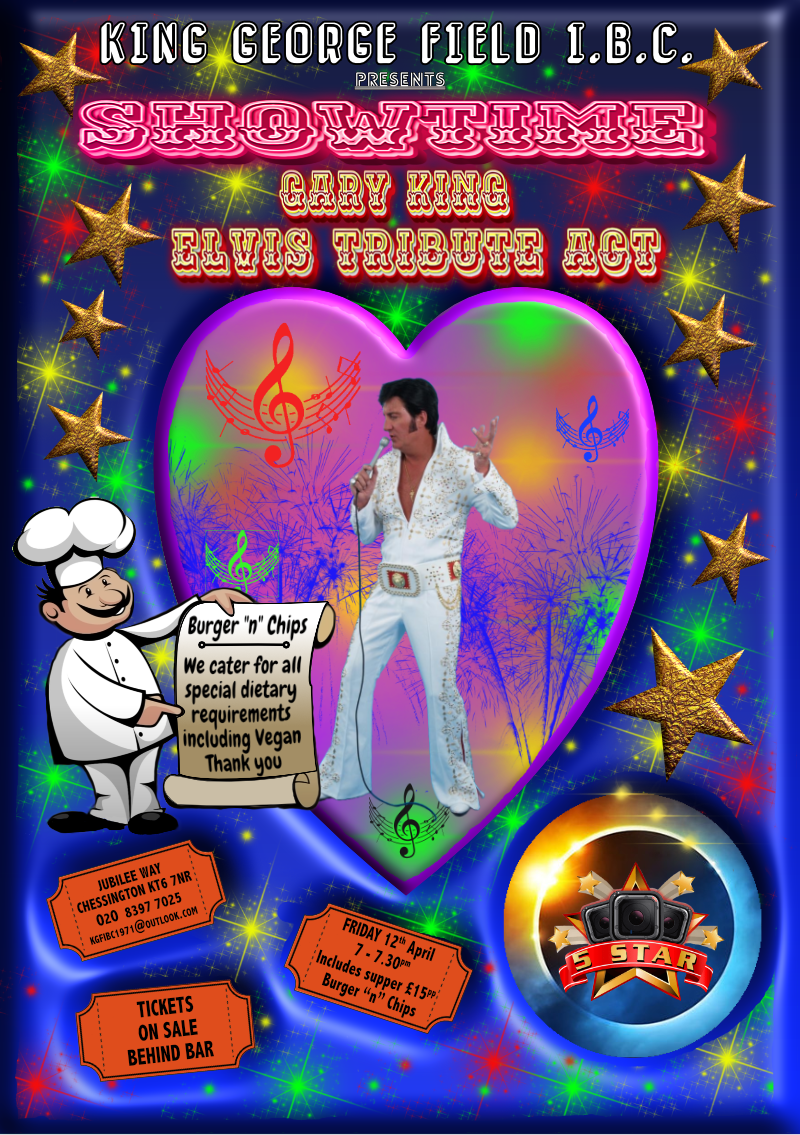
A5 flier, all done in Designer and Photo apart from the 5 star logo and Chef along with Gary's image. Colour laser printed (20 A5's for double sided Perspex table flier holders)(3 A4's for notice boards) (1 A5 emailed as an attachment to the membership)
-
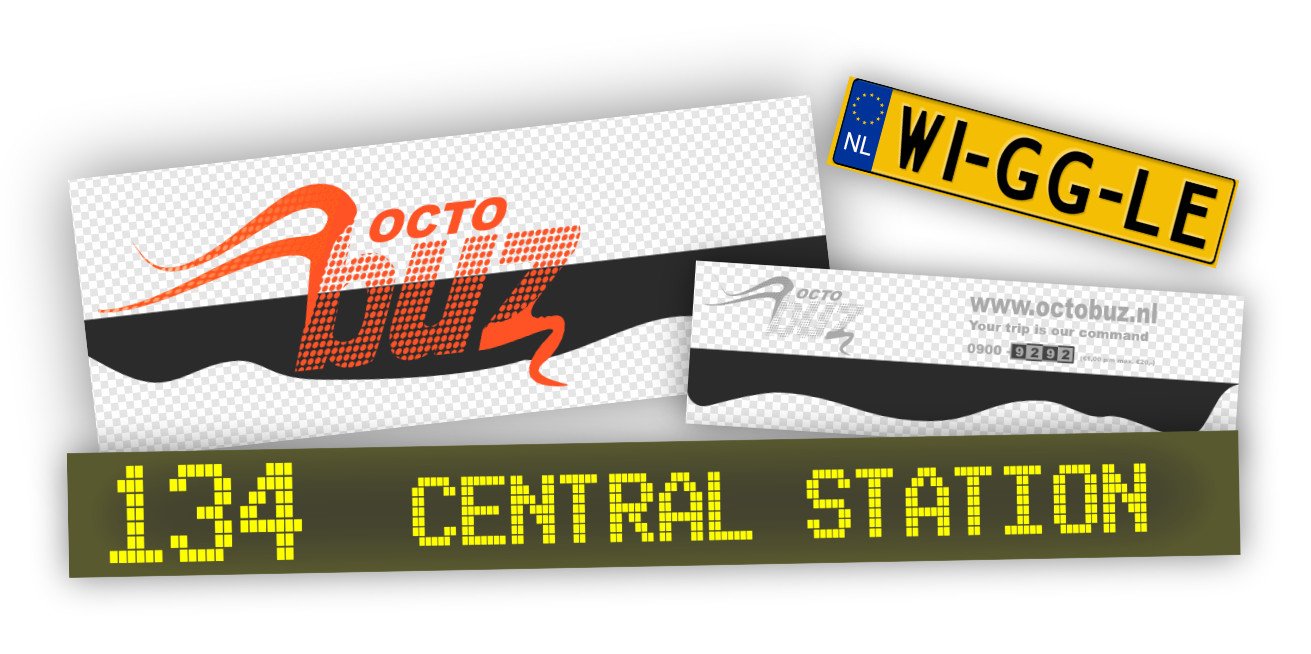
 I've completed designing, 3d modeling, surfacing/texturing and rigging a 3D City Bus for my upcoming Animation Short Film. Completely ready to animate, including rigs for the doors and to drive and steer the bus. Affinity Designer was used for all logo and texture designs. Here's a demo video
-
Finally finished the 1st episode of the animated series I've been working on for years with my nephew 🙌 Affinity Designer and Photo was used to create some of the backgrounds and design most of the characters. Would love to know what you think of it!
-
To demo a Tool I've developed for Moho Pro Animation Software I made the design for a Demo Animation completely in Affinity Designer and animated it in Moho. Hope you like it! record-mechanics-demo-output-1080p-24fps.mp4 FYI This is the demo/tutorial video where it's used:
-
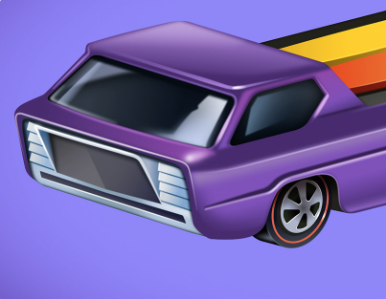
Here's a link to a recent series of fun and colourful retro inspired objects and toys. All done in vector using Affinity Designer. Designer is so great for this kind of work. Cheers Serif! https://www.behance.net/gallery/180858837/Retro-inspired-objects-and-toys-series
-
Hi y'all, Today I've published a new video with visuals for music I made recently. Graphics were designed in Affinity Designer and animated in Moho Pro. Don't forget to listen through headphones or with good bass bins Hope you like it!