
StuartRc
-
Posts
2,071 -
Joined
Everything posted by StuartRc
-
Excellent News ..PDF can be a bit strange sometimes! :)
-
Hi Gatada, There could be several reasons why transparency in the image is not showing. You are quite correct to indicate that PDF 1.4 up does supports transparency. i have tried it with some of my files and the export is working correctly However, Have you checked the settings (Preferences in Acrobat Reader or Acrobat Pro)? CONTROL+K for preferences then activate Transparency Grid Checkbox. This will help you see what is transparent in your file. If you are exporting from Affinity Designer to PDF You can re-import the PDF into Affinity Photo and turn on Background Transparency (Document/Transparent Background) To again display what parts of the image are transparent. Layer effects can effectively 'destroy' parts of an image when converted to PDF if unsupported they are get rasterised by default (toggling this can have weird results!) Hope this helps..if not I am sure their will be more contributions soon... :)
-
affinity designer Creepy Furry Rabbit [AD]
StuartRc replied to Frankentoon Studio's topic in Share your work
Absolutely fantastic piece of work! Just shows what can be achieved with this innovative product and creative thinking! :D :) -
Thanks Alfred for picking up the file spelling mistake..It was a long day preparing all those files. I will make sure the next ones are correct :D And for enhancing my reply with the provision of the links across the forum (will make things a bit easier) :)
-
Wow! another Masterful piece of work already..like it!
-
Hi DesignMeister, Please feel free to use them however you want. I just wanted to contribute in some way to this fantastic suite of software As far as I am aware you can use them in both applications.(I have been using both applications to develop them anyway as AP has ability to remove white paper and Clarity filter to sharpen up Black/White bitmaps) I only split them from a group of working/test libraries to sets containing 10 brushes as its gets a bit cumbersome 'scrolling' down a long list all day. Brush packs 1-7? ... well they are currently available in the resources forum Texture Brush Packs x3 [Dots] (References Packs 5,6 and 7) Texture Brushes 04 [Hatching] (References Pack 4) Texture Brushes 03 [Hatching] (References Pack 3) and the first 2 had an earlier version of the sample (display catalogue) and provided brush samples from one of my #inktober drawings Texture Brushes for Affinity Designer Part 2 (References Pack 2) Texture Brushes for Affinity Designer (References Pack 1)
-
Yo are welcome..Its been a long day!
-
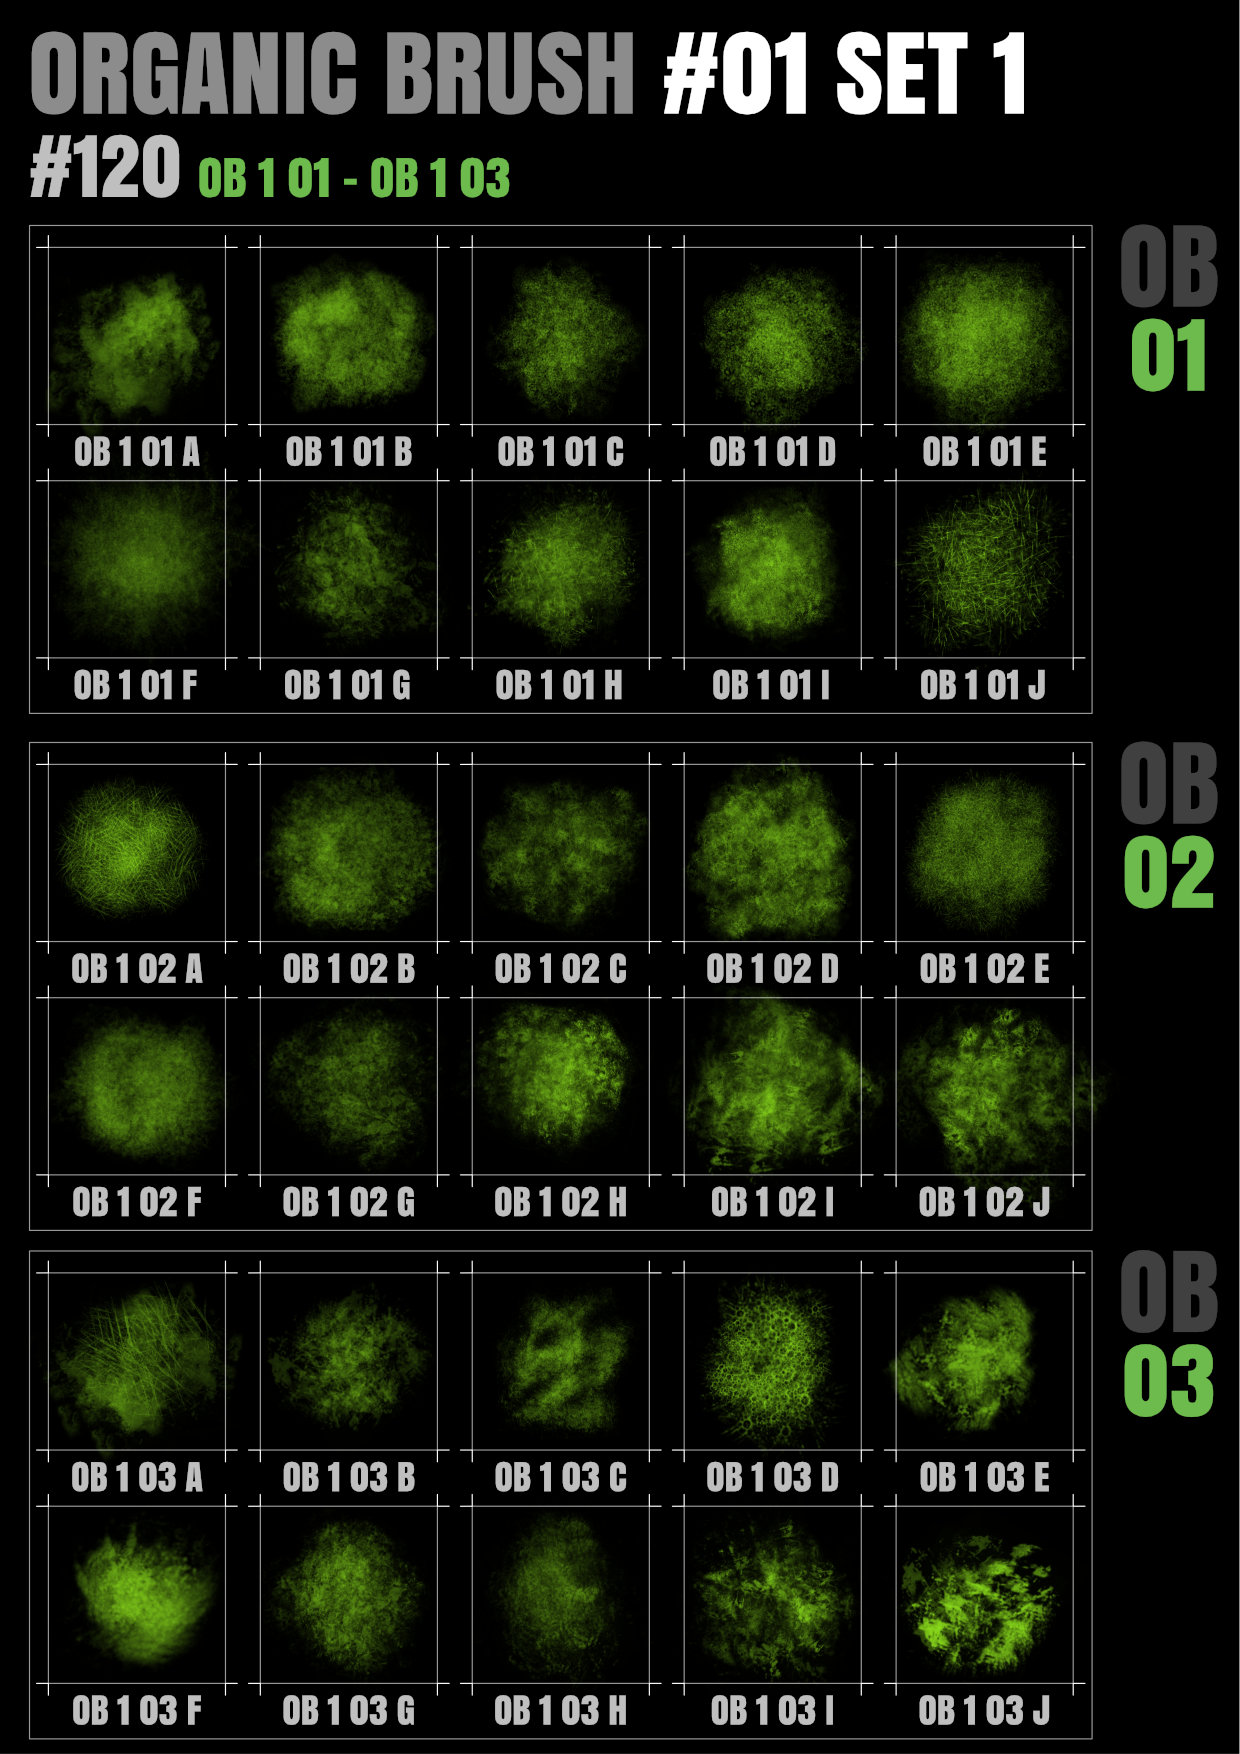
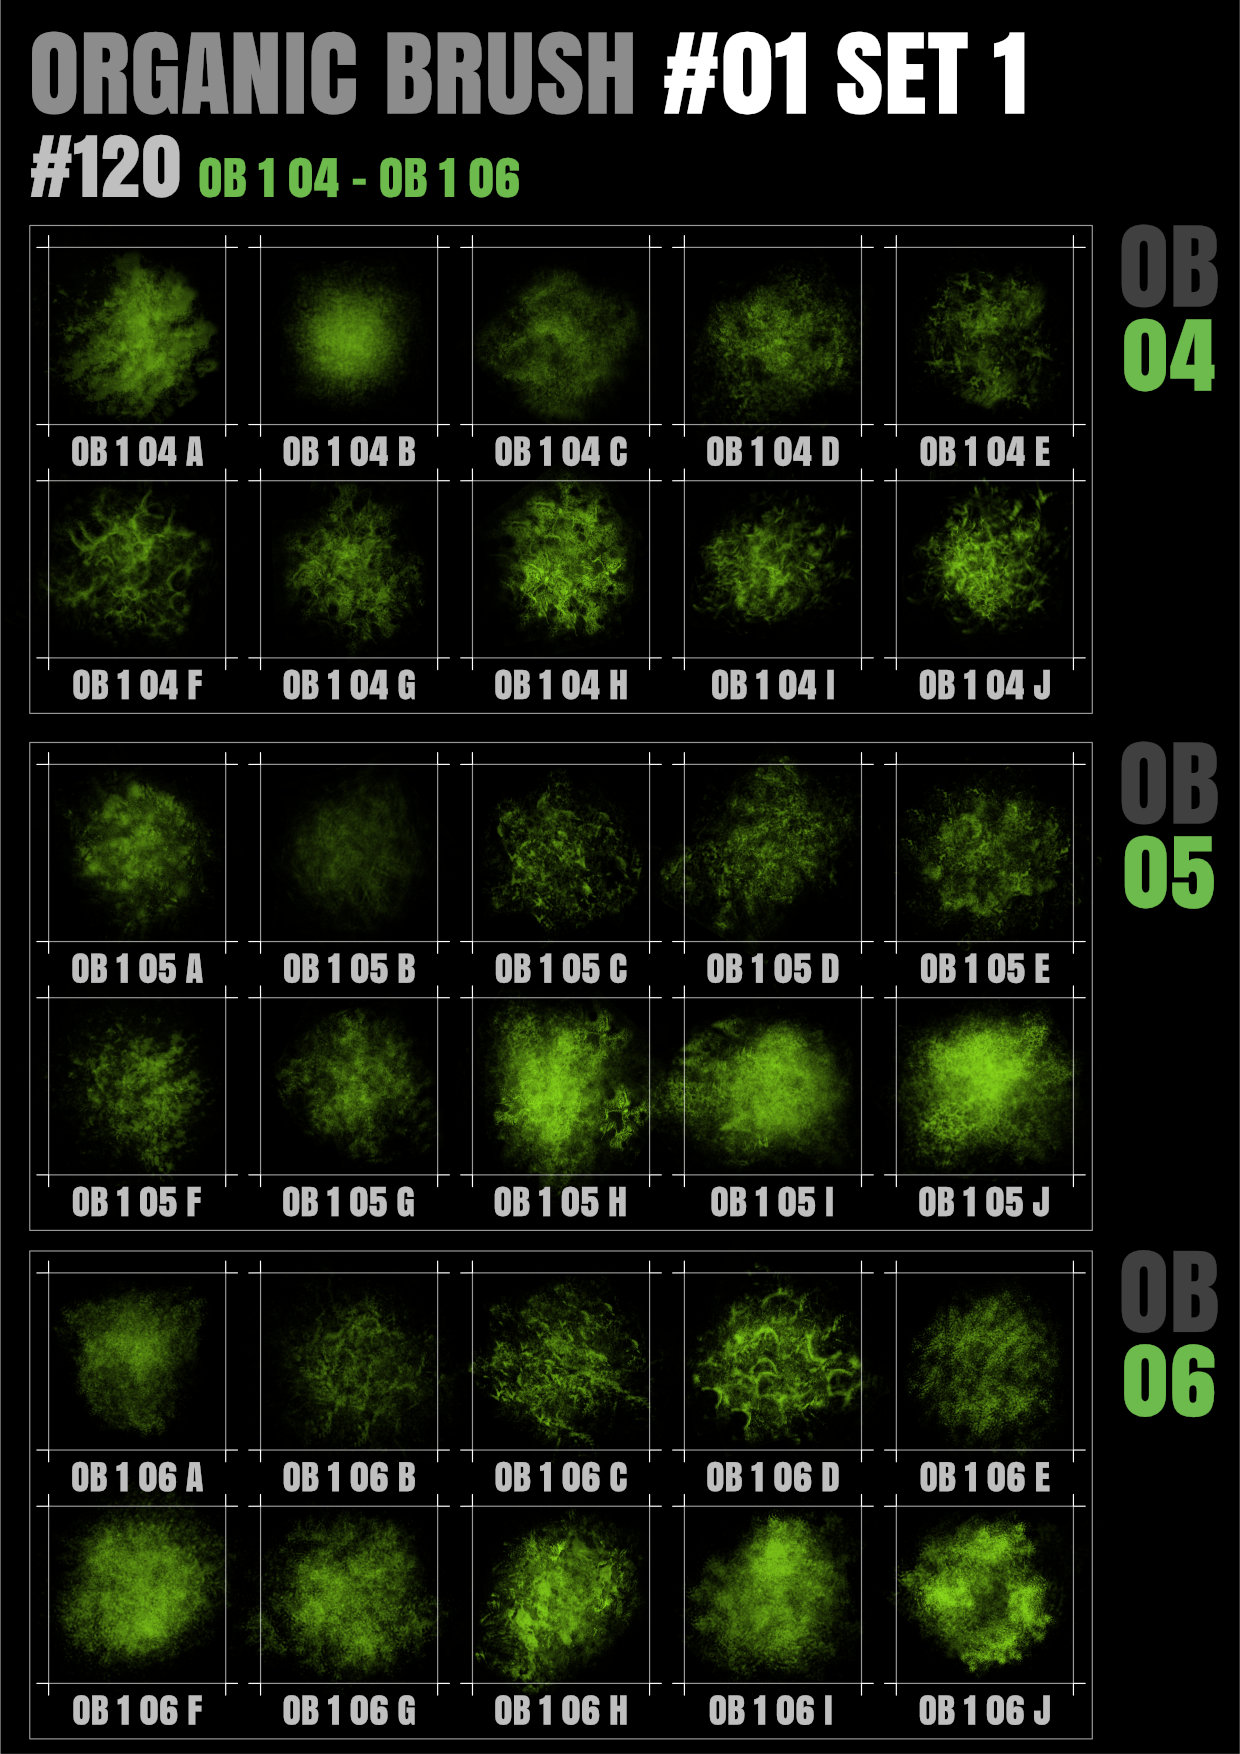
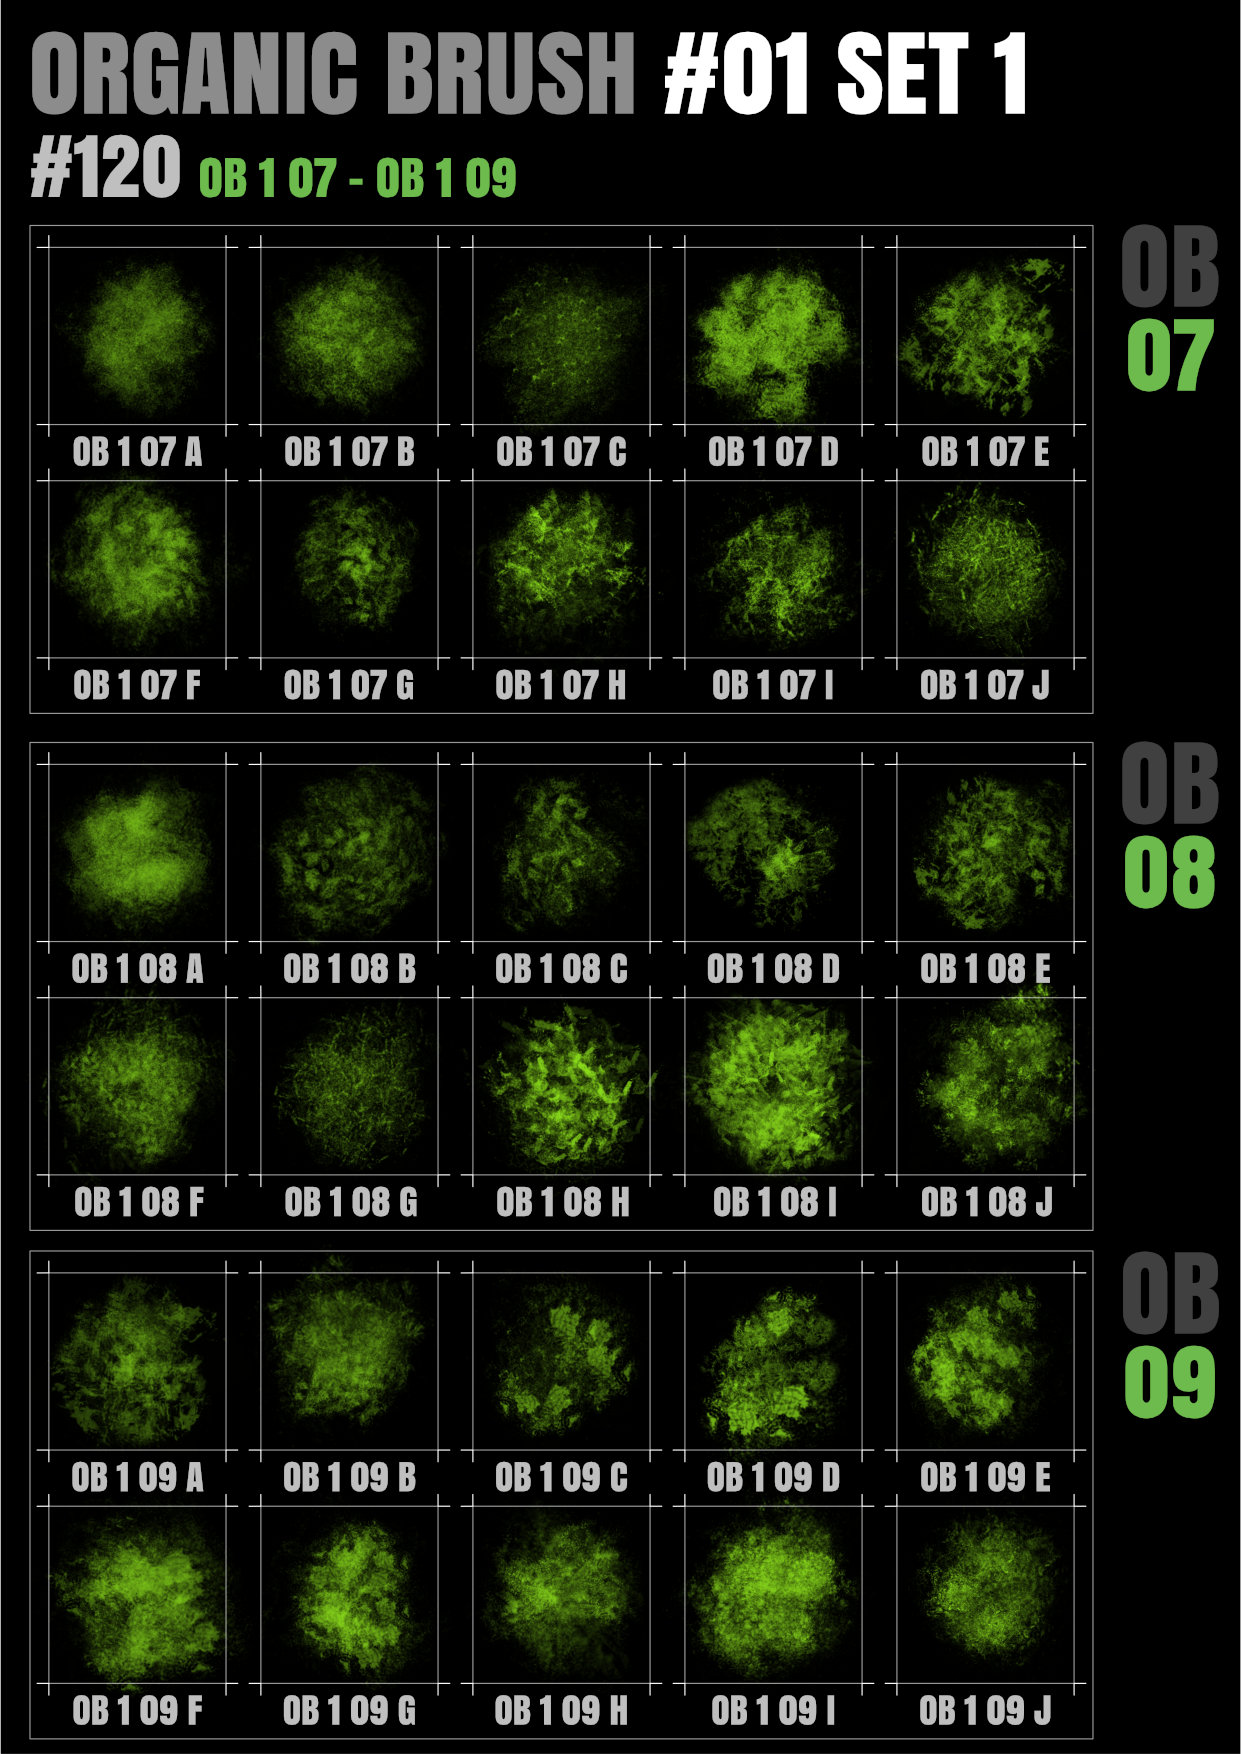
Organic texture Brushes Pack 1 Version 2.0 I have been working on updating the original texture brush packs so that it complies with more recent uploads The original 11 brush packs(.zip) files have been removed and replaced with a single file containing all the original brush packs so that they are stil accessible Added a new set now containing 12 brush packs (120 brushes) also in a single file for download. Made significant changes to the original brushes a. simplified the nozzles by removing the intense pattern overlays and added 28 new additional png files to increase pattern variation. b. Reduced the initial size of the some of the original brushes. c. Adjusted the brush dynamics to allow for use of flow and accumulation in the general brush tab d. Where possible reduced the reliance on random size variation in brush dynamics d. Added sample 4 page PDF for download e. Removed original sample images (11) and replaced with just 4 enjoy! New Versions TB ORGANICS V2.zip OB 1 Set 1.pdf Old Brush Set ORGANICS 1 ALL V1.zip

- 35 replies
-
- 29
-

-

-
- raster
- organic brush
- (and 1 more)
-
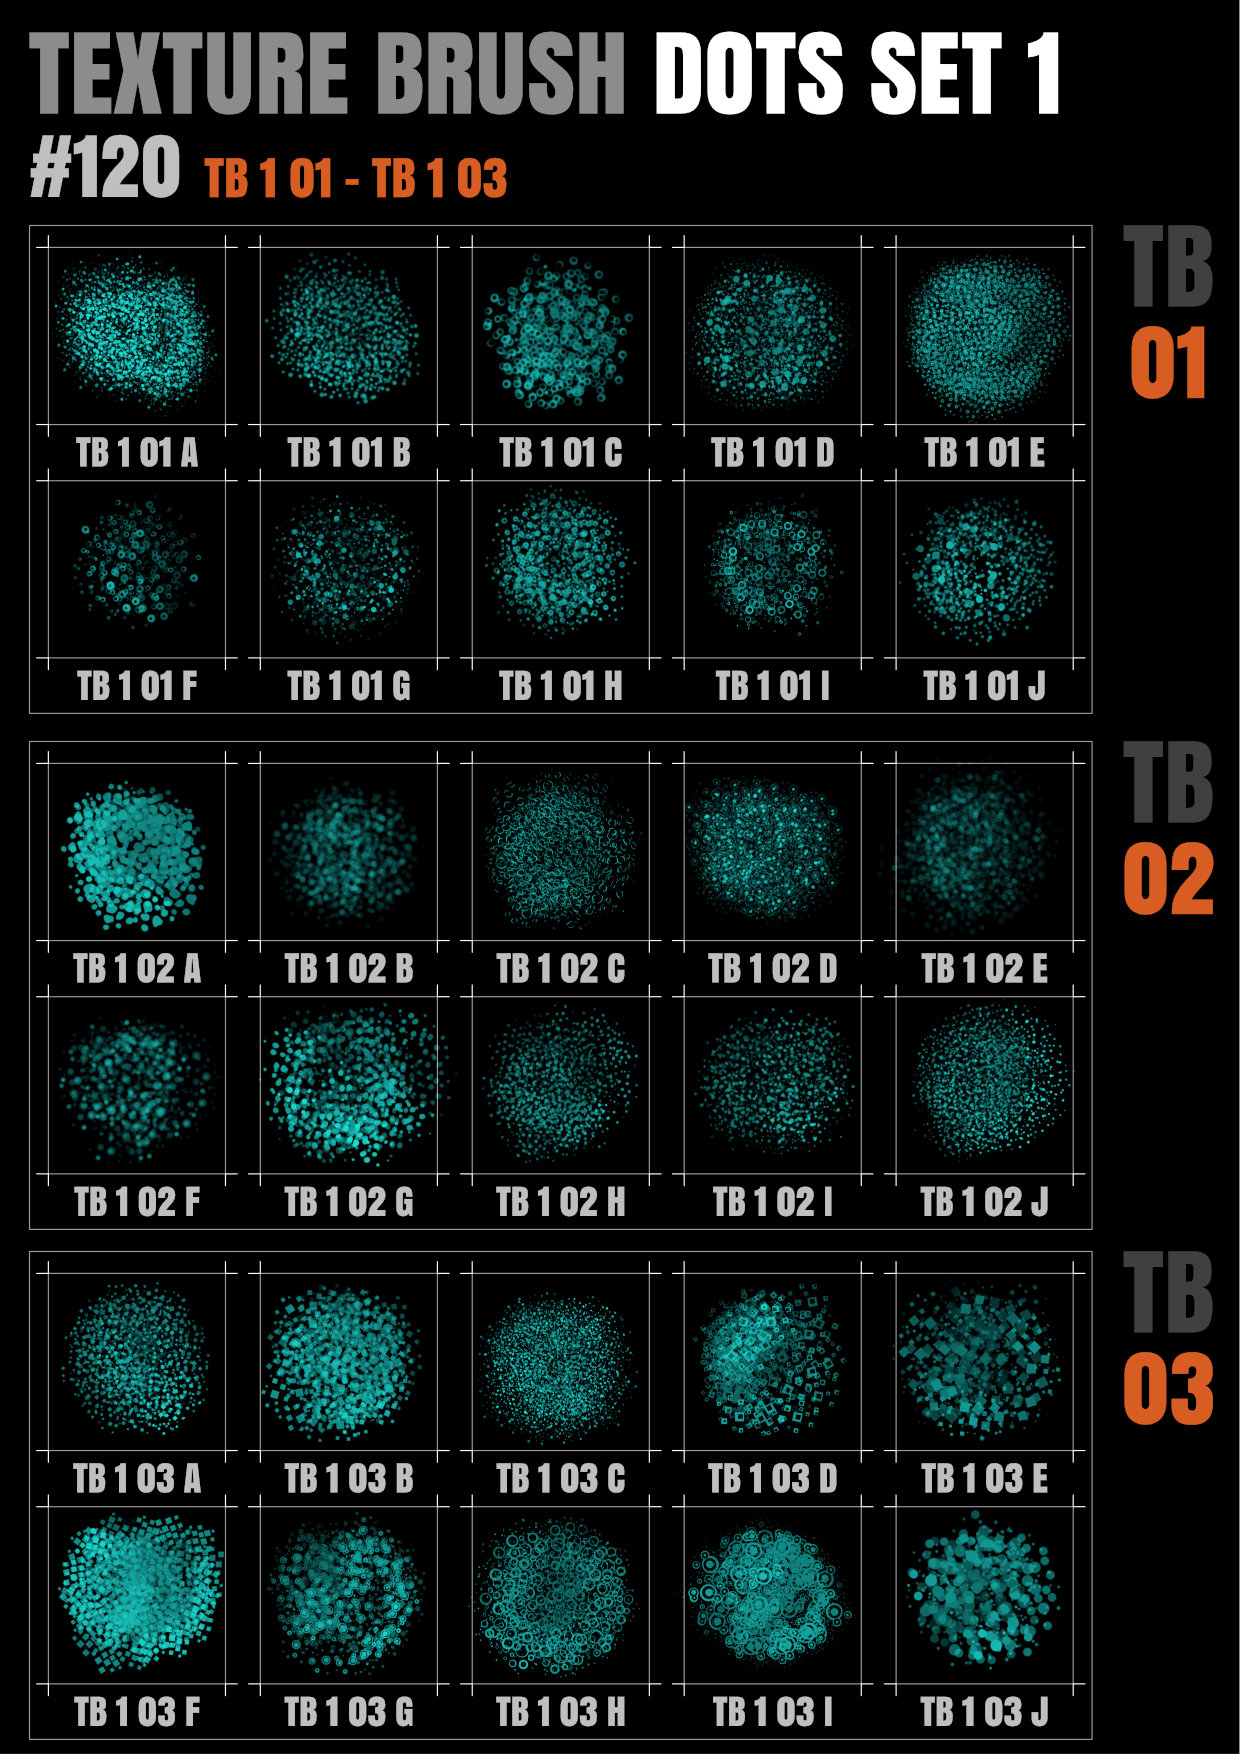
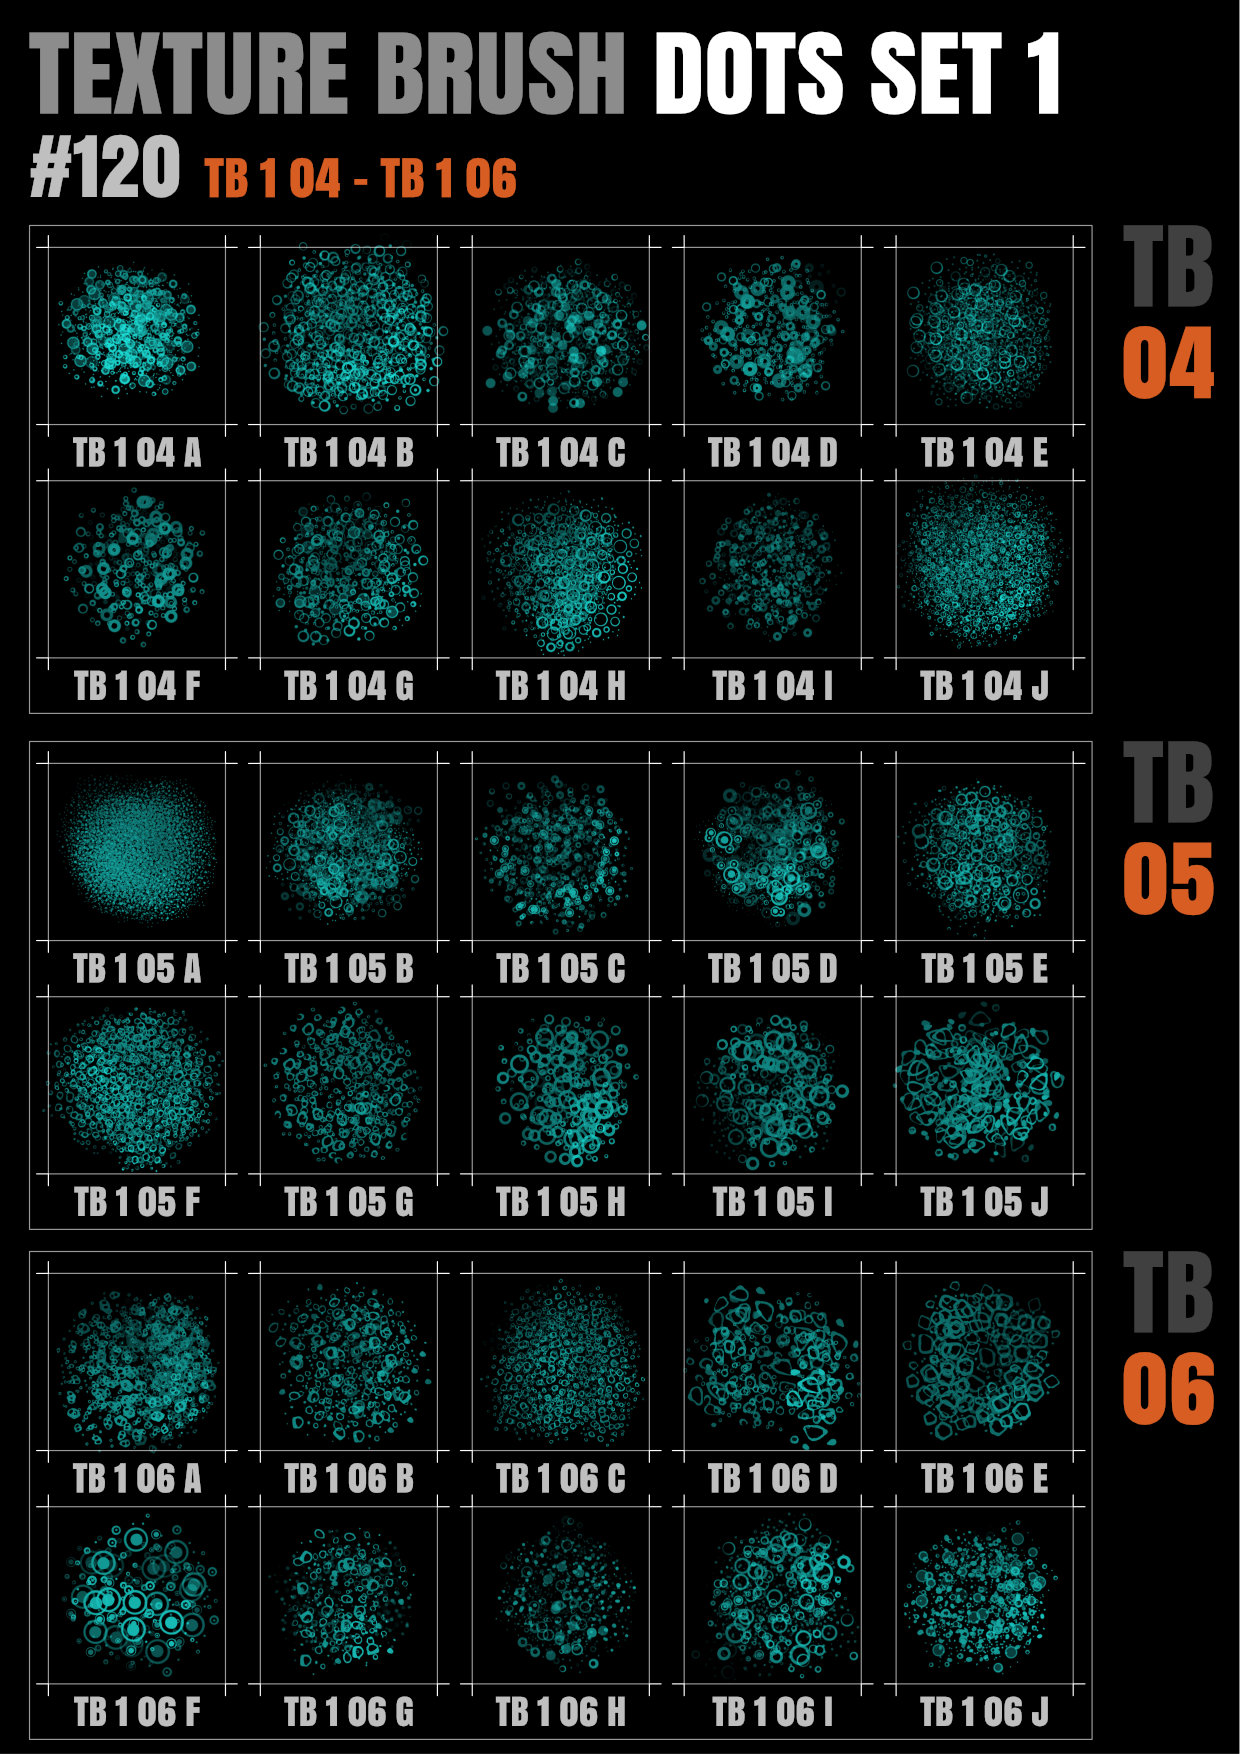
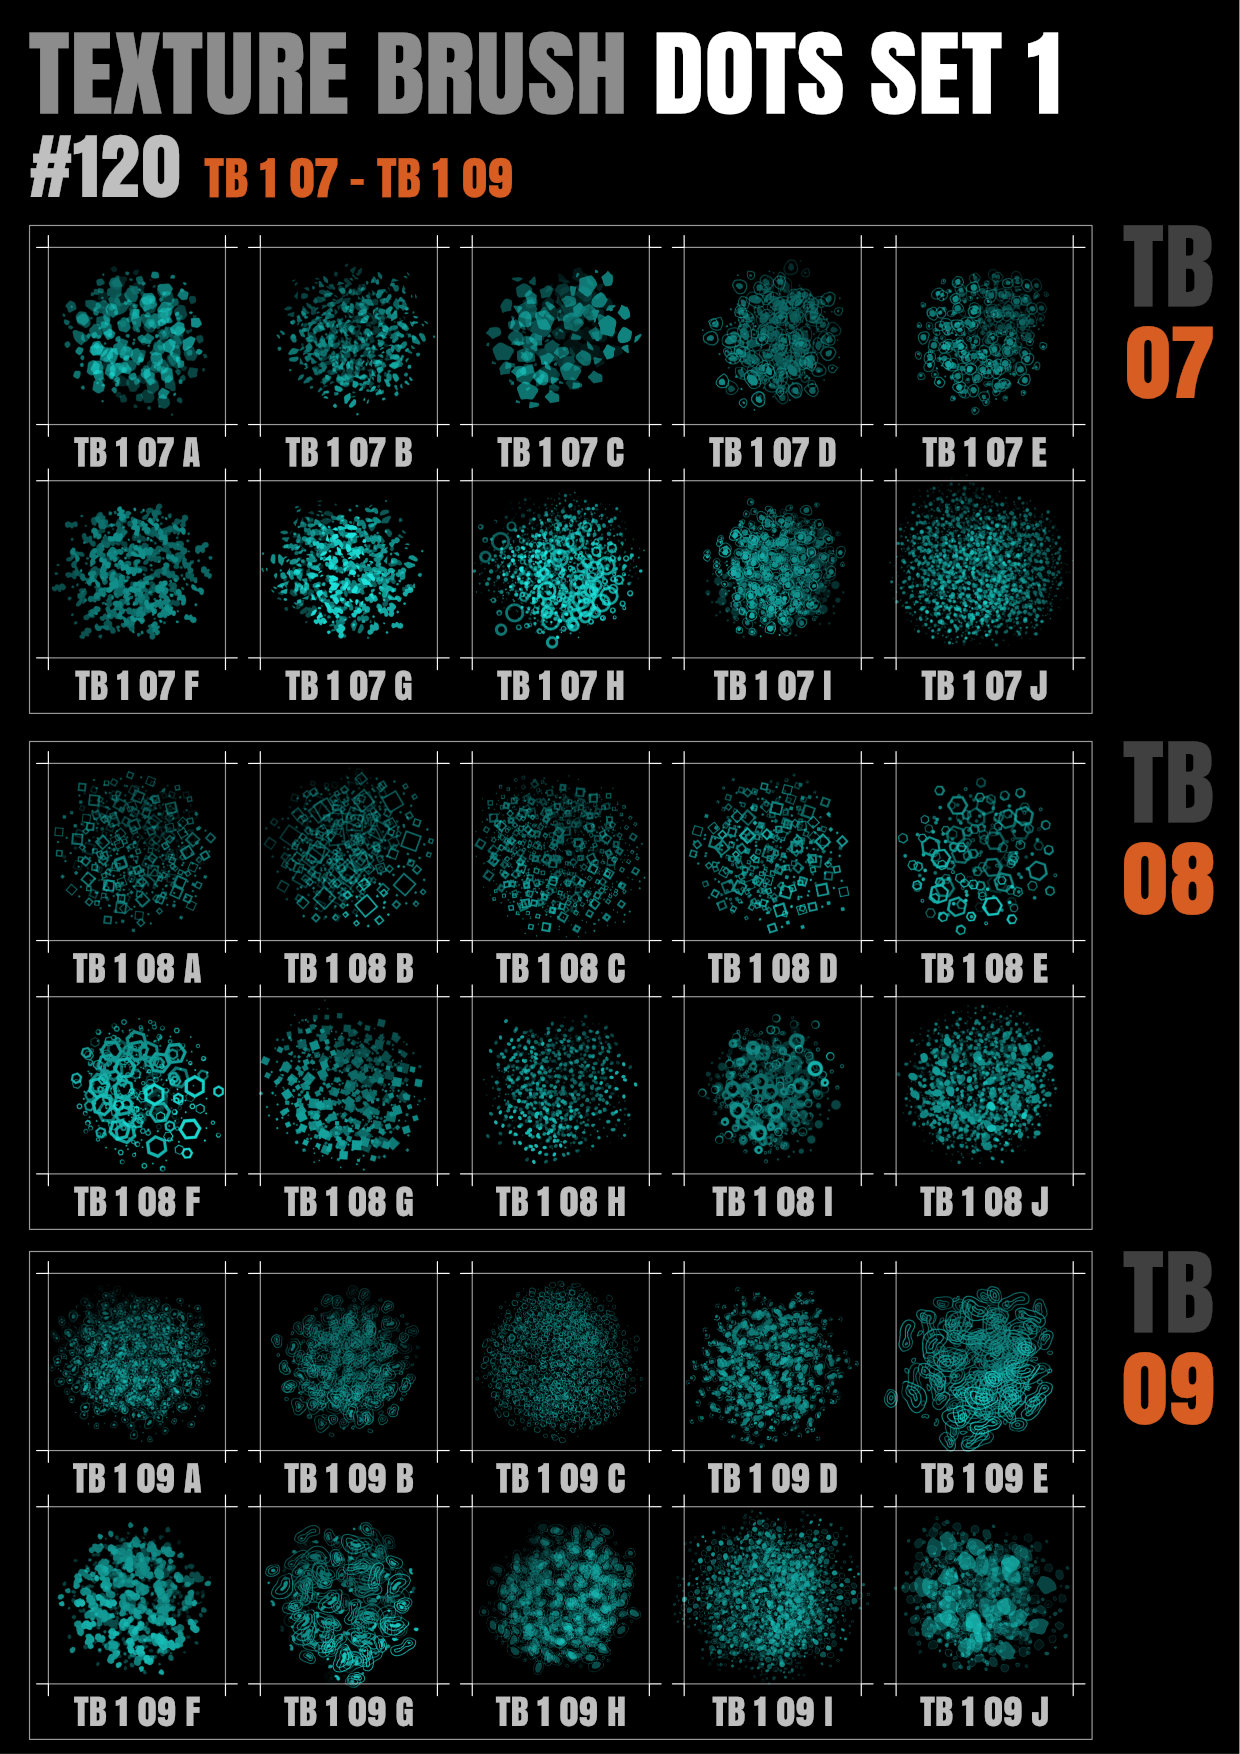
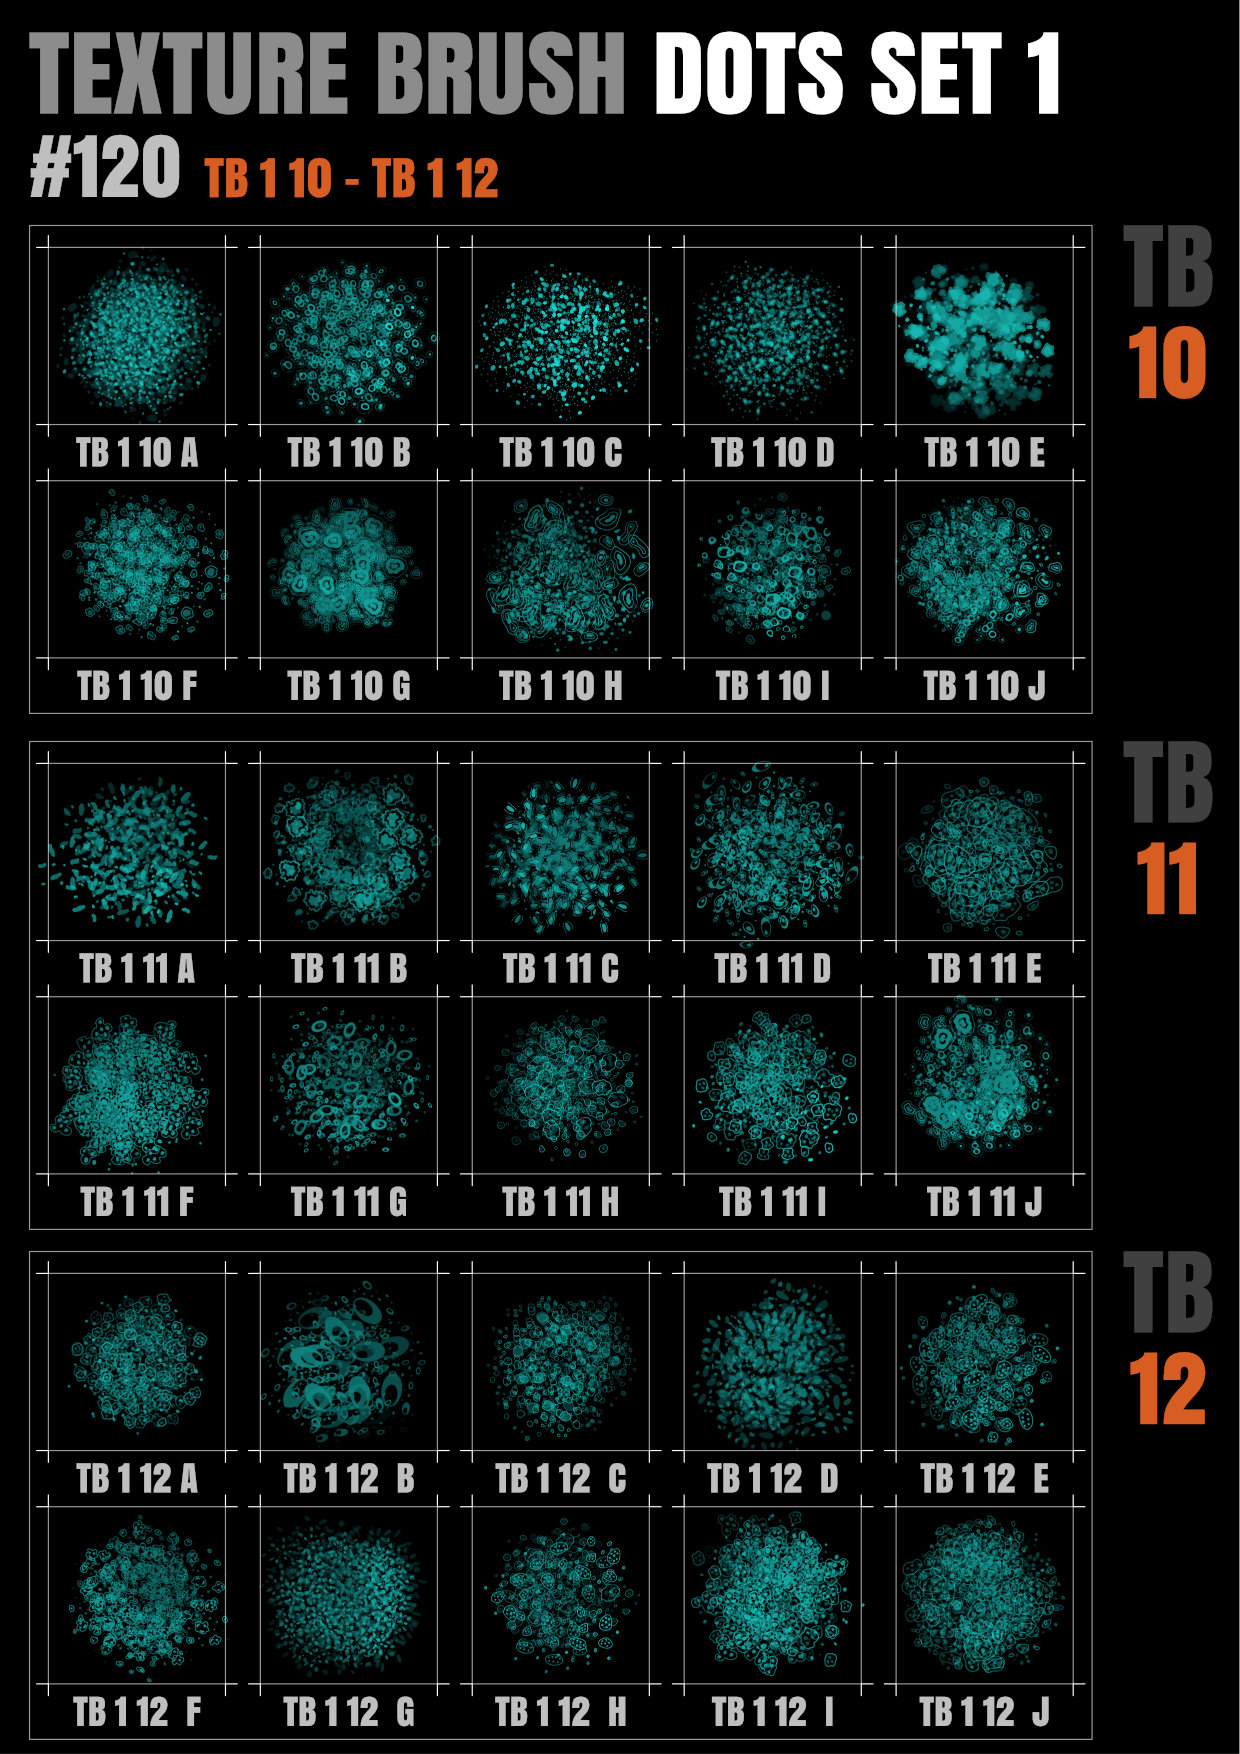
Texture Brush Dots Upload of 120 Texture brushes [Set 1] with sample sheets Changes 1. Modified Dynamics (Flow and Accumulation Jitter mostly...) 2. Assembled into single Zip file 3. Added new set of sample visuals 4. Added A4 sample sheet [PDF] 5. Brush Labels re-named in individual packs to comply with how sets have been organised 6. Removed old sample visuals New Format TB DOTS Sample120.pdf TB DOTS Set 1 P 01 - 12.zip Single Brush Packs (10 brushes per pack) Old versions of TB DOTS set 1 (above) Assembled in one place for convenience Texture Brush Pack 05.zip Texture Brush Pack 06.zip Texture Brush Pack 07.zip TB DOTS-Pack 29.zip TB DOTS-Pack 30.zip TB DOTS-Pack 31.zip TB DOTS-Pack 34.zip TB DOTS-Pack 35.zip TB DOTS-Pack 36.zip TB DOTS Packs 37-39.zip
-
You are welcome..happy to help....I hope it does not turn out to be a large issue...back to testing!
-
Hi Dominik, I am pleased to hear that I am not the only one with this strange issue.....I tried what you suggested but didn't resolve it. I placed another panel underneath (to attach) but Paragraph Panel remains the same fixed size... With further experimentation I can Stretch the Panel (X direction) and click on the arrows to scroll content...but that's about it.. Just hope it does not cause too much work for the developers, I am sure they are all already overwhelmed.
-
Hi Sean Thanks for getting back to me.. Yeah interesting issue. Its still there today (obviously shutdown and rebooted last night!) It was a bit of a surprise to me..I have been really impressed with these applications and this year have spent a lot of time getting to grips with them... They have been pretty stable for me (only had 1 major crash just after Christmas with the symbols panel but I am aware that is being addressed) I have attached a zip file of the complete beta folder...for your reference. I removed the 2 sample files to make the .zip file compact for forum upload rules The release version is working fine (1.5.2.58) with the same fonts installed I did not reconfigure settings in Beta version. I did clean up installed fonts about a week ago after after the latest windows update but this was before I installed the Beta version With regards to what I was doing.. well I was just doing some testing on the beta version..seeing If I could find any bugs... Created new file (A4 300DPI) Added Frame text/filled with placeholder and resized. I think I also had a look around the styles panel. changed the font of filler style Then clicked on the character and Paragraph buttons (Context menu) It's still visible now on my screen. I can move the panel around (in it's smaller size) but not resize | If Docked the Para/Character Panel Automatically folds to the size of the now small paragraph panel New Screenshot below I hope this helps..If you need anything else just let me know
-
Morning Affinity, I was just spending sometime with the the new beta version and came across an issue with the Paragraph Panel (I am sure you are aware of this one!) which appears to be fixed at minimum size. Issue occurring when nested with Character Panel and free or drag/drop position As attached snapshot Using: Affinity Designer Beta 1.5.3.62 On OS Windows 10 Pro 1607 OS Build 14393.969 System AMD FX 8350 and AMD Radeon 16.12.2 (R9 380 Series)
-
Excellent! news, Thanks Lee... I am relieved it was not just my imagination.... :)
-
Wow! Love it! Brilliant piece of work...... How long did it take you to do?
-
Hi Guys, I just wanted to report something I found in Affinity Photo that you may be aware of: I have been working my way through your fantastic video tutorials for the past few months and using MEB's site as reference (http://www.miguelboto.com/affinity/photo/video-tutorials/ ) and finally got to the last video tutorial in the Design Aid's section titled 'Undo Brush with Snapshots' ( ) The tutorial as I am sure you are aware examines the use of the Snapshots and History Panels to effectively 'clone' image versions with the Undo Brush back onto the main file/layer/'s Part of the process was to select the icon (camera) in either the history or Snapshot Panel to define which version to deploy using the Undo Brush. This is working brilliantly on the History Panel. Unfortunately, the icons are not displaying in the Snapshot Panel. Consequently, making it impossible to run through the process. When you create a separate pixel layer to display the resultant image under the undo brush. It repaints the original image. Snapshot attached Using Affinity Photo 1.5.1.54 Affinity Designer 1.5.2.58 Affinity Designer Beta 1.5.3.62 On OS Windows 10 Pro 1607 OS Build 14393.969 System AMD FX 8350 and AMD Radeon 16.12.2 (R9 380 Series)
-
affinity designer [AD] 8 Differently Identical Semi-Transparent Squares
StuartRc replied to Aammppaa's topic in Share your work
Hi yes interesting exercise.. i just could not resist having a look..had to scratch my head a bit but then... what about the transparency tool itself with each end set at 50% -
Fantastic work Bobo B. Thanks for showing what can really be achieved with vectors (and a lot of patience!) with this exceptional software! I look forward to your next artwork Did the number of vector objects slow down the application?
-
Hi christovw66 Sorry I missed your response with regarding centering objects/art-boards and selections; However, MEB has offered an effective solution...and another method of creating art-boards! Asking questions, even simple ones! is not a waste of time..It's how we all move forward....and happy to help.. Hi MEB Thanks for picking up and helping with the Query! regarding the second question I liked your quick video....
-
Hi All Yet another month of fun Finally! Completed the second artwork based on #Inktober 2016 (03 Collect). From a sketch produced in Sketchbook Pro but reworked with Affinity Designer/Photo I really like the embedded file options it can save you so much time when working with compiled images Original Size 300x600mm 300dpi
-
Hi There, I just had a look at your file: There are several ways you could do this. I Have listed a few for you below so you can what suits you best and depending on what you require of the artwork! 1. Select your outer red rectangle and then insert Artboard (using Artboard tool) with; Size rather than Document selected in the Context Menu (This will create an Artboard to the same dimensions of the selected object then export//save) 2. Using same Method but add a background rectangle object at size you require (Then you can control the exact dimensions and repeat 1) 3. Insert Artboard Using Size:Document Then use handles to manually resize or define specific size in the Transform Panel Current document size=430x297mm (300dpi) object = 305x204 mm 3. In export Persona Create a Slice using the Slice tool and export using your named slice 4. Create Slice from Selected layer (in layers Panel/PixelPersona/Layers then Create Slice button) Then go to slices and export There are a few other ways like resetting the document dimensions or create a new document to required size and Copy/Paste your object Hope this helps have fun with the application!
- 10 replies
-
- 1
-
-
- reduce
- background
- (and 7 more)
-
wow! absolutely stunning artwork...keep it up
-
Hi Miles Is it a more efficient way to selecting two nodes and clicking delete? Well depends what you are trying to achieve. When working on lines or shaped objects, if you simply delete the node/s, the path of the object is deformed even if ‘smart nodes’ are selected . The nodes are deleted but not the line To keep the path of the line intact, breaking the nodes and deleting into separate lines would be a better option I put together some simple suggestions that may help you but really experimentation is the key solutions Sometimes you just need to adopt a structured workflow as vector drawings can get complex, especially with nesting and stacking Closing lines for Filled objects (except when need to blend colours below) Use the shape tools to build complex vector shapes as they are quite brilliant! combine them with Boolean operations and then convert to curves can simplify your drawing process. Make use of compound shapes and subsequent created compound layer (ALT+Click Boolean buttons) Use Global colours, once you get the hang of them it’s easy to universally change the look of multiple objects Keep the number of nodes to a minimum; click and drag rather than click, click, click. (Sometimes difficult as Affinity can a lot of nodes in some circumstances as gdenby pointed out) I tend to rely heavily on the Layers Panel to develop a stacking order using Layers Groups, Compounds and layer objects. This is useful when applying effects across multiple layers. I noticed that jer commented that he had to search for the offending line in the layer stack. There is an option in preferences to allow selected objects to be highlighted in the layers panel (Preferences/User Interface and check =’show selection in layers panel). This works for both the Node and Move Tools. I am not sure whether it’s activated by default. Add keyboard short-cuts to common drawing tasks; like breaking and joining nodes; it’s much easier than dancing with the cursor. [AD] How to select underlying node in Questions and feedback forum (may help you I did not know this until yesterday!)
-
Hi I have attempted to fix it for you (Hope its what you want!) just needed to isolate the line and break the two nodes at each end of the line (break icon on pen tool options)..I set up 2 hot keys to control these ..it makes things easier to manipulate nodes if working on vectors all day! car - file_no line.afdesign
-
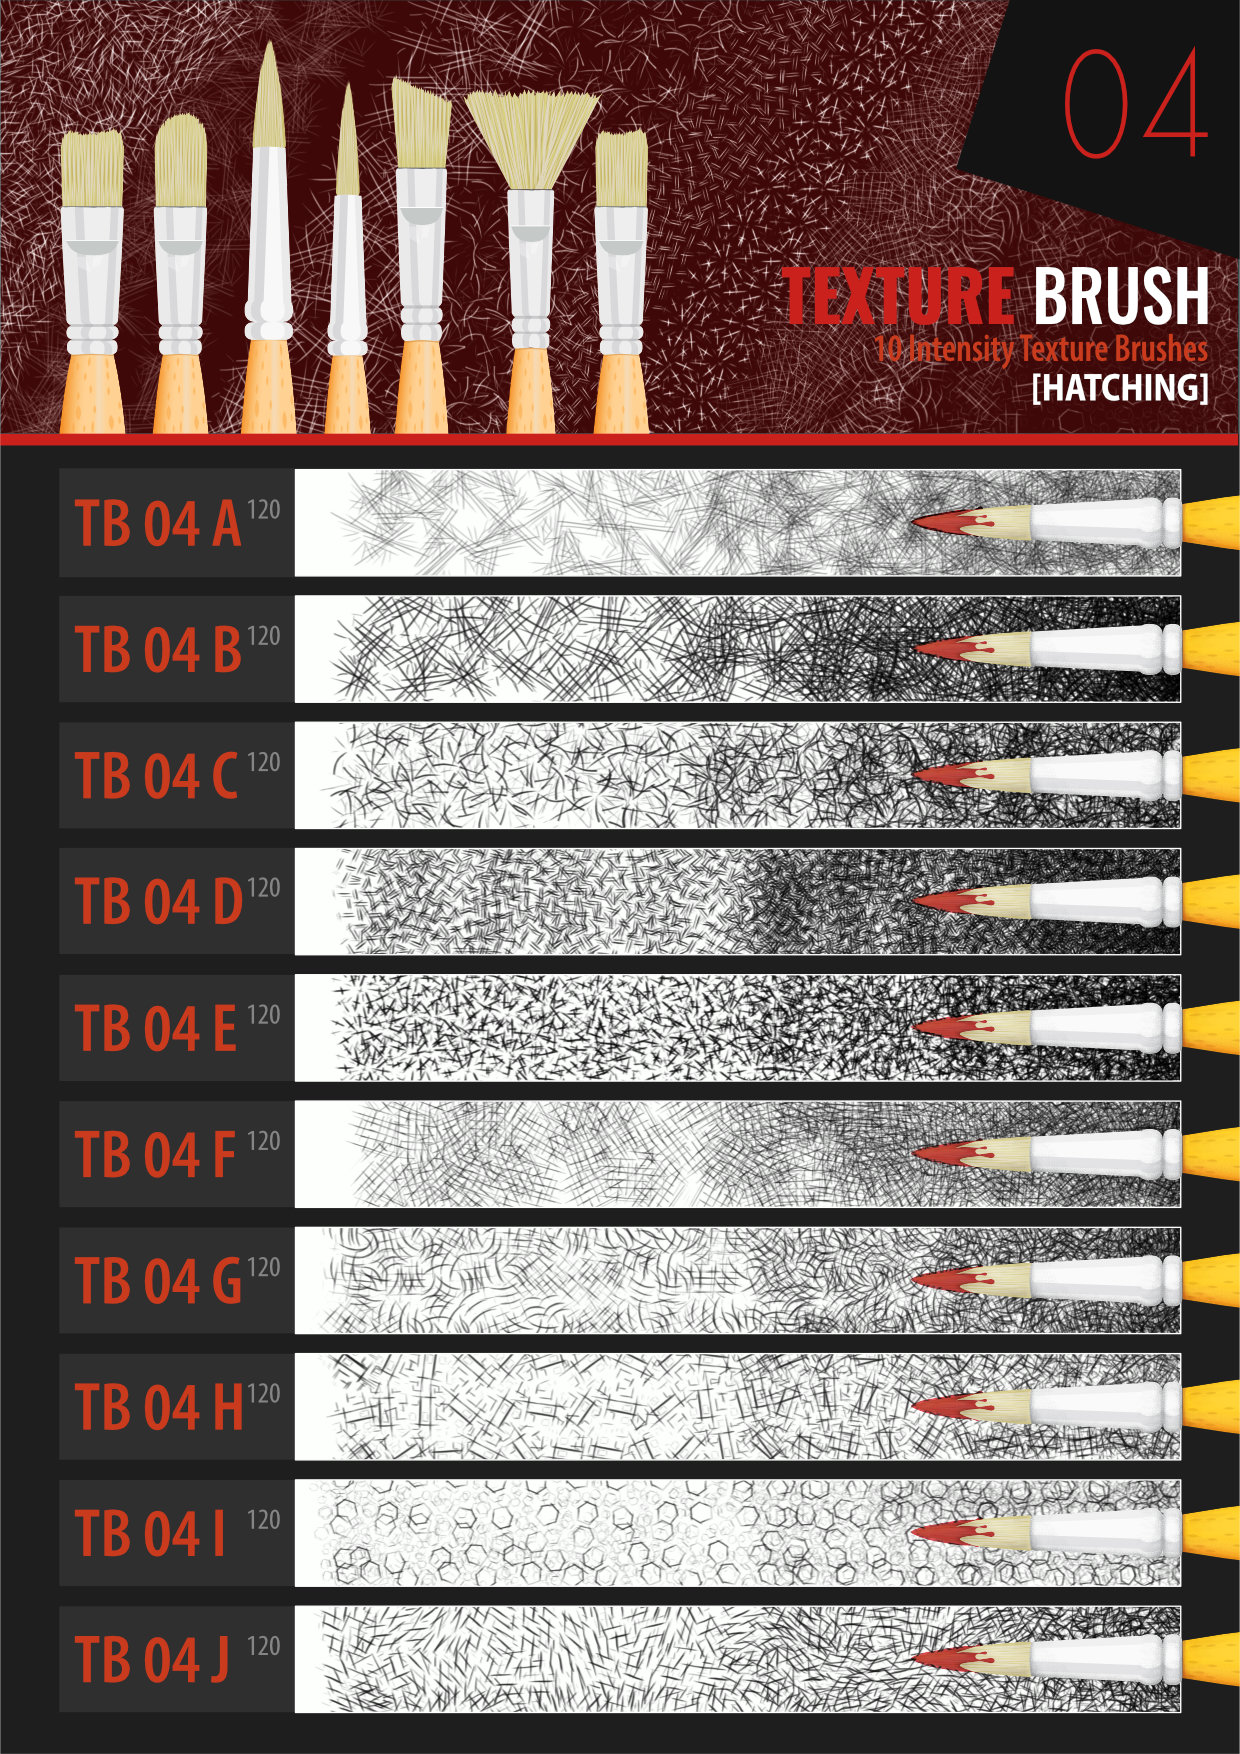
This is a very old thread and pre-dates the version below: Updated version is located here :Texture Brush Packs [Hatching Version 2] Making available a new set of texture brushes [hatching 02] that I have been working on for a new artwork Texture Brush Pack 04.zip