DWright
-
Posts
3,093 -
Joined
Everything posted by DWright
-
 This post shows ways to do this in AD and combined with AP
 -
Hi pstpn, Welcome to the forum. There is no automatic way to adjust the size of the slice, as long as you slice selection is from it's own layer you can manually stretch the slice to the size of the background and then set the required output format in the export setting and with the slice selected click on the export selected to save. Regards, Darren
-
Hi el_diablo, The flood fill will either select all, deselect all or set the opacity for the whole photo using the white, black and grey colours rather than using the colour from the photo itself. can you let me know the other tools that are misbehaving for you. Regards, Darren
-
Hi Abdou23, Welcome to the forum. Designer allows you to combine shapes, add shapes, subtract shapes and make a shape from the intersect of multiple shapes. I recommend downloading the trial version to see if this meets your requirements. Regards, Darren
-
Hi vieuxjeux, Can you please let me know the PSD preset that you are using when exporting from AP, when I export from both 1.4 and 1.4.1 beta 2 the preview is showing correctly in finder and the LR library Regards, Darren
-
Hi marcelrobi, I get very good results using the channel mixer adjustment layer as it does not wash out the shadow and fine details from the original image see attached screenshot of changing a white car to yellow. Regards, Darren

-
Hi sayatnova, Welcome to the forum. The format that I would use in Motion would be a PSD also if you want to take the PSD directly into FCPX AD has a PSD preset for the best output. Regards, Darren
-
There is another option if you download the trial version of Affinity Photo you can use the perspective tool on the text and then save as a Affinity Photo format and then in Designer use to place tool to open the file and then place this on the truck .
-
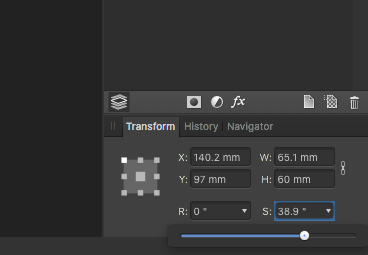
Yes you can use the one in the character, I use the one in the transform as it also has the rotate option and you can choose the anchor point to apply the effect from. I used the centre point rather than the default top left hand corner.
-
I will log the issue when copying from Chrome with the Affinity developers so that we can investigate this further.
-
The skew option is in the bottom right of the transform tab with the letter s and it allows you to angle the object, I had a quick play on adding text to the truck as shown in the screenshot this was just quickly done by adding artistic text and then rasterised so I could change the angle. You can also convert the text to curves and then change each of the letters individually
-
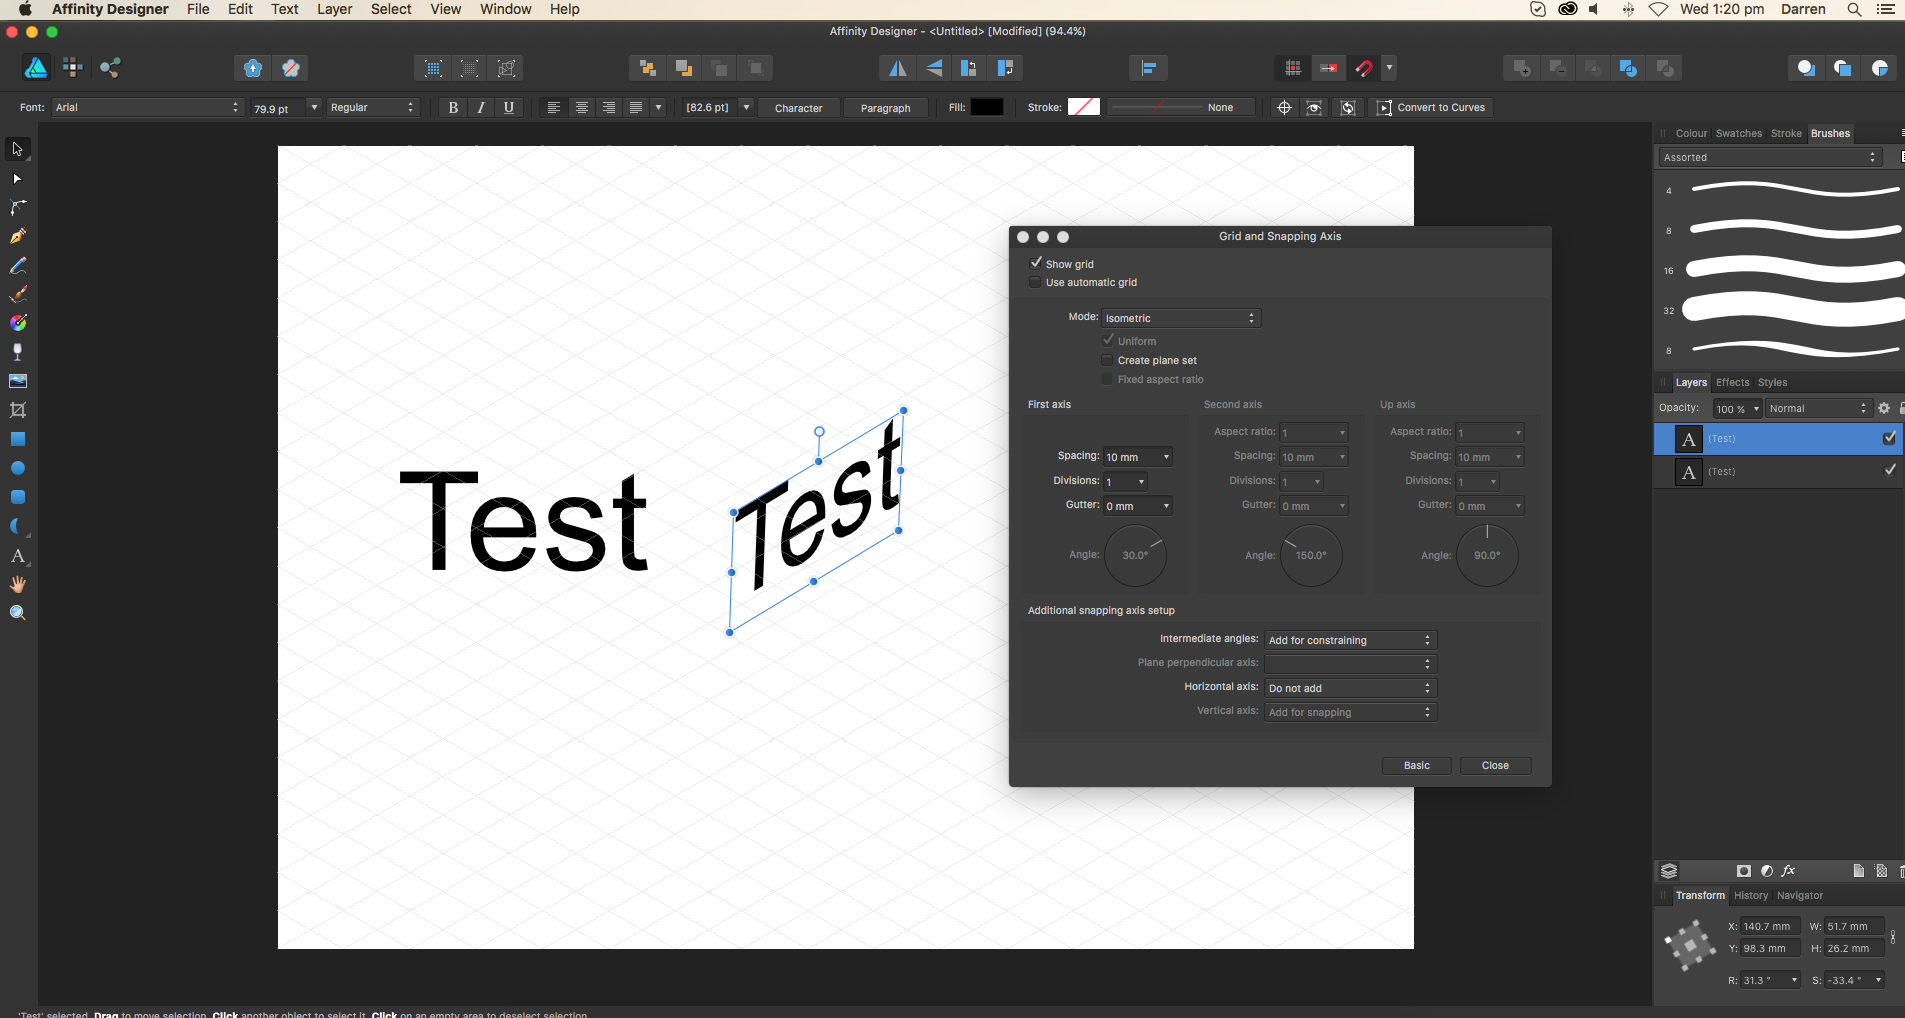
Hi iMac1943, You can create a basic version of this effect by using grids & axis manager and pace the view into isometric and you can use the rotate and skew option in the transform tab to create the effect as shown in the attached screenshot. Regards, Darren
-
Hi smash1976, It looks like your mac is running in the background rather than crashing, If you start the activity monitor and then open Affinity and save what load levels is your mac encountering. Darren
-
Hi hawk, To apply a gradient to only part of your drawing select these objects and then group them together and then on the context toolbar click on the fill and then select the gradient tab this will then allow you to create the required gradient and this will only be applied to the group. This link is to a video tutorial that shows this in action as well as defining the gradient. Regards, Darren
-
Hi MikaG, You can also use a live high pass layer as this is allows you to define the edges and when combined with a contrast blend to sharpen the image. this link is to a video tutorial showing how the layer can be used with a blur effect. Regards, Darren
-
Crop to selection ?
DWright replied to Bungle's topic in Pre-V2 Archive of Affinity on Desktop Questions (macOS and Windows)
Hi Bungle, A quick way to crop is to select the crop tool and then draw the crop selection area and then double click on this select and the crop will be applied. For an overview of the crop tool please click here to fire the video tutorial Regards, Darren -
Hi Smash1976 and Bungle, Welcome to the forum Are you getting the freeze and crash issues will all photo types or is it happening on a certain type of photo Regards, Darren
-
Hi GenesaJim, Welcome to the forum. To see all of your Mac Photos use the Media Browser from under the View menu and this will show all of your Mac Photos and double clicking on a image will load into Affinity Photo, you can also drag and drop the photo this is also a quick way to make a photo montage. Regards, Darren
-
The version of Safari that I am using is 9.0.2 (11601.3.9) can you please update your Safari to this version and let me know if you are still having the same issue
-
Hi Yogi9409, Welcome to the forum. The easiest way to have a graph paper design in Affinity Designer is to download one of the free AI graph paper templates and then modify the drawing for your requirements, the other way is to turn on the grid and adjust this for your layout and then use this as a guide and use the line tool to manually create the graph paper. Regards, Darren
-
I have tested this and when using Chrome the formatting is being lost when pasted but when I used Safari it was pasting correctly. Does it paste if you use the Safari browser.
-
Can you please check that you are running version 1.4 also can you let me know the URL address of the site that you are copying the text from as when I test copying from websites it is clearing the formatting when pasted.
-
Hi IsabelAracama, The paste without format option is used when you want to copy text but you do not want to keep the text formatting. When copying images this will have no effect. Regards, Darren
-
Hi pxfan, We will be working on a DAM program for the future at the moment I do not have any timeline when this will be released please check out website for future announcements. Regards, Darren
-
Hi bram, Welcome to the forum. To smooth the edges when cutting out select the area to remove and then click the refine button and set a very low feather setting of around 0.2 to 0.4 and then using a small brush and go around the edges of the photo and when you remove the selection you will have a smoother edge. This link is to the refinement tutorial for Affinity Photo and the tool works the same in Designer. I noticed that you are using an older build of Designer I recommend updating to the latest 1.4 build. Regards, Darren