Search the Community
Showing results for tags 'Curve'.
-
 Strange transparency rendering behaviour when adding transparency to individual lines created with arrowheads. This has probably been a forever thing, but have just bumped into it again when fading parts of a flow build. If you create a single line with an arrowhead (curve layer) and change the layer transparency, designer renders the line and arrowhead as individual objects, which given that they are overlayed to prevent gapping creates a more dense area where the line meets the arrowhead. Work around is to group the object… which seems like an odd thing to need to do for a curve line that should behave as a single object. I can't think of an application where I would want/expect the current standard behaviour.
- 3 replies
-
- 1
-

-
- arrowhead
- transparency
- (and 3 more)
-
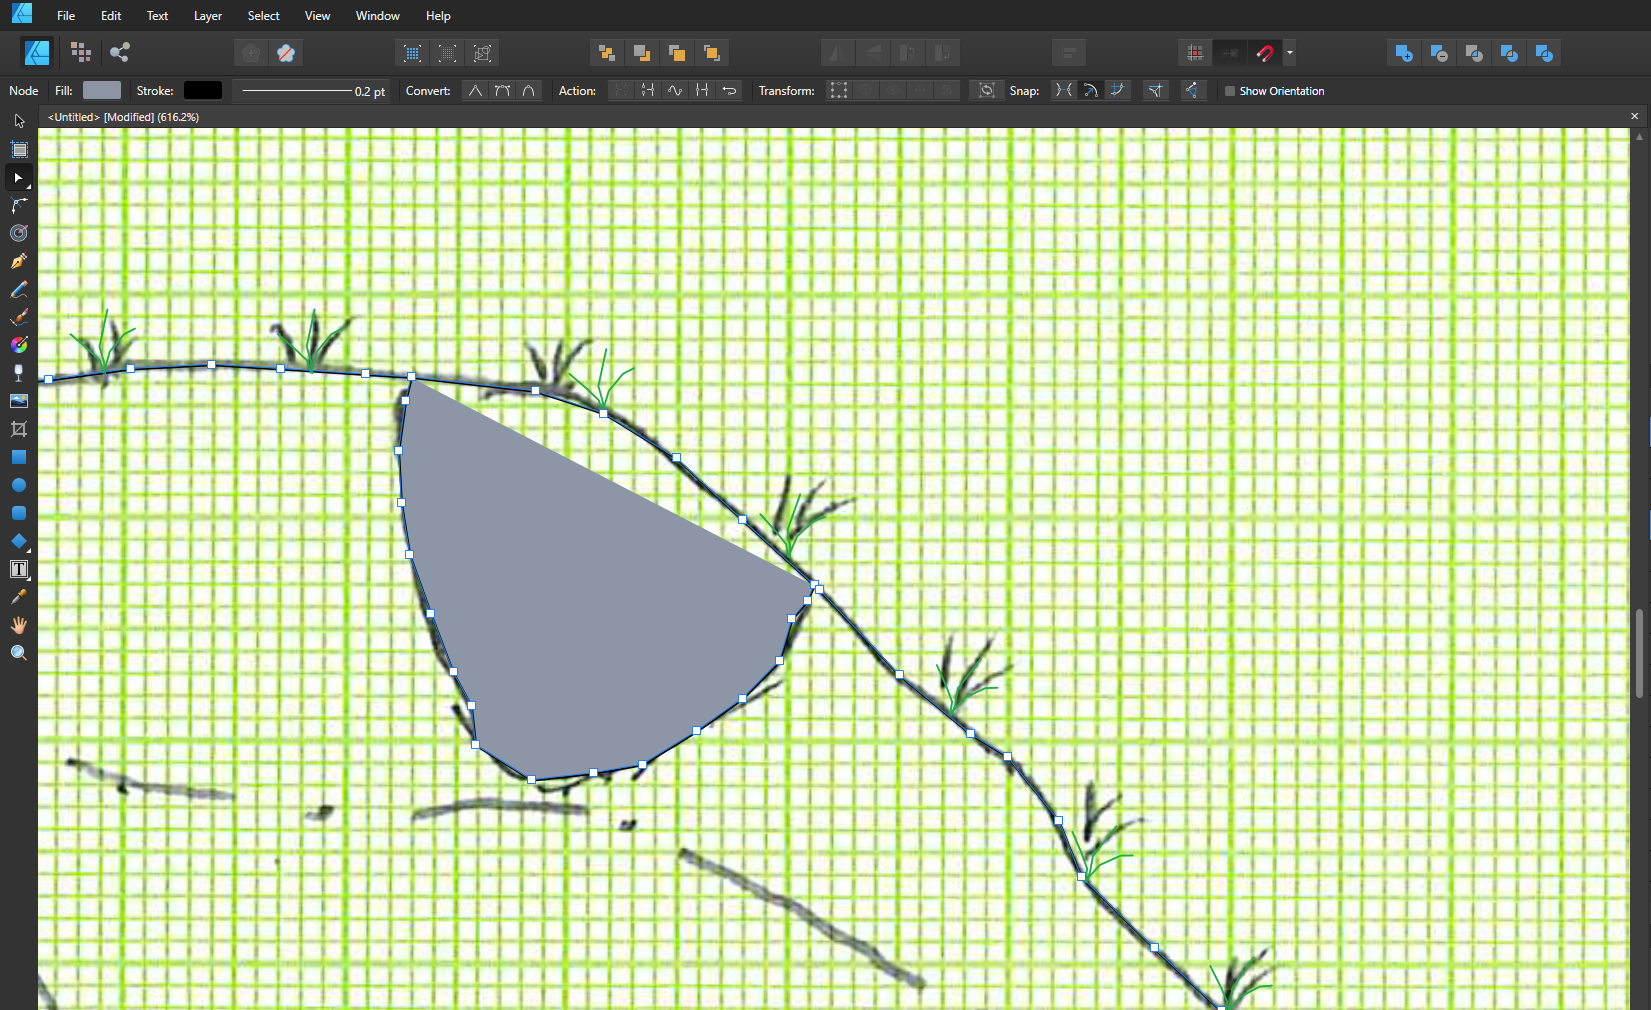
 I am making some pattern that will be cut with a laser. This means that I have to plan the paths for the cuts by using vectors. I need to cut the whole edge of a piece (curvy) on a zig zag so the curves keep some stability once cut, but I can't finde a way to turn my smooth lines into zig zag ones.
 -
 I'm trying to figure out what this does. It's an option and there is an icon for it in the context toolbar (attached) when the Pen Tool is active but I can't seem to figure it out. The Help description describes what it does but isn't working for me. Can anyone enlighten me? Thanks!
-
 I observed strange behavior when it comes to align objects to other objects that are clipped or masked. I prepared three cases, please watch my little demo video. - Case 1: When I try to align the blue rectangle to the masked group, the object aligns to the most left edge of all the items in the group. I would have expected the object to align to the most left visible edge, but I guess the thought process here is that the objects in the group didn't really change their size. By selecting the mask, I can easily change the visible area. - Case 2: The blue box aligns to the visible edge of the clipping rectangle, makes kind of sense, since clipping to my understanding means that nothing can be "outside" of the "carrier object". However I now can't easily resize the visible part without stretching everything else. - Case 3: This is probably the most weird one....If I mask the objects, just like I did in case 1, but this time I mask the objects themselves, not the group, the alignment is just like in case 2 (blue box aligns to the most left visible point). In my mind this is inconsistent: In case 1, the mask of the group was ignored when it came to alignment, however here, the mask matters for the alignment. Can anybody clear me up on this? Is this all intended behavior and I just don't get it right? 2020_02.12-00_31.mp4
 -
 Good day! If you would like to copy a part of any vectorshape, now you have to (1) copy the path, (2) select 2 nodes seperately, (3) break them, (4) ungroup the object, (5) delete the part you don't need. (6) break and delete node, if open path is required OR (1) copy the path, (2) draw a path on top of it that includes the area you'd like to keep, (3) mark the two objects, (4) use intersect-tool, (5) break and delete node, if open path is required I would very much like to simply (1) SELECT the part of a curve I want and then press (2) COPY+PASTE to paste the selection. Thank you for considering!
 -
I have used some auto-trace programs and online tools. At best the results are poor (IMHO). Even with very basic line or shape drawings I find that there are 10 or more times the nodes I would create by manually tracing. Usable but messy to edit the resulting curves. I would not expect Serif to add auto-trace as a feature. What I would like to see added is the reverse of one feature that is already in AP & AD. We can convert a curve to a selection but how about the ability to convert selection(s) to curve(s). Is this an option? Has it been consider/attempted and written off as a 'no go'?
- 1 reply
-
- 1
-
-
- feature wish
- trace
- (and 2 more)
-
How can I constrain node to move only along the path of a curve ?
-
Inline objects vanish when converting its parent text to a curve.
-
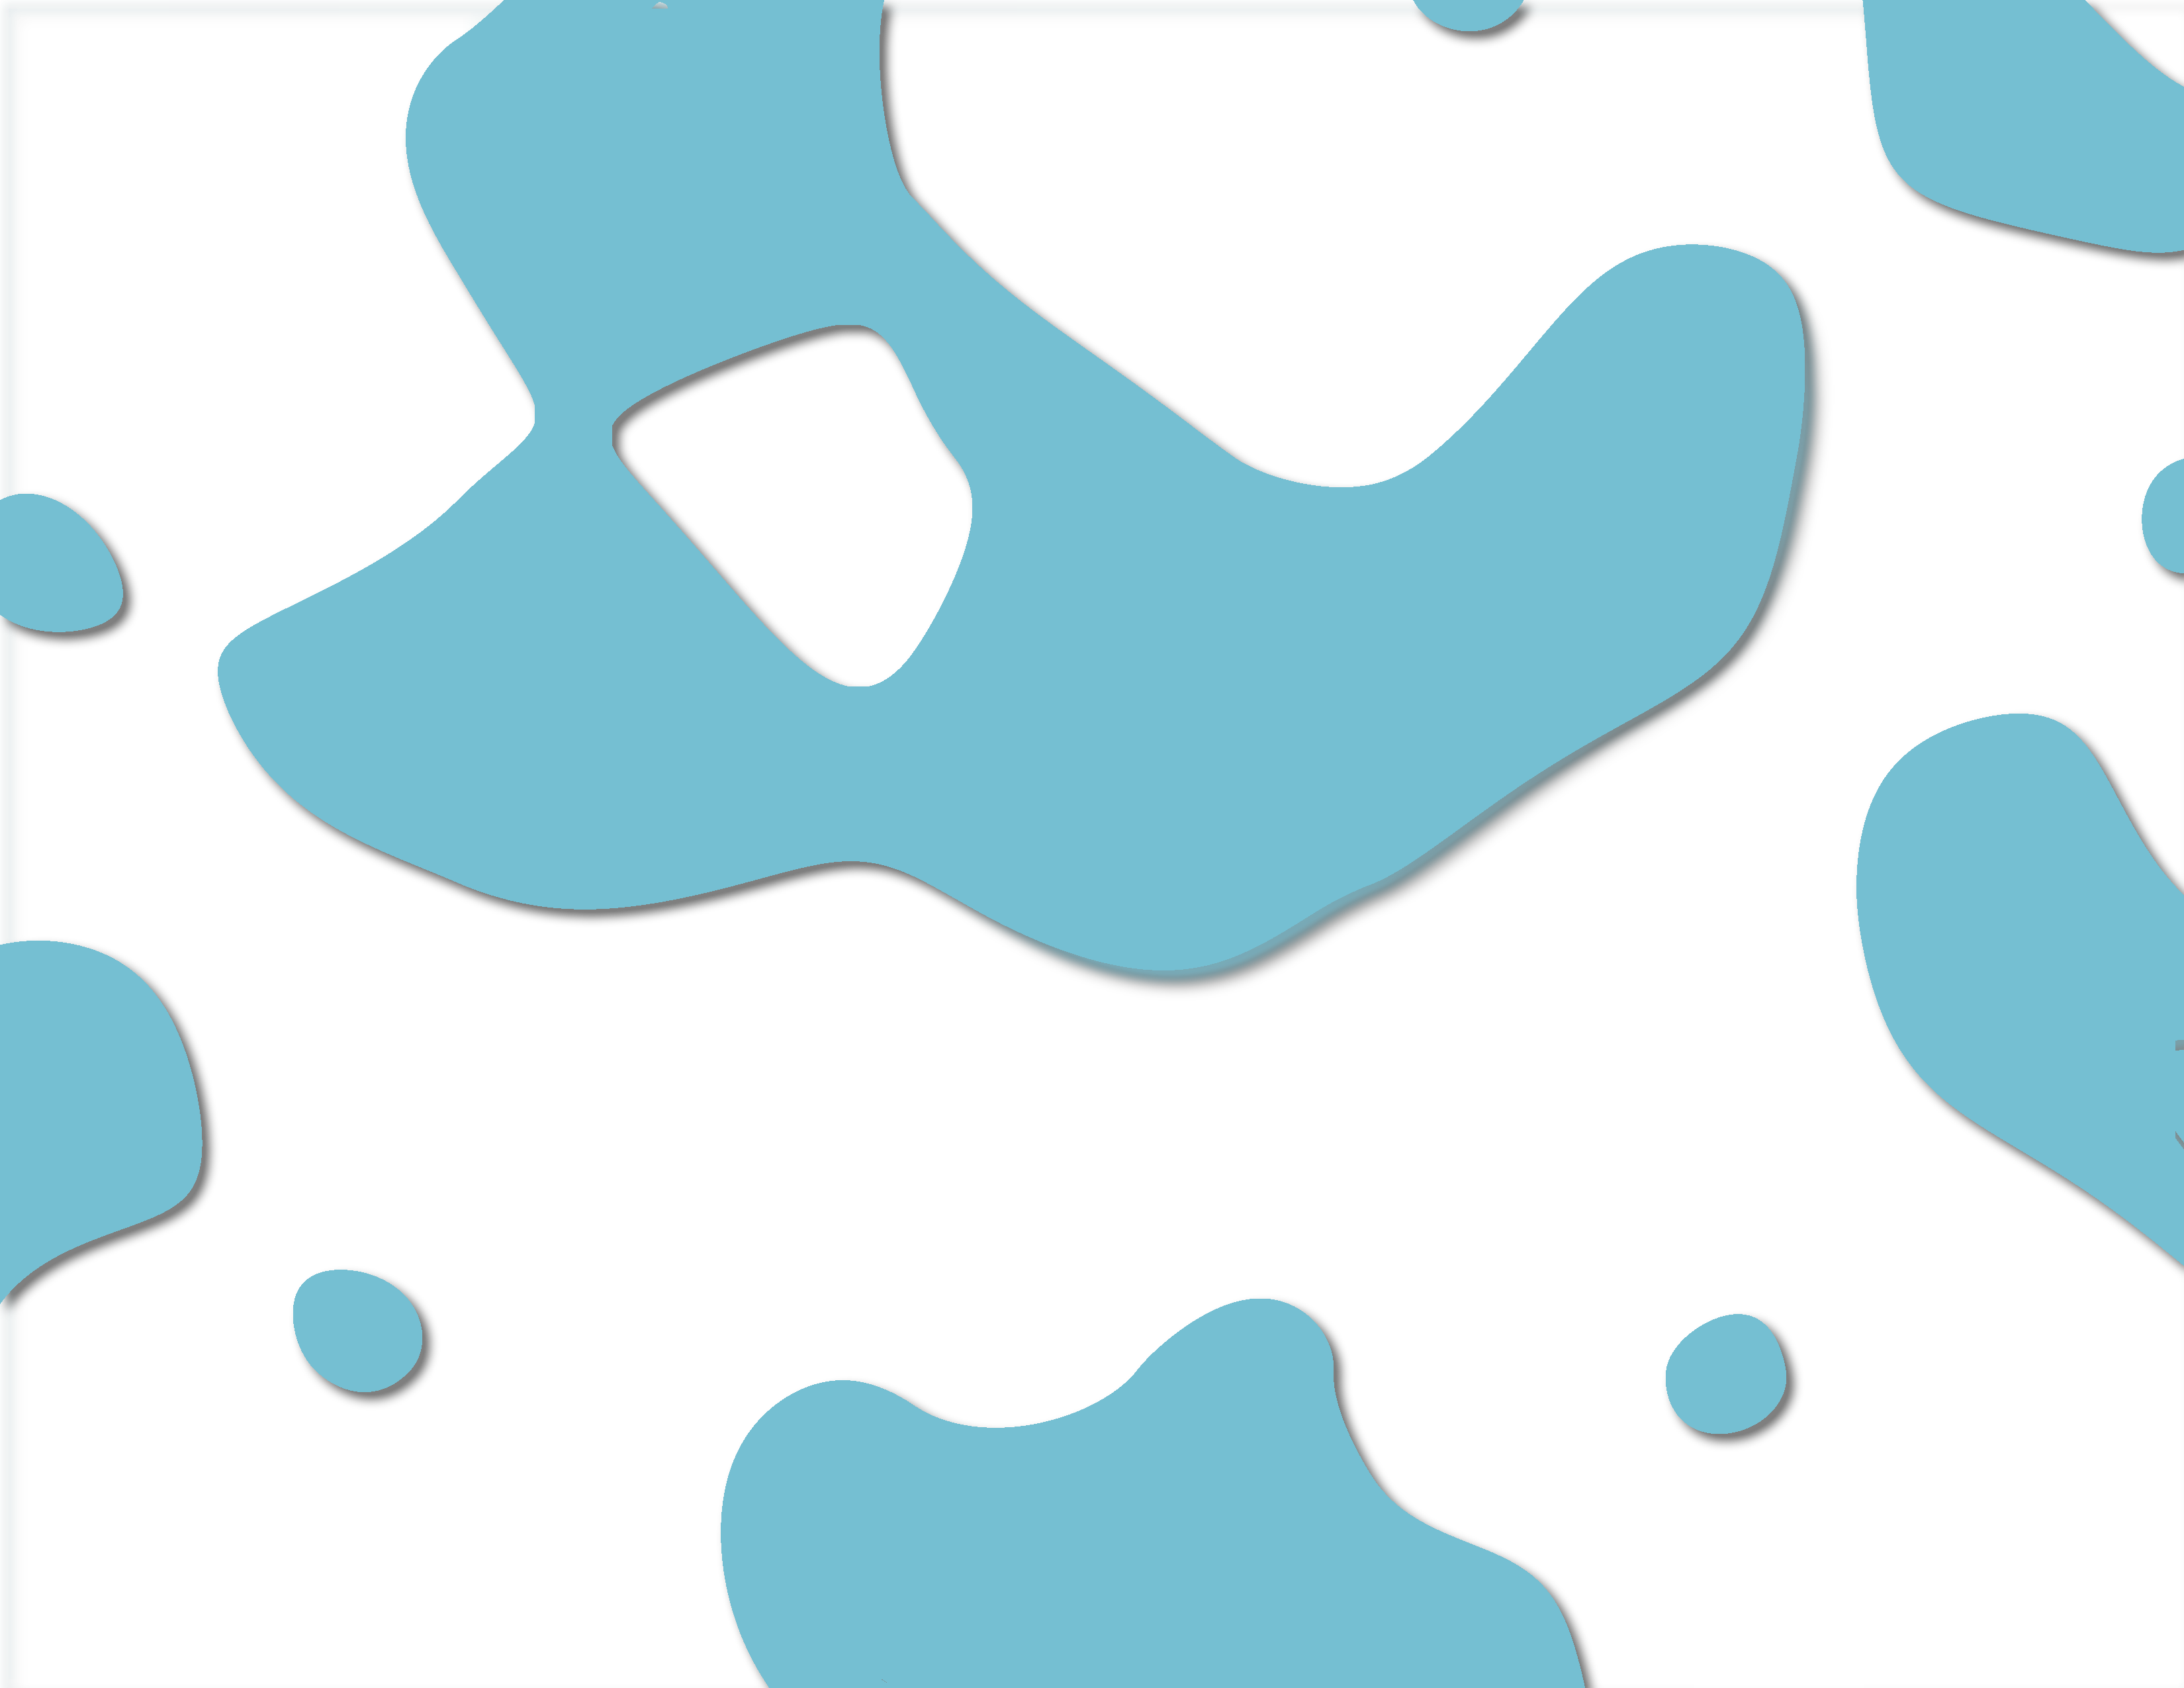
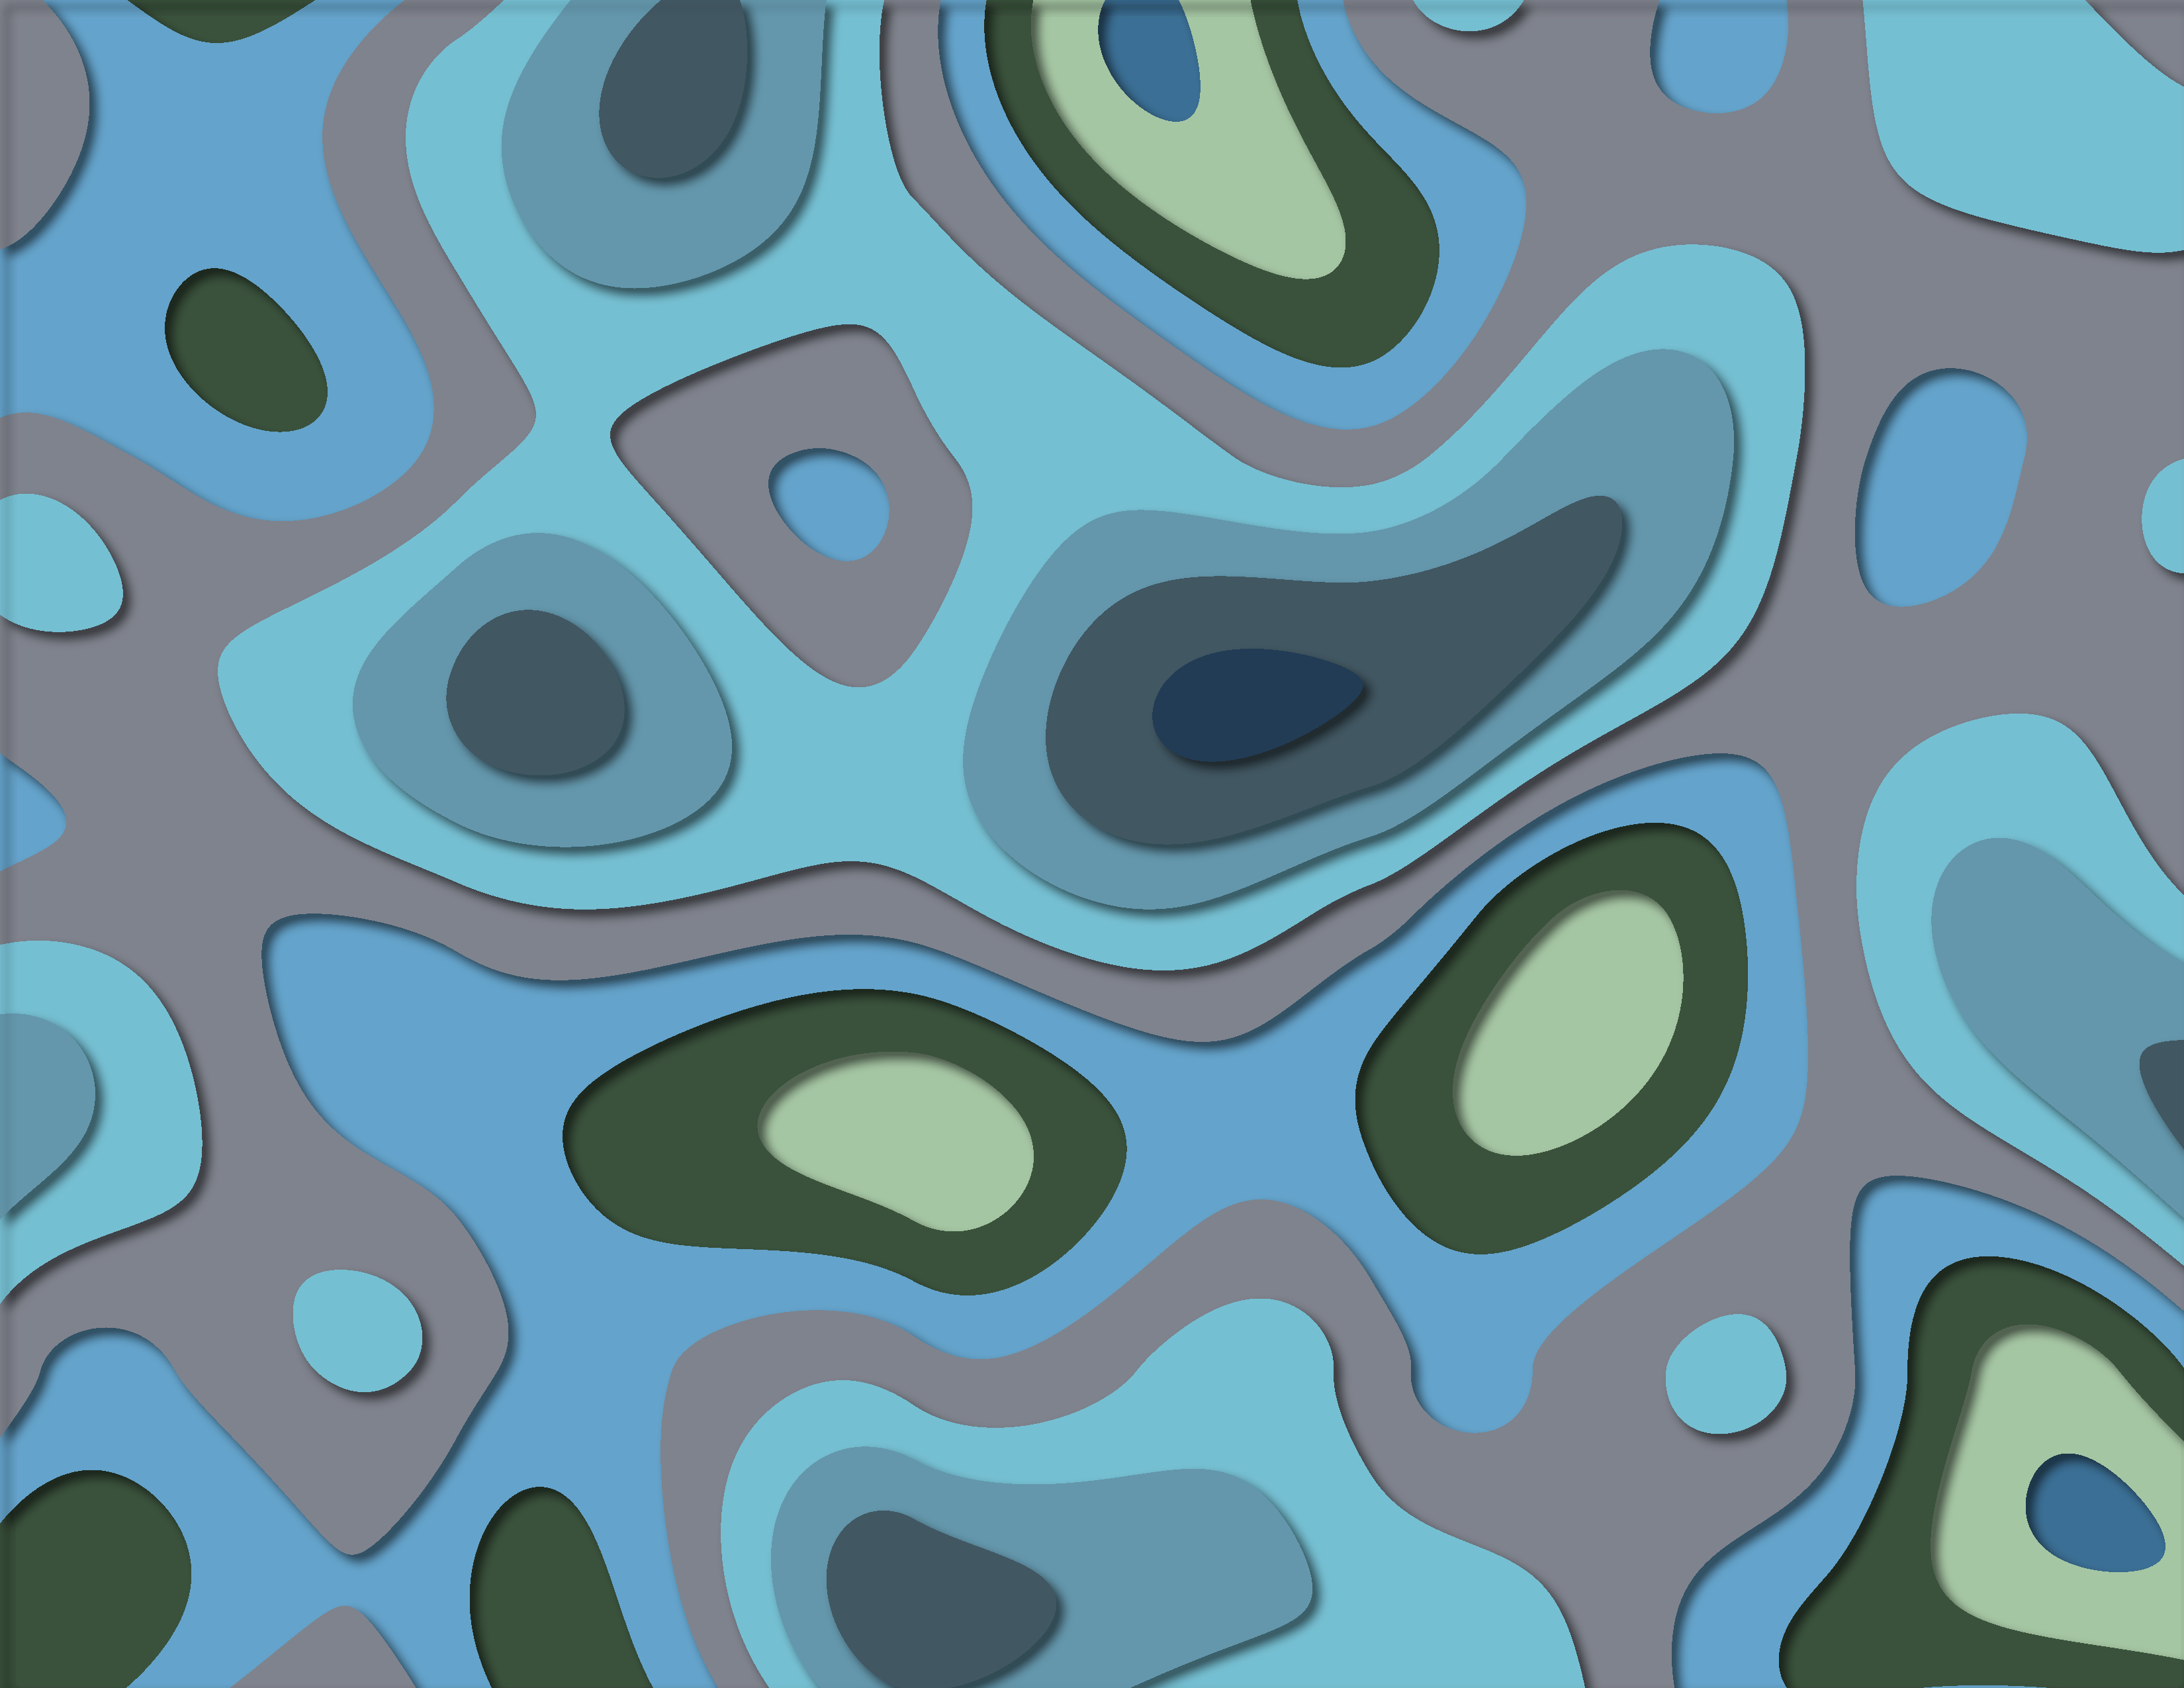
What I am trying to do/accomplish I am trying to find a way to get a vector graphic/ curve layer from an image I made in affinity photo. If I could either use an outline as the curve/path such as tracing the outline with the vector brush or filling my selection as a vector shape that is what I am trying to figure out. What I have tried Convert to curves - This has been greyed out on the pixel layers I have been trying to convert Designer flood fill - can flood my layer or selection but doesn't allow the shape to be converted to curves Creating an outline to convert to curves Masking a vector shape. Selecting the pixels of the pixel layer and using that as a mask over a basic shape. Selecting pixels from layer and using the vector brush to fill in selection A bit more info on the shape/ pixel layer I am trying to convert. I have taken a layer of perlin noise and have a posterize adjustment layer over the top of it. I am trying to make the shapes from each layer of the posterize. I can get to selecting the different layers, filling them and adding an outline but can't find a way to make them vector shapes without a third party program to vectorize each layer. ---> This is the image that I have been working on This is just one of the layers. This is what I have been trying to convert to a curve. If there as another way to generate these same kind of patterns (I need something organic) please let me know. I was also looking at Procedural Texture from this tutorial Affinity Photo : Perlin Color effect tutorial how to - YouTube
-
 Hi all- I am tracing a profile drawing and want to have pen-tool curve shapes fill to adjacent curves that are simple lines. Fill does not seem to recognize that there is a closed area that can be bulk filled
-
 Having used the pen tool to produce a curve, I select the brush line style, by clicking on the line graphic, click on properties, click on a brush in the brushes panel and the brush appears in the properties panel and then ... nowt. Help.
 -
 Hey guys I just recently made the switch from Adobe ecosystem to Affinity Designer & Photo because i'm not trying to shell out $600 a year for the rest of my life. I'm getting myself adjusted with Designer right now, but i hit a snag. I can't seem to Add/Remove nodes to existing paths like you could in Illustrator. I've tried searching in Help, but nothing comes up. Is this feature not currently available in Designer? If that's the case, then when can we expect this option in a future update? I only ask because it's something I use often. Thanks in advance for your help and time.
 -
 hi there, how to get the exact length of a curve or the circumference of a circle in affinity designer?
 -
Is there ever gonna be a quickshape like feature for Designer2 for iPad and Publisher2 for iPad? Not having a feature like that makes it harder to draw and make nice lines and nice circles. The stabilizer feature still isn't close enough to that. I know that there are features for picking a certain type of curve to use if you're drawing a curve or circle and we can fix each line and circle with dots in each line or circle in Designer. That just takes way more time to get the perfect line or circle by having to switch shapes, curve lines, and or edit the lines/curves. It would save everyone tons of time to just add auto line, curve, or circle maker option without having to change tools constantly. To be able to just draw a circle and hold the stylus down on the screen and make a circle and we can easily edit it after that. Same goes for curves and lines. So we don't have to edit a wonky line, curve, or circle. Which is i.m.o. more work than just editing a nice straight line, curve, or circle. I.m.o., that's why most people use Procreate instead of Affinity just for that reason. Affinity has tons of great features, but it's hard to use them or want to buy the program(s) for them if it means way more work to make nice lines, curves, and circles. Then a person is spending more time trying to get that correct. That's a big reason as to why a lot of people don't do digital art and why tons of people just get Procreate or Infinite Painter (can be used on iPad and Android tablets) just 'cause of the super ease of doing those things. If you guys can, please make a quickshape type version for Designer and Publisher. I have the version 2 lineup of iPad apps and I don't use them just 'cause I spend way too much time fixing the lines, curves, and circles. When I get that done much faster in Procreate. Procreate is lacking in a lot of features that Designer has, but quickshape feature in Procreate makes it worth skipping out on those features. A $70 one time fee for Designer isn't an expensive price. Though I feel like the price would be worth it compared to the $10 fee for Procreate if you guys have your own quickshape feature. Since your programs come with a lot of extra stuff that Procreate doesn't have.
-
 Hello everyone, I am having huge problems with free hand vector curve drawing created by affinity designer using my wacom intuos pro tablet. You can see the ui following the semicircle excatly but the vectorizing result. What the ui preview shows: And that is the vector curve result: The result almost seems random. Normal writing or drawing is causing this 50% the times. Mainly flat bulbous semicircles where totally wrong. The slower you draw the less possible it gets. Having the raster preview in Affinity totally precise but the wrong vectorizing result it seems to me this must be a Affinity issue (see video attached writing "c"s and "e"s) Inkscape does not have this issue! Mouse input does not have this issue! Tried different settings (Quality, Windows Ink etc.) with no difference at all. Version: Affinity Designer 2.0.4 (also on 1.10.5.1xx) OS: Windows 11 Tablet: Wacom Intuos Pro L PTH-860 System: Intel Corce i9-12900KF, 128 GB RAM So Affinity Designer is almost useless to me. It's a very annoying problem espacially because of the randomness factor. I would be grateful for help. Thanks in advance and best regards Thomas affinitydesigner2_wacom_intuous_pro.mp4
-
 While you can trim curves with the shapebuilder tool, I would like to have dedicated tools to trim and extend curves. For extending, it would be as simple as clicking a curve and it will extend the closest end of the curve to the next visible curve. This tool should extend curves even though the target curve will not intersect with the curve that is to be extended (meaning, if you were to extend both, they would intersect). Trimming should work in similar fashion, it adds a node along an intersection with another curve and removes the portion closes to where one clicked.
 -
Currently, pressure profiles and dashes are mutually exclusive. I would like to have both a pressure profile and a dash applied, no more workarounds please.
-
One of the things that really stops my workflow is that I have to go to the toolbar to determine whether or not I want to continue drawing with a curve that I have already created. But every other time I don't want this — and forget to change the mode — I have to undo my tracing work to create a new curve object or hit the divide button if my shapes are closed. This is just tedious. So I would propose that if you have a curve already selected and click on one of the nodes of the end points of the curve, you should automatically resume editing the original curve (meaning, adding the new curve segments to the original curve). If you don't have the other curve selected, Designer should assume that you don't want to continue drawing from another curve. That's how it works in Illustrator and this forgoes that you have to check the toolbar. This also makes it much easier to close curves with another curve or join two curves, because you would simply select both curves and then draw the connecting curve in between the two. No need to go to the Node tool (or hold Ctrl), select the curves and then join them after the fact.
-
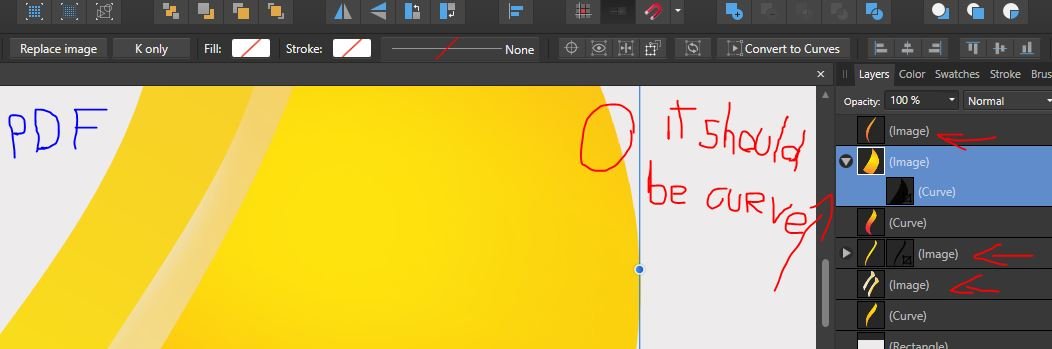
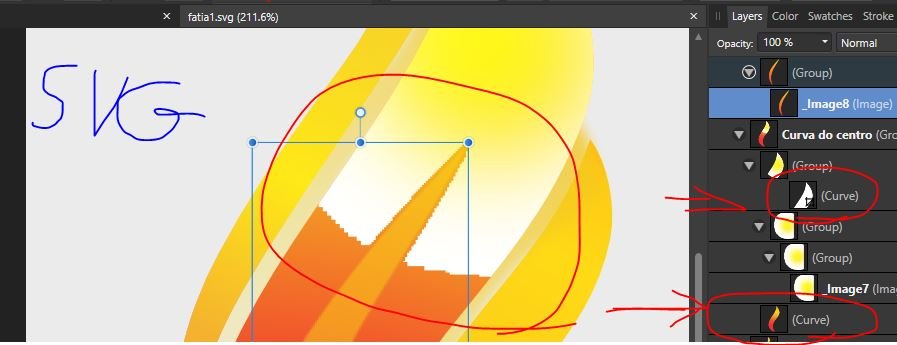
 Hi there! I'm having a problem to exporting curves. Those curves are all created in Affinity Designer as well, even so, while exporting, they turn to pixel (if I force them to be vectors in the options (rasterize> nothing) it turns deformed, otherwise, they turn to pixels (rasterize> unsupported properties), but, why unsupported? They are all gradient curves created in the Affinity Designer, step by step. Please, help to fix this issue, or give some tips if you can, everything would be nice. Image 1 - PDF - pixaleted: https://drive.google.com/file/d/1W4OIZpcagi3uWQ9mk9I1b3CR9QMEH5M6/view?usp=sharing Image 2 SVG deformed curves: https://drive.google.com/file/d/1W62Sf2IVrpT6GaGyRkrEtCmr5lcZU0LH/view?usp=sharing Image 3 - EPS rasterized: https://drive.google.com/file/d/1W75evX9j2mz6Tr614i4X-N9FHOEvnGQE/view?usp=sharing The same happens to all formats, pixel or deformed curves, these are the options. It should be like:
-
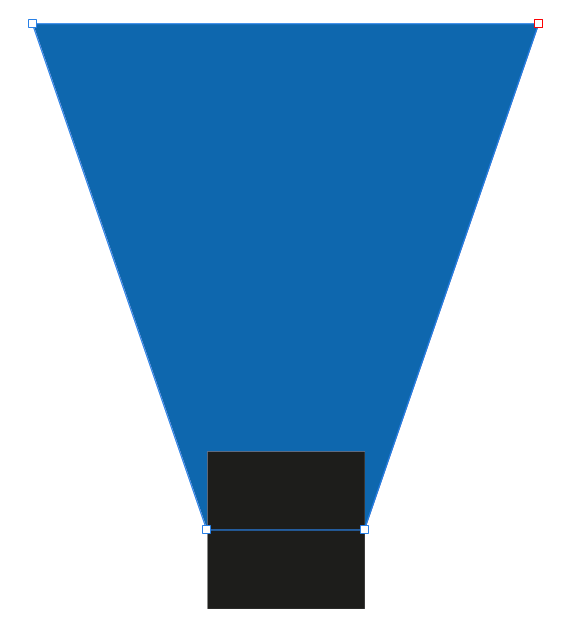
 Hi Forum! I have a problem: I want to collapse 2 points of a curve, not to one point, but with a distance. I know this function from many 3D programs like Blender or Cinema4D. See Figure 1. Figure 1: Here the problem is shown simplified on a cube--> trapezoid. But this problem is much more general and can be applied to many different shapes! (I know the trapezoid tool!) I always use workarounds for this e.g. 1: I use an auxiliary curve and then align the points and delete the auxiliary object. See Figure 2. Figure 2: Workaround 1: Use helping curve/object (in black). 2: I only work with coordinates. (I do this very unwillingly!!) So here is my question is there a key compination to achieve this? The problem sounds so simple..... AD is such a good program so I can't believe I am the only one with this problem. Thanks for your help!
-
 So I was searching around for any and every video on YouTube to give me a better understanding of how to use the pen/node tool. I stumbled across a video on YT: "AFFINITY DESIGNER CURVES FROM SINGLE STROKE. This tutorial helped me solve one issue (finding the easiest way to trace an image with a lot of curvy lines BUT with each curve flowing smoothly together from one to the next). I had created a logo (i can't show the whole logo) but as you can see some of the curves i created originally APPEARED smooth when i zoomed in close but some noticeable errors when i zoomed out/away from it. Once I zoomed out the logo had these subtle curves that made the logo look like it was starting to form corners. As I followed the tutorial, I got to where I was only using the SMART MODE tool, with these options selected: - ALIGN TO NODES OF SELECTED CURVES - SNAP TO GEOMETRY OF SELECTED CURVES - ALIGN HANDLE POSITIONS USING SNAPPING OPTIONS - MOVE BY WHOLE PIXELS - SNAPPING while I was working through, I was going by what I would always hear from the pros and amateurs "move the node handles around until you get as close as you can to the images/shapes. so that's what I did! Still wasn't perfect though. A-HA!!! THERES A PATTERN ("not sure if I'm just late to the party lol") Once you put your first node, you get the CURVE option after putting the second node which is your first line. You then go and make that line fit as perfect to the curve as you can which is the easy part. Then comes the hard part as soon as you add a 3rd node and however many more you want, trying to make that second curve fit PERFECTLY with the first curve usually doesn't match the way you want it to because at the same time you're also trying to make it fit with the 4th node. It then becomes this tug of war between the nodes LOL. node A. node B. = line/curve a-b node B. node C. = line/curve b-c node C. node D. = line/curve c-d node D. node E. = line/curve d-e **USING THE SHIFT KEY EVERYTIME (USUALLY)** **USING THE SHIFT KEY EVERYTIME (USUALLY)** **USING THE SHIFT KEY EVERYTIME (USUALLY)** Once you have the first curve (line/curve a-b) set to your liking , before adjusting the second curve (line/curve b-c) YOU WANT TO SELECT THE NODE (node C.) AND USE THE HANDLES ON IT TO START BUILDING THE END OF THE SECOND CURVE (line/curve b-c)...…..THENNNNNNN...…GO BACK TO THE PREVIOUS NODE (node B.) AND ADJUST THAT ONE TO MAKE THE SECOND CURVE (line/curve b-c) FIT and FLOW SMOOTHLY WITH THE FIRST CURVE (line/curve a-b). so therefore once you move onto the third curve (line/curve c-d) start by adjusting the handles of node D. FIRST then jump back to ex. node A. node B. node C. node D. node E. etc. line/curve a-b, line/curve b-c, line/curve c-d, line/curve d-e after the curve between node A. & node B. has been made (line/curve a-b), jump to node C. and using the handles to adjust the curve (line/curve b-c) to your liking THEN start adjusting the handles on node B. creating line/curve b-c which flows perfectly with the previous curve line/curve a-b AFD - nodes.mp4 HOPEFULLY I HELPED SOMEONE!
-
 In Affinity Photo it is possible to turn a curve into a selection or mask. The way back, converting a selection into a curve, is currently not possible. This would be my new requirement. Affinty Photo V.1.10.5.1342, Windows
 -
In Affinty designer it is possible to fill a curve or contour with the last used vector brush. It would be a new useful feature to do this with paintbrushes in Affinty Photo as well. The option field in the contours is already there, but it currently has no function. Affinty Photo V.1.10.5.1342, Windows
-
 Hello, I'm trying to mask curve shape to hide part of it but I don't know why it's not hiding the selected part entirely. Here is sample file where I added black brush and select with fill primary black color, as You can see there is still slightly visible part of shape. What I'm doing wrong? Greetings. sample.afphoto
-
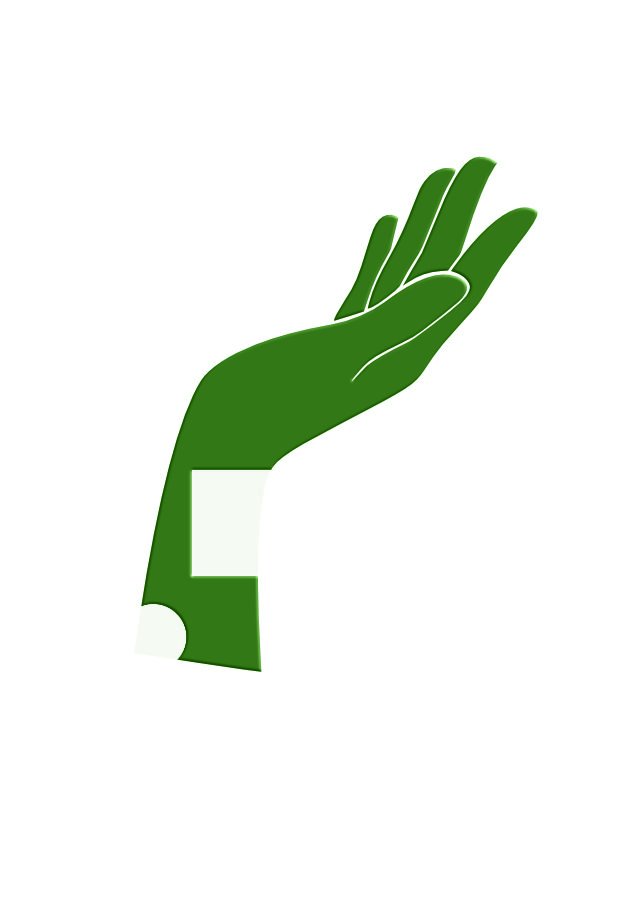
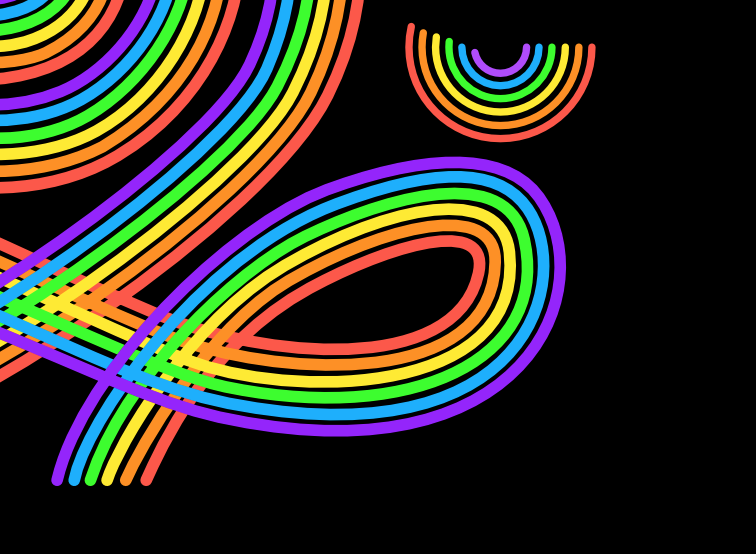
 Hi All! Thank you for having me on the forum. I'm curious if there is a way to make multiple strokes using one brush stroke, that can later be edited individually? For example, I am working on logo where I'm using 6 different colors as if they are all going in the same direction painted by a brush (Please see attached image). Is there any way to make all 6 colors using one brush? For this, I made each curve individually, adjusting each one as needed. Looking for a more efficient way to work in this style. Thanks! Karma


.jpg.7691567c4f251b5af498d40143519916.jpg)