Search the Community
Showing results for tags 'Affinity photo'.
-
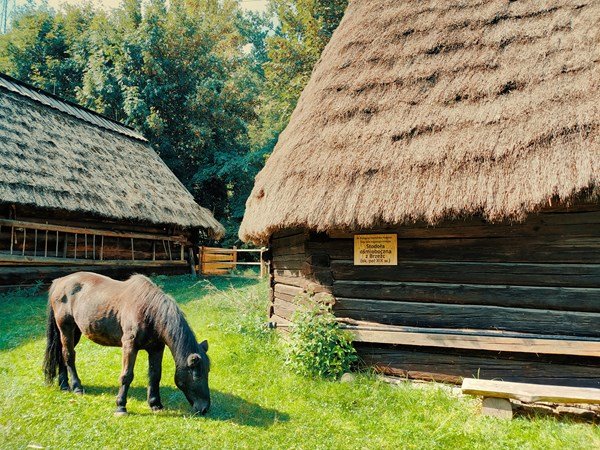
Original Photo > https://www.instagram.com/p/Ciag32BJBcj/

- 1 reply
-
- 5
-

-
- anime
- digital art
- (and 2 more)
-
Hi, Last weeks I've been back on drawing on paper and digital inking. And recently I started animating one frame-by-frame. This time, although not painted in Affinity, I used Affinity Photo extensively to edit, process and clean lots of frames and happily used the Export Persona to export. For these types of things there's definitely nothing easier and faster than Affinity! 😀 It's an endless loop! Hope you like it! And don't forget to turn on the sound!
-
 Hi Guys, Looking at this video starting at 20:50 I want to ask something about the requirement that I faced in retouching the portrait photo that I was working on the other day, Since I wanted to correct the skin irregularities on the subject’s face I applied frequency separation and using healing tool when I cleaned up the skin, the skin tone on the forehead and the skin colour on the cheeks kind of turned out to be way different looking than other part of the face as in it had different skin tones. My question you guys is in this attached Video this guy is using HSL adjustment layer to correct the Red leaning towards more yellow, and the yellow more towards Red. Can I in the same way, how can I target specific colour in my portrait’s face to make it look even. What I am saying is, if i want the skin tone in the forehead to look like skin tone on the cheeks how can I use the HSL Adjustment layer to correct that ? In the attached video the person is working only on Red and Yellow Colour. But in my Portrait the Subject’s face has kind of Creamish and Reddish Tone, so even then I should be applying the same logic as in this video, and only work with Yellow and Red Colour in the Colour Wheel ? How can I reduce the Creamish tone in the skin and make it look more reddish ?
 -
 Hi, I'd like to draw directly into the Alpha channel of a layer. I did this in the past in Photoshop and I'm positive this must be possible in Affinity too as there are switchable channels per layer with an edit button behind each channel. But for some reason it's not painting inside the channel with a paint brush tool (it seems to paint in the R/G/B channels still. How can we paint black/white/grayscale directly into the Alpha channel (not in the r/g/b channels) in Photo?
-
 Hi, I have affinity photo beta for windows and i wanted to know, how can i add keyboard shortcuts in Macros? Thanks in advance.
 -
 Photo 1.10.5.1342, Windows 11, Intuos S tablet, Wacom driver 6.3.45-1 Long before I bought Photo, I got this tablet and briefly dabbled with it but haven't invested the time to build any real skill in using it. Right now I'm knee-deep in coming up to speed with Photo itself so the issues with the tablet aren't a show-stopper, but they're concerning. I realize there are a lot of places where things could go wrong, between the drivers, Windows and whatnot. Between Photo and the Wacom utility I've been able to (more or less) get it configured to work acceptably well in Photo. But after a while the pen seems to lose it's mouse mojo, as it were. It functions as a Photo tool (marquee, Crop, etc.) but cannot be used to change / select a tool, nor drop a menu, check a layer, etc., etc. It only functions as a tool (chosen by another method). When that happens, the mouse also misbehaves in the same manner, so I have to close Photo with Alt+F4. Upon restarting it works again. For a while. Anyone ever run into this? So far I've run into this only with Photo. All drivers and Windows Updates are current as far as I can tell. I realize the Intuos S isn't an expensive tablet, but I'd like to (learn to) use if I can. Thanks.
 -
made with AP
-

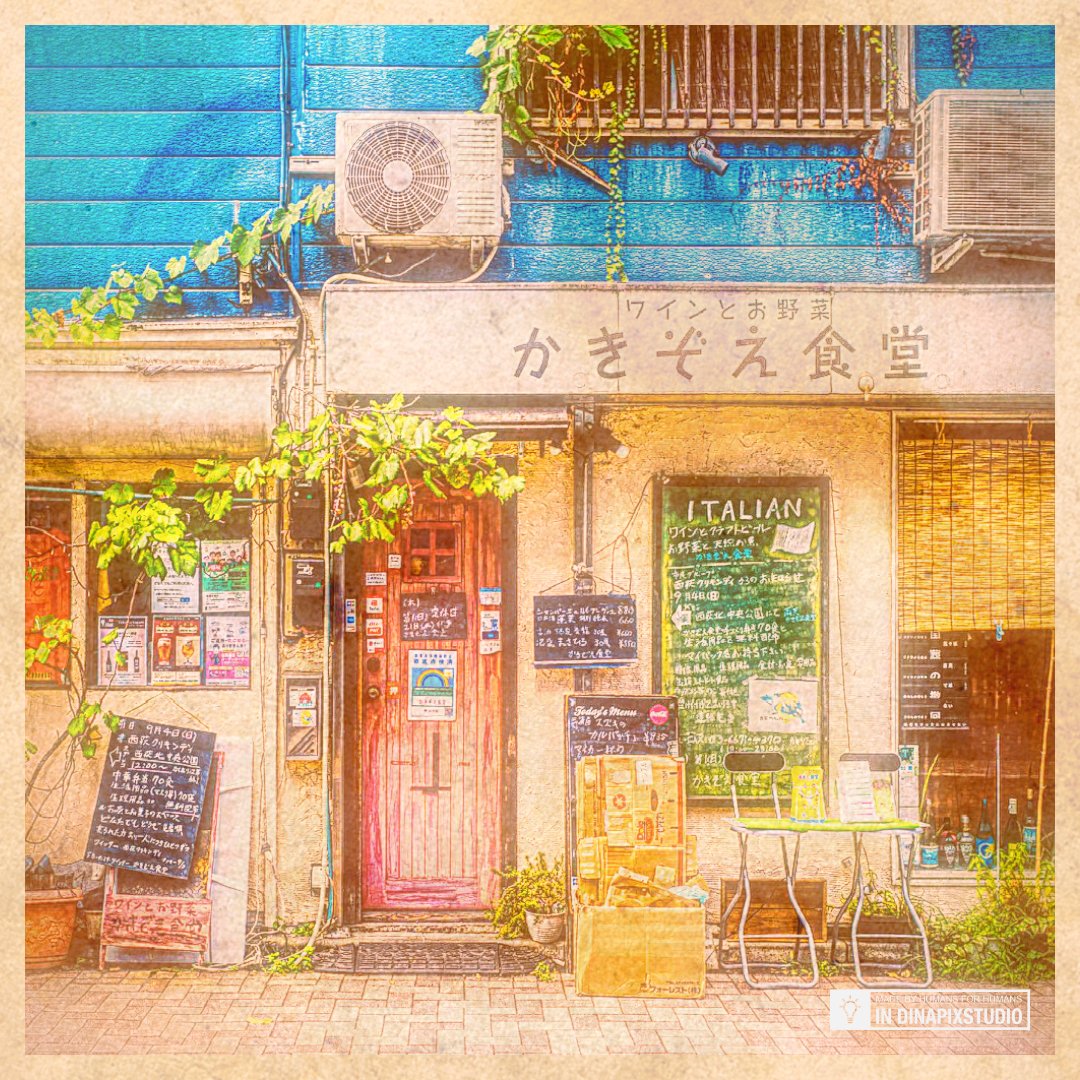
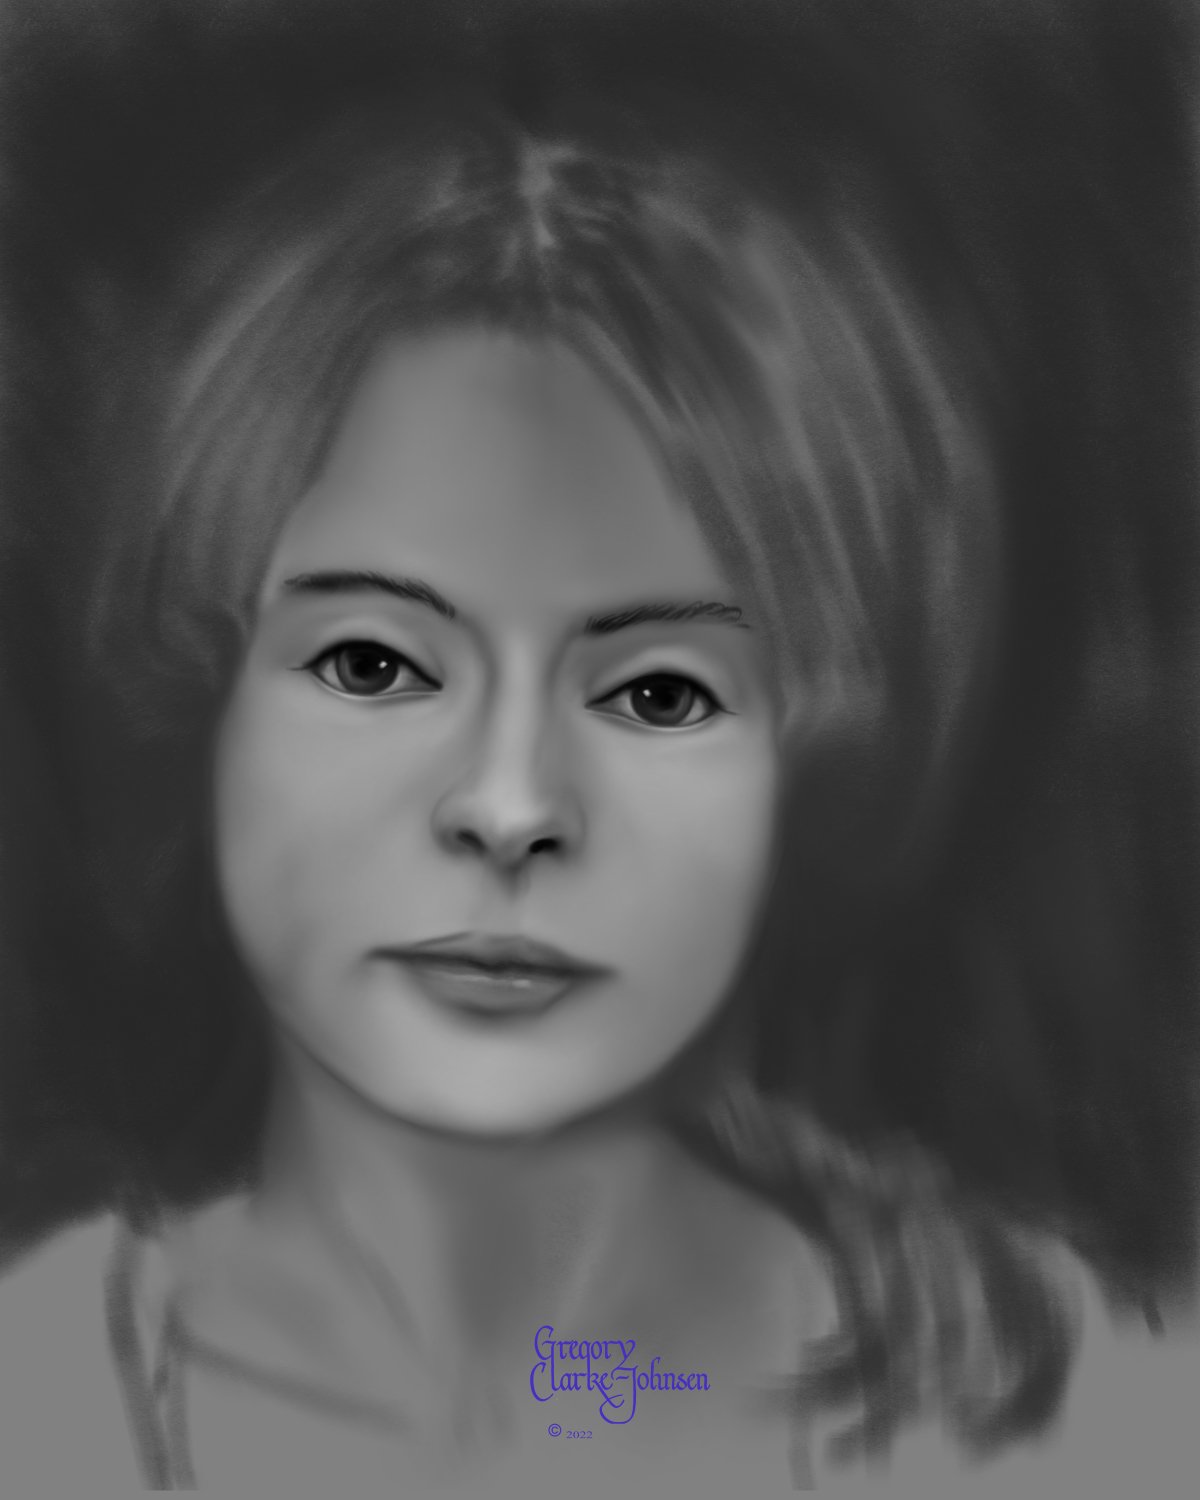
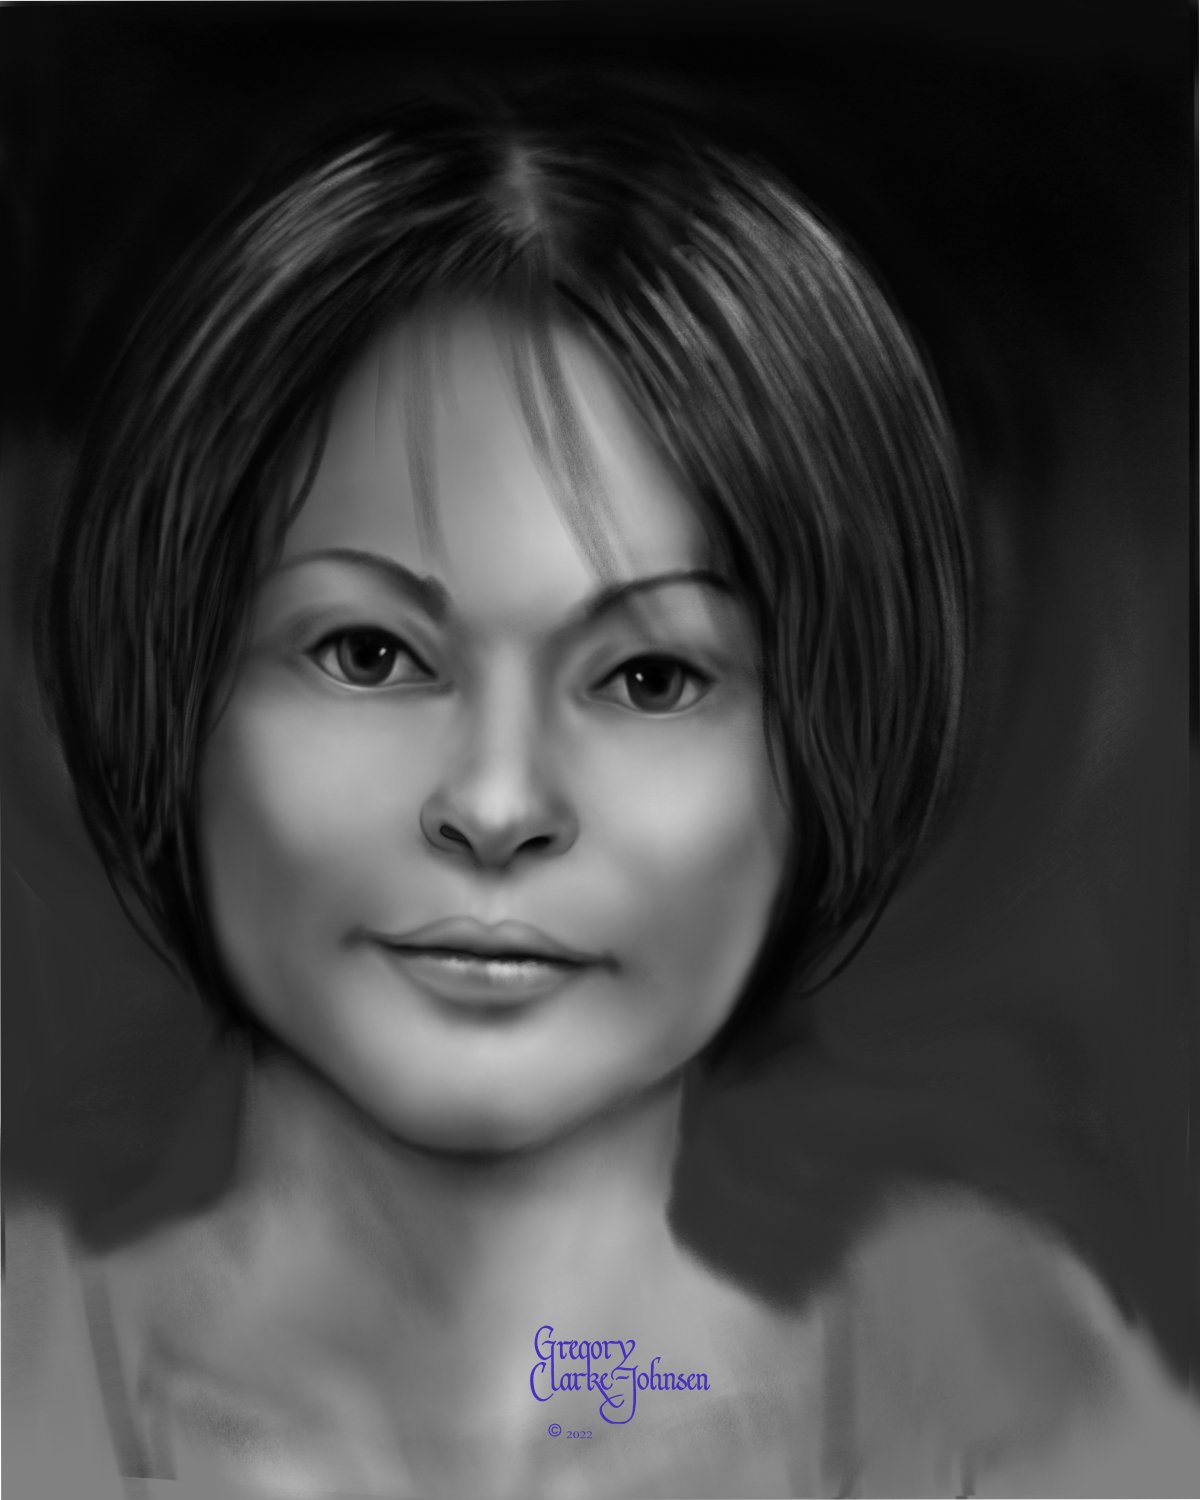
affinity photo Digital oil painting with Affinity Photo
Gregory-CJ posted a topic in Share your work
Hi Digital Painters!, I have been using Affinity photo for the last ~ 7 years and have tried a variety of approaches to digital painting with this software. My latest approach which I find successful, involves three main steps. 1. Define the flat shape of the head ( in this example) using grayscale and the default digital pencils... I especially like the 4B natural pencil and the Carpenter's pencil and a few blending brushes I created by reducing the strength of the default painting brush. 2 Create the form of the head by introducing light and dark to create volume and light and shade to create the lighting/luminosity across the surface of face, again using grayscale. 3. Add color- use gradient maps as a non destructive approach to adding colour. 3b. final tweaks. Hope you find this helpful. All the best Gregory Follow me on instagram @clarkejohnsen
-
- 5
-
-
- digital oil painting
- digital painting
- (and 1 more)
-
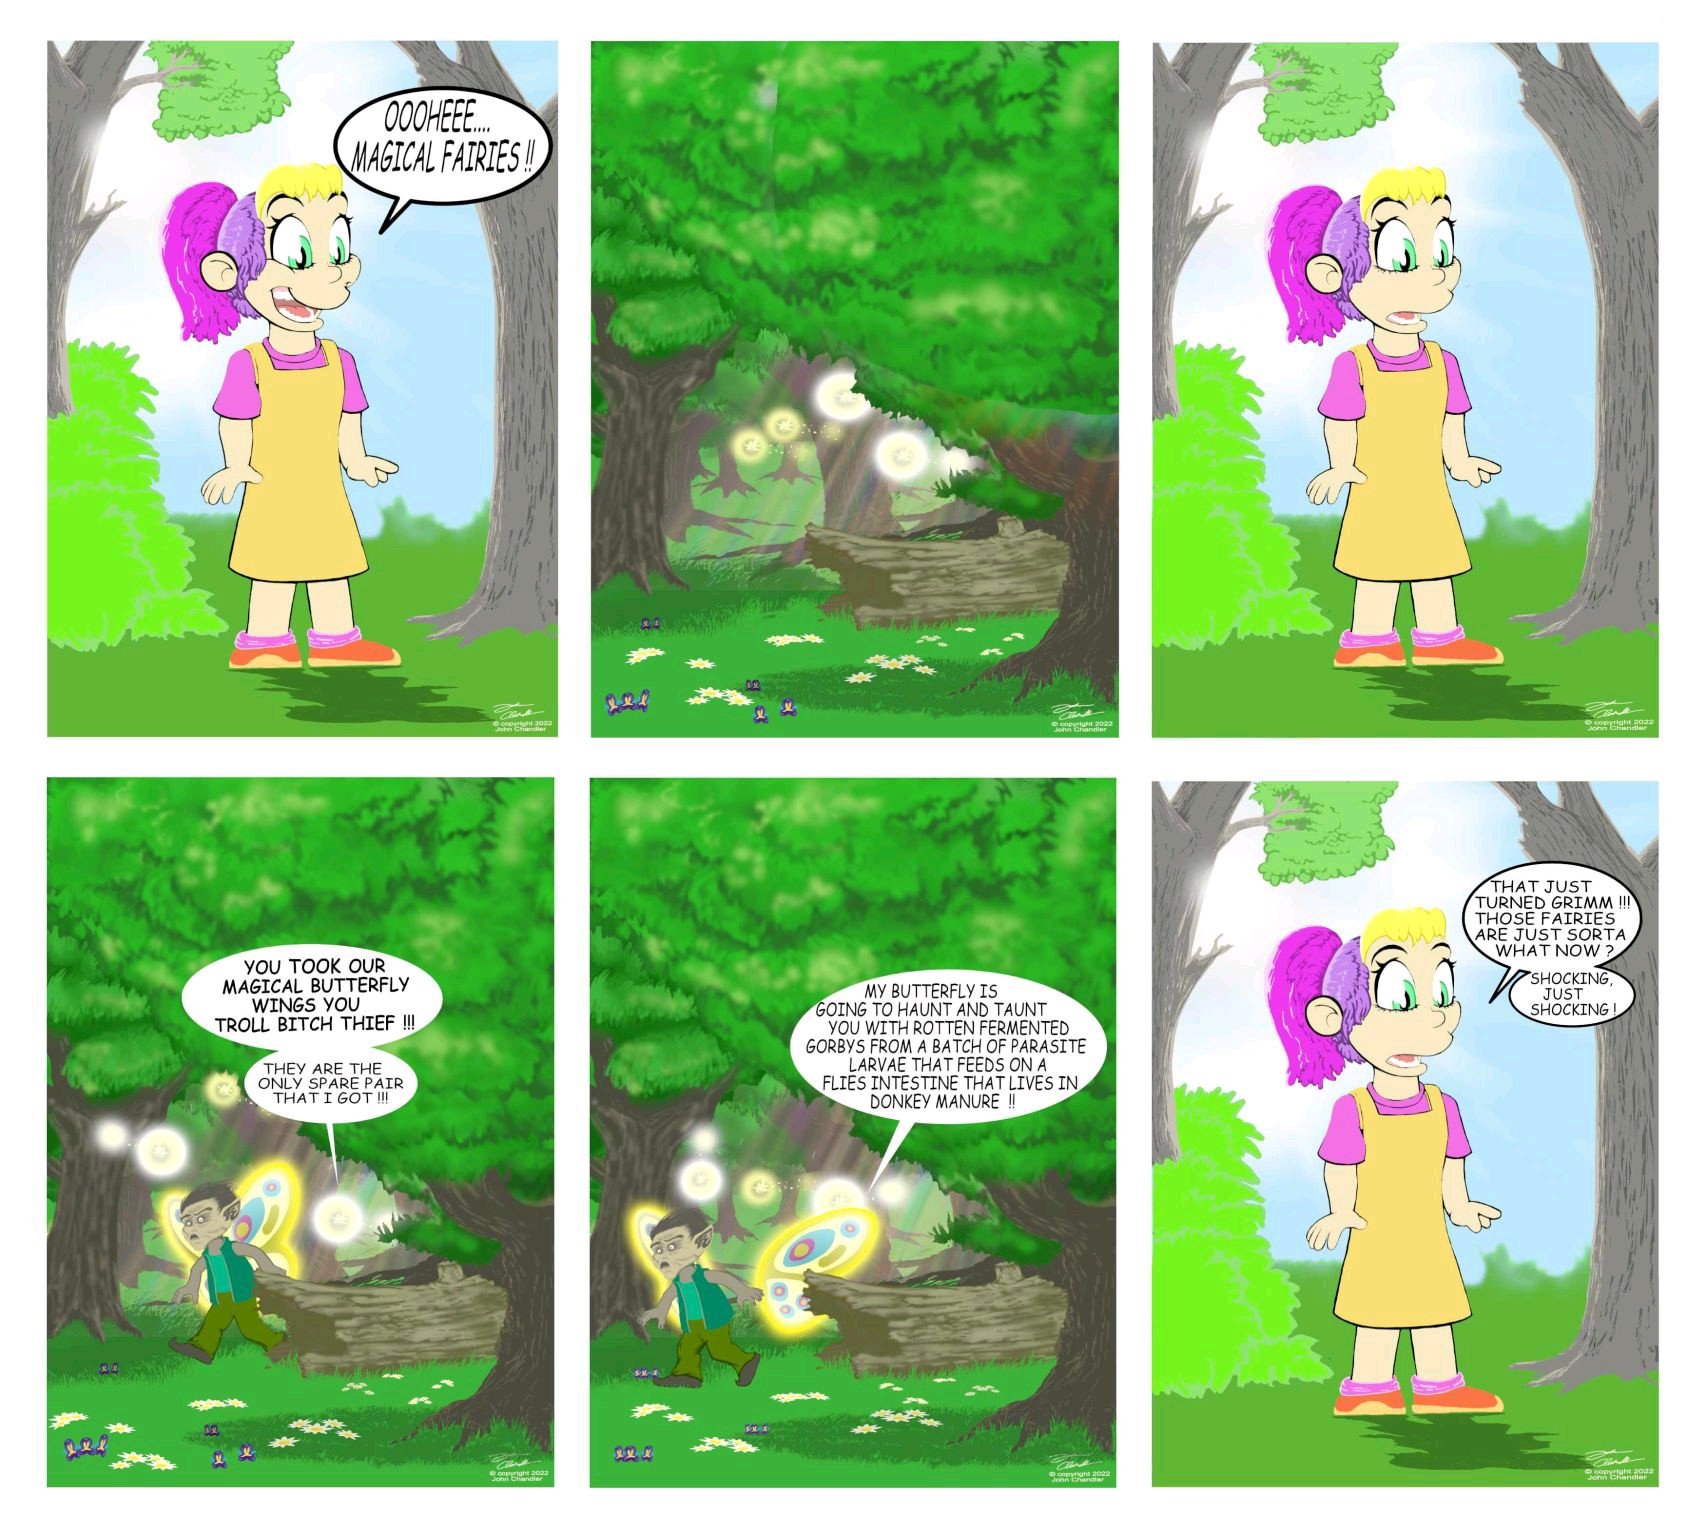
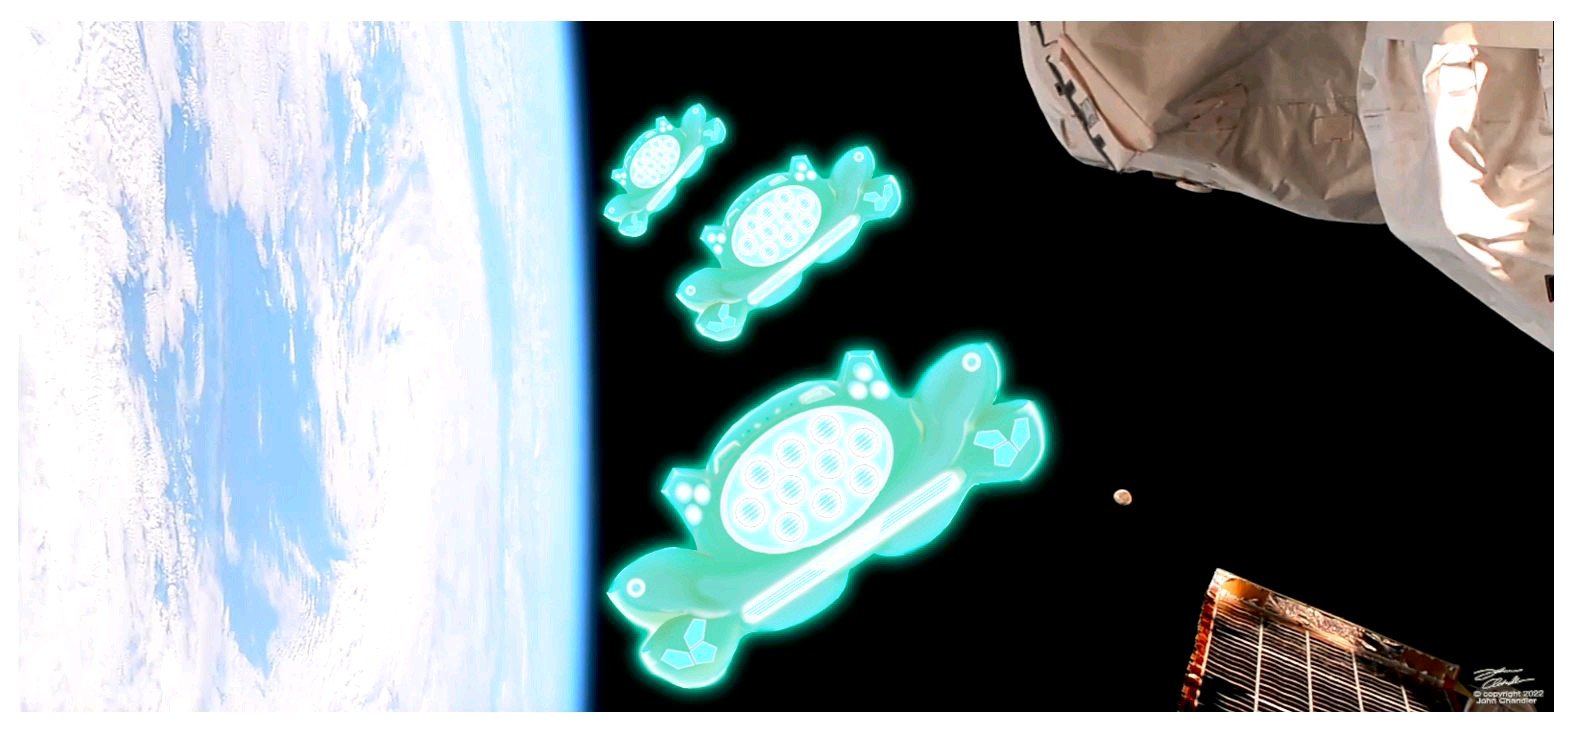
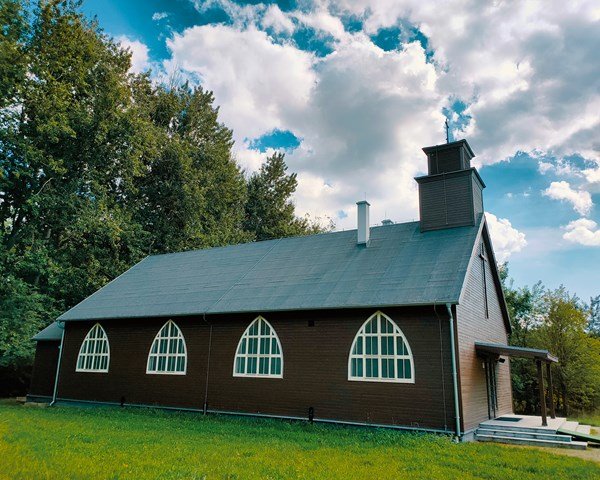
 These images are available to view on my website:- https://www.johnchandlerart.com/ there are more artworks and animations to view there, I'm working on various more to do with animations that I also created working with affinity software. I'm happy with the results of these. Just click on the link. Please do check out these artworks and comment also. Always happy for some constructive feedback from some constructive critiques.
-
When I was young, I remember vividly the first day I got on the plane. Especially when the plane was flying over white clouds, it was so amazing and fun. Although I found out that there was nothing on the clouds, the landscape on the clouds is still one of my imaginative memories. So I went back to that emotion and made an image of "on the cloud" that I had drawn when I was young. "On The Cloud" speed art : https://www.youtube.com/watch?v=L6xVHl8tdiQ
-
- 2
-
-
- minuir
- digital art
- (and 2 more)
-
 Many people who work photo manipulation try at least once to make animals bigger in their artworks. I also did "Meet The Giant Sleepyhead" with a small "Koala" but this time I worked on a really big "Giraffe". When I was a kid, I saw the giraffe in zoo and it was really surprised about their size. So maybe that's why I saw it in my dream a few days later. However, it was not a nightmare. It was a pleasant dream so I was able to work happily while reminiscing about the blurring memory. "The Giraffe in Dream" speed art : https://www.youtube.com/watch?v=9yOzibMweKI
- 6 replies
-
- 4
-
-
- minuir
- digital art
- (and 2 more)
-
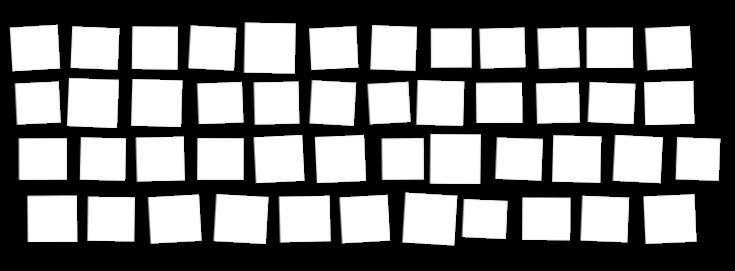
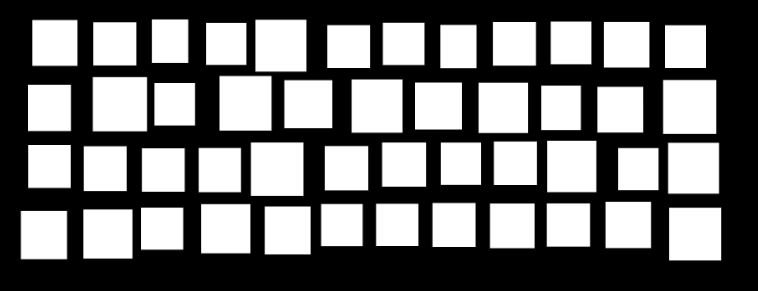
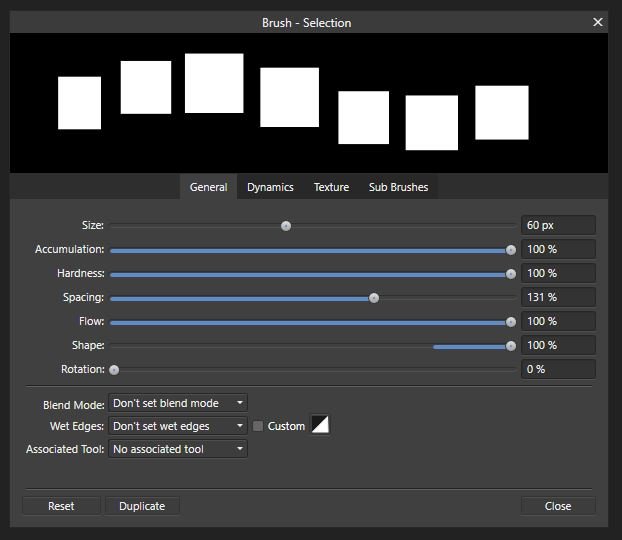
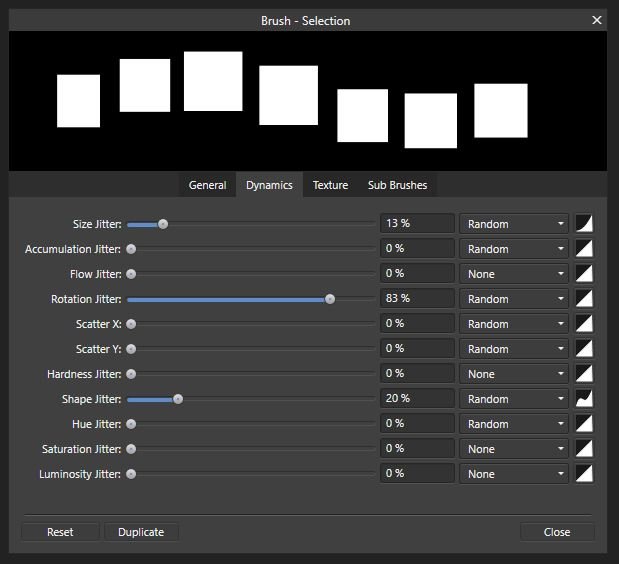
 I'm trying to create this in AP: I made this in PS with four parallel, horizontal lines, using a basic, square brush with minimal angle jitter and moderate shape and size jitter. Very basic. The goal is to create subtle variations that will make the arrangement of the rectangles appear handmade and not mechanic. This is the closest I could get to it in AP: Obviously, this is unusable for my purposes. I'm wondering if I just don't know how to adjust the brush settings to achieve the desired effect. Here are the brush settings I used: The problems I've encountered: 1. The 'Rotation Jitter' setting doesn't seem to do anything on its own. It looks like it has to be combined with 'Rotation'; however, when combined with 'Rotation' everything is either rotated in only one direction or the angle variation is too great. 2. I'm either using it wrong or the shift modifier is glitching when used in combination with the brush tool for straight vertical and horizontal lines. I've tried: click>shift+drag, shift+click+drag, shift>click+drag. None of the key combinations work correctly and the closest result is this: For some reason Affinity insist on connecting the end of the fist line with the beginning of the subsequent one. I don't see a shift key modifier option under the 'Brush Tool' in the 'Keyboard Shortcuts' menu, so it's possible that, technically, this function isn't available in AP. Any suggestions and workarounds are welcome. I'm on Windows and using a mouse but have access to a drawing tablet.
-
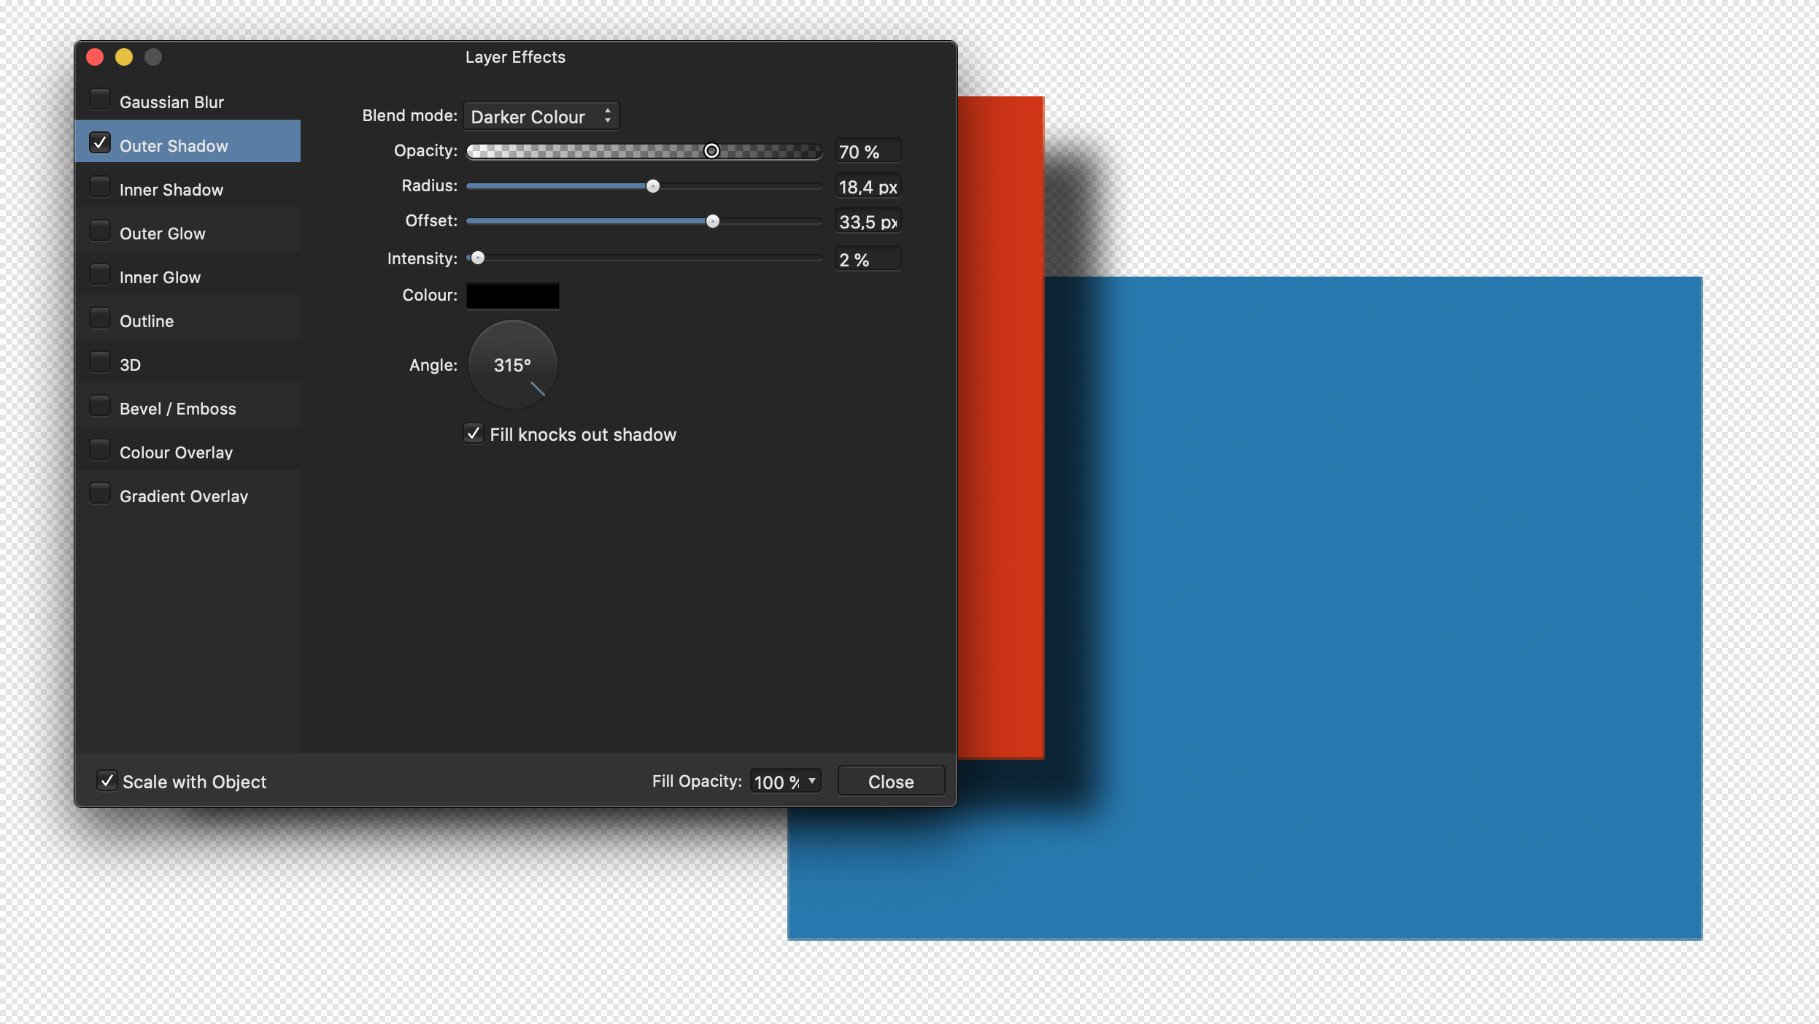
 Dear Community I'm getting wrong results withe the same .APHOTO file using the Mac version (1.10.5 and all before) of Affinity Photo. When I use Blend Mode: "Darker Color" in Layer Effects it only works correct with the PC version. Settings (for the red square): Result on the PC (desired): Result on the Mac (buggy?): I also attached the source file. Can anyone reproduce the error or is it only on my machine (MacBook Pro running MacOs 12.3.1)? afphoto-shadow-darker-color-test_01.afphoto Additional fact: When I switch to Affinity Designer (1.105) the result is correct. I would really appreciate equal results for equal settings on both systems. Greetings, Henry
-
I've exported the attached document to a half-size PNG using the menu-option (not the export-persona). As you can see in the attached PNG there is a square of noise in the bottom-left corner. I've exported this same file (with some minor edits) in the same way yesterday, and the square of noise was in a different part. Am I doing something wrong, or is this a bug? puzzle4.afphoto
-
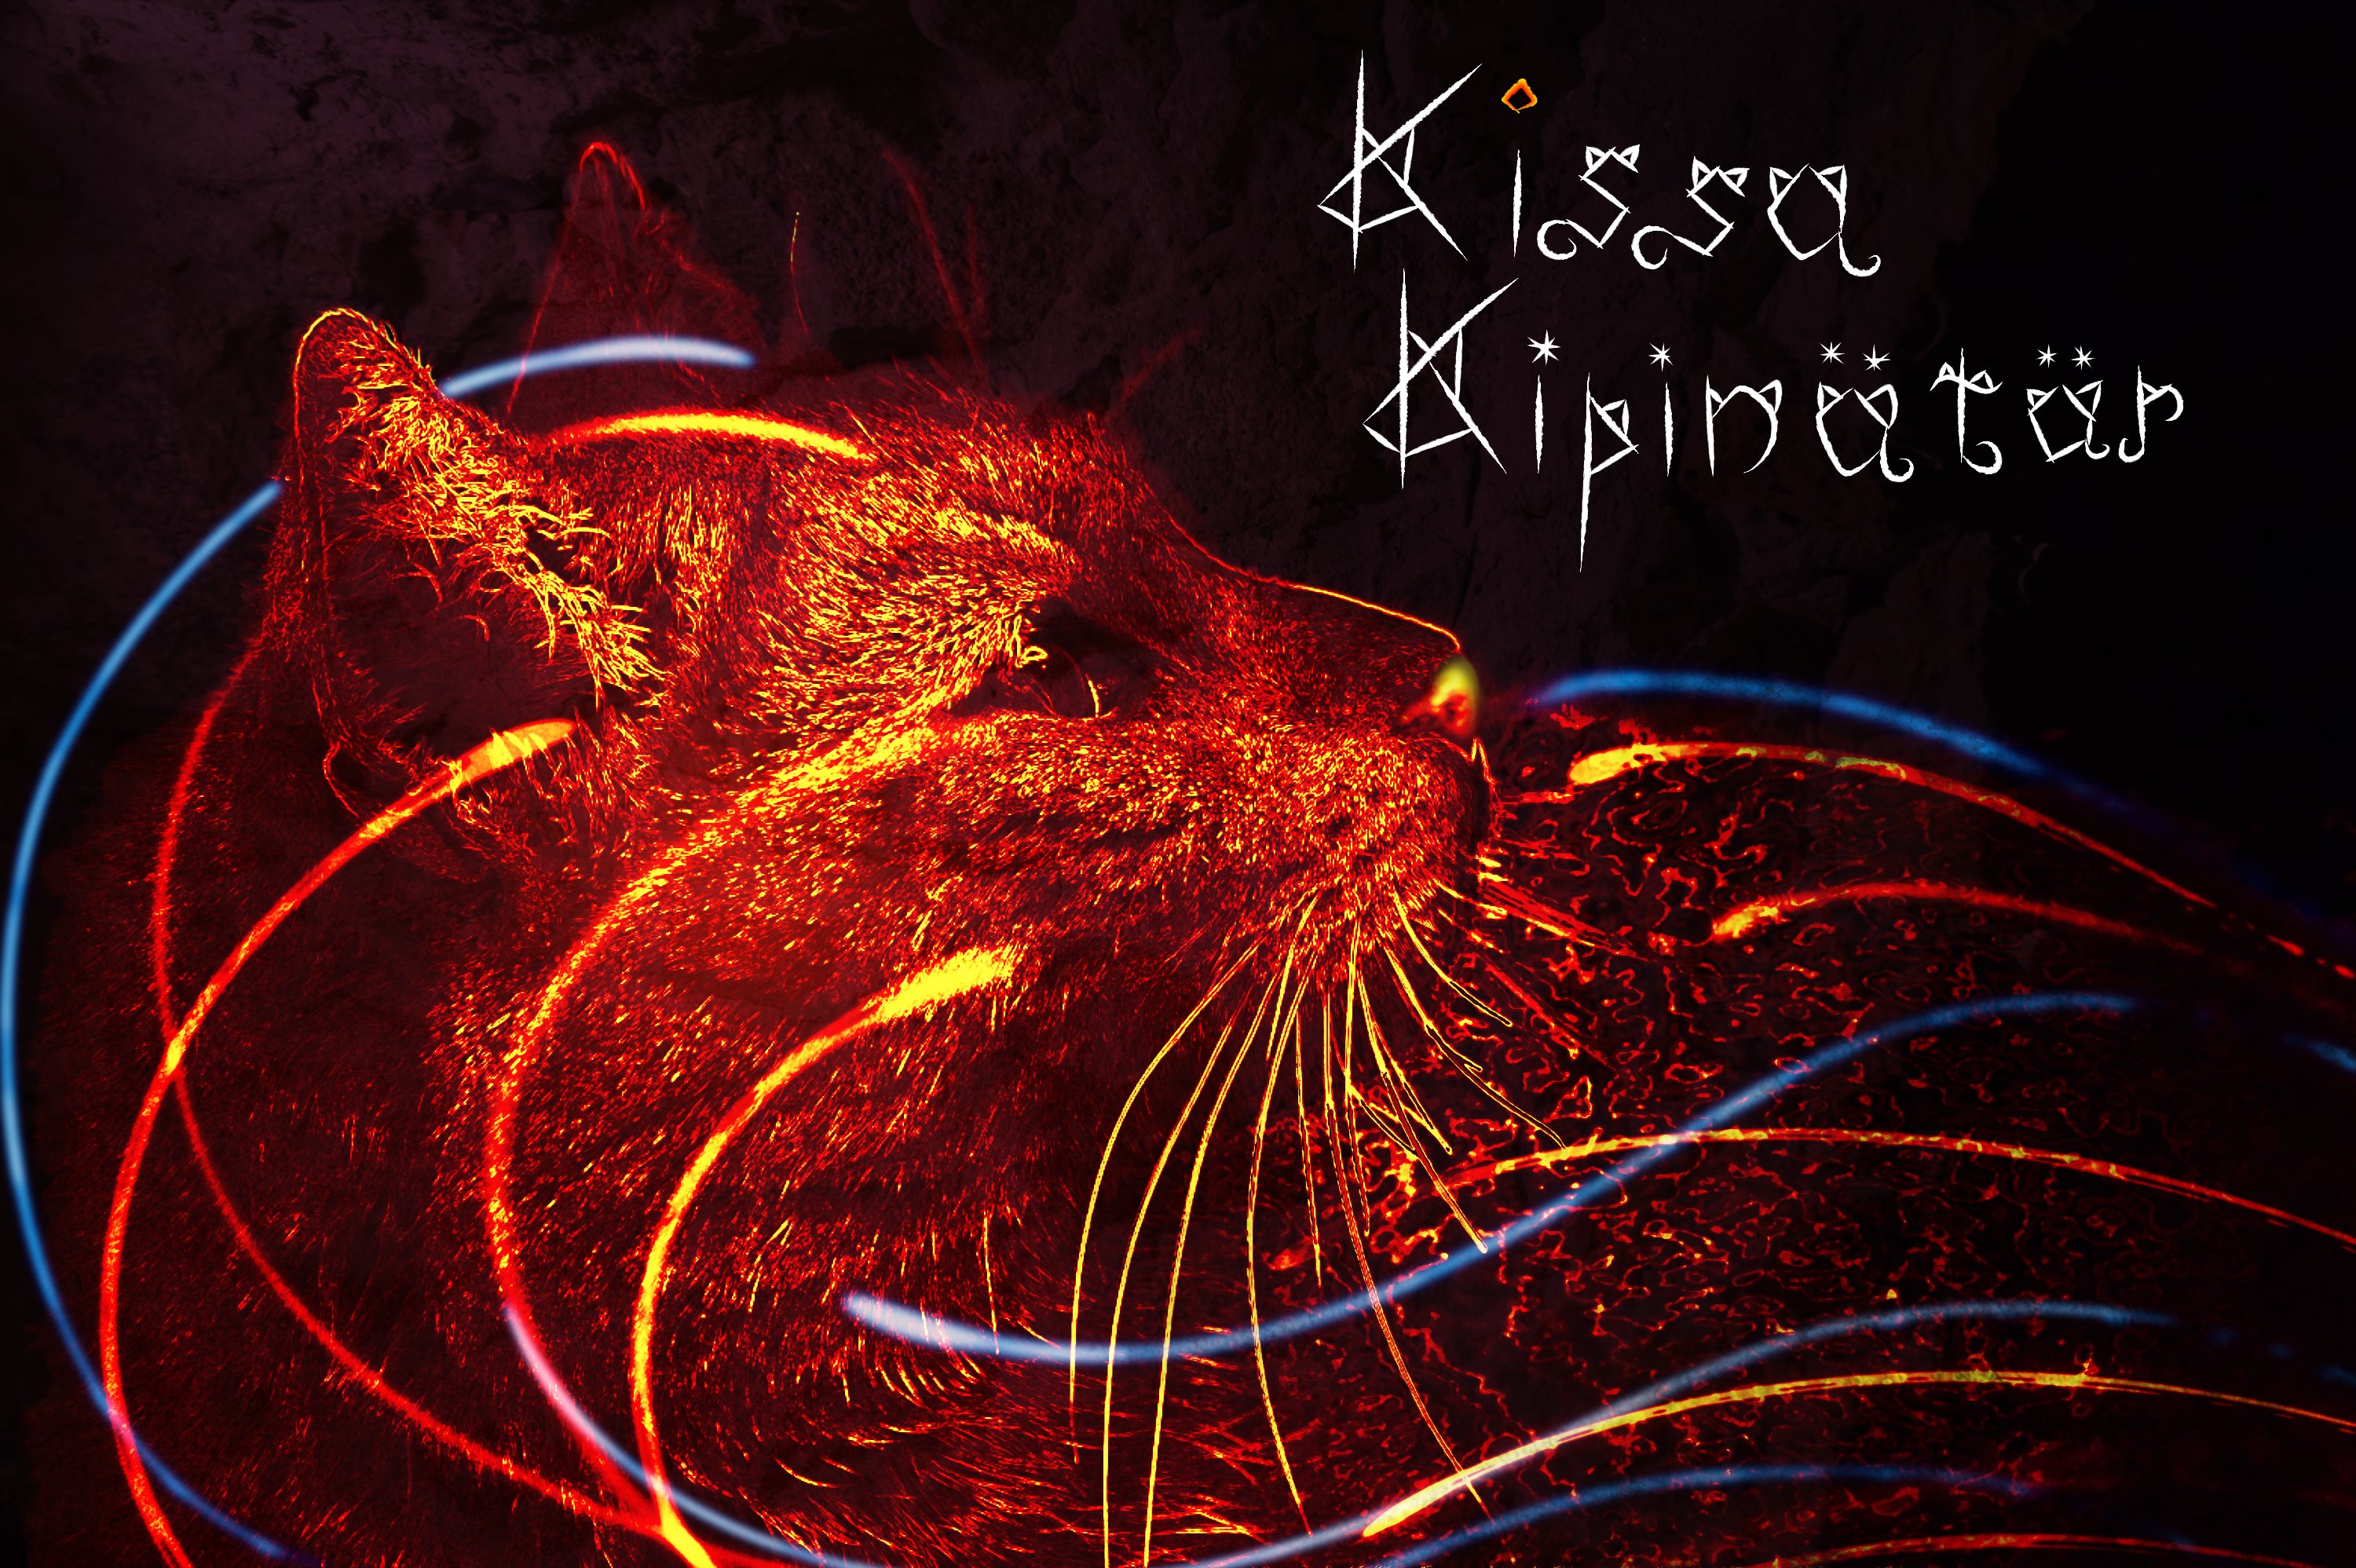
So this is an image manipulation using various effects to create my impression of a creature(?!) mentioned in Finnish national epic Kalevala. Her name is Kissa Kipinätär, which loosely translates into Cat Miss Sparkle (I don't know what she's called in the English version of the poem). So here it is!
- 1 reply
-
- 7
-
-
- affinity photo
- affinity designer
- (and 4 more)
-
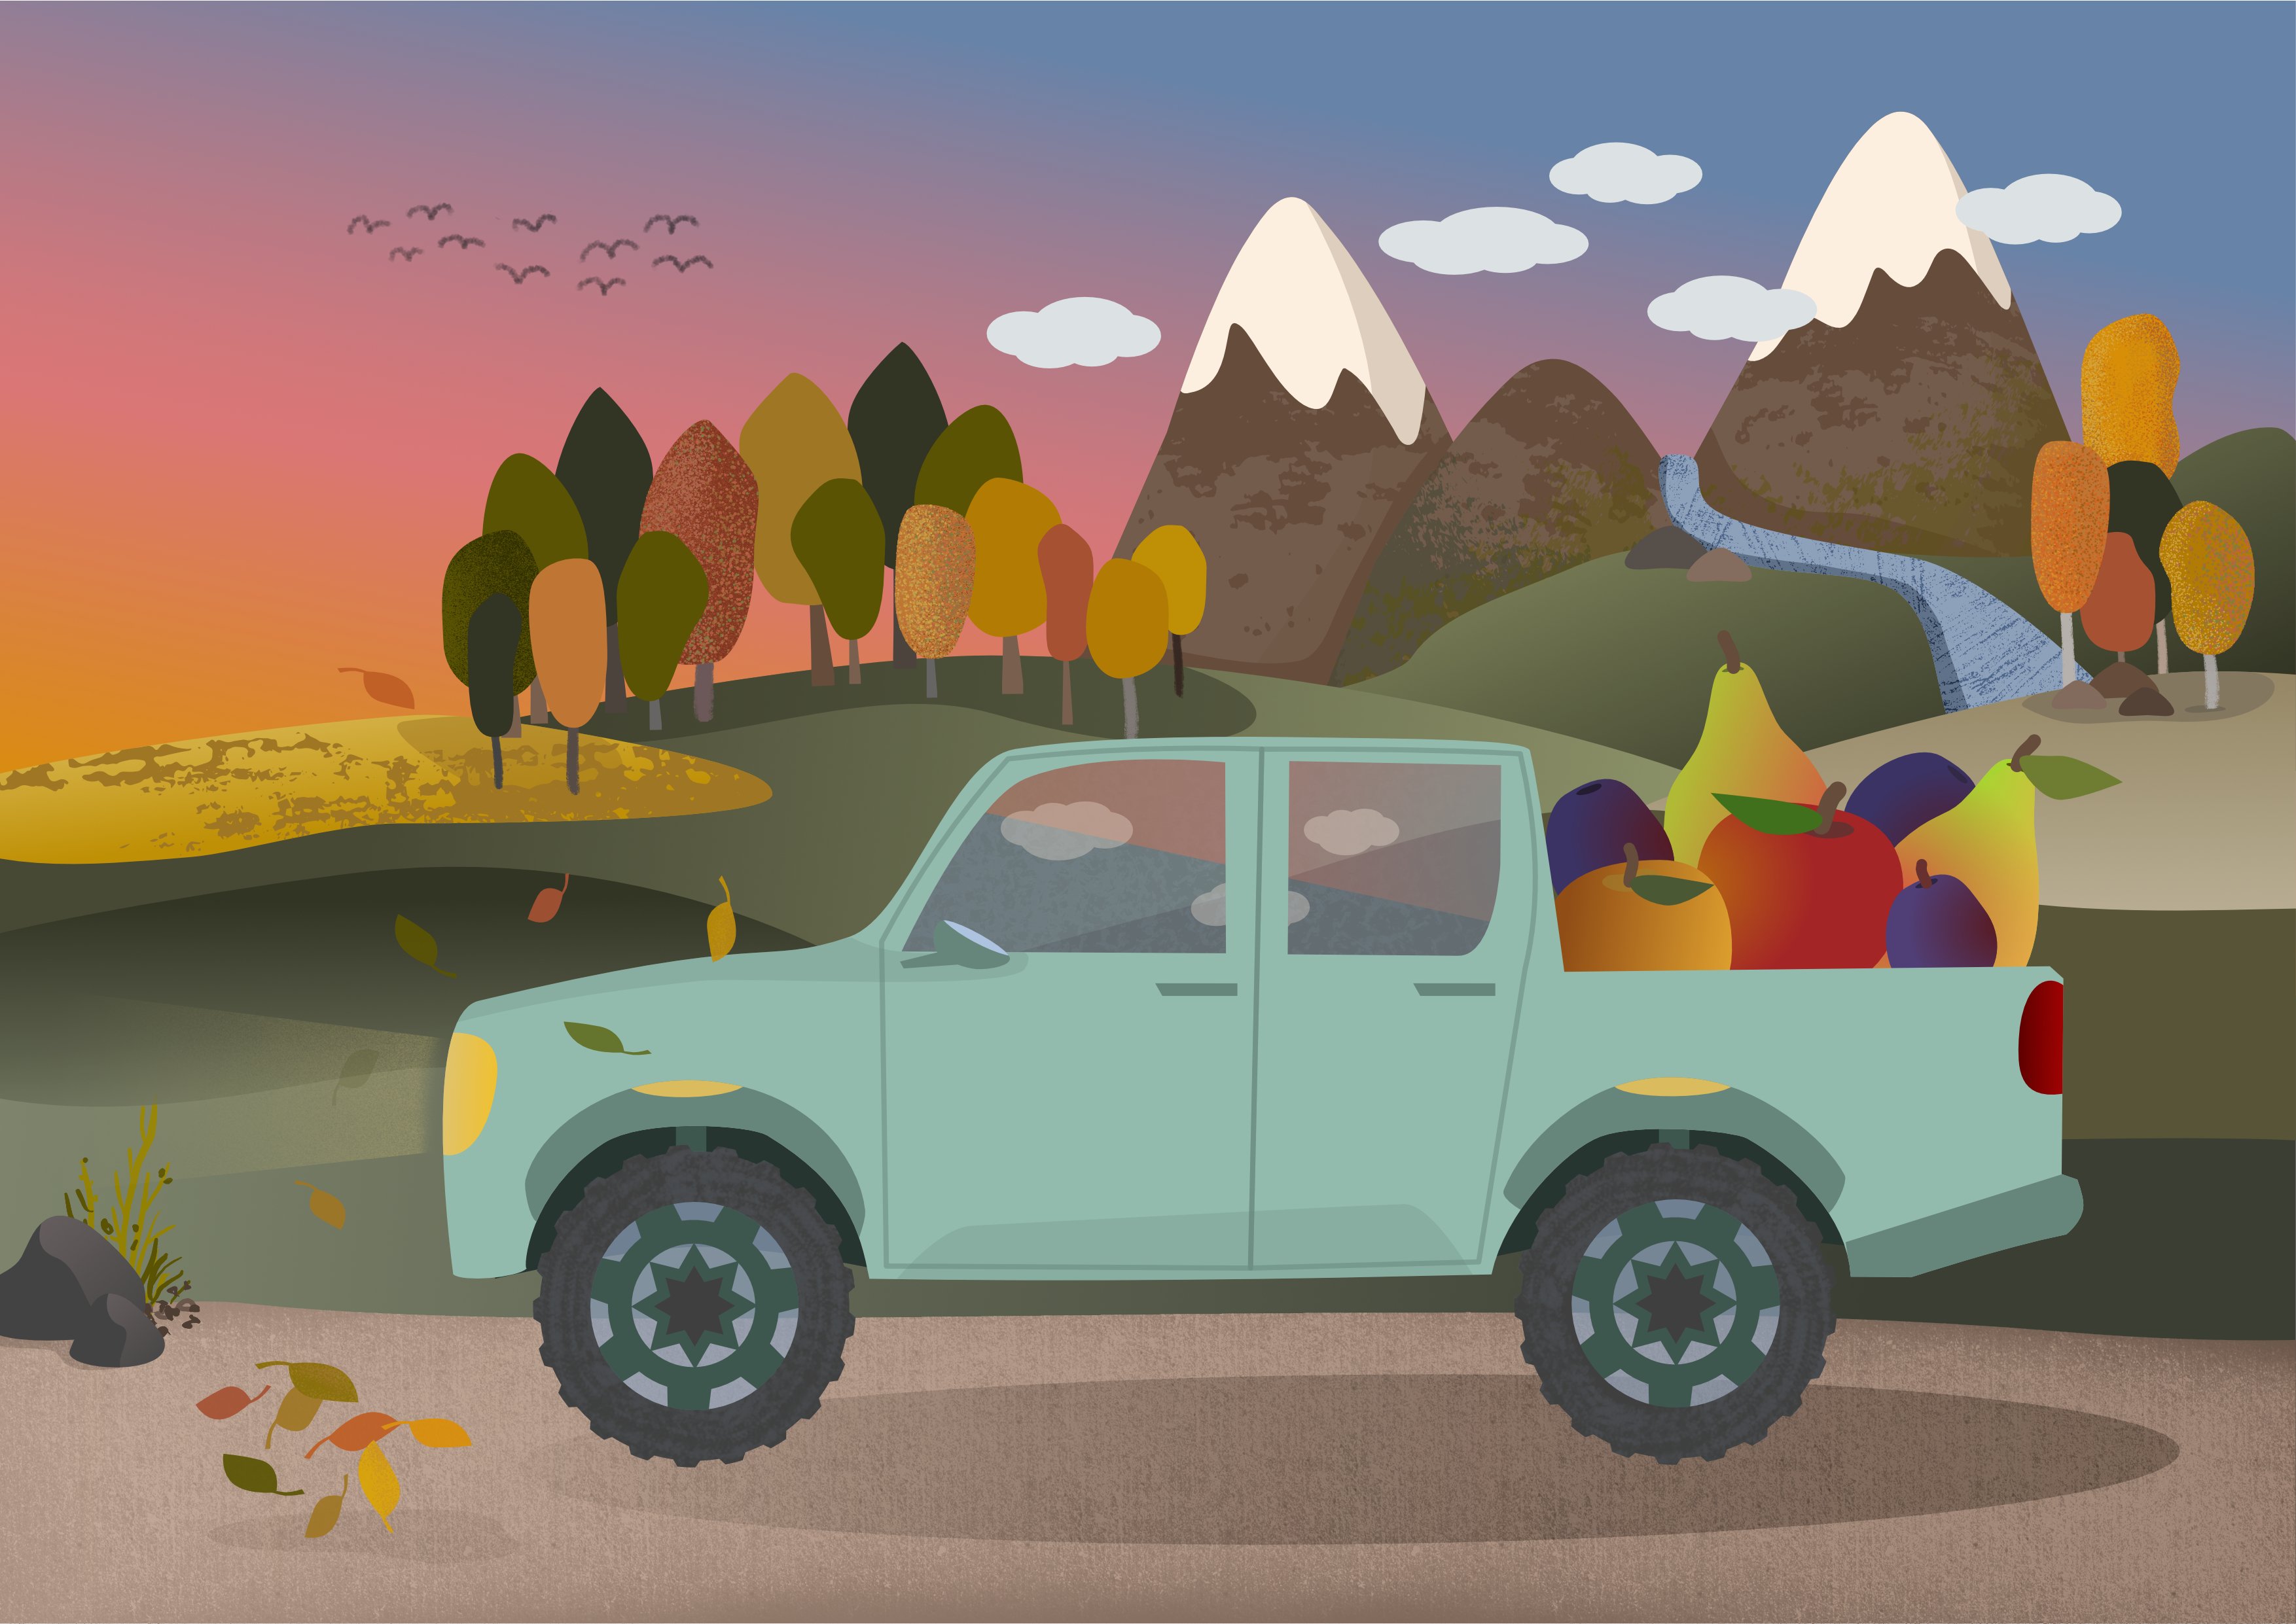
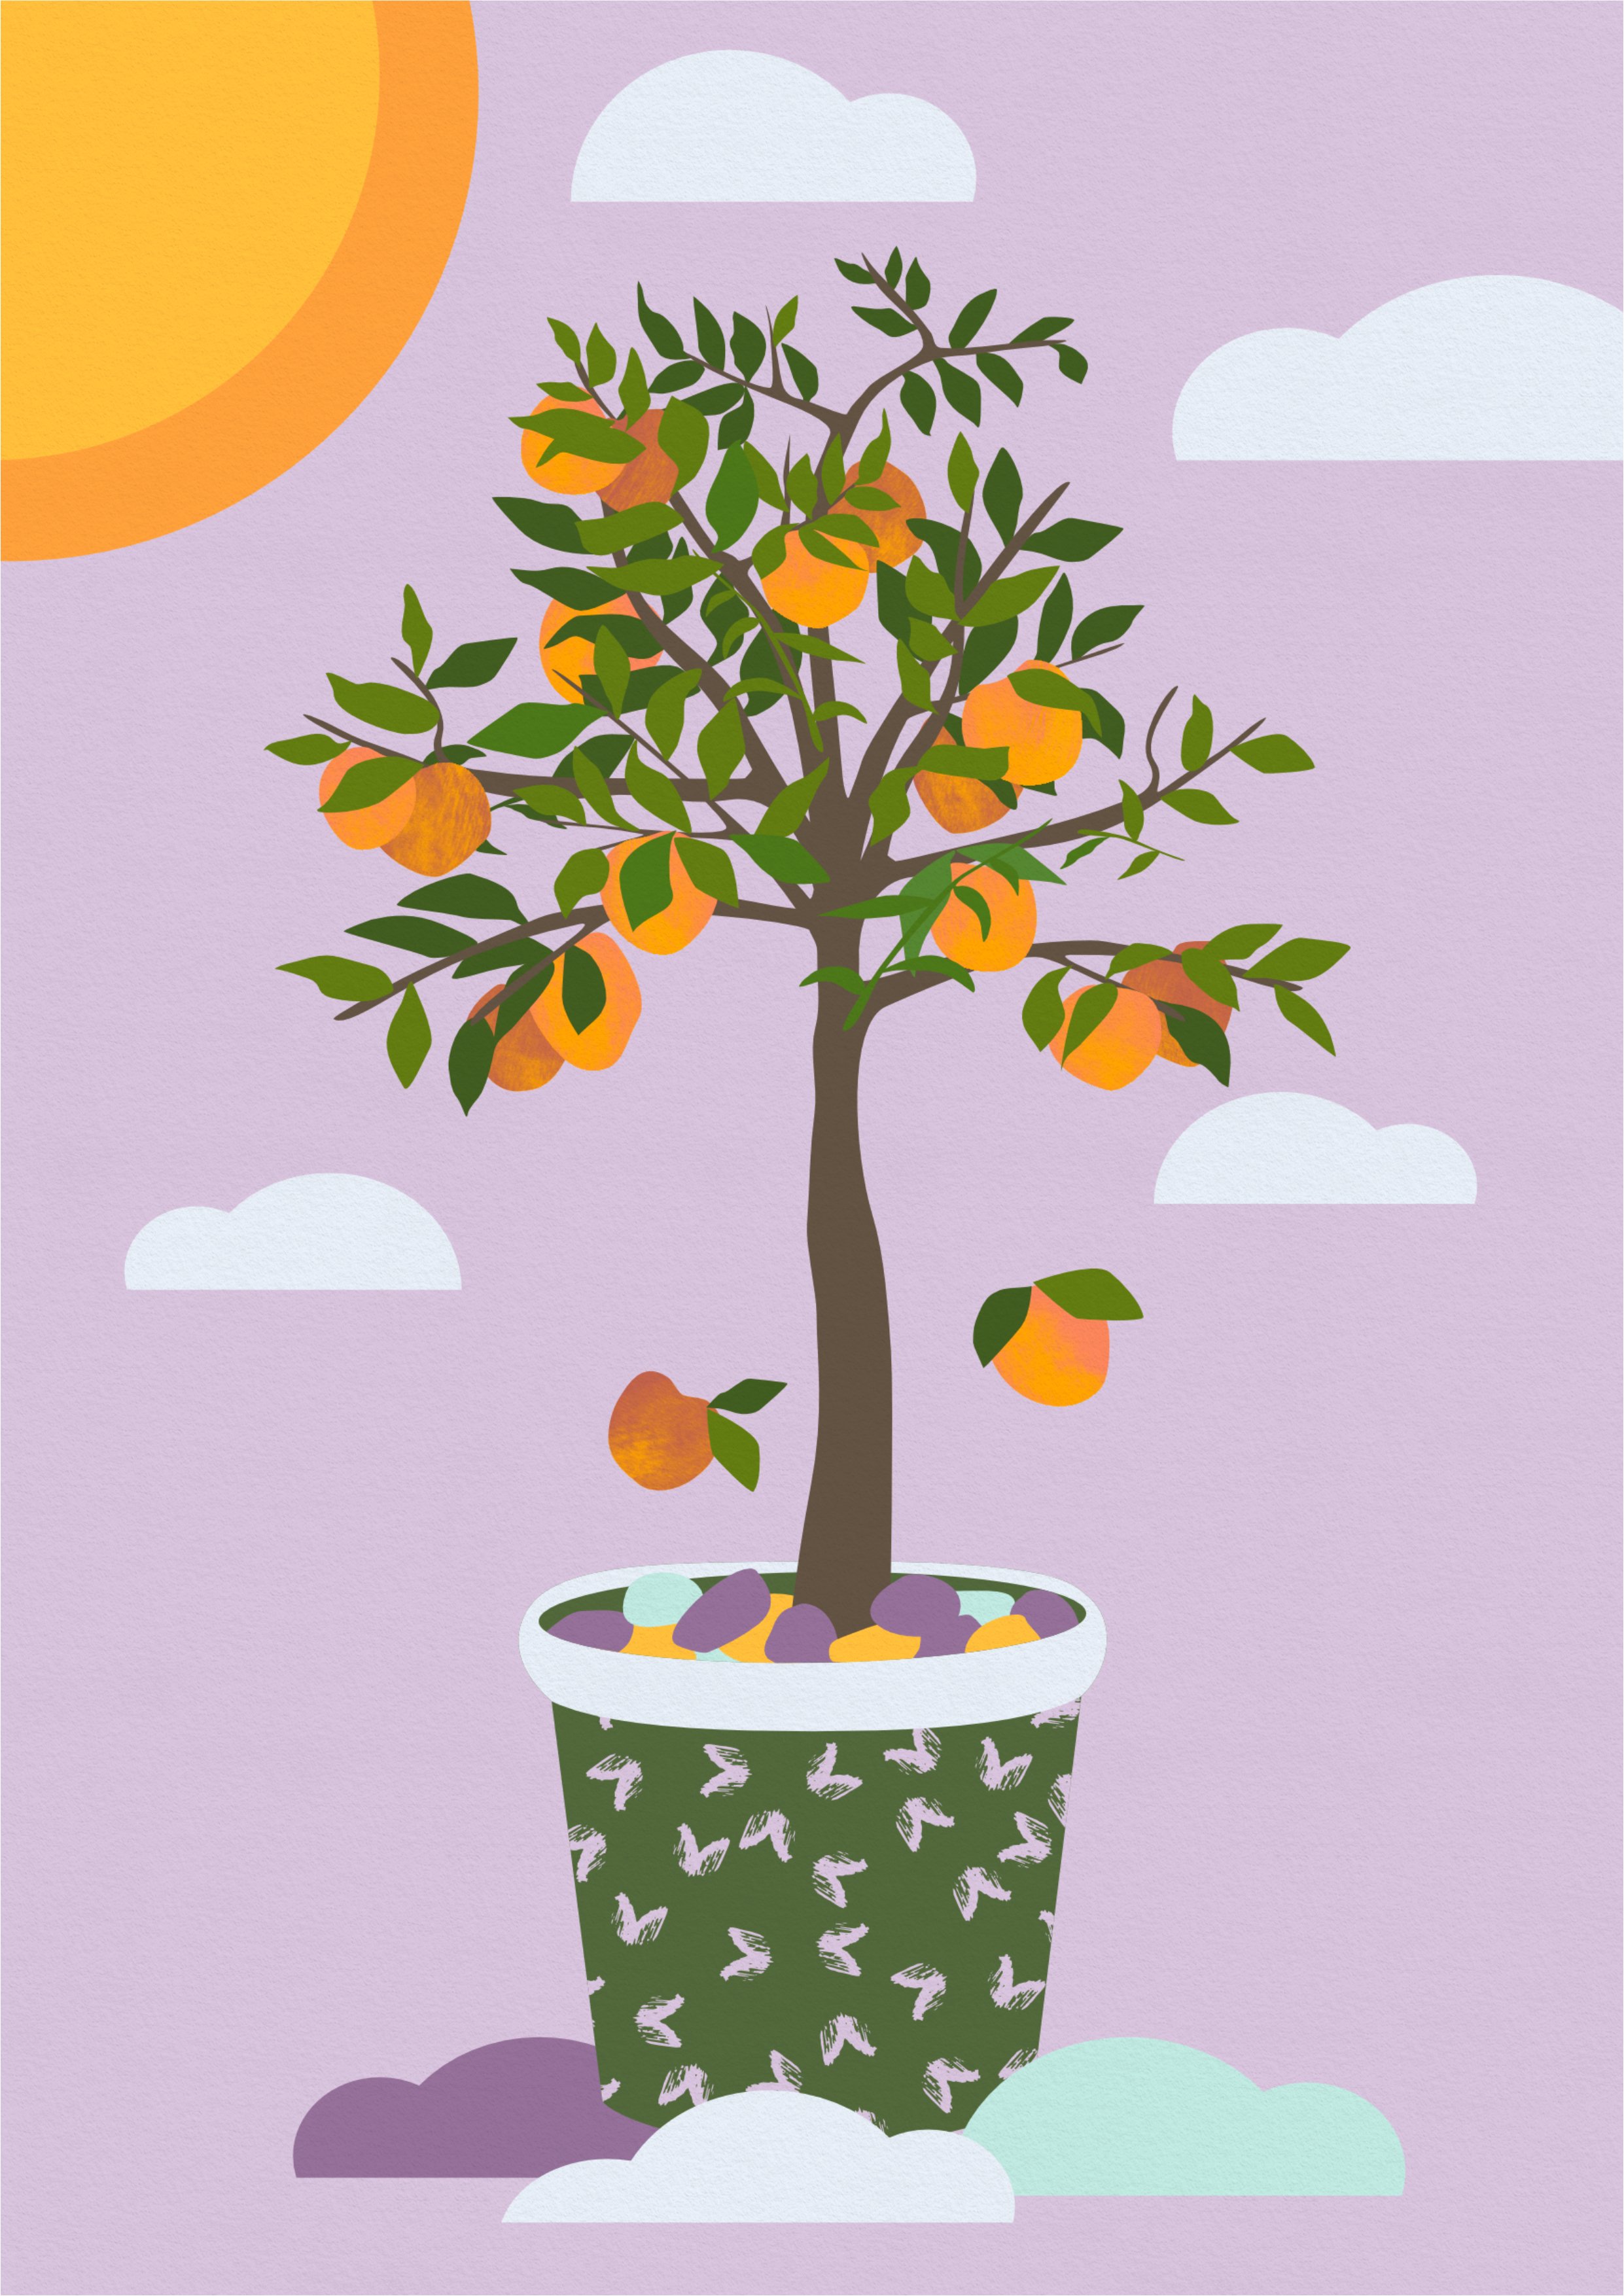
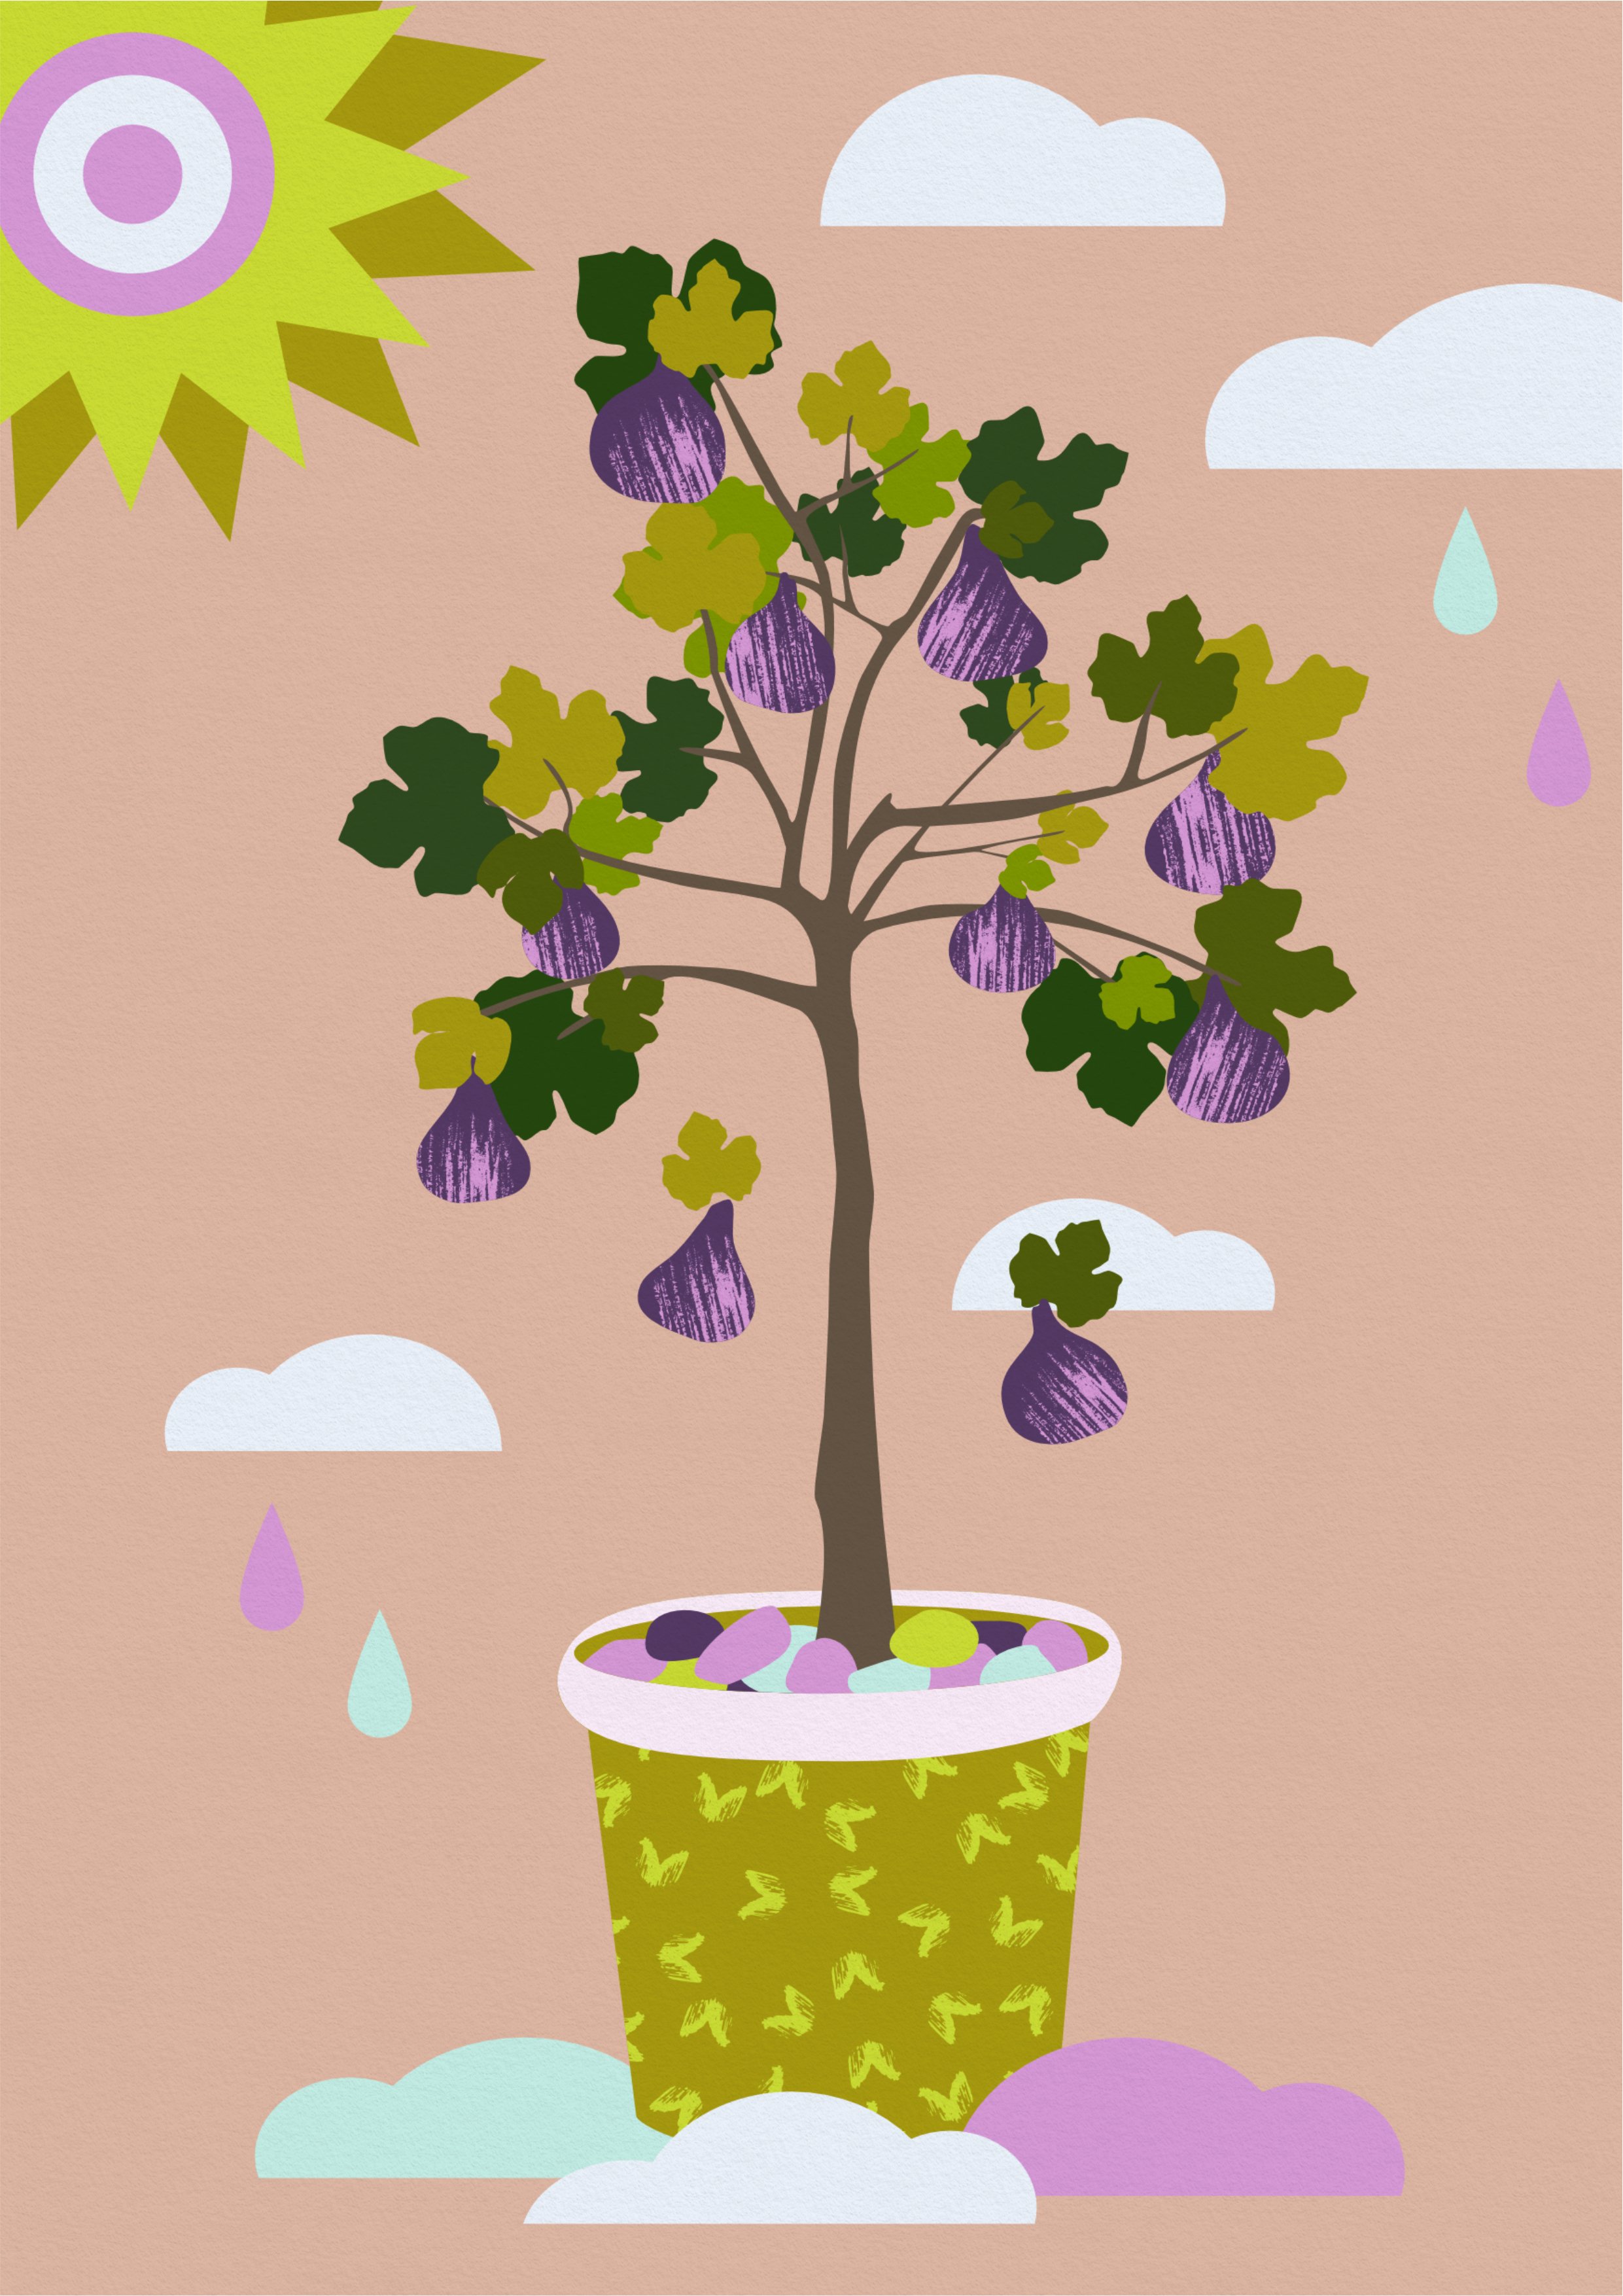
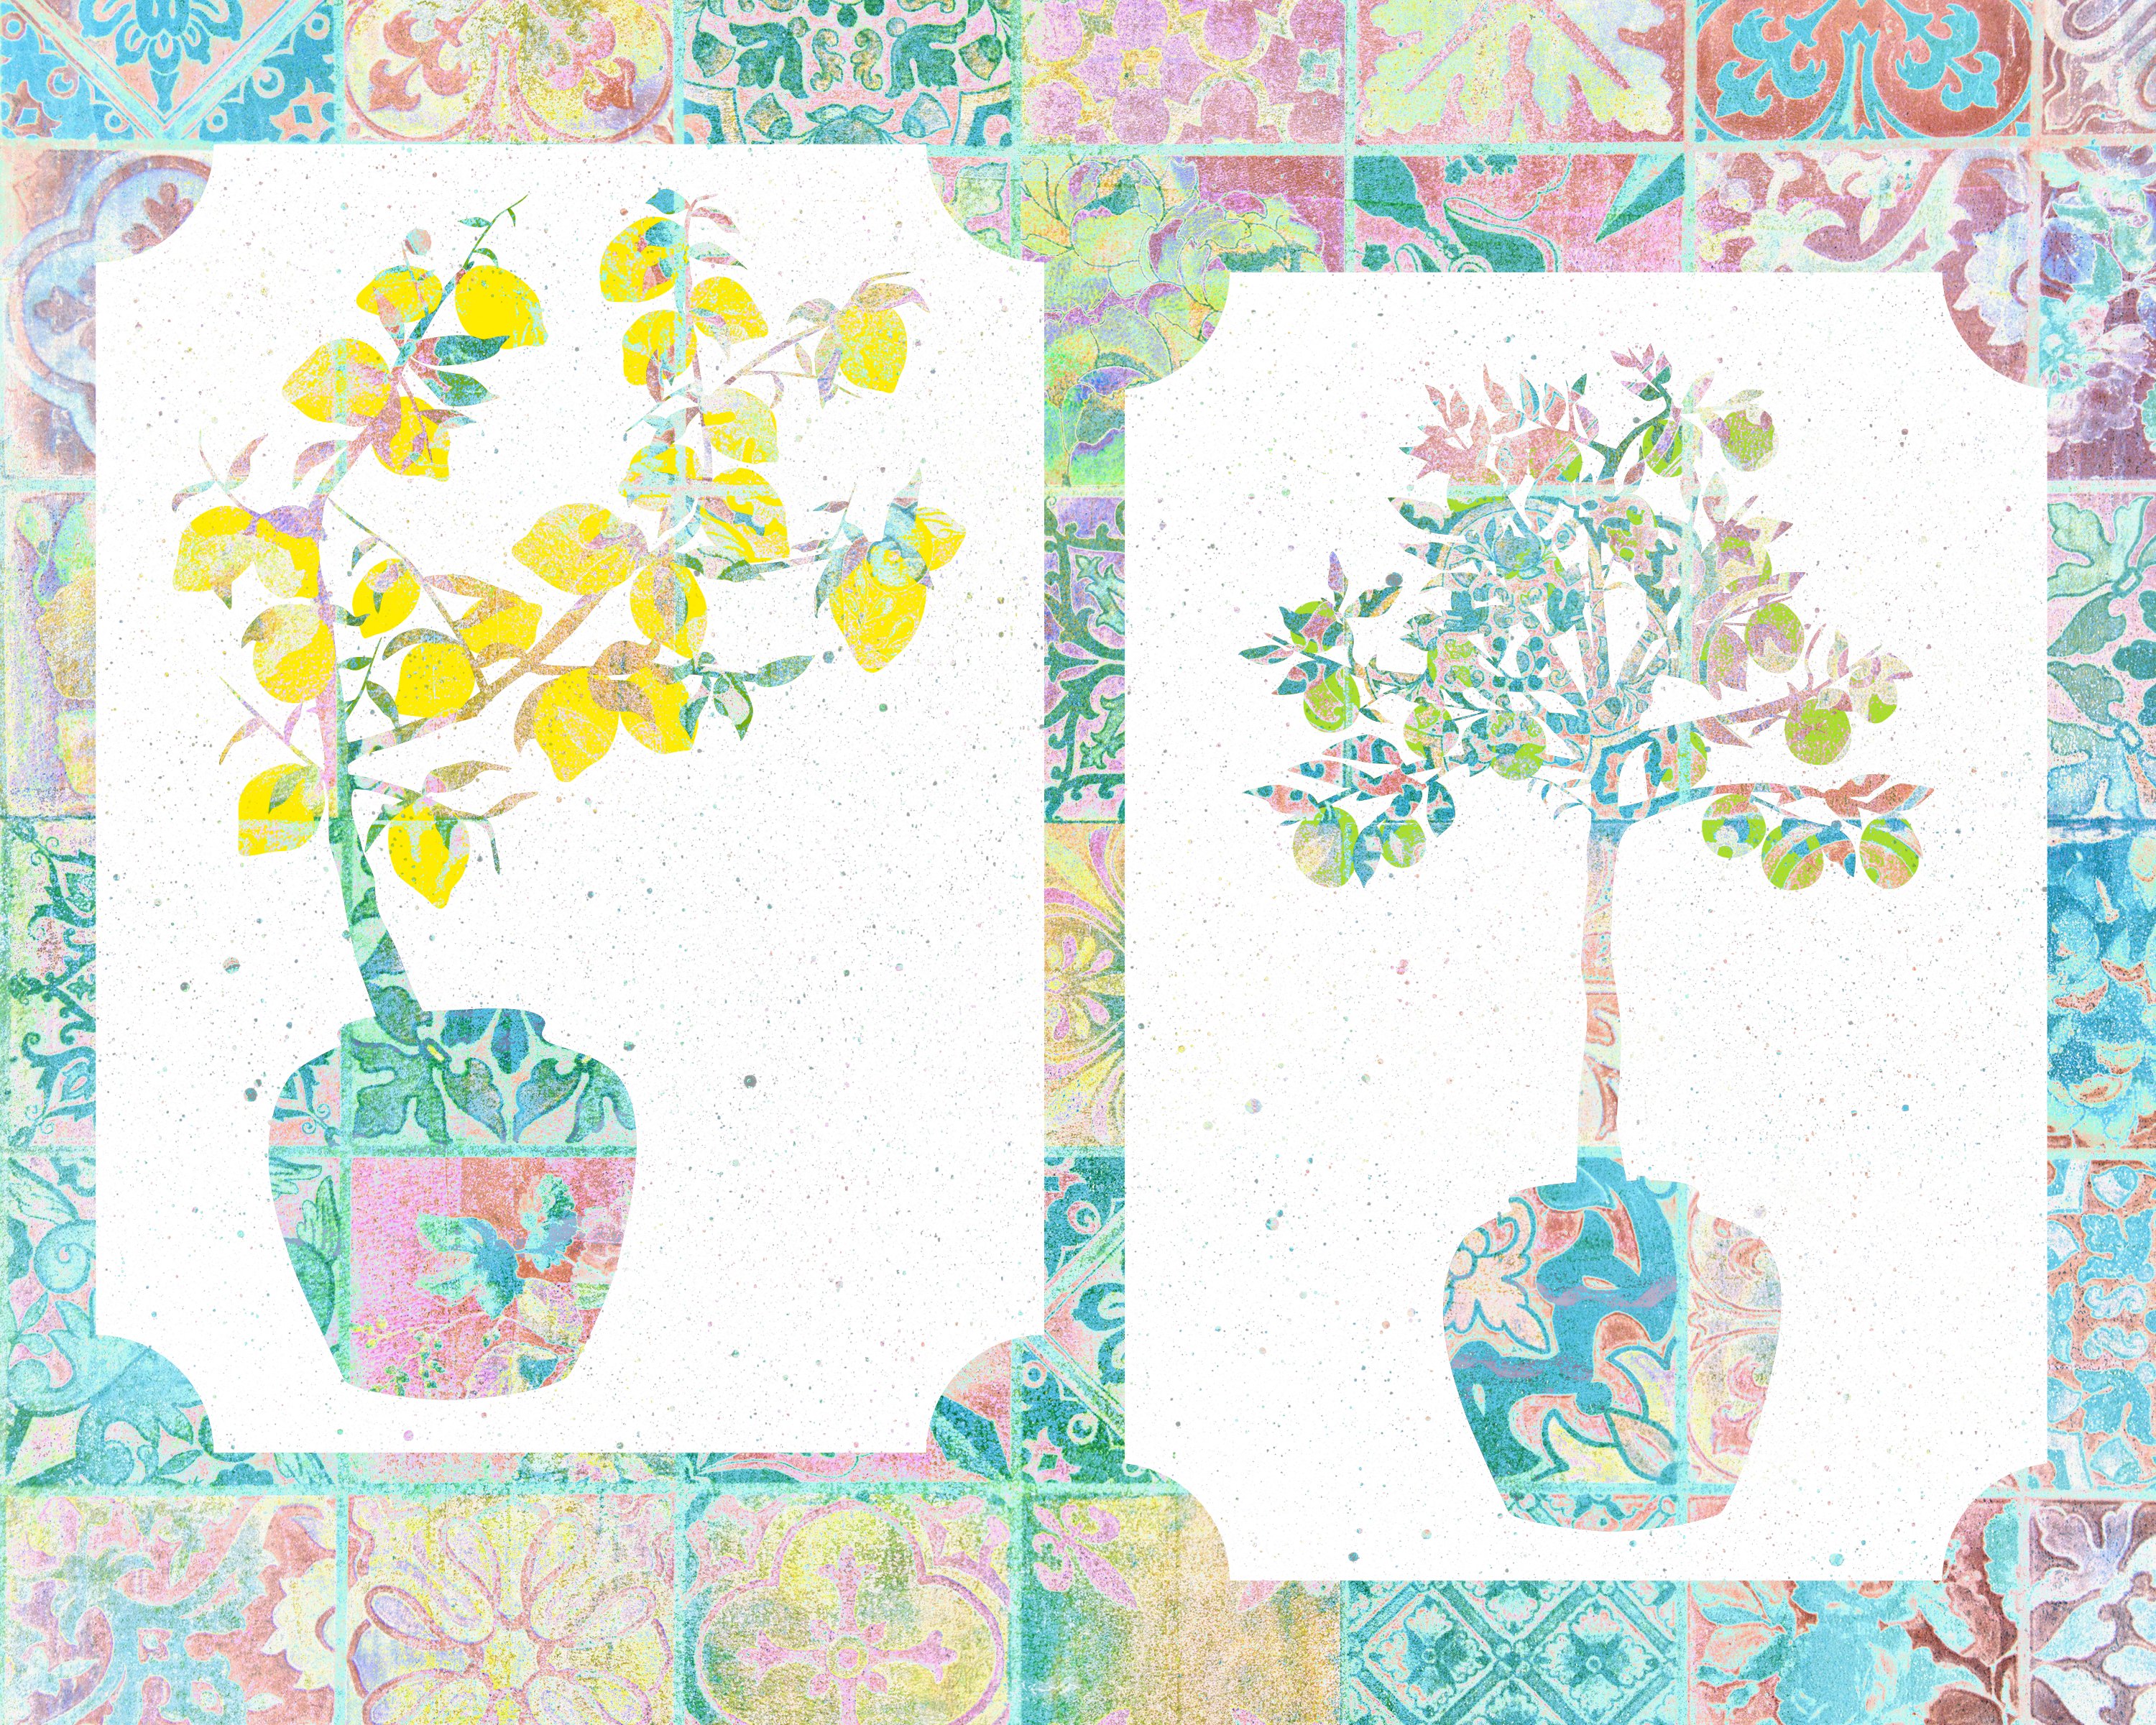
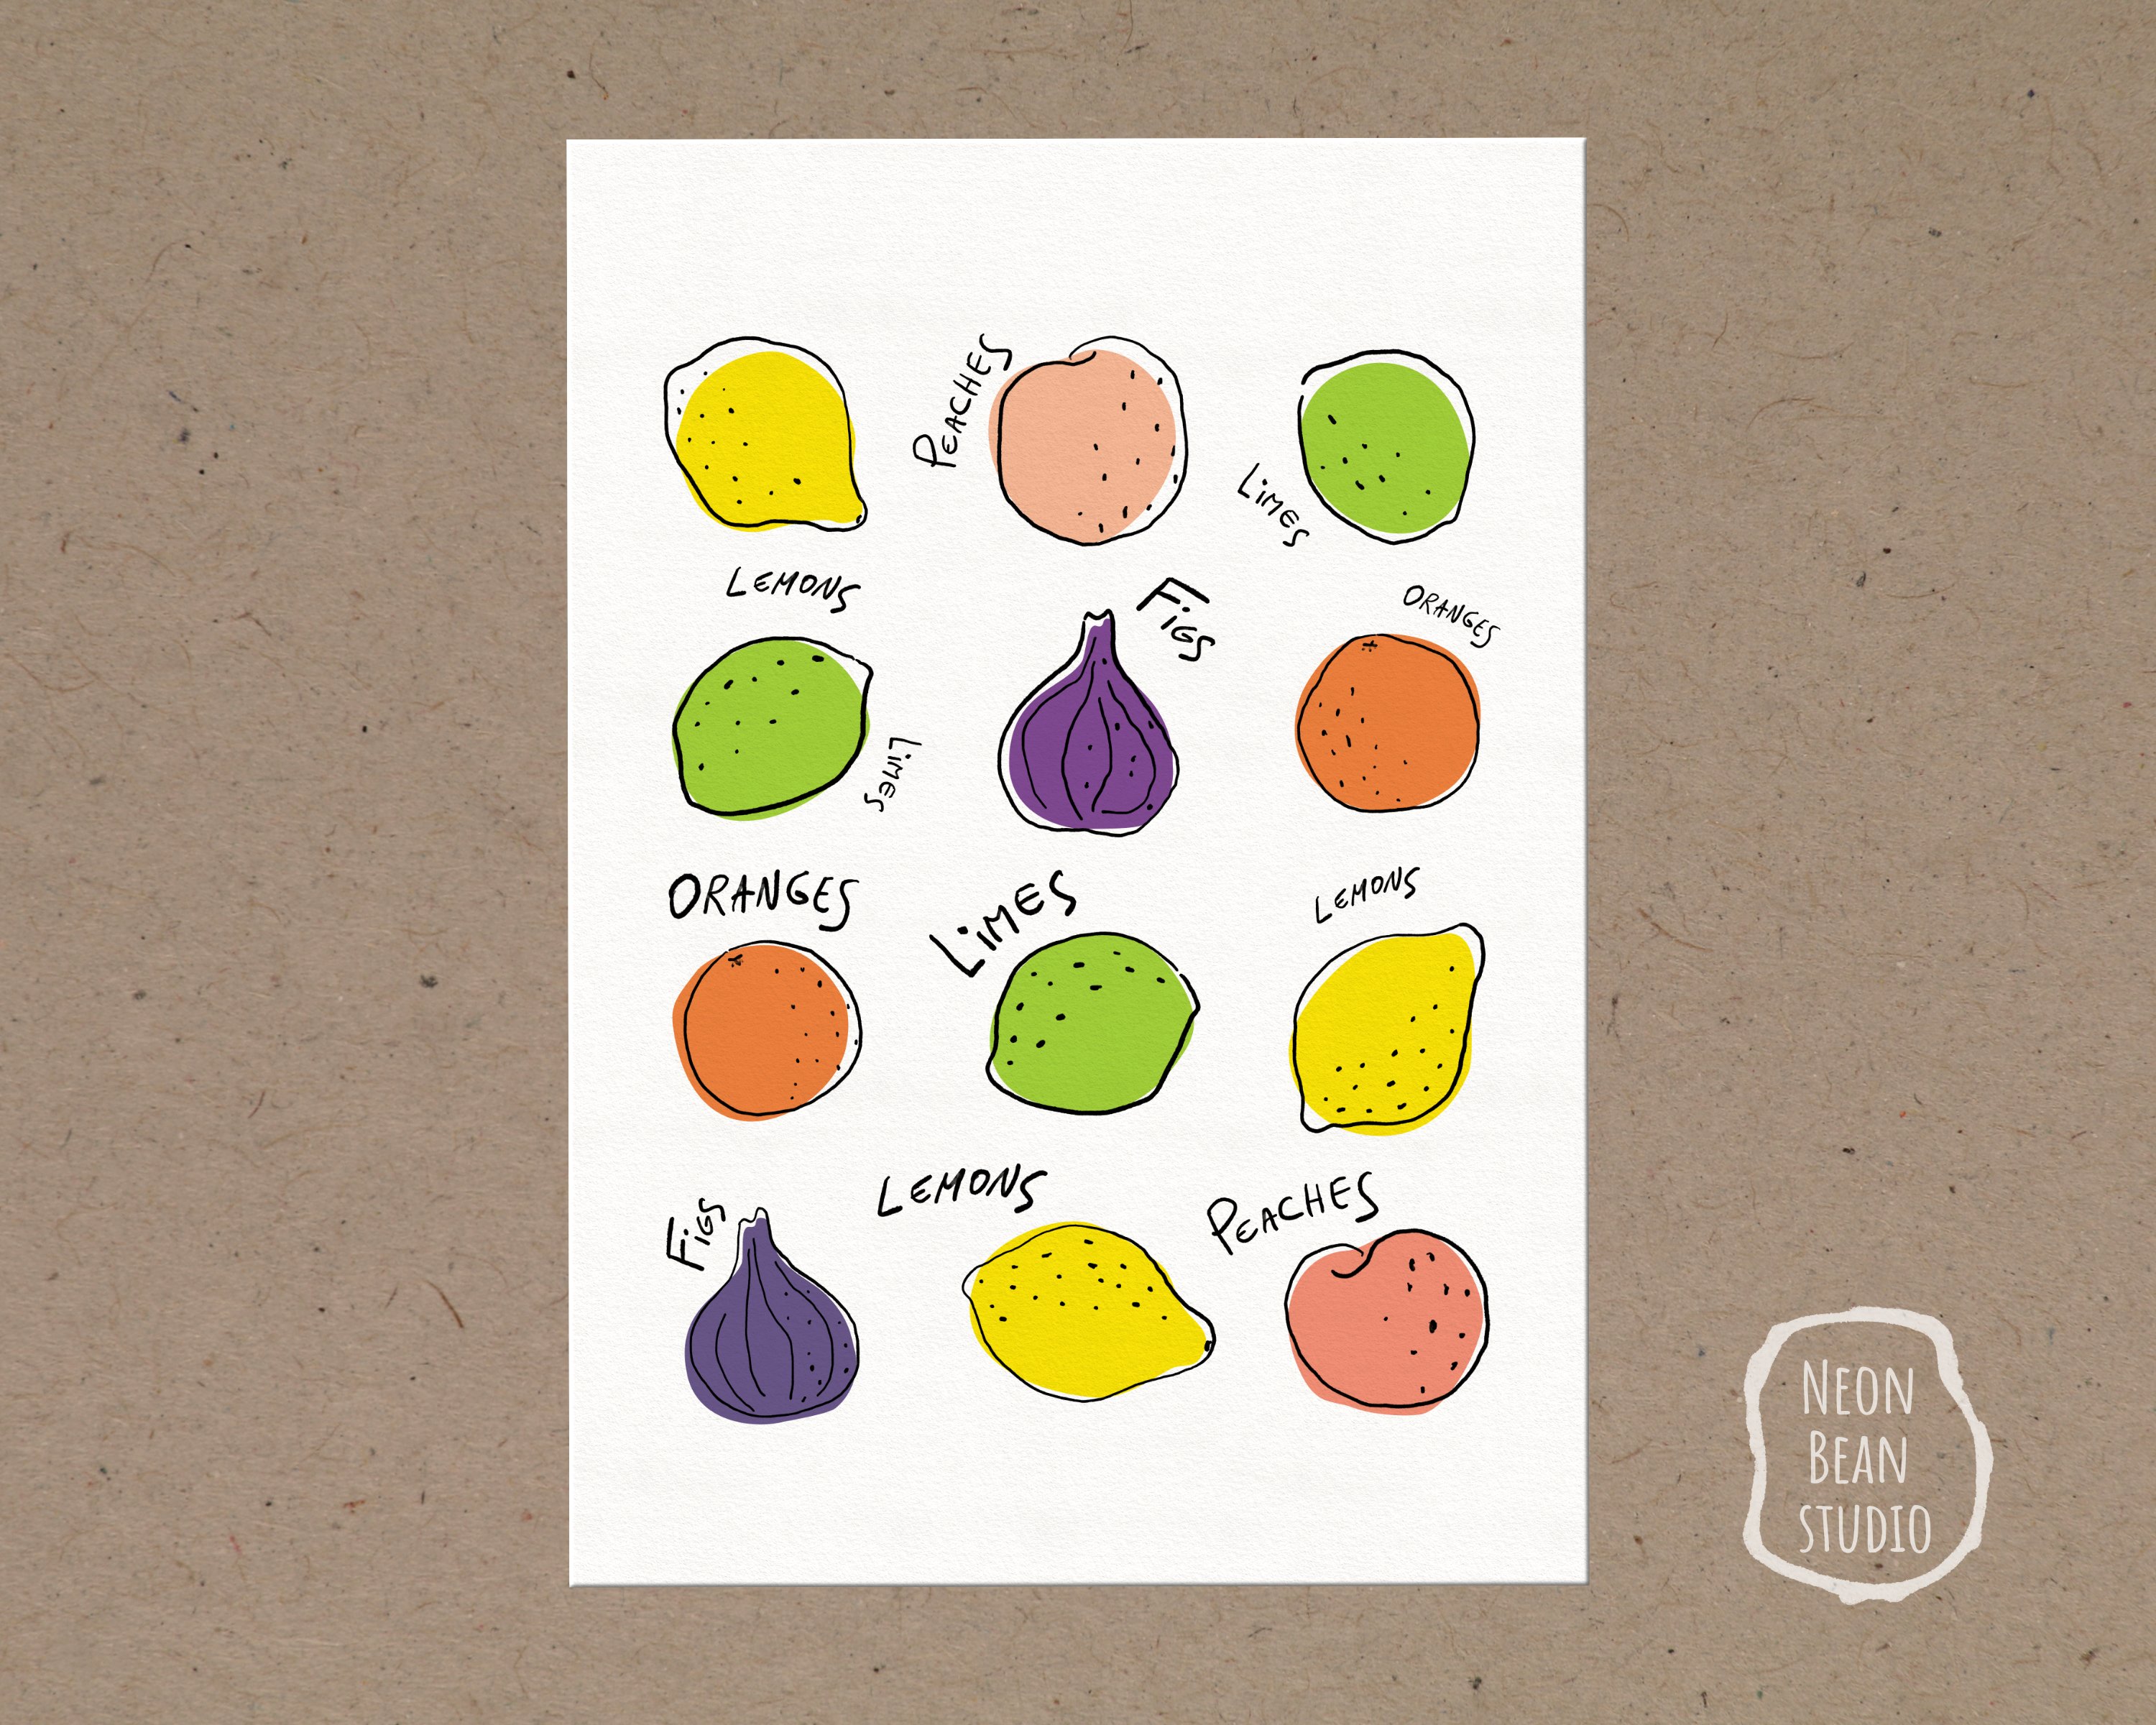
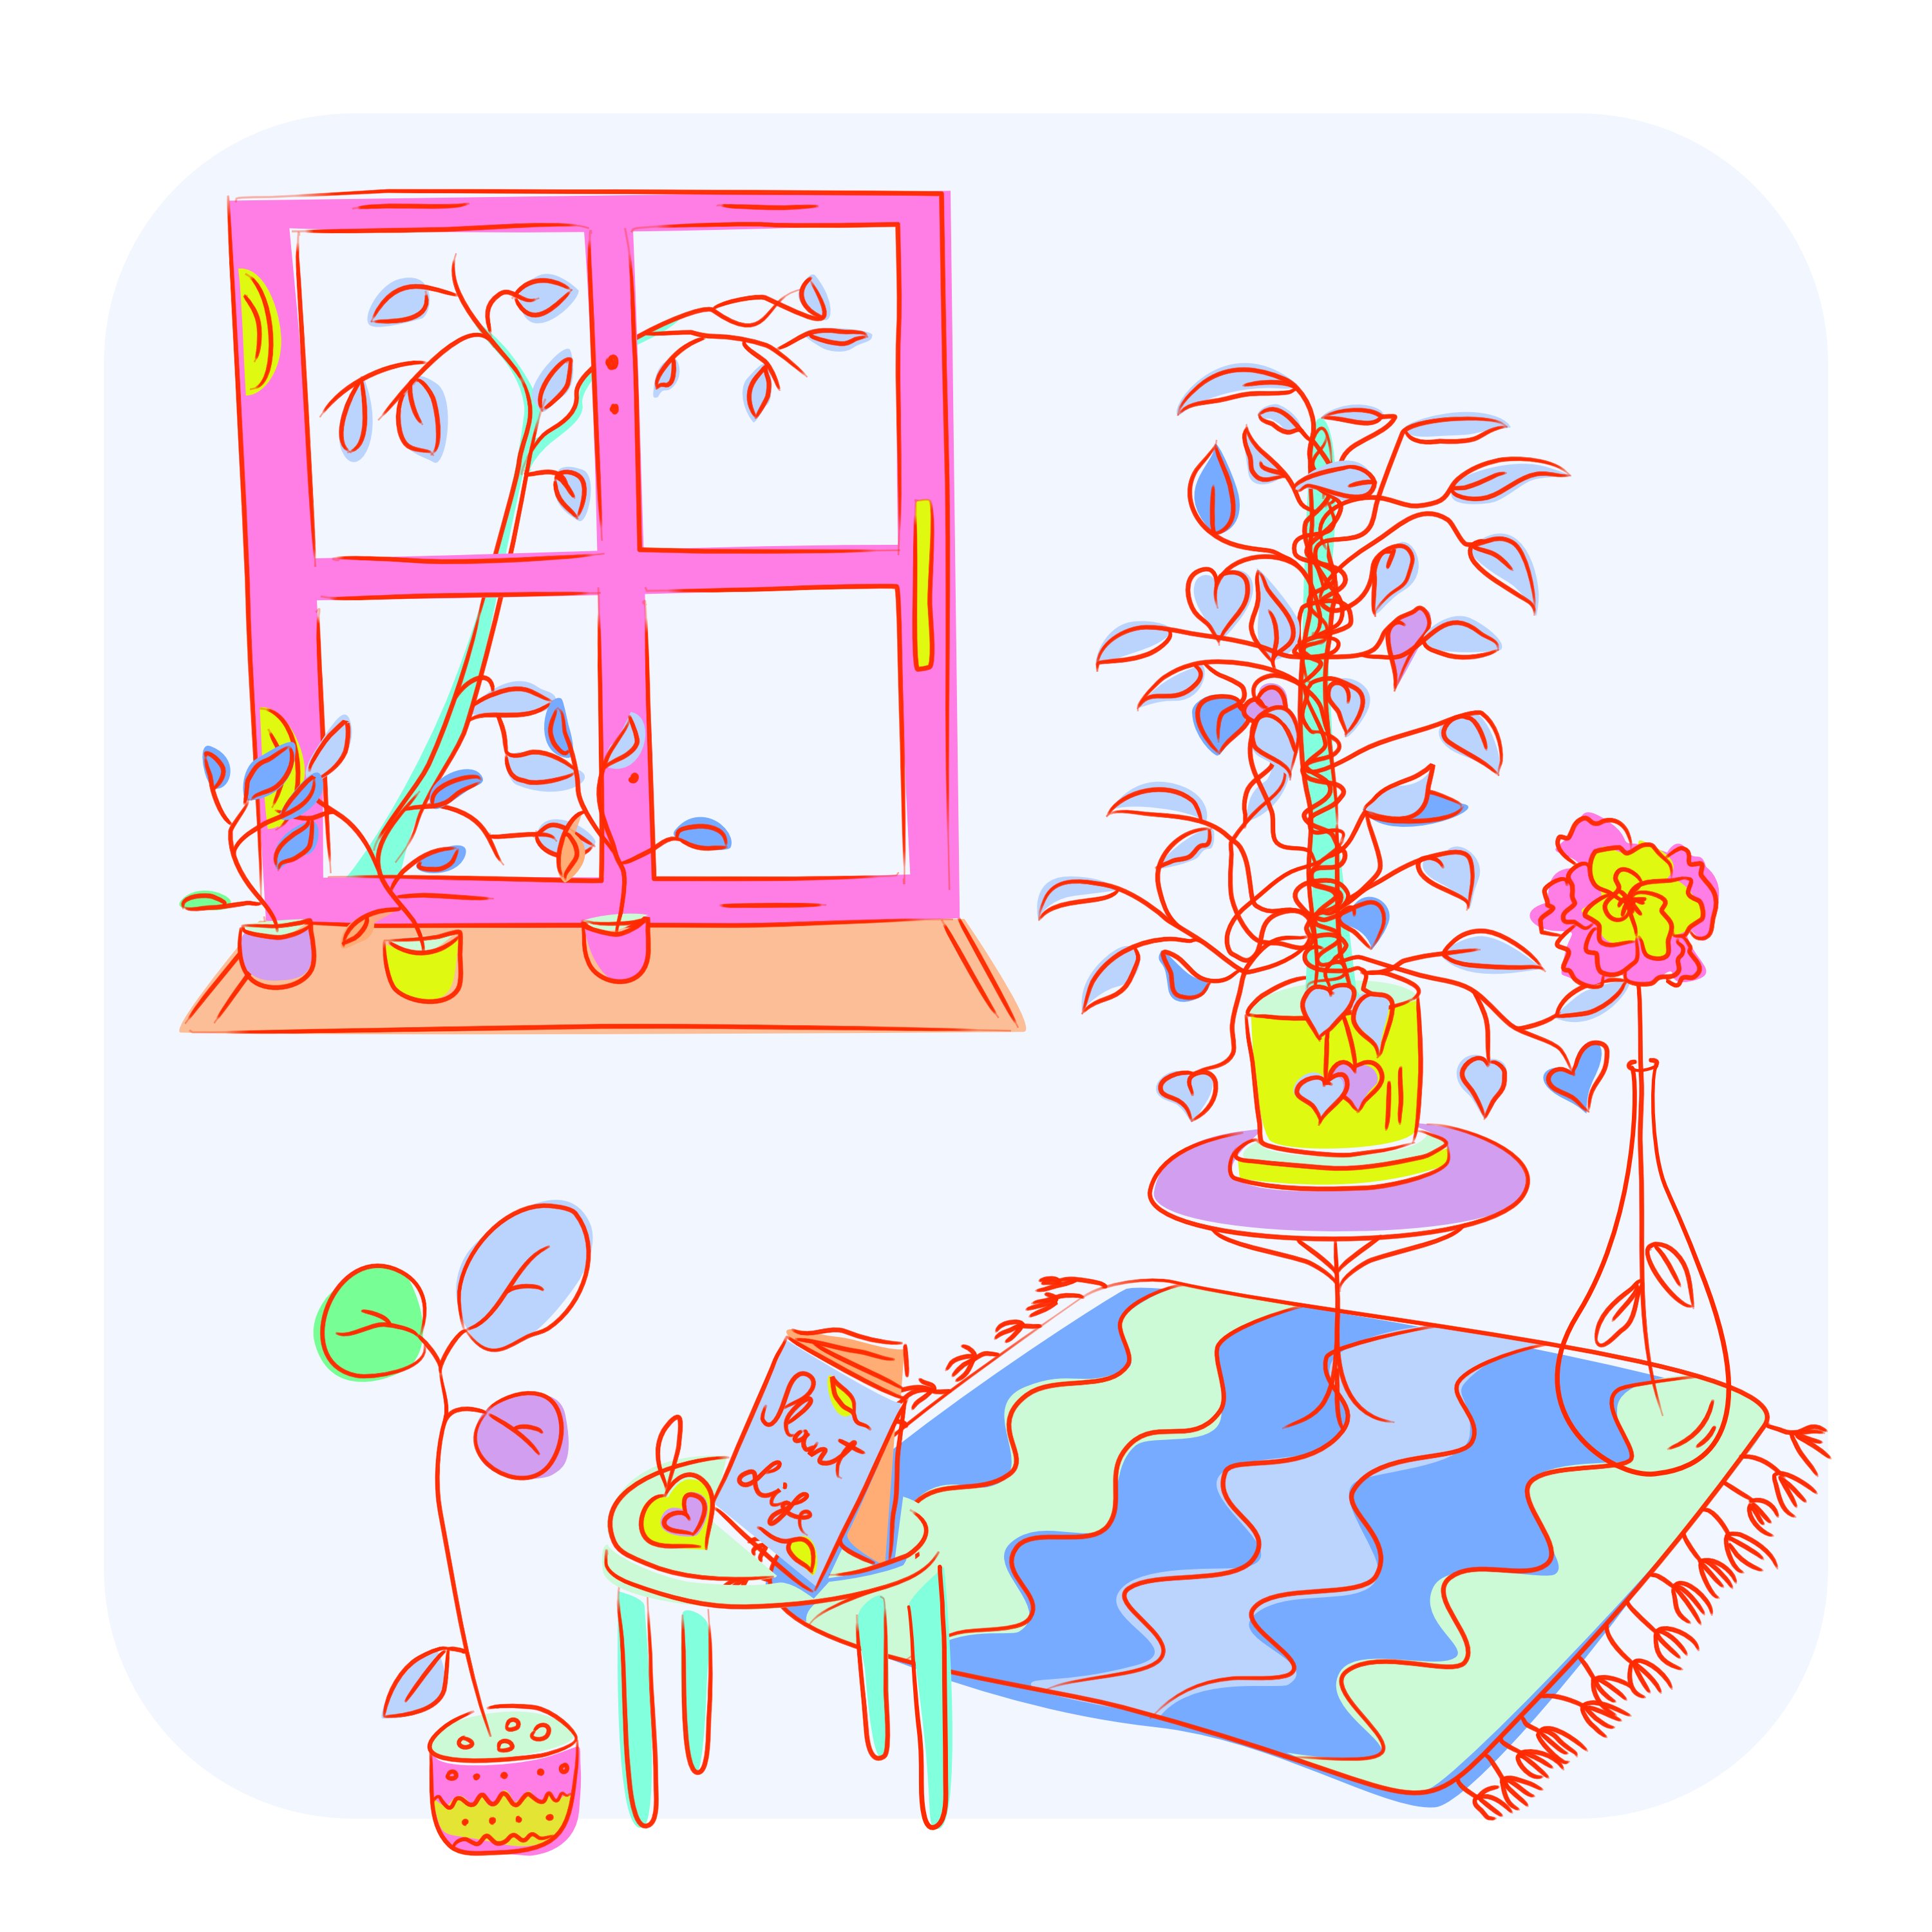
Hi, I’m Nora! I made this topic to share my illustrations with fellow creatives! I’ve been using Affinity Designer & Photo little over a year now, learning new things every day! Year 2020 end, I made a choice to follow my heart and become full time Illustrator / Surface Pattern Designer 🙌🏻, previously I had been working full time job in Tourism Industry. Even though I always did different crafts and projects next to my daily work, I never felt the courage before to let things go and be a full time artist. So here we go, I post some of my works here, these are from the end of 2021. Also if you would like to see my works as a full project, I have them here on my Behance: https://www.behance.net/psnora/projects I hope to hear from you others out there, if anyone had also similar story with me or if not , it would be still fun to hear from you.🎈
- 14 replies
-
- 12
-
-
- whimsical
- illustration
- (and 7 more)
-
Hi Guys, I am working on a Photo and this person has a lot of Acne Scars, Blemishes and a lot of Uneven Skin Tone on the Forehead. I am trying to use Frequency Separation method and work on Low Frequency for Colour Correction of the skin and High Frequency for Scars and removing blemishes. And then I am using Healing Tool to do the work. My Problem is, to even out the Uneven Skin Tone on the Forehead I am not getting a even skin tone on all sides, either one side becomes too light or become too dark. I just cannot get the Uneven Skin Tone to even out in the Forehead. Even though I use a Hardness of 0% on the Low Frequency which I use to even out the skin, For High Frequency I use Hardness at 100%. My question to you guys is, is there any method or trick that I need to follow while working to even skin tone in Freuqnecy speration ? Please guide me. TIA !
-
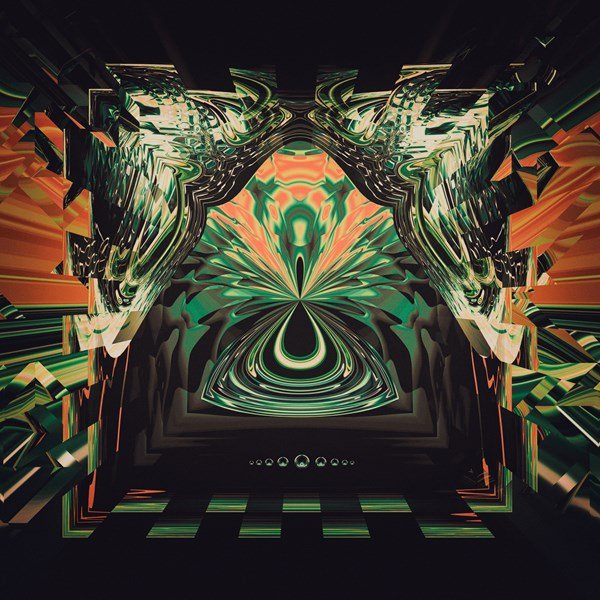
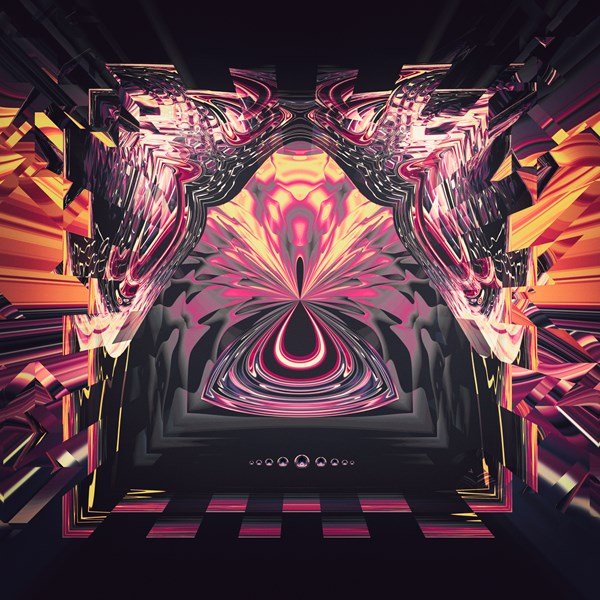
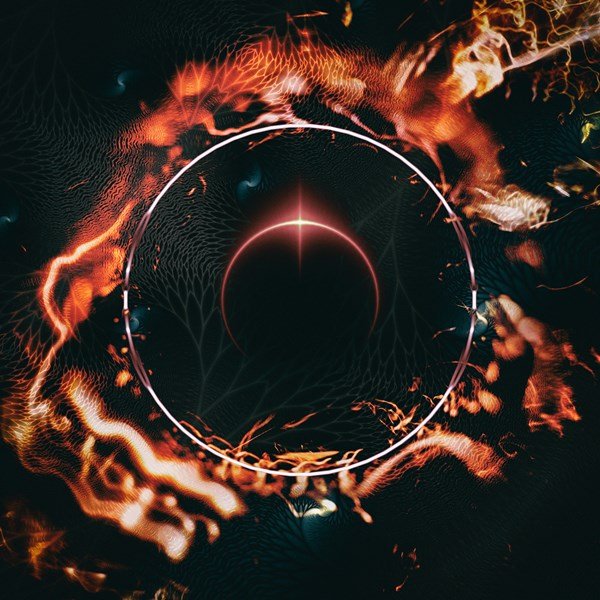
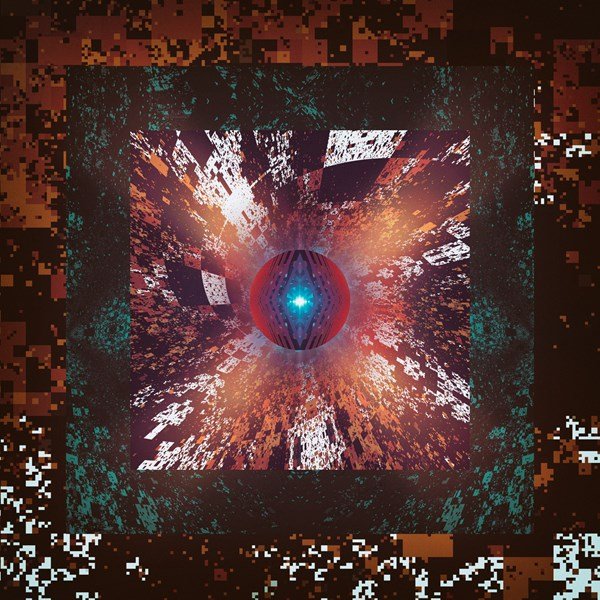
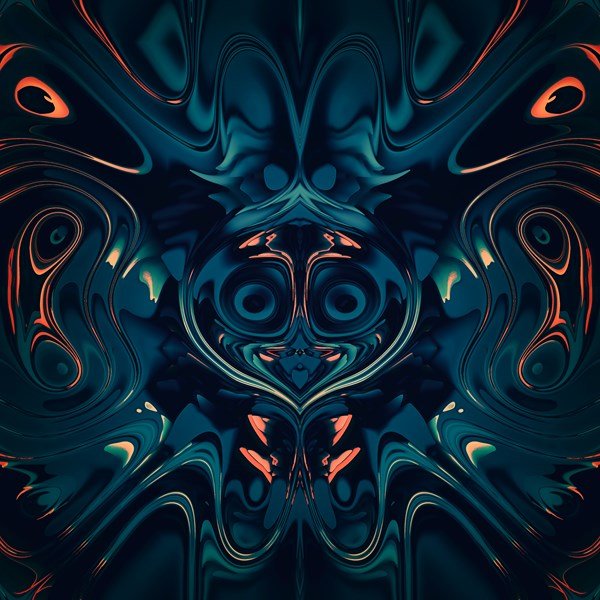
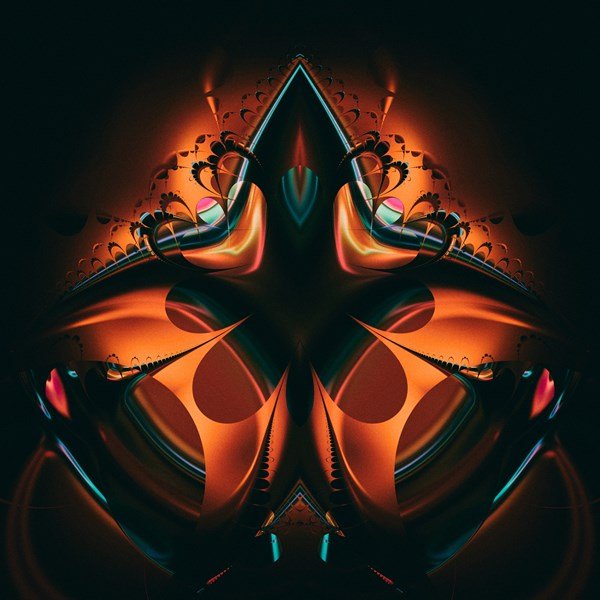
Multiversum and Multiversum 2 Concept art, Affinity and Filter Forge.
-
Affinity Photo and Filter Forge
-
Affinty and Filter Forge
-
Affinity Photo + Filter Forge.
-
My hobby after my Job. Affinity Photo + Filter Forge.
-
Distortion pattern. Affinity Photo + Filter Forge. My hoobby after my job.
-
Diffraction Dream variation no 5, Affinity Photo + Filter Forge.