Search the Community
Showing results for tags 'Affinity photo'.
-
With a major assist from a black and white drawing of Ancient Windsor Castle in the British Library's collection of images in the public domain (watercolour brushes), plus a Jixipix plugin, plus some Pixabay images of snow, a bow, and some spruce (selection brush tool), I wish each and every person at Serif — who has/have been so indefatigable at giving us our lovely V.3 this year — a blessed and happy Christmas! A more elegant group of professionals could not be found! My thanks and best wishes also go to the many Forum members who have so kindly devoted so much of their time and intellect over the past years to answering thousands of "how do I ..." questions from other Forum members. Not to mention my own. I have learned from those answers more than I ever imagined when first I found Affinity Photo, and later Designer and Publisher a few years ago. A special thanks goes to @MikeTO for his extraordinary gift to us all of his Publisher manual. It is a Herculean effort and so very appreciated, I am sure, by many of us. So thank you, everybody, and may we all pray for peace on Earth in 2024! P.S. The bow in my jpg is actually a clear red. Not sure why the uploaded version is this rather off-putting burnt sienna. The spruce looks rather sick and tired too. Oh, well. Not Photo's fault.

- 3 replies
-
- 12
-

-

-
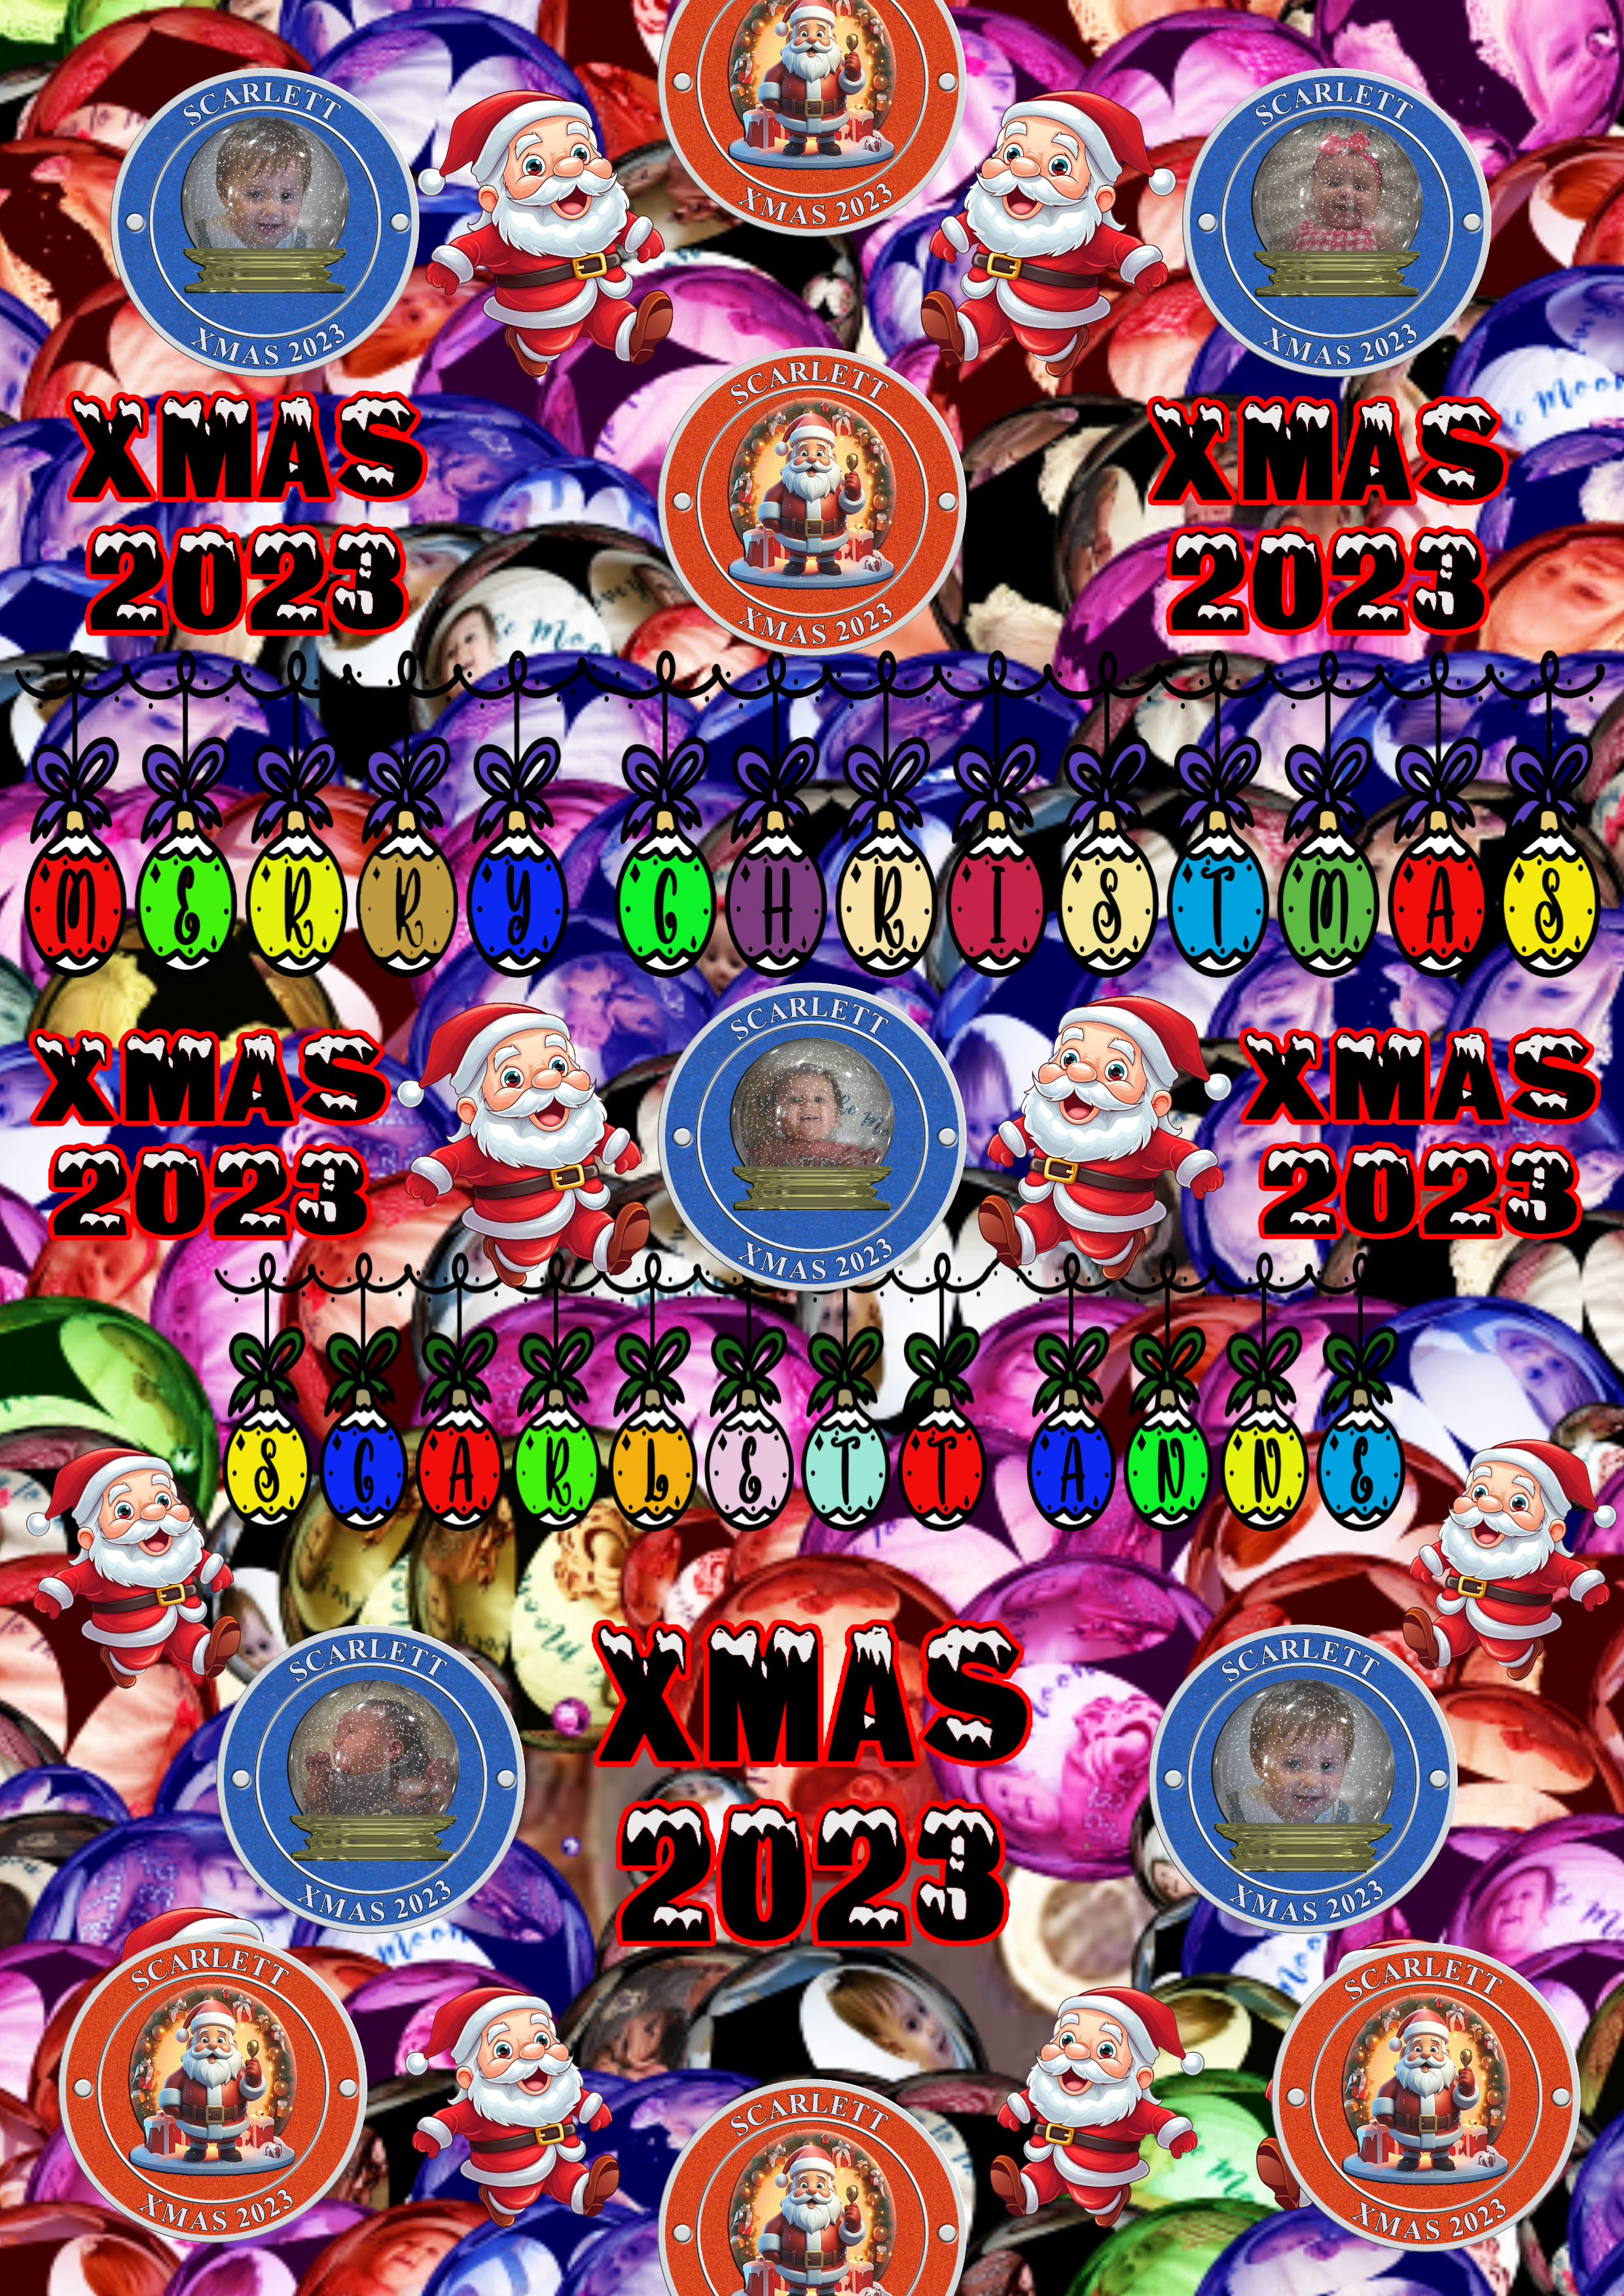
A4 design collage Xmas wrapping paper created and assembled in AP for 2 year old Gt Granddaughter to be photocopied to A3. 2 fonts used. Background created in Filter Forge. Santa from Pixabay
-
I heard recently that people are starting to explore Loch Ness in Scotland again. So this time, I made an image of the curiosity about Loch Ness with Dinosaur Family. "Dinosaur Lake" speed art : https://www.youtube.com/watch?v=IRSNWsTmaZ4
-
- 1
-
-
- minuir
- digital art
- (and 2 more)
-
 I tried searching in help, youtube and here in the forums. I don't know if I'm searching wrong. Can any one please help on how to fill with foreground color in the ipad app as we do in the desktop one. I need to select some areas and fill them with the selected foreground color for my work but I'm not able to find the option for it.
 -
 Hello guys, I learn how to work with Affinity Photo. I have got enclosed a file from this source https://discuss.pixls.us/t/out-of-the-box-raw-rendering-not-up-to-jpegs/6669/23 and I have tried to change the colors of the bridge. In another editor, I can change the colors quite well but in Affinity Photo is a problem for me. If somebody can help me with how to correct these colors I will be delighted. DSCF1110.RAF
 -
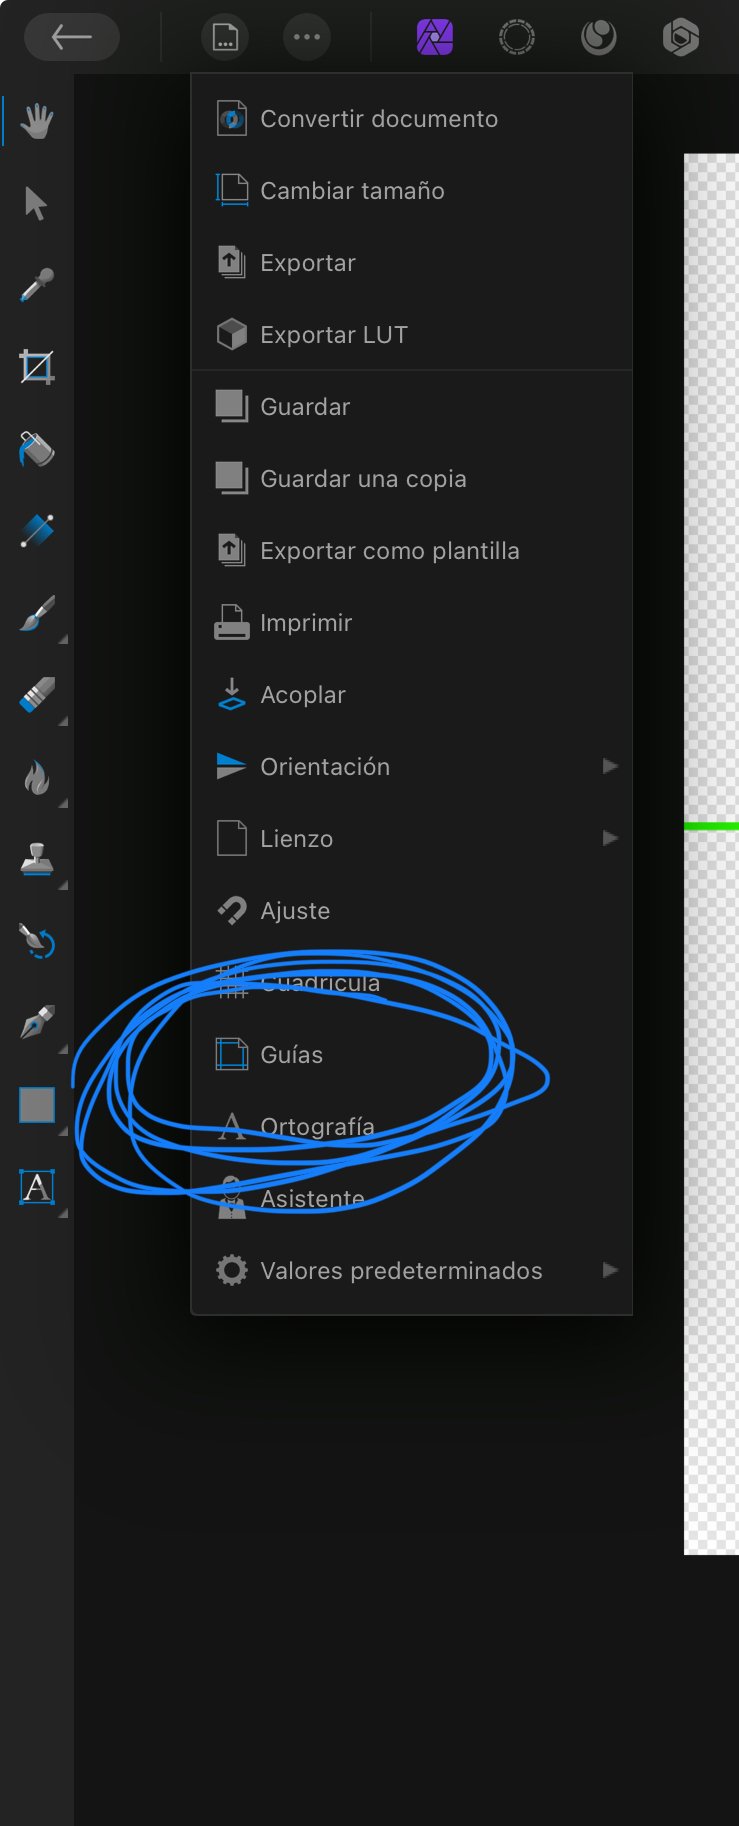
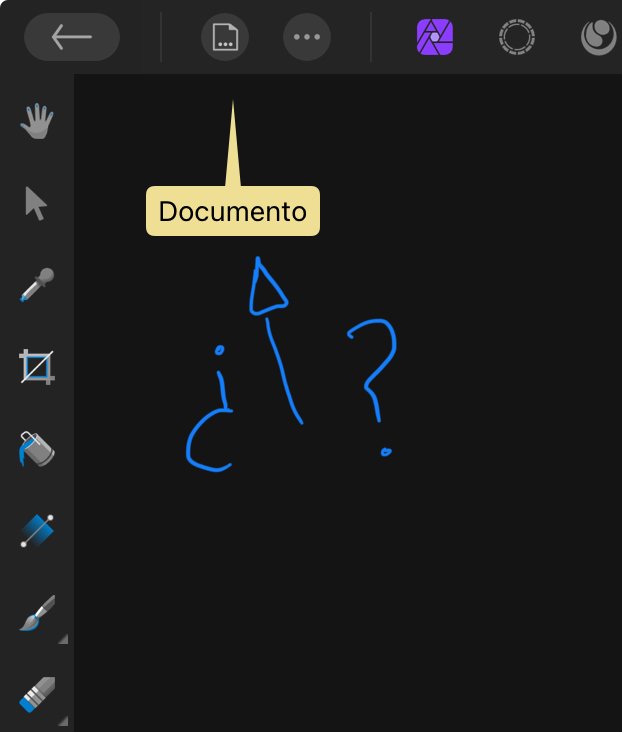
Hello! I think that in Affinity Photo it is in "Show guides" but really when I press the context menu disappears and "Document" appears Where can I show the rules in Affinity Photo? Why aren't they shown to me? Thank you!
-
 Hi, in this Affinity Photo Tutorial I show how to photograph and edit a small waterfall. The waterfall is small and romantic, but at the same time mystically located in the Lost Place. Since it is only a small waterfall, it obviously has to be processed differently than a large one (there will also be a tutorial on this). I wish you fun and inspiration with this video. Ciao Jack
-
- 2
-
-
- affinity photo
- tutorial
- (and 4 more)
-
 Hello, I would like to suggest the feature "Rotate Canvas using a key modifier + pen movement" because I think that if there is a Rotate Tool Affinity Photo, it will be a lot more user intuitive for the users and for the people that are drawing on a tablet, because they can't use the default "Alt+scroll wheel". The reason why Im suggesting it is that I believe that in this industy standart. Krita, Photoshop, Gimp all of these softwares use the Rotate tool and I believe that Affinity Photo should use it aswell.
 -
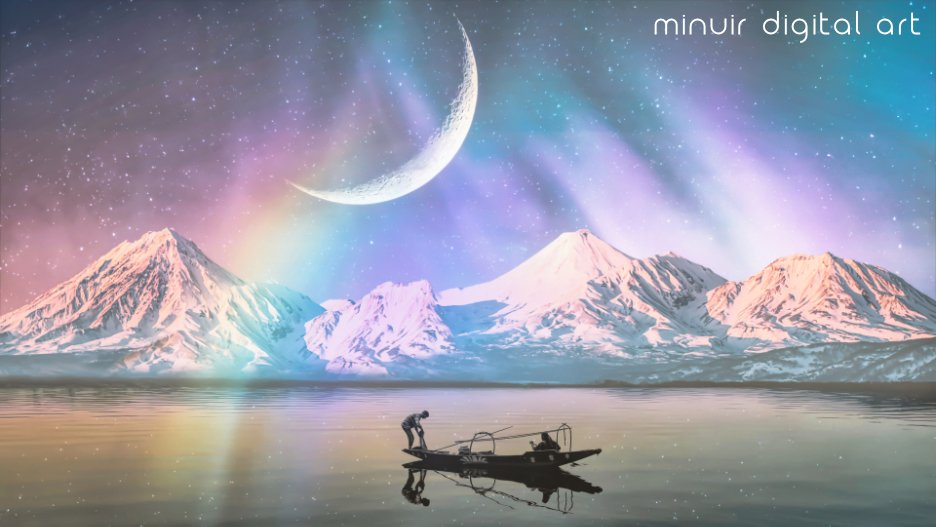
I really want to see the real milky way but I know that I can't because I live in the city. So I made the milky way in this photo manipulation~ "The Milky Way" speed art : https://www.youtube.com/watch?v=MaqGLzg0-Xc
-
- 3
-
-
- minuir
- digital art
- (and 2 more)
-
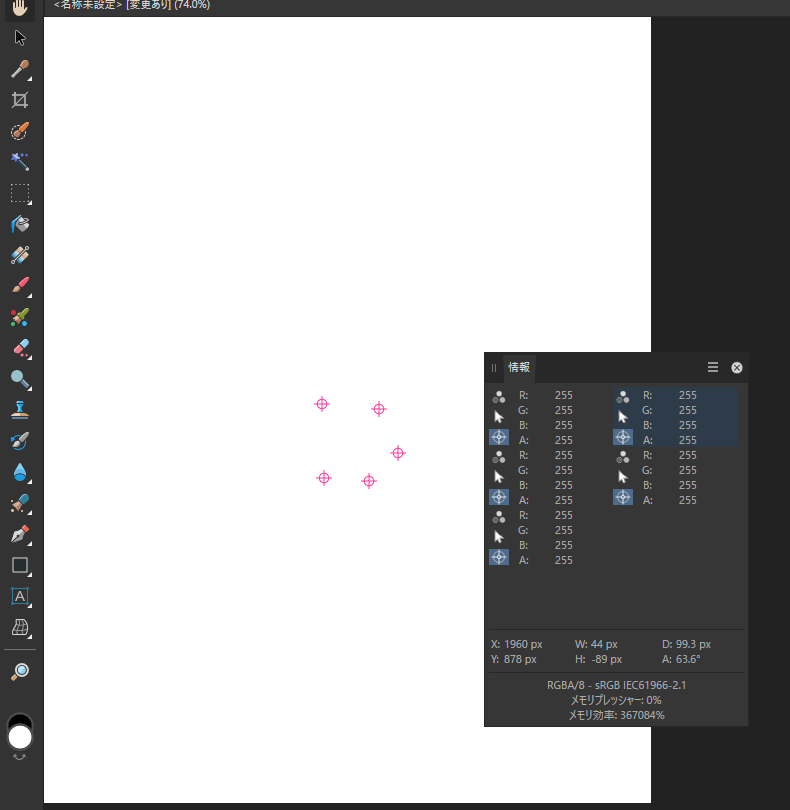
 While color correcting using the info panel in Affinity photo, I always set up 3 point samplers at a time. They are placed on the colors that correspond to black, white and gray on the image. Although Affinity Photo allows multiple points to be placed at will, it's so hard to find the differences among each ones on the info panel. I think it would be much easier if each sampling position were just marked with a sequential number such as 1234. Please consider.
-
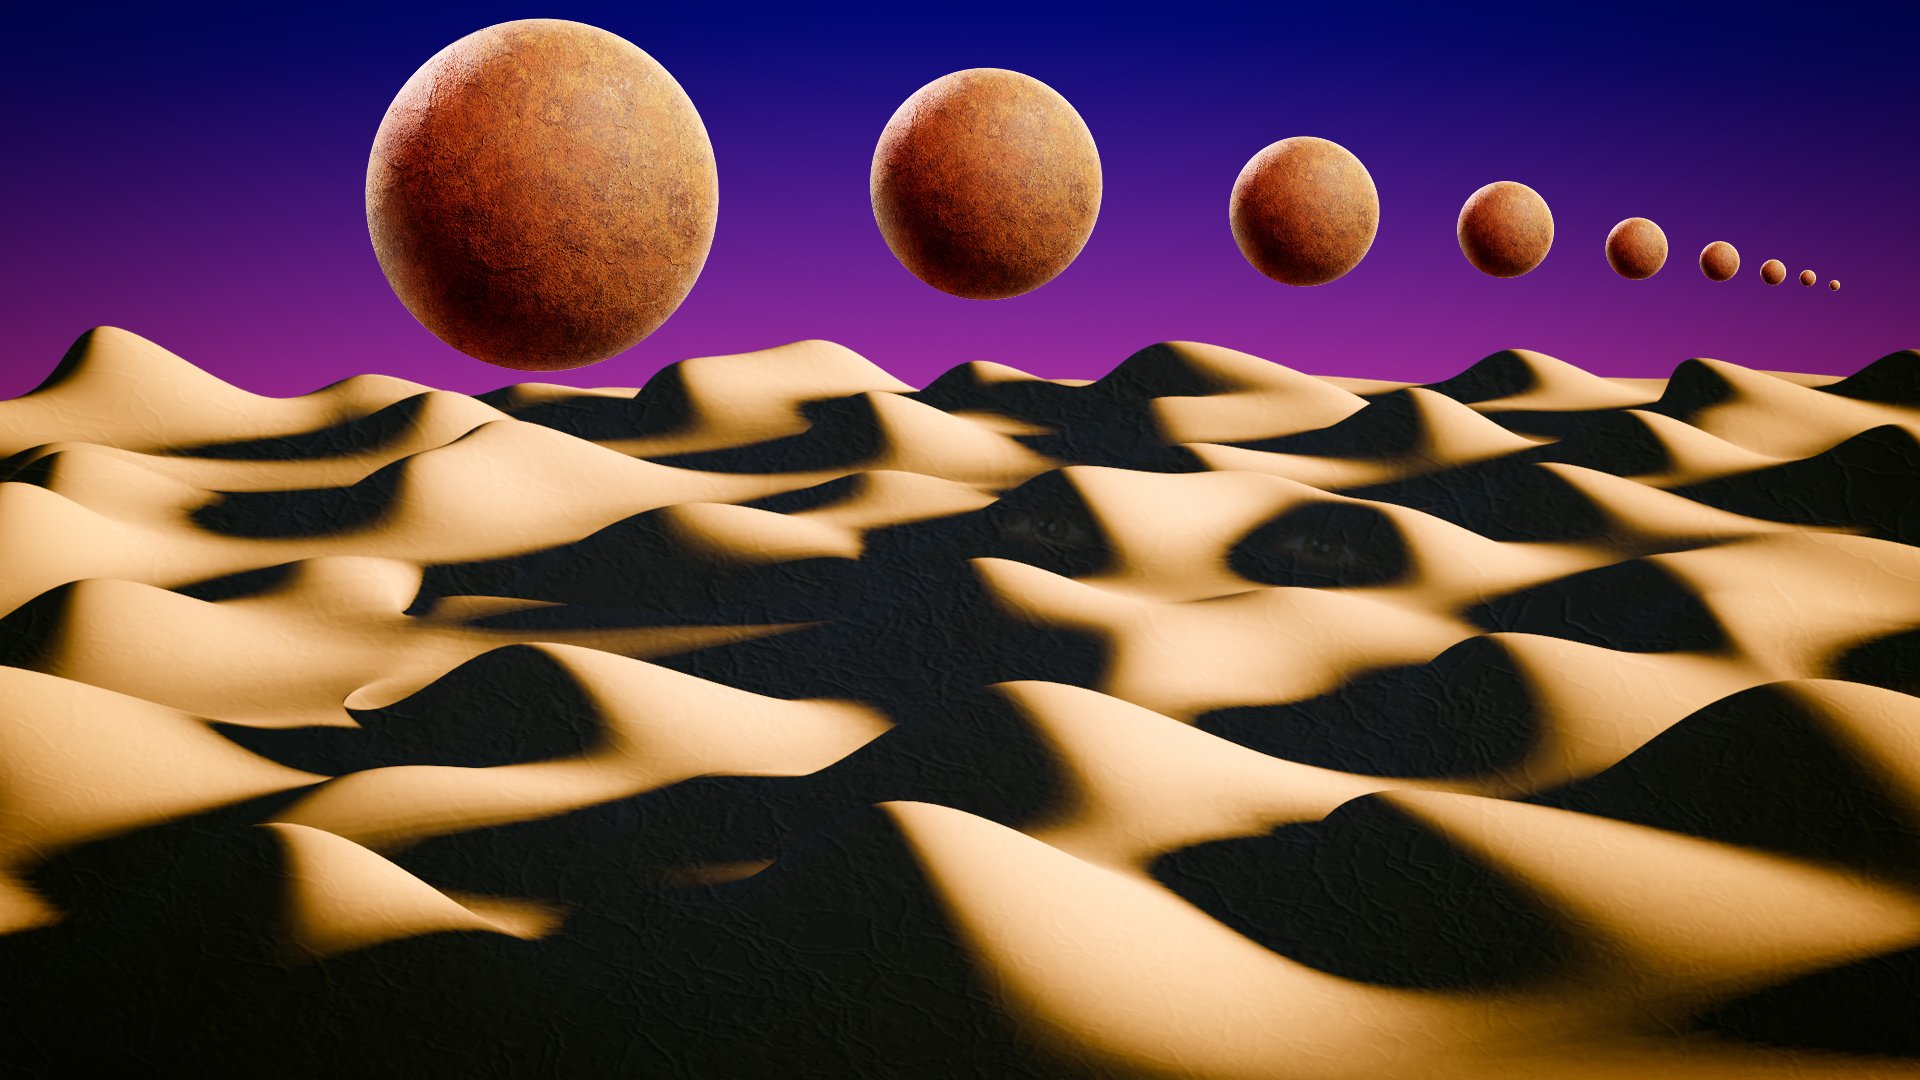
I'm trying to get my arms around Blender 3D, which is what I used to create the sand dunes in the attached image. I am confused and completely overwhelmed by Blender, navigation, render passes, etc. The desert isn't overly convincing, but it's the best I could do with my newbie, rudimentary skills (or perhaps I should say, the lack thereof). I brought exported desert scene into Affinity Photo, where I did the rest of the work. Haha, anyway, I thought I'd post this and see if anyone has any sage advice on coming up to speed with Blender.
-

Apply Raster Brush to Path
ChristiduToit posted a topic in Feedback for Affinity Photo V1 on Desktop
Having the ability to apply a raster brush to a path would be such a welcome feature, even if the path is not editable after applying the brush effect. In many cases there are obscure shapes or angled lines that are difficult to draw freehand, and in those cases it would be great to be able to use the pen tool, but still retain the same texture and style of the raster brush you were using, as if you drew the stroke by hand. I know you can apply vector brushes in AD, but I mostly use the raster brushes in AP to sketch. Furthermore, the brushes in AD are stretched along the path, where in AP it would be great to rather have the ability to make it look like the stroke was drawn as if you were using the brush tool. I’ve recently been drawing out a lot architectural interiors for clients using a drawing tablet in Photo, and have really missed the ‘apply brush to path’ feature from Photoshop - would really speed things up and improve the end results! I’ve seen a few mentions of this online, but wasn’t sure if it was logged as a feature request yet, so here you go.- 11 replies
-
- 6
-
-
- affinity photo
- brush
- (and 3 more)
-
3-4 Years ago my Nephew and I decided it would be funny to create an animated series based on some weird cockroach drawings he did as a child that he called 'COCs'😅. We came up with some characters and story lines and the name C.O.C SQUAD (Combat Orientated Cockroaches). It's based on early 90s action movies and cartoons and went through quite a few different art styles and approaches until we found what worked. The movies Showdown In Little Tokyo and Hard Target were particularly influential. The characters were designed in Affinity Designer and Affinity Photo. There were then exported to various pieces of animation software. We recently launched a Kickstarter to try and get some funding to finish the first episode in a reasonable amount of time (It's half done). I would love to know what you guys think of it. More info available at https://www.cocsquad.com/
- 2 replies
-
- 6
-
-

-
- animation
- affinity photo
- (and 1 more)
-
 I have 2 copies of a newspaper article, one day apart. Both copies are damaged (the originals were damaged then scanned). Each copy from separate dates were identical articles, but each has different bits of text illegible. I'd like to overlay day 2 copy over day 1 copy to see if I can get more info out of both images. Besides being faint, the copies are a bit out of square, so I have to make them un-wavy as well. I'm a newb with Photo. All I can figure is I need to make layers, and put each version into a separate layer, but after that??? Or is it like taking the two images and doing some sort of HDR transform?? I have no idea. Should I post both of the images, so you can see what I'm trying to do? Thanks!
 -
Hi, in this Affinity Photo V2 tutorial, I show how you can correct a failed white balance with correspondingly incorrect colors. Another main content is the brightening of shadows with two different methods. Other processing techniques are also shown. I wish you fun and inspiration. Ciao Jack
-
- 2
-
-
- affinity photo
- white balance
- (and 7 more)
-
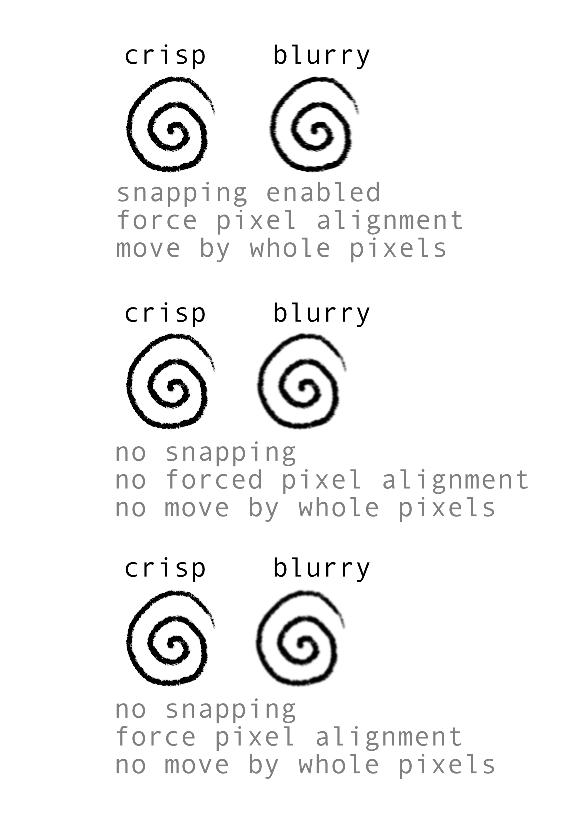
 What am I missing? I drew the image below, copied the layer, then merged down tried different settings of pixel alignment, same blurry result (copied and merged the image ten times, to make the blurring obvious. In my workflow I frequently draw on new layers that are later merged down so I would like to find a way to have no blurring, I get lost in the layers when there are too many)
-
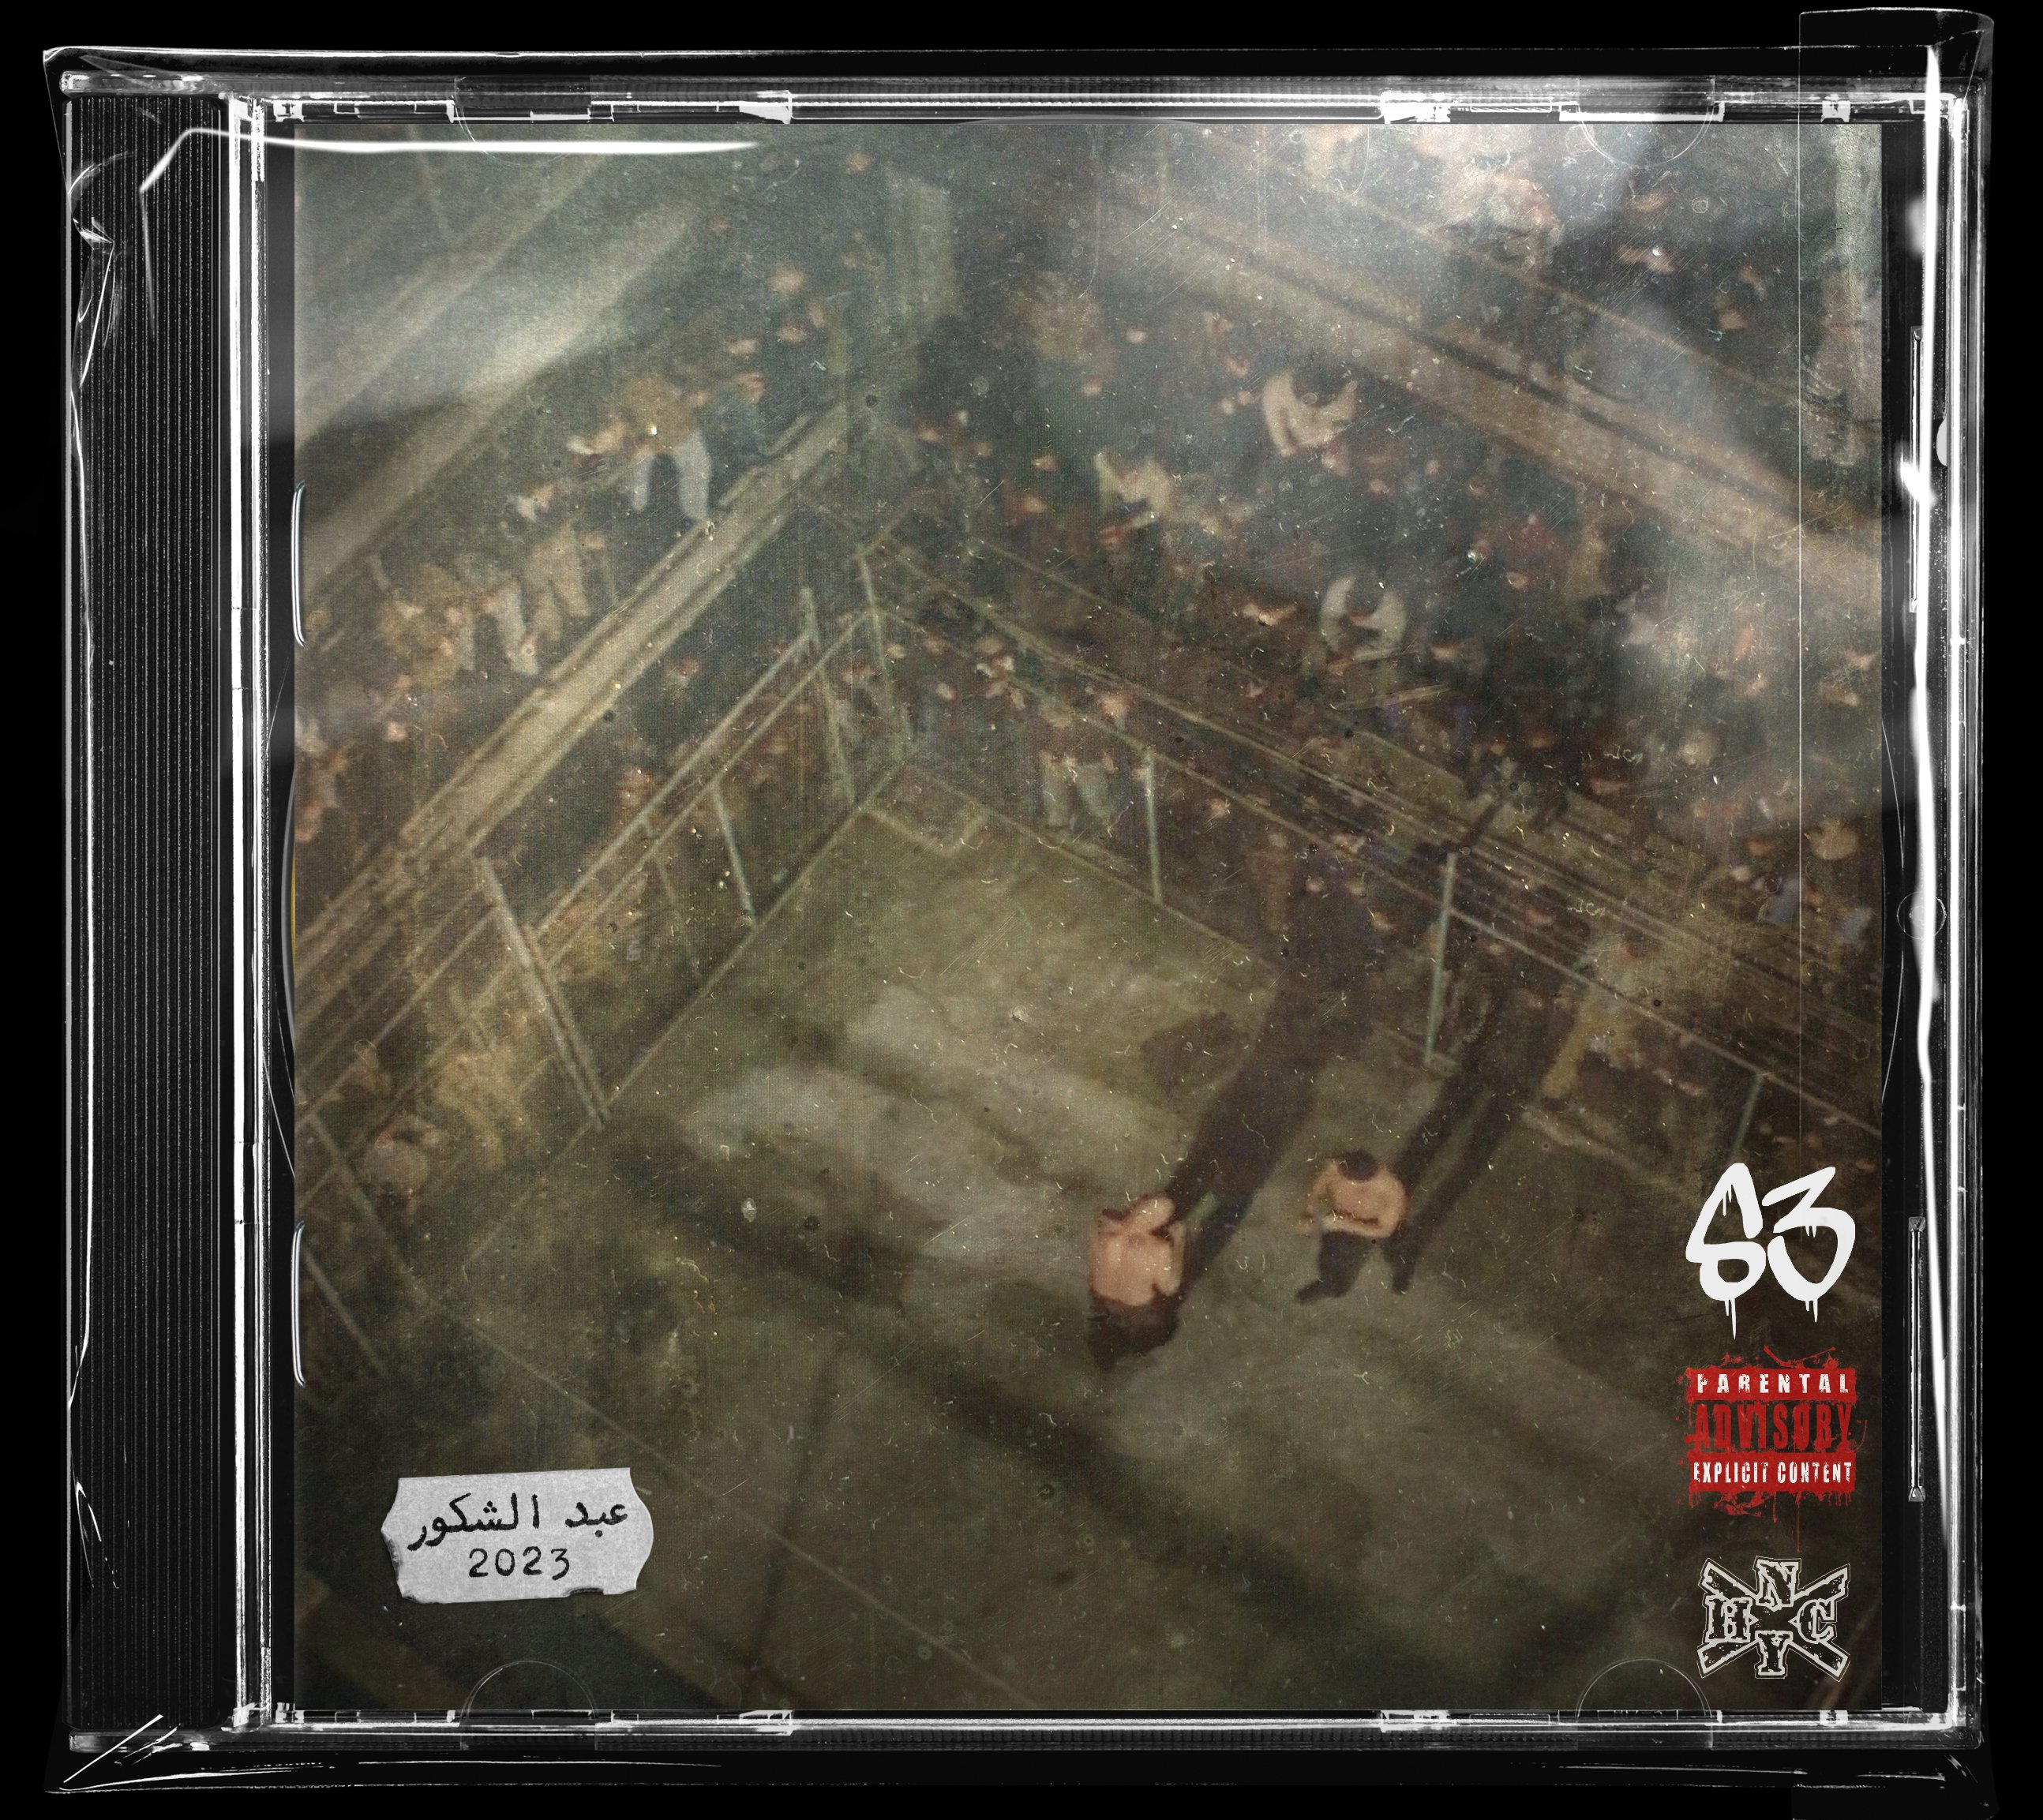
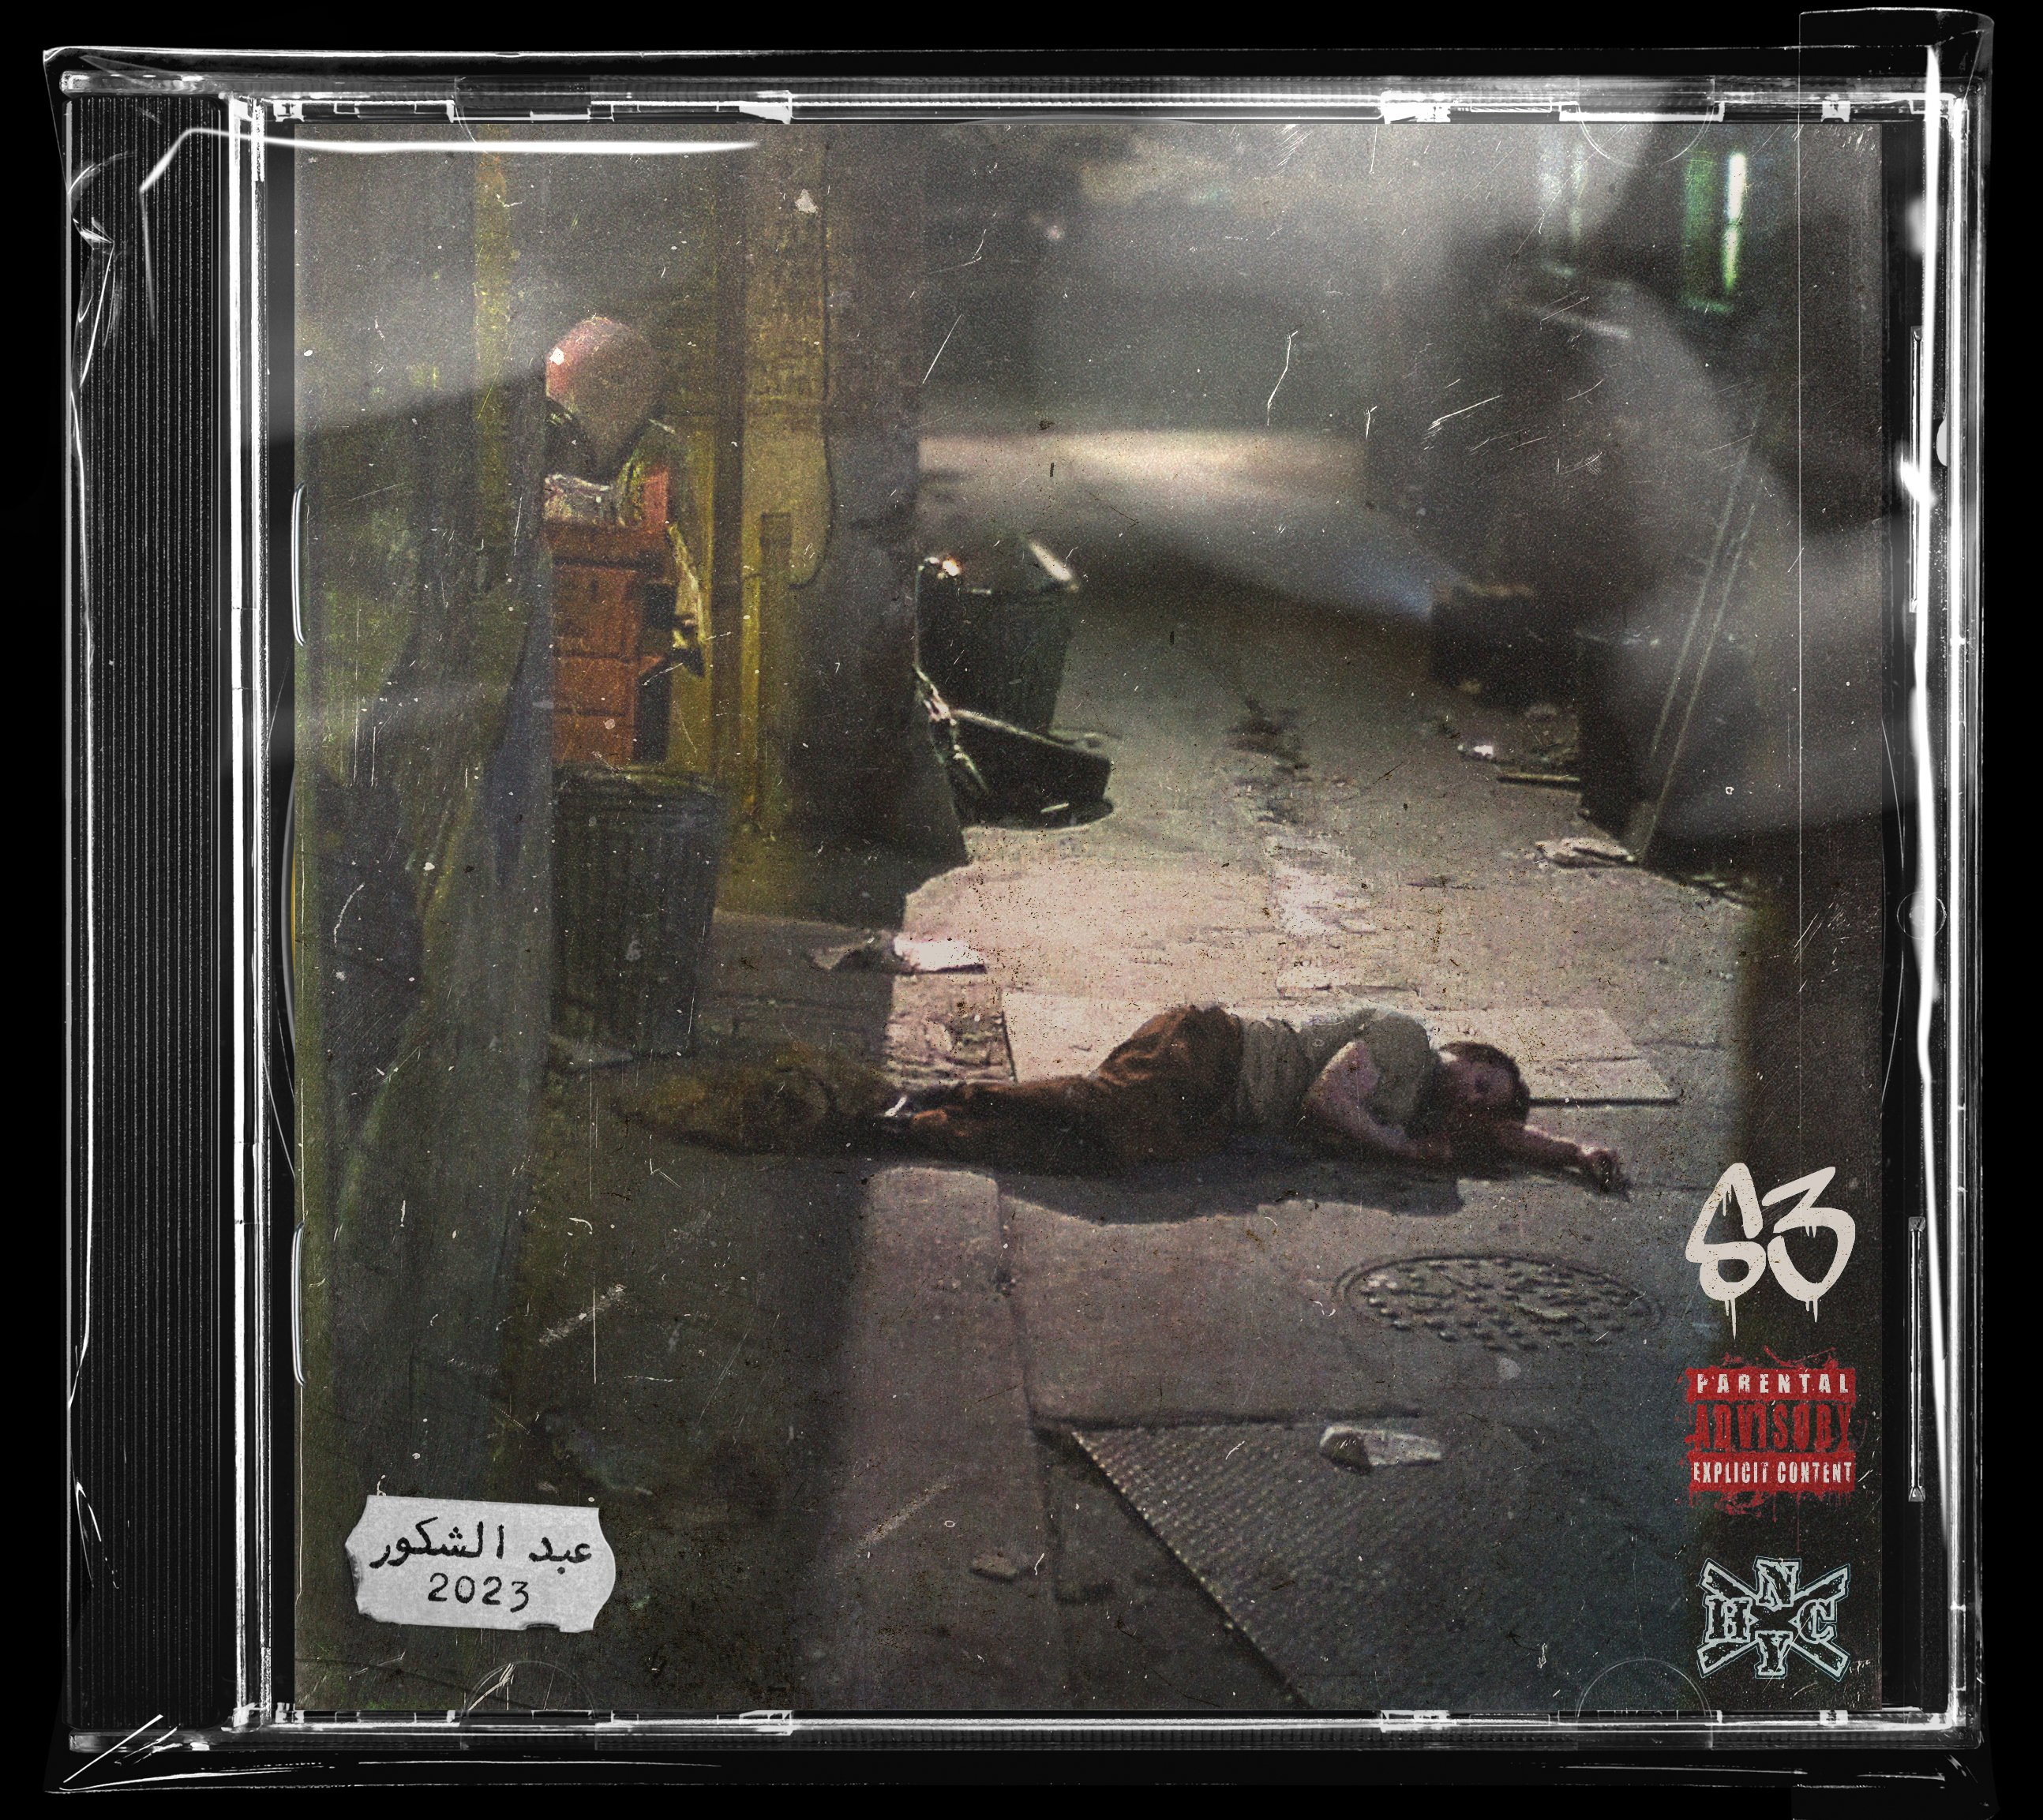
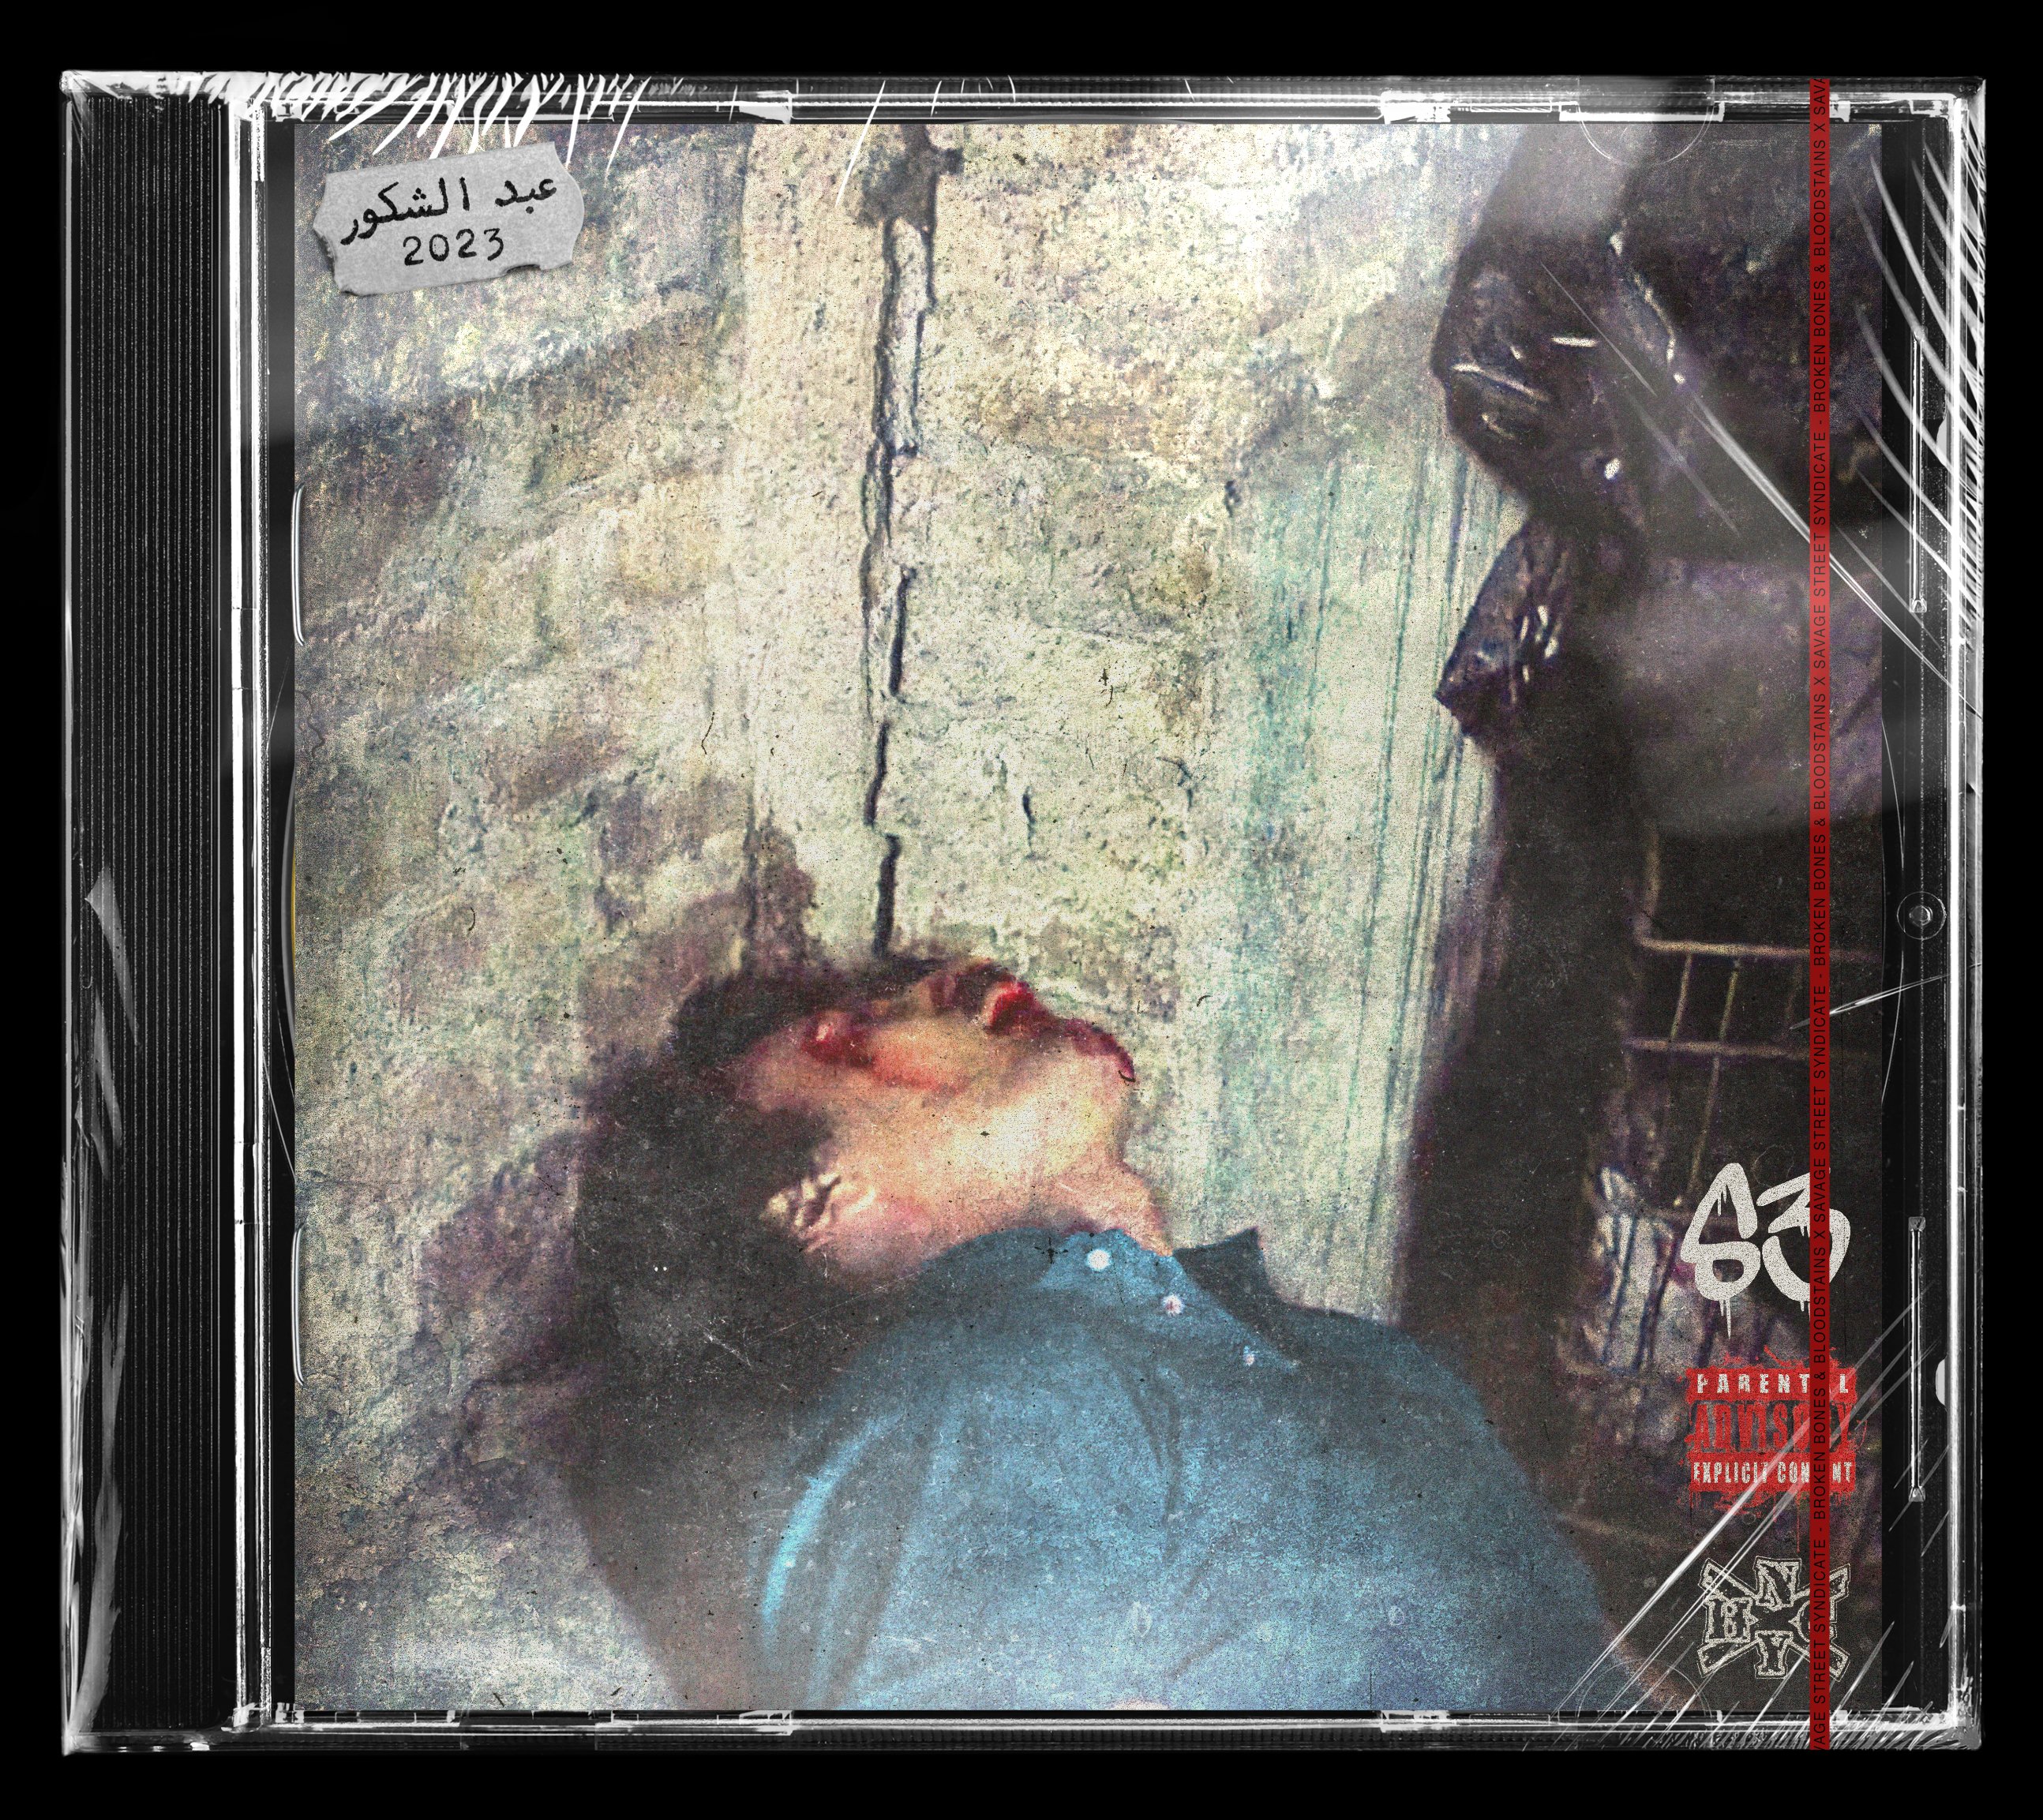
Put these images together for my dad’s (on bass) old thrash band from the 80s/90s. A lost casette uploaded by the guitarist. I used old common photos from old skool NYHC flyers, enhanced them and added textures. full album here with the original casette sleve:
-
Quick designs using enhanced and edited screenshots from the films Barfly (1987) and Hard Times (1975). I also used Chat GPT for the band name and album titles and track list/bandmembers/record label (not included). And threw them all into mockups. Savage Street Syndicate (S3) – Savage Resurgance (Screenshot from Hard Times) Savage Street Syndicate (S3) – Scars of Vengeance (Screenshot from Barfly) Savage Street Syndicate (S3) – Broken Bones & Bloodstains (Screenshot from Barfly)
-
 So, I've noticed in Affinity Photo 2 that when the color picker selects a color it will select a different hue, resulting in inconsistent coloring. I've got a video below, but basically, by sampling one color then sampling the sampled color I can get a rainbow. The project file is included if you want to check it out. Thanks! ColorPickerMalfunction.mp4 ColorPickerMalfunction.afphoto
-
 I have a bunch of images (let's say 3120x1440) and I need to crop a section within them. In some of them need to crop more than one "part" (let's say 480x680px) and save as individual file, and sometimes these "parts" are in different sizes (let's say 320x890, 240x60, etc.). I tried to use the Preset in the crop tool but what it does is create a crop-box in the correct shape and correct aspect-ratio but not the correct pixel size. Is there a way I can load a shape in the exact size I need so that I simply need to position it onto the current image rather than having to manually enter the pixel size all the time?
 -

affinity photo Affinity Photo Manipulation - An Ordinary Day
minuir posted a topic in Share your work
Sometimes, I think an ordinary day that was nothing special is the happiest and most precious day. This photo manipulation artwork expressed that kind of feeling. "An Ordinary Day" speed art : https://www.youtube.com/watch?v=ipP8g5NAl-Y
-
- 4
-
-
- minuir
- digital art
- (and 2 more)
-
 there is no possiblity use swatches in gradients? and way when i change swatch also gradients change. Also gradient it seems cannot be global?
 -
 I have many asset libraries and looking for an easy way to compare contents, is it possible to extract thumbnails from asset libraries?
 -
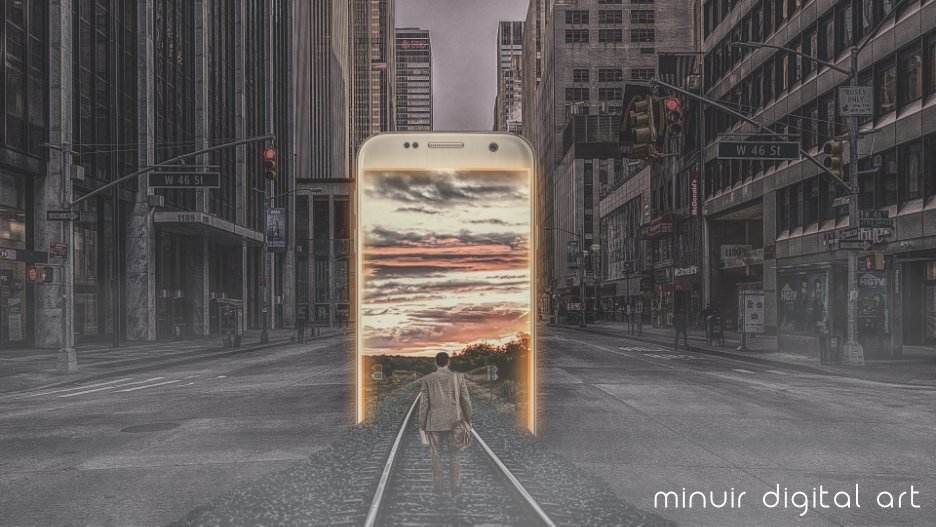
I have lived in the city all my life, but sometimes I really want to escape from the city. But I can't do that yet so I just expressed it into a photo manipulation speed art. "Escape from the City" speed art : https://www.youtube.com/watch?v=PXrpXbm5h4I
-
- 2
-
-
- minuir
- digital art
- (and 2 more)
-
-
- 4
-
-
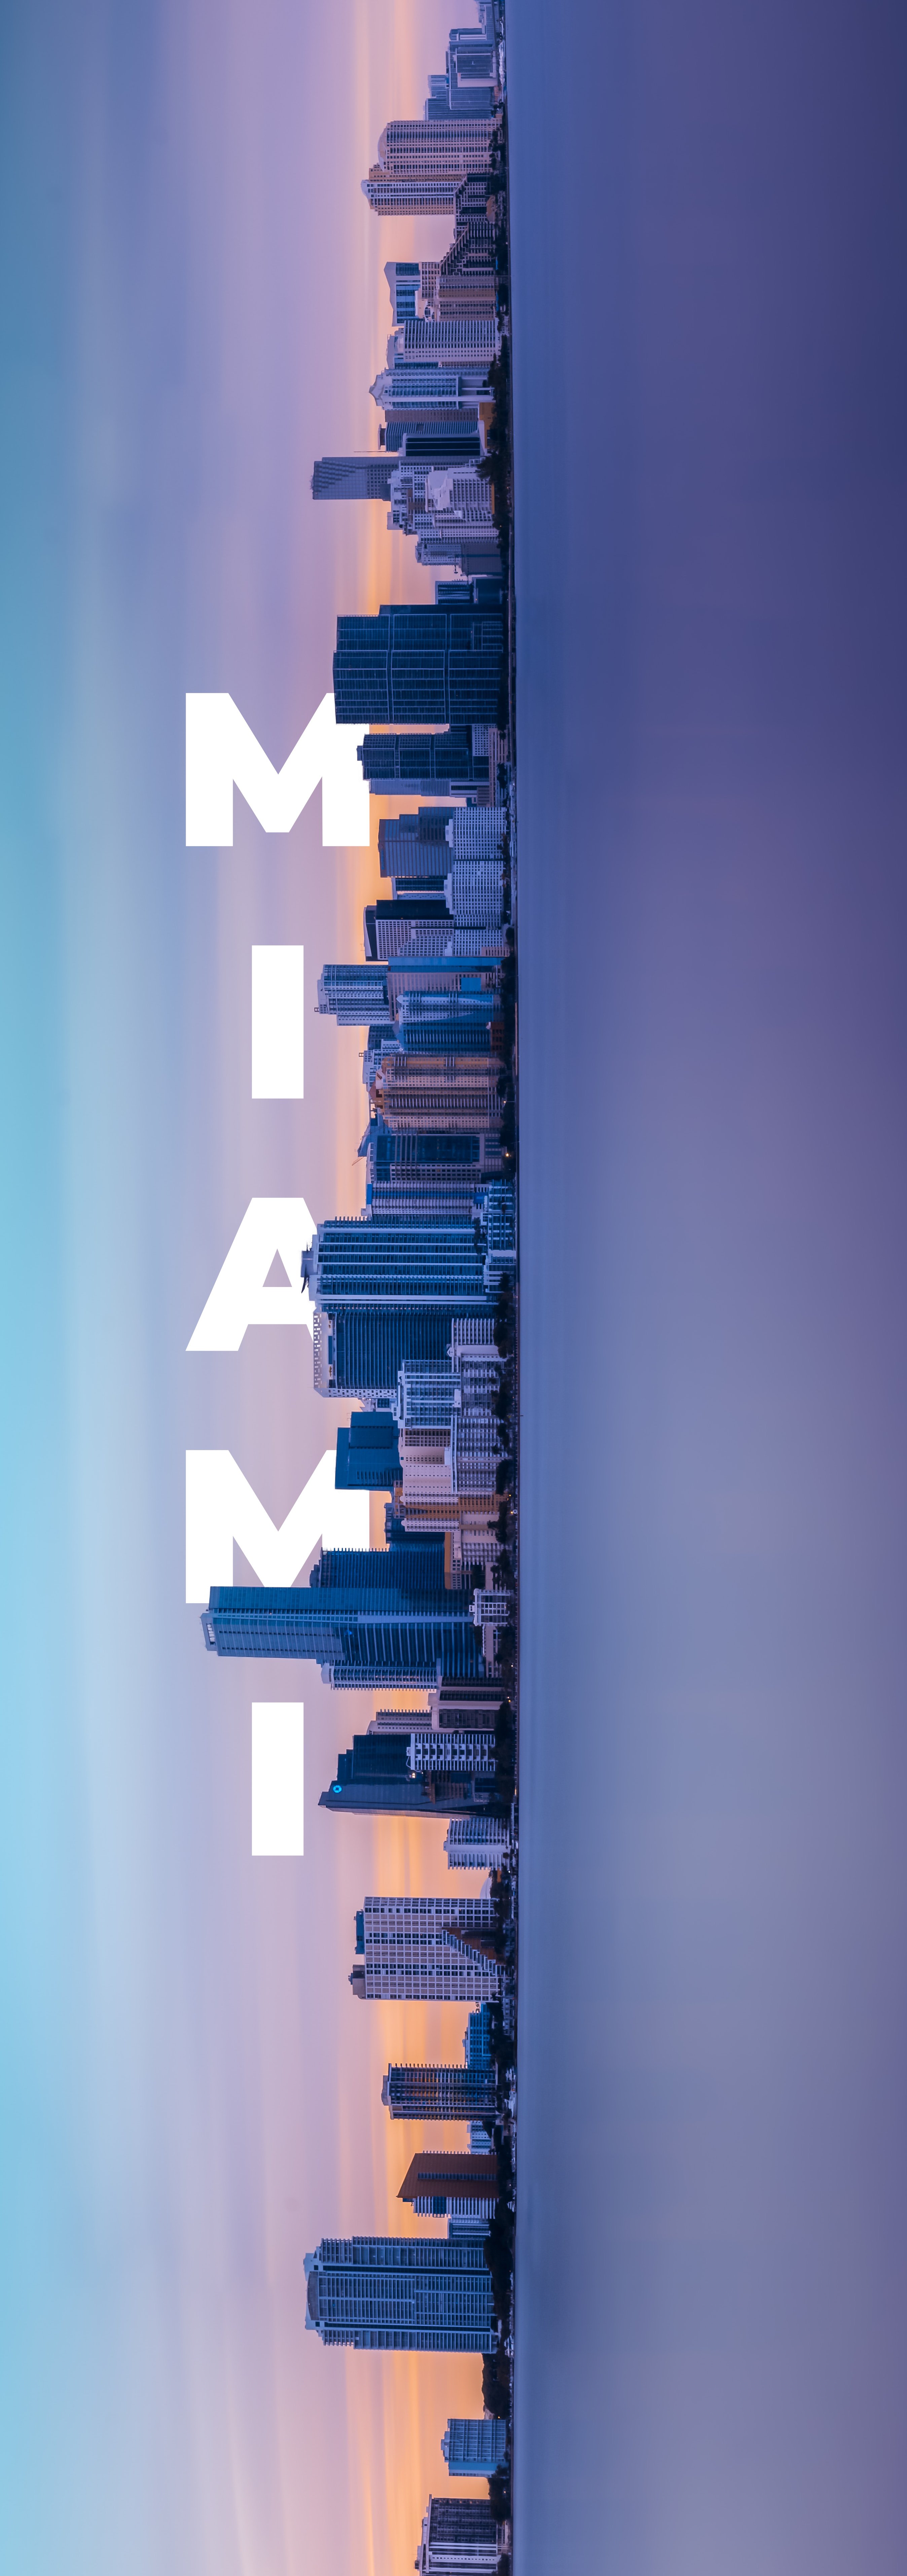
- skyline
- vertical text
- (and 1 more)


.jpg.232f100a55e3166de3f330a42879e8b2.jpg)


.png.62ba827f996a5ebbf43799069c4c9256.png)