kaffeeundsalz
-
Posts
452 -
Joined
Everything posted by kaffeeundsalz
-
 Thanks for the clarification, @JevoUK. In this case, PDF is not the desired file format to use. This sounds like a misunderstanding, so sorry for not being clear enough. What I wanted to say is this: PDF is the format of choice for finished documents that don't need any further editing. Whenever your clients want to edit artworks you send them, the preferable solution is to use the identical editing application on both sides along with the application's native file format, in your case Illustrator and .ai files. PDF is designed for universal display accuracy. It's not (and never was) designed for editing accuracy. This is why your PDF should render just fine in reader applications made for viewing. PDF editing, while possible, will rarely go without problems, just as @MikeW pointed out. All of this means that you'll want to work in .ai as long as possible. Only when you're sure everything is done, as a last step in your workflow, should you export your design to PDF. And if you later find out that you've missed something, rather than editing the exported PDF, you'll want to go back to the latest version of you .ai document, make your changes there and then export to PDF again. If you want to switch to Affinity Designer, convince your clients to do the same and you can start exchanging .afdesign files
 -
I probably don't understand your workflow, so bear with me if these questions might sound stupid: If you want to ditch Illustrator, why does it even matter how it opens PDFs created by Affinity Designer? If this is mandatory to your workflow, doesn't this mean that you'd have to keep both applications? In fact, why would want to open PDFs with Illustrator in the first place, since PDF is designed as an interchange file format for completed documents?
-
Hi Mileto, I don't know if I understand your intention correctly, but I assume that you want to create a selection using the Selection Brush Tool. So, to get your options back, please use the menubar and just click View > Show Context Toolbar. Also, if you actually "edit a lot of photos in Affinity" as you say, Designer might not be the perfect application for your purpose. Did you take a look at Affinity Photo?
-
I don't get this. If you literally cut out a piece of an image, thus deleting the unwanted pixel information, you're right. But why would you ever want to do this instead of using masks?
-
@toltec Outline will make for pretty much the same result, but the gradient colors are wrong in the OP's screenshot. The gradient fades from white to the same red as the fill of the shape, which kind of gives the illusion of a blur effect around the edge. With gradient set from white to black, the outline effect looks almost identical to your example.
-
Yes. Nest a Curves adjustment inside the mask as a child layer. Then, in the Curves dialog, choose "Alpha" from the channels dropdown list.
-
I'd help if you'd provide an example image that shows what you want to achieve. If you mean something like this, it's a bit easier in Photoshop because there is no Stroke Path feature in Affinity Photo, so you'd have to trace the text with a brush by hand. Apart from that, you can basically achieve a very similar look by experimenting with the brush dynamics. My quick attempts weren't quite as convincing as the ones in the video (mainly because the available brushes are different in AP), but I'm pretty confident it can be done with some more effort. In Affinity Designer, you could just apply a vector brush to the text path, but I don't know of any good vector brushes to create that fireworks look. The raster brushes were, again just from what I could do on the quick, more promising in this regard. Sorry I can't be more specific here.
-
I think what the OP means is that he wants the brushwork of the cloning/healing/inpainting tool on a separate layer. This can be done with the method @barninga describes. The main problem however remains: If you first do some retouching to a separate layer and then afterwards exchange the base image, your brushwork will immediately become visible because it will no longer match the underlying source layer (because you just altered the colors in e.g. an external RAW editor). You'd either have to throw a merged version of your retouched image into the external editor (thus losing the original pixel data) or do all the editing in AP and place some adjustment layers on top of the existing layer stack so they affect the whole composition.
-
This won't work because if you modify the underlying raw conversion, your image will differ from the previous version in terms of color, brightness and contrast. Thus, the previously created healing/cloning/inpainting layer will no longer match the appearance of the base image.
-
Even so, it's common practice in graphic design. Always let objects overlap slightly if you want to avoid white gaps between them. If you insist on using strokes for whatever reason, try creating styles for you gradients so you can reapply them faster.
-
It kind of depends on what transformation you actually want to apply. Individual nodes of a curve can always be manipulated freely with the Node tool. It's also possible to manipulate multiple nodes at once. The question is why you'd want to merge separate objects to a single layer anyway. When you know you want to separately transform them later, just keep them on separate layers and use the grouping functions. In addition to what @gdenby wrote, boolean operators can also be applied non-destructively in Affinity Designer.
-
It's not, actually. And if you use the History panel like @MEB suggested, it's even the same – a single click. It's just that you don't click an arrow, but a list entry.
-
Another aspect to consider is: What application do you use to view the exported PDF? I know many PDF viewers that aren't capable of accurately displaying CMYK colors, so this too can be a reason you're not seeing the colors that you expect. As you said before, a flawless color management workflow can be hard to achieve because there are many possible pitfalls along the way. In this case, pay close attention to using the same CMYK profile for both the Affinity Designer document and the exported PDF.
-
I've often achieved good results by simply repeating the inpainting process multiple times, i.e. painting over the incorrectly filled areas again. If you want more control over the sampled parts of the image, use the Patch tool instead. From my experience, convincing results often require the combined use of multiple tools. For example, I'd often do inpainting as a first step and then use the clone brush tool to do the fine tuning.
-
Select > Select Sampled Color is similar but with less options than in PS.
-
Just from what I'm experiencing, this seems to be fixed in Beta 8. Thanks for the fast response.
-
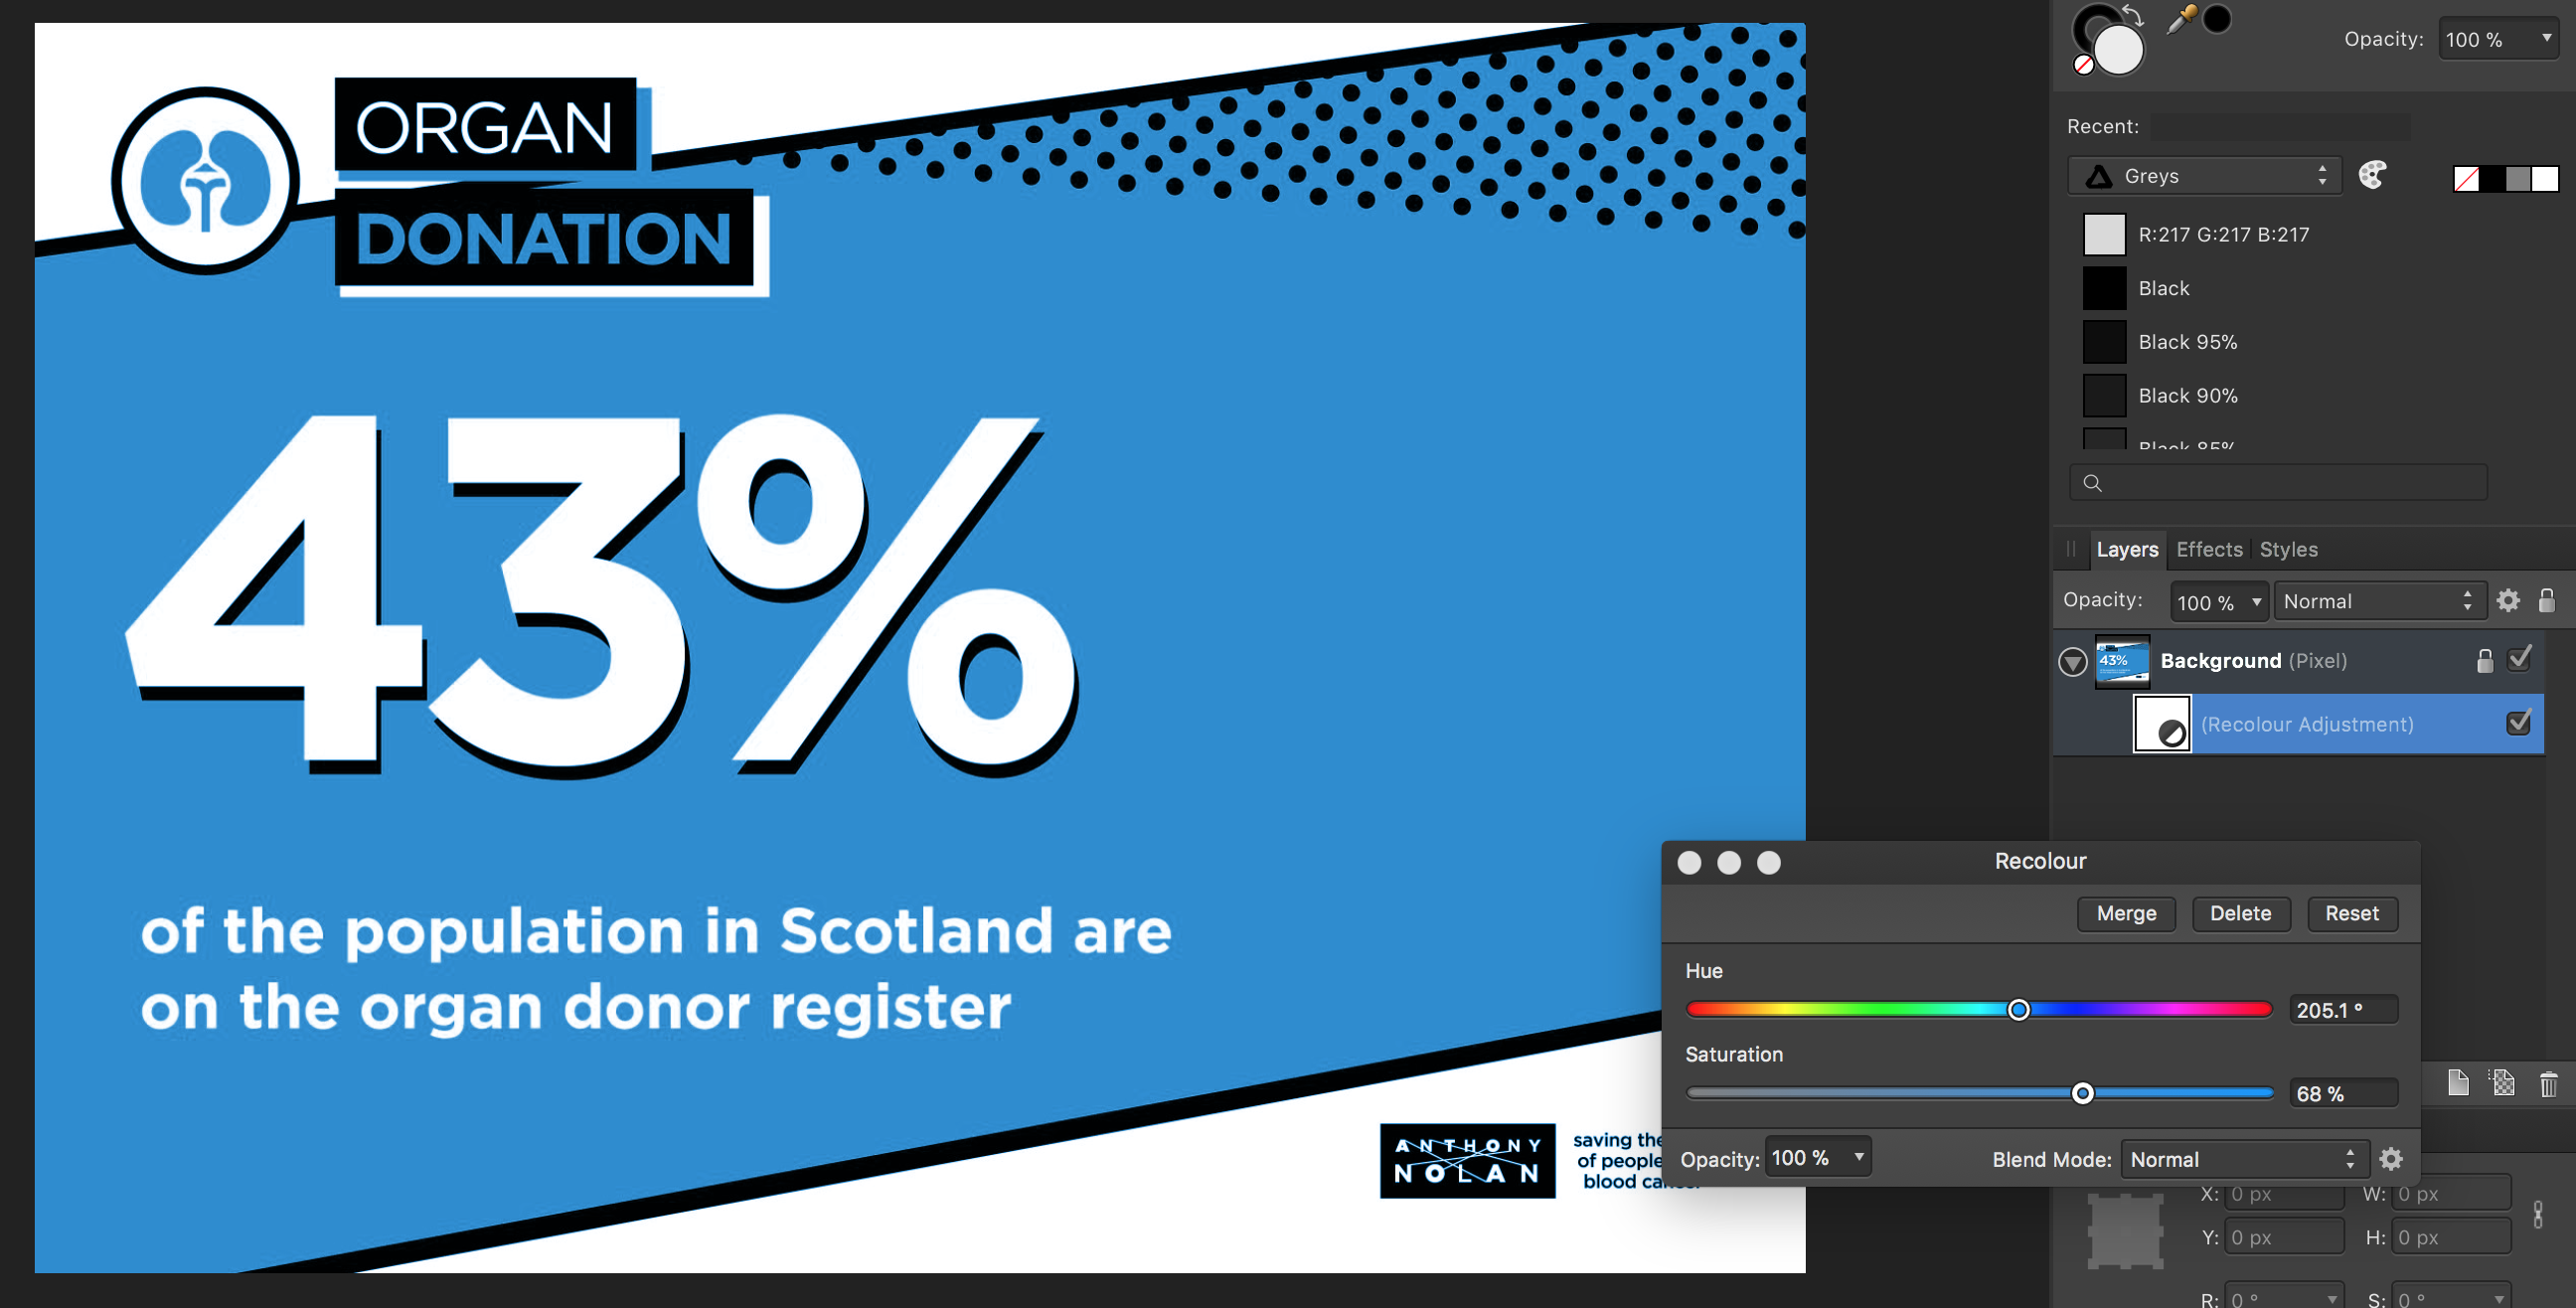
Generally speaking, Affinity Designer might not be the best choice for replacing colors in pixel images; Affinity Photo has much more suitable tools for this kind of tasks. However, in this special case, it can easily be done in Designer. Just use a Recolor Adjustment.

-
I also don't have Flash and therefore cannot watch your video, but if you're using the Color Picker Tool as @toltec suggested, make sure that in the context toolbar, "Presets:" ist set to "Point (1x1)". Every other setting will calculate an average color based on the surrounding pixels. This may also be the reason you're not getting the color you want.
-
Hi Affinity Team, I've just come across a bug in the current beta 7 of Affinity Photo for Mac. The topic title basically says it all, and I have also created a screen recording to make things clear. Here are the steps to reproduce the problem: 1. Start Affinity Photo and open a file. 2. Make sure you have the Info panel open. 3. Go to Preferences > User Interface. 4. Check/uncheck the "Monochromatic iconography" setting. 5. Watch the contents of the Info panel slowly move out of view with each click. As far as I can see, the Info panel is the only one affected by the problem, but I haven't tested every available panel. Also, it doesn't matter whether the panel is docked or not. Restarting Affinity Photo brings the Info panel contents back to normal. Kind regards kaffeeundsalz infopanel_bug.mov
-
Sorry – what? The opposite is true: While you can use Photoshop non-destructively, you almost always have to tell the program to explicitly do so. In contrast, Affinity Photo is designed to be non-destructive by default. Just take layer scaling or live filters as an example. The non-destructive workflow in Photo is so much more sophisticated than anything Photoshop has ever offered in this area.
-
One thing that I really love about Affinity Designer and Photo is that you can export slices at multiple resolutions and scales from within the Export Persona. However, I really miss a comprehensive overview of which values and units I can actually enter inside the scaling field and what they mean. For example, I do understand that I can specify a scaling factor with a number followed by an x, so "2x" would give me an exported image twice the size of the original. I've also found out that numbers smaller than one, like "0.25x" are allowed. But then, there are other presets available in the dropdown menu like "64p". What does the p stand for in this context? Does the list of available presets completely cover all of the valid units, or are there other ones that are not listed there? Which of these can be combined in what way and how do they affect the exported image? If I choose a width and height that doesn't fit the original aspect ratio, will the exported image be stretched or cropped? I know that I could try at least some of this myself and see what happens, but right now, the scaling options are a huge guesswork for me and I was just wondering whether someone who's already been experimenting with this could actually shine some light on it. I didn't have any luck with the help system or the tutorial videos. Also, the forum search didn't show me anything related to my questions, so should the requested info already exist, I apologise and would appreciate a hint on where to find them.
-
I don't know if this has been mentioned before, but I'm experiencing significant lags with Display Performance set to Metal, especially noticeable when using the View Tool and panning across an image fast. This has been a problem in all 1.6 betas so far and has not improved in beta 4. I'm running Affinity Photo on a 15-Inch Retina MacBook Pro (Mid 2014), 2,5 GHz Intel Core i7, 16 GB RAM and dual graphics (NVIDIA GeForce GT 750M 2048 MB, Intel Iris Pro).
-
DarkClown, statements like these are exactly the reason why people might occasionally find your attitude a bit offensive. It's correct that you're not the one to question your customer's demands about specific file formats. On the other hand, it's not up to Serif to help you manage these customer requests exclusively with one of their software products. The fact that file format settings are not (yet) implemented in Affinity Photo doesn't say anything about this feature's priority on the roadmap, despite your comment implying something else and especially since the issue has already been accomplished by the developers. If I'd have to put this into context, I'd honestly be tempted to say that the need for a specific compression method in TIFFs absolutely is an edge case (as long as the method used is lossless, which is the case in Affinity). For you personally, I don't know - maybe your customers frequently have those requirements. In this case, no, AP does not force you to use Photoshop. There's at least a dozen small tools out there that are specifically tailored to image filetype conversion, many of them being small and lightweight and even with batch/automatic processing options. While I would also appreciate if I had these settings available directly in Photo, I really don't find it unacceptable to take this ten second extra step of saving the file again from an external application. For everything else, I can politely file a feature request. No sarcasm required.
- 28 replies
-
- 1
-

-
- TIFF
- compression
- (and 1 more)
-
Can you please point us into the right direction about how exactly smart objects are used in that tutorial? So we don't have to watch a 17 minute video entirely? Generally speaking, I always hated Photoshop for demanding me to convert layers into smart objects in the first place. Affinity Photo's workflow is much more straightforward here, because its layer handling is "smart" by default. This means that e.g. downscaling preserves the layer's original pixel data (so you don't lose it in case you want to later enlarge the layer again). Live filters work nondestructively and keep all the filter's settings accessible at any time, just like smarts filters in Photoshop. The difference is that I don't have to invoke some odd conversion process to make the layers behave like what should be the default in a non-destructive workflow anyway. I do know that smart object are in fact a bit more powerful in some specific aspects. But again, I'd need more information about what you actually want to achieve in order to help you.
-
It actually doesn't. This was just a quick idea that turned out to be useless. To make this clear: The behavior in your video is absolutely not how it's supposed to work. I'm completely unable to reproduce this here, and apparently, neither can R C-R. However, we're both on Macs, so I can't say whether your problem is related to the Windows version. Could you just try and reset all your brush settings? Just to make sure that you haven't accidentally messed up any of the advanced options (which could prevent the brush from normal behavior)? If this still won't do the trick, I'm out of ideas. Sorry. But then again, when painting on a fill layer, the luminance of the brush color gets translated to the opacity vaule of the fill layer – just like on a mask. You actually said the same thing above. There is no actual color information applied to the layer itself. Also, both fill layers and adjustment layers do have a single alpha channel accessible from the channels panel. You're right that you can't release a mask from a fill layer, but the same is true for adjustment layers as long you use the internal mask of the layer and not a separate nested mask layer (which is also possible as I've mentioned above). It's also true that mask refinement doesn't work on fill layers, but essentially all other mask-related operations do (like e.g. cmd+click for loading the mask as a selection or click+drag to reposition the mask). If really the only difference is that you can't access the Refine Mask command on fill layers, I'd suspect this to be either a bug or a pure technical limitation that is completely unnecessary from a user's point of view.