

pixelstuff
-
Posts
187 -
Joined
-
Last visited
Posts posted by pixelstuff
-
-
Are the brush packs owned by Serif or do they pay royalties to the designer?
If Serif owns the complete rights to them, one thing they might could do is offer a free brush/font/template pack or something similar after every 5 or so referrals. It would feel like you are getting something, but also wouldn't cost Serif too much in the way of lost revenue.
-
3 hours ago, wonderings said:
I stand by my opinion. I was not slapping down a 17 year old and I clearly stated there were exceptions, but the majority would not be people I would take reviews from due to lack of pro experience. There is a different when talking to people who have 20 years experience and make their living with their software and those who are more hobbyists. That is reality.
You can freely request the affiliate program, but you are on a forum and not everyone is going to agree with you. We have heard from Serif on this thread regarding this matter and their decision.
And I've met some pros that were stuck in their ways and didn't like better ways of doing things if it meant they had to learn something new. So it can go both ways.
-
12 hours ago, Jayden Brand said:
I'd also love to see something like this. Both my mom and I use Affinity products and really want to recommend them, especially for Adobe users and people wanting to get into design work.
That wording sounds like you want to, but can't.
-
On 4/28/2020 at 1:35 AM, carl123 said:
Cant you access them from the menus?
Layer > New Adjustment Layer
What the ... ?
Yes that is where they are and I have no idea why I couldn't find them the other day. I would have sworn I looked through every single menu option.
-
@Eyedear - Thanks. that does help.
It would be nice if the feature was discoverable with the mouse though. I mean people might also want HSL, Brightness Contrast, Curves, Shadows/Highlights, etc. That's a lot of shortcuts to memorize, especially since the programs doesn't seem to have the shortcuts plastered around the interface (menus and dialog boxes) to help drive it into the subconscious.
-
Is there a way to adjust levels from a full screen view, like we can in Photoshop from the browsing the Image > Adjustments menu? I swear I've been sitting here for 10 minutes trying to find a way to do it without having to exit full screen, because exiting seems like an absolutely stupid requirement for "full screen" actions like adjusting colors.
-
-
-
On 4/14/2020 at 7:45 AM, walt.farrell said:
If the rulers are showing, just right-click on the Units designation at the intersection of the horizontal and vertical rulers, and change the units to one of the other choices.
Nice. I did not know they had hidden that there. Now if we could drop a guide from any tool as well. Or at least from the selection tools.
-
- Change ruler units from any tool instead of just the View Tool [H].
- Photoshop's Perspective Crop Tool
- Vector Resize Tool for Raster Image
-
I have two monitors. After purchasing both Affinity workbooks during the last Black Friday sale, I realized that I have apparently become spoiled with web tutorials being up on the second monitor at an even level with whatever program I am working with. I'm finding that it is much more difficult to use a paper book for tutorials; having to look down, trying to juggle a book that wants to close and compete with space for the keyboard and the mouse.
I would definitely like a PDF or ePub version included with the hard cover book.
-
Still trying to figure out how to do content aware scaling in Affinity Photo. Is this still on the back burner of development? Or is it named something I can't decipher?
-
On 11/12/2019 at 7:30 AM, emmrecs01 said:
But this presupposes something that is not possible, I think. For reasons of data protection etc. etc. neither Microsoft nor Apple can or will share customer data with Serif, or vice versa. "Licence numbers", "serial keys" or whatever you choose to call them are exclusive to Affinity products purchased direct from Serif. Apps purchased through either of the "stores" do NOT have an individual licence key/serial number, they are permanently tied/linked to the Store Account of the owner. So how can a licence key, purchased direct from Serif, be used in a Store account?
(Just my opinion!!)
Jeff
It would work like the Adobe apps work from the Windows Store. Where you have an active subscription through Adobe and you download the app for free from the Windows Store and then sign in using your Adobe ID to activate the app. Affinity apps would just be verifying the license number instead of looking for a subscription.
-
I would like to be able to take a regular raster image of something and trace a vector path around it then use those mathematical curves to resize or reshape the raster image.
A simple example might be
- take a circular picture of the Earth
- draw a circle path to match up with the edge of the globe
- lock the path to the image
- then resize it into an oval or even a square or diamond by moving the nodes or changing the control handles.
More advanced example might be outlining a head or animal and then being able to stretch it or reshape a section like an ear with better control over which sections get stretched and resized.
The resizing method of the raster space could be definable with normal bicubic or even seam carving options. I imagine the hard part would be figuring out how to lock the image to a vector shape so the right sections of the rasterized image gets changed when you move a handle or node.
-
Could something like the new Smithsonian Open Access image archive be added to the stock panels?
-
I wonder if such a program would require them to jack up the price. I mean they are basically one of the cheapest "pro" software out there as it is. I guess if version 2.0 is more expensive AND they release a referral program, then we'll know the answer.
Personally I refer people when when I think it might work for them, whether there is a program or not.
-
Ok. Both of those paths of attack are working pretty good when they are working right.
For whatever reason that Live Projection sub menu was grayed out when I first tried to use it. I tried different tools, and it didn't change. Eventually I just closed down Affinity Photo and reopened it and that fixed it. I wonder what changes in Photo can cause that menu to gray out.
-
14 minutes ago, ErrkaPetti said:
I found an similar way to do this as quick you did in PS...
1. Open image above
2. Choose Projections/Perspective Projection in the Edit menu
3. Mark out the grid in the four corners, just like in PS
4. Switch to Move Tool
5. Rasterize the layer...
I don't see Projections/Perspective Projection in the Edit menu. Any idea why?

-
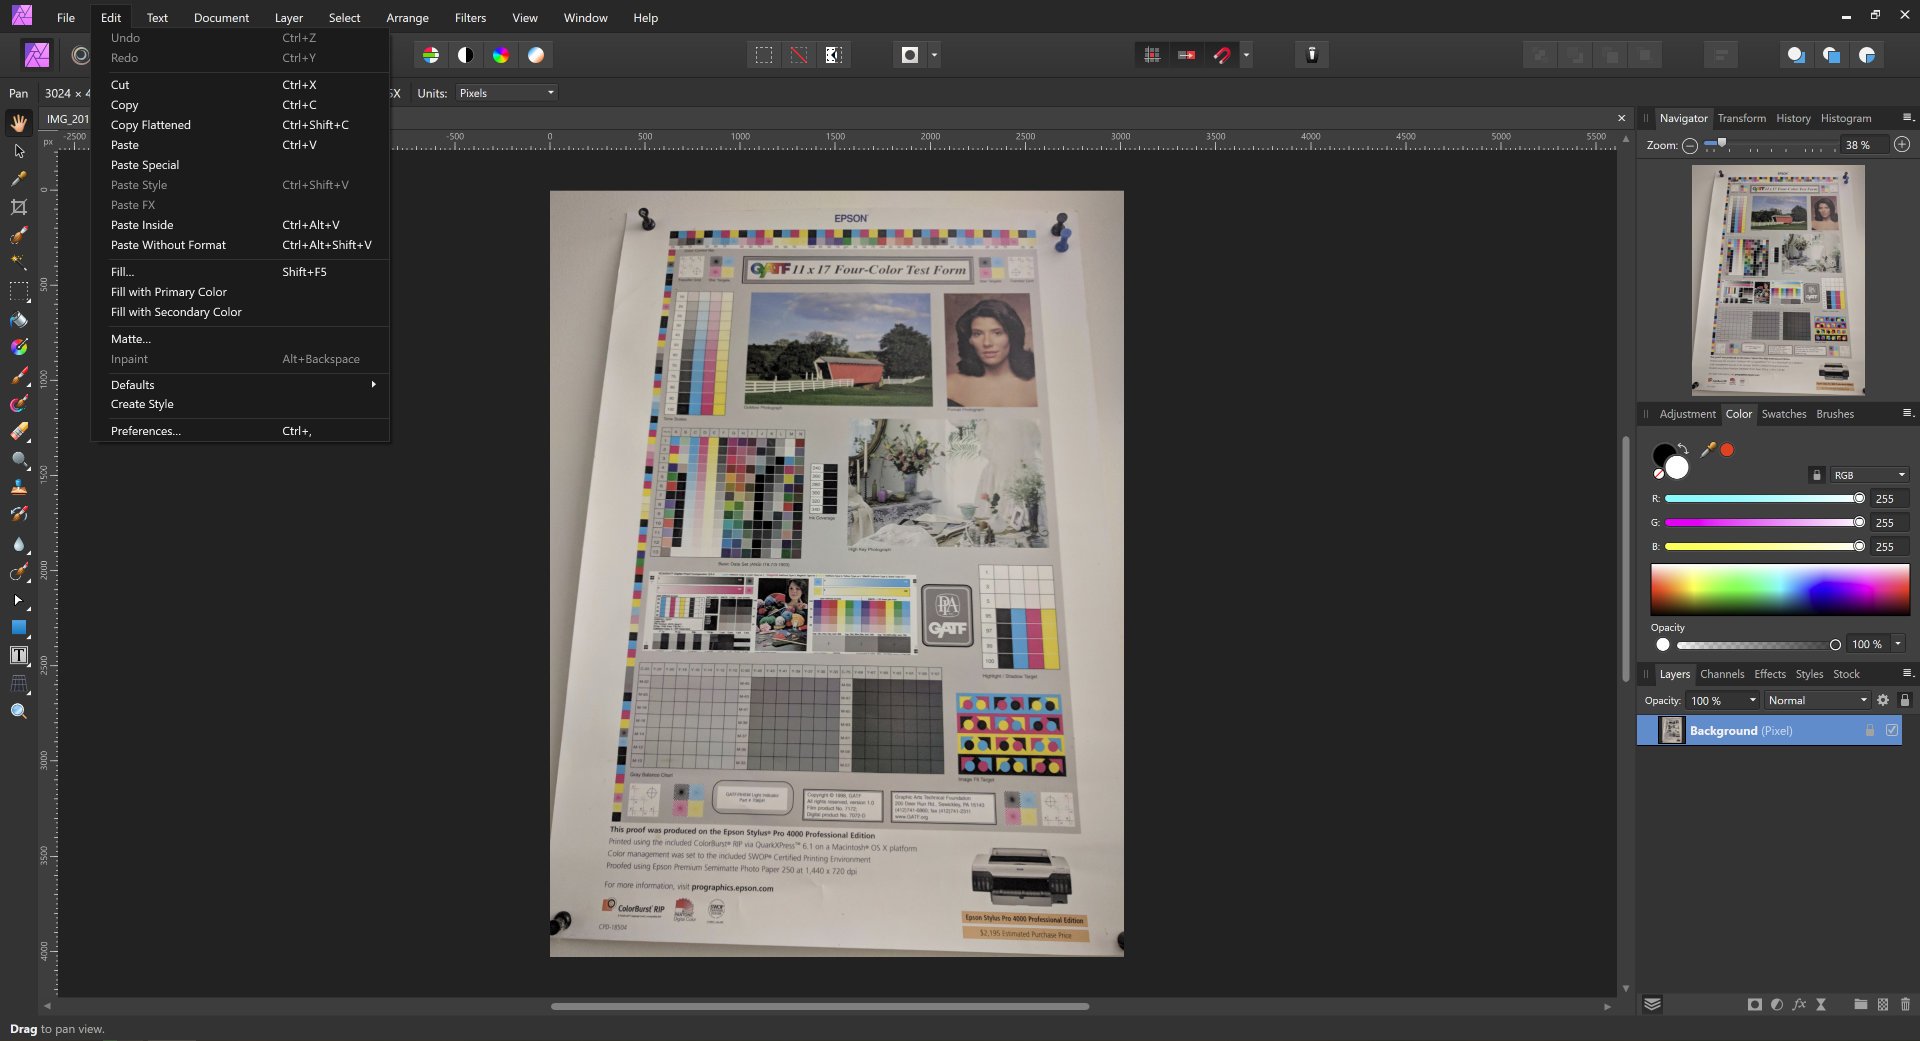
I attached a sample image. How long does it take you to open the file in Affinity Photo, straighten and crop to the gray box area inside the push pins? If it's about 30 seconds then I might need a step-by-step tutorial on what you did, because I'm not seeing it.
In Photoshop that tutorial goes like this:
- Open image.
- Select Perspective Crop Tool from under the main Crop Tool in the tool bar.
- Click on the 4 corners of the region of interest you wan to crop to.
- Zoom in slightly if needed to make sure the corners are placed well.
- Hit enter or click the check box to crop and straighten.
-
When I tried using Perspective Filter and Lens Distortion is seemed convoluted and I couldn't find a smooth workflow.
In Photoshop I can open image, perspective crop, adjust levels and maybe color, and save. Most of the time I can be done with an image in two minutes or less.
Affinity Photo seems like it might take 2-3 times longer per image. Much more time consuming compared to Photoshop.
-
This web provides a good illustration of how the Perspective Crop Tool works.
https://designprocademy.com/4-steps-for-perfect-perspective-crops-in-photoshop/
It is basically the crop tool, with individually repositionable corners, which doesn't move the other corners. Then after you've created a non-parallel crop selection it squares everything up.
I looked around in Affinity Photo for the convert to curve option and couldn't find such a thing. Where is it?
-
Came here looking for this answer too. It would be nice if they could do this through the website with dropdown box in the cart saying (coupon for gifting), or for even better discoverability have separate buttons on the store page can be added to the cart (for gifting).
-
-


Your Affinity 2020 wishlist
in Feedback for Affinity Photo V1 on Desktop
Posted
Filter Perspective does't really work properly as a "Perspective Crop Tool" replacement because instead of cropping the document to something close it stretches and distorts the selection to fill the existing canvas dimensions. It can get you by, but feels significantly clunkier and more time consuming than how Photoshop does it.